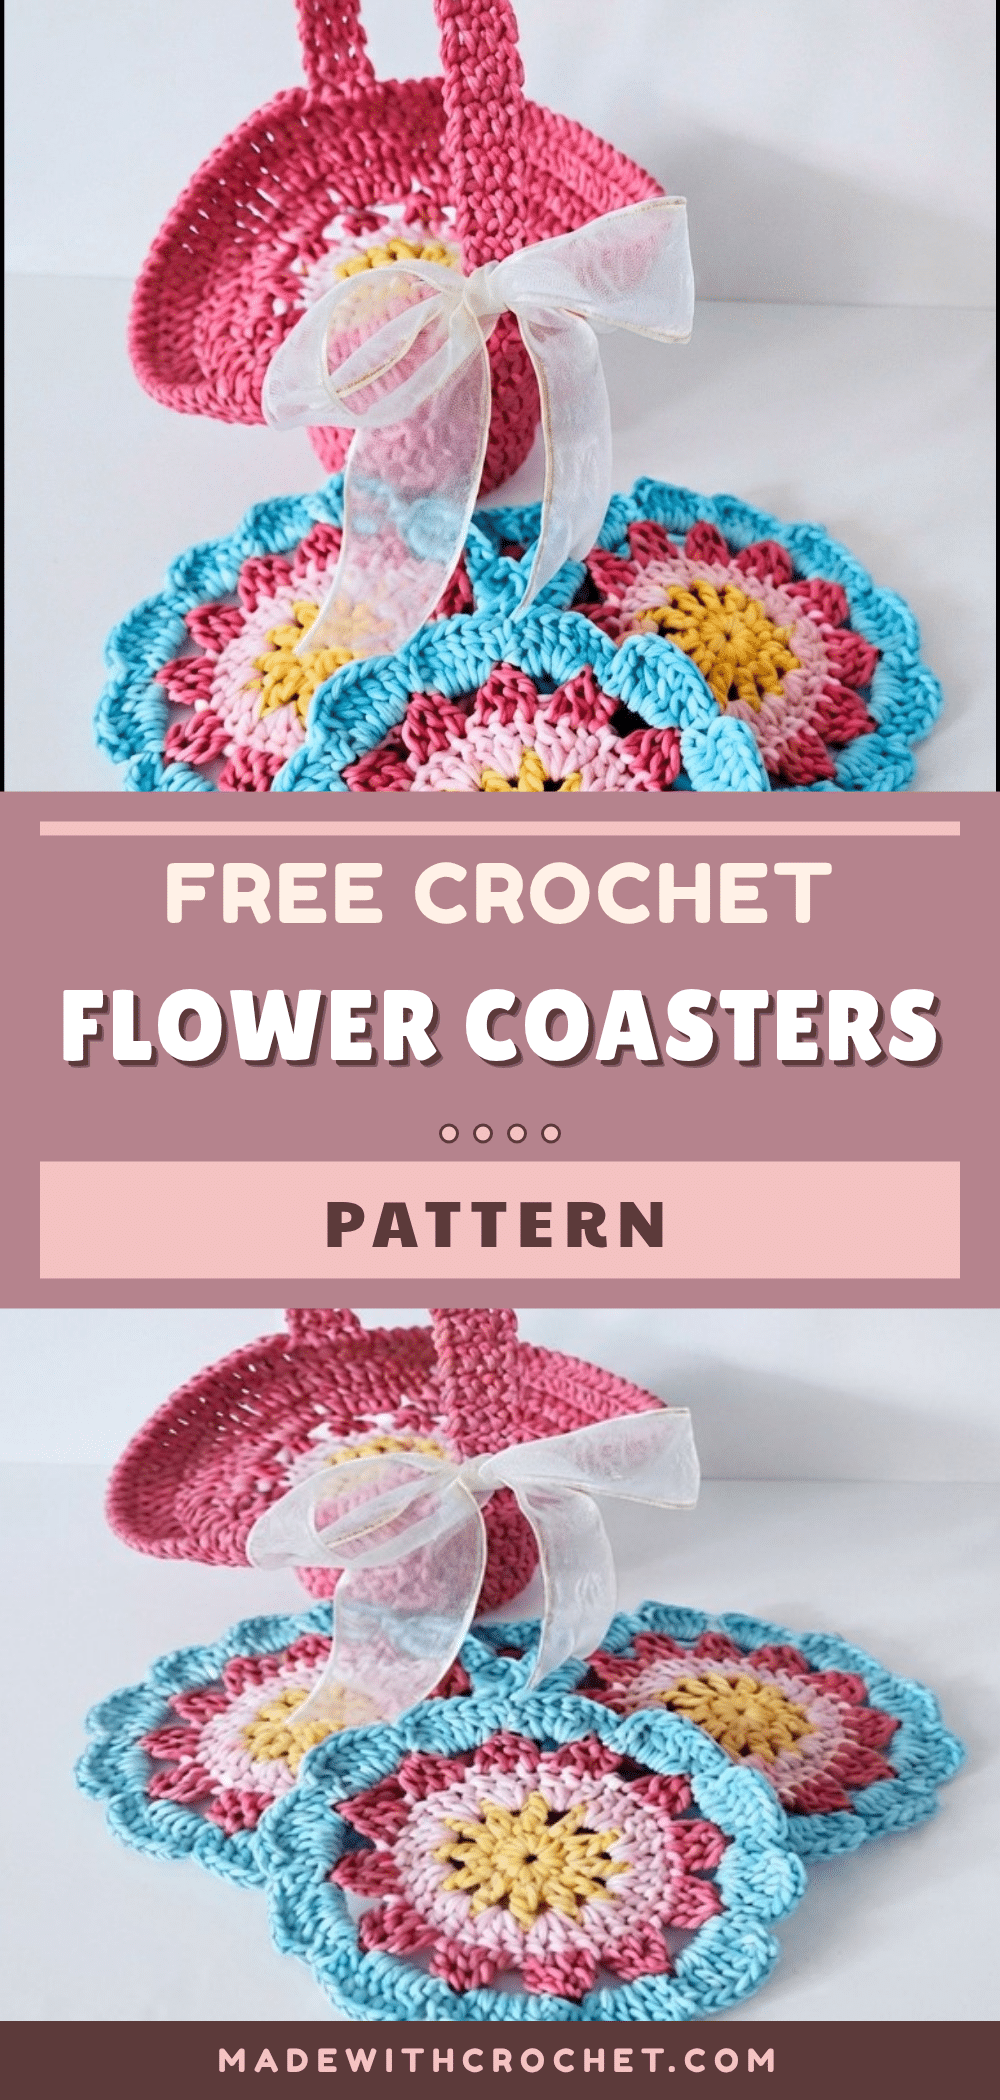
Looking for a quick and cheerful crochet project that doubles as a thoughtful handmade gift? These crochet flower coasters are the perfect answer. Whether you need a last-minute housewarming present, a bright addition to your own coffee table, or a charming item for a craft market, this pattern delivers. The beautiful floral design is not only decorative but also practical, protecting your surfaces with a touch of handmade warmth. It’s a small project that brings a big smile.
Gift and Use Ideas
These versatile flower coasters are wonderful as standalone gifts, but they can also be transformed into a unique vase cover. Use them as cheerful drink coasters for everyday use or special occasions. They make excellent hostess gifts, teacher appreciation tokens, or thoughtful additions to a birthday package. For a coordinated look, make a set in matching colors. The vase cover version adds a lovely handmade touch to a simple glass or container, making it a perfect small gift for plant lovers.
Project Overview
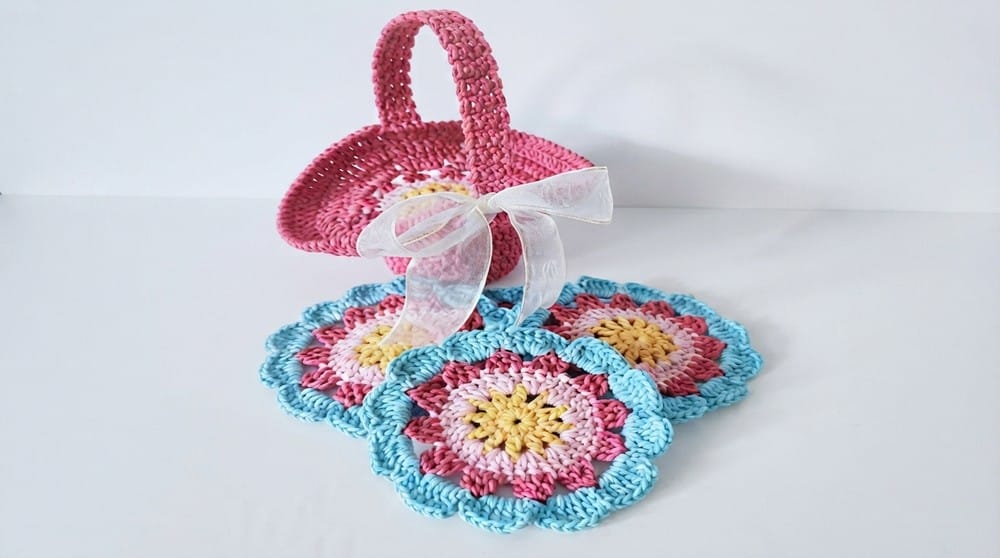
This easy and refreshing crochet flower project is perfect for creating a decorative coaster or a stylish vase cover. With bold color changes and clear structural steps, you’ll make a beautiful, practical accessory for your home. Follow along with this round-by-round pattern and discover how to add clever textural details, sturdy sides, and even a functional handle—making this project as useful as it is eye-catching.
Materials
- Yarn: Polycherry yarn, or similar weight acrylic/cotton, in three contrasting colors (pink, magenta, blue)
- Hook: 4/0 Tulip hook (approx. 2.5 mm)
- Base (for vase/cover): Circular container lid, approx. 5 cm in diameter
- Extras: Scissors, lighter (for finishing/poly ties—adults only)
Gauge and Finished Size
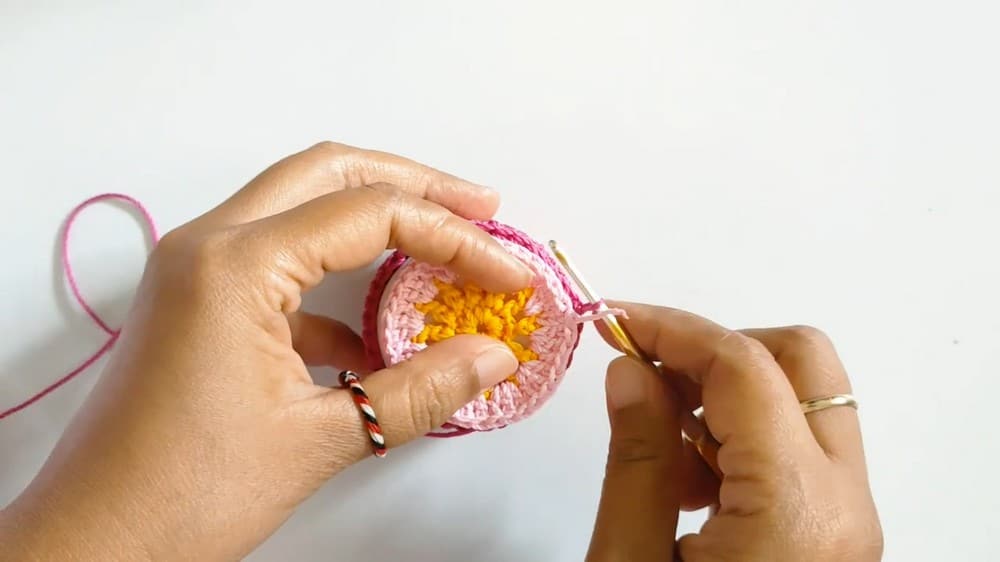
- Gauge: Approximately 12 single crochets = 3 cm diameter magic ring (Round 1). Gauge is flexible—match your motif and base together for the desired fit.
- Finished flower coaster: approx. 10–12 cm in diameter (varies with yarn and tension)
- Finished vase cover: fits snugly over a 5 cm wide, short-lipped lid (base approx. 5 cm; side height as desired)
- Handle/strap: adjustable; typically 10–15 cm long
Abbreviations
- MR: Magic ring
- ch: Chain
- sc: Single crochet
- dc: Double crochet
- sl st: Slip stitch
- BLO: Back loop only
- dec: Decrease (if needed)
- RS/WS: Right/wrong side
Pattern Notes
- Pattern is written using standard US crochet terms.
- Use a circular lid (about 5 cm in diameter) for shaping the base if making the vase cover version; omit if using as a coaster.
- Color changes are made at the start of the specified rounds.
- “Twist single crochet” refers to a textured single crochet stitch (see Special Stitches section).
- You will create two pieces (flower top and base), then join and build up the sides if making a vase cover.
- Always slip stitch to join unless otherwise indicated.
Special Stitches
- Magic Ring (MR): Form a loop with yarn, insert hook, pull up loop, ch 1 to secure, then work stitches into the ring.
- Cluster (3 dc together): Yarn over, insert in next st, pull up loop, yarn over, pull through 2 loops (repeat into next 2 sts), yarn over, and pull through all loops on hook (makes 1 cluster).
- Twist Single Crochet: Insert hook into stitch, yarn over and pull up a loop, turn hook 180°, yarn over and pull through both loops—adds a twist for texture.
Pattern Instructions
Flower Coaster Top
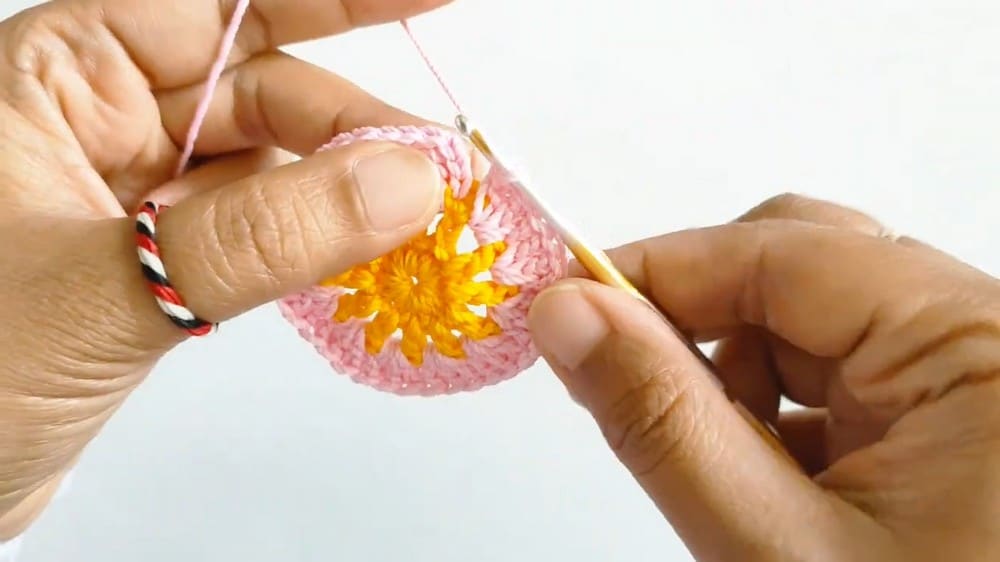
Round 1 (Center): Using your first color, make a magic ring (MR). Work 12 sc into the ring. Pull ring tight. Join with a sl st to the first sc. (12 sc)
Round 2: Ch 4 (counts as dc + ch-1). Skip next st, dc in the next st, ch 1; repeat this sequence 11 more times—placing 1 dc and 1 ch in each stitch around. Join with sl st to the 3rd chain of starting ch-4. (You will have 12 spaces/gaps created by the ch-1 spaces.)
Round 3: Change color to pink. Ch 3 (counts as dc), 2 dc in the same space (into the first ch-1 space). In each space around, work 3 dc. Join with sl st to top of starting ch-3. (You will get 12 groups of 3 dc.)
Round 4: Change color to magenta. Ch 3, 2 dc together in next space (dc cluster), ch 1. In each ch gap, work: 3 dc together (cluster), ch 1; repeat for 11 segments. Sl st to join. (12 clusters, separated by ch-1 spaces.)
Round 5 (Petals): Change color to blue. In each gap (between clusters): 5 dc, ch 3, sl st in same gap. Repeat this pattern in all 12 spaces to form delicate petals. Sl st to finish. Fasten off, leaving a long tail if you plan to sew this to a base.
Vase/Cover Base
Follow this sequence if you wish to convert the flower motif into a vase cover:
Step 1: Repeat Rounds 1–3 of the flower top using your preferred color.
Step 2: Place the base on top of the container lid for sizing. Work 36 dc into the back loops only (BLO) around (in the “gap” stitches). Sl st to join.
Step 3: Work 3 more rounds of dc in normal (both loops) for a sturdy side. Each round: ch 3 (acts as first dc), 1 dc in each st around (36 dc). Sl st to join.
Join Base to Flower Top
Place the flower motif and base with the wrong sides facing in, right sides out. Join using a 3 dc cluster join: For each pair of matching stitches (gap to top), yarn over, insert in top, yarn over, insert in base, pull up a loop in both, yarn over, pull through all 3 positions together. Repeat this “3 dc cluster join” around the edge to neatly seal the flower to the base.
Build Up the Sides
Round 5 (Increase): Work dc around, increasing 12 stitches evenly spaced: (dc in next 4 sts, 2 dc in next st) repeat around. (60 dc).
Round 6: Dc in each st around, increasing 12 stitches evenly: (dc in next 5 sts, 2 dc in next st) repeat. (72 dc).
Round 7: Dc in each st around, increasing 12 stitches evenly: (dc in next 6 sts, 2 dc in next st) repeat. (84 dc).
Round 8 (Textured Top Edge): Work one round of Twist Single Crochet: In each stitch, insert hook, yarn over, pull up loop, twist 180°, complete single crochet as normal for texture. Sl st to join, fasten off.
Handle/Strap
Attach yarn at edge of top rim (best at a join seam). Work 3 sc in place. Turn work, ch 1, 3 sc across—repeat until strap/handle reaches the desired length (10–15 cm typical). Secure end of strap with sl st to the opposite side. Fasten off, weave ends, and finish as needed.
Assembly
If using as a coaster: Simply block flat and weave in ends. Place under vases or cups for a decorative touch.
If using as a vase/container cover: Insert lid for shape, check fit, and enjoy the flower top and sturdy sides. Block lightly if desired for crisp shape.
Tips
- When changing colors, carry the unused yarn loosely along the back of the work to avoid puckering.
- For a neater finish on the handle, use a lighter to carefully melt the ends of the poly ties (adults only).
- Blocking the flower coaster will help the petals lie flat and even.
- If the vase cover feels too tight, try using a slightly larger hook for the base rounds.
Frequently Asked Questions
Can I use this pattern to make only coasters?
Yes, absolutely. Simply complete the Flower Coaster Top section and block it flat. Omit the vase cover base and side instructions.
What yarn weight is best for this project?
Polycherry yarn or a similar weight acrylic or cotton yarn works well. The gauge is flexible, so you can adjust to match your desired fit.
How do I adjust the size of the coaster?
You can change the size by using a different hook size or yarn weight. The gauge is flexible, so test your tension and adjust as needed.
Is the handle necessary?
No, the handle is optional. If you are making a coaster, you can skip it. For the vase cover, it adds a functional and decorative touch.
Can I use a different lid for the vase cover base?
Yes, any circular lid approximately 5 cm in diameter will work. Adjust the base rounds as needed to fit your specific lid.
How do I care for my finished flower coasters?
Hand wash gently in cool water and lay flat to dry. Blocking may be needed after washing to maintain the shape.
Pin This Crochet Pattern!