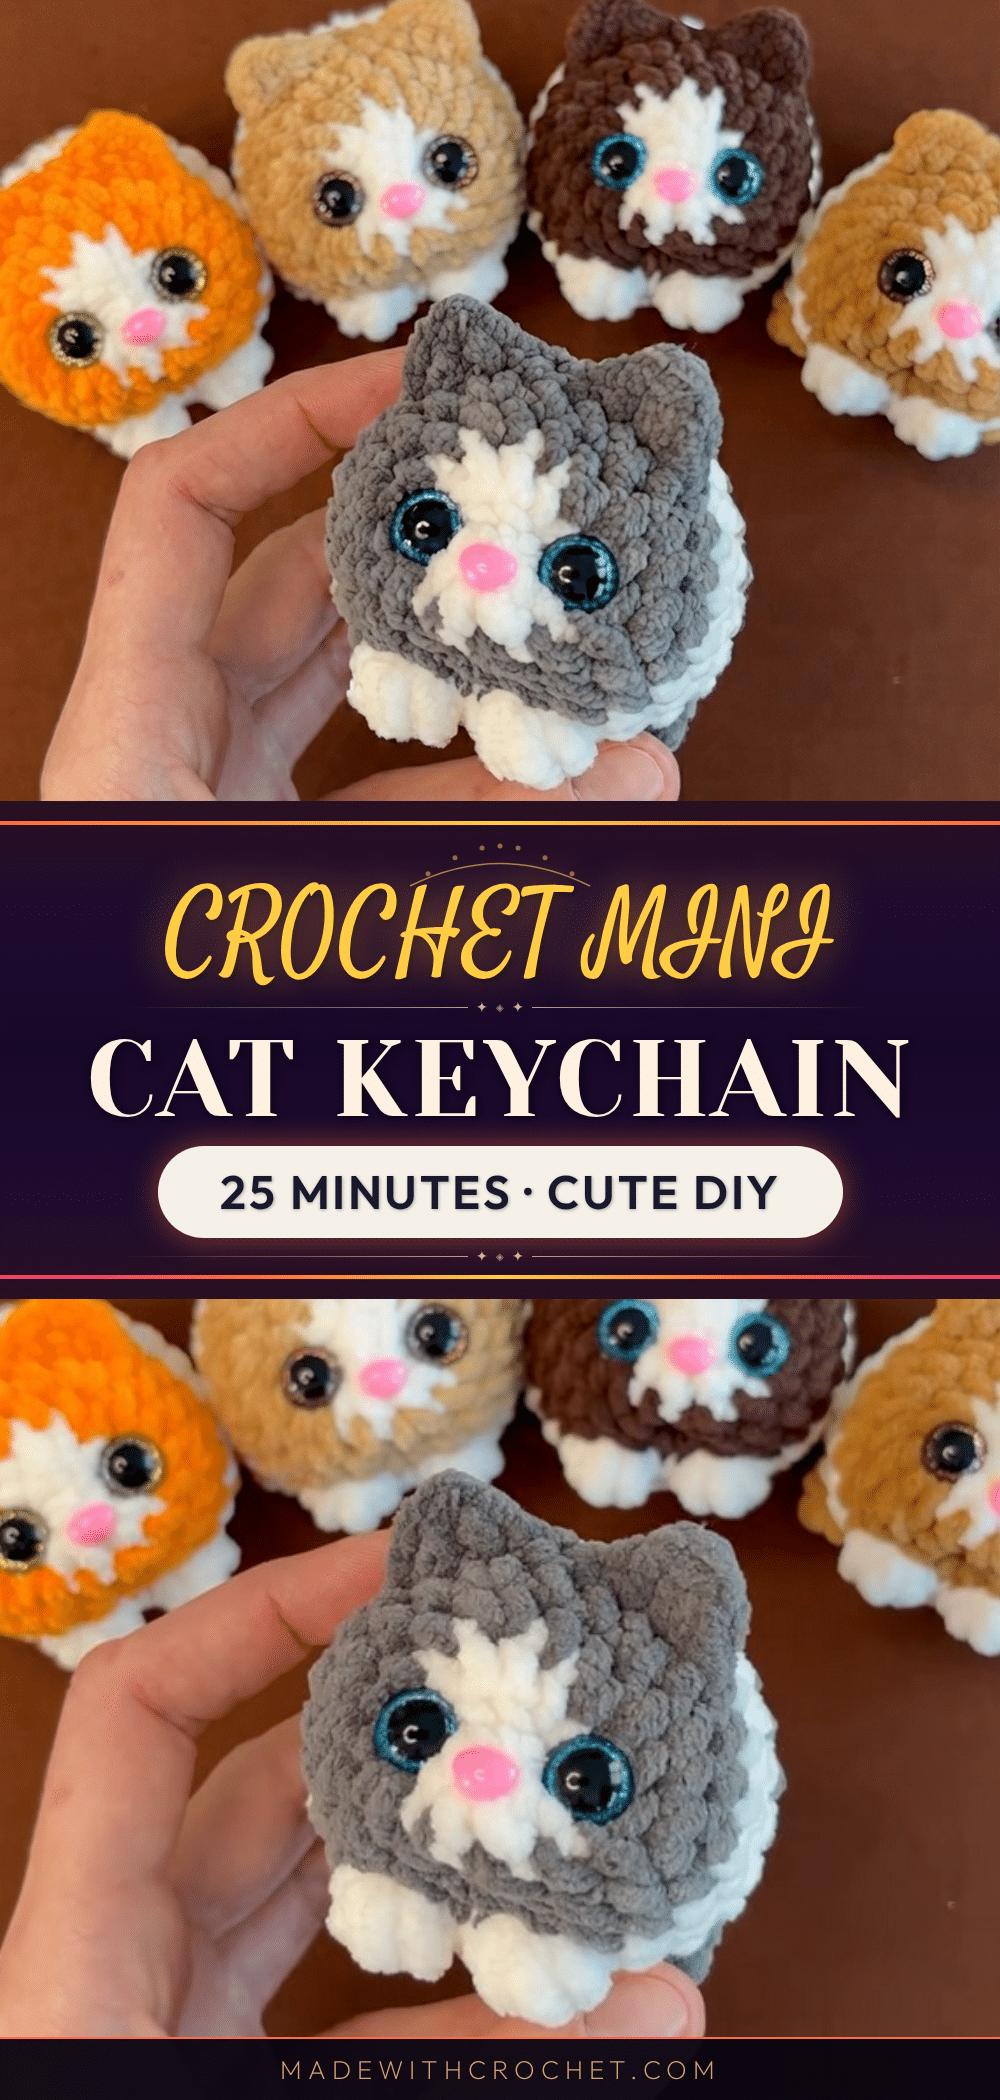
There’s something so satisfying about settling in for a quiet evening with a small ball of yarn, a hook, and a simple pattern. Counting stitches as you go, watching a tiny creature take shape in your hands—it’s a cozy ritual that never gets old. This quick crochet mini cat keychain pattern is the perfect project for just such a moment. In about 25 minutes, you’ll have an adorable little feline friend, ready to gift, keep, or attach to your keys for a daily dose of handmade charm.
Small Details That Make It Better
What makes this mini cat so special is the thoughtful construction. The ears and legs are worked directly into the body as you go, which means less sewing and a cleaner finish. The puff-stitch legs give the cat a soft, rounded look that’s both sturdy and sweet. The shaping of the face with doubled thread adds a professional touch, making each cat unique. Whether you choose a classic gray or a playful pastel, this pattern invites you to add your own personality—try a tiny collar, embroidered whiskers, or a contrasting tail. It’s a small project with big potential for customization.
Project Overview
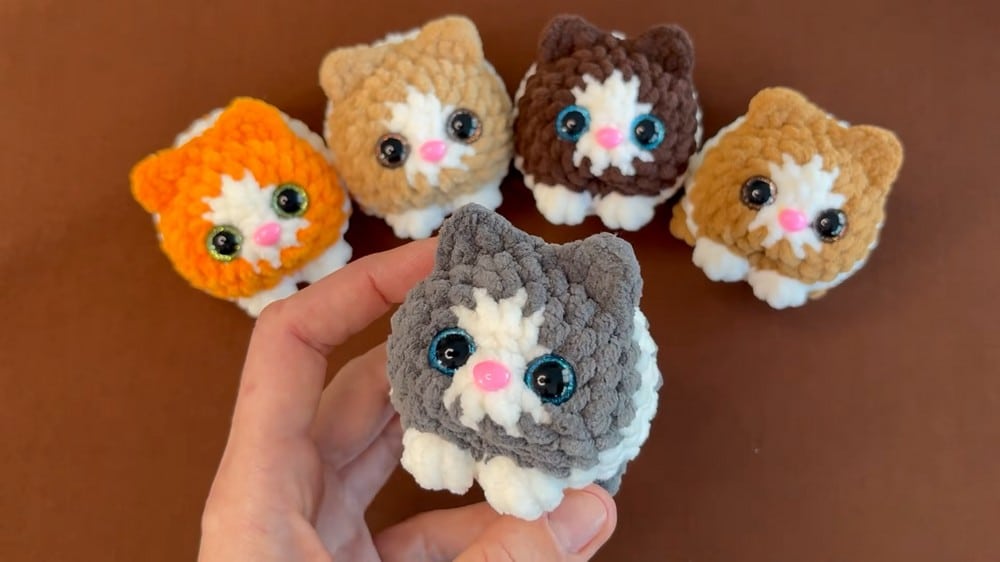
This mini cat is worked from the bottom up in continuous spiral rounds. You start with a circle base, increase to form the body, and crochet the ears, legs, and tail as you go in specific rounds. Safety eyes and a glued-on nose add a realistic finish. After stuffing, simple shaping and a few finishing steps complete your amigurumi cat. It’s a quick, satisfying project for beginner to intermediate crocheters.
Materials
- Two colors of yarn (suggested: one for body, one for accent/legs)
- 12 mm safety eyes (2)
- 6×8 mm nose (to glue at the end)
- 3.75 mm crochet hook
- Stitch markers
- Scissors
- Yarn needle
- Stuffing (polyester or dacron)
- Polyester sewing thread (for shaping)
- Optional: Large tapestry needle (to make a hole for the nose)
- Craft glue (for nose)
Gauge and Finished Size
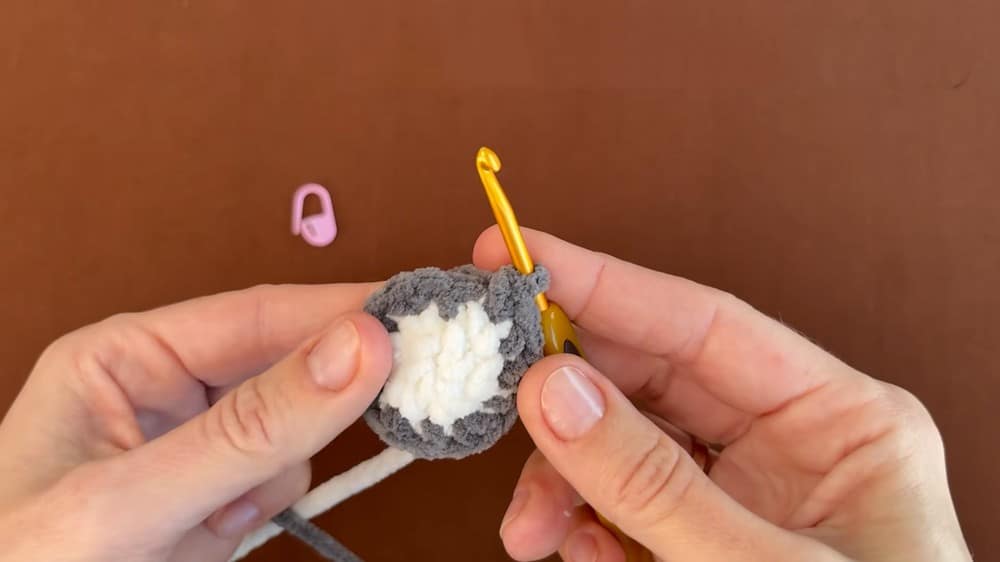
Gauge: Not critical, but the fabric should be tight enough to hold stuffing and shape. If you see large gaps after the first two rounds, use a smaller hook or adjust tension.
Finished Size: The finished cat stands approximately 8–10 cm tall (with listed materials).
Skill Level
Beginner to Intermediate: Requires basic knowledge of single crochet, increases, decreases, working in the round, color changes, and simple shaping.
Abbreviations
- ch – chain
- sc – single crochet
- inc – increase (2 sc in one stitch)
- dec – decrease (sc two together)
- sl st – slip stitch
- hdc – half double crochet
- dc – double crochet
- st(s) – stitch(es)
- BL – back loop only
- FL – front loop only
Pattern Notes
- Make sure to use stitch markers to keep track of rounds.
- Change yarn colors as indicated for a neat colorwork finish.
- Use the front loops only where specified for ears.
- Invisible decreases are recommended for smooth shaping.
- Eyes and nose are inserted/glued after crocheting and before closing.
- Beginners should not skip marking back loops during ear rounds to avoid mistakes.
- Stuff firmly but do not overstuff to keep the shape balanced.
Special Stitches
Puff leg: Yarn over, insert hook, pull up loop (as for dc), repeat a total of 4 dc partly closed in same stitch, then yarn over and pull through all loops.
Ear (as per round):
First ear: FL1: sl st, hdc, dc FL2: hdc, sl st
Second ear: FL1: sl st, hdc FL2: dc, hdc, sl st
Pattern Instructions
Body and Head
Work in continuous spiral rounds. Use a stitch marker for the first stitch of each round.
Round 1: Start with chain 2 (or magic ring if preferred). 6 sc in 2nd ch from hook (or in magic ring). (6 sts)
Round 2: 6 inc (2 sc in each st) around. Mark the start of round with a stitch marker. Do not finish last sc of the sixth increase; instead, change color before pulling through final loop. (12 sts)
Round 3: (1 sc, inc) repeat 6 times. (18 sts)
Round 4: (2 sc, inc) repeat 6 times. (24 sts)
Round 5: (Ears)
3 sc
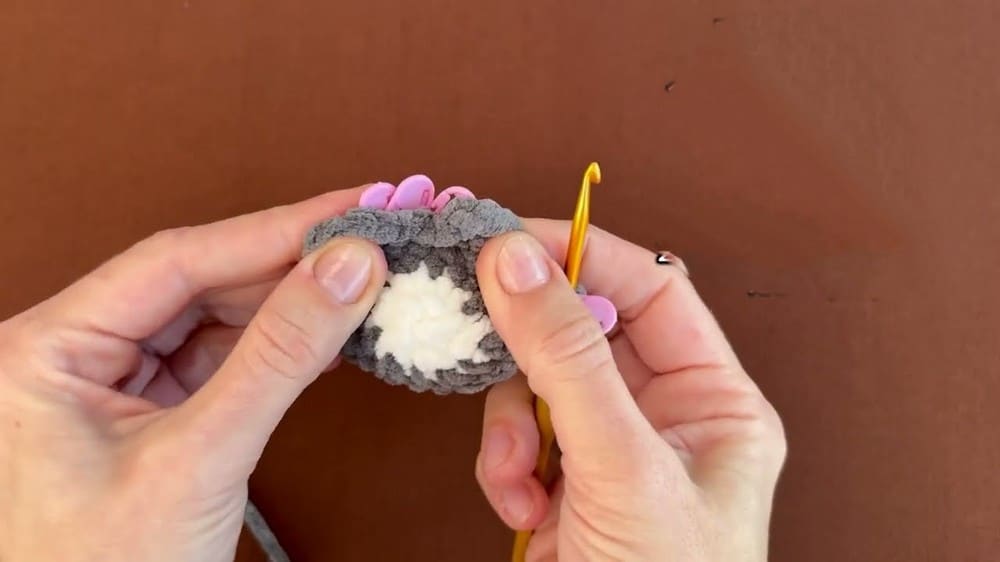
(in 2 front loops: Ear 1 (work into next 2 FL only): Front loop 1: sl st, hdc, dc Front loop 2: hdc, sl st. Mark the back loops with a stitch marker so they aren’t used.)
2 sc between ears
Ear 2 (work into next 2 FL only): Front loop 1: sl st, hdc Front loop 2: dc, hdc, sl st. (Again, mark back loops if helpful.)
15 sc to end of round. (24 sts)
Round 6: (Front Legs)
16 sc (using back loops after ears where marked). Change color before finishing the 16th sc.
Front Leg 1: Puff stitch (4-partial dc puff in same stitch; then yarn over, pull through all loops)
2 sc between legs
Front Leg 2: Puff stitch (same as above)
4 sc to end of round. (24 sts)
Pause here to add eyes: Place safety eyes between the 2nd and 3rd rows, centered between the ears and above the front legs. Check alignment with legs and ears for symmetry before securing.
Round 7: 24 sc around.
Round 8: 5 sc, inc. Repeat (5 sc, inc) once more (for a total of 2 increases). 11 sc, inc (last increase). (27 sts)
Round 9: 20 sc (in main color). Do not finish the 21st sc; change yarn color before pulling through. 7 sc (in contrast color) to complete round. (27 sts)
Round 10: (Back Legs)
17 sc (in contrast color if continuing)
Back Leg 1: Puff stitch (same as before, using 4 partial dc)
6 sc
Back Leg 2: Puff stitch (as above)
2 sc to end of round. (27 sts)
Round 11: 27 sc. After the round, cut the main color yarn and tie the ends together.
Round 12: (1 sc, dec) repeat 9 times. (18 sts)
Round 13: (Tail & Final Decreases)
3 dec (decrease over the next 2 sts, repeat x3)
Tail: ch 5, turn. Starting in the 2nd ch from hook: 4 sc back along chain.
6 dec (decrease over next 2 sts, repeat x6). (You should have stitched the tail so it ends in the center as you start decreases.)
Stuff the cat body firmly.
Closing the Opening: Cut yarn, leaving a long tail. With needle, sew through the front loops of remaining stitches and pull tight to close. Secure and hide tail end inside the body.
Assembly
Sculpt face shape: Use doubled polyester thread and a needle. Skip one round after the legs on the underside, bring the needle to one eye corner, then to the other, passing through all face points for shaping. Tie off tightly inside the body and shape as desired. Adjust ears and eyes as needed for symmetry.
Attach nose: Use glue to attach the pre-made nose below the eyes, centered.
Finished size: about 8–10 cm high.
Tips
- Use stitch markers to keep track of rounds, especially during ear and leg rounds.
- Mark the back loops during ear rounds to avoid accidentally crocheting into them later.
- Invisible decreases give a smoother finish than standard decreases.
- Stuff the body firmly but not overly tight to maintain a balanced shape.
- Check eye and leg alignment before securing the eyes.
FAQs
Can I use a different yarn weight?
Yes, but the finished size will change. Use a hook size appropriate for your yarn and adjust tension to keep the fabric tight enough to hold stuffing.
How do I make the puff stitch legs?
Yarn over, insert hook, pull up a loop (as for a dc). Repeat this three more times in the same stitch (4 partial dc). Yarn over and pull through all loops on the hook. That’s one puff stitch.
What if my safety eyes are a different size?
You can use eyes from 10 mm to 14 mm. Just adjust placement so they are centered between the ears and above the front legs.
Can I embroider the face instead of using safety eyes and a glued nose?
Absolutely. Embroider eyes and a nose with black or dark yarn for a completely safe, no-glue version.
How do I attach the keychain?
Before closing the body, insert a keychain ring or lobster clasp into the top of the head. Sew around it securely, or attach it after finishing by stitching through the top stitches.
Why does my fabric have gaps?
Your tension may be too loose. Try using a smaller hook or pulling your yarn tighter. The fabric should be firm enough that stuffing doesn’t show through.
Pin This Crochet Pattern!