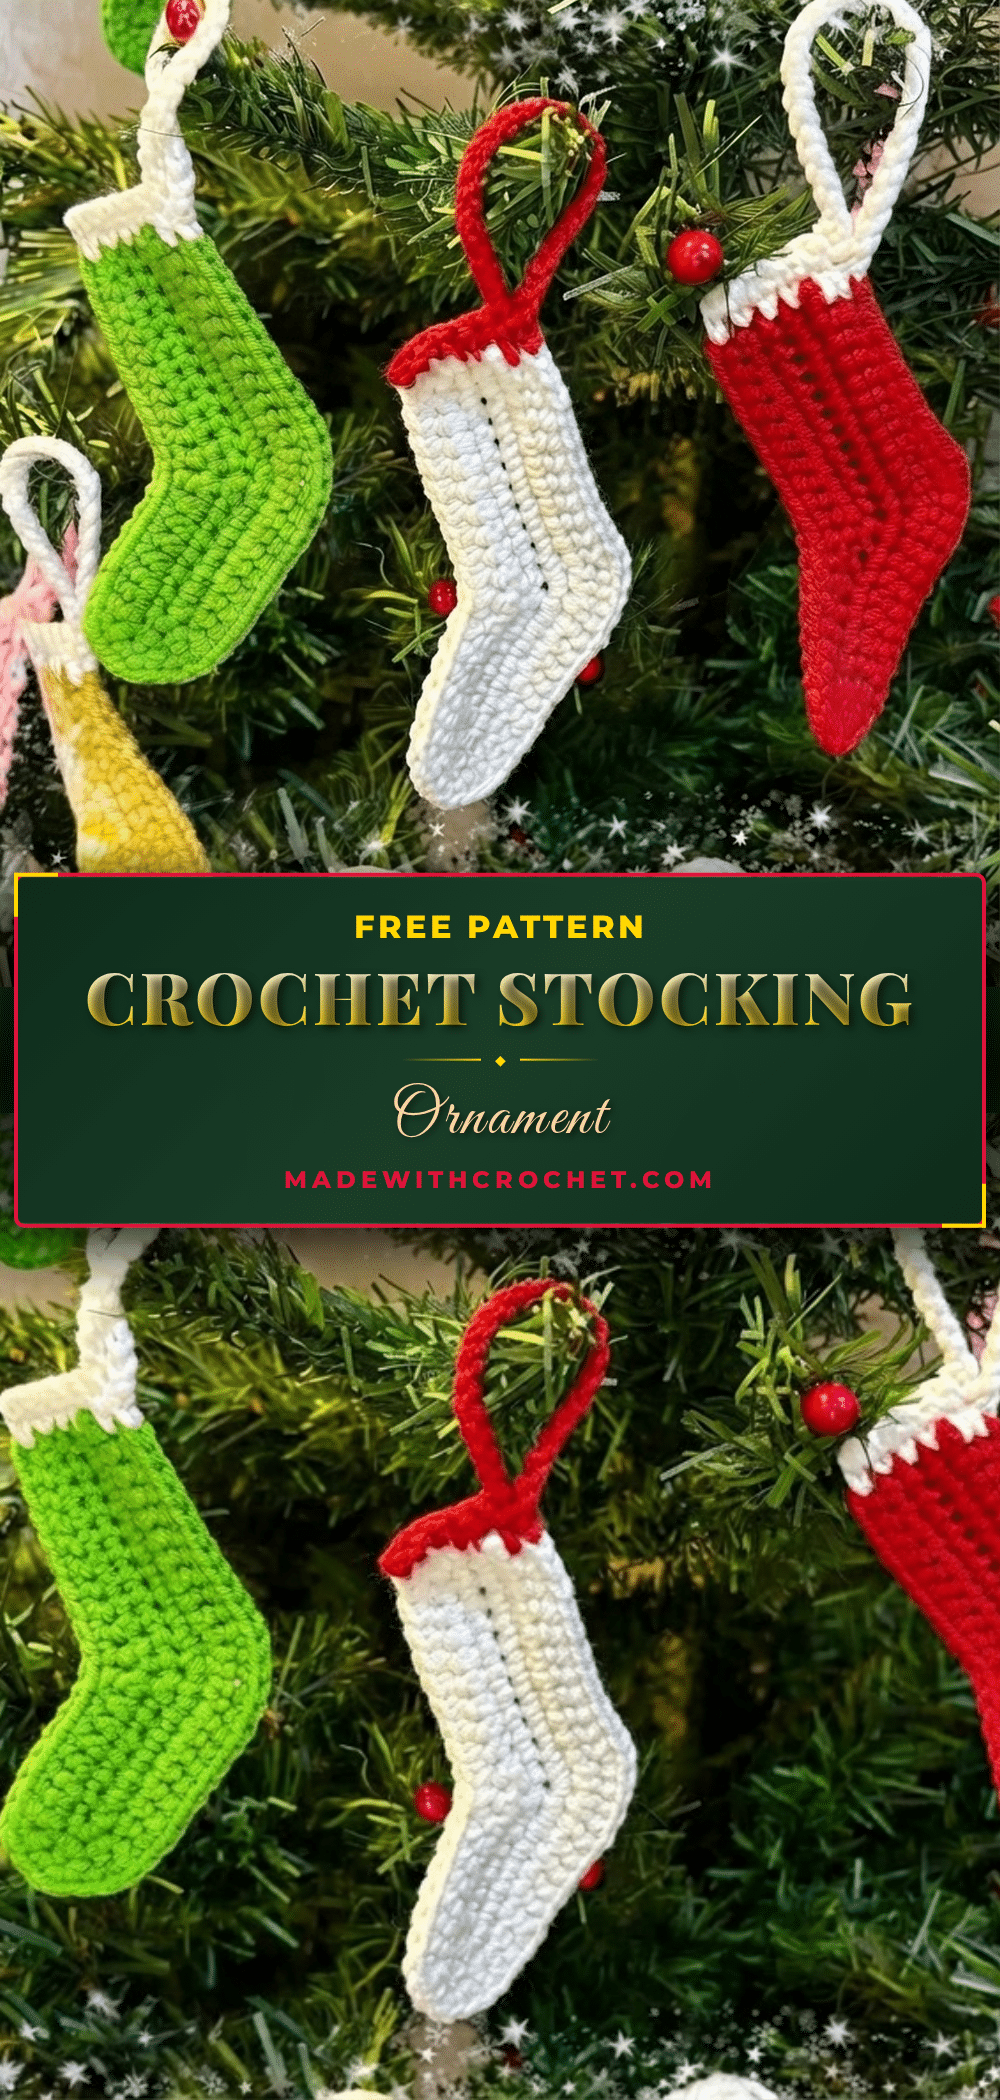
There’s something special about choosing yarn for a tiny project like this. I found myself standing in front of my stash, debating between a classic forest green and a softer sage. In the end, I went with a bright, true green and a crisp white—the kind of color combination that instantly feels like Christmas morning. The milk cotton yarn has a subtle sheen and a smooth texture that makes each stitch pop, giving this little stocking a polished, intentional look.
Yarn and Color Notes
This pattern uses milk cotton yarn, which is a 5-ply weight that holds its shape beautifully. The green and white pairing is timeless, but you could easily swap in a deep red, navy blue, or even a metallic silver for a modern twist. Because the ornament is small, it’s a great way to use up leftover yarn from larger projects. The tight, even stitches created by the 3 mm hook give the stocking a firm structure that holds up well on a tree or garland.
Project Overview
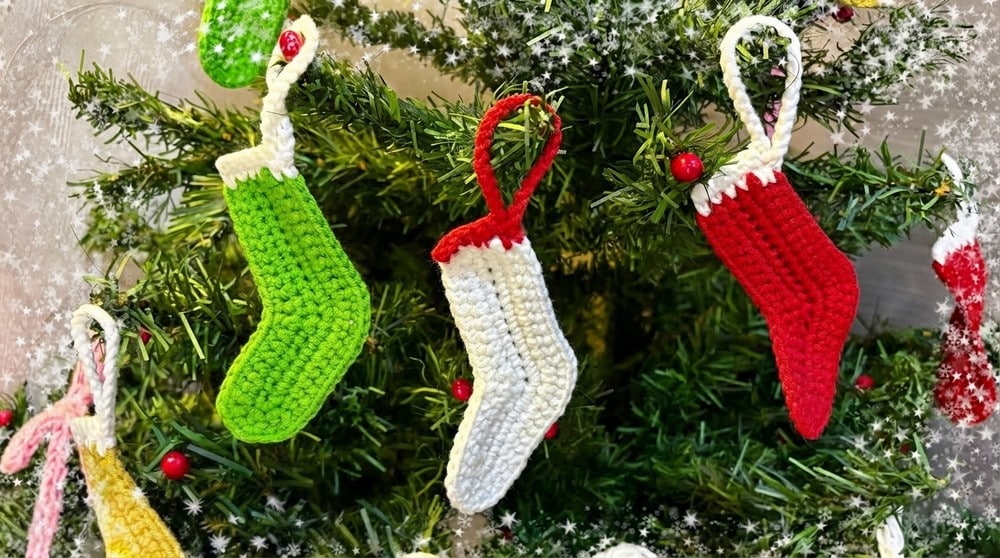
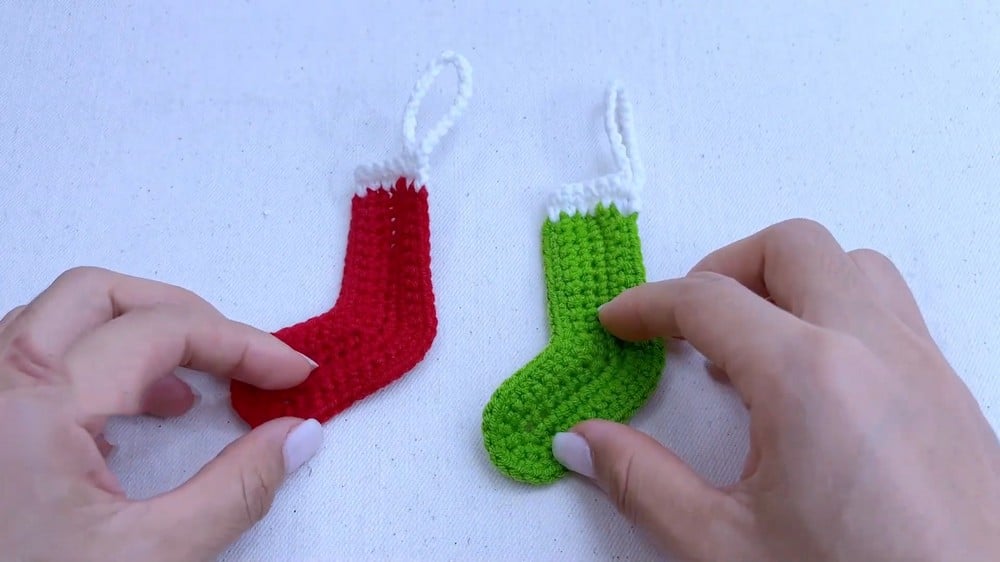
This quick crochet stocking ornament is a beginner-friendly project that uses basic stitches and simple shaping. Worked in the round with increases and decreases, it forms a classic stocking shape that’s perfect for hanging on your Christmas tree, adding to a wreath, or giving as a handmade gift. The pattern includes a white cuff and a simple chain strap for hanging.
Materials
- Milk Cotton Yarn 125g (5 ply), green and white colors
- 3 mm crochet hook
- Yarn needle
- Scissors
Gauge and Finished Size
Gauge: Gauge is not critical; maintain tightness to keep stocking shape.
Finished Size: Small, suitable as a decorative piece (approximate size not specified).
Skill Level
Beginner friendly with some simple shaping stitches like increase and decrease.
Abbreviations
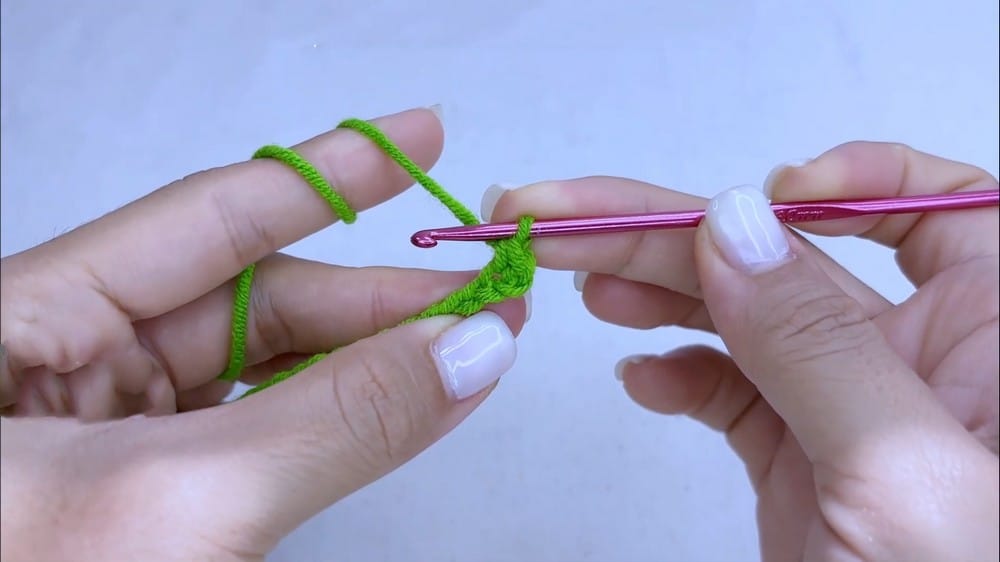
- ch = chain
- sc = single crochet
- inc sc = increase single crochet (2 sc in one stitch)
- dec sc = decrease single crochet (single crochet two stitches together)
- sl st = slip stitch
Pattern Notes
The project uses basic stitches: slip knot, chain, single crochet, increase, decrease, and slip stitch. Maintain consistent tension to keep the ornament neat. Use a yarn needle to weave in ends for a polished look.
Special Stitches
- Increase single crochet (inc sc): Work 2 single crochet stitches in the same stitch.
- Decrease single crochet (dec sc): Insert hook into two stitches, yarn over and pull through, yarn over and pull through remaining loops to crochet two stitches together.
Pattern Instructions
Round 1: Foundation and First Row
Make a slip knot. Chain 20. Skip 1 chain from hook. Make 1 single crochet (sc) in each of the next 11 chains. Do a decrease single crochet (dec sc) in the next chain. Make 1 single crochet (sc) in each of the next 5 chains. Make 4 single crochet into the same last chain to increase width. Make 1 single crochet in each of the next 5 stitches. Increase single crochet for 2 stitches (2 sc in each stitch). Make 1 single crochet in the next 11 stitches.
Round 2
Chain 1, turn your work. Skip 1 chain. Make 1 single crochet in each of the next 10 stitches. Increase single crochet in the next 2 stitches (2 sc in each). Make 1 single crochet in the next 7 stitches. Increase single crochet in the next 4 stitches (2 sc in each). Make 1 single crochet in the next 5 stitches. Decrease single crochet in the next stitch. Make 1 single crochet in the next 10 stitches.
Round 3
Chain 1, turn your work. Skip 1 chain. Make 1 single crochet in next 9 stitches. Decrease single crochet in next stitch. Make 1 single crochet in next 5 stitches. Repeat the following 4 times: 1 single crochet in next stitch, Increase single crochet in next stitch. Make 1 single crochet in next 9 stitches. Increase single crochet in next stitch. Make 1 single crochet in next 10 stitches. Make a slip stitch. Cut off the green yarn.
Cuff (White Yarn)
Attach the white yarn and tie securely. Chain 1, make 6 single crochet. Chain 1, turn, make 6 single crochet.
Strap
Chain 22 chains. Join with a slip stitch to form a loop. Cut off the white yarn. Sew in and hide yarn tails.
Assembly
Securely sew the cuff and strap to the stocking body. Weave in all ends for a clean finish. The finished stocking ornament is ready to hang!
Tips
- Keep your tension consistent throughout the project to maintain the stocking’s shape.
- Use a stitch marker to keep track of your rounds if needed.
- When sewing the cuff and strap, make sure they are firmly attached so the ornament can hold a little weight.
- Blocking is not required, but a light steam can help even out stitches if desired.
FAQs
Can I use a different yarn weight for this pattern?
This pattern is designed for 5-ply milk cotton yarn with a 3 mm hook. Using a different weight will change the size and shape of the ornament. If you substitute yarn, you may need to adjust the hook size and stitch counts.
How do I make the stocking larger or smaller?
To adjust the size, you can change the starting chain length and adjust the number of stitches in each round accordingly. Keep in mind that the shaping (increases and decreases) will need to be recalculated to maintain the stocking shape.
What is the best way to attach the strap?
Sew the strap securely to the inside or top edge of the stocking using a yarn needle and matching yarn. Make sure the knot is tight and weave in the ends for a clean finish.
Can I add embellishments like beads or buttons?
Yes, you can sew small beads or buttons onto the finished stocking for extra decoration. Just be sure they are securely attached, especially if the ornament will be handled or hung on a tree.
How do I keep the stocking from curling?
Maintaining even tension is key. If your work curls, try using a slightly larger hook for the foundation chain or blocking the finished piece gently with steam.
Is this pattern suitable for a beginner?
Yes, this pattern is beginner-friendly. It uses basic stitches like chain, single crochet, and slip stitch, with simple increases and decreases for shaping. The steps are straightforward and easy to follow.
Pin This Crochet Pattern!