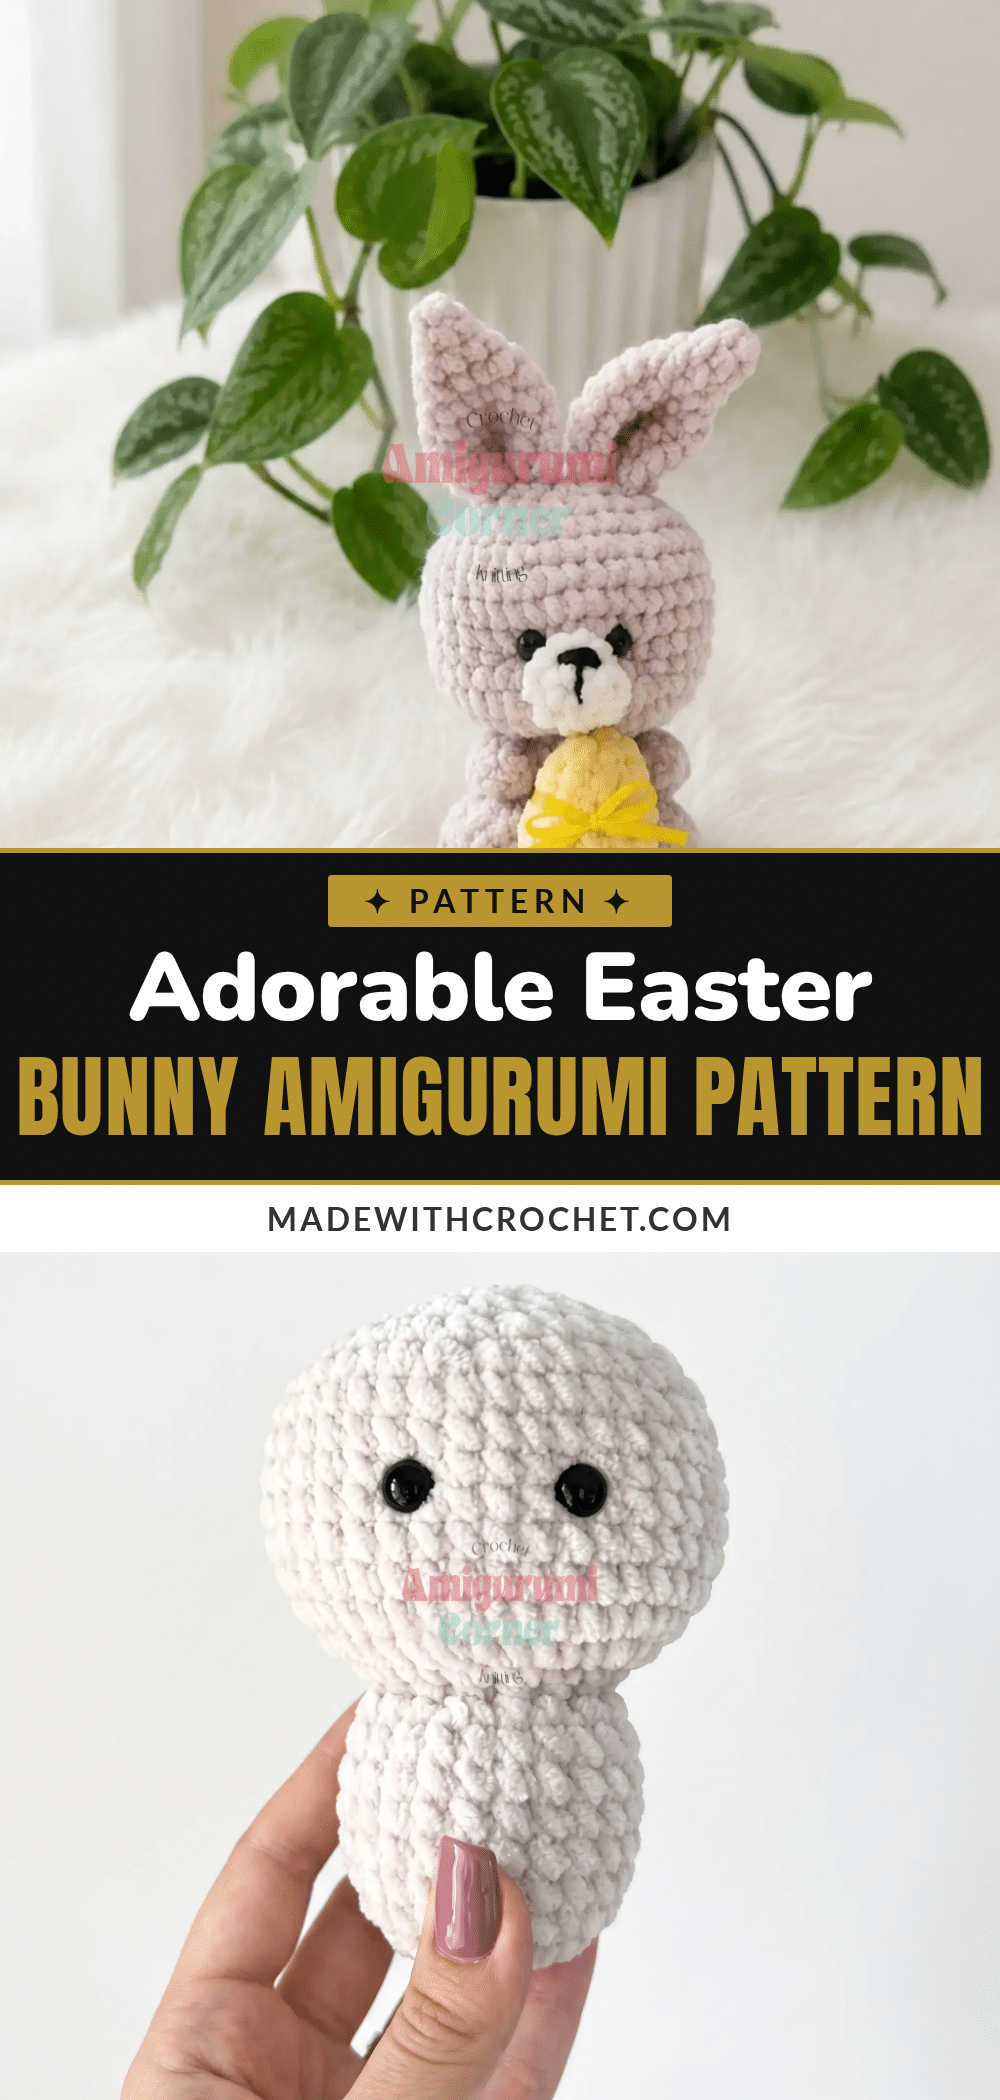
There is something deeply satisfying about the rhythm of amigurumi: the quiet hum of the room, the soft texture of yarn under your fingers, and the steady count of stitches that slowly transforms a ball of fiber into a living, breathing character. This Easter Bunny pattern invites you into that cozy ritual. It is designed to be a gentle, beginner-friendly project that rewards patience with a plush, huggable result. As you work through the continuous spiral rounds, you will find yourself settling into a relaxing repeat, building the bunny piece by piece until it is ready to hold its tiny egg and brighten up your spring decor.
Small Details That Make It Better
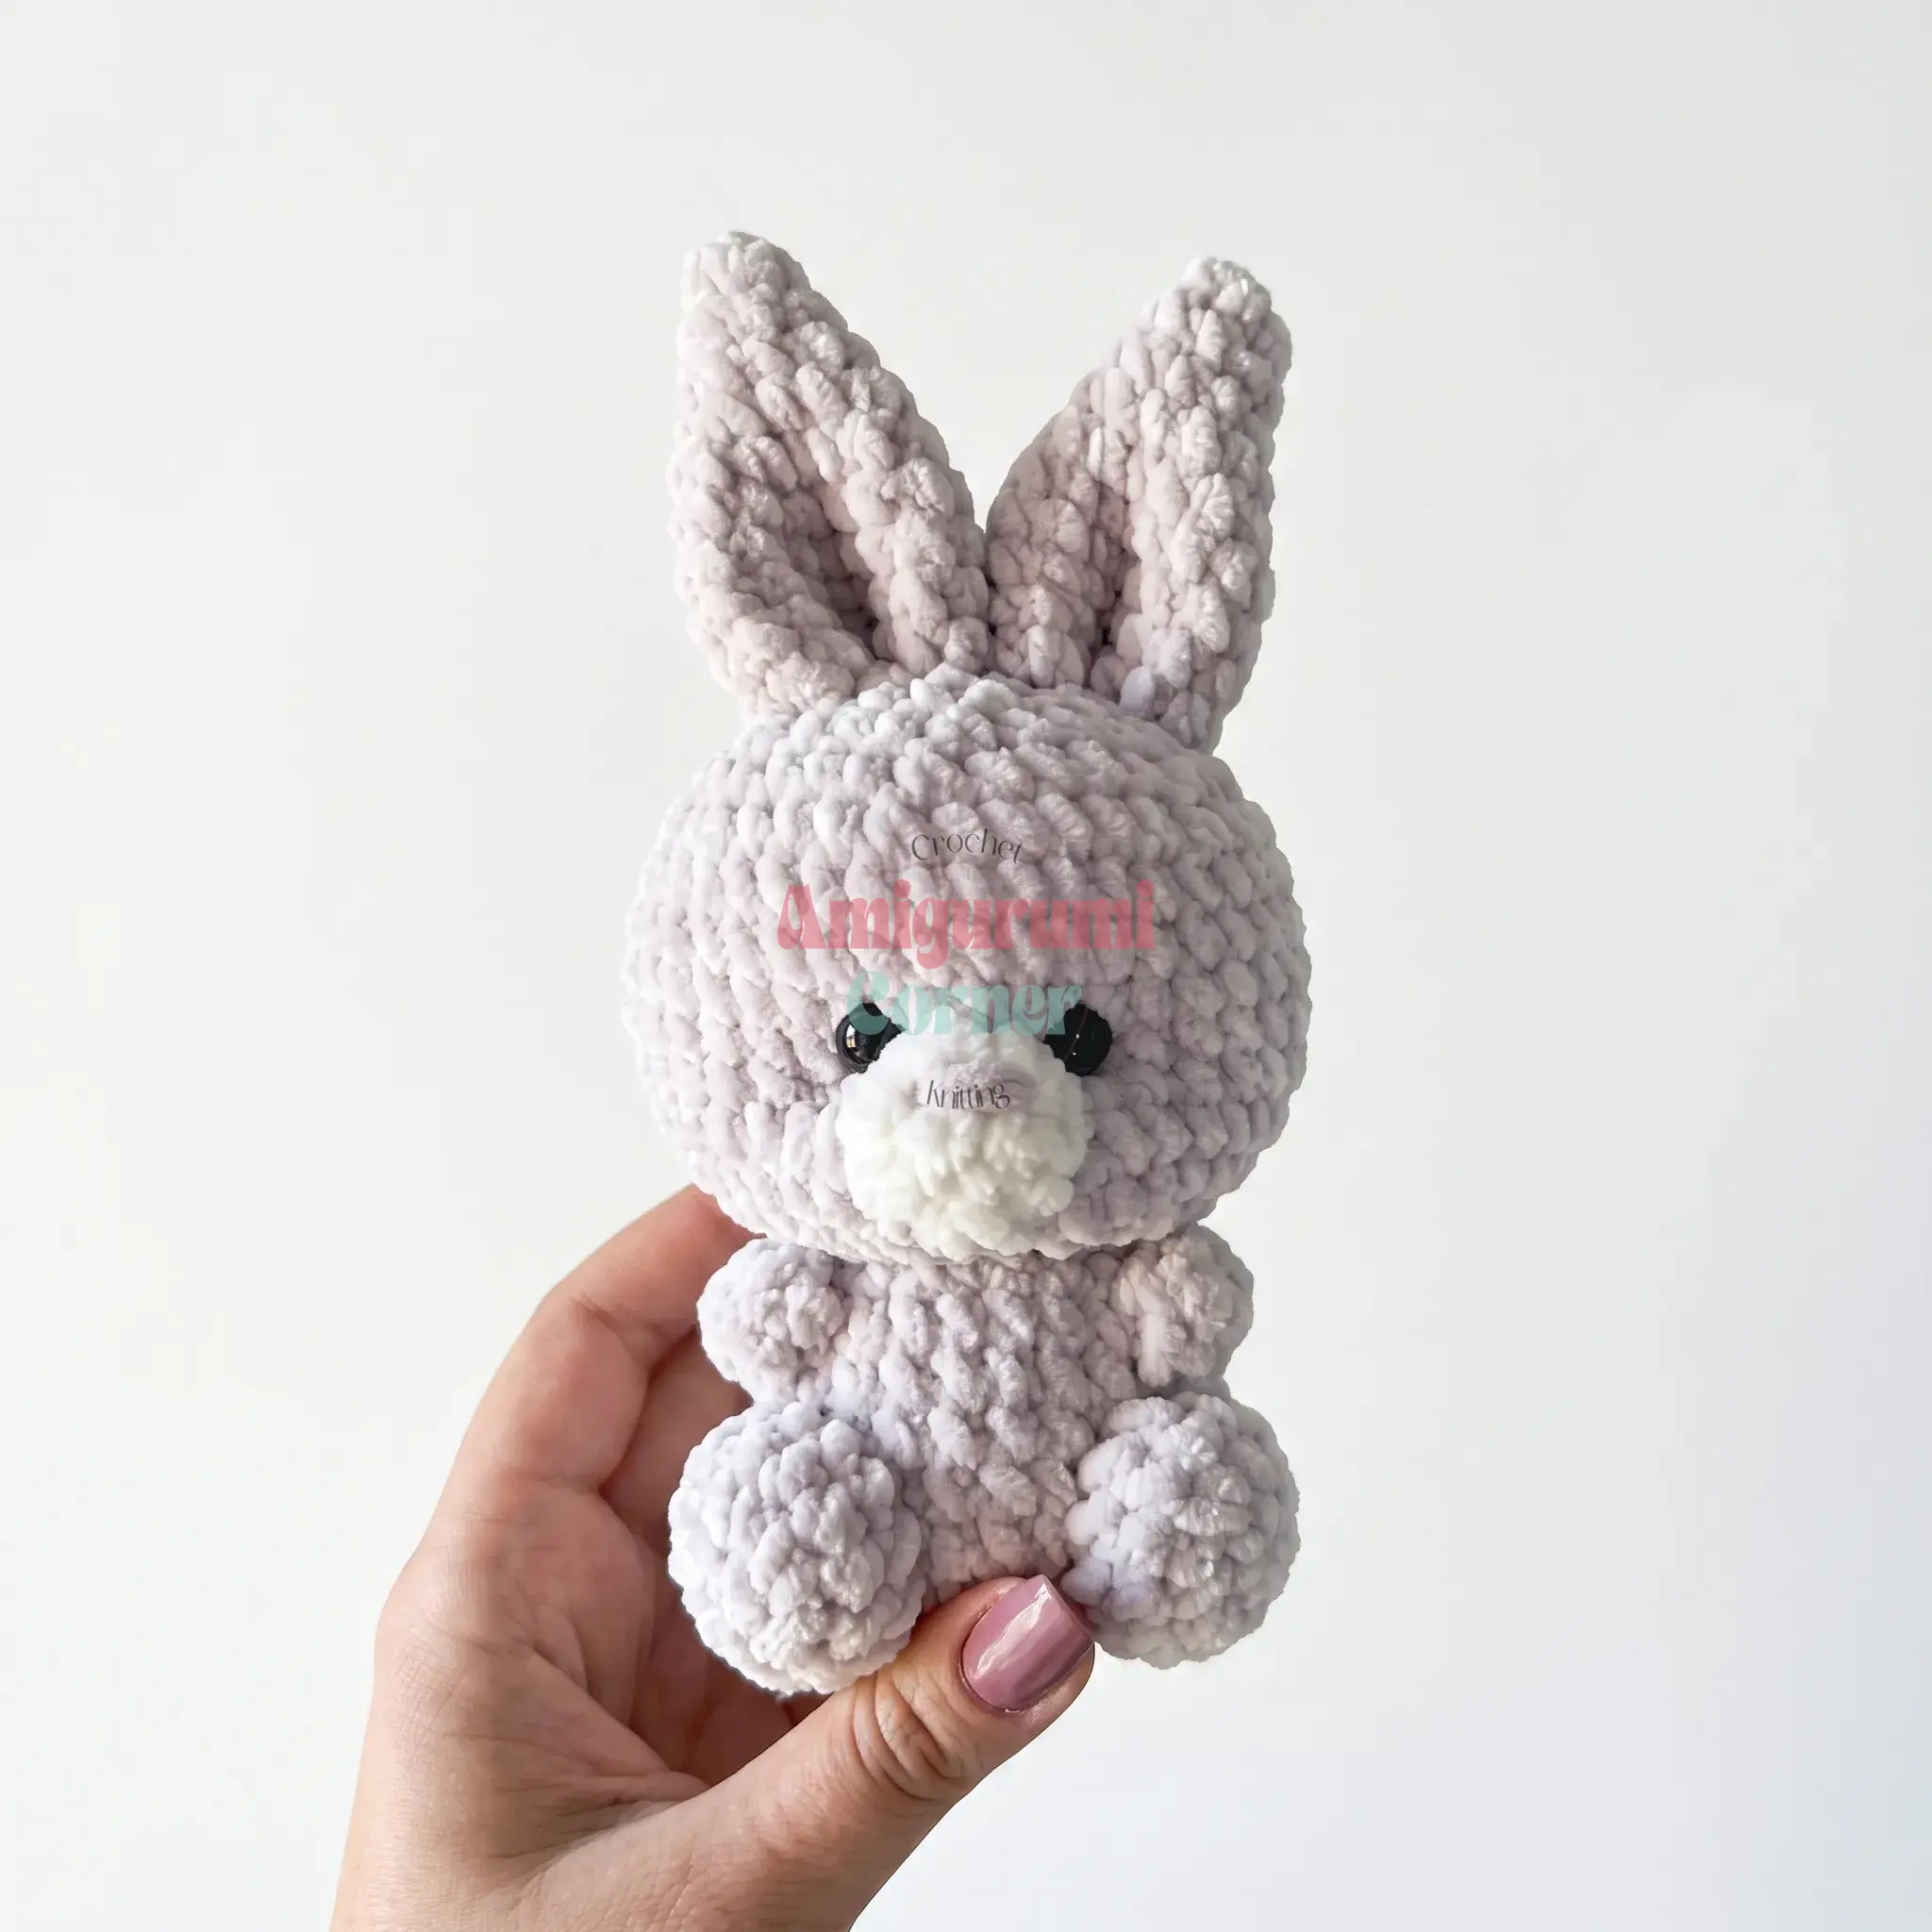
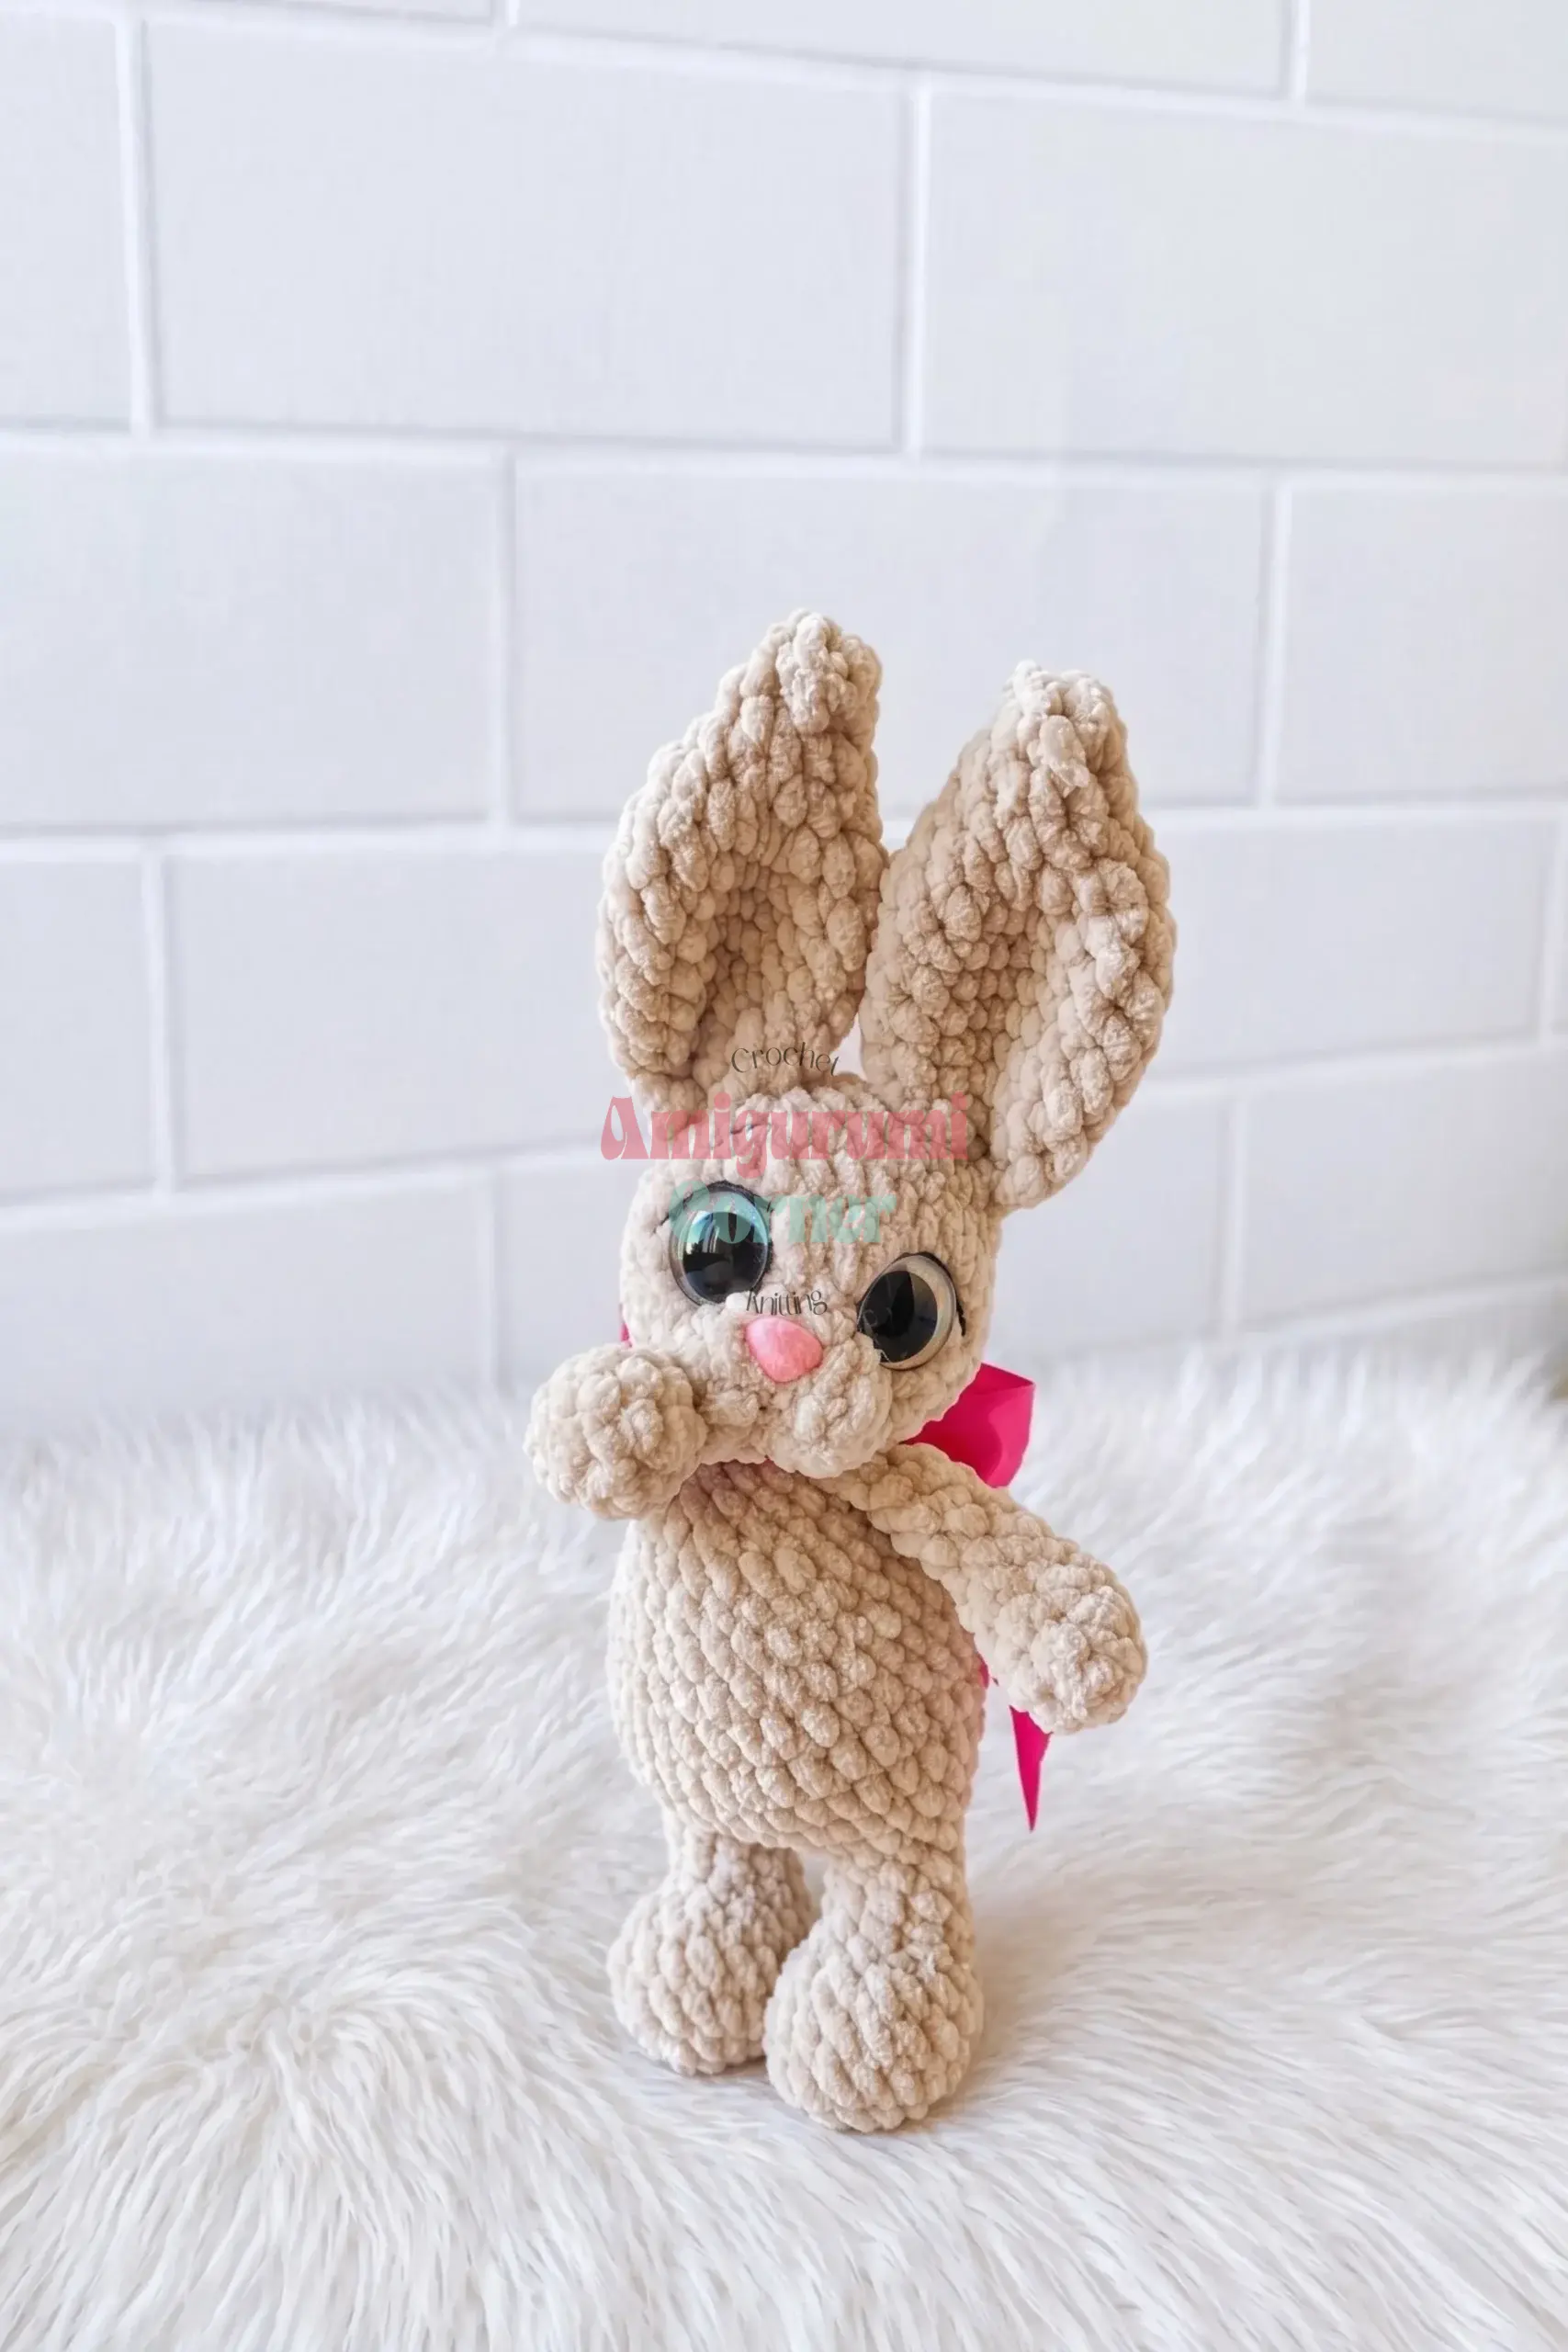
While the structure of this bunny is straightforward, the charm lies in the finishing touches. The choice of chenille or velvet-style yarn, such as Himalaya Dolphin Baby, gives this amigurumi a luxurious, soft hand that begs to be touched. The lilac or mauve main color provides a gentle, modern twist on the traditional white bunny, while the contrasting light muzzle and soft yellow egg add pops of color that feel festive without being overwhelming. Paying attention to the muzzle indentation during assembly is crucial; this subtle sculpting step transforms a simple face into an expressive, endearing character. It is these small, deliberate details—the tight fabric, the centered eyes, and the neatly tied ribbon—that elevate this project from a simple craft to a cherished keepsake.
Project Overview
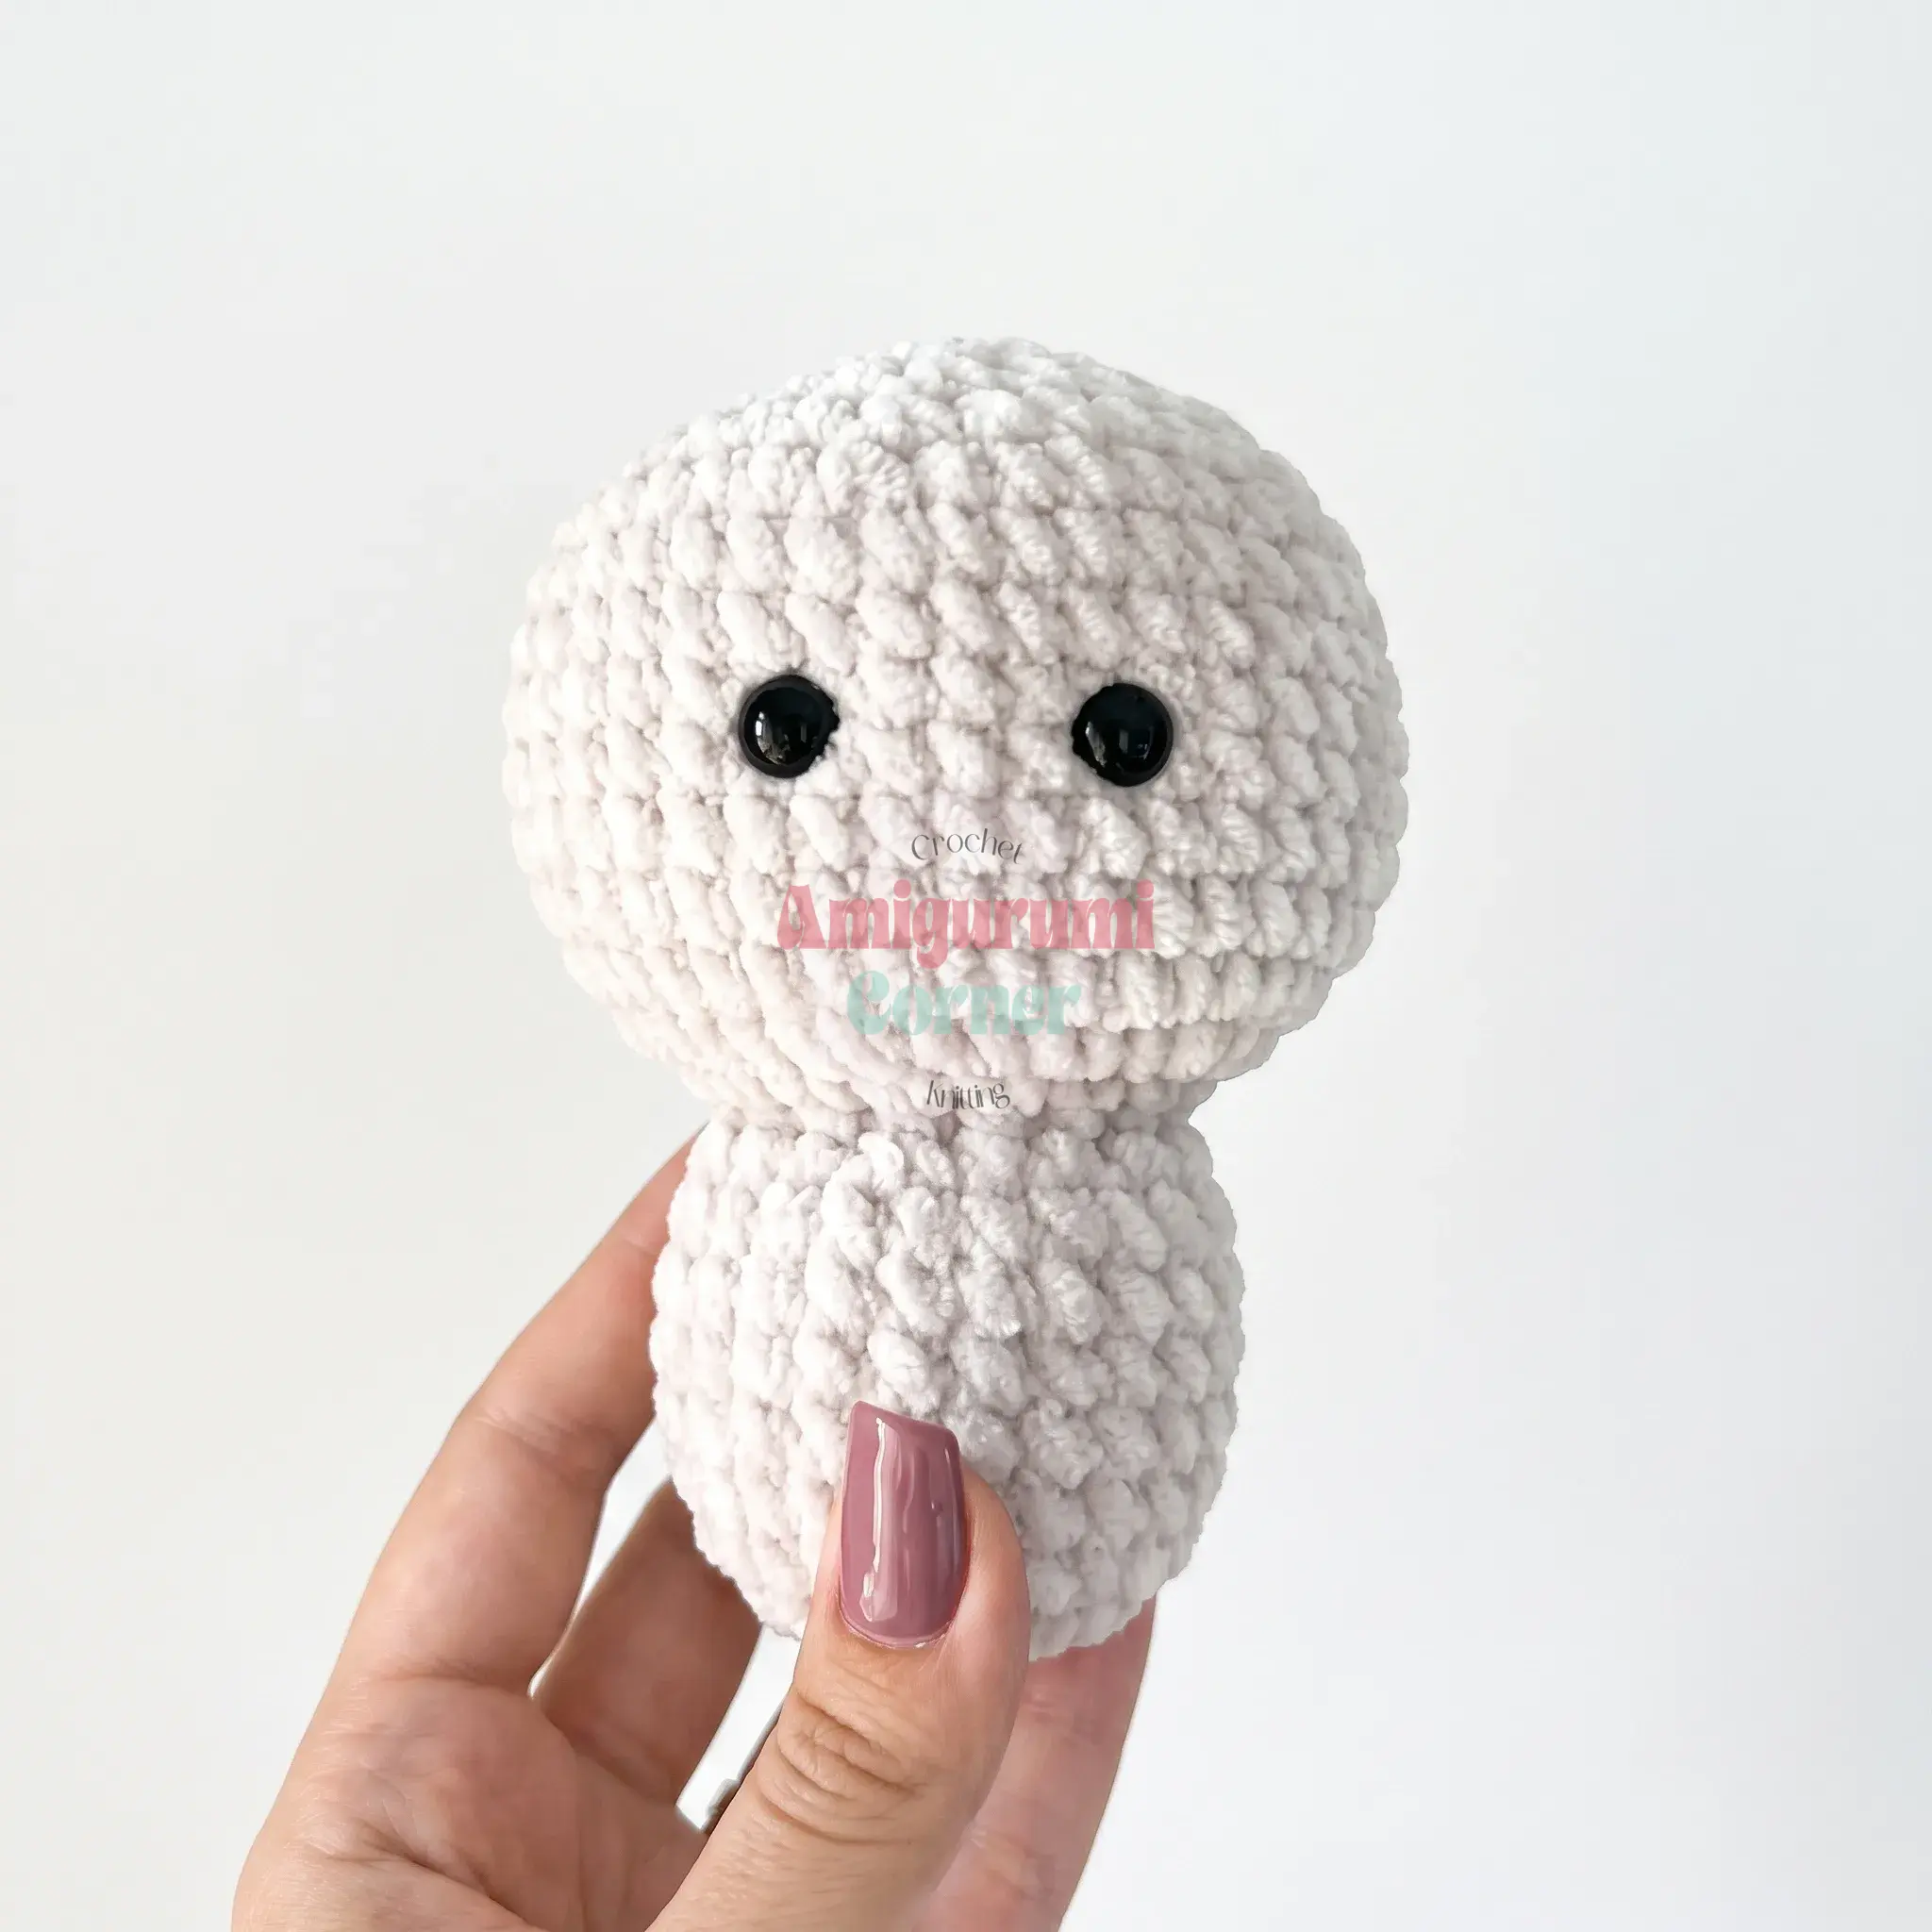
This adorable Easter Bunny amigurumi is a sweet handmade addition to an Easter basket, a spring table setting, or a gift for someone who loves soft, huggable things. The pattern is beginner-friendly and worked entirely in single crochet. You will build the body and head as one continuous piece, then add legs, arms, a tail, a muzzle, and folded ears before finishing with the signature egg accessory. The entire project comes together from six small, manageable pieces, making it an ideal weekend project.
Materials
- Yarn: Chenille/velvet-style yarn (Himalaya Dolphin Baby or similar), DK/Light Worsted weight. You will need three colors:
- Main Color: Lilac or mauve
- Contrast Color: Light color for the muzzle
- Accent Color: Soft yellow for the egg
- Hook: US size G-6 / 4mm
- Safety Eyes: 2, black, size appropriate to your yarn weight
- Stuffing: Fiberfill stuffing
- Notions: Stitch marker, yarn/tapestry needle, scissors
- Accessory: Narrow ribbon, about 0.2–0.4 in (0.5–1cm) wide, for the egg’s bow
Gauge and Finished Size
Gauge isn’t critical here; just aim for a tight, dense fabric so the stuffing doesn’t peek through. The pattern does not specify a final measurement, but the dense stitch work ensures the bunny holds its shape well.
Abbreviations
- dec — Decrease (invisible decrease)
- inc — Increase (2 sc in same stitch)
- MR — Magic Ring
- rnd(s) — Round(s)
- sc — Single Crochet
- sl st — Slip Stitch
- st(s) — Stitch(es)
Pattern Notes
- This pattern is written in US crochet terminology.
- All pieces are worked in continuous spiral rounds — do not join or chain between rounds unless noted.
- Stitch count is given at the end of each round in parentheses, like this: (12).
- Safety eyes are inserted mid-way through the head, before it’s fully closed — pay attention to the placement note in the Body-Head section.
- Stuff each piece firmly but avoid stretching the stitches out of shape.
Pattern Instructions
Body-Head
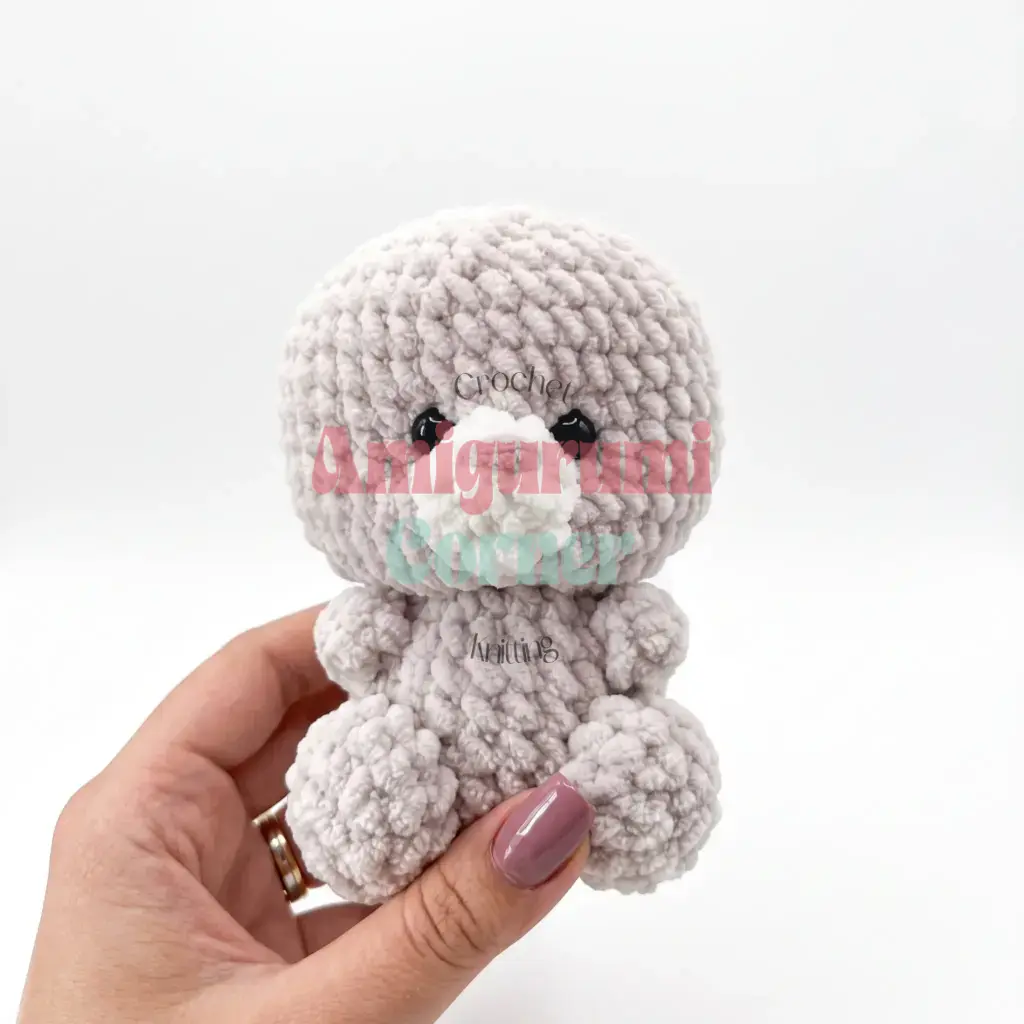
Work in Main Color.
Rnd 1: 8 sc in MR. (8)
Rnd 2: inc in each st around. (16)
Rnd 3: sc, inc repeat 8 times around. (24)
Rnds 4–9: sc in each st around, 6 rnds. (24)
Rnd 10: 2 sc, dec repeat 6 times around. (18)
Rnd 11: sc in each st around. (18)
Rnd 12: inc in each st around. (36)
Rnd 13: 5 sc, inc repeat 6 times around. (42)
Rnds 14–20: sc in each st around, 7 rnds. (42)
Between Rnds 17 and 18, insert the safety eyes, spacing them 5 stitches apart.
Rnd 22: 5 sc, dec repeat 6 times around. (36)
Rnd 23: 4 sc, dec repeat 6 times around. (30)
Rnd 24: 3 sc, dec repeat 6 times around. (24)
Rnd 25: 2 sc, dec repeat 6 times around. (18)
Rnd 26: 1 sc, dec repeat 6 times around. (12)
Rnd 27: dec repeat 6 times around. (6)
Fasten off and weave in the end. This piece is symmetrical, so it doesn’t matter which side you place the eyes on. Stuff firmly before closing the final round, packing the stuffing evenly without stretching the fabric.
Legs (make 2)
Work in Main Color.
Rnd 1: 7 sc in MR. (7)
Rnd 2: inc in each st around. (14)
Rnds 3–4: sc in each st around, 2 rnds. (14)
Sl st, fasten off, leaving a long tail for sewing. Add a small amount of stuffing before setting the leg aside.
Arms & Tail (make 3)
Work in Main Color.
Rnd 1: 6 sc in MR. (6)
Rnd 2: sc in each st around. (6)
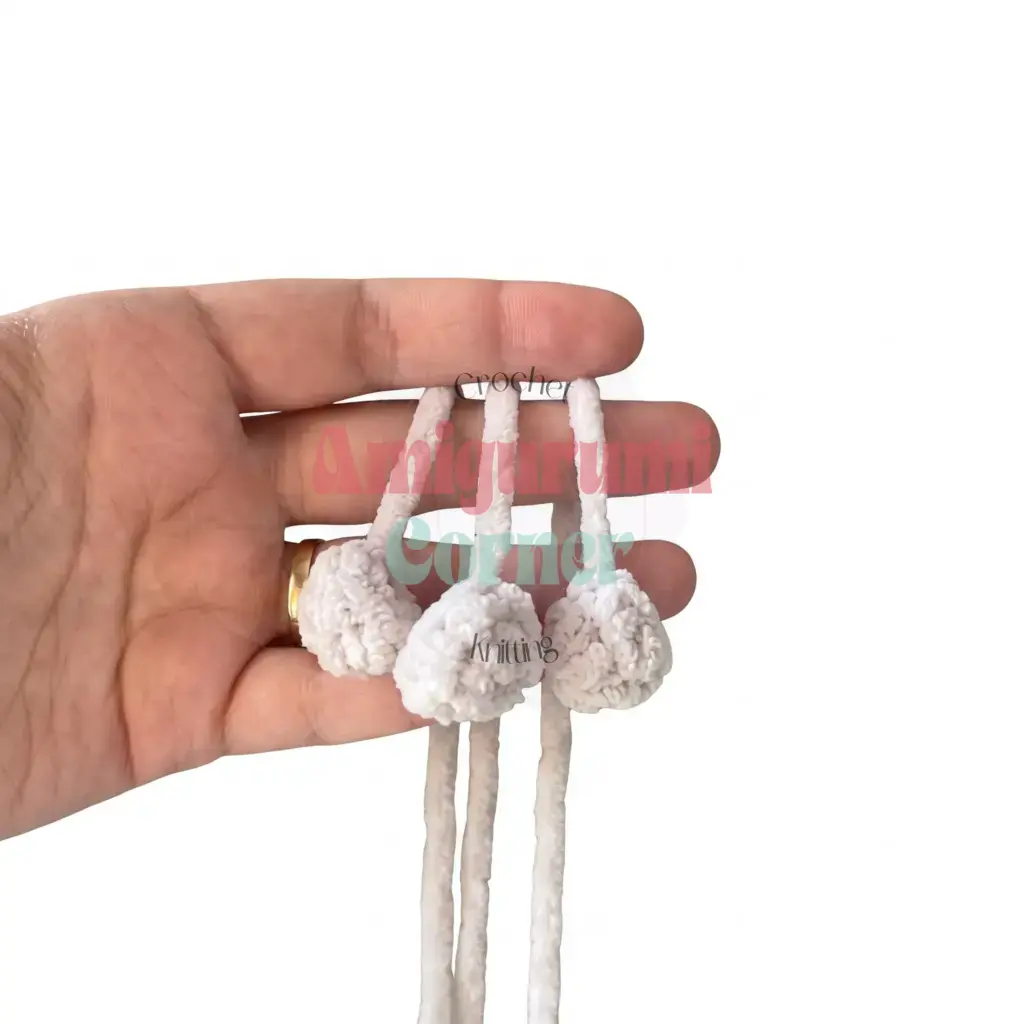
Sl st, fasten off, leaving a long tail for sewing. These three identical pieces become two arms and one tail.
Muzzle
Work this piece in the light contrast color.
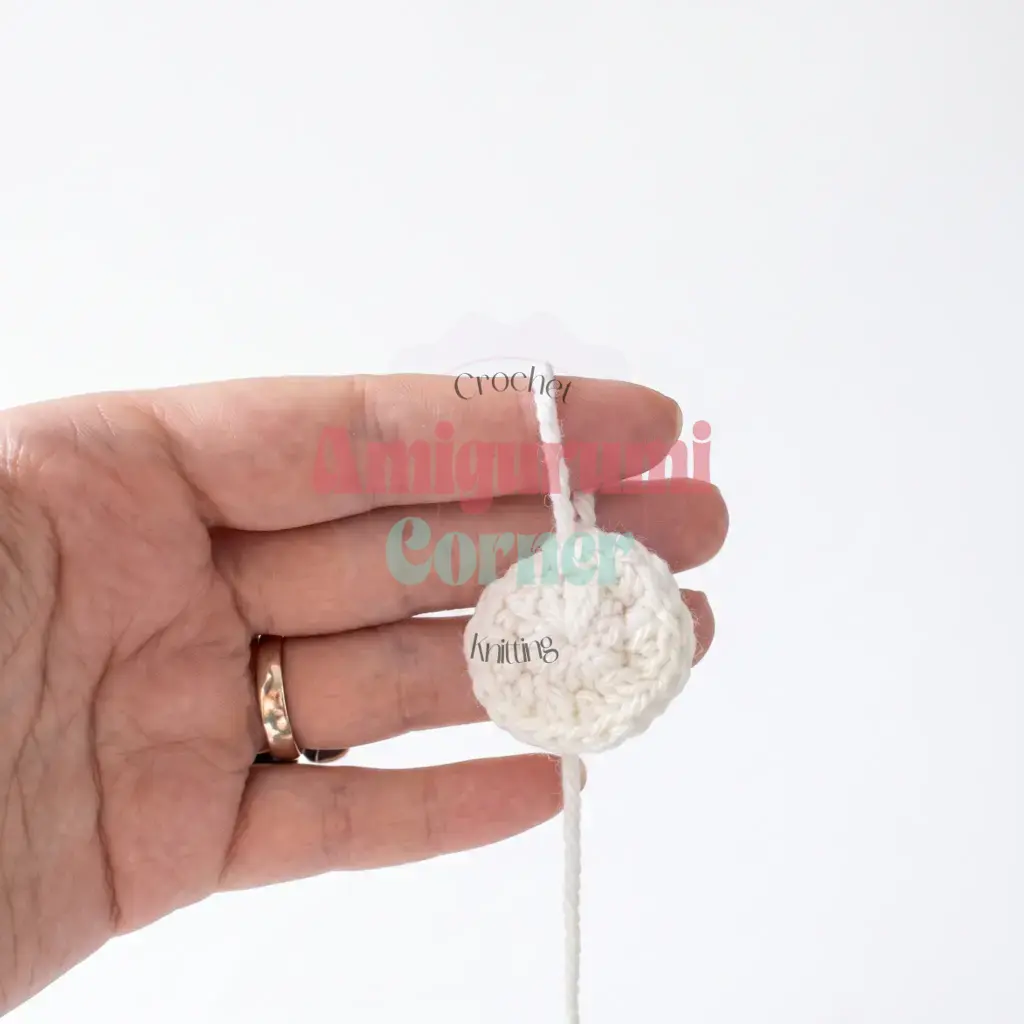
Rnd 1: 6 sc in MR. (6)
Rnd 2: inc in each st around. (12)
Sl st, fasten off, leaving a long tail for sewing.
Ears (make 2)
Work in Main Color.
Rnd 1: 6 sc in MR. (6)
Rnd 2: sc, inc repeat 3 times around. (9)
Rnd 3: sc in each st around. (9)
Rnd 4: 2 sc, inc repeat 3 times around. (12)
Rnd 5: 3 sc, inc repeat 3 times around. (15)
Rnd 6: 4 sc, inc repeat 4 times around. (18)
Rnds 7–10: sc in each st around, 4 rnds. (18)
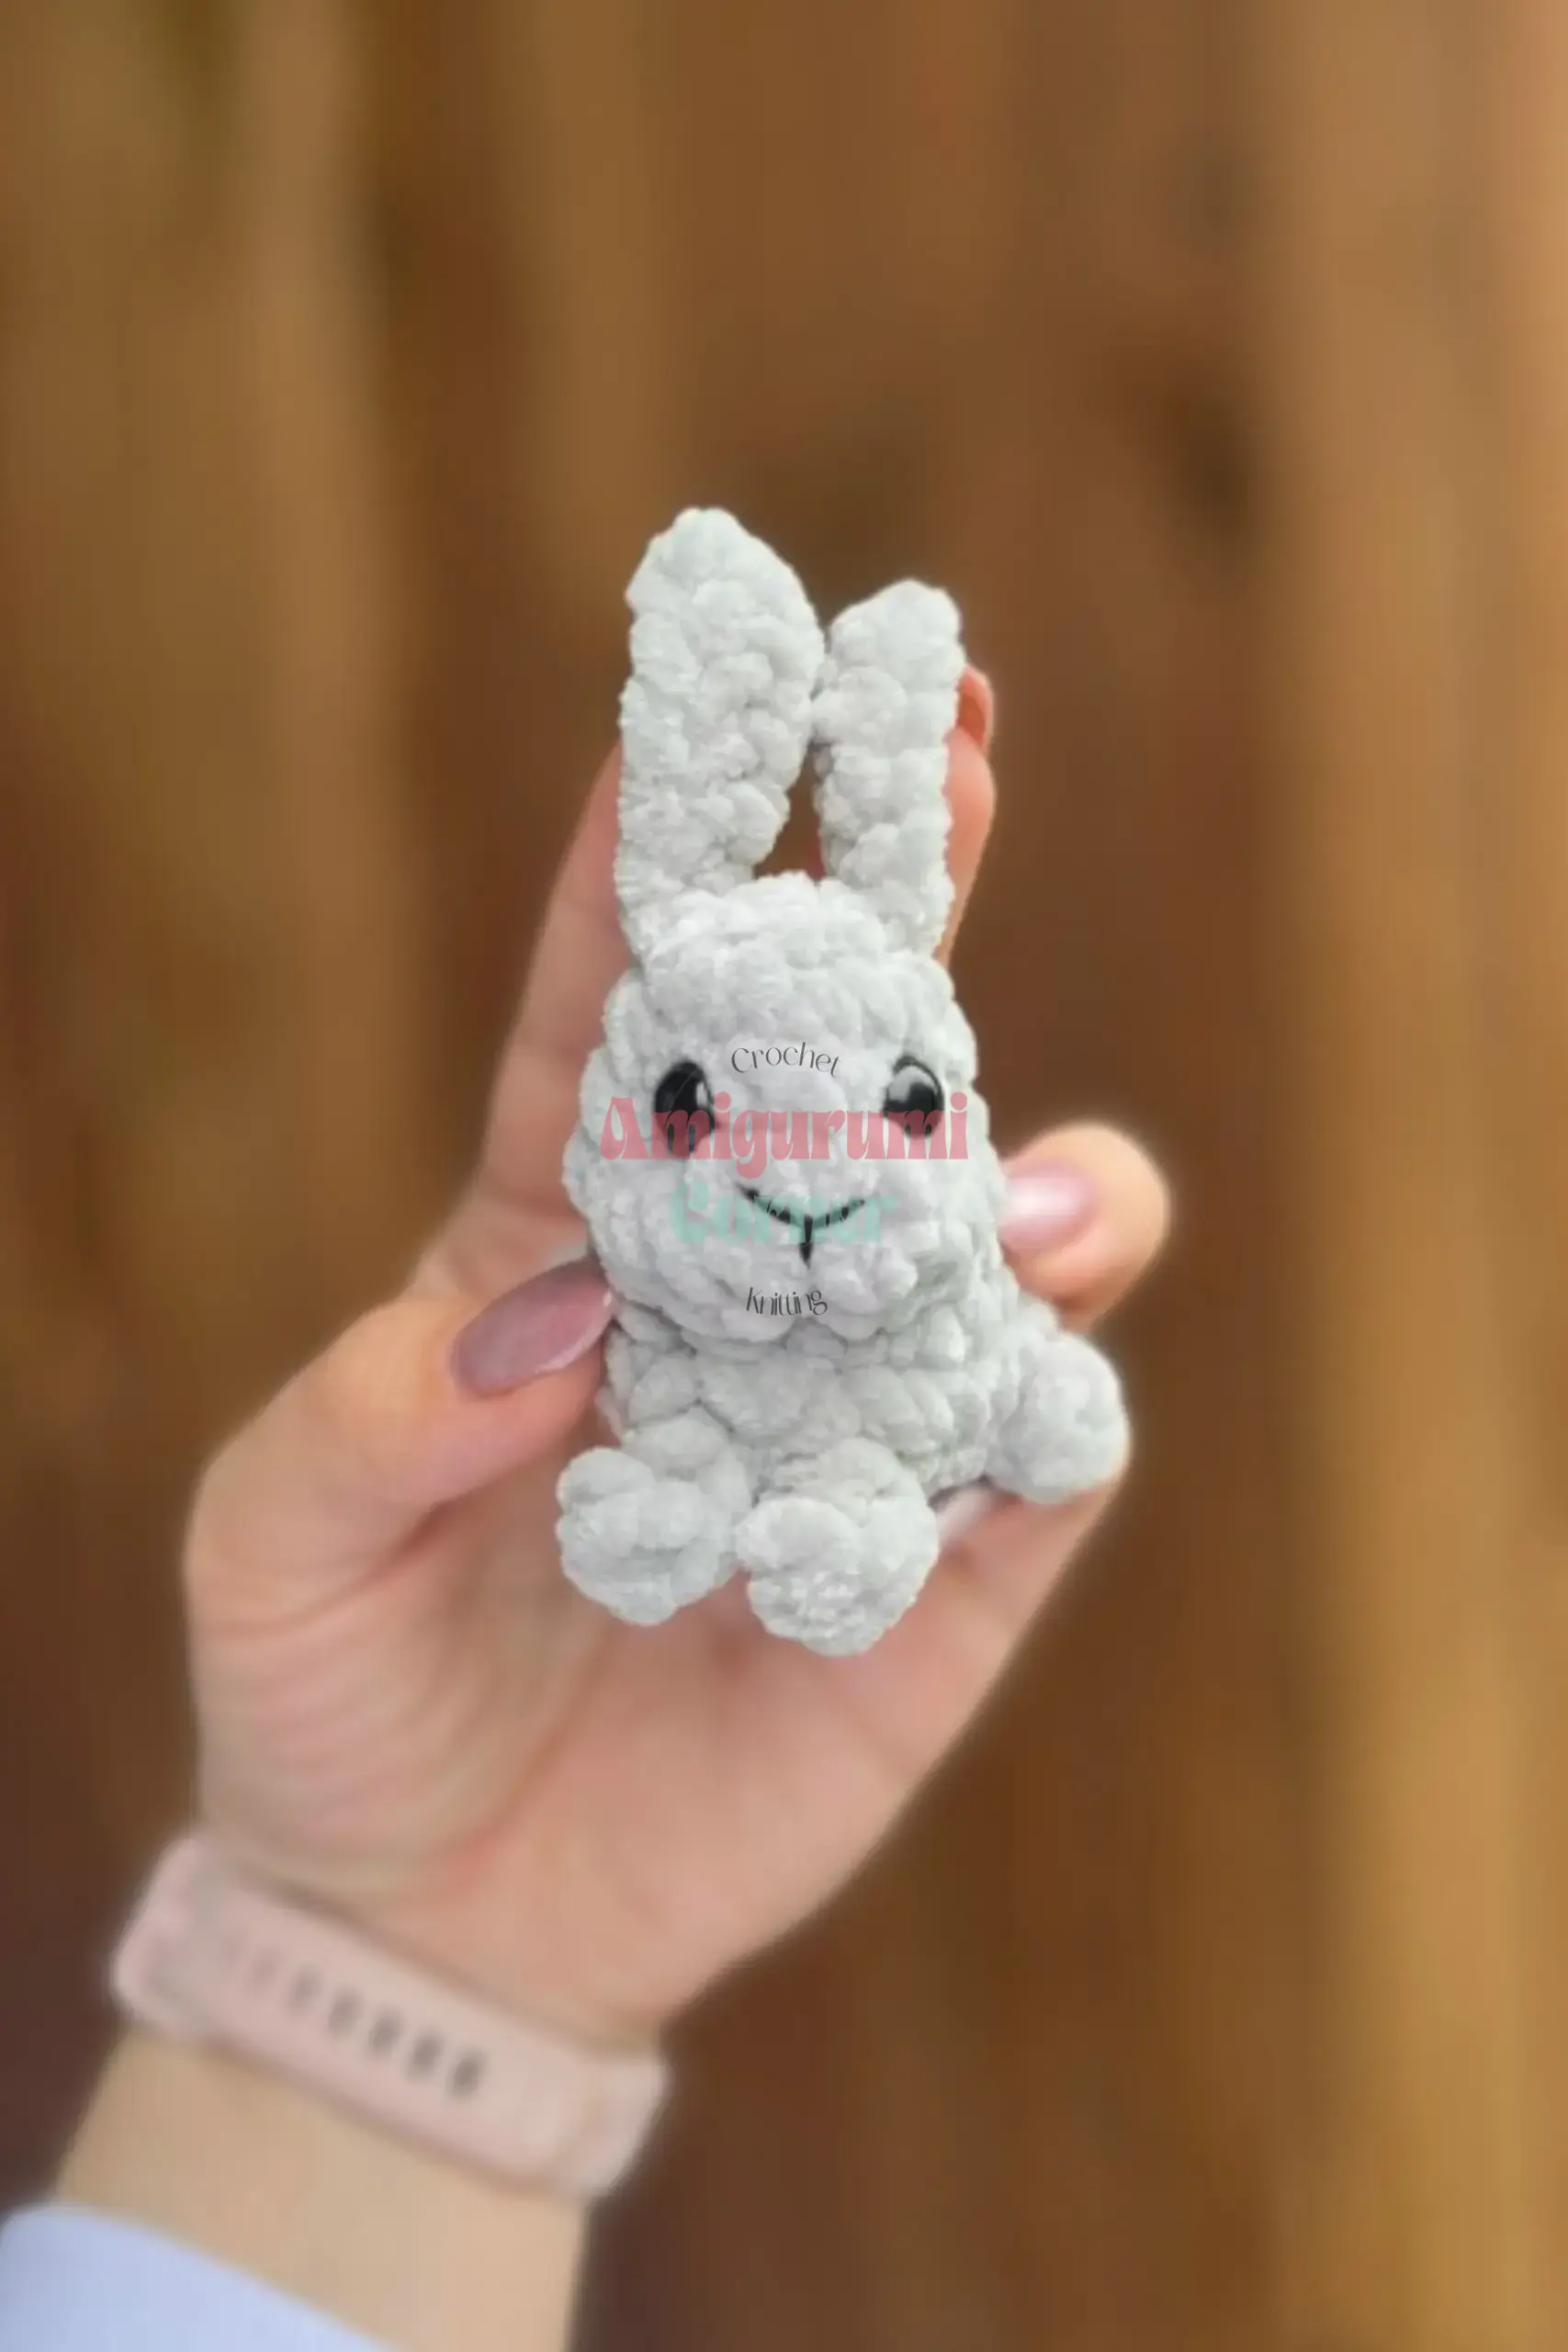
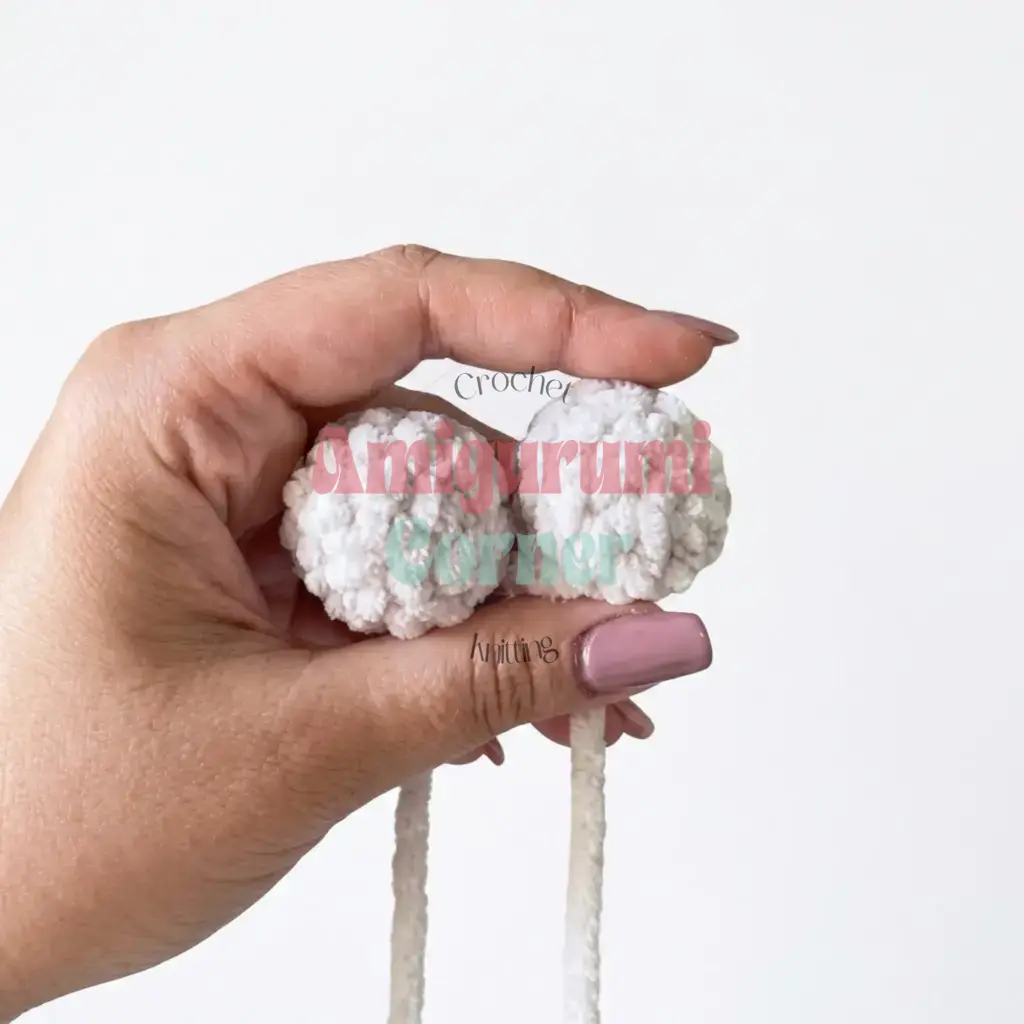
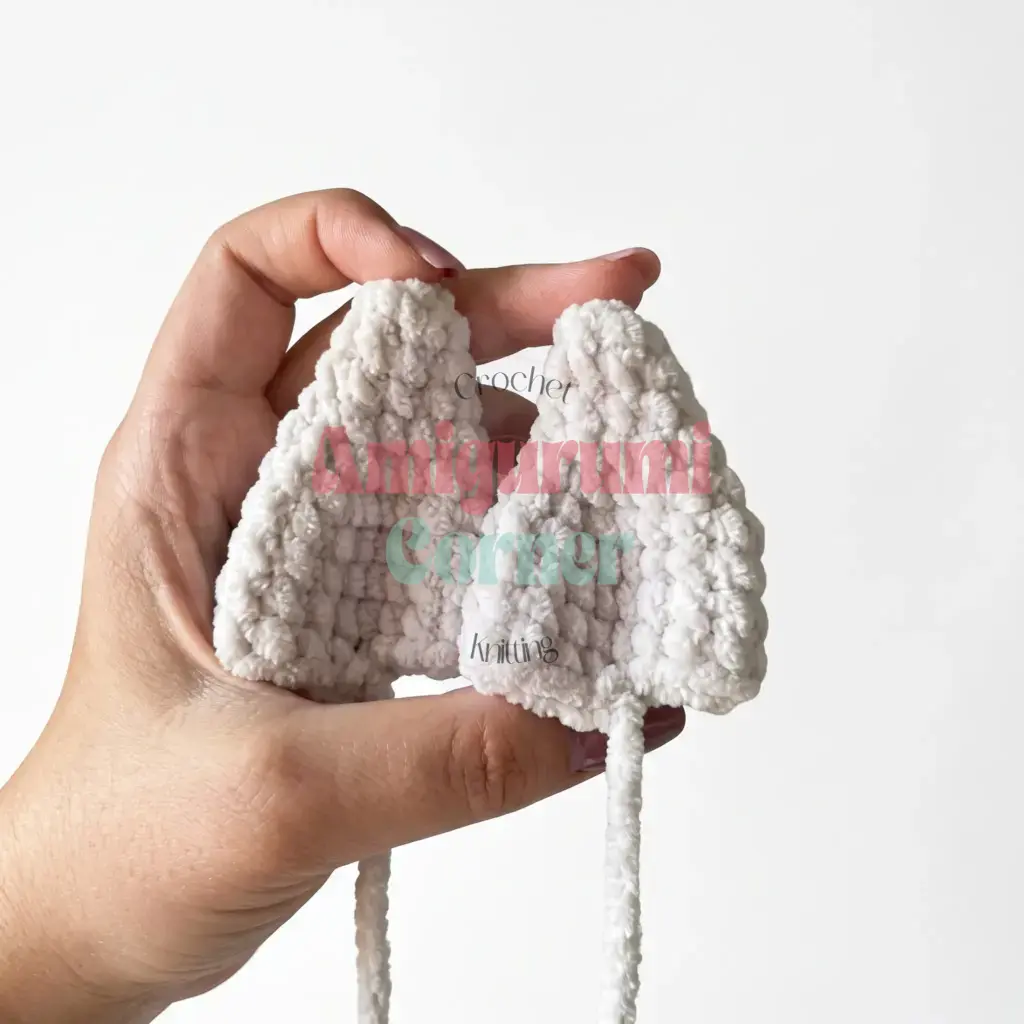
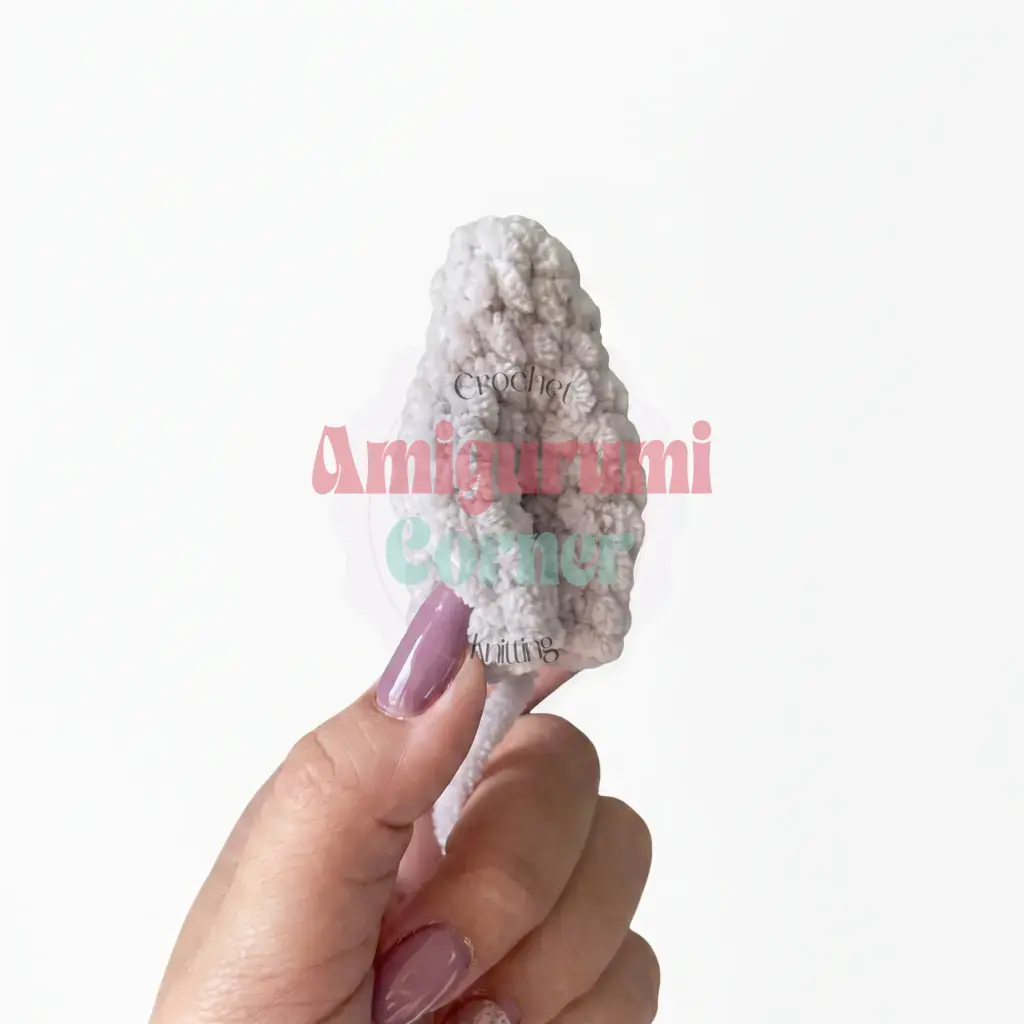
Sl st, fasten off, leaving a long tail for sewing. Fold each ear flat before sewing it in place.
Easter Egg
Work in soft yellow color.
Rnd 1: 7 sc in MR. (7)
Rnd 2: inc in each st around. (14)
Rnd 3: sc in each st around. (14)
Rnd 4: 5 sc, dec repeat 2 times around. (12)
Rnd 5: 2 sc, dec repeat 3 times around. (9)
Rnd 6: 1 sc, dec repeat 3 times around. (6)
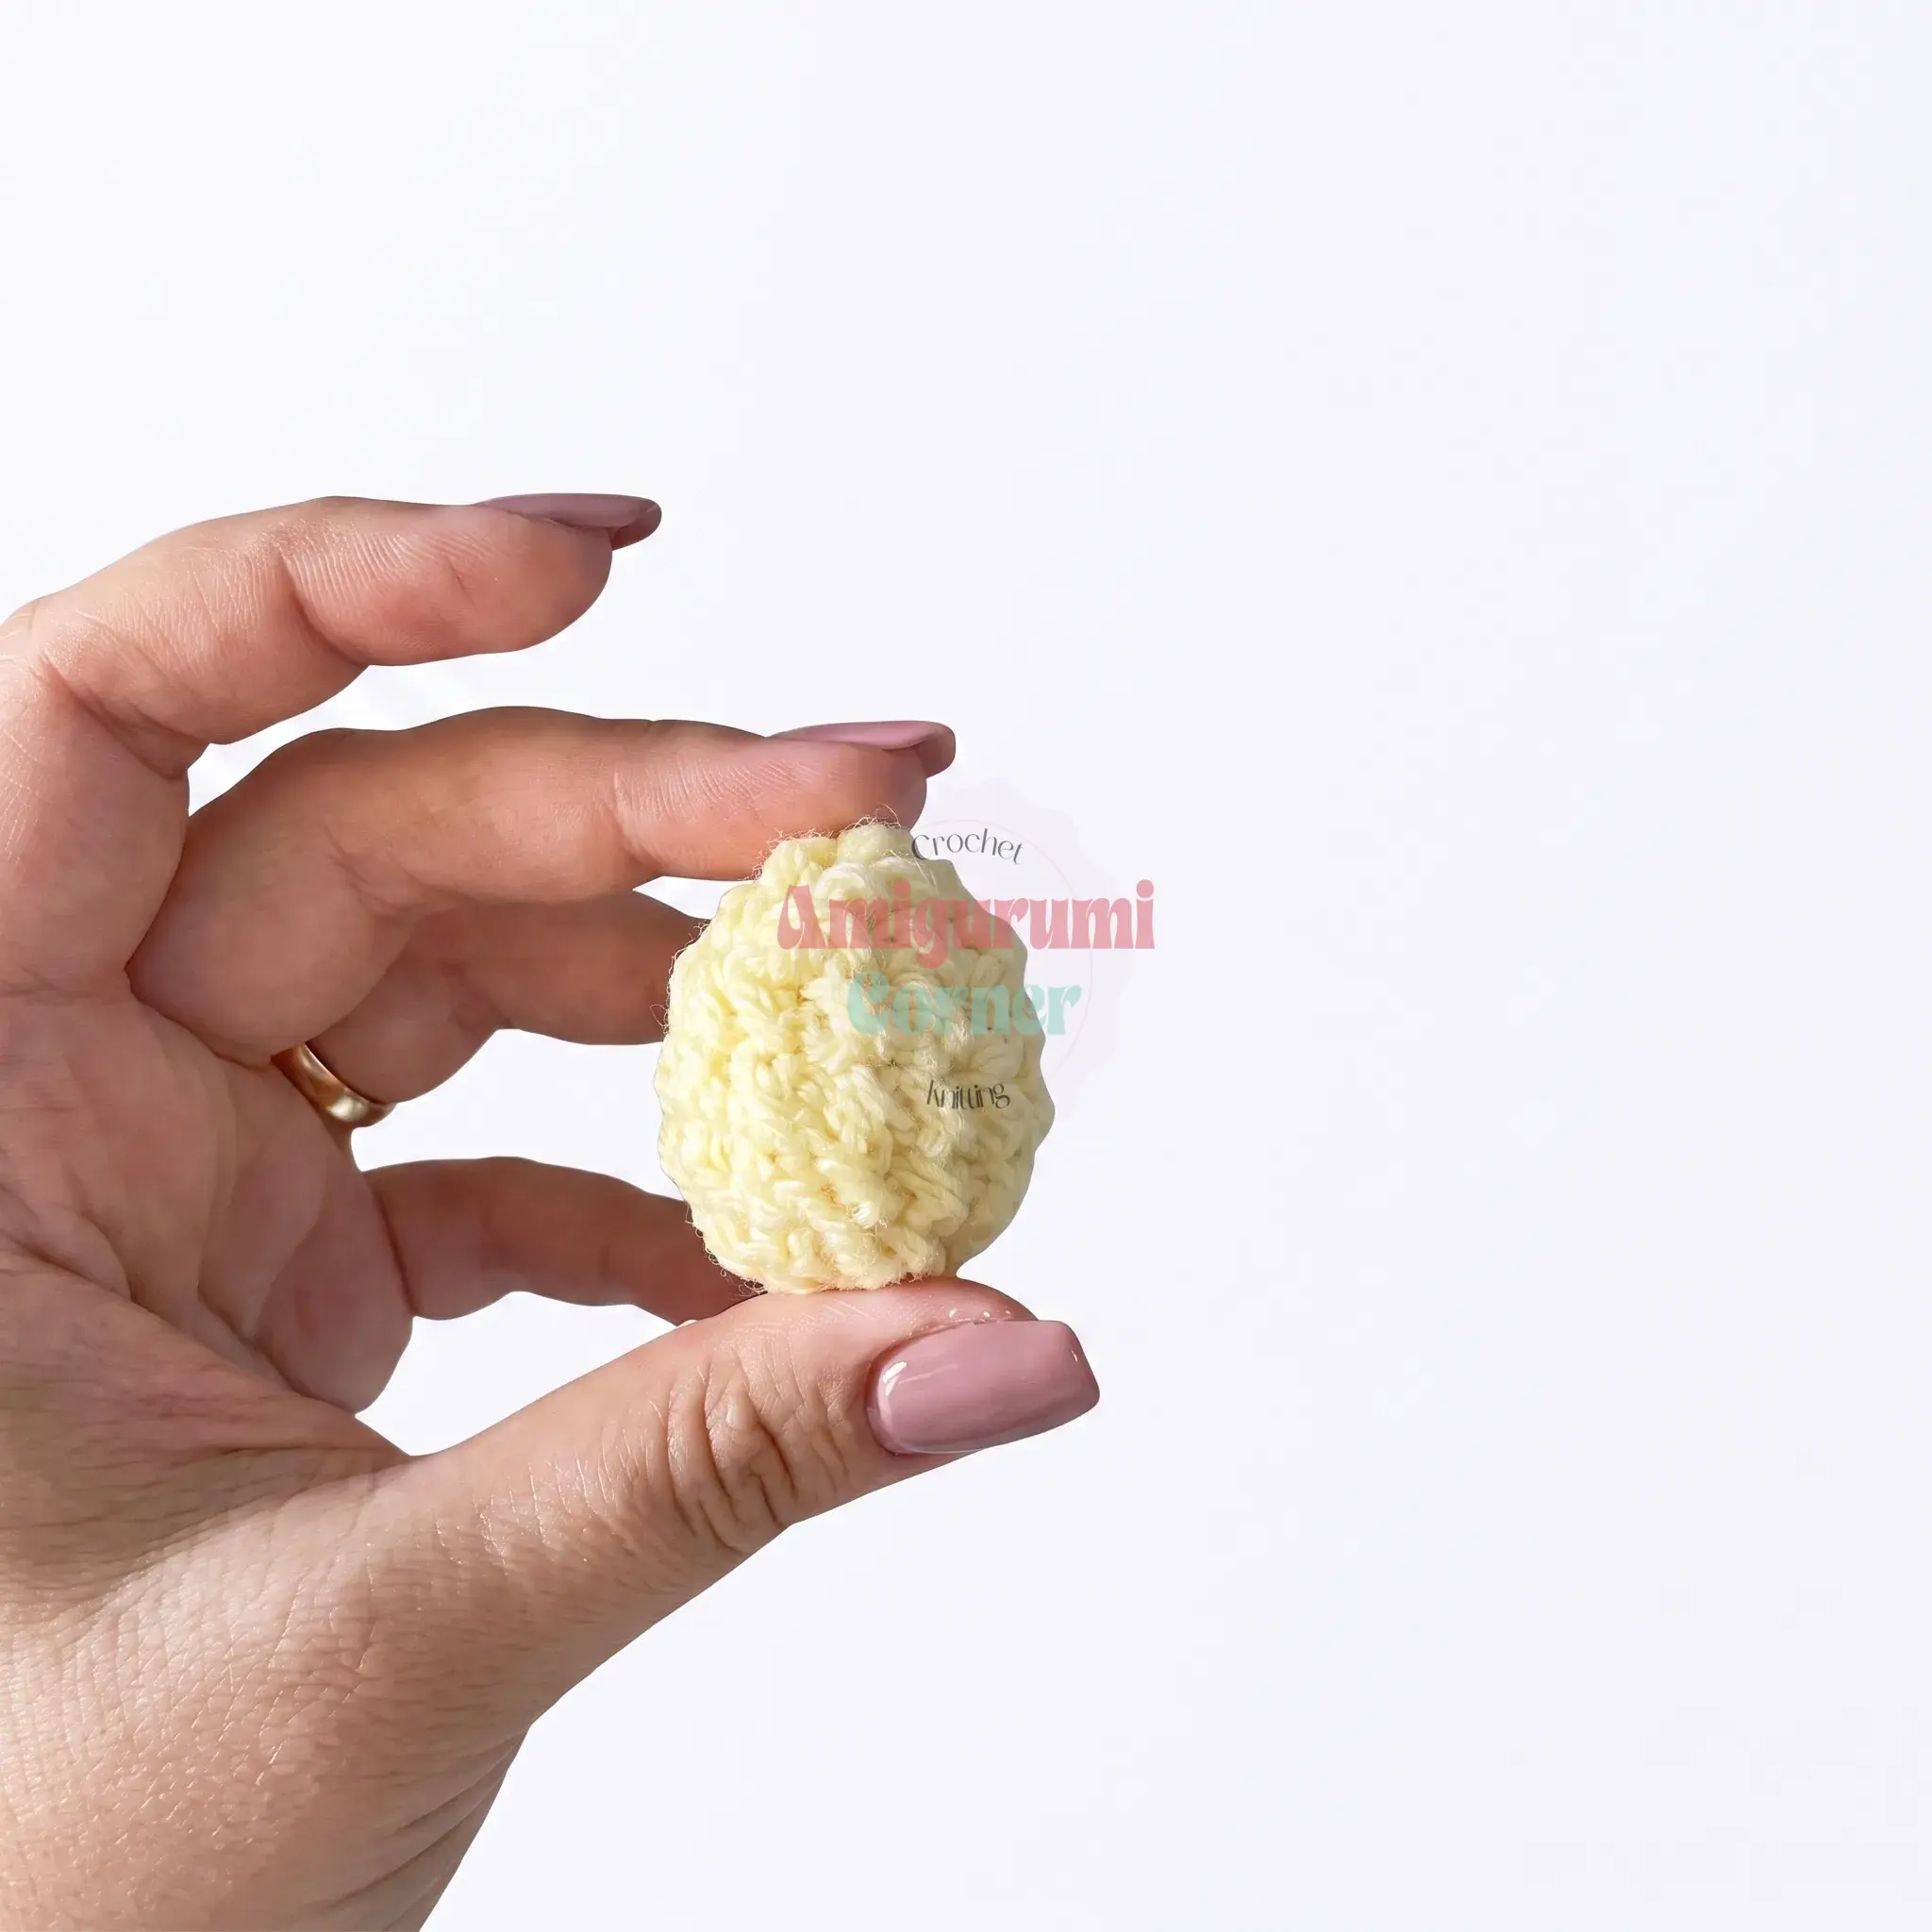
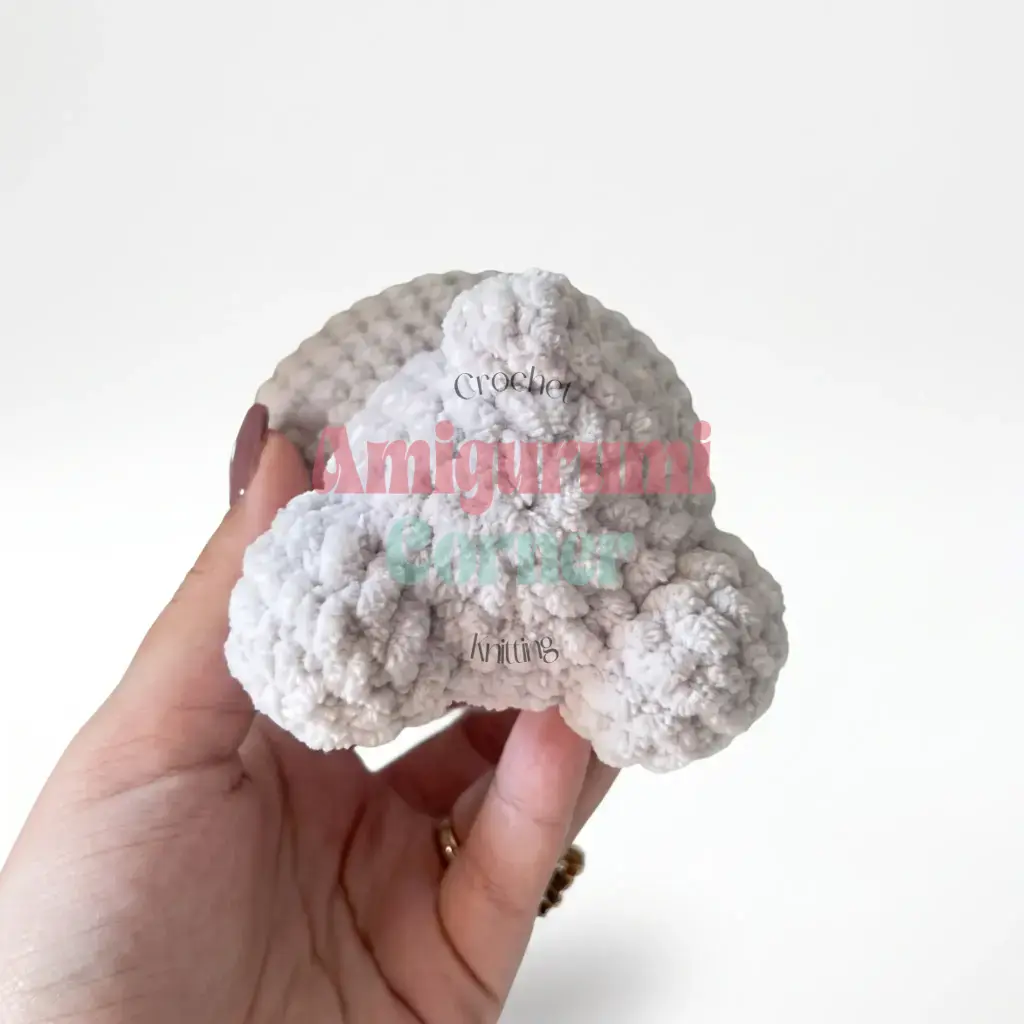
Work two more decreases, then fasten off, leaving a long tail for sewing. Stuff the egg firmly before closing it up.
Assembly
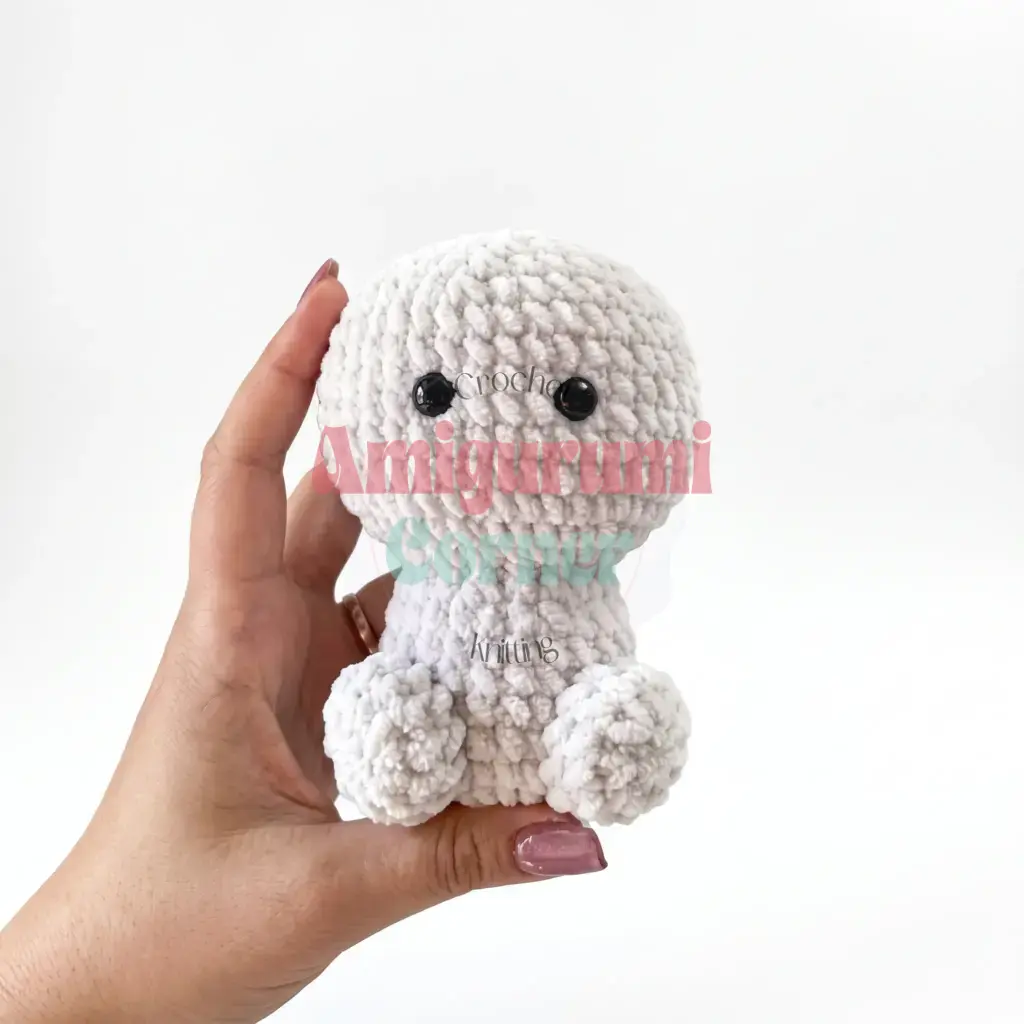
- Sew the two legs to the bottom of the body, leaving a 3-stitch gap between them so the bunny can sit upright.
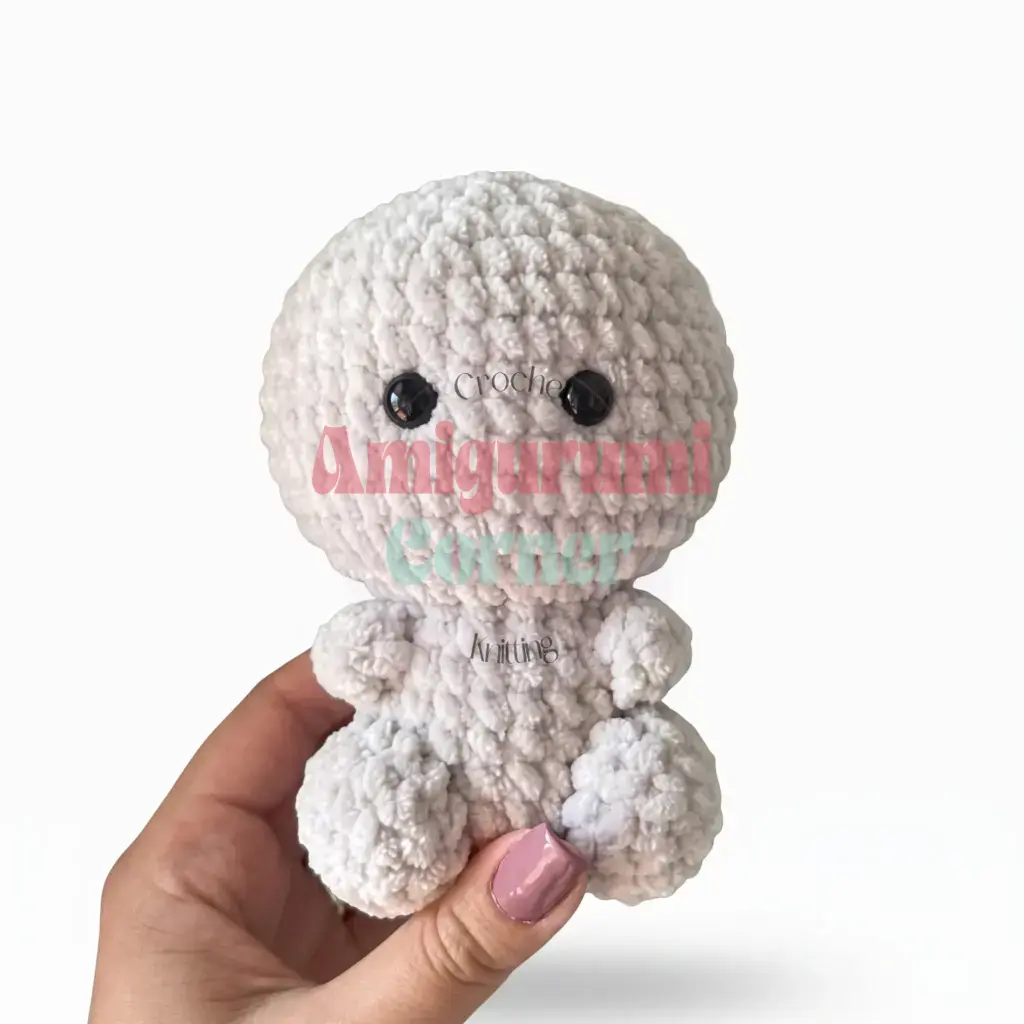
- Sew the two arms and the tail onto the body, placing them symmetrically in relation to the legs.
- Sew the muzzle onto the face, centered between the eyes so that it touches both of them.
- Using black yarn (or the same yarn as the bunny), embroider a small nose onto the muzzle.
- Gently pull a yarn needle threaded with matching yarn through the head around the eyes and muzzle to create a soft, sculpted indent — this defines the eye sockets and gives the face more dimension.
- Fold each ear in half lengthwise and sew it to the top of the head.
- Sew the egg onto the bunny’s front, just below the muzzle, then thread the ribbon through the front of the egg with a needle and tie it into a small bow.
- Weave in all remaining yarn tails.
Tips
- Yarn Choice: Chenille-style yarn is forgiving, but it does hide small errors more easily than smooth cotton — this is a good project if you’re still refining your tension. Keep your stitches snug and even throughout; a looser gauge will let stuffing show through, especially on the head where it needs to hold its round shape.
- Decreasing: When you reach the invisible decrease rounds on the head and egg, work each decrease into the front loops of the next two stitches rather than through both full stitches — it keeps the shaping smooth and nearly invisible from the outside.
- Stuffing: Stuff as you go rather than waiting until a piece is closed; it’s much easier to distribute fiberfill evenly in small additions than to try to fix lumps afterward.
- Placement: Pin the arms, legs, tail, and ears in place before sewing anything permanently. Step back and check that everything looks symmetrical from the front before you commit to stitching.
- Facial Details: Finally, take your time with the muzzle indentation step — it’s what gives this bunny its expressive little face, so don’t rush it.
FAQs
Can I use a different type of yarn?
While chenille or velvet-style yarn is recommended for the soft, plush look, you can use any DK or Light Worsted weight yarn. Keep in mind that smoother yarns may require tighter tension to prevent stuffing from showing.
How do I ensure the bunny sits upright?
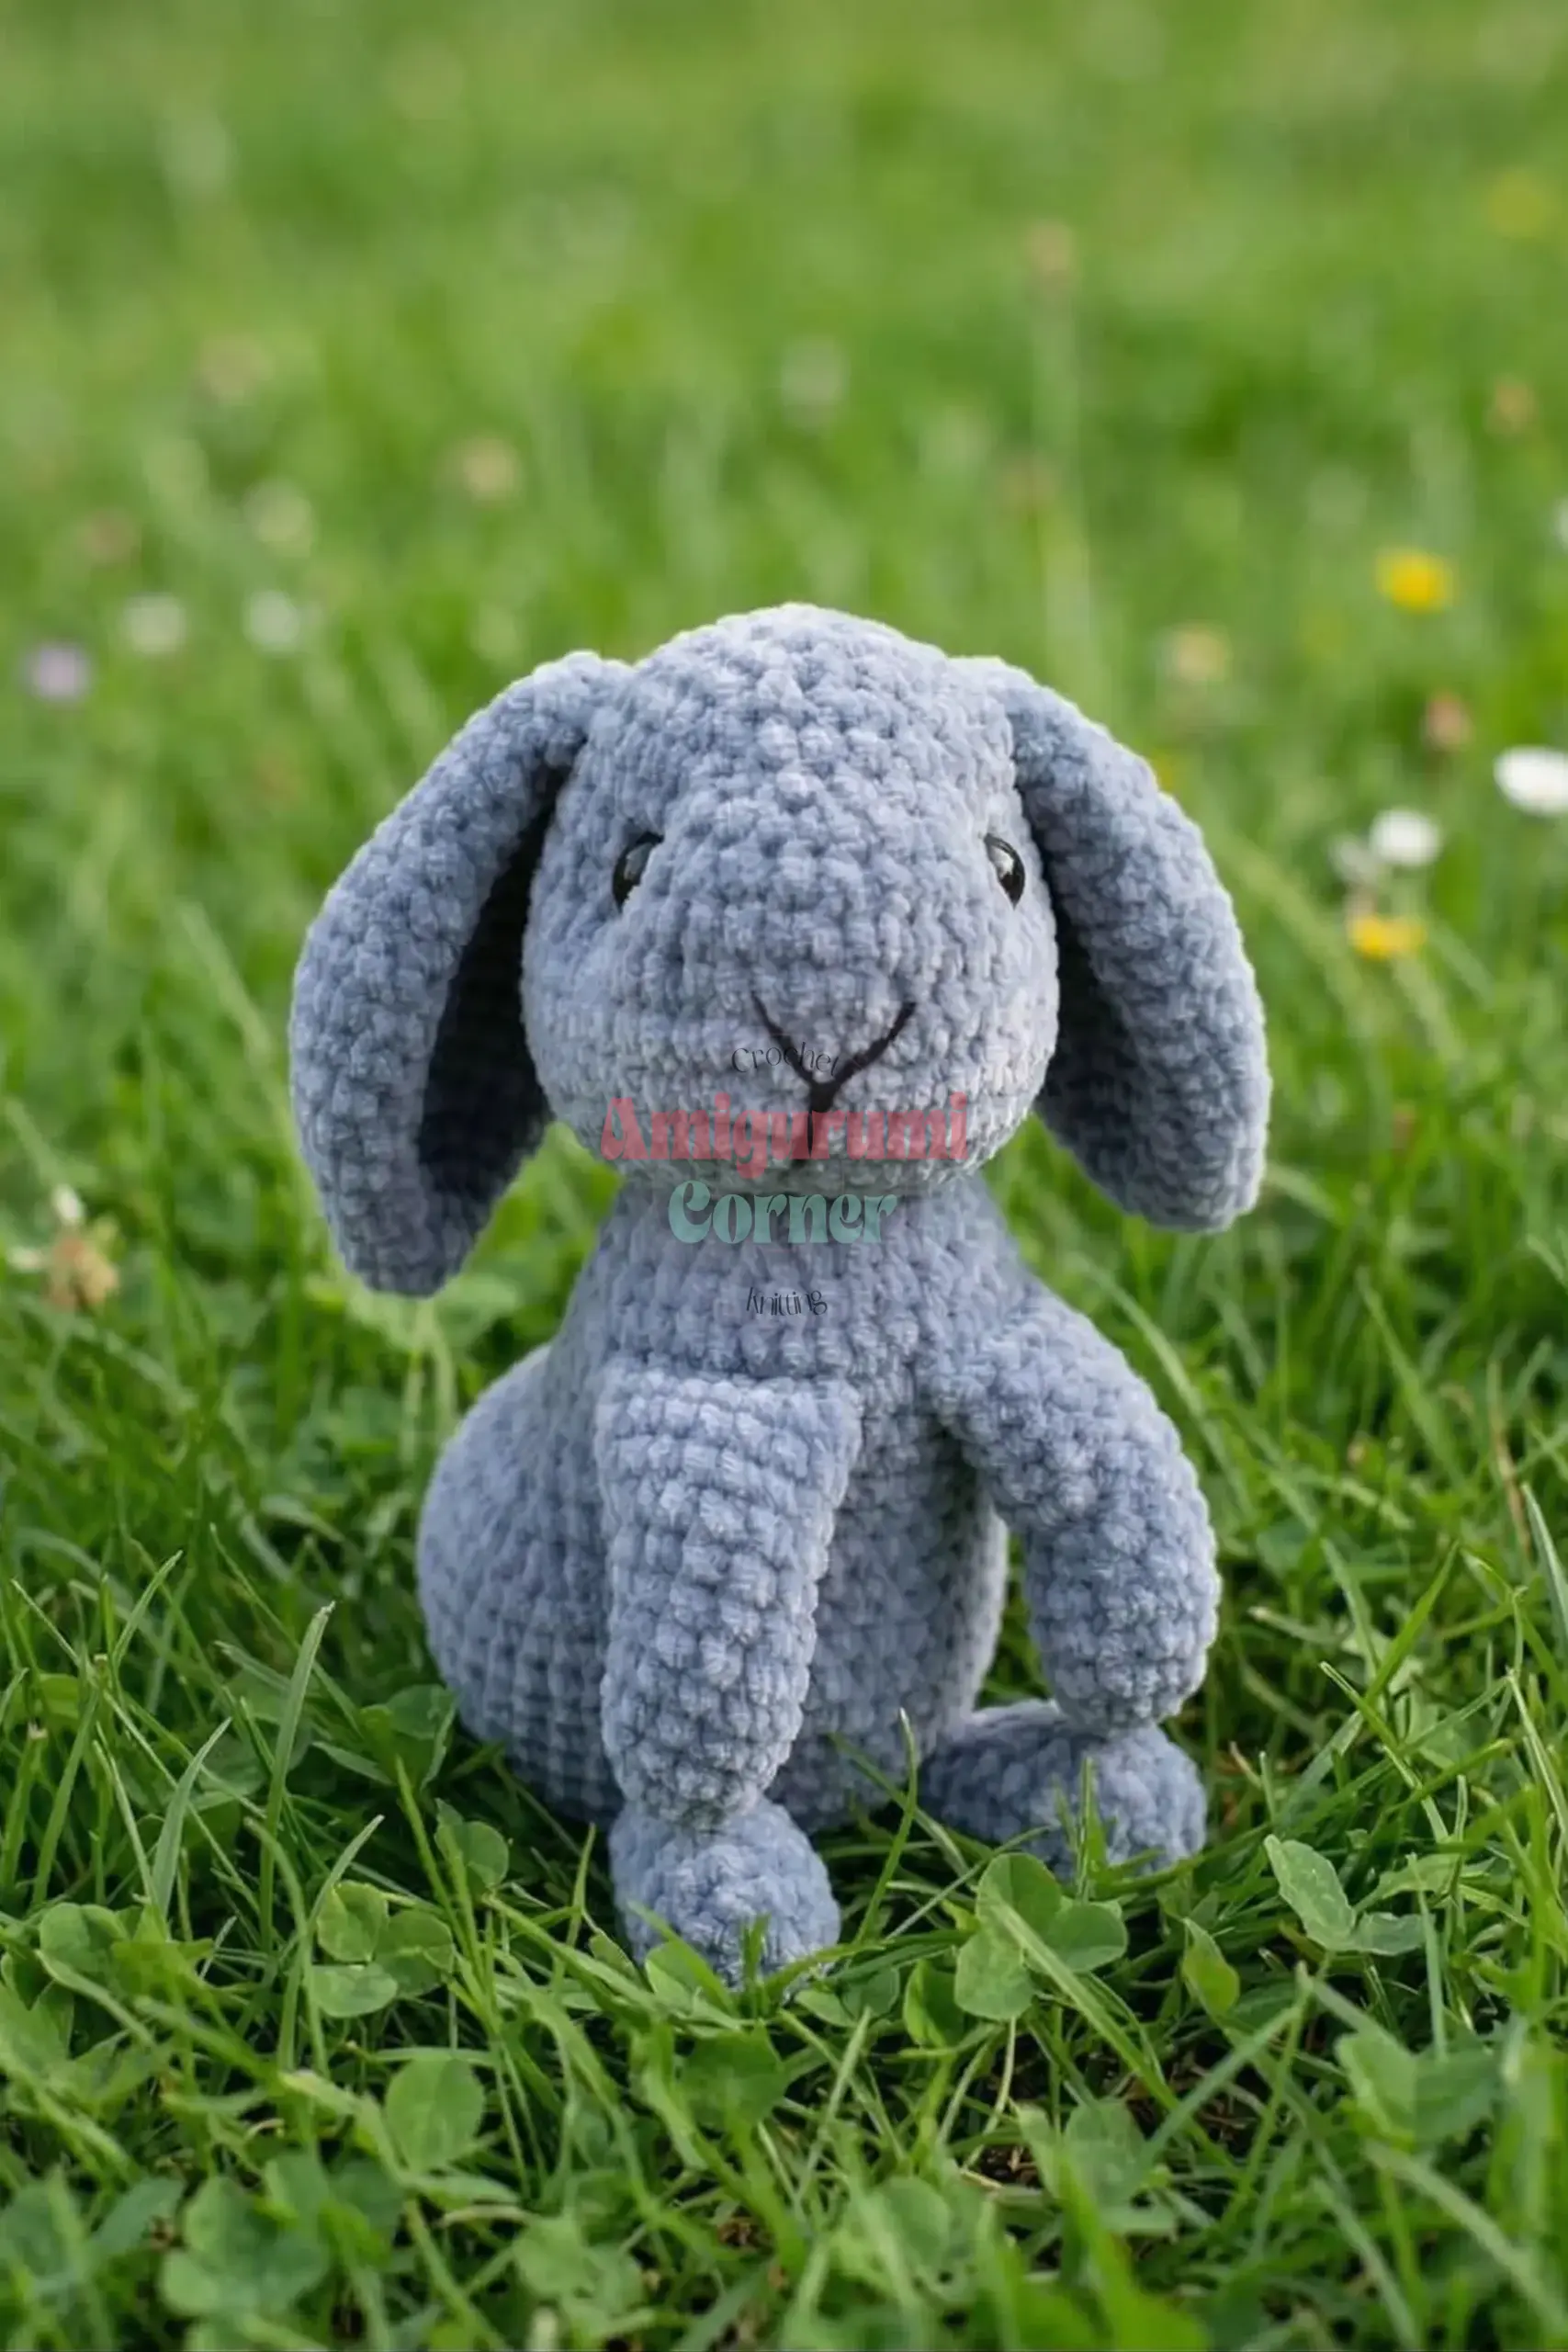
The key is to leave a 3-stitch gap between the legs when sewing them to the bottom of the body. This allows the bunny to rest flat on its feet rather than tipping over.
What size safety eyes should I use?
The pattern suggests using eyes appropriate to your yarn weight. For DK/Light Worsted weight yarn, standard 6mm or 8mm safety eyes are typically suitable, but always check the manufacturer’s recommendations.
Do I need to join rounds?
No, this pattern is worked in continuous spiral rounds. Do not join or chain between rounds unless specifically noted.
How do I make the face look more expressive?
The secret is the muzzle indentation. After sewing the muzzle, gently pull a needle threaded with matching yarn through the head around the eyes and muzzle to create a soft sculpted indent. This adds depth and dimension to the face.
Pin This Crochet Pattern!