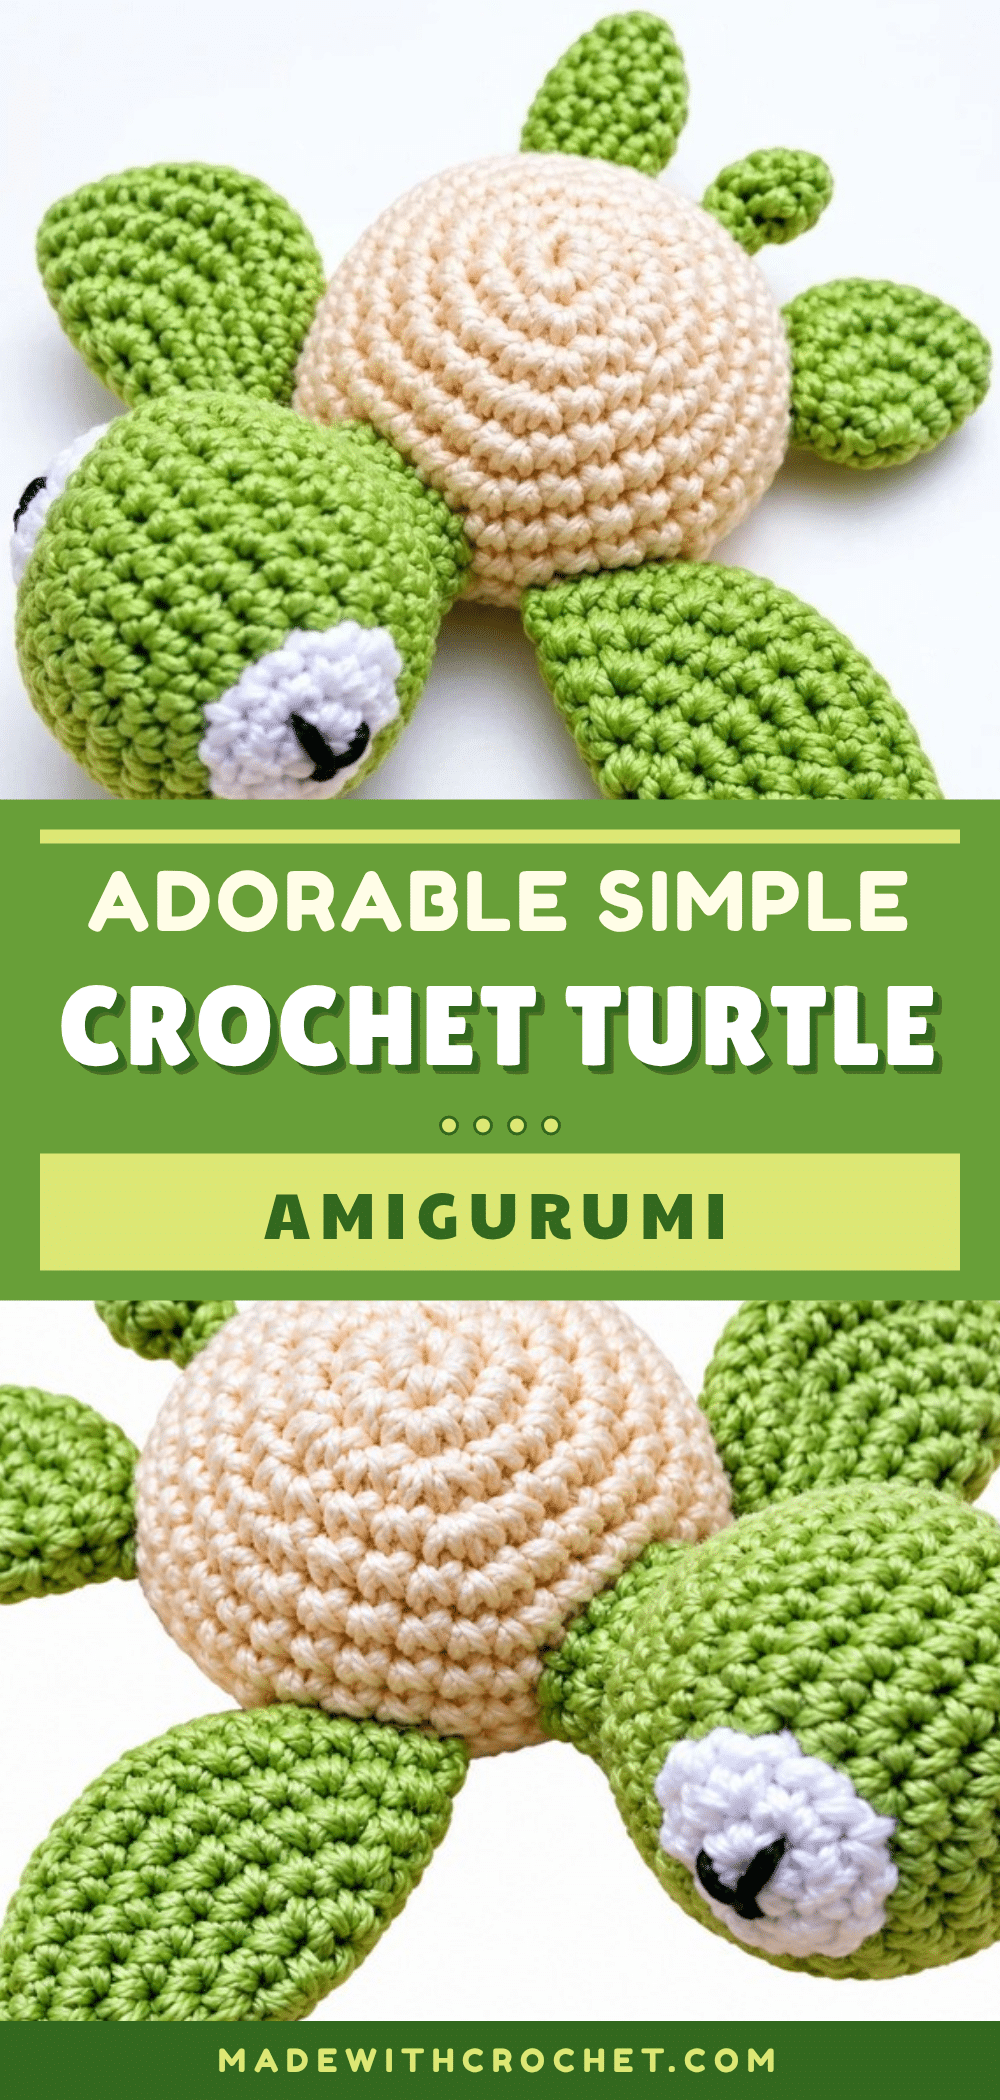
There is something deeply soothing about the rhythm of amigurumi. A quiet evening, a small batch of soft yarn, and the steady click of a hook counting stitches one by one. This simple crochet turtle amigurumi pattern is designed for that exact ritual. It is a compact, modular project that rewards patience with a sturdy, endearing result. Whether you are looking for a mindful way to unwind or a sweet gift for a little one, this mini turtle offers a relaxing repeat of increases and decreases that leads to a charming, finished companion.
Small Details That Make It Better
While the construction is straightforward, the charm of this turtle lies in the subtle finishing touches. The design features a low, wide profile that allows it to rest comfortably on a nightstand or desk, making it a gentle presence in any room. We recommend using a plush or soft pastel yarn for the shell and belly; this choice not only enhances the tactile experience but also gives the turtle a peaceful, inviting appearance. The contrast between the textured upper shell and the smooth belly adds visual interest without complicating the pattern. Additionally, flattening the flippers before sewing them on creates a more realistic, lifelike posture, transforming a simple stuffed toy into a piece with character.
Project Overview
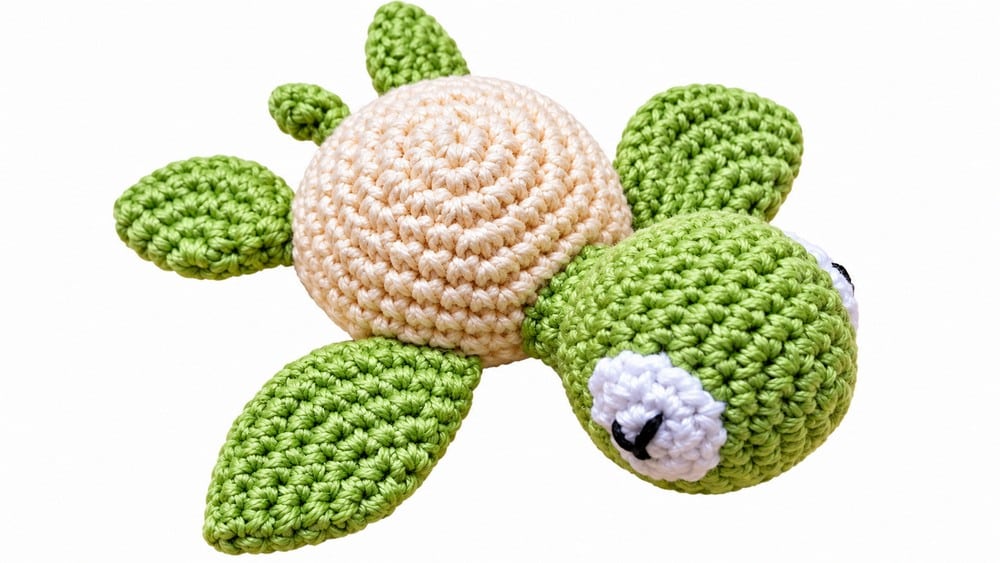
This miniature amigurumi turtle pattern is constructed with clearly defined pieces, each tailored with incremental shaping and classic round-by-round increases. The turtle features lifelike detail: a smooth, rounded head, layered shell and belly, shaped flippers, a tiny tail, and expressive eyes. The modular approach ensures precision and balance in assembly, making the finished turtle sturdy and visually compelling as either a collectible, charm, or fidget toy. This amigurumi turtle pattern showcases modular construction, clear incremental shaping, and focused assembly. The result is a balanced, lively turtle ideal for display or gifting.
Difficulty Level
This pattern is suitable for advanced beginners onward. Comfort with the magic ring, increases, invisible decreases, and sewing amigurumi parts together is required. Those wishing to practice small-scale assembly and natural shaping will find it particularly rewarding.
Materials
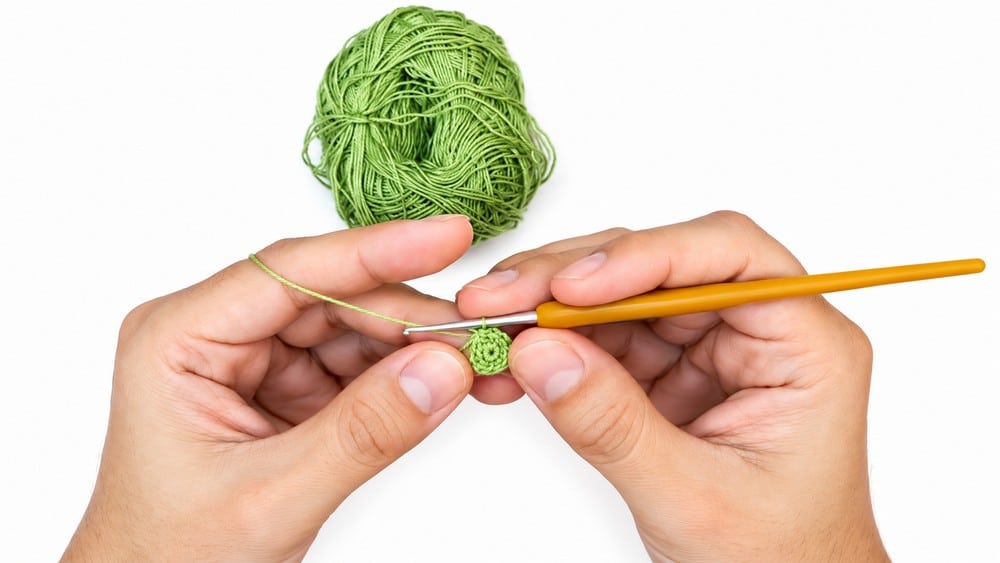
- DK or light worsted yarn (green for head/shell/flippers/tail, beige or lighter color for belly, black/white for eyes and embroidery)
- 2.5–3.0 mm crochet hook
- Fiberfill stuffing
- Yarn needle for sewing and embroidery
- Scissors
Gauge and Finished Size
Gauge is not essential, but tight, dense stitches are crucial—four rounds of single crochet in a circle should measure about 1 inch (2.5 cm) in diameter. Adjust the hook size if necessary to close any gaps.
Approximate Finished Size:
- Length: 3–3.5 inches (8–9 cm)
- Width: 2.5–3 inches (6–7.5 cm)
- Height: 1.5–2 inches (4–5 cm)
This scale is suitable for keychains, desktop ornaments, or as a mini plush.
Abbreviations
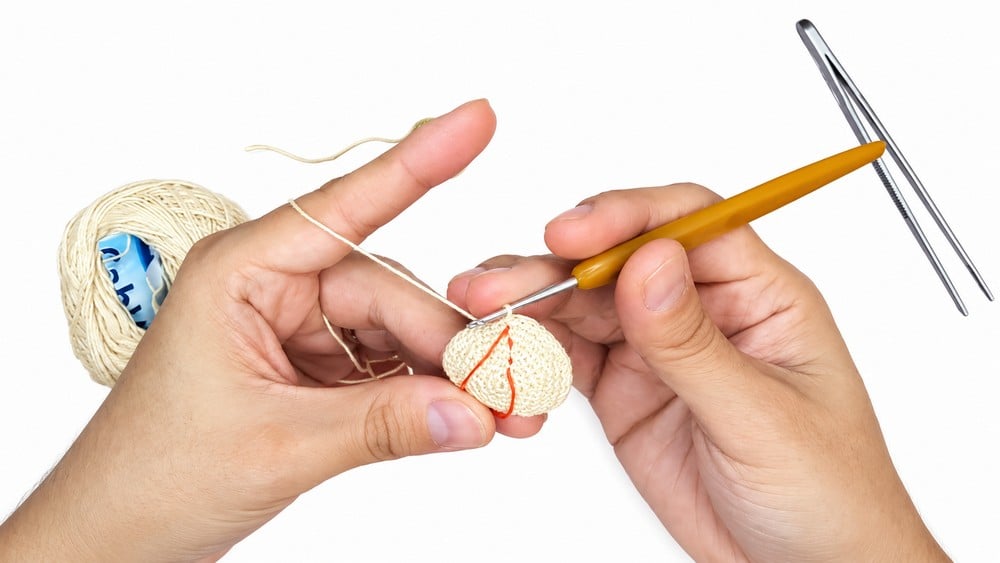
- MR: Magic Ring
- SC: Single Crochet
- INC: Increase (2 SC in the same stitch)
- DEC: Decrease (single crochet two stitches together)
- CH: Chain
- SLST: Slip Stitch
Pattern Notes
- Work tightly to prevent visible holes, especially in small or lightly stuffed pieces.
- Use stitch markers to track rounds and maintain alignment during assembly.
- Stuff as you go for the head and body, gently shaping for a natural, rounded look.
- Flatten the flippers before sewing for a realistic effect and secure seams to resist wear.
- Embroider the eyes before attaching for best control of expression.
- For color changes, weave new yarns securely into the piece to avoid unraveling.
Special Stitch Guide
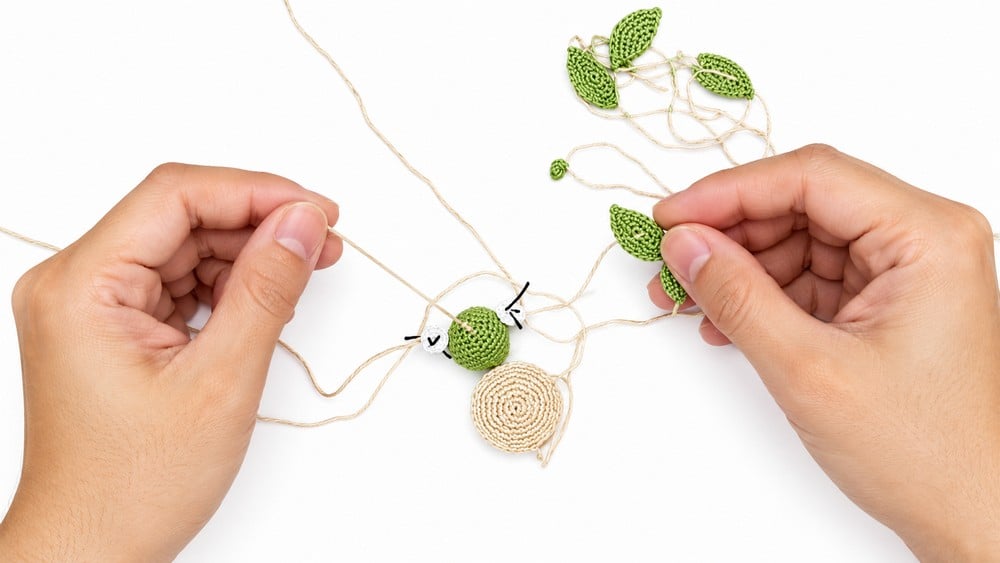
- Magic Ring (MR): Create a small loop; work first round’s stitches into ring; pull yarn tail to close.
- Increase (INC): Work 2 single crochets in one stitch.
- Decrease (DEC): Use invisible decrease for amigurumi—insert hook into front loops of next two stitches, yarn over, pull through both loops, yarn over, pull through remaining loops.
- Surface embroidery: Use basic satin, straight stitch, or French knot for eye and body details.
Pattern Instructions
1. Turtle Head
Round 1: Start with a magic ring, work 6 SC (6)
Round 2: 6 INC (12)
Round 3: (1 SC, 1 INC) repeat 6 times (18)
Round 4: (2 SC, 1 INC) repeat 6 times (24)
Round 5: (3 SC, 1 INC) repeat 6 times (30)
Rounds 6–9: 1 SC in each stitch (30 per round, 4 rounds)
Round 10: (3 SC, 1 DEC) repeat 6 times (24)
Round 11: (2 SC, 1 DEC) repeat 6 times (18)
Round 12: (1 SC, 1 DEC) repeat 6 times (12)
Stuff the head firmly.
Rounds 13–14: 1 SC in each stitch (12 per round)
2. Belly
Work the same increase pattern as for the head to Round 6, ending with 36 stitches.
Round 1: MR, 6 SC (6)
Round 2: 6 INC (12)
Round 3: (1 SC, 1 INC) x6 (18)
Round 4: (2 SC, 1 INC) x6 (24)
Round 5: (3 SC, 1 INC) x6 (30)
Round 6: (4 SC, 1 INC) x6 (36)
FO with a long tail for sewing.
3. Shell (Top Carapace)
Repeat the belly pattern through Round 6 (36 stitches), then:
Rounds 7–8: 1 SC in each stitch (36 per round)
FO with a long tail for joining.
4. Eyes (Make 2)
Round 1: MR, 6 SC (6)
Round 2: 6 INC (12)
FO, leaving a tail for sewing. Embroider pupils with black thread/yarn, add white highlight stitches.
5. Front Flippers (Make 2)
Round 1: MR, 6 SC (6)
Round 2: 6 INC (12)
Round 3: (1 SC, 1 INC) x6 (18)
Round 4: (2 SC, 1 INC) x6 (24)
Round 5: (3 SC, 1 INC) x6 (30)
Round 6: 1 SC in each stitch (30)
FO, leaving a tail. Flatten before sewing.
6. Back Flippers (Make 2)
Round 1: MR, 6 SC (6)
Round 2: 6 INC (12)
Round 3: (1 SC, 1 INC) x6 (18)
Round 4: 1 SC in each stitch (18)
FO, leaving a tail. Flatten before sewing.
7. Tail
Round 1: MR, 4 SC (4)
Round 2: 1 SC in each stitch (4)
FO, leaving a long tail.
Assembly
Eyes: Embroider and sew eyes to the head (centered and spaced as desired).
Flippers: Fold each flipper in half; sew edges closed. Pin and sew front flippers symmetrically just behind the head, and back flippers spaced near the body sides.
Body (Belly & Shell): Position flippers between the belly and shell edges; secure with pins. Holding belly and shell wrong sides together, sew through matching stitches around most of the perimeter. Before closing last few stitches, add stuffing until firm but not bulging; close seam.
Tail: Attach tail at the rear center where belly and shell meet.
Head: Join head securely to the front center of the shell/body.
The resulting miniature turtle is robust, with a realistic rounded profile, shapely appendages, and soft detailing.
Tips
- Work tightly to prevent visible holes, especially in small or lightly stuffed pieces.
- Use stitch markers to track rounds and maintain alignment during assembly.
- Stuff as you go for the head and body, gently shaping for a natural, rounded look.
- Flatten the flippers before sewing for a realistic effect and secure seams to resist wear.
- Embroider the eyes before attaching for best control of expression.
- For color changes, weave new yarns securely into the piece to avoid unraveling.
FAQs
What type of yarn is best for this turtle?
DK or light worsted weight yarn works best. Green is recommended for the shell and flippers, while a beige or lighter color works well for the belly.
How do I prevent gaps in the stitches?
Ensure your stitches are tight and dense. If you see holes, try using a smaller hook size to tighten the fabric.
Can I use this pattern for a keychain?
Yes, the finished size (3–3.5 inches) is perfect for keychains, desktop ornaments, or small gifts.
Do I need to stuff the eyes?
No, the eyes are made as small flat circles. You simply embroider the pupils and highlights onto them before sewing them onto the head.
How do I make the turtle stand up?
Ensure you add firm stuffing to the belly and shell before closing the seam. This provides the necessary structure for the turtle to rest flat on a surface.
Pin This Crochet Pattern!