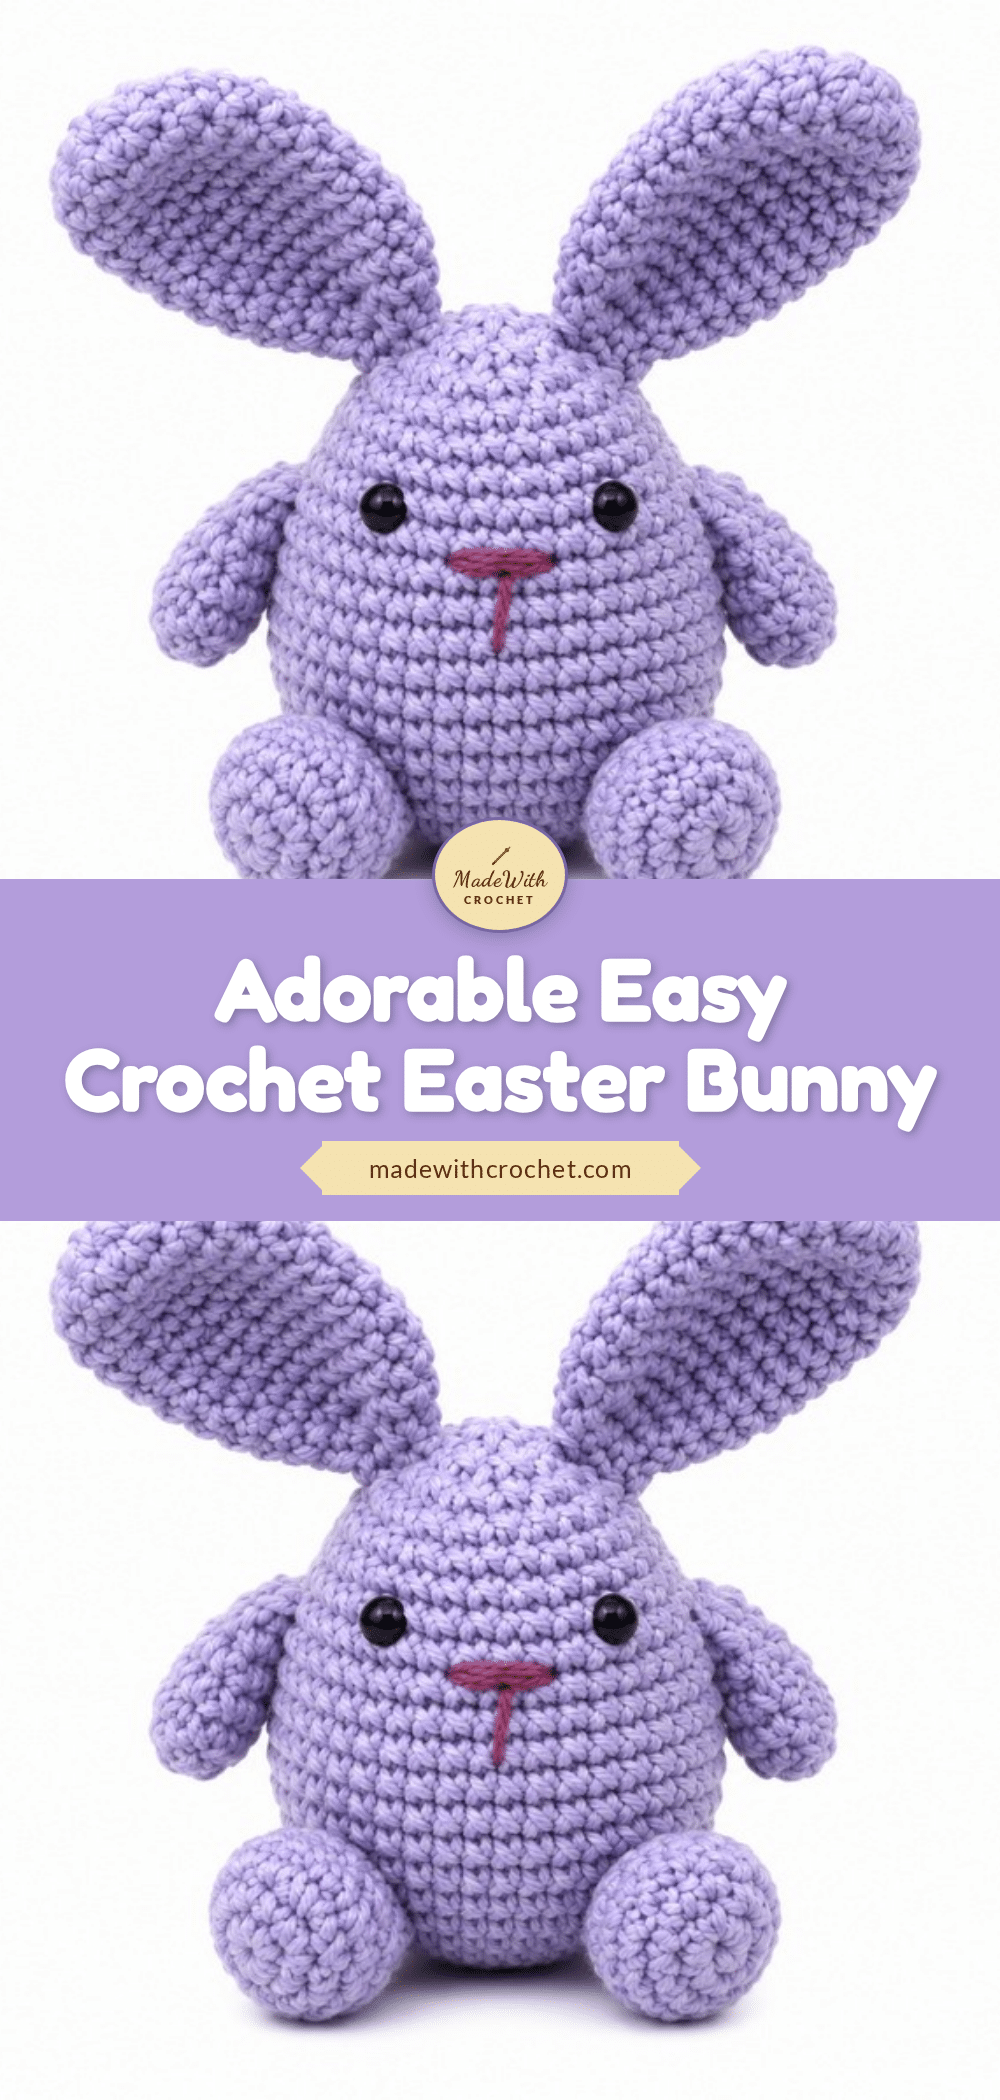
There is a specific kind of magic in the rhythm of amigurumi, where the tight, dense fabric builds up round by round to create a form that feels alive in your hands. This Easter Bunny pattern captures that tactile joy perfectly, relying on systematic increases and decreases to shape an egg-like body that is both sturdy and squeezable. The charm lies in the details: the way the ears taper to a point, the compact curve of the arms, and the satisfying snap of the final assembly. Whether you are drawn to the texture of cotton yarn or the challenge of perfect symmetry, this project offers a rewarding journey from a simple magic ring to a cheerful spring companion.
Texture and Stitch Notes
One of the standout features of this bunny is the smooth surface achieved through consistent tension. Using a tight tension is not just a stylistic choice here; it is essential for preventing stuffing from showing through the seams, ensuring a plush finish that holds its shape. The pattern utilizes a modular construction, meaning each component—from the tiny tail to the long ears—is worked separately before joining. This approach allows you to focus on the texture of each piece individually, ensuring the ears stand tall and the legs provide a stable base. The resulting fabric is dense and durable, making this bunny perfect for handling by children or as a long-lasting decorative piece.
Project Overview
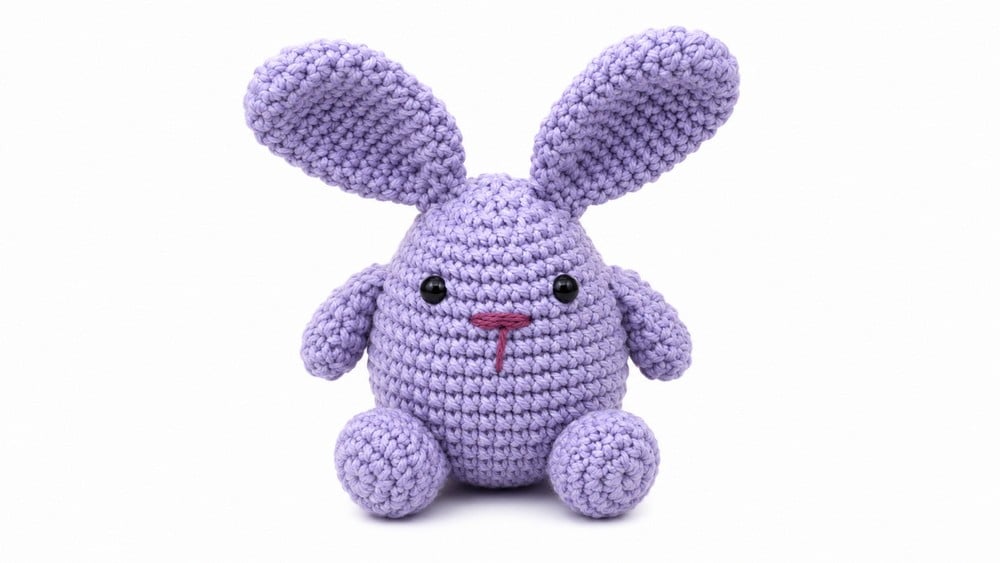
This amigurumi egg bunny pattern introduces rounded shaping through systematic increases and decreases, paired with straightforward construction of limbs and facial features. The modular sequence provides clarity and encourages accuracy in both structure and expression. The finished bunny offers tactile appeal, pleasing form, and a sweet visage—making it equally suitable as a playful toy or heartfelt handmade gift. It is composed of several key sections:
- Body: An egg-shaped form built up with steady increases and decreases.
- Arms: Compact and curved, designed to remain unstuffed for maximum flexibility.
- Legs: Rounded ends for a stable, squat look, using controlled increases and shaping.
- Tail: Slightly puffy, doubling as a stabilizing point.
- Ears: Tall and slightly tapered, adding instant bunny charm.
Pattern at a Glance
The instructions provide a complete breakdown of rounds for each element, ensuring repeatability and a polished result. This project is best suited to a confident beginner or intermediate crocheter who is familiar with single crochet, magic ring, systematic increases and decreases, and basic sewing/embroidery. Newer crafters can strengthen shaping and assembly skills with these approachable modular parts.
Materials
- Worsted or DK weight yarn in main body color
- Contrasting color yarn for embroidery
- 2.5–3.5 mm crochet hook (appropriate for yarn)
- Polyfill stuffing
- Safety eyes (size to taste)
- Small bell or rattle insert (optional)
- Yarn needle for sewing and embroidery
- Scissors
Gauge and Finished Size
Gauge is not critical but dense fabric is essential for stuffing retention. Four rounds of single crochet in the round should yield about 1 inch (2.5 cm) in diameter using recommended yarn/hook.
Finished Size:
- Height (with ears): 4–5 inches (10–13 cm)
- Width: 2.5–3 inches (6–8 cm)
- Depth: 2.5 inches (6 cm)
Actual size may vary with yarn and stuffing habits.
Abbreviations
- MR – Magic Ring
- SC – Single Crochet
- INC – Increase ( 2 SC in same stitch )
- DEC – Decrease ( single crochet two stitches together )
- FO – Fasten Off
Pattern Notes
- Use a tight tension to avoid visible stuffing gaps.
- Insert safety eyes between specified rounds before closing the body.
- Add a bell or rattle at the body-stuffing stage for an interactive effect, if desired.
- Stuff only lightly for smaller pieces like legs and tail to preserve shape and fit.
- Placement of limbs, ears, and tail is crucial for the bunny to sit upright.
- Embroider the facial details neatly for a cheerful expression.
Pattern Instructions
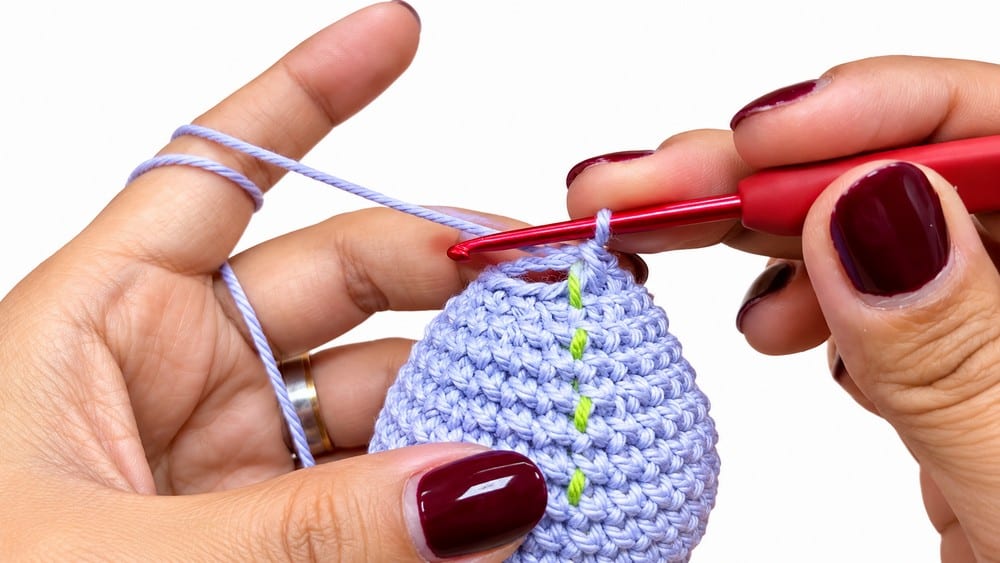
Body
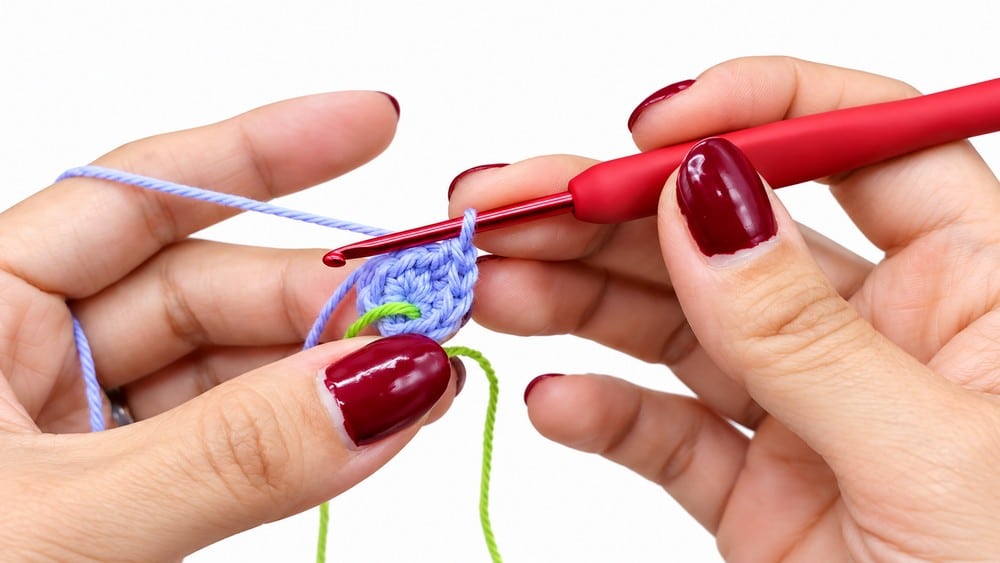
Round 1: MR , 6 SC
Round 2: 6 INC ( 12 SC )
Round 3: ( 1 SC , 1 INC ) x6 ( 18 SC )
Round 4: ( 2 SC , 1 INC ) x6 ( 24 SC )
Round 5: ( 3 SC , 1 INC ) x6 ( 30 SC )
Round 6: ( 4 SC , 1 INC ) x6 ( 36 SC )
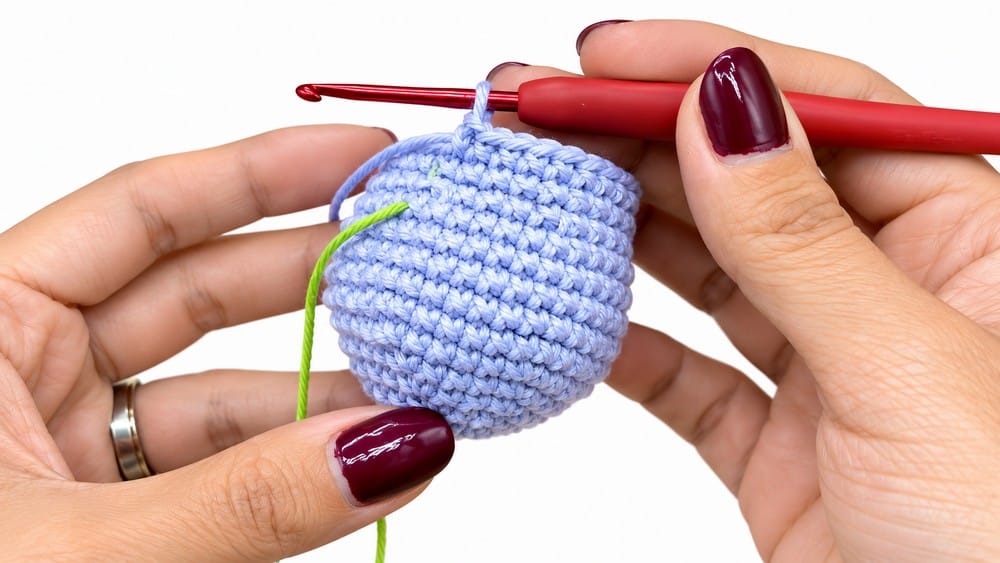
Rounds 7–11: 36 SC each round (even work for shaping)
Round 12: ( 4 SC , 1 DEC ) x6 ( 30 SC )
Round 13: ( 3 SC , 1 DEC ) x6 ( 24 SC )
Round 14: ( 2 SC , 1 DEC ) x6 ( 18 SC )
Pause to insert eyes between Rounds 14–15 (place evenly apart)
Stuff body firmly and add bell/rattle if using
Round 15: ( 1 SC , 1 DEC ) x6 ( 12 SC )
Round 16: 6 DEC ( 6 SC )
FO and sew closed; weave in the end.
Arms (make 2)
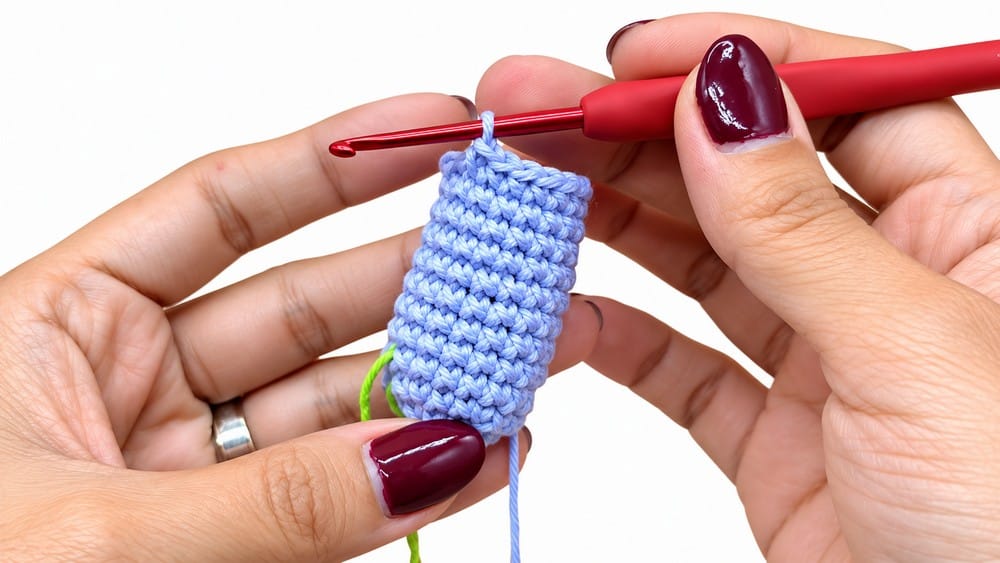
Round 1: MR , 6 SC
Round 2: ( 2 SC , 1 INC ) x3 ( 9 SC )
Rounds 3–4: 9 SC per round (even)
Round 5: ( 1 SC , 1 DEC ) x3 ( 6 SC )
Flatten piece.
Closing: Work 3 SC across through both thicknesses, closing the top.
FO , leave tail for sewing.
Legs (make 2)
Round 1: MR , 6 SC
Round 2: 6 INC ( 12 SC )
Round 3: ( 1 SC , 1 INC ) x6 ( 18 SC )
Round 4: 3 SC , 6 DEC , 3 SC ( 12 SC )
The DECREASES should be spaced for toe shaping.
Stuff minimally for squishy feet.
FO , leave tail for sewing.
Tail
Round 1: MR , 6 SC
Round 2: 6 INC ( 12 SC )
Round 3: 12 SC (even)
Round 4: ( 2 SC , 1 DEC ) x3 ( 9 SC )
Lightly stuff to keep the tail round but not stiff.
FO , leave tail for sewing.
Ears (make 2)
Round 1: MR , 6 SC
Round 2: 6 INC ( 12 SC )
Round 3: ( 1 SC , 1 INC ) x6 ( 18 SC )
Rounds 4–12: 18 SC each round (even)
Round 13: ( 1 SC , 1 DEC ) x6 ( 12 SC )
Round 14: 6 DEC ( 6 SC )
FO , flatten and leave long tail for sewing.
Assembly
Ears: Pin and sew on top of body, spaced evenly.
Arms: Attach to sides, aligning roughly with the lower edge of each eye for a natural pose.
Legs: Sew to the underside/front, making sure the feet help the bunny sit up.
Tail: Attach at the back and slightly downward; the tail forms a stable tripod with the legs.
Face: With contrasting embroidery thread, use a satin or horizontal straight stitch to embroider the nose in a small “T” shape exactly between the eyes.
Careful assembly and a firm, symmetrical finish help your egg-shaped bunny remain upright and huggable.
Tips
- Use a tight tension to avoid visible stuffing gaps.
- Insert safety eyes between specified rounds before closing the body.
- Add a bell or rattle at the body-stuffing stage for an interactive effect, if desired.
- Stuff only lightly for smaller pieces like legs and tail to preserve shape and fit.
- Placement of limbs, ears, and tail is crucial for the bunny to sit upright.
- Embroider the facial details neatly for a cheerful expression.
FAQs
What type of yarn is best for this bunny?
Worsted or DK weight yarn works well for this pattern. Cotton yarn is recommended if you want a smooth surface that clearly shows the stitch definition.
How do I make the bunny sit upright?
Proper assembly is key. Ensure the legs are sewn to the underside/front to support the weight, and attach the tail at the back slightly downward to create a stable tripod with the legs.
Can I use a rattle in this pattern?
Yes, you can insert a small bell or rattle into the body when you are stuffing it firmly, just before closing the final rounds.
What size safety eyes should I use?
The pattern suggests choosing safety eyes to taste. Ensure they are inserted between Rounds 14 and 15 of the body for proper placement.
Is this pattern suitable for beginners?
It is best suited for a confident beginner or intermediate crocheter. You should be comfortable with single crochet, magic rings, and basic shaping increases and decreases.
This little rabbit adds a happy feeling to spring celebrations. It can be kept after Easter as a sweet reminder of a special day spent with family. You can tuck this bunny inside an Easter gift basket, place it near painted eggs, or use it to decorate a family breakfast table. It is also a nice present for grandchildren or a fun addition to an Easter egg hunt. For more seasonal crafting inspiration, you might enjoy our adorable spring flower crochet pattern or check out this adorable festive crochet amigurumi trio pattern for more holiday fun.
Pin This Crochet Pattern!