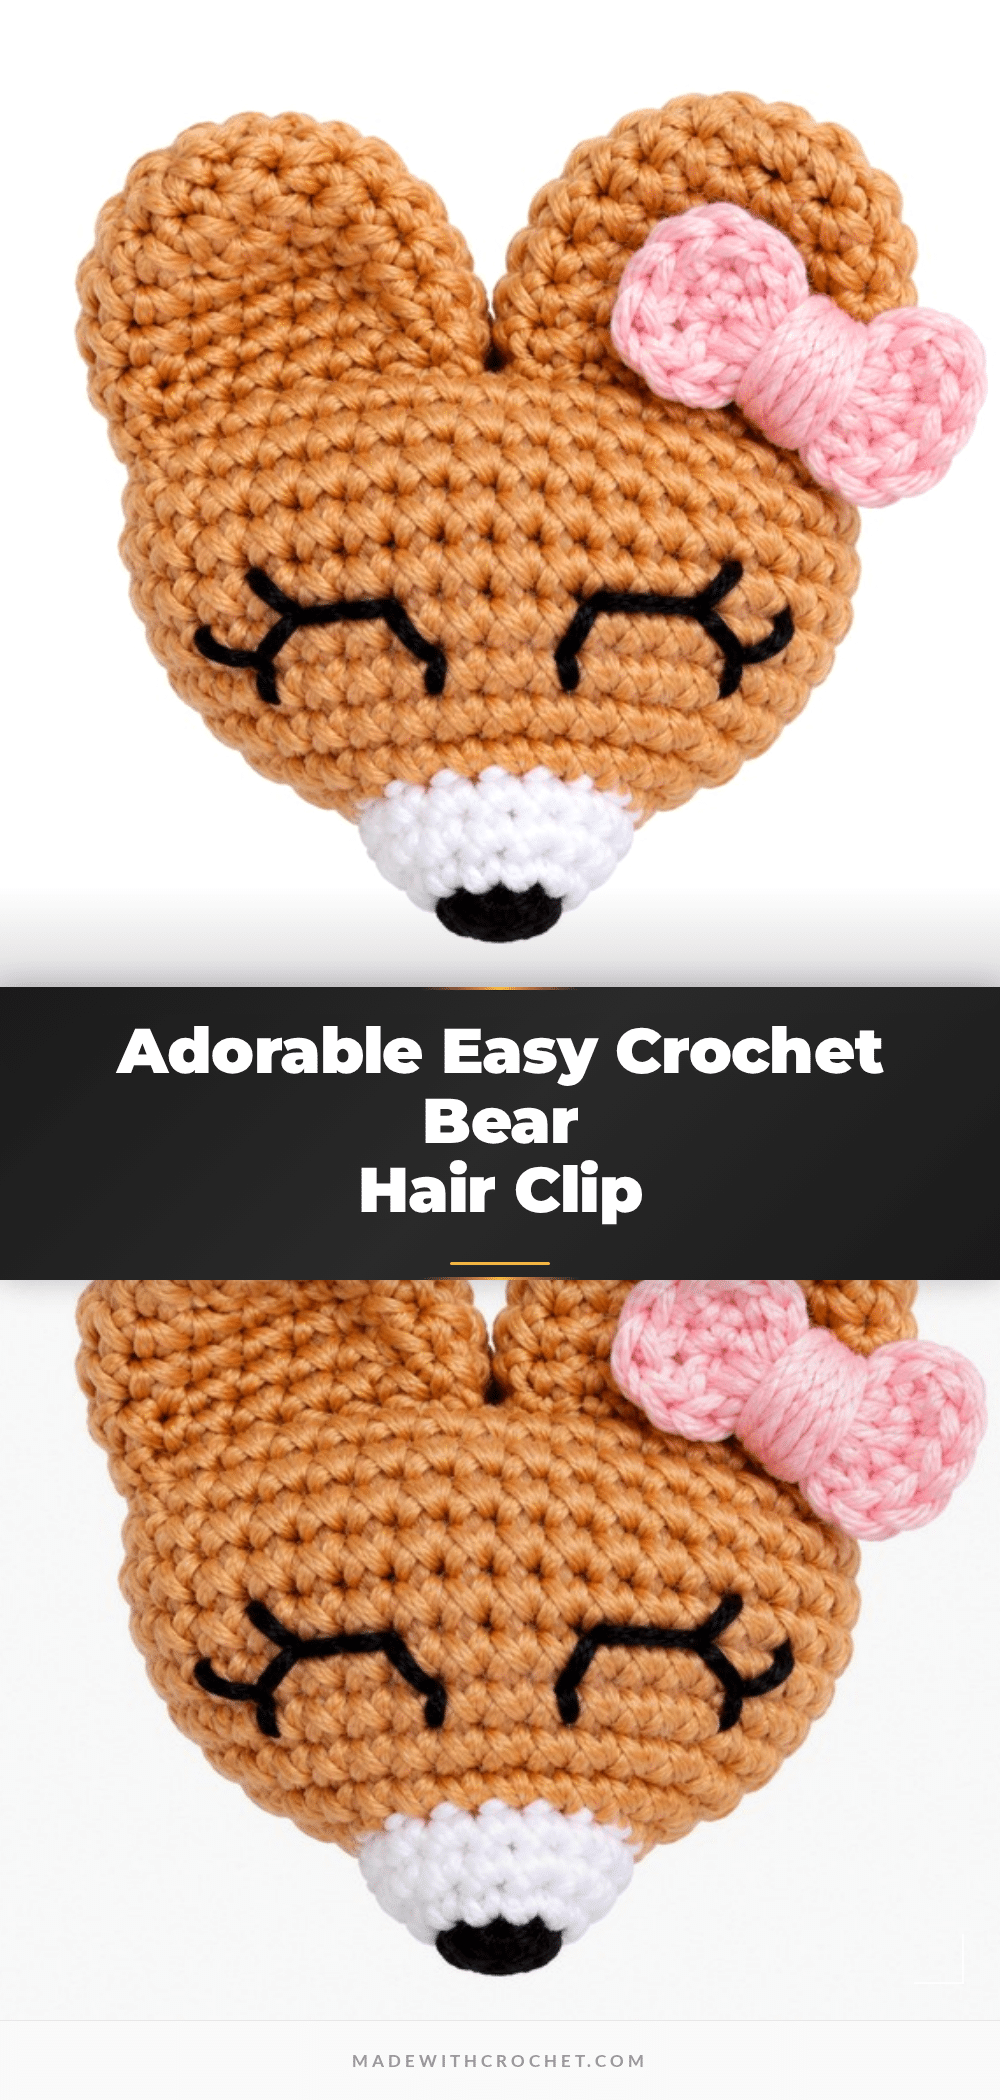
Looking for a quick and adorable project to brighten up a little one’s outfit or create a memorable handmade gift? This Easy Crochet Bear Head Hair Clip Pattern is the perfect solution. It combines the charm of a classic amigurumi animal face with the practicality of a functional hair accessory. Whether you are making a batch for a baby shower, a birthday party favor, or simply adding a touch of whimsy to your own wardrobe, this bear brooch is a delightful choice. The compact size makes it an ideal project for using up small scraps of yarn, while the structured shaping ensures a professional-looking result.
Gift and Use Ideas
This little bear head is more than just a cute decoration; it is a versatile accessory that serves multiple purposes. For parents, it is a wonderful way to keep a toddler’s hair tidy during playtime while adding a playful twist to their hairstyle. The lightweight design ensures it stays secure without weighing down fine hair. Beyond hair clips, this pattern translates beautifully into a brooch. Attach a pin backing to the back, and you have a charming lapel accessory for jackets, denim bags, or felt hats. It also makes a fantastic market-table item for craft fairs, appealing to both children and adults who appreciate handmade, character-driven decor. The neutral tones of the bear face allow it to match almost any color palette, making it a flexible addition to any handmade collection.
Project Overview
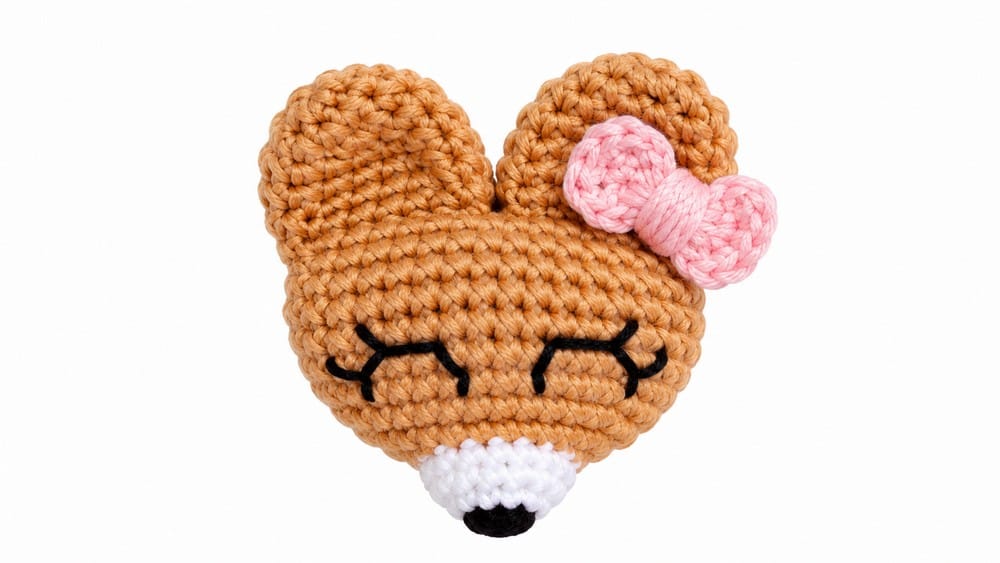
This crochet bear brooch pattern presents a clearly structured, stepwise approach to creating an adorable and well-shaped bear face. The process flows through five focused stages: nose and muzzle formation with color changes, head construction using increases for fullness, ear shaping, decorative details like embroidery, and final assembly. Each step is designed for efficiency and precision, producing a polished result with whimsical character. The coordinated use of color transitions, carefully placed embroidery, and accent bows creates a well-finished piece suitable for everyday adornment or gifting.
Pattern at a Glance
- Project Type: Amigurumi / Hair Clip / Brooch
- Difficulty Level: Advanced Beginner. Requires basic knowledge of common crochet stitches, increases, decreases, color changes, and fundamental embroidery skills.
- Finished Size: Brooch head diameter: 2.5–3 inches (6–8 cm). Ear-to-ear width: 3–3.5 inches (8–9 cm). Bow diameter: 0.75–1 inch (2–2.5 cm).
- Time to Complete: Quick project, ideal for small gifts or market items.
Supplies Needed
- Yarn: Worsted or DK weight yarn in the following colors:
- Black (for nose and eyes)
- White or beige (for muzzle)
- Main color (beige or brown) for head and ears
- Pink or red (for the bow)
- Crochet Hook: 3.0–3.5 mm hook (adjust for yarn thickness)
- Stuffing: Polyfill (very light amount)
- Notions: Yarn needle for sewing and embroidery, scissors, and a pin backing (for brooch functionality)
Gauge & Stitch Details
Gauge is not critical, but tight, evenly spaced stitches are needed for structural integrity. Four rounds of single crochet in the round should measure 1 inch (2.5 cm) in diameter with DK/worsted yarn. The bear’s face is carefully shaped using neat and tight stitches, usually the single crochet stitch, which holds everything firmly in place. This stitch helps create the smooth edges and detailed expressions that make the bear look so adorable.
Crochet Abbreviations
- SC: Single Crochet
- INC: Increase (2 SC in the same stitch)
- MR: Magic Ring
- SLST: Slip Stitch
- CH: Chain
- DTR: Double Treble Crochet
- FO: Fasten Off
Important Notes
- Begin with a tight magic ring for a neat central nose.
- Color transitions should occur on the last step of a round for seamless integration.
- Stuff lightly; avoid overfilling to maintain the brooch’s compact thickness.
- Use a yarn needle for secure joining and embroidery, keeping stitches tidy for a finished look.
- Count stitches and rows carefully, especially for symmetry in eye placement and ear attachment.
Special Stitch Guide
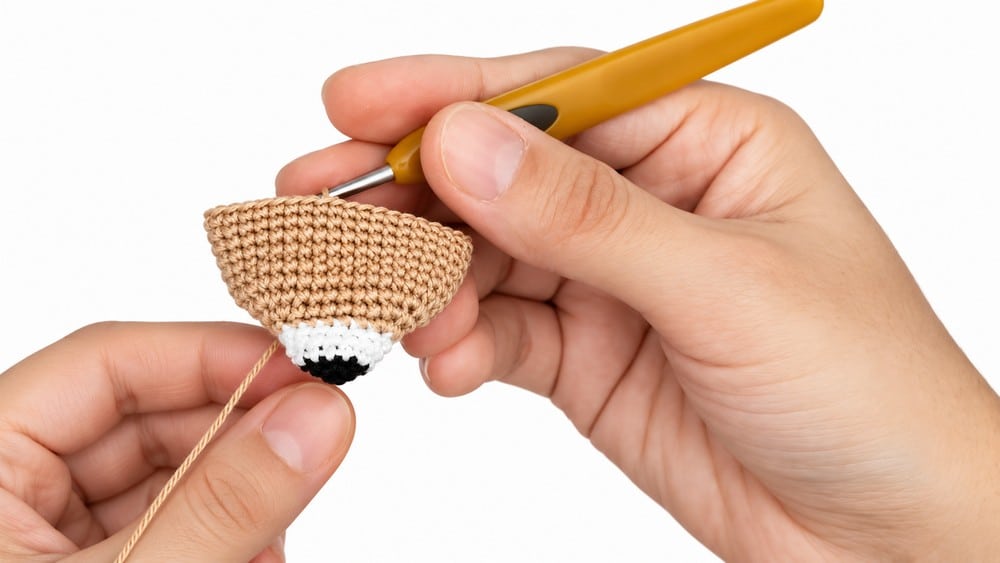
Magic Ring (MR)
Create a loop, insert hook, pull up a loop, and work stitches into the ring. Pull the yarn tail tight to close.
Double Treble Crochet (DTR)
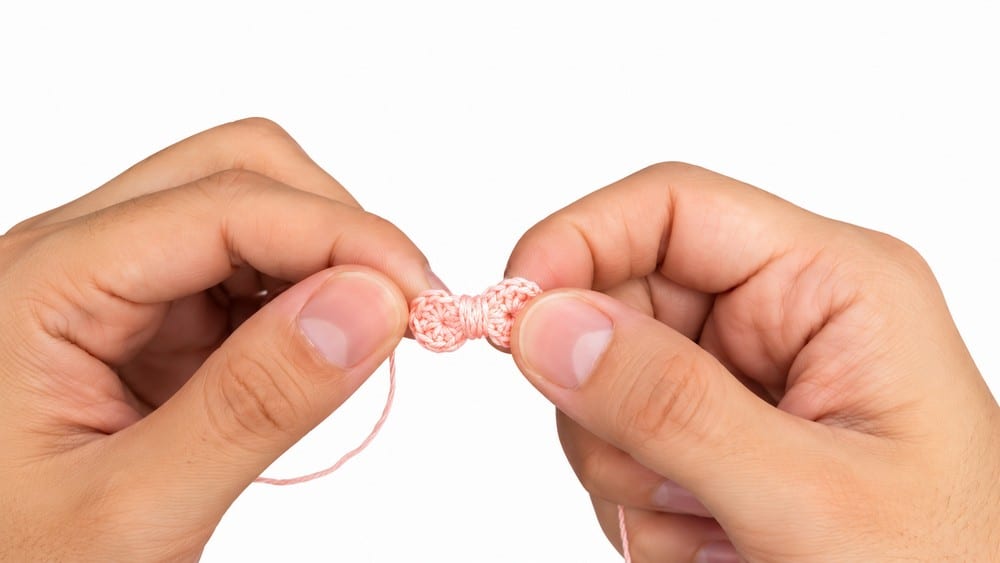
Yarn over three times, insert hook, yarn over and pull through (five loops on hook), yarn over and pull through two loops, repeat until one loop remains.
Color Change
On the last step of the final stitch before a new color, pick up the new yarn and complete the stitch for a neat transition.
Complete Crochet Pattern
The Bear’s Nose (Black Yarn)
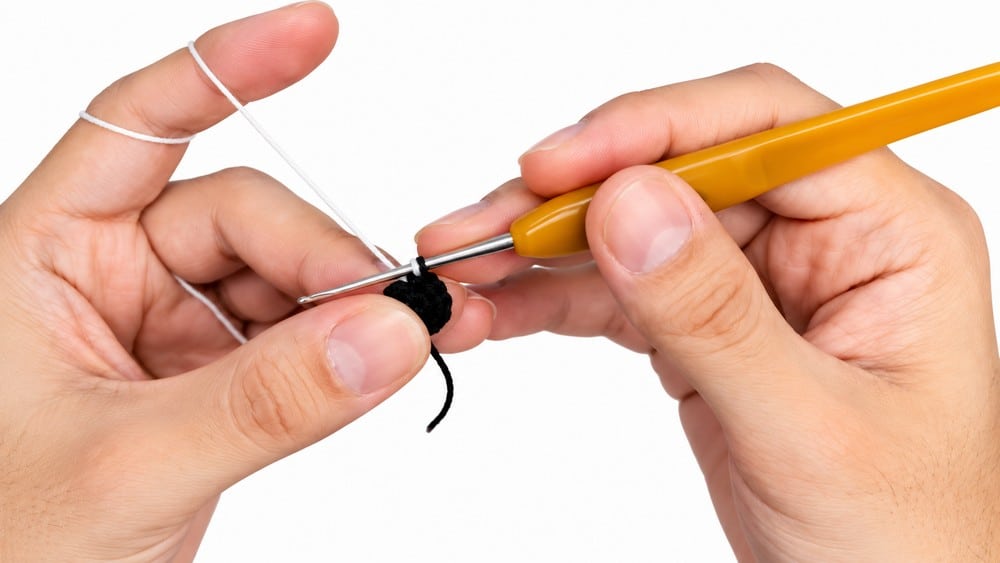
Round 1: Start with a magic ring (MR) and work 6 SC into the center.
Round 2: 6 INC (2 SC in each stitch) – (12 SC across). On the 12th stitch, switch to white or beige yarn by completing the stitch with the new color.
The Muzzle (White/Beige Yarn)
Round 3: (3 SC, 1 INC) repeat three times – (15 SC total).
Rounds 4–5: 1 SC in each stitch around (15 SC per round).
The Head (Main Color: Beige/Brown)
Change yarn to your main color (beige or brown) at the end of Round 5. Secure color change for a smooth transition.
Round 6: 2 SC, 3 INC, 5 SC, 3 INC, 2 SC. This sequence creates shaping for cheeks and brow; 21 SC total.
Round 7: 3 SC, 4 INC, 6 SC, 4 INC, 4 SC. Continue shaping; 29 SC total.
Round 8: 4 SC, 5 INC, 10 SC, 5 INC, 5 SC. Expands head width; 39 SC total.
Rounds 9–15: 1 SC in each stitch for 7 rounds (39 SC per round) for surface fullness.
Closing: Finish with a slip stitch in the last stitch, leaving a long tail for sewing.
Ears (Make 2)
Round 1: Start with a magic ring and work 6 SC into the center.
Round 2: 6 INC round – (12 SC).
Round 3: (1 SC, 1 INC) repeat six times – (18 SC).
Rounds 4–7: 1 SC in each stitch for 4 rounds (18 SC per round). Complete with a slip stitch and leave a long tail for sewing.
Bow (Pink/Red Yarn)
Begin with a magic ring. Chain 3. Work 4 double treble crochets (DTR) into the ring. Chain 3, then slip stitch back into the ring. Repeat the entire sequence for the second lobe of the bow. Pull the ring tight, leaving a long tail. Using the yarn tail, wrap around the bow’s center several times to pinch the middle and form the two curved sides.
Assembly & Finished Size
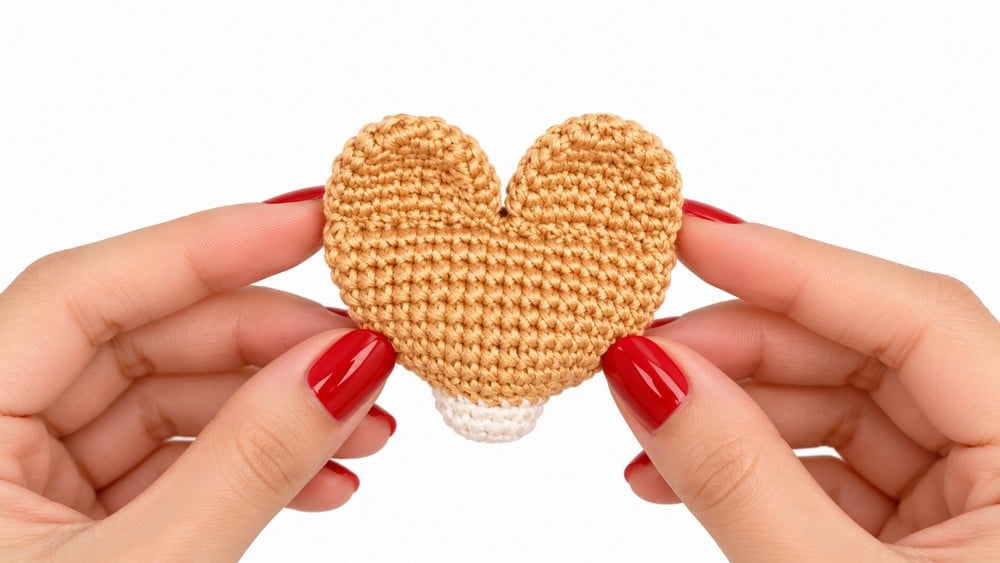
Lightly stuff the head, ensuring it is slightly domed but not bulbous for the neat brooch thickness. Close the head with the slip stitch, then use the long tail to securely sew the opening shut. Sew the ears to the top of the head, spacing symmetrically for cuteness.
Embroider the eyes: Using black thread, count up 3 rows above the muzzle, then leave 3 stitches between them. Create simple stitched ovals or arcs for expression. Sew the bow under one ear or between both, securing with several stitches from the yarn tail. Attach a pin backing to the reverse side of the head, sewing or gluing firmly for brooch wear. Weave in any remaining tails to complete the accessory.
Tips for Success
What makes this hair clip special is its charming beauty. The bear’s face is carefully shaped using neat and tight stitches, usually the single crochet stitch, which holds everything firmly in place. This stitch helps create the smooth edges and detailed expressions that make the bear look so adorable. Besides being cute, the clip is very useful. It keeps hair tidy while adding a fun, playful twist to hairstyles. Children especially enjoy wearing it, but adults can also use it to add a touch of whimsy to their look. One of the best things about the Crochet Bear Head Hair Clip is the wide range of colors available. You can find them in gentle pastels or bright, eye-catching tones. Also, the size is adjustable: some prefer smaller bears for a subtle effect, while others like a larger bear for a bold statement. Every aspect of this accessory, from the careful stitching to the choice of yarn color, makes it a joyful piece to wear or gift. Simple but full of character, the Crochet Bear Head Hair Clip is the perfect mix of function and fun for all hair types and ages.
FAQs
What type of yarn is best for this pattern?
Worsted or DK weight yarn works best. The pattern suggests using black for the nose/eyes, white/beige for the muzzle, a main color for the head/ears, and pink/red for the bow.
Can I use this pattern to make a brooch instead of a hair clip?
Yes! The pattern is designed to be versatile. By attaching a pin backing to the reverse side of the head, it functions perfectly as a brooch for jackets or bags.
How do I ensure the eyes are symmetrical?
Count your stitches and rows carefully. The instructions specify counting up 3 rows above the muzzle and leaving 3 stitches between the eyes to ensure proper spacing and symmetry.
Is this pattern suitable for beginners?
It is suitable for advanced beginners. You will need to know basic stitches, increases, decreases, color changes, and have some fundamental embroidery skills for the face details.
How much stuffing should I use?
Use a very light amount of polyfill. The head should be slightly domed but not bulbous to maintain the neat, compact thickness required for a hair accessory or brooch.
Pin This Crochet Pattern!