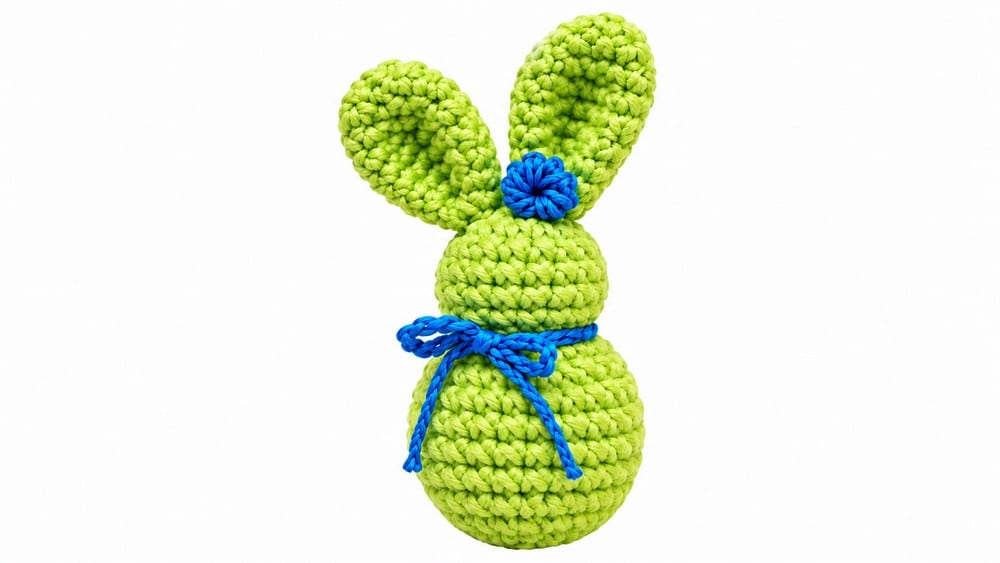
Amigurumi are small crocheted toys and characters: stuffed, round, and full of personality. Madewithcrochet has published over a hundred free crochet amigurumi patterns, from 5 cm mini bunnies to plush geese, jointed teddy bears and Christmas gnomes. This page is your map to all of them.
Below, you'll find every pattern sorted into collections by subject: bunnies, cats, farm animals, sea creatures, woodland animals, and characters. There is also a hand-picked set of genuinely easy toys for beginners. After the collections comes a complete guide to the craft: tools, techniques, reading patterns, fixing common problems and making toys safe for children.
New to amigurumi? Jump to the easy amigurumi patterns picked for real beginners, then come back here for the techniques.
Browse amigurumi patterns by collection
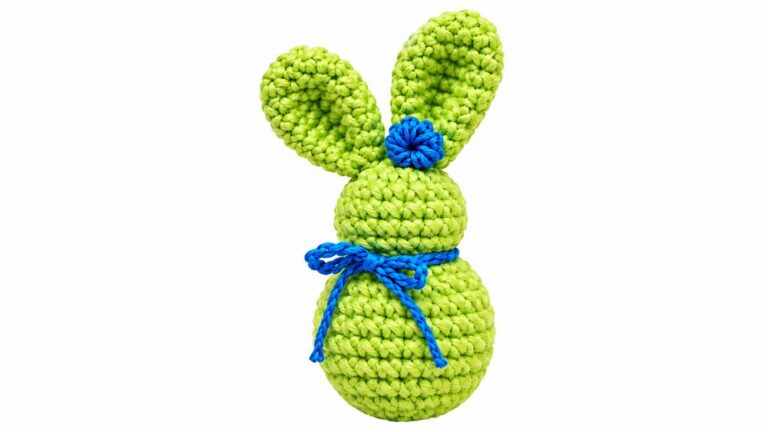
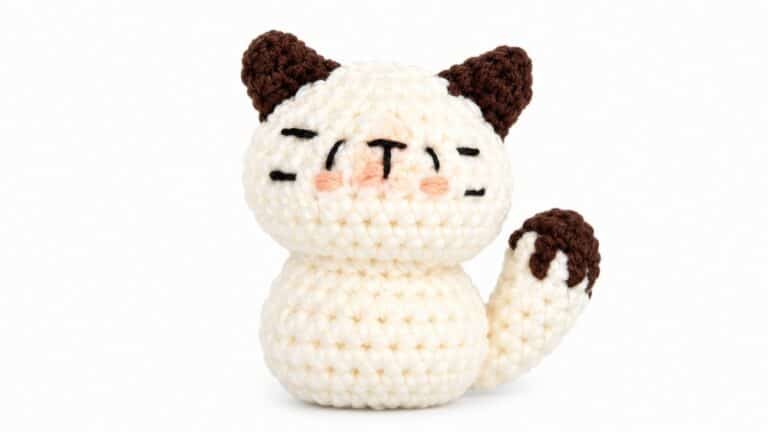
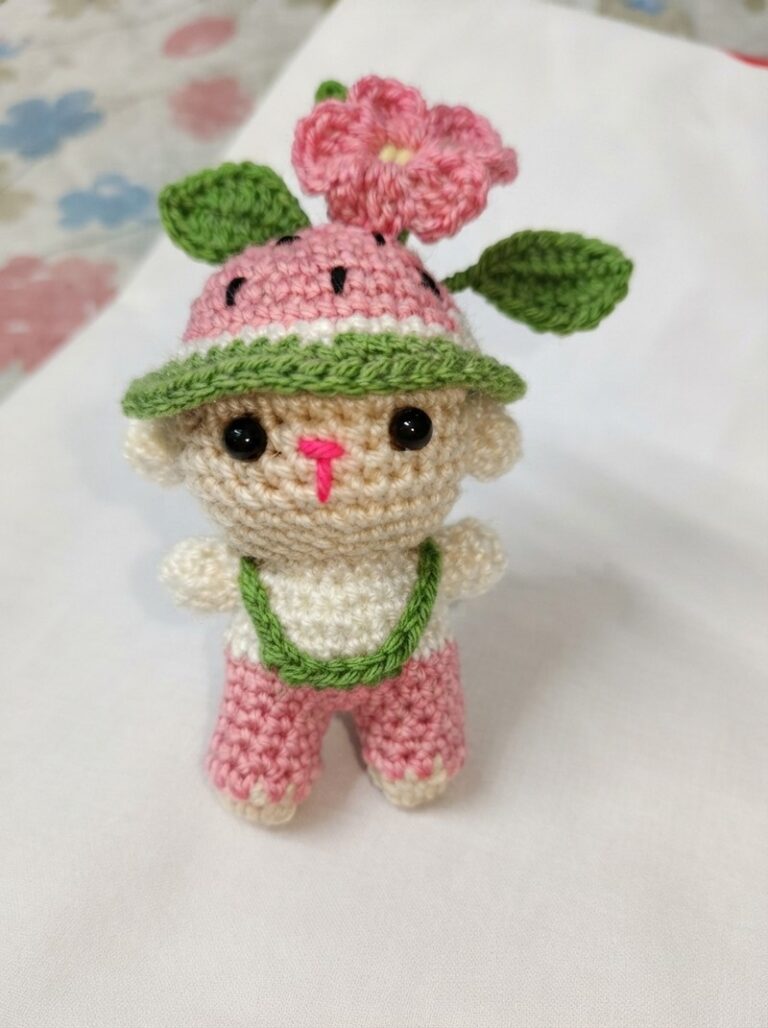
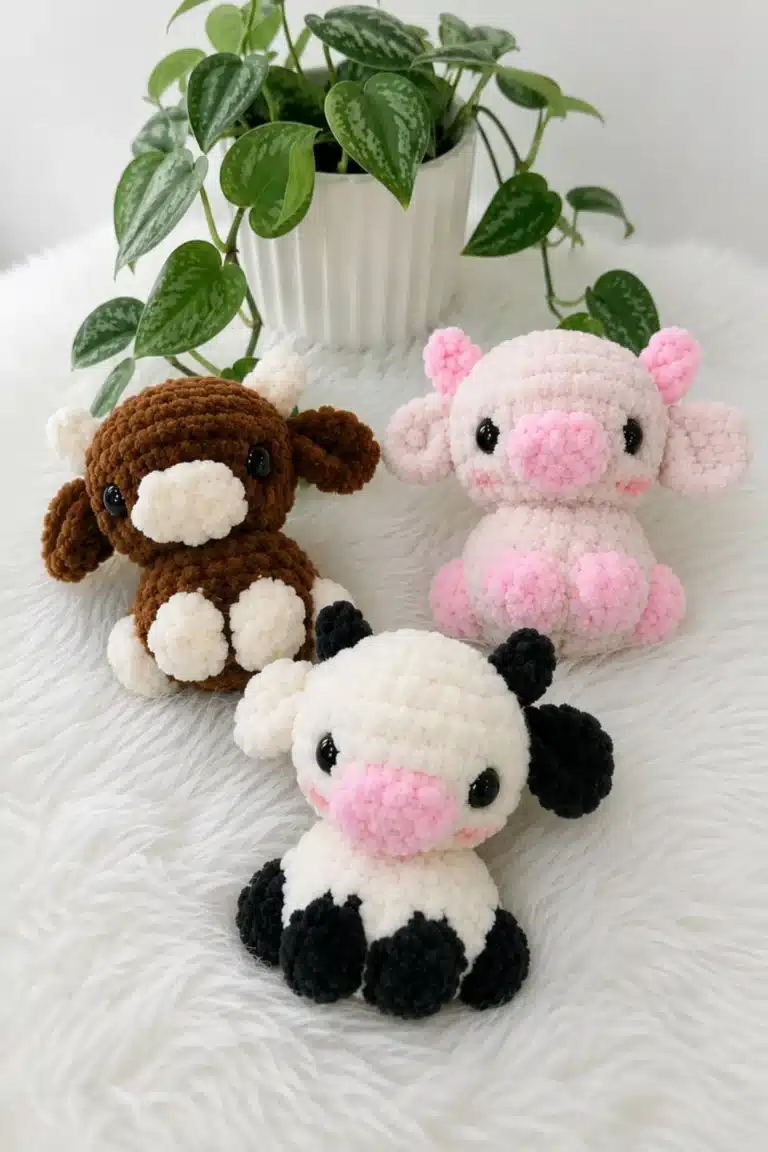
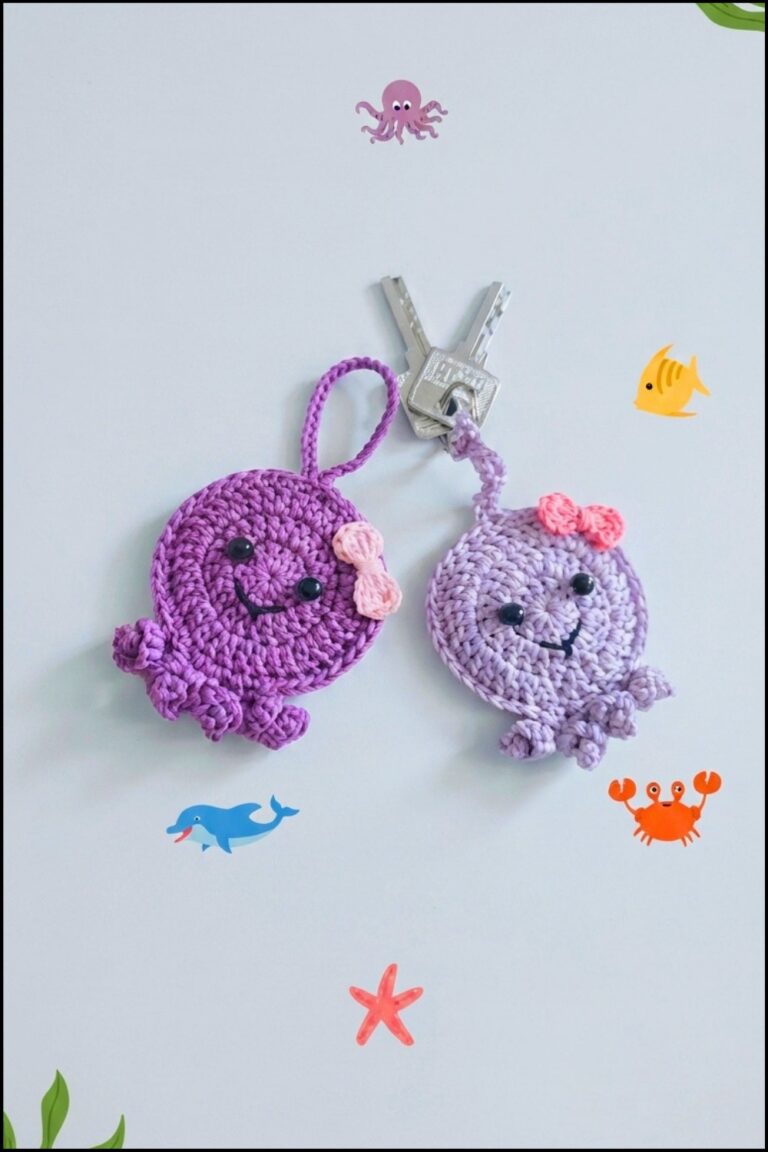
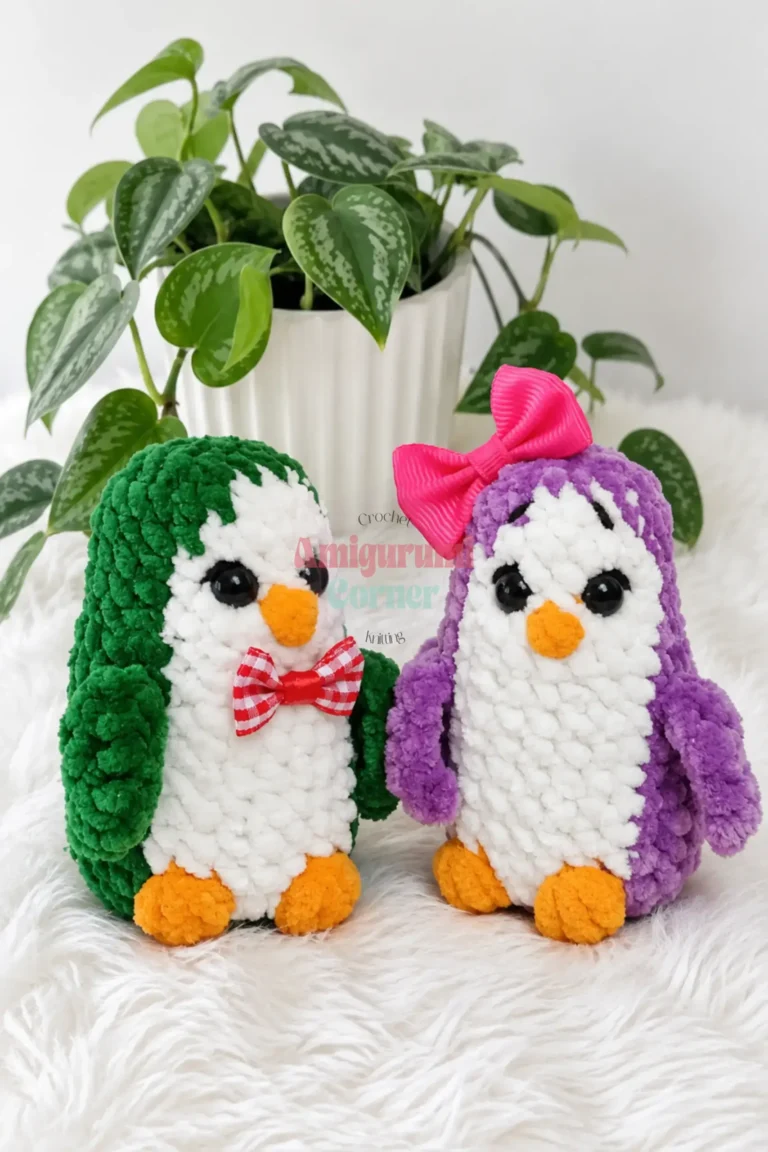
Every collection page lists each pattern with its skill level, hook size, yarn and finished size, taken from the pattern itself, and sorts them from easiest to most involved.
- Bunnies: the most-made amigurumi, from a 30-minute mini to plush chenille rabbits and a bunny in a sundress.
- Cats and kittens: big-eyed kittens, a spinning cat, plush kitties and mini cat charms.
- Farm animals: cows, goats, bulls, hens, chicks, a goose and a lamb, perfect for a matching barnyard set.
- Sea animals: rainbow jellyfish, turtles, a shark and a sea pup.
- Woodland and wild animals: teddy bears, fawns, deer, owls, a hedgehog, penguins and more.
- Characters and fantasy: monsters, a dragon, zombies, kawaii pencils and fan favorites.
Seasonal toys and small gifts
Some of our most popular amigurumi are made for a season. Our Christmas collection has Santa, snowmen, gnomes and a reindeer, alongside ornaments and wreaths. The Halloween patterns gather ghosts, bats, pumpkins and spiders, and the Easter and spring makes include chicks and an Easter bunny.
For quick gifts, many toys come in miniature. Our keychain collection has cats, an octopus, a capybara, bats and owlets small enough for a backpack.
What makes amigurumi different from other crochet
The word comes from Japanese: ami means crocheted or knitted, and nuigurumi means stuffed doll. Amigurumi differs from other crochet in a few important ways:
- Tight fabric: you use a smaller hook than the yarn label suggests, so the stitches are dense and the stuffing does not show through.
- Spiral rounds: most pieces are worked in continuous rounds without joining, which makes a smooth, seamless surface.
- Mostly single crochet: nearly every toy is built from single crochet, shaped by increases and decreases.
- Three-dimensional shaping: balls, tubes and cones are combined to build heads, bodies, limbs and ears.
- Assembly: most toys are made in parts, stuffed, then sewn together, with faces added at the end.
Tools and materials
You do not need much to start, but a few choices make a big difference to the finished toy.
Hooks
Amigurumi on this site uses hooks from about 1.8 mm to 4.5 mm, with a few larger exceptions. The rule of thumb is to go smaller than the yarn label suggests. If you can see stuffing between the stitches, go down half a millimeter.
Ergonomic hooks with a soft handle are worth it: amigurumi uses tight tension, which tires your hand over long sessions.
Yarn
The yarn you choose changes the whole look of a toy. Three yarn families appear in almost every pattern here:
| Yarn | Look | Stitch visibility | Best for |
|---|---|---|---|
| Cotton and milk cotton | Crisp, smooth, defined | Very clear | Small toys, faces, color changes, keychains |
| Worsted or DK acrylic | Classic, soft, durable | Clear | Everyday toys, budget-friendly sets |
| Chenille and velvet | Plush, fuzzy, toy-shop soft | Hard to see | Cuddly bunnies, teddies and gifts |
For your first toy, a smooth, light-colored cotton or acrylic is easiest, because you can see every stitch. Chenille and velvet are wonderful but hide stitches, so save them for your second or third toy, and count carefully.
Everything else
- Fiberfill stuffing: polyester fiberfill is light, washable and easy to shape.
- Stitch markers: essential. Mark the first stitch of every round.
- Safety eyes and noses: they give a professional look, but are not suitable for toys for babies (see safety below). Embroidery thread is the alternative.
- A yarn needle with a large eye, for sewing parts together and weaving in ends.
- Pins for test-placing ears, limbs and faces before sewing.
The core techniques
Every toy in our library uses the same handful of techniques. Learn them once and you can make any pattern here.
Magic ring
The magic ring, or adjustable ring, starts a round piece without a hole in the center. You work the first round of stitches into a loop of yarn, then pull the tail tight to close it. Weave the tail in firmly so the ring cannot open later.
Single crochet in a spiral
After the first round, you keep working round after round without joining, so the piece grows as a spiral. Because there is no visible join, it is easy to lose your place. Move a stitch marker up to the first stitch of each round. If single crochet is new to you, start with our step-by-step guides to the chain stitch and single crochet.
Increases and decreases
An increase is two single crochet in one stitch, which makes the piece grow. A decrease works two stitches together, which makes it shrink. Most patterns increase evenly to make a flat circle, work even rounds to build height, then decrease to close the shape. The invisible decrease, worked through front loops only, leaves the neatest finish.
Color changes
To change color, work the last stitch of the old color until two loops remain on the hook, then finish it with the new color. That keeps the color line clean. In spiral rounds, color changes leave a small jog; place it at the back of the toy.
Stuffing and closing
Stuff firmly, a little at a time, pushing fiberfill into the edges first. Stuff before the opening gets too small to reach inside. Close the last round by threading the tail through the front loops of the remaining stitches and pulling tight.
Assembly and faces
Pin every part in place before sewing. Look at the toy from the front, the side and above; most lopsided toys are caught at this stage. Sew parts on with the long tails you left, going through several rounds of the body for strength. Add faces last, so the tension matches the stuffed shape.
How to read an amigurumi pattern
Amigurumi patterns are written round by round. A typical line looks like this:
Rnd 3: (sc, inc) x 6 (18)
That means: in round 3, work one single crochet, then one increase, and repeat that pair six times, for a total of 18 stitches. The number in brackets at the end is your stitch count. Count after every round until it becomes second nature.
Common abbreviations you will see:
| Abbreviation | Meaning |
|---|---|
| MR | Magic ring |
| sc | Single crochet |
| inc | Increase: 2 sc in one stitch |
| dec | Decrease: 2 stitches worked together |
| BLO / FLO | Back loop only / front loop only |
| sl st | Slip stitch |
| (…) x 6 | Repeat the stitches in brackets 6 times |
Each pattern post on our site includes its own abbreviation list and notes, so read them before you start.
Choosing a pattern by skill level
On every collection page, the skill level comes from the designer's own rating in the pattern, not from the word "easy" in a title.
Beginner: single shapes and small toys. The chenille pumpkin made for beginners and the 5 cm mini bunny are good examples.
Beginner to intermediate: small toys with several parts and simple faces, like the cotton bunny with a carrot bag or the baby chick at 5 to 7 cm.
Intermediate: more parts, color changes and details. The Christmas gnome with a fuzzy beard is a good example.
Advanced and showpiece: jointed or dressed toys with many parts, such as the jointed teddy bear in a knitted sweater.
Troubleshooting common amigurumi problems
"I can see stuffing through my stitches." Your hook is too big for your yarn, or your tension is loose. Go down half a millimeter, or try holding the yarn a little tighter.
"My stitch count keeps coming out wrong." You are probably missing the first or last stitch of a round. Use a stitch marker, and count after every round.
"My piece is leaning or twisting." This is normal in spiral rounds. It is not a mistake. Position the drift at the back of the toy when you assemble it.
"There is a gap at my magic ring." Pull the tail tighter, then weave it in through a few stitches in different directions so it cannot loosen.
"My toy looks lumpy." Use smaller pieces of stuffing and push them into the edges first. Roll the piece between your hands to even it out.
"The ears or arms are crooked." Pin everything first, and check from several angles before sewing. Count rounds to place matching parts at the same height on each side.
Safety notes for toys made for children
Handmade toys make wonderful gifts, but toys for babies and young children need extra care:
- Under 3 years: do not use safety eyes, safety noses, buttons, beads, pearls, wire or toy joints. Embroider eyes and noses with yarn instead.
- Sew every part on securely, going through several rounds of the body. Tug-test ears, arms and tails before gifting.
- Avoid long cords and ribbons on baby toys.
- Choose washable materials, like cotton or acrylic yarn and polyester fiberfill.
Keychains, ornaments and decorations are not toys for small children, so keep them out of reach of babies.
Caring for finished amigurumi
Spot-clean amigurumi with a damp cloth and mild soap when you can. For a full wash, hand wash in cool water, squeeze gently without wringing, reshape and let the toy dry completely at room temperature. Chenille and velvet toys can shed slightly at first; a gentle brush or a lint roller helps.
Frequently asked questions
What is the easiest amigurumi for a beginner?
A single shape with no extra parts, such as a pumpkin or a jellyfish. Our easy amigurumi collection lists toys rated beginner by their designers.
What hook size is best for amigurumi?
Usually 2 to 4 mm, depending on the yarn. Use the hook the pattern lists, and go smaller if stuffing shows through the stitches.
What yarn is best for amigurumi?
Cotton or acrylic for crisp, clear stitches, and chenille or velvet for plush, cuddly toys. Beginners find smooth, light-colored yarn easiest.
Are amigurumi toys safe for babies?
They can be, if you embroider eyes instead of using safety eyes, sew all parts on securely and skip small accessories, wire and joints.
How long does it take to make an amigurumi?
Small toys and keychains take a few hours. Plush toys with many parts, or jointed and dressed toys, can take several evenings.
More collections to explore
- Crochet Keychain Patterns (19 patterns)
- Christmas Crochet Patterns (25 patterns)
- Halloween Crochet Patterns (17 patterns)