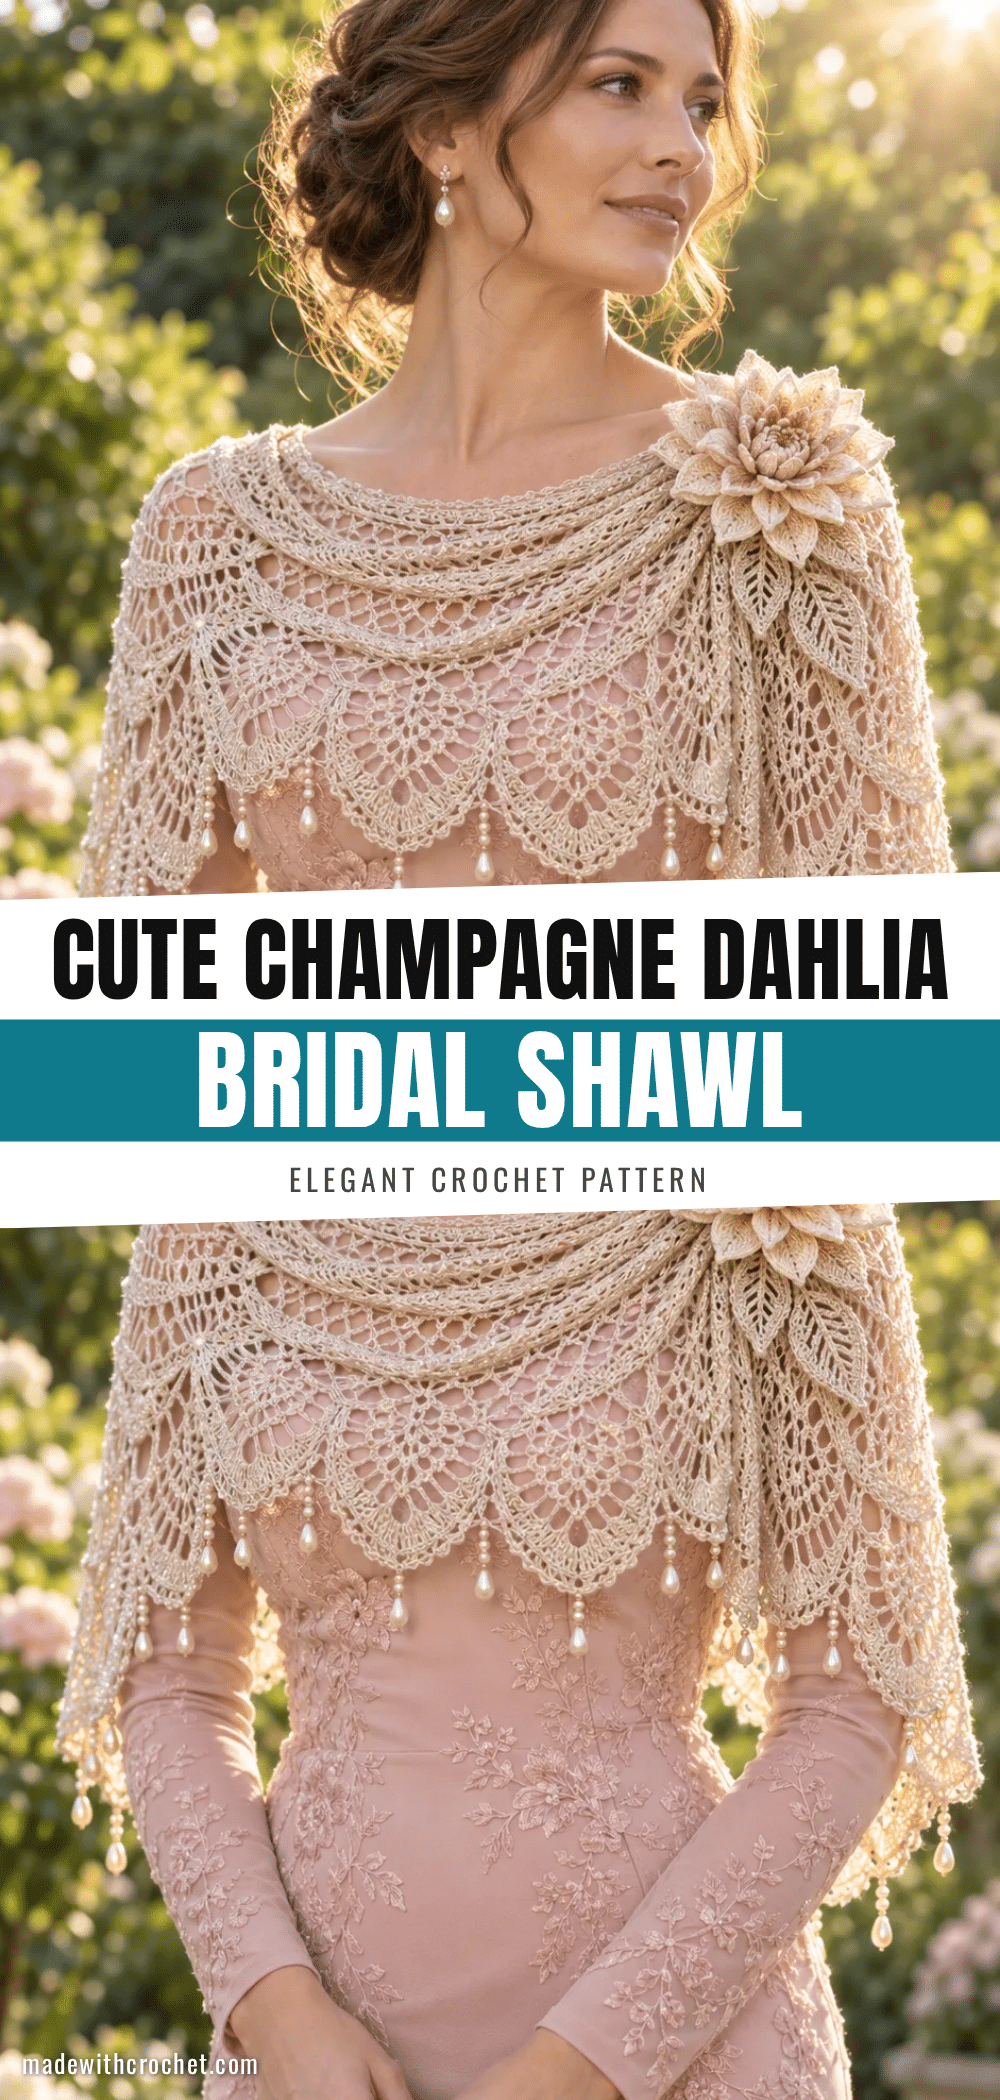
When you drape the Champagne Dahlia Bridal Shawl over your shoulders, the reaction is always the same: pure awe. This isn’t just a shawl; it is a stunning, shoulder-hugging capelet that drapes like absolute perfection. With its intricate pineapple lace, dimensional flower petals, and delicate pearl bead drops, it is the kind of piece that looks impossibly intricate but is surprisingly manageable to create. Whether you are crafting this for your own wedding or gifting it to a bride-to-be, the finished object is undeniably display-worthy and deeply useful for any formal event.
Why the Finished Piece Stands Out
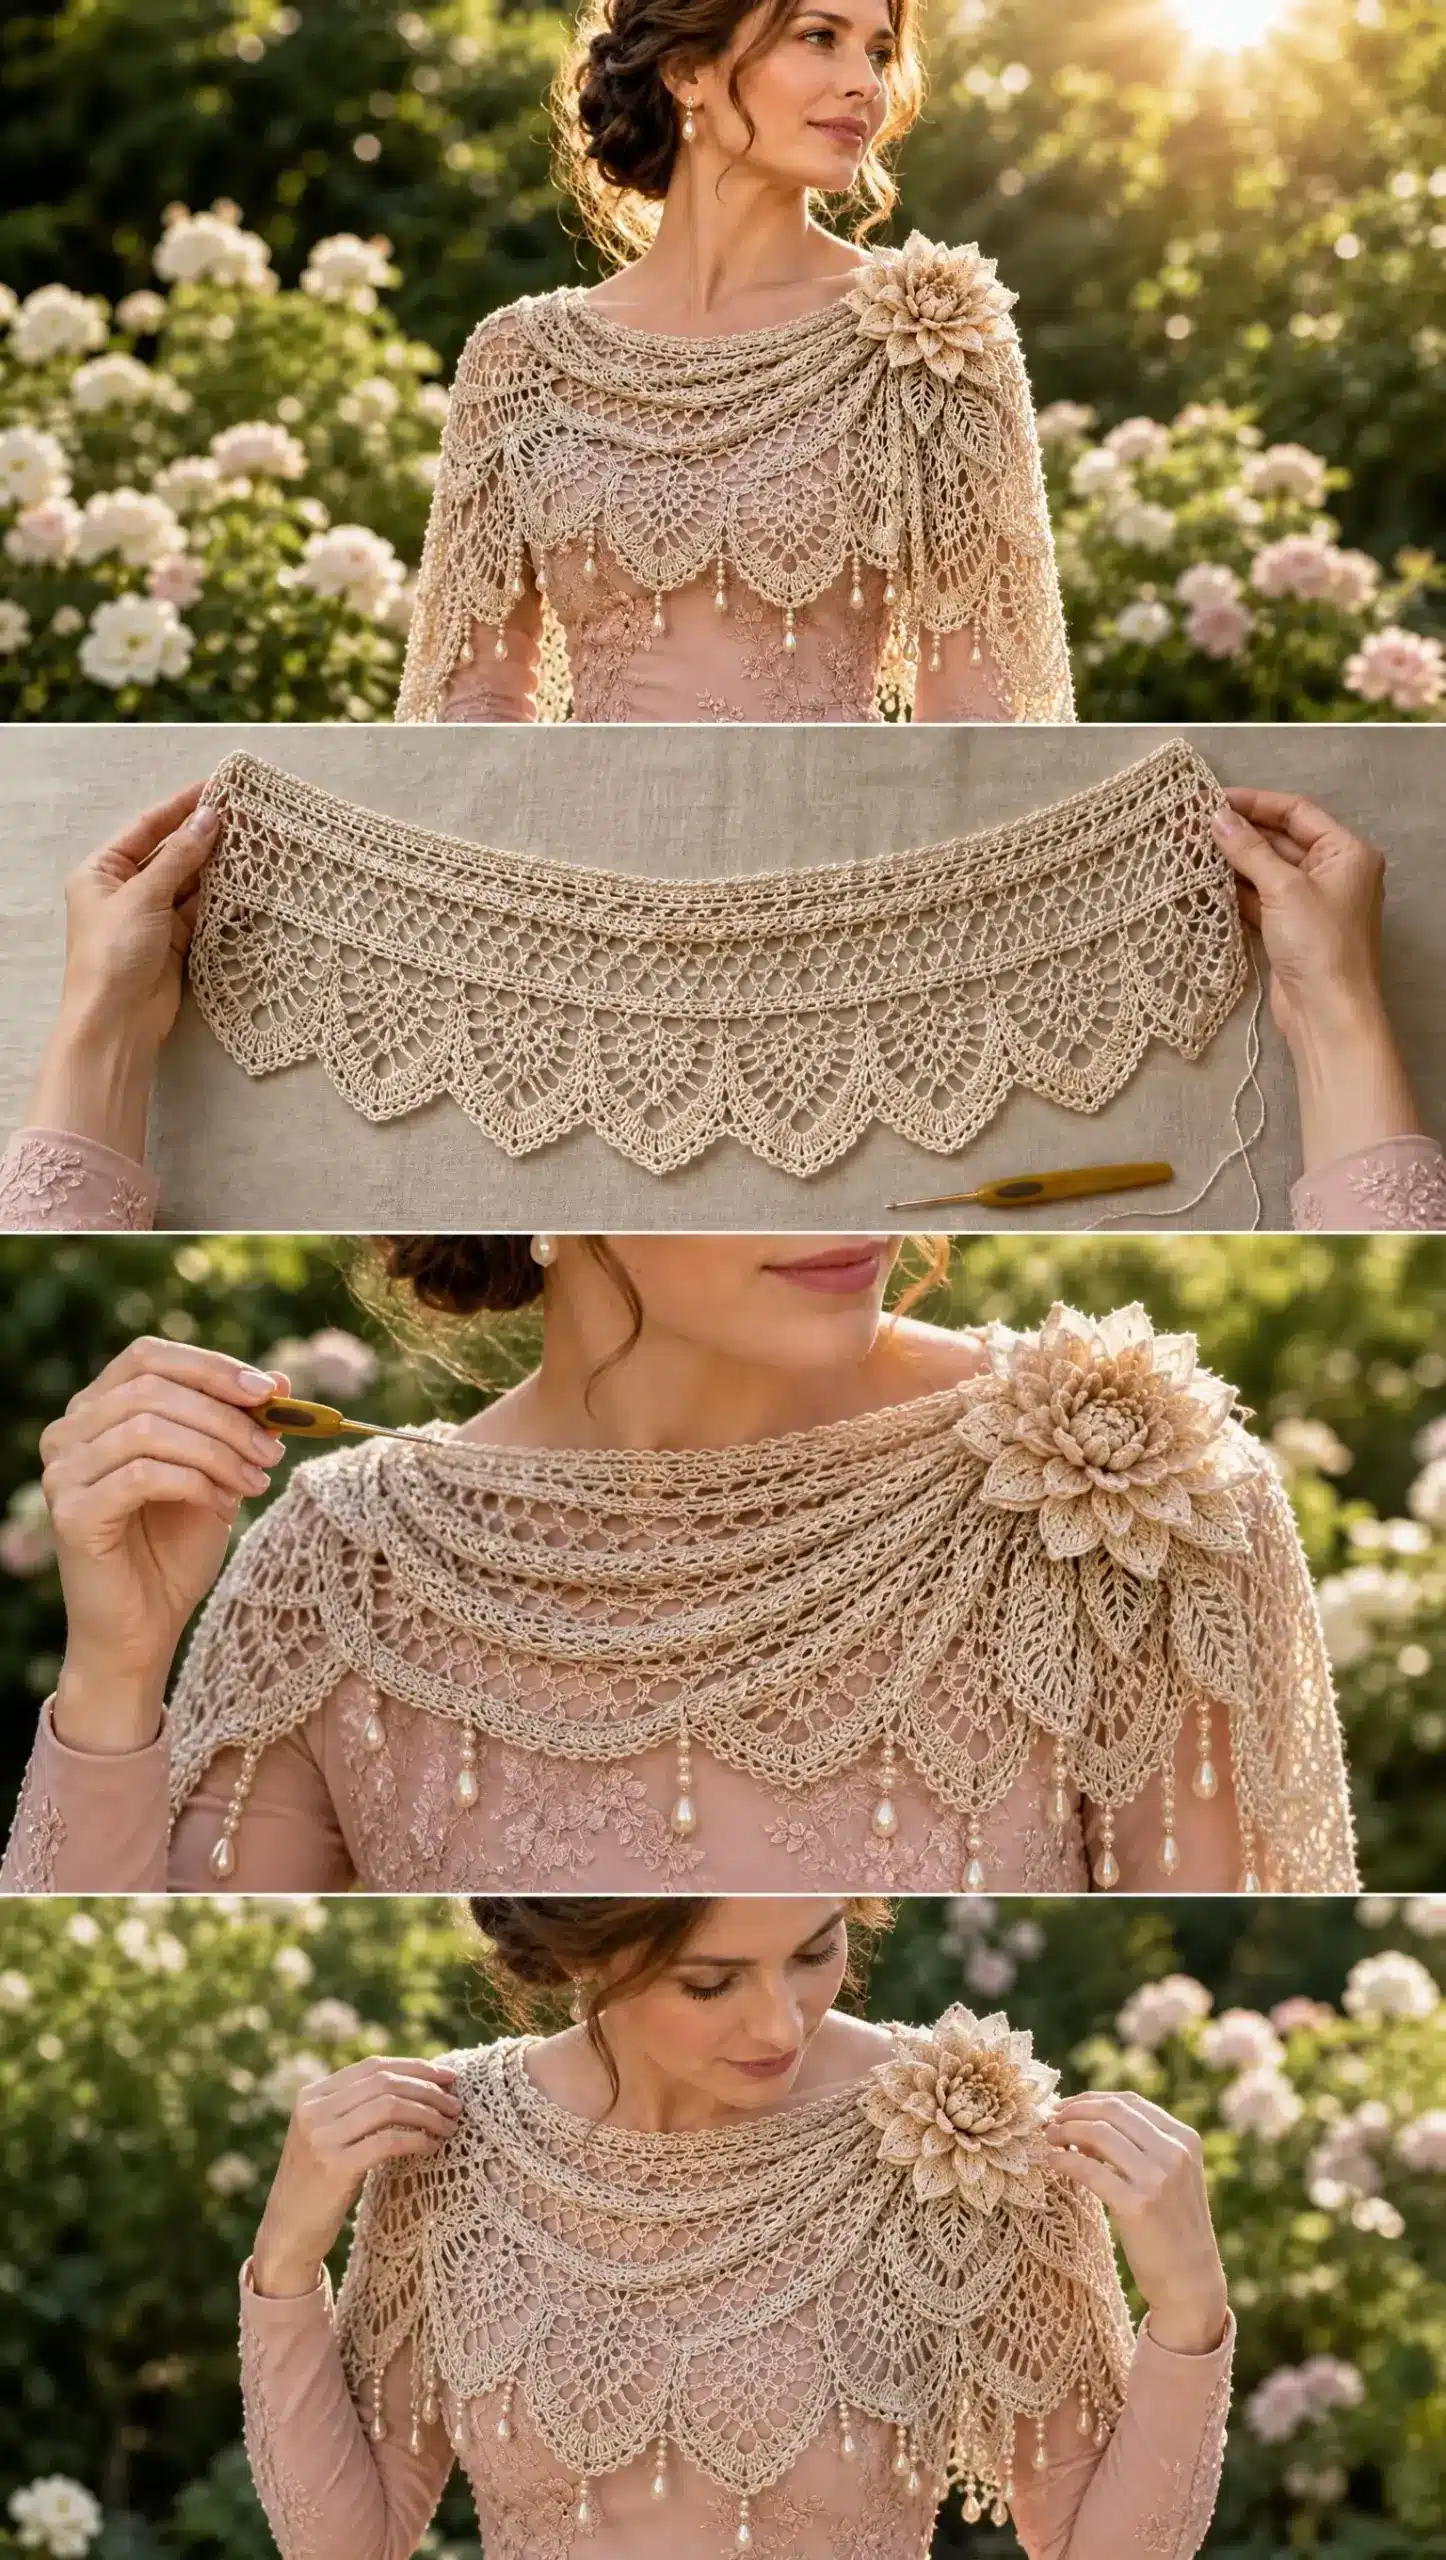
What truly elevates this project from a standard bridal accessory to a genuine work of art is the combination of classic lacework and modern dimensional details. The body alternates airy chain meshes with large pineapple fans, creating a timeless silhouette that sits beautifully just below the base of the neck. However, the real magic happens in the finishing touches. The oversized dimensional dahlia, crafted with folded petals that stand three-dimensionally, adds a focal point of realistic depth. Paired with short bead drops that move freely and a corded scallop edging that gives the lower edge a lovely rounded ridge, this shawl transforms into a show-stopping piece that captures light and attention.
Project Overview
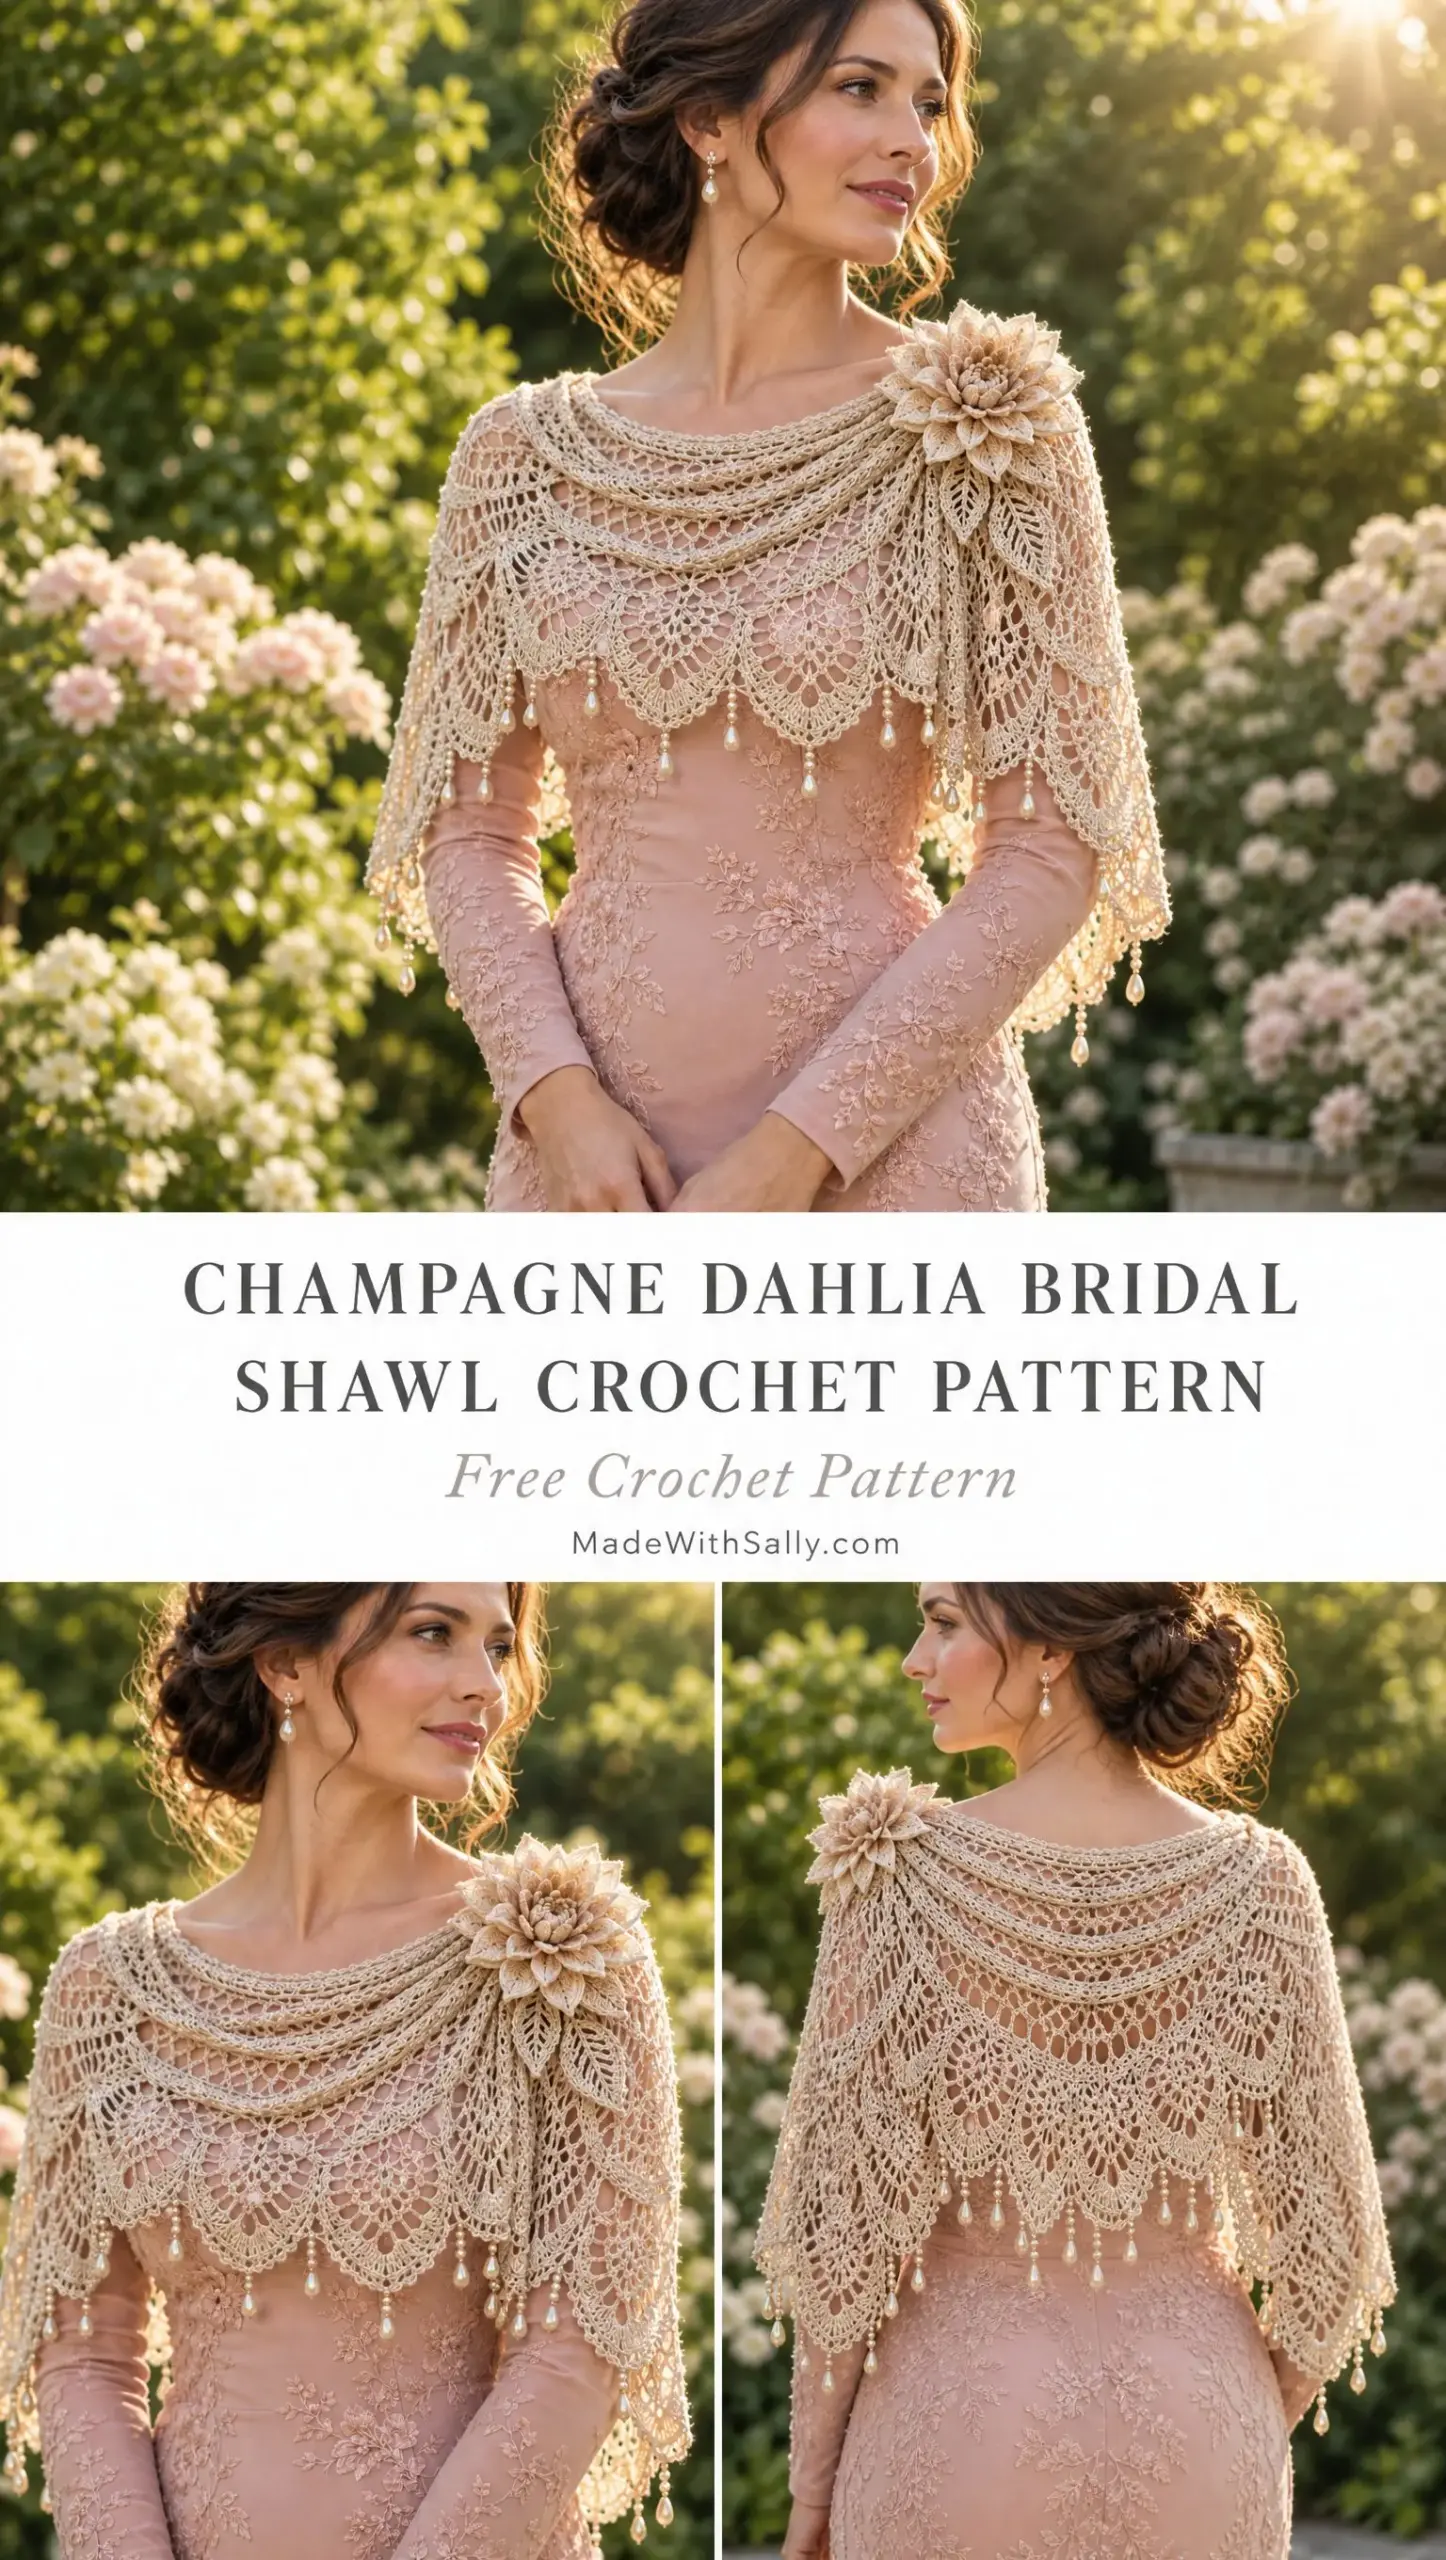
The Champagne Dahlia Bridal Shawl is a lightweight, top-down capelet worked flat in rows. The construction starts at the neckline and expands outward, creating a gorgeous draped effect where the fabric gathers naturally at the shoulders. The front edges remain open, allowing the shawl to hang gracefully. The pattern utilizes a 12-stitch lace repeat, making it scalable to fit various shoulder widths. It is designed for intermediate to advanced crocheters who are comfortable with lace repeats, increases, picots, and hand-sewing motifs.
Materials
Gather these supplies before you begin:
Yarn
- 900 to 1200 yards (825 to 1100 m) of champagne lace-weight cotton, bamboo-cotton, or mercerized crochet thread with subtle sheen for the main color.
- 100 yards (90 m) of ivory or pale champagne contrast for selected dahlia petals (optional but recommended).
Hooks
- 2.25 mm crochet hook for the body.
- 1.75 to 2.0 mm hook for firmer flower petals (optional).
Beads
- 24 to 32 teardrop pearl beads, 8 to 12 mm, drilled through the top.
- Cream seed beads, size 6/0 or 8/0.
Notions
- Fine beading needle.
- Matching strong sewing thread.
- Tapestry needle.
- Rustproof pins.
- Blocking mats.
- Tape measure.
- Optional: 1 small sew-in snap or hook-and-eye for extra security beneath the flower.
Gauge and Finished Size
One blocked 12-stitch pineapple repeat across Body Rows 9 through 16 equals approximately 3.1 to 3.4 inches (8 to 8.5 cm) wide. Eight rows of lace equals approximately 3.0 to 3.25 inches (7.5 to 8.25 cm) deep.
Gauge is less important than drape for this project, but neckline circumference and shoulder span definitely matter. Make a 24 to 30 stitch lace swatch using your chosen yarn and block it exactly as you plan to block the finished shawl before starting.
Here are the dimensions you can expect after blocking:
- Finished span: Approximately 50 to 54 inches (127 to 137 cm) from cuff edge to cuff edge.
- Center back depth: 17 to 19 inches (43 to 48 cm).
- Side depth: 13 to 15 inches (33 to 38 cm).
- Center-front points: Naturally shorter than the sides.
- Dahlia diameter: Approximately 5.5 to 6.5 inches (14 to 16.5 cm).
The measurements are given as ranges because lace yarns and blocking behavior vary widely. Use the schematic and fit checks throughout the pattern as your guide.
Abbreviations
Here are all the abbreviations used in this pattern with their meanings:
- ch = chain, the foundation stitch created by yarning over and pulling through the loop on your hook
- sl st = slip stitch, insert hook, yarn over, pull through both loops at once
- sc = single crochet, insert hook, yarn over, pull up a loop, yarn over, pull through both loops
- hdc = half double crochet, yarn over, insert hook, yarn over, pull up a loop, yarn over, pull through all three loops
- dc = double crochet, yarn over, insert hook, yarn over, pull up a loop, (yarn over, pull through two loops) twice
- tr = treble crochet, yarn over twice, insert hook, yarn over, pull up a loop, (yarn over, pull through two loops) three times
- dtr = double treble crochet, yarn over three times, insert hook, yarn over, pull up a loop, (yarn over, pull through two loops) four times
- sp = space
- sk = skip
- st(s) = stitch(es)
- rep = repeat
- RS / WS = right side / wrong side
- picot = ch 3, sl st in first ch
- V-st = (dc, ch 2, dc) in same sp
Pattern Notes
The construction is top-down and worked flat in rows, so the front edges remain open. This creates that gorgeous draped effect you see in the photos, where the fabric gathers naturally at the shoulders. The base instructions use 168 foundation chains plus 6 turning chains, giving you 14 lace repeats that fit many adult shoulder widths after expansion.
- For a smaller capelet: Begin with 144 + 6 chains.
- For a larger capelet: Begin with 192 + 6 chains.
Adjust only in multiples of 12. The pattern uses a 12-stitch lace repeat, so one added repeat increases the finished shoulder span by roughly 3 to 3.5 inches (7.5 to 9 cm) after blocking. Here is a helpful tip: count repeats, not individual stitches, whenever possible. Place a removable marker after each 12-stitch repeat on the setup row to keep track.
Add beads only after the shawl has been fully wet-blocked and dried. This prevents thread tension from distorting the lace. Keep all drops short enough that they move freely but do not tangle with neighboring drops. Space them evenly rather than beading every scallop.
Special Stitches
These techniques appear throughout the pattern:
- Corded scallop: Work 5 dc in designated space, remove hook from loop, insert hook front-to-back through top of first dc, catch dropped loop and pull through. Ch 1 tightly. This gathers the shell into a rounded corded ridge. Think of it like a popcorn stitch but worked in a shell formation.
- Pineapple decrease: At the top of a pineapple, replace two adjacent ch-5 loops with one ch-3 loop, then on the next row work sc in that ch-3 loop. This pulls the pineapple to a point and is what creates that classic tapered pineapple shape.
- Folded petal: A long petal worked around a chain foundation, then folded lengthwise and lightly tacked at its base so the petal stands three-dimensionally. This technique gives the dahlia its realistic depth.
Pattern Instructions
The written rows below use 168 foundation chains + 6 turning chains = 14 pineapple repeat sections. If you changed size, simply work the repeat between asterisks more or fewer times.
Neckline Foundation
Foundation: Ch 174 loosely. Dc in 7th ch from hook, ch 2, sk 2 ch, dc in next ch across. You should have 56 dc posts including the first turning-chain post. Turn.
Row 1 (WS): Ch 4 (counts as tr), tr in same st, ch 3, sc in next ch-2 sp, ch 3, (tr, ch 2, tr) in next dc ; rep across, ending with 2 tr in last st. Turn.
Row 2: Ch 3, dc in next tr, ch 3, sc in next ch-3 sp, ch 5, sc in next ch-3 sp, ch 3, V-st in next ch-2 sp ; rep across. End with dc in each of last 2 sts. Turn.
Row 3: Ch 3, dc in next dc, ch 2, sc in next ch-3 sp, ch 3, 7 dc in next ch-5 sp, ch 3, sc in next ch-3 sp, ch 2, V-st in next V-st ch-2 sp ; rep across. End dc in last 2 sts. Turn.
Row 4: Ch 3, dc in next dc, ch 3, sc in next ch-3 sp, (dc in next dc, ch 1) 6 times, dc in 7th dc, ch 3, sc in next ch-3 sp, ch 3, V-st in next V-st ; rep across. Turn.
Row 5: Ch 3, dc in next dc, ch 4, sc in first ch-1 sp over pineapple, (ch 3, sc in next ch-1 sp) 5 times, ch 4, V-st in next V-st ; rep across. Turn.
Row 6: Ch 3, dc in next dc, ch 5, sc in next ch-3 sp, (ch 3, sc in next ch-3 sp) 3 times, ch 5, V-st in next V-st ; rep across. Turn.
Row 7: Ch 3, dc in next dc, ch 5, sc in next ch-3 sp, ch 3, sc in next ch-3 sp, ch 5, V-st in next V-st ; rep across. Turn.
Row 8: Ch 3, dc in next dc, ch 5, sc in center ch-3 sp, ch 5, V-st in next V-st ; rep across. Turn. The first pineapple tier is complete.
Expansion Band
This section opens up each original pineapple section into two descending lace lanes. This controlled expansion gives the capelet its sweeping curved outline without creating a gathered ruffle at the neck.
Row 9: Ch 3, dc in next dc, ch 3, 5 dc in next ch-5 sp, ch 3, V-st in next V-st, ch 3, 5 dc in next ch-5 sp, ch 3 ; rep across, keeping edge dc groups. Turn.
Row 10: Ch 3, dc in next dc, ch 3, (dc in next dc, ch 1) 4 times, dc in 5th dc, ch 3, (dc, ch 2, dc, ch 2, dc) in next V-st ch-2 sp, ch 3, (dc in next dc, ch 1) 4 times, dc in 5th dc, ch 3 ; rep across. Turn.
Row 11: Ch 3, dc in next dc, ch 4, sc in each of the 4 ch-1 sps with ch 3 between them, ch 4, V-st in each of the two ch-2 sps in center cluster, ch 4, sc in each of next 4 ch-1 sps with ch 3 between, ch 4 ; rep across. Turn.
Row 12: Ch 3, dc in next dc, ch 5, sc in next ch-3 sp, ch 3, sc in next ch-3 sp, ch 5, V-st in next V-st, ch 2, V-st in next V-st, ch 5, sc in next ch-3 sp, ch 3, sc in next ch-3 sp, ch 5 ; rep across. Turn.
Large Pineapple-Lace Fan Tier
Work the following 8-row repeat across every V-st pair created in the Expansion Band. The two outer edges are kept slightly shallower so the center-front corners finish shorter than the side and back sections.
Row 13: Ch 3, dc in next dc, ch 3, sc in next ch-5 sp, ch 3, 9 dc in first V-st ch-2 sp, ch 3, sc in ch-2 bridge between V-sts, ch 3, 9 dc in second V-st ch-2 sp, ch 3, sc in next ch-5 sp, ch 3 ; rep across. Turn.
Row 14: Ch 3, dc in next dc, ch 3, (dc in next dc, ch 1) 8 times, dc in 9th dc, ch 3, sc in center bridge sc, ch 3, (dc in next dc, ch 1) 8 times, dc in 9th dc, ch 3 ; rep across. Turn.
Row 15: Ch 3, dc in next dc, ch 4, sc in first ch-1 sp, (ch 3, sc in next ch-1 sp) 7 times, ch 4, sc in center ch-3 sp, ch 4, sc in first ch-1 sp of second fan, (ch 3, sc in next ch-1 sp) 7 times, ch 4 ; rep across. Turn.
Row 16: Ch 3, dc in next dc, ch 5, sc in next ch-3 sp, (ch 3, sc in next ch-3 sp) 5 times, ch 5, sc in center ch-4 sp, ch 5, sc in next ch-3 sp, (ch 3, sc in next ch-3 sp) 5 times, ch 5 ; rep across. Turn.
Row 17: Ch 3, dc in next dc, ch 5, sc in next ch-3 sp, (ch 3, sc in next ch-3 sp) 3 times, ch 5, sc in center ch-5 sp, ch 5, sc in next ch-3 sp, (ch 3, sc in next ch-3 sp) 3 times, ch 5 ; rep across. Turn.
Row 18: Ch 3, dc in next dc, ch 5, sc in next ch-3 sp, ch 3, sc in next ch-3 sp, ch 5, sc in center ch-5 sp, ch 5, sc in next ch-3 sp, ch 3, sc in next ch-3 sp, ch 5 ; rep across. Turn.
Row 19: Ch 3, dc in next dc, ch 6, sc in center ch-3 sp of first pineapple, ch 6, sc in center ch-5 sp, ch 6, sc in center ch-3 sp of second pineapple, ch 6 ; rep across. Turn.
Row 20: Ch 3, dc in next dc, ch 5, sc in first ch-6 sp, ch 4, sc in next ch-6 sp, ch 4, sc in next ch-6 sp, ch 5 ; rep across. Turn.
Lengthening the Sides and Back
To create elbow-length sides while keeping the center-front shorter, use short rows before the final edging. Divide the capelet into 5 zones by repeat count:
- Attach yarn at the beginning of the Left Side zone. Work Rows 17-20 pattern logic across Left Side + Back + Right Side only. Turn.
- Work back across Right Side + Back + Left Side. Turn.
- Repeat these two short rows once more if more elbow coverage is desired. Fasten off.
- Reattach at the beginning of Back zone and work 2 additional short rows across Back only. Fasten off.
- Lightly steam or wet-block at this stage. The sides should now fall lower than the two front corners.
Fit check: Drape the unedged shawl over a dress form or over your shoulders. The top edge should lie smoothly, the side points should reach near the elbows, and the two front ends should sit 2 to 4 inches (5 to 10 cm) higher than the side points. Add or remove one short-row pair before edging if needed.
Corded Scalloped Lower Edge
Run through these points to make sure your shawl is finished perfectly:
- Hand wash cool, support the lace fully when wet, and re-block the scallops after washing. For metallic or beaded yarns, follow the yarn manufacturer’s care instructions. Store flat rather than hanging for long periods to preserve the shape.
Oversized Ivory-and-Champagne Dahlia
Flower Base Disk
Place the 48-stitch base disk RS up. Mark 16 equally spaced points around the outer round.
Outer Folded Petals (make 16)
Sew one outer petal at each mark, angling petals slightly outward. Stitch only through the petal base so the upper half remains free.
Middle Folded Petals (make 12)
Add the 12 middle petals in a second ring, offset between outer petals and raised at a steeper angle.
Inner Pointed Petals (make 10)
Add the 10 inner petals in a third ring, alternating champagne and ivory if desired. Crowd them slightly for a full dahlia center.
Dahlia Assembly
For the center, make a small spiral: ch 22, work 2 sc in each chain, coil tightly and stitch into the center opening. Steam only from the back if needed. Do not press the petals.
Slim Pineapple-Lace Leaves (make 2)
Create two leaves using the same lace principles as the shawl body to match the aesthetic.
Beaded Scallop Drops
Attach teardrop pearls and seed beads to the scallops as desired, ensuring they are spaced evenly.
Attaching the Leaves and Dahlia
Once the shawl is fully blocked and dry, hand sew the leaves and the oversized dahlia to the front of the shawl, positioning them to balance the drape.
Assembly
Proper blocking transforms this project from nice to absolutely stunning. Here is how to do it right:
- Weave all yarn ends through at least 1 inch (2.5 cm) of solid stitch paths, reversing direction once. Do not weave through open chain spaces.
- Soak the shawl in cool water for 10 to 15 minutes with a small amount of gentle wool/cotton wash if appropriate for the fiber. Press out water in a towel; do not wring.
- Pin the neckline into a shallow curve. Pin the side sections lower than the front corners, matching the schematic. Open every pineapple fan and scallop evenly.
- Dry completely. Remove pins, then attach leaves, flower and bead drops if not already attached.
- For storage, lay the dahlia face-up and loosely support the petals with acid-free tissue. Avoid crushing the flower under other garments.
Tips
- If you have worked pineapple lace before, you will feel right at home. If pineapple stitch is new to you, I recommend practicing on a smaller project first to get familiar with the rhythm of the decreasing chain loops.
- Here is a helpful tip: count repeats, not individual stitches, whenever possible. Place a removable marker after each 12-stitch repeat on the setup row to keep track.
- Do not force the edge. Let the lace fall naturally.
- Keep all drops short enough that they move freely but do not tangle with neighboring drops. Space them evenly rather than beading every scallop.
- For storage, lay the dahlia face-up and loosely support the petals with acid-free tissue. Avoid crushing the flower under other garments.
FAQs
Can I make this shawl smaller or larger?
Yes. The pattern is designed to be adjustable. You can start with 144 + 6 chains for a smaller capelet or 192 + 6 chains for a larger one. Always adjust in multiples of 12 to maintain the lace repeat integrity.
What type of yarn is best for this project?
A lace-weight cotton, bamboo-cotton, or mercerized crochet thread with a subtle sheen works best. These fibers provide the necessary structure for the pineapple lace while allowing the shawl to drape elegantly.
Do I need to block this shawl?
Blocking is essential. It opens up the lace stitches, defines the pineapple fans, and sets the shape of the corded scallops. Wet blocking is recommended for the best results.
How do I attach the beads without distorting the lace?
Add beads only after the shawl has been fully wet-blocked and dried. This ensures that the lace dimensions are stable and the thread tension from beading won’t pull or distort the delicate stitches.
Is this pattern difficult for a beginner?
This pattern is rated intermediate to advanced. It requires comfort with lace repeats, increases, picots, and post-style corded edges. If you are new to pineapple lace, practicing on a smaller swatch first is highly recommended.
For more inspiration, check out our easy crochet sunflower keychain or our easy sunflower granny square cardigan set for simpler floral projects.
Pin This Crochet Pattern!