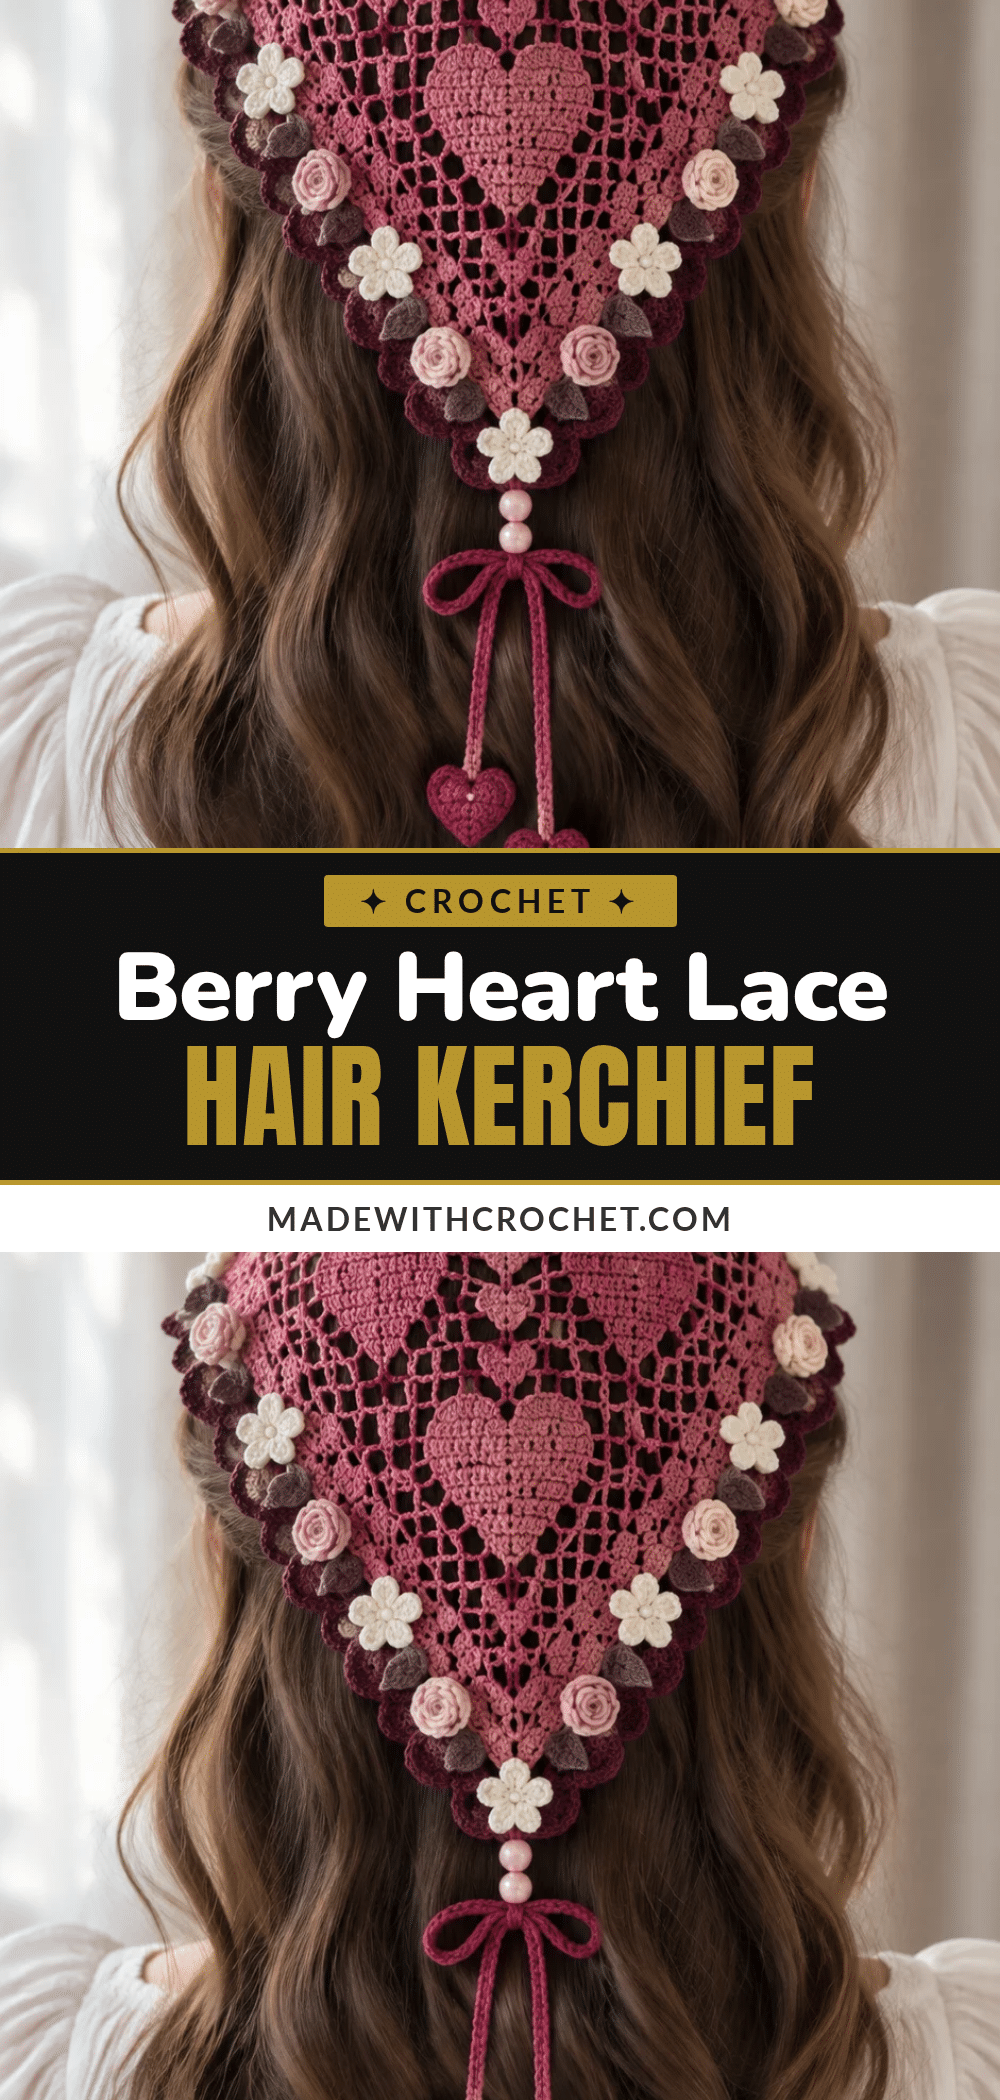
There is a specific kind of magic that happens when you first pick up a fine cotton thread and a tiny hook. The yarn sits on the table, waiting, and as you begin to form that first ring, the project starts to take shape under your hands. This Berry Heart Lace Hair Kerchief is that kind of project. It is delicate, intricate, and deeply rewarding. As you work through the filet crochet hearts and the scalloped border, you will feel the kerchief grow from a simple crown into a beautiful, wearable piece of lace art. It is a moment of focus and creativity that feels like a quiet celebration of craft.
Why This Project Works
This kerchief is not just an accessory; it is a statement of vintage romance. The combination of raspberry and deep plum tones with blush and ivory accents creates a look that is both bold and soft. The filet crochet technique allows the heart motifs to pop against the airy mesh background, giving the piece texture and visual interest without feeling heavy. It is the perfect project for a maker who wants to challenge their tension control while creating something timeless. Whether you wear it for a spring wedding, a garden party, or simply to add a touch of elegance to your everyday style, the generous size ensures it stays securely in place while framing your face beautifully.
Project Overview
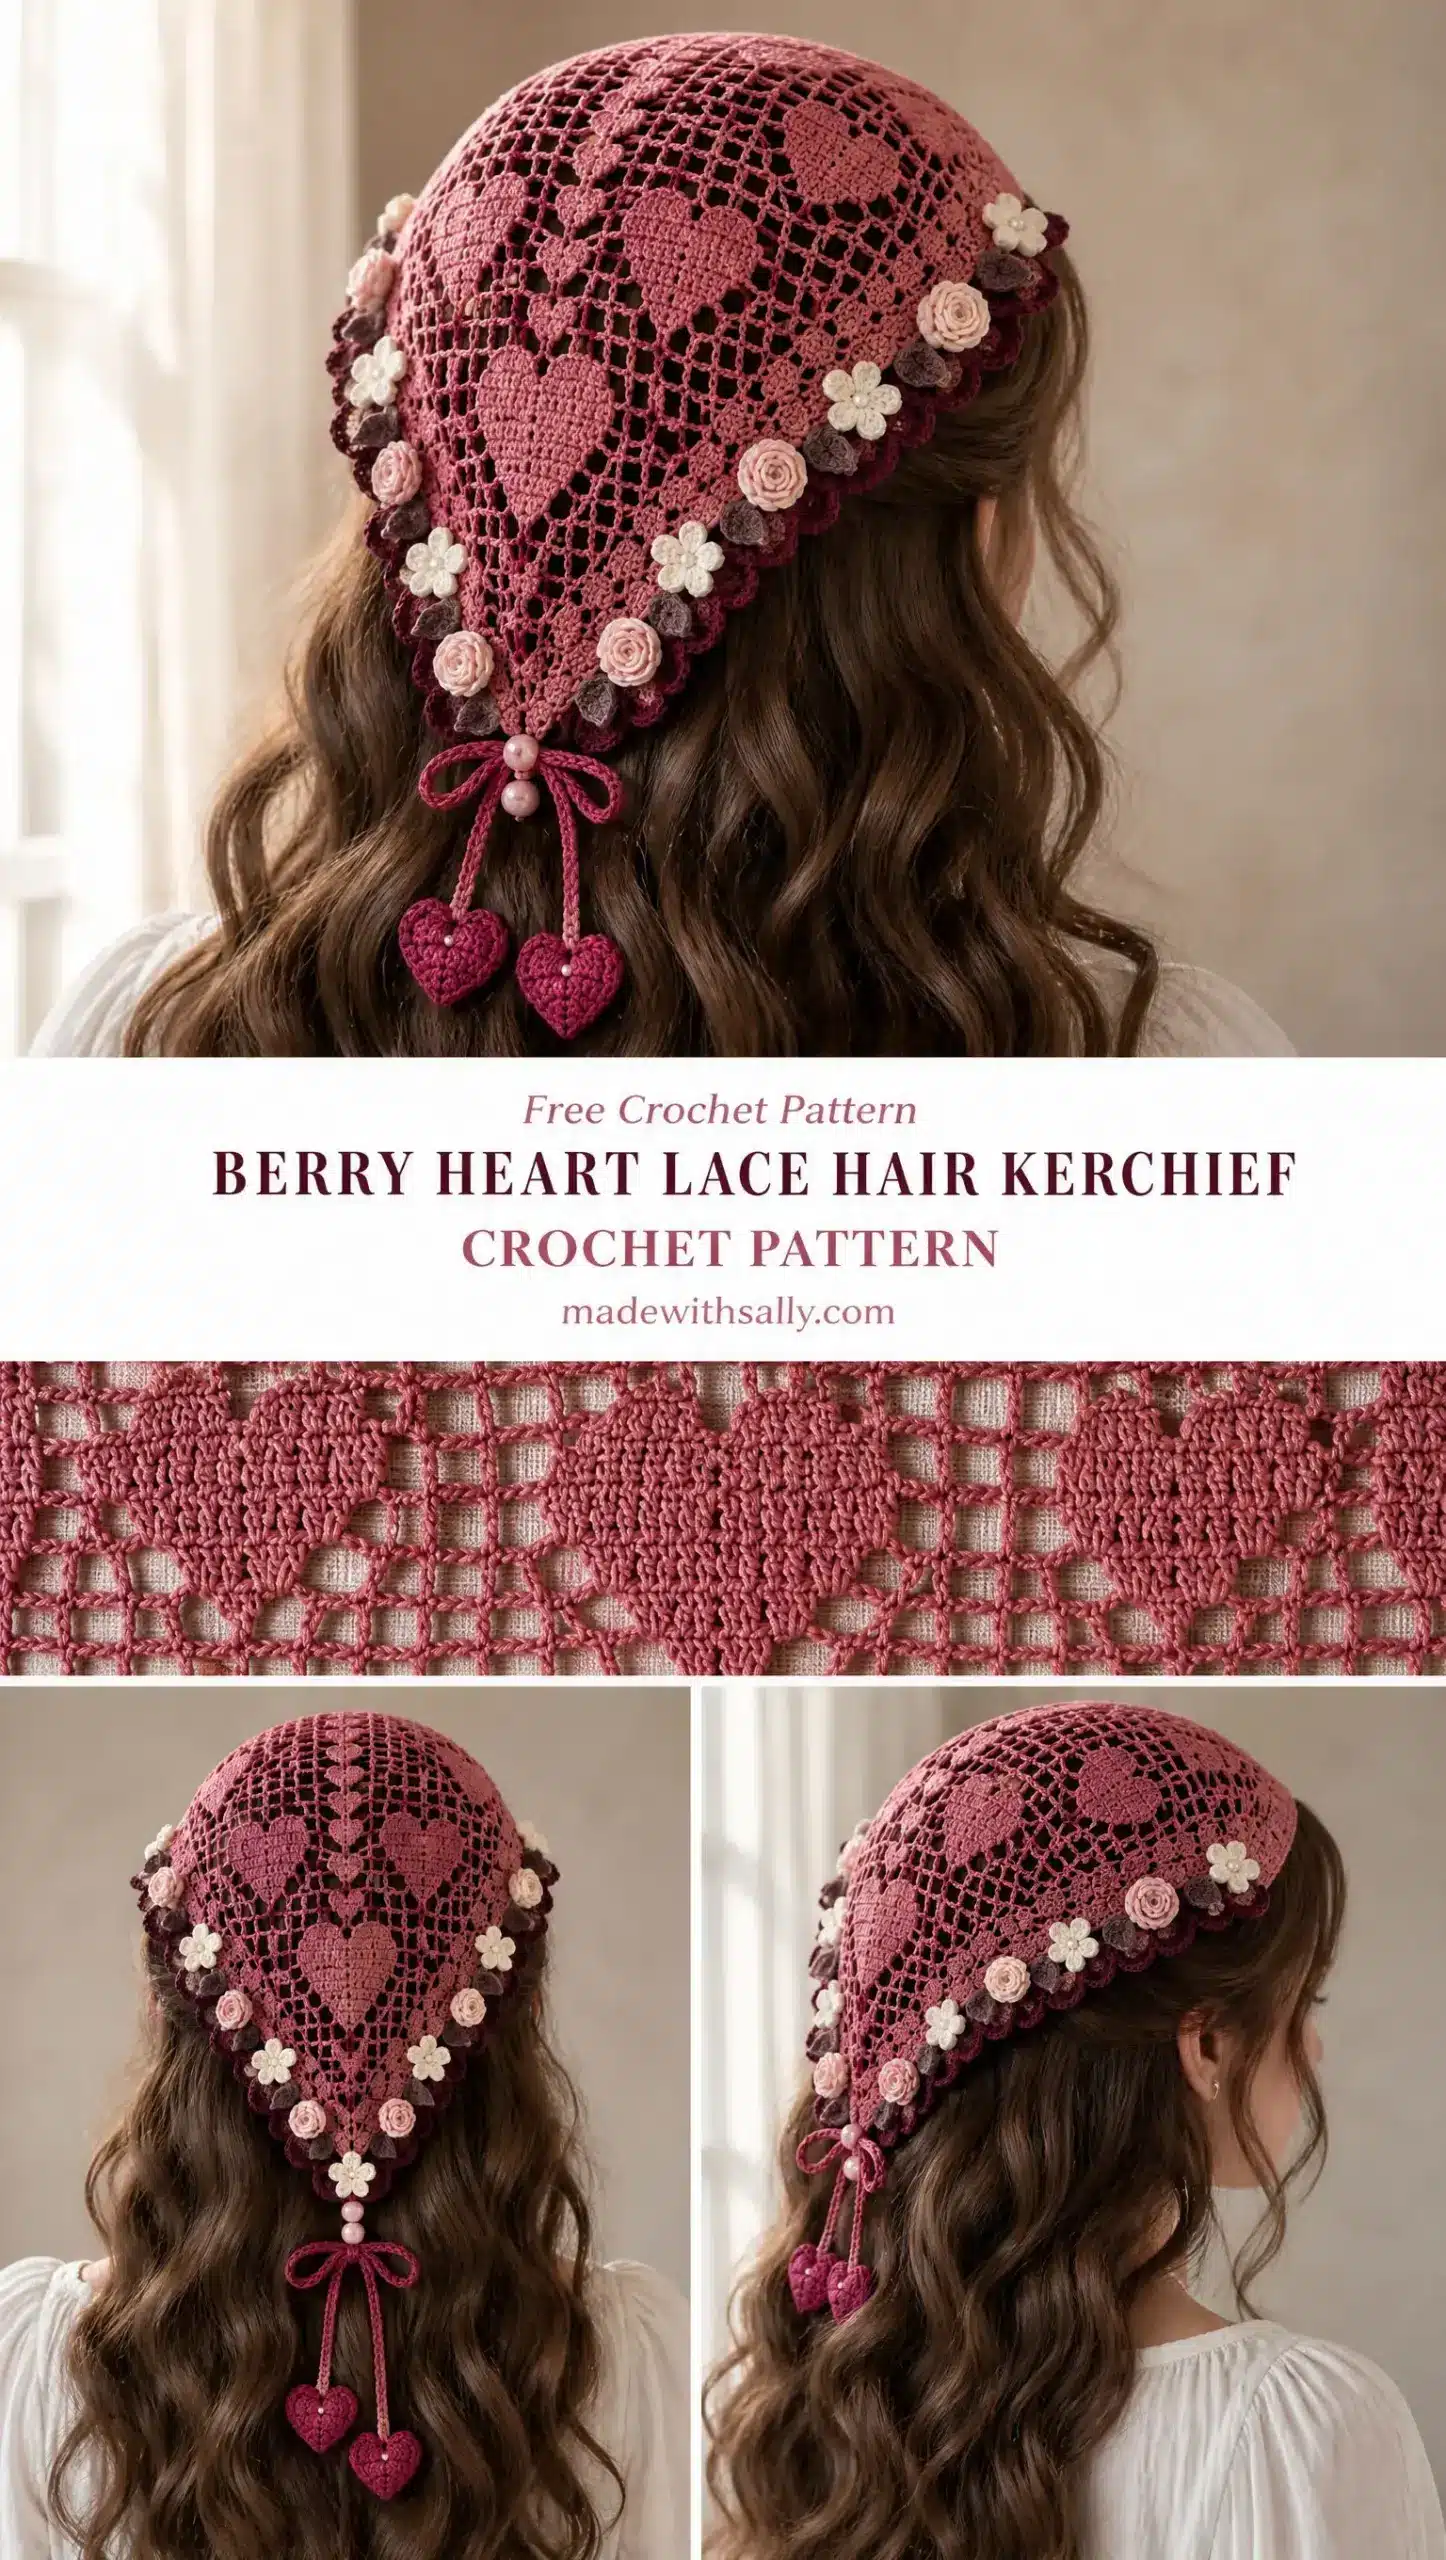
This triangular lace kerchief is worked in fine cotton thread using filet crochet heart motifs. It features a decorative scalloped border adorned with alternating blush rosettes and ivory blossoms, finished with a raspberry bow and dangling heart charms. The construction begins at the crown and increases outward to form the triangle shape.
Materials
Gather these supplies before you begin:
- Raspberry mercerized cotton thread (main color, size 10 or equivalent lace weight)
- Deep plum cotton thread (for border)
- Blush pink cotton thread (for rosettes)
- Ivory cotton thread (for five petal blossoms)
- Two pale pink beads
- Small amount of stuffing (optional, for heart charms)
- Sewing needle for joining ends
- Crochet hook: 1.25 mm to 1.75 mm (depending on your tension)
Gauge and Finished Size
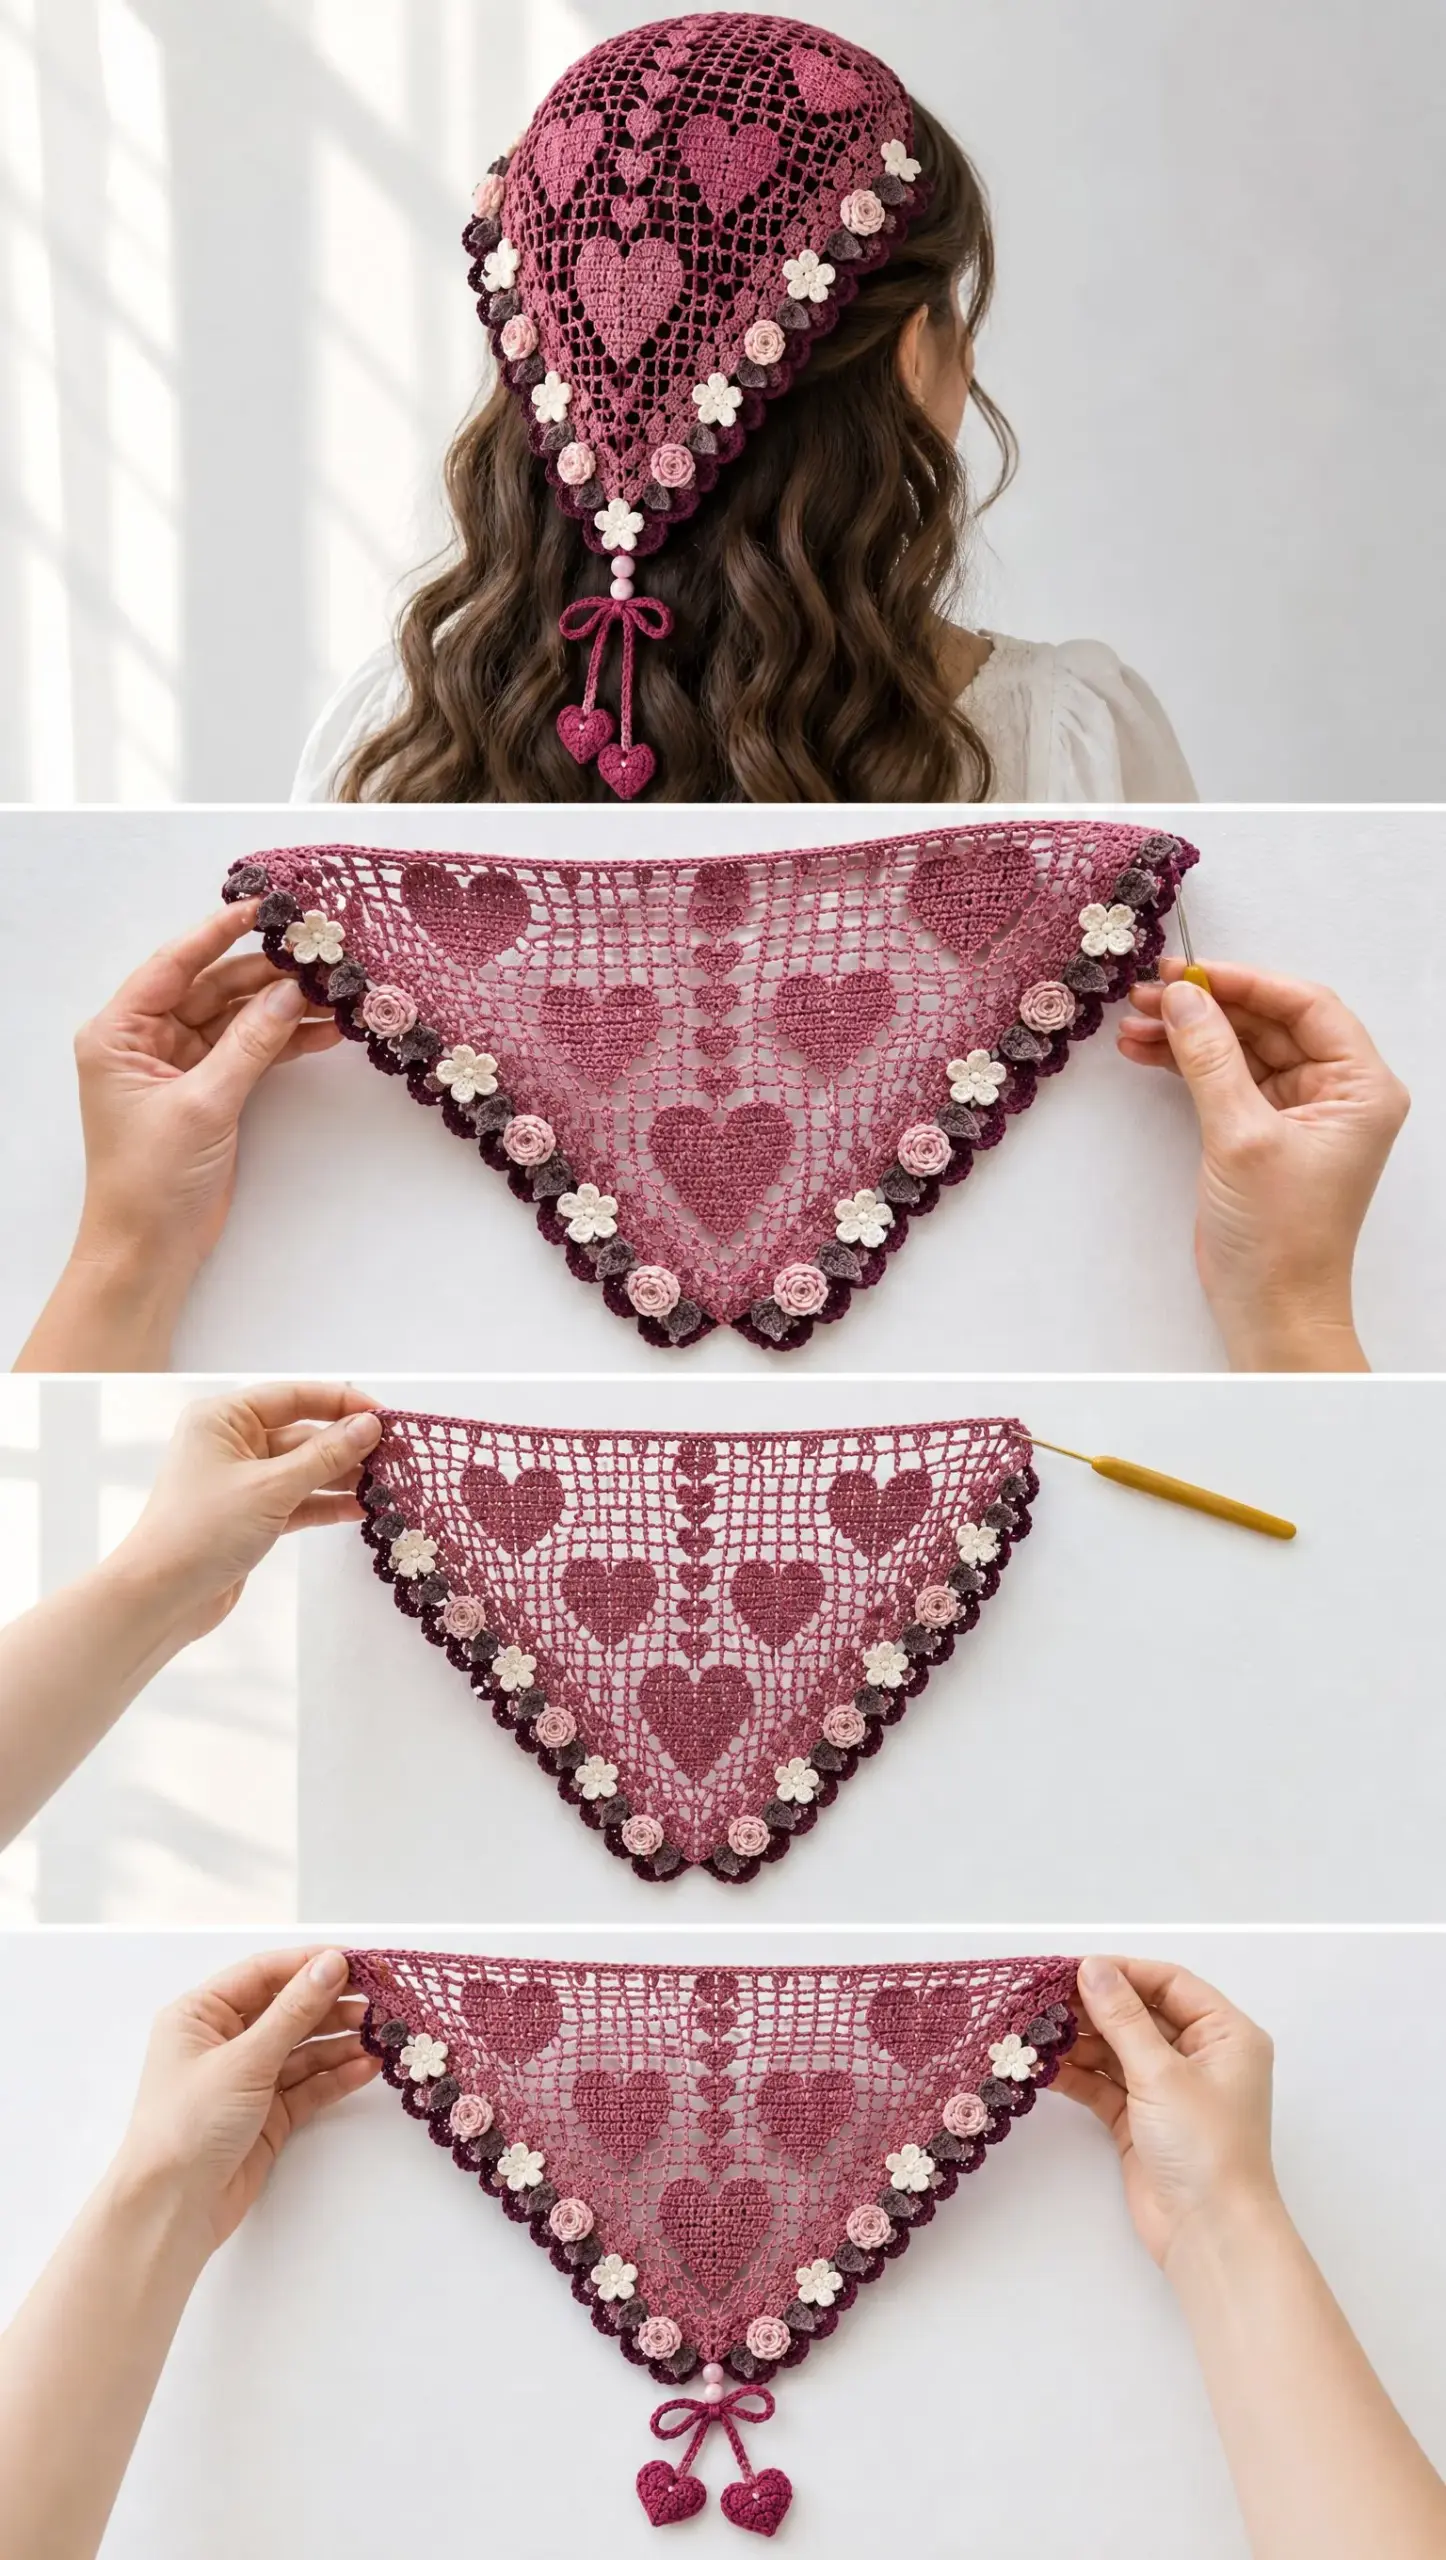
Gauge: Approximately 10 filet mesh blocks x 10 rows = 4 inches (10 cm). Gauge matters here because it affects the final drape and size. If your kerchief is coming out stiff, try going up a hook size. If it’s too loose and floppy, go down a size.
Finished Size: Approximately 34 inches (86 cm) wide across the top edge and 18 inches (46 cm) from crown to point. This generous size means the kerchief covers the back of your head comfortably and ties easily at the nape of your neck or under your chin.
Skill Level: Intermediate
Abbreviations
Let me walk you through every abbreviation used in this pattern so there’s no confusion:
- ch = chain: Wrap yarn over hook and pull through the loop on your hook. This creates one chain stitch.
- sl st = slip stitch: Insert hook into stitch, yarn over, pull through both the stitch and the loop on your hook in one motion. This is used for joining and moving across stitches without adding height.
- sc = single crochet: Insert hook into stitch, yarn over and pull up a loop (2 loops on hook), yarn over and pull through both loops.
- hdc = half double crochet: Yarn over, insert hook into stitch, yarn over and pull up a loop (3 loops on hook), yarn over and pull through all 3 loops.
- dc = double crochet: Yarn over, insert hook into stitch, yarn over and pull up a loop (3 loops on hook), yarn over and pull through 2 loops, yarn over and pull through remaining 2 loops.
- tr = treble crochet: Yarn over twice, insert hook into stitch, yarn over and pull up a loop (4 loops on hook), [yarn over and pull through 2 loops] three times.
- sp = space: The gap created by chain stitches between other stitches.
- st = stitch
- rep = repeat
Pattern Notes
This pattern is rated intermediate because of the fine thread, small hook, and the need to follow a filet chart for the heart placement. If you’ve worked with lace weight yarn before or tried basic filet crochet, you’re ready for this project. Proper finishing makes all the difference with lace work. Block the kerchief gently on a towel using lukewarm water. Blocking opens up the lacework and makes the heart motifs crisp and readable. Shape the triangle and scallops carefully. Pin each scallop individually if needed. Allow to dry completely. This may take 24 hours or more depending on humidity. Steam lightly if needed, avoiding direct heat. Hold your iron several inches above the work and let the steam do the work. Secure all flower centers and concealed joins with a few extra stitches. Check that the fabric drapes naturally and the heart motifs remain open and readable. If the hearts look blurry or closed up, you may need to block more aggressively.
Understanding Filet Crochet
Filet crochet is a technique that creates pictures or patterns using a grid of solid and open blocks. Think of it like pixel art, but with yarn. Each solid filet block is made with 3 double crochet stitches worked consecutively. These create the filled in portions of your design, which in this pattern form the heart shapes. Each open block is made with dc, ch 2, skip 2 stitches, dc. This creates the airy mesh background that makes the hearts stand out. When you look at a filet chart, filled squares represent solid blocks and empty squares represent open mesh blocks. You’ll read the chart from bottom to top, working right to left on odd rows and left to right on even rows.
A picot is typically ch 3, sl st back into the first chain, creating a small decorative bump.
Pattern Instructions
Main Kerchief Body Instructions
Foundation
Chain 8. Join with slip stitch to form a ring. This small ring becomes the crown of your kerchief, the part that sits at the top of your head.
Row 1
Ch 5 (counts as dc + ch-2). Work 3 dc into ring, ch 2, 3 dc into ring, ch 2, dc into ring. Turn. You’ve just created the beginning of your triangle with the center point established.
Row 2
Ch 5. Work dc into first stitch. Ch 2, dc in next dc, repeat across to center point. In center space work dc, ch 2, dc. Continue mesh pattern. The center space is where you’ll always work your increase to maintain the triangular shape. Every row builds outward from this center point.
Continuing the Filet Mesh Pattern
Follow the heart chart arrangement as you work:
- Center vertical heart column begins at row 8
- Mirror left and right heart motifs on either side
- Keep increases at both outer edges every row
- Maintain a symmetrical triangle throughout
The heart motifs are worked by substituting open mesh blocks with solid blocks according to the chart. When you reach a heart section, instead of working dc, ch 2, skip 2, dc for an open block, you’ll work 3 dc for a solid block.
Heart Motif Construction
For each heart block within the design:
- Row A: Work three filled blocks across the heart upper lobes. This creates the two bumps at the top of the heart.
- Row B: Add two filled blocks separated by one open mesh space. This continues building the heart shape.
- Row C: Reduce to one centered filled block. This forms the point at the bottom of the heart.
Continue filet mesh around the motif until the heart silhouette is complete.
Continue body rows until the triangle measures approximately 18 inches from crown to point.
Point Shaping
As you near the bottom of the kerchief, you’ll need to shape the point:
- Decrease one mesh block at each side every row for the final 8 rows.
- Finish with a small centered point.
Fasten off and weave ends invisibly. Use your sewing needle to tuck in all tails so they don’t show through the delicate lacework.
Plum Scalloped Border
The deep plum border frames the entire kerchief and gives it a finished, polished look. Attach deep plum yarn along the triangle edge.
Round 1
Sc evenly around the entire edge, placing 3 sc in the point. The 3 sc in the point creates a nice sharp corner at the bottom of your triangle.
Round 2
Ch 3, skip 2 stitches, 5 dc into next stitch, skip 2 stitches, sl st. Repeat to create scallops all the way around. These shell shapes form the romantic scalloped edge that the flowers will sit on.
Flower Border Elements
Blush Rosette
Make a magic ring. (A magic ring is an adjustable loop that lets you close the center of your work tightly. If you’re not comfortable with magic rings, you can chain 4 and join with a slip stitch instead.) Work 5 petals: (sc, hdc, 3 dc, hdc, sc) into ring. Pull center closed and secure flat. These rosettes have a layered, rose like appearance that adds dimension to the border.
Ivory Five Petal Blossom
Magic ring. Repeat five times: (ch 2, 2 dc, ch 2, sl st into ring). Sew a small center stitch to flatten the flower. The ivory blossoms are simpler and flatter than the rosettes, creating nice visual contrast.
Assembling the Flower Border
Sew flowers alternately along the plum scallop edge. Alternate between the blush rosettes and ivory blossoms for variety. Add short plum leaves between flowers: Ch 6, sc back along chain, attach flat. These little leaves fill the gaps and add greenery to your floral border. If you are looking for other floral accents, you might enjoy this easy crochet sunflower keychain for a smaller project.
Lower Point Decoration
The bottom point of the kerchief gets special embellishment. Attach two pale pink beads at the point with strong sewing thread. Make sure your knots are secure since this area will see movement.
Raspberry Bow
Chain 35 for each tail. Slip stitch back along chains. Create two loops and secure at center. This forms a dainty bow that dangles from the point of your kerchief.
Heart Charm Pattern
These small dimensional hearts hang from the bow tails.
Row 1
Magic ring. Ch 2, 3 dc, 3 tr, 3 dc, ch 2, sl st into ring.
Row 2
Work around heart with sc increases at the top curves and point. Add a small picot at bottom. (A picot is typically ch 3, sl st back into the first chain, creating a small decorative bump.)
Make two charms and attach to bow tails. If you want slightly puffy hearts, add a tiny bit of stuffing before closing them up.
Assembly
Assembling the Flower Border Sew flowers alternately along the plum scallop edge. Alternate between the blush rosettes and ivory blossoms for variety. Add short plum leaves between flowers: Ch 6, sc back along chain, attach flat. These little leaves fill the gaps and add greenery to your floral border.
Finishing Instructions
Proper finishing makes all the difference with lace work. Block the kerchief gently on a towel using lukewarm water. Blocking opens up the lacework and makes the heart motifs crisp and readable. Shape the triangle and scallops carefully. Pin each scallop individually if needed. Allow to dry completely. This may take 24 hours or more depending on humidity. Steam lightly if needed, avoiding direct heat. Hold your iron several inches above the work and let the steam do the work. Secure all flower centers and concealed joins with a few extra stitches. Check that the fabric drapes naturally and the heart motifs remain open and readable. If the hearts look blurry or closed up, you may need to block more aggressively.
Tips
- Tension consistency is crucial with fine thread. Try to maintain the same hand position and yarn tension throughout your work sessions. If you crochet tighter when tired, save this project for when you’re relaxed.
- Count your stitches at the end of every row, especially when working the heart motifs. One missed stitch can throw off the entire design.
- Use stitch markers to mark the center point of your triangle. This helps you keep track of where your increases should go.
- Work in good lighting. Fine cotton thread is hard to see, and you’ll strain your eyes working in dim conditions.
- Take breaks. This is detailed work that requires concentration. Step away every 30 minutes or so.
Care Instructions
To keep your kerchief looking beautiful:
- Hand wash in cool water with a gentle detergent.
- Lay flat to dry, reshaping while damp.
- Store folded away from direct sunlight to prevent fading of the raspberry and plum colors.
FAQs
What size crochet hook should I use?
Use a 1.25 mm to 1.75 mm hook depending on your tension. The gauge should be approximately 10 filet mesh blocks x 10 rows = 4 inches (10 cm).
Can I use yarn instead of thread?
This pattern is designed specifically for fine cotton thread (size 10). Using heavier yarn will change the gauge and the delicate lace appearance significantly.
How do I read the filet chart?
Read the chart from bottom to top. Work right to left on odd rows and left to right on even rows. Filled squares are solid blocks (3 dc), and empty squares are open mesh (dc, ch 2, skip 2, dc).
Why is my kerchief too stiff?
If your kerchief is stiff, your tension might be too tight or your hook is too small. Try going up a hook size to loosen the fabric and improve the drape.
How do I attach the flowers securely?
Use a sewing needle to weave the yarn tails through the back of the scallops and tie secure knots. Weave the ends into the adjacent stitches to hide them.
Pin This Crochet Pattern!