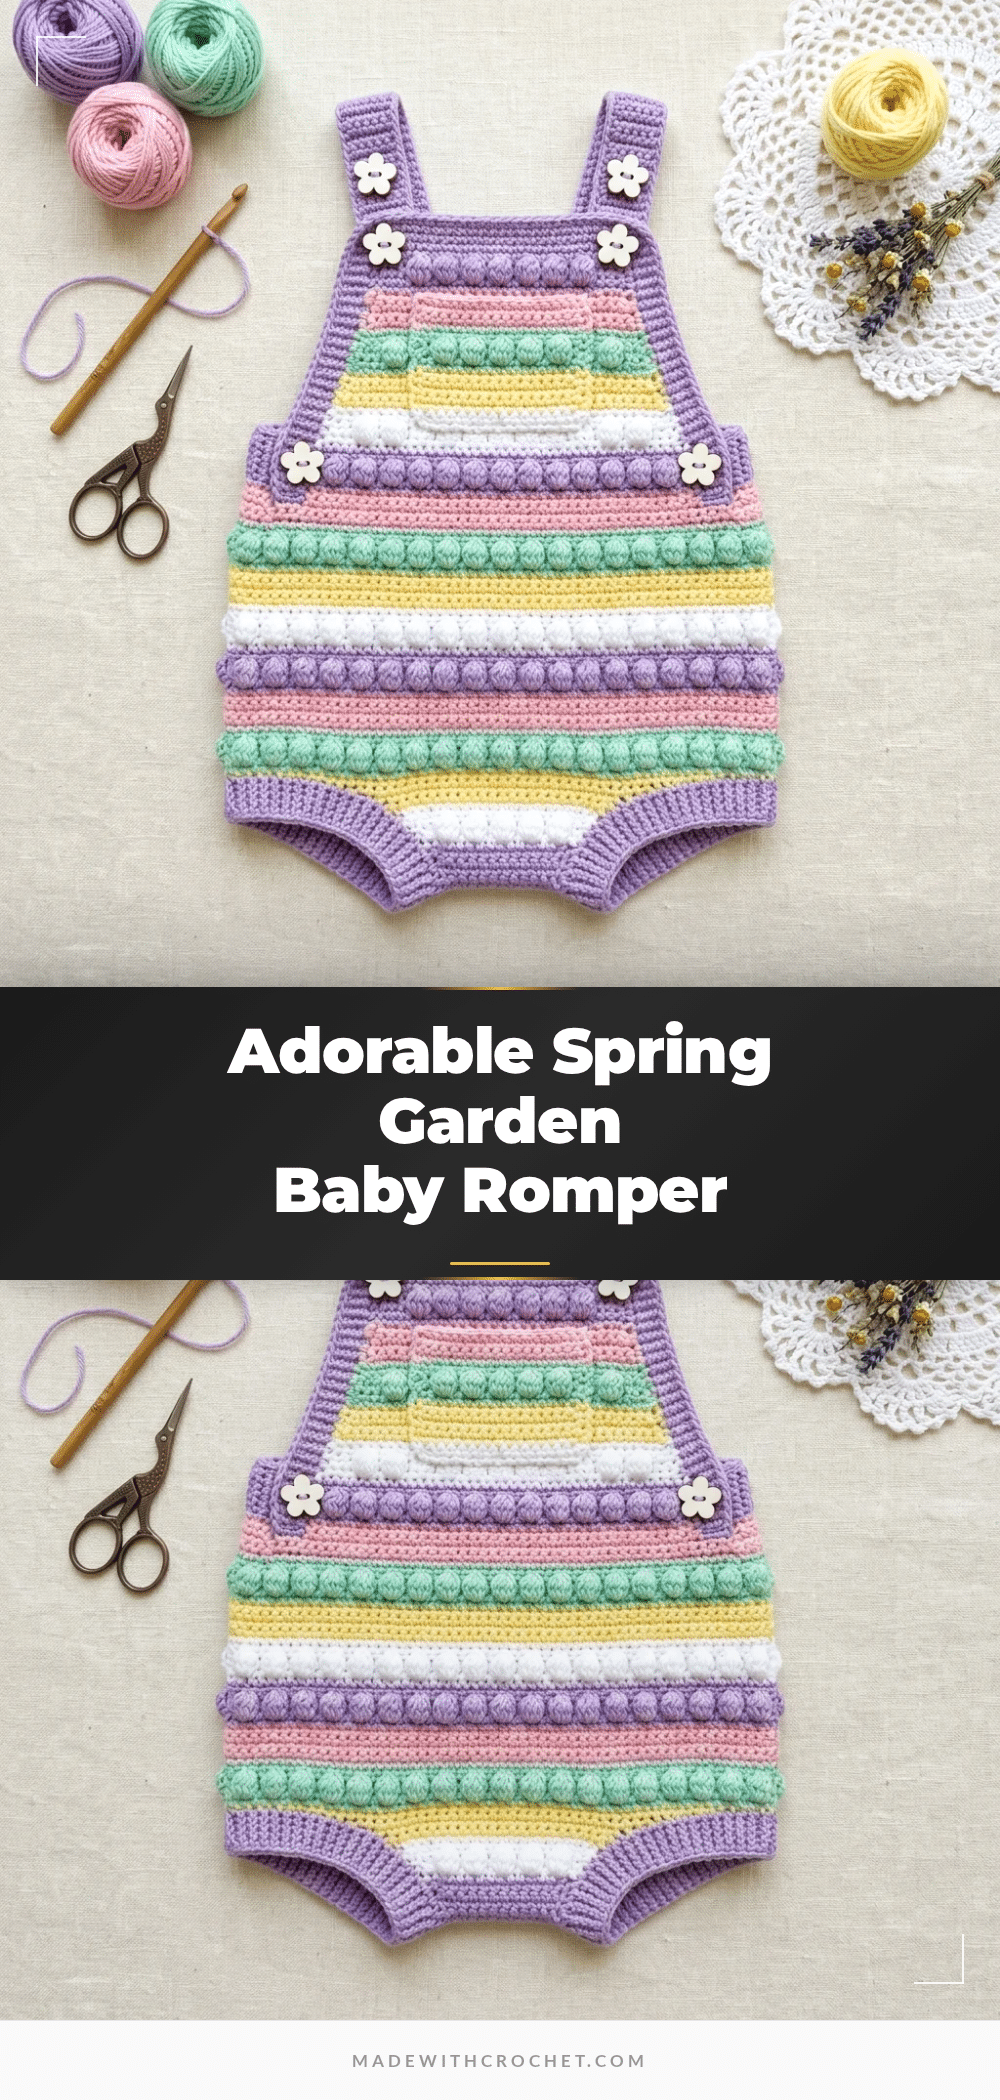
Have you ever started a baby garment, only to panic when you realize your stitches are too loose and the fabric looks more like a net than a romper? It is a very common fear, especially when working with cotton yarn that doesn’t have much stretch. But here is the good news: this Spring Garden Baby Romper is designed to be forgiving. The structured flat-panel construction and the textured bobble stitches actually help hide minor tension inconsistencies, making this project incredibly approachable even if you are still finding your rhythm. You don’t need to be a perfectionist to make something this beautiful; you just need a steady hand and a love for pastel colors.
Maker Notes
There is something undeniably magical about the combination of soft pastels and raised texture. When I first designed this romper, I wanted to capture the feeling of a gentle spring morning—soft, airy, and full of life. The five-color stripe sequence (lavender, pink, mint, yellow, and white) creates a rhythmic visual flow that keeps your hands busy without being overwhelming. The bobble stitches aren’t just decorative; they add a tactile dimension that babies love to touch, and they give the garment a premium, handmade look that stands out from standard flat crochet. This is the perfect project for using up those beautiful DK weight cotton skeins you have been saving for a special occasion.
Project Overview
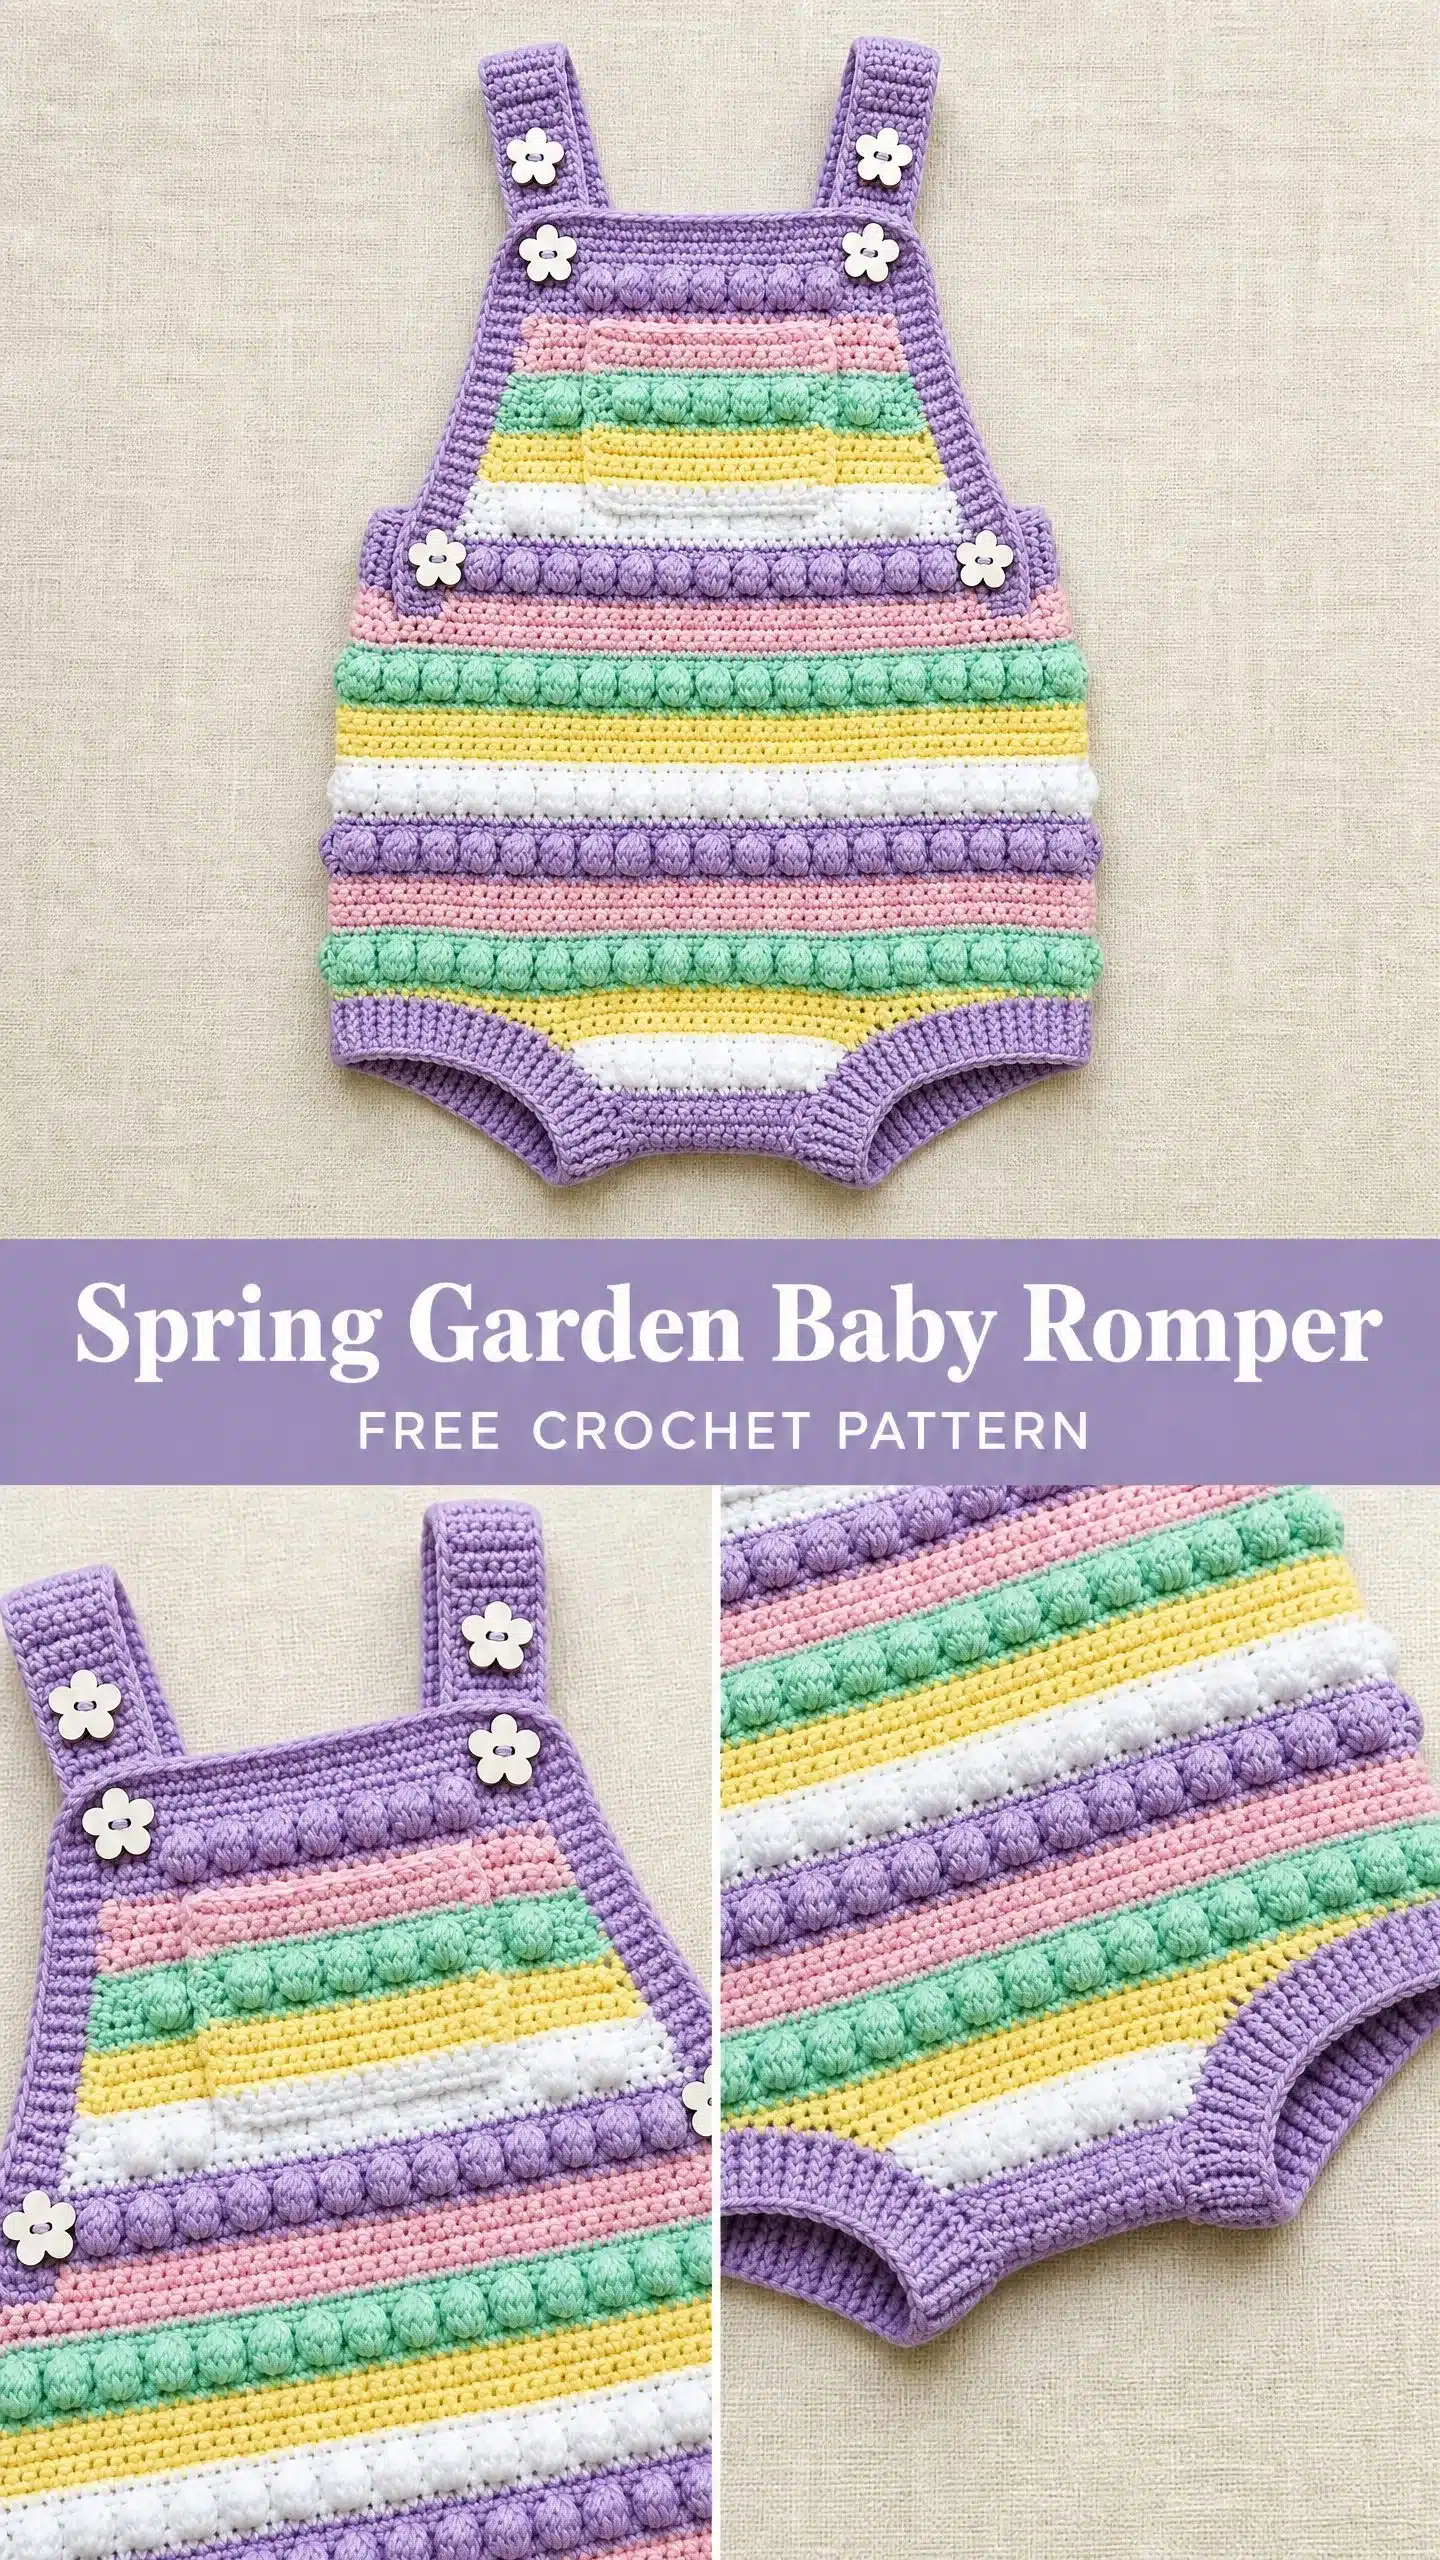
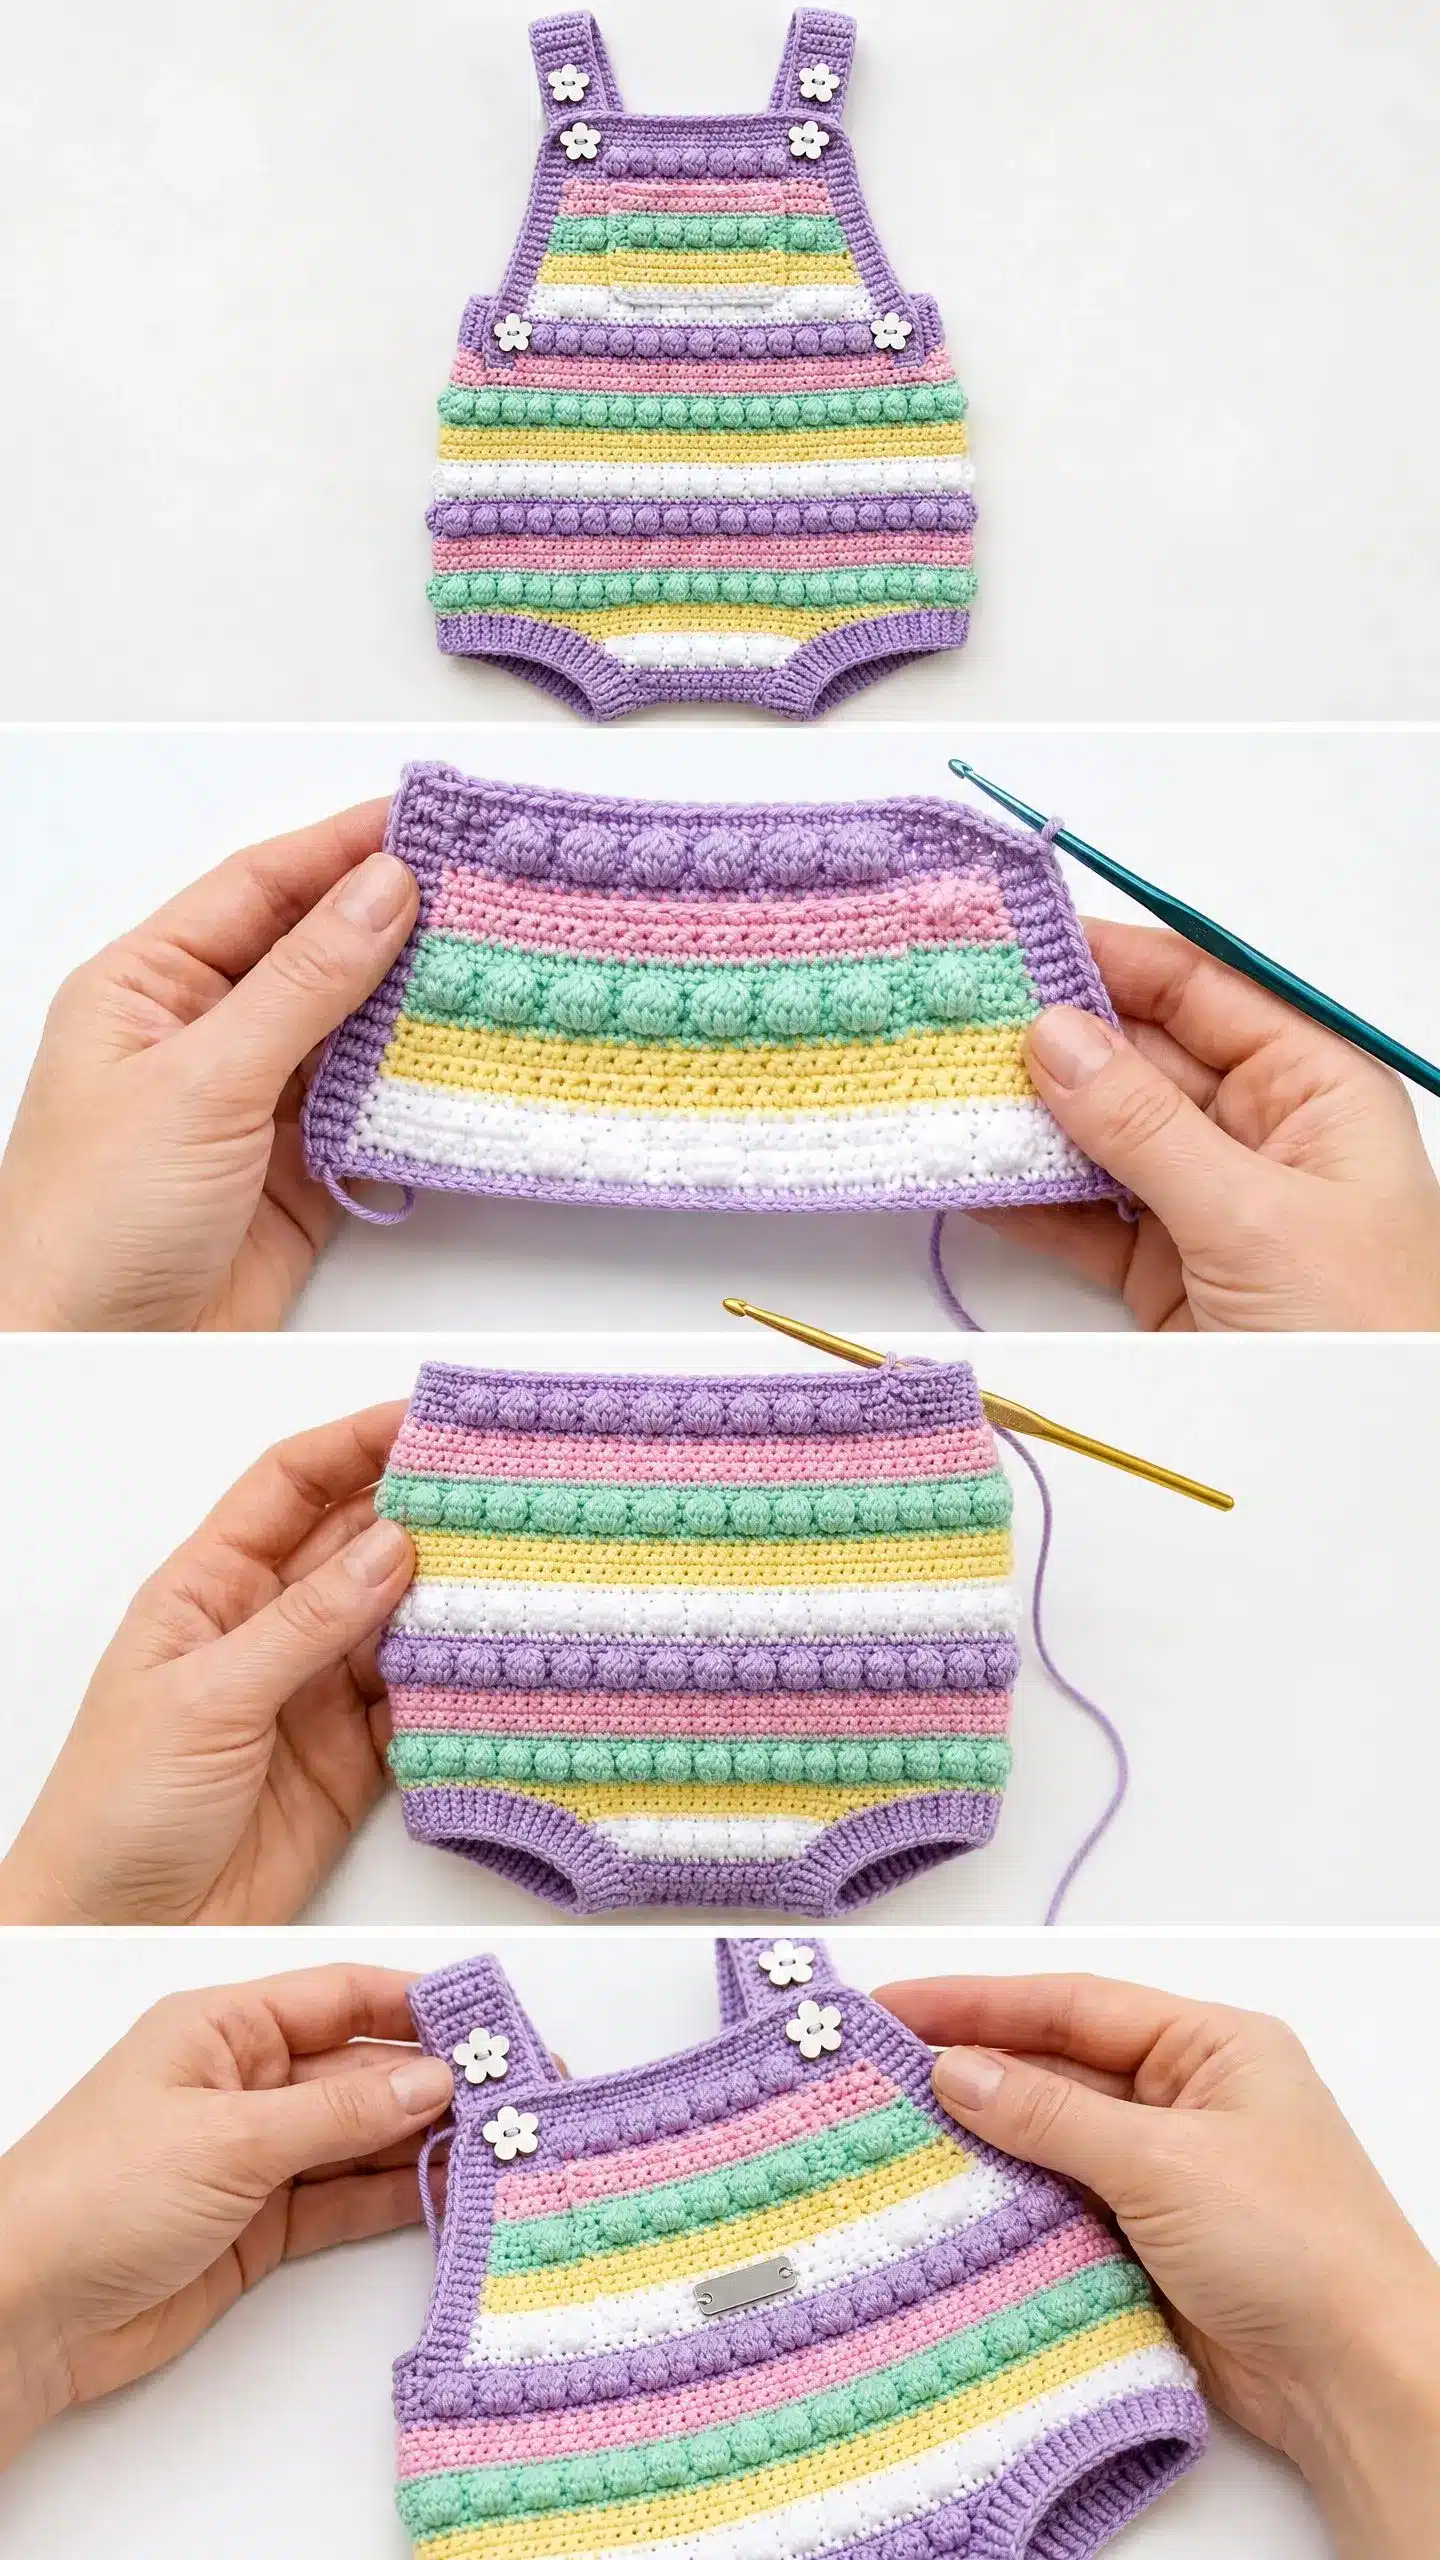
This pattern creates a structured one-piece romper with a square bib front, wide ribbed shoulder straps, and rounded leg openings. The body features horizontal stripes in five pastel colors with raised bobble rows at each color transition. The construction is straightforward: you work flat panels and seam them together. There are no complicated in-the-round shaping or fussy armhole decreases, making this a peaceful, rhythmic crochet project.
Materials
Yarn
You will need DK weight yarn (weight category 3) in a smooth, tightly plied cotton or cotton blend. Stick with yarns that have at least 80 percent cotton content. Fuzzy or loosely plied yarns will obscure the beautiful bobble texture.
- Color A (Lavender): 120 yards
- Color B (Pink): 60 yards
- Color C (Mint): 60 yards
- Color D (Yellow): 60 yards
- Color E (White): 40 yards
Top Yarn Recommendations:
- Paintbox Yarns Cotton DK: Excellent stitch definition, wide color range, budget-friendly.
- Drops Safran: Gives crisp bobble definition with a slightly lighter hand; widely available internationally.
- Lion Brand 24/7 Cotton: Consistent, durable, and easy to find at major craft stores.
Hook
- US size G-6 / 4.0 mm crochet hook
Notions
- Yarn needle for seaming and weaving ends
- Scissors
- 8 small daisy-shaped buttons (approximately 0.5 inches in diameter)
- At least 4 stitch markers
- Blocking pins and blocking mat
Gauge and Finished Size
Gauge
18 single crochet stitches and 20 rows = 4 inches, measured after blocking.
Please, please check your gauge before starting. Work a 5-inch square swatch in single crochet, block it, and measure the center 4 inches. Adjust your hook size up or down as needed. Gauge is critical for a garment that actually fits a baby.
Finished Size
This pattern is written for three sizes:
- Newborn to 3 months: Approximately 13 inches chest circumference, 11 inches total length from bib top to crotch.
- 3 to 6 months: Approximately 15 inches chest circumference, 12.5 inches total length.
- 6 to 12 months: Approximately 17 inches chest circumference, 14 inches total length.
The instructions below produce the 3 to 6 month size. Sizing adjustments are included at the end of the pattern.
Abbreviations
- ch = chain: yarn over, pull through loop on hook
- sl st = slip stitch: insert hook, yarn over, pull through stitch and loop on hook in one motion
- sc = single crochet: insert hook, yarn over, pull up a loop, yarn over, pull through both loops
- bob = bobble stitch: see Special Stitches section below
- st(s) = stitch(es)
- RS = right side (the pretty side facing out)
- WS = wrong side (the inside)
- BLO = back loop only
- sc2tog = single crochet decrease: insert hook in next stitch, pull up a loop, insert hook in following stitch, pull up a loop, yarn over, pull through all 3 loops
Pattern Notes
- The front and back panels are worked flat, separately, from the bottom hem upward.
- Only the front panel has bib shaping. The back panel is worked straight to the top edge.
- Make color changes at the last yarn over of the final stitch of the current row.
- Bobble rows are always worked on wrong-side rows so the bobbles appear on the right side.
- The chain 1 at the beginning of each single crochet row is a turning chain only. It is NOT counted as a stitch.
- Turn at the end of every row unless instructed otherwise.
Special Stitches
Bobble Stitch (bob)
This creates those raised textured bumps that make the romper so special. Here is exactly how to work it:
- Yarn over, insert hook into the indicated stitch.
- Yarn over, pull up a loop (3 loops on hook).
- Yarn over, pull through 2 loops (2 loops remain).
- Repeat steps 1 through 3 four more times in the same stitch (you will have 6 loops on hook).
- Yarn over, pull through all 6 loops.
- Chain 1 to close and secure the bobble.
Important: That closing chain 1 is part of the bobble stitch itself. It does NOT count as a separate stitch. Bobbles are always worked on wrong-side rows so they push outward to the right side of your fabric.
Ribbing
All ribbing in this pattern is worked by inserting your hook through the back loop only (BLO) of each stitch. This creates that stretchy, textured ribbed effect you see on the straps and leg edging.
Pattern Instructions
The stripe sequence keeps your hands busy without being overwhelming. You will rotate through lavender, pink, mint, yellow, and white in a repeating pattern, with bobble rows appearing at each color change.
Front Lower Body Panel
Foundation: Using Color A, ch 35.
Row 1 (RS): Sc in second ch from hook and in each ch across. Turn. (34 sc)
Row 2 (WS): Ch 1, sc in each st across. Turn. (34 sc)
Now begin the Stripe Sequence. The front lower body will be worked for 24 rows total.
Row 3 (RS, Color B): Join Color B, ch 1, sc in each st across. Turn. (34 sc)
Row 4 (WS, Color B bobble): Ch 1, bob in first st, sc in next st, bob in next st, sc in next st across. Turn. (17 bob, 17 sc = 34 sts)
Quick tip: Always verify you have 34 stitches at the end of every bobble row. Count each bobble as 1 stitch and each sc as 1 stitch.
Row 5 (RS, Color C): Join Color C, ch 1, sc in each st across. Turn. (34 sc)
Row 6 (WS, Color C bobble): Ch 1, bob in first st, sc in next st, bob in next st, sc in next st across. Turn. (34 sts)
Row 7 (RS, Color D): Join Color D, ch 1, sc in each st across. Turn. (34 sc)
Row 8 (WS, Color D bobble): Ch 1, bob in first st, sc in next st, bob in next st, sc in next st across. Turn. (34 sts)
Row 9 (RS, Color E): Join Color E, ch 1, sc in each st across. Turn. (34 sc)
Row 10 (WS, Color E bobble): Ch 1, bob in first st, sc in next st, bob in next st, sc in next st across. Turn. (34 sts)
Row 11 (RS, Color B): Join Color B, ch 1, sc in each st across. Turn. (34 sc)
Row 12 (WS, Color B bobble): Ch 1, bob in first st, sc in next st, bob in next st, sc in next st across. Turn. (34 sts)
Row 13 (RS, Color C): Join Color C, ch 1, sc in each st across. Turn. (34 sc)
Row 14 (WS, Color C bobble): Ch 1, bob in first st, sc in next st, bob in next st, sc in next st across. Turn. (34 sts)
Row 15 (RS, Color D): Join Color D, ch 1, sc in each st across. Turn. (34 sc)
Row 16 (RS, Color A): Join Color A, ch 1, sc in each st across. Turn. (34 sc)
Note: Rows 15 and 16 are both right-side rows. This is intentional and creates the visual layout where one stripe transition has two plain rows without an intervening bobble.
Row 17 (WS, Color A bobble): Ch 1, bob in first st, sc in next st, bob in next st, sc in next st across. Turn. (34 sts)
Rows 18 through 24: Ch 1, sc in each st across. Turn. (34 sc each row)
Do not cut yarn. Place a stitch marker at each side edge of Row 24.
Checkpoint: Your panel should measure approximately 4.75 inches tall and 7.5 inches wide.
Front Bib
The bib is worked upward from the center of the front lower body, centered on 22 stitches.
Row 25 (WS): Ch 1, slip stitch in each of the first 6 sts, ch 1, sc in next 22 sts, leave remaining 6 sts unworked. Turn. (22 sc)
Rows 26 through 36: Ch 1, sc in each st across. Turn. (22 sc each row)
Fasten off Color A. Leave a long tail for seaming.
Checkpoint: The bib section should measure approximately 2.4 inches tall and 4.9 inches wide.
Bib Border
With RS facing, join Color A at the lower-right corner of the bib where it meets the front lower body.
- Work sc evenly up the right bib side edge: approximately 12 sc up the right side.
- Work 1 sc in the corner stitch.
- Work 22 sc across the top of the bib.
- Work 1 sc in the left corner stitch.
- Work 12 sc down the left bib side edge.
- Sl st to first sc to close. Fasten off. (48 sc total in border)
Back Panel
Work exactly like the Front Lower Body through Row 24, following the same Stripe Sequence.
After Row 24, continue in Color A:
Rows 25 through 36: Ch 1, sc in each st across. Turn. (34 sc each row)
Fasten off Color A with a long tail.
Work a single crochet border along the top edge: With RS facing, join Color A at the right top corner. Work 34 sc across the top edge. Fasten off.
Straps (Make 2)
Foundation: Using Color A, ch 7.
Row 1 (RS): Sc in second ch from hook and in each ch across. Turn. (6 sc)
Row 2 (WS): Ch 1, sc BLO in each st across. Turn. (6 sc)
Repeat Row 2 until strap measures 8 inches from foundation edge. This takes approximately 40 rows.
Fasten off with a long tail. Make a second identical strap.
Assembly
For more inspiration on baby garments, you might also like this Cute Brown Teddy Bear Baby Romper or this Sunflower Baby Bonnet and Overalls Set.
Seaming the Body
Place the front and back panels with right sides facing each other. Using Color A and a yarn needle with mattress stitch, join the left and right side seams from the top edge down to approximately 3.5 inches from the bottom hem. Leave the lower 3.5 inches open at each side for the leg openings.
For the crotch seam, fold the joined tube so the front and back bottom edges meet at the center. Seam the crotch for approximately 1.5 inches up from the bottom center. This creates the two leg openings.
Turn right side out.
Leg Opening Edging (Work on Each Leg)
Join Color A with a sl st at the inner crotch seam of one leg opening.
Round 1: Ch 1, sc evenly around the entire leg opening. Aim for 36 sc around each leg opening. Sl st to first sc. (36 sc)
Rounds 2 through 4: Ch 1, sc BLO in each st around. Sl st to first sc. (36 sc)
Fasten off. Repeat for second leg opening.
Strap Attachment
Position the front straps at the upper corners of the bib front, approximately 1.5 inches from each side edge. Sew securely with Color A.
Bring each strap over the shoulder and pin to the back panel top edge. The straps should sit approximately 1.5 inches from each back side edge. Sew securely.
Button Embellishment
Sew one daisy button at each strap attachment point on the front bib (2 buttons). Sew one button at each strap attachment point on the back panel (2 buttons). For the look shown in the photos, add additional buttons at the lower front bib corners where the bib meets the lower body.
Final Finishing
Weave in all remaining ends on the wrong side. Block by soaking in cool water, pressing out excess moisture, and pinning flat to the finished measurements. Allow to dry completely.
Tips
- Bobble Row Count: Always verify you have 34 stitches at the end of every bobble row. Count each bobble as 1 stitch and each sc as 1 stitch.
- Yarn Choice: Ensure your cotton blend is tightly plied. Loose yarns will make the bobble stitch look messy.
- Finishing Time: The stripe sequence creates many yarn tails. Factor in extra time for weaving in ends; a good podcast helps!
FAQs
Can I use acrylic yarn instead of cotton?
While you can use acrylic, the pattern specifically recommends cotton or a cotton blend (at least 80% cotton) to ensure the bobble stitches hold their shape and definition. Acrylic may not provide the same crisp texture.
How do I adjust the size for a newborn?
To make the Newborn to 3 months size, you will need to reduce the foundation chain and the number of rows in the lower body and back panel. The chest circumference should be approximately 13 inches. You may need to decrease the number of stitches in the lower body from 34 to roughly 28-30, depending on your gauge, and reduce the row counts accordingly.
Why are there two right-side rows in a row (Rows 15 and 16)?
This is intentional. It creates a visual break in the stripe sequence where one color transition has two plain rows without an intervening bobble row, adding variety to the pattern layout.
What is the best way to wash the finished romper?
Hand wash or machine wash on delicate in cool water using gentle detergent. Lay flat to dry. Do not tumble dry or iron directly on the bobble rows to maintain their texture.
Do I need to block the romper?
Yes, blocking is highly recommended. It helps even out the stitches, sets the shape of the garment, and ensures the final measurements match the pattern specifications.
Pin This Crochet Pattern!