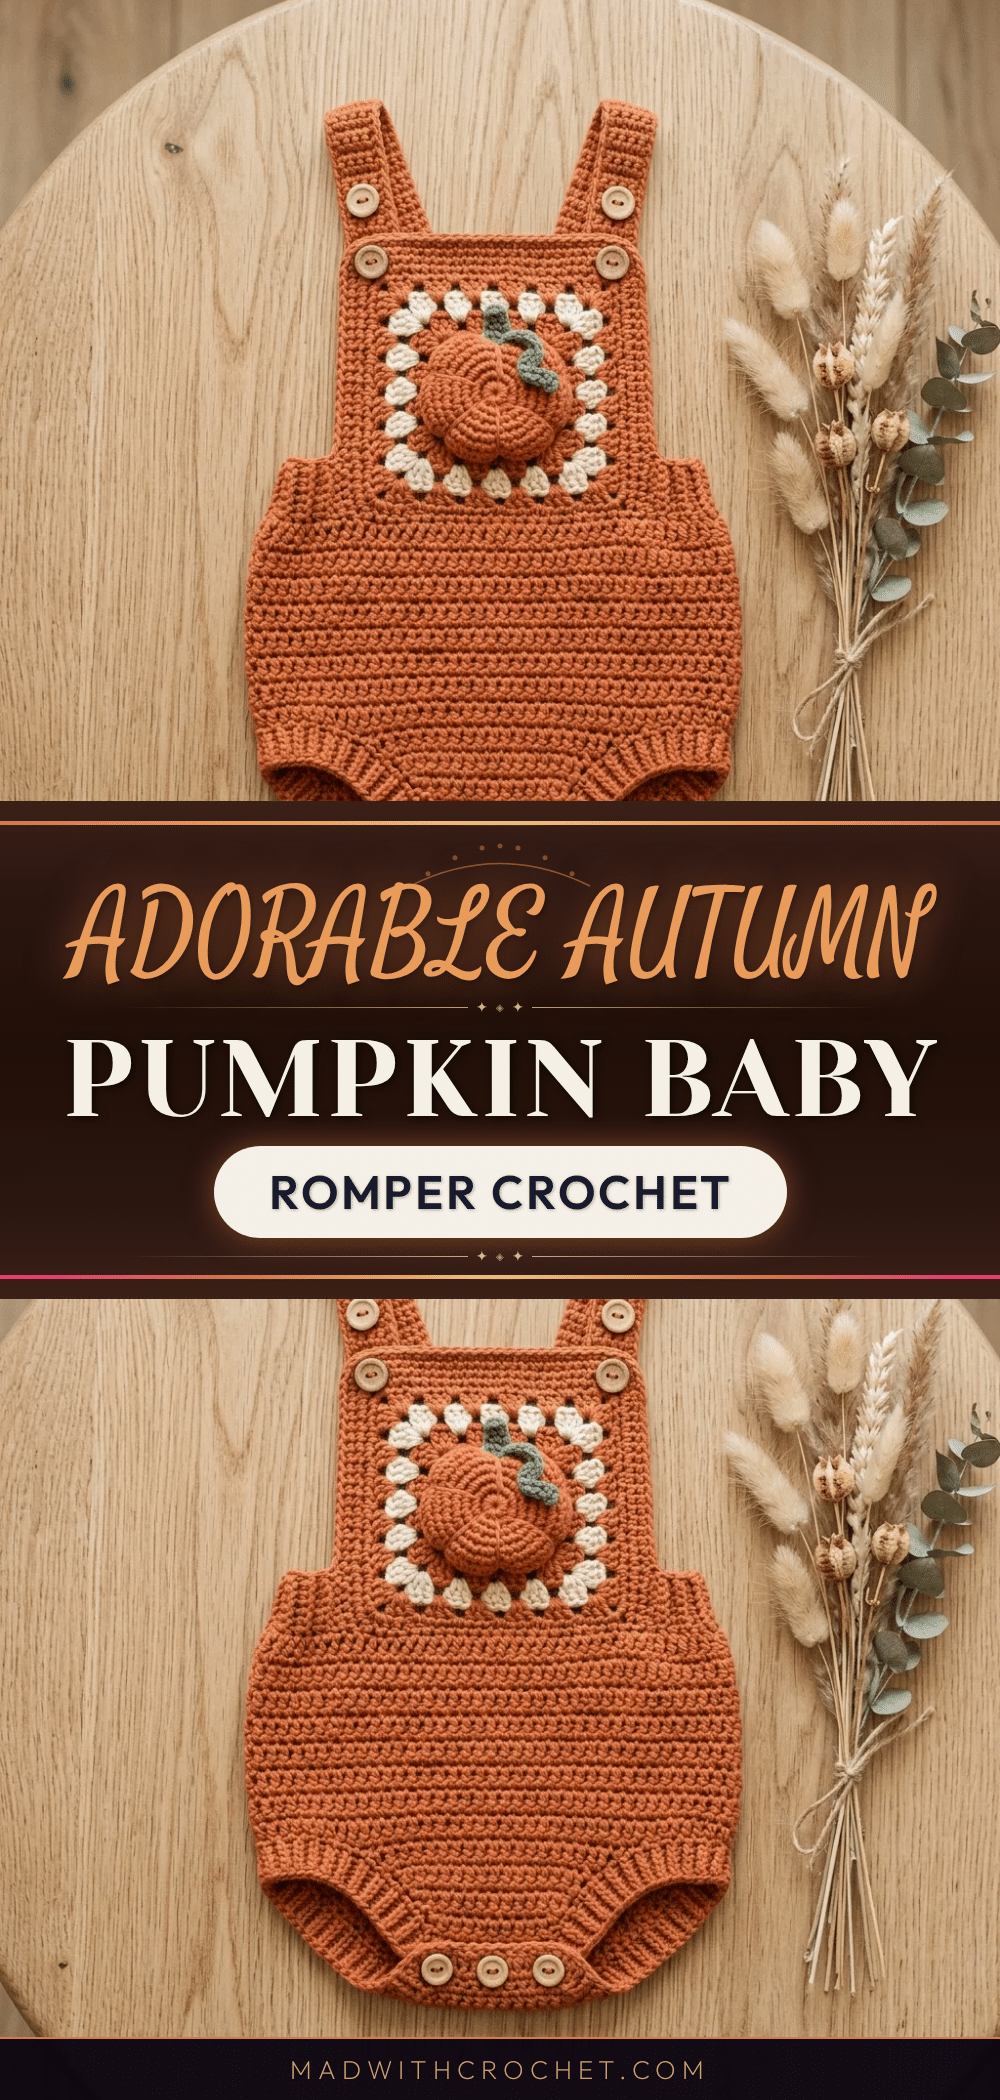
As the air turns crisp and the leaves begin to change, there is a special magic in creating handmade gifts that capture the essence of the season. This adorable autumn pumpkin baby romper is the perfect project for that cozy, festive spirit. Designed for babies aged 3 to 6 months, this wearable crochet pattern combines a classic bubble-style silhouette with charming seasonal details. It features a structured single crochet body, a square bib with a delicate shell border, and a delightful three-dimensional pumpkin applique that adds a touch of whimsy. Whether you are preparing for a pumpkin patch visit, an autumn photo session, or simply want a cozy outfit for cooler days, this romper is both practical and visually stunning.
Our Touch: Seasonal Styling Ideas
The beauty of this romper lies in its versatility and the way the colors interact. The burnt orange or rust tones of the main body evoke the warmth of harvest season, while the cream shell frame around the bib provides a soft, neutral contrast that keeps the look timeless rather than costume-like. To enhance the autumn vibe, consider pairing the romper with simple white leggings or tights and soft booties. The wooden buttons add a natural, rustic element that photographs beautifully against fall foliage. For a complete look, you might even match the olive green vine on the pumpkin with a simple headband or a small leaf accessory. This outfit is designed to be the star of your baby’s fall wardrobe, offering a handmade touch that feels both special and comfortable for little ones.
Project Overview
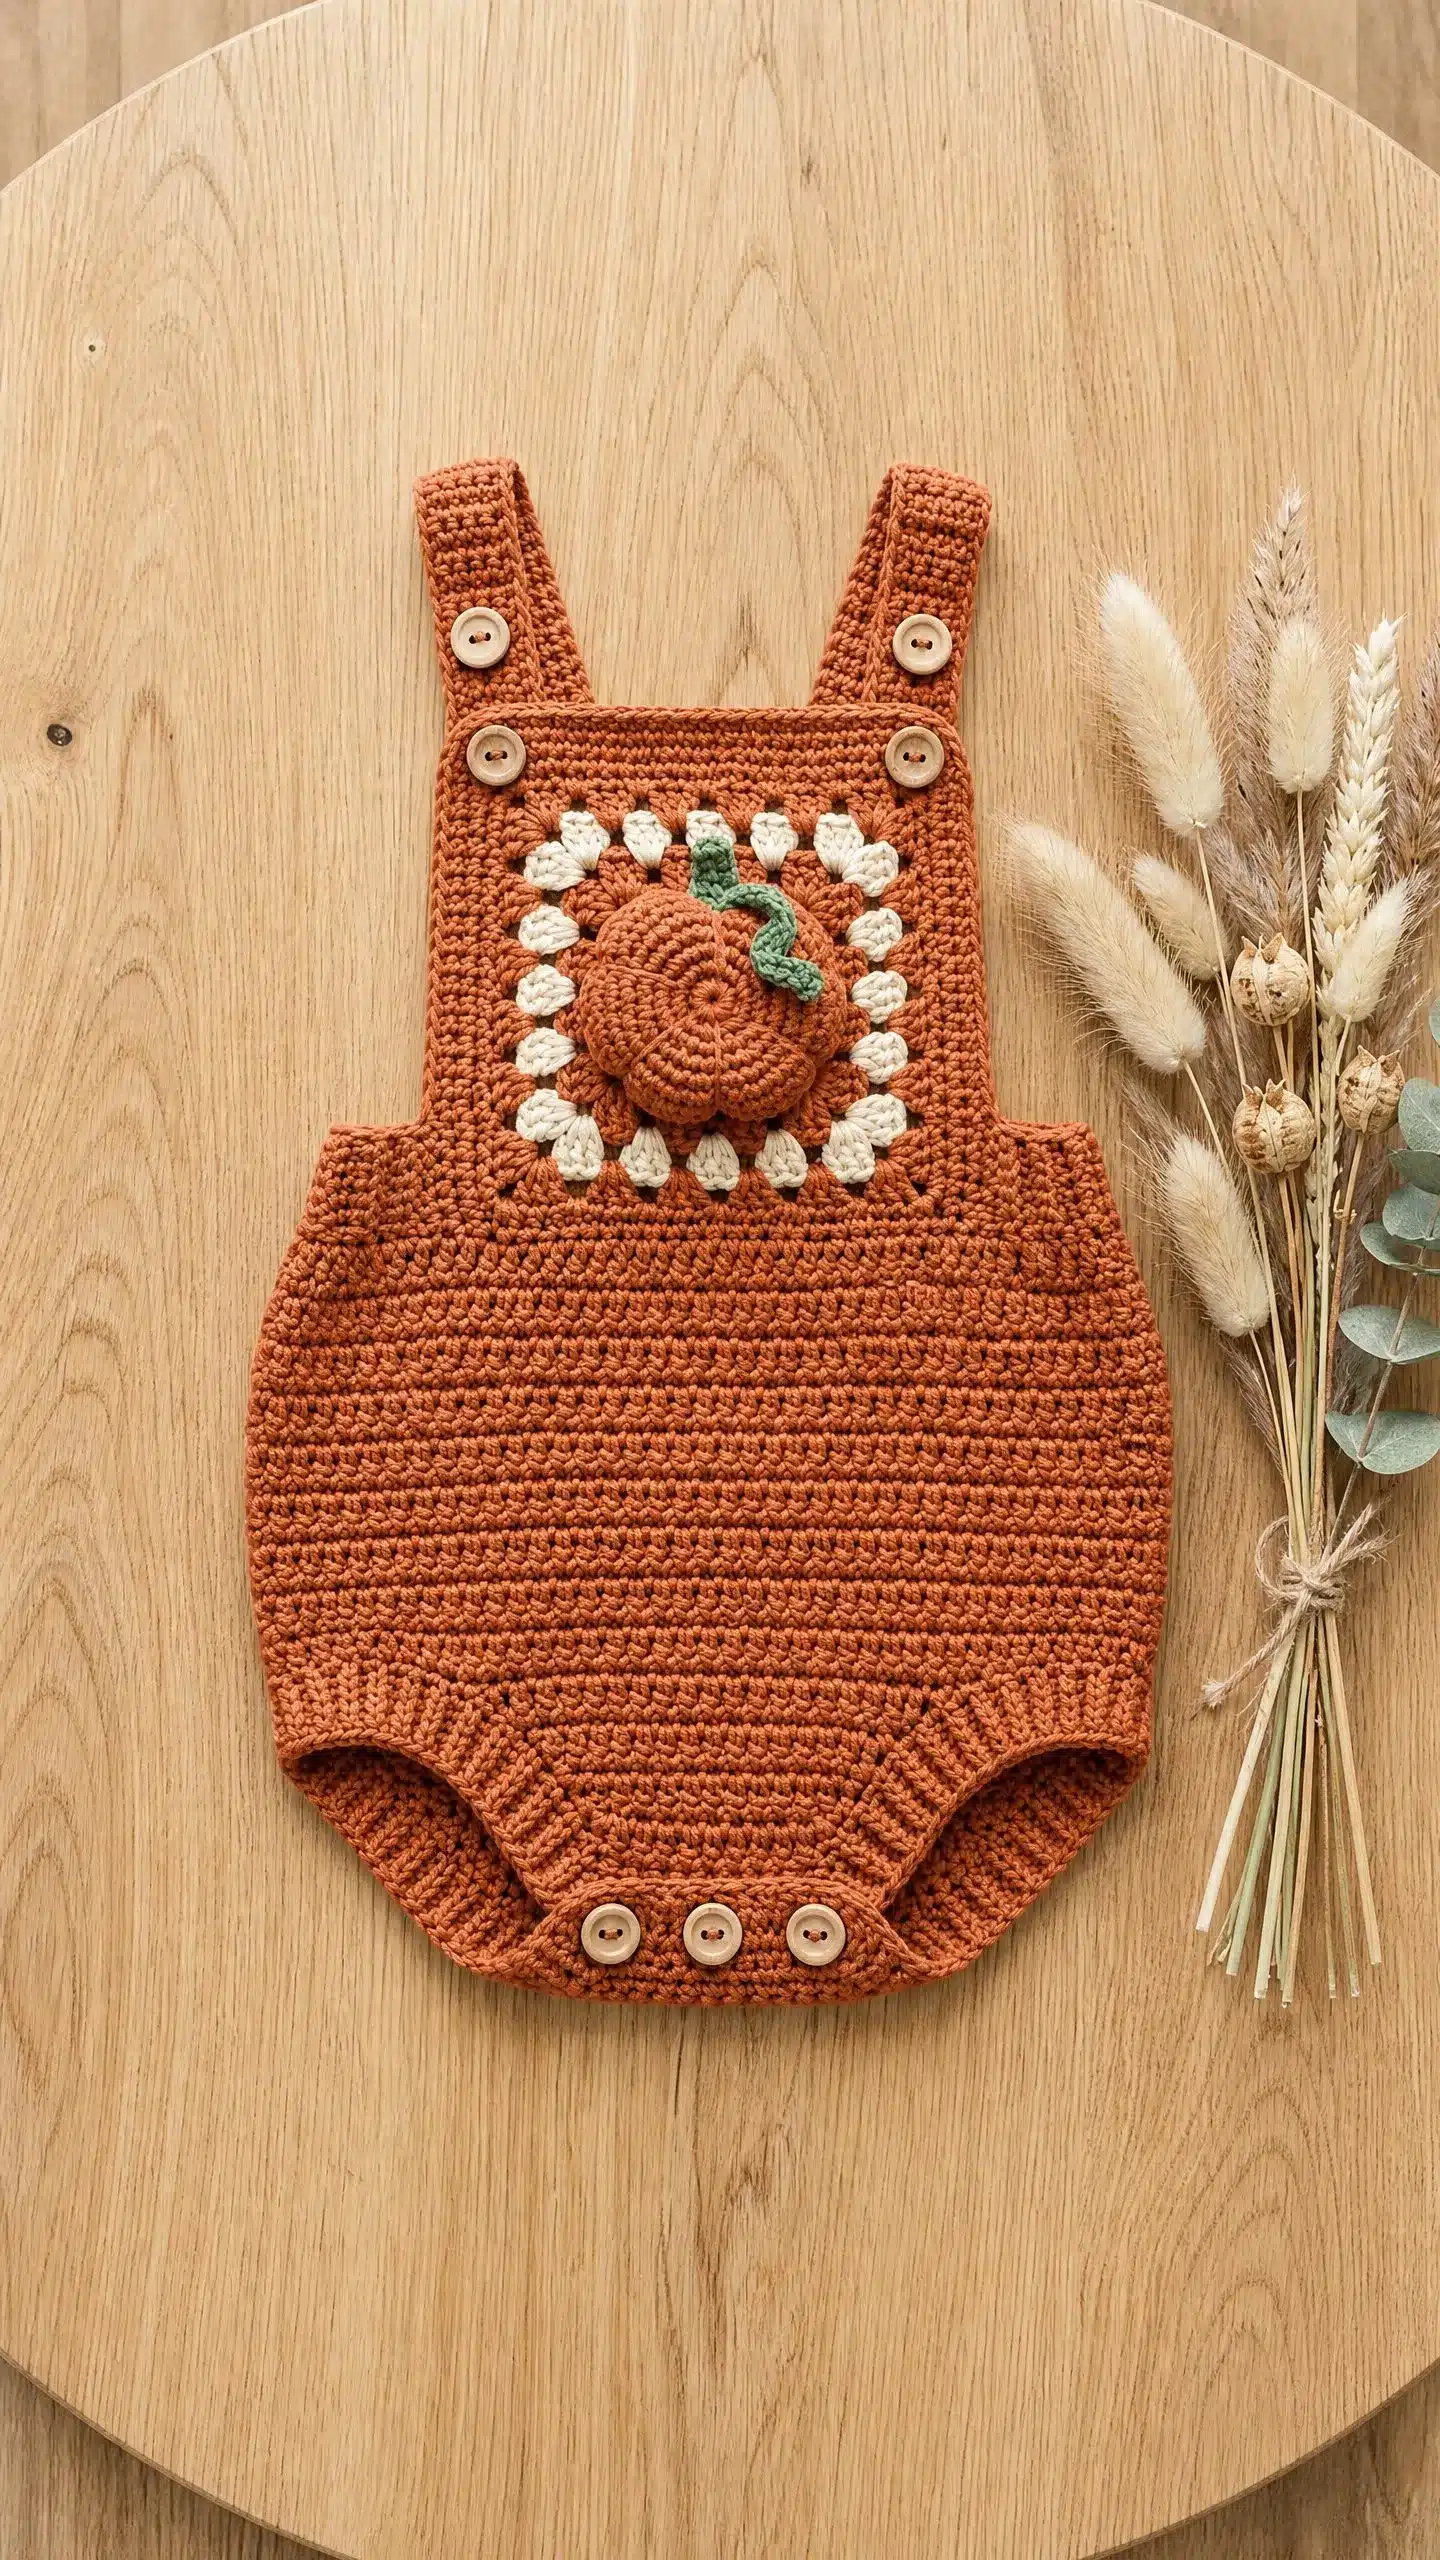
This pattern creates a bubble-style baby romper worked primarily in single crochet, resulting in a dense, structured fabric ideal for baby garments. The construction is straightforward, making it accessible for crocheters who are comfortable with basic shaping and seaming. The design includes a back panel, a front lower body, a square bib with a granny-style shell border, and a stuffed pumpkin applique. The romper features adjustable straps with double buttonholes to extend its wearable life as the baby grows, along with a buttoned crotch closure for easy diaper changes.
Materials
Before you start, gather these supplies:
- Yarn:
- Color A (Burnt Orange or Rust): Approximately 280 to 320 yards of worsted weight cotton or cotton-blend yarn.
- Color B (Cream or Off-White): Approximately 30 to 40 yards of worsted weight yarn, same fiber as Color A.
- Color C (Olive Green): Approximately 5 to 8 yards of worsted weight yarn, same fiber as Color A.
- Hook: US size G-6 / 4.0 mm (adjust to meet gauge).
- Notions:
- 8 wooden buttons, approximately 5/8 inch (15 mm) diameter (4 for straps, 4 for crotch).
- Yarn needle.
- Scissors.
- Stitch markers.
- Sewing needle and thread for securing buttons.
- Blocking mats and pins.
- Light fiberfill or yarn scraps for stuffing the pumpkin.
Yarn Suggestions
Any smooth worsted weight cotton or cotton-blend that meets gauge will work beautifully. Here are some specific options:
- Lion Brand 24/7 Cotton: This 100% mercerized cotton offers crisp stitch definition and washes well. Grab 2 skeins in Terracotta or Pumpkin Spice for Color A, 1 skein in Ecru for Color B, and a small amount of Olive for Color C.
- Paintbox Yarns Simply DK Cotton: Another excellent choice with a matte finish that matches the look in the photos. You may need to use a US H-8 / 5.0 mm hook and reswatch to match gauge.
Avoid fuzzy or textured yarns. They will obscure the stitch definition and make the shell border less crisp.
Gauge and Finished Size
Gauge: 18 single crochet stitches by 22 rows equals 4 inches by 4 inches (10 cm by 10 cm), worked in single crochet and blocked.
Gauge matters here. Even being one stitch off per four inches will throw off your finished chest measurement. Make a swatch of at least 20 stitches by 24 rows, block it the way you plan to block the finished romper, and measure the center 4 inches before you start.
Finished Size: This pattern is written for size 3 to 6 months.
- Finished chest (laid flat): approximately 9.5 inches (24 cm), which is 19 inches (48 cm) total circumference.
- Finished length (shoulder to crotch): approximately 12 inches (30.5 cm).
- Bib panel: approximately 4 inches by 4 inches (10 cm by 10 cm).
- Strap length (adjustable): approximately 6 to 7 inches (15 to 18 cm).
Abbreviations
Here are all the stitches you will use in this crochet tutorial:
- ch = chain
- ch-sp = chain space (the gap created by a chain stitch)
- dc = double crochet (yarn over, insert hook, pull up a loop, yarn over and pull through 2 loops twice)
- hdc = half double crochet (yarn over, insert hook, pull up a loop, yarn over and pull through all 3 loops)
- sc = single crochet (insert hook, pull up a loop, yarn over and pull through both loops)
- sc2tog = single crochet two together, a decrease stitch (insert hook into next stitch, yarn over and pull up a loop, insert hook into following stitch, yarn over and pull up a loop, yarn over and draw through all 3 loops on hook)
- sk = skip
- sl st = slip stitch (insert hook, yarn over, pull through stitch and loop on hook in one motion)
- st(s) = stitch(es)
- RS = right side (the side facing out on the finished garment)
- WS = wrong side
Special Stitches
- Shell stitch: Work 3 double crochet stitches into the same stitch or space. This creates one shell unit.
- Magic ring: Make a loop with your yarn, insert your hook through the loop, yarn over and pull up a loop, chain 1 (this chain does not count as a stitch). Work the specified stitches into the ring, then pull the yarn tail to close the center hole.
Pattern Notes
Read through these notes before starting. They will save you confusion later.
- The back panel and front lower body are worked flat, back and forth in rows. The turning chain at the start of each row does NOT count as a stitch throughout this entire pattern.
- The bib is worked upward directly from the top edge of the front lower body. You do not cut the yarn between sections.
- Right side (RS) and wrong side (WS) are noted at key points. The RS is the side facing you on Row 1 of each panel.
- Stitch counts appear in parentheses at the end of each row, like this: (42 sc).
- Use stitch markers to track increase points at the leg openings. Move them up as you work each row.
- All pieces should be blocked before assembly for the cleanest finish.
- Color A is used for all main body sections, straps, and the pumpkin applique. Color B is used only for the bib border. Color C is used only for the pumpkin stem and vine.
Pattern Instructions
Back Panel
Foundation: With Color A and your 4.0 mm hook, chain 44.
Row 1 (RS): Single crochet in 2nd chain from hook and in each chain across. Turn. (43 sc)
Rows 2 through 10: Chain 1, single crochet in each stitch across. Turn. (43 sc each row)
Your piece should measure approximately 1.75 inches (4.5 cm) tall after Row 10.
Leg Shaping for Back Panel
Row 11 (increase row): Chain 1, work 2 single crochet in first stitch, single crochet to last stitch, work 2 single crochet in last stitch. Turn. (45 sc)
Row 12: Chain 1, single crochet across. Turn. (45 sc)
Row 13 (increase row): Chain 1, work 2 single crochet in first stitch, single crochet to last stitch, work 2 single crochet in last stitch. Turn. (47 sc)
Row 14: Chain 1, single crochet across. Turn. (47 sc)
Row 15 (increase row): Chain 1, work 2 single crochet in first stitch, single crochet to last stitch, work 2 single crochet in last stitch. Turn. (49 sc)
Row 16: Chain 1, single crochet across. Turn. (49 sc)
Row 17 (increase row): Chain 1, work 2 single crochet in first stitch, single crochet to last stitch, work 2 single crochet in last stitch. Turn. (51 sc)
Rows 18 through 28: Chain 1, single crochet across. Turn. (51 sc each row)
Your piece should measure approximately 5 inches (12.7 cm) tall after Row 28.
Armhole Shaping for Back Panel
Row 29: Chain 1, slip stitch across first 5 stitches, chain 1, single crochet in same stitch as last slip stitch, single crochet to last 5 stitches. Leave last 5 stitches unworked. Turn. (41 sc)
Row 30: Chain 1, sc2tog, single crochet to last 2 stitches, sc2tog. Turn. (39 sc)
Row 31: Chain 1, sc2tog, single crochet to last 2 stitches, sc2tog. Turn. (37 sc)
Rows 32 through 36: Chain 1, single crochet across. Turn. (37 sc each row)
Fasten off. Your back panel is complete.
Checkpoint: The back panel should measure approximately 6.5 inches (16.5 cm) tall and 8.25 inches (21 cm) wide at the widest point after blocking.
Front Lower Body
Foundation: With Color A, chain 44.
Row 1 (RS): Single crochet in 2nd chain from hook and in each chain across. Turn. (43 sc)
Rows 2 through 10: Chain 1, single crochet across. Turn. (43 sc each row)
Row 11: Chain 1, work 2 single crochet in first stitch, single crochet to last stitch, work 2 single crochet in last stitch. Turn. (45 sc)
Row 12: Chain 1, single crochet across. Turn. (45 sc)
Row 13: Chain 1, work 2 single crochet in first stitch, single crochet to last stitch, work 2 single crochet in last stitch. Turn. (47 sc)
Row 14: Chain 1, single crochet across. Turn. (47 sc)
Row 15: Chain 1, work 2 single crochet in first stitch, single crochet to last stitch, work 2 single crochet in last stitch. Turn. (49 sc)
Row 16: Chain 1, single crochet across. Turn. (49 sc)
Row 17: Chain 1, work 2 single crochet in first stitch, single crochet to last stitch, work 2 single crochet in last stitch. Turn. (51 sc)
Rows 18 through 28: Chain 1, single crochet across. Turn. (51 sc each row)
Row 29: Slip stitch across first 5 stitches, chain 1, single crochet in same stitch as last slip stitch, single crochet across to last 5 stitches. Leave last 5 stitches unworked. Turn. (41 sc)
Row 30: Chain 1, sc2tog, single crochet to last 2 stitches, sc2tog. Turn. (39 sc)
Row 31: Chain 1, sc2tog, single crochet to last 2 stitches, sc2tog. Turn. (37 sc)
Row 32: Chain 1, single crochet across. Turn. (37 sc)
Do not fasten off. You will continue directly to the bib.
Checkpoint: The front lower body should measure approximately 5.75 inches (14.5 cm) tall after Row 32.
Front Bib
The bib is worked on the center 19 stitches of Row 32. Here is how to find them: Row 32 has 37 stitches. The center 19 stitches begin at stitch 10 and end at stitch 28. This leaves 9 stitches on each side.
Joining row: With RS facing, skip first 9 stitches of Row 32, join Color A with a slip stitch to stitch 10, chain 1, single crochet in same stitch, single crochet in next 18 stitches. Turn. (19 sc)
Bib Rows 1 through 18: Chain 1, single crochet across. Turn. (19 sc each row)
Fasten off, leaving a long tail for assembly.
Checkpoint: After completing the bib, the front piece from foundation chain to top of bib should measure approximately 9 inches (23 cm) tall.
Bib Border
The bib border creates that beautiful granny-square-style shell frame you see in the photos. You will work it around all four edges of the bib panel using Color B.
Round 1 (pickup round): With Color B, join with a slip stitch to any corner of the bib panel. Chain 1.
- Work across the top edge: 19 single crochet. At the corner, work (1 single crochet, chain 2, 1 single crochet).
- Work down the right side: 18 single crochet evenly (approximately 1 single crochet per row end). At the corner, work (1 single crochet, chain 2, 1 single crochet).
- Work across the bottom edge: 19 single crochet. At the corner, work (1 single crochet, chain 2, 1 single crochet).
- Work up the left side: 18 single crochet evenly. At the corner, work (1 single crochet, chain 2, 1 single crochet).
Slip stitch to first single crochet to join. (74 sc plus 4 corner chain-2 spaces)
Round 2 (shell round): Chain 3 (this counts as your first double crochet), work 2 double crochet in same stitch to complete your first shell. Skip 2 stitches, slip stitch in next stitch, skip 2 stitches, work 3 double crochet (one shell) in next stitch. Repeat from to around each side. At each corner chain-2 space, work (3 double crochet, chain 2, 3 double crochet). Slip stitch to top of beginning chain-3 to join.
Fasten off Color B. Weave in ends.
Pumpkin Applique
This is the fun part. You will create a three-dimensional stuffed pumpkin to attach to the center of the bib.
Pumpkin Body
With Color A, make a magic ring.
Round 1: Chain 1, work 6 single crochet into ring. Pull ring closed. Slip stitch to first single crochet to join. (6 sc)
Round 2: Chain 1, work 2 single crochet in each stitch around. Slip stitch to first single crochet to join. (12 sc)
Round 3: Chain 1, single crochet in next stitch, work 2 single crochet in next stitch. Repeat from to around. Slip stitch to first single crochet to join. (18 sc)
Round 4: Chain 1, single crochet in next 2 stitches, work 2 single crochet in next stitch. Repeat from to around. Slip stitch to first single crochet to join. (24 sc)
Rounds 5 and 6: Chain 1, single crochet in each stitch around. Slip stitch to join. (24 sc each round)
Creating the Pumpkin Segments
Thread a yarn needle with Color A. Using long surface slip stitches, pull the yarn from the center back of your disc to the outer edge at 6 evenly spaced points. That is every 4th stitch on the outer edge (24 stitches divided by 6 segments equals 4 stitches per segment). Pull slightly to create those characteristic indented pumpkin lobes. Secure on the back. Your disc will curve upward and look three-dimensional.
Round 7 (optional, for a cleaner finish): Work on WS. Chain 1, single crochet in next 2 stitches, sc2tog. Repeat from to around. Slip stitch to join. (18 sc)
Stuff lightly with a tiny amount of fiberfill or yarn scraps before closing.
Round 8: Chain 1, single crochet in next stitch, sc2tog. Repeat from to around. Slip stitch to join. (12 sc)
Round 9: Chain 1, sc2tog around. Slip stitch to join. (6 sc)
Fasten off, leaving a tail. Thread the tail through the remaining 6 stitches and pull to close. Knot and weave in.
Stem and Vine
Stem: With Color C, chain 5. Starting in 2nd chain from hook, slip stitch in each of next 4 chains. (4 slip stitches) Fasten off, leaving a 6-inch (15 cm) tail for sewing.
Vine: With Color C, chain 8. Slip stitch in 2nd chain from hook, slip stitch in next chain, single crochet in next chain, half double crochet in next 2 chains, single crochet in next chain, slip stitch in last chain. Fasten off.
Sew the stem to the top of the pumpkin body. Curl the vine and tack it to the stem with your yarn needle. The finished pumpkin should measure approximately 1.75 inches (4.5 cm) in diameter.
Straps (Make 2)
With Color A, chain 6.
Row 1: Single crochet in 2nd chain from hook and in each chain across. Turn. (5 sc)
Rows 2 through 35: Chain 1, single crochet in each stitch across. Turn. (5 sc each row)
Row 36 (buttonhole row): Chain 1, single crochet in first 2 stitches, chain 1, skip 1 stitch, single crochet in last 2 stitches. Turn. (4 sc plus 1 chain-1 space)
Row 37: Chain 1, single crochet in first 2 stitches, single crochet in chain-1 space, single crochet in last 2 stitches. Turn. (5 sc)
Row 38 (second buttonhole row): Chain 1, single crochet in first 2 stitches, chain 1, skip 1 stitch, single crochet in last 2 stitches. Turn. (4 sc plus 1 chain-1 space)
Row 39: Chain 1, single crochet in first 2 stitches, single crochet in chain-1 space, single crochet in last 2 stitches. Turn. (5 sc)
Rows 40 through 42: Chain 1, single crochet across. Turn. (5 sc each row)
Fasten off.
Each strap measures approximately 7.5 inches (19 cm) long by 1.1 inches (2.75 cm) wide. The two buttonholes near one end allow you to adjust the fit as baby grows.
For a professional finish, work a border of slip stitches around the entire perimeter of each strap. This is optional but makes a noticeable difference.
Crotch Button Band
The crotch opening runs along the bottom edge of the front lower body and closes with buttons for easy diaper access.
With Color A, join yarn at the bottom right corner of the front panel foundation chain edge.
Row 1: Chain 1, single crochet evenly across the bottom edge of the front panel. Turn. (43 sc)
Row 2: Chain 1, single crochet across. Turn. (43 sc)
Row 3 (buttonhole row): Chain 1, single crochet in first 5 stitches, chain 1, skip 1 stitch, single crochet in next 9 stitches. Repeat from to 3 more times, ending with single crochet in last 3 stitches. Turn.
Fasten off.
Work a matching band on the back panel bottom edge (without buttonholes) so the two edges align when buttoned.
Assembly
- Block all pieces before seaming. Lay them flat, spray lightly with water, pin to size, and let dry completely.
- Seam the side edges of the front and back panels together using a mattress stitch or whip stitch. Start at the underarm and work down to where the leg opening begins.
- Attach the straps to the back panel first by sewing the non-buttonhole end securely to the back upper corners. Then sew 2 wooden buttons to the front panel at each shoulder, positioned to align with the strap buttonholes.
- Sew buttons to the back crotch band, positioned to align with the buttonholes on the front crotch band.
- Weave in all remaining ends and give the finished romper a final light blocking.
Sew the completed pumpkin applique to the center of the bib panel using the yarn tail and a yarn needle. Take small stitches around the perimeter of the pumpkin, through the bib fabric, to secure it firmly.
Tips
- Take your time with the bib border. The shell round can feel tricky the first time you work it, but once you establish the rhythm of skip 2, slip stitch, skip 2, shell, it flows quickly.
- When sewing the pumpkin applique, use matching thread and small stitches so the attachment is invisible from the front. The pumpkin should sit slightly raised from the bib surface for that three-dimensional effect.
- The double buttonholes on each strap are intentional. They give you two positions for the buttons, which extends the wearable life of the romper as baby grows.
FAQs
What is the best yarn to use for this romper?
A smooth worsted weight cotton or cotton-blend is recommended. Cotton provides crisp stitch definition, which is essential for the shell border and the structured look of the romper. Avoid fuzzy or textured yarns as they can obscure the details.
How do I adjust the size for a larger baby?
This pattern is written for 3 to 6 months. To adjust the size, you can add or subtract rows to the back and front panels before the armhole shaping begins. Ensure you maintain the gauge to keep the fit accurate.
Can I use a different hook size?
You can use a different hook size, but you must adjust your yarn or swatch to meet the gauge of 18 sc by 22 rows equals 4 inches. If you use a larger hook, you may need a lighter weight yarn or a different cotton blend to maintain the fabric density.
How do I make the pumpkin applique stand out?
Use long surface slip stitches to pull the yarn from the center back to the outer edge at 6 evenly spaced points. This creates the indented lobes characteristic of a pumpkin. Stuffing it lightly with fiberfill before closing the final rounds adds volume and dimension.
Is this pattern suitable for beginners?
The pattern is rated as intermediate. While the stitches used are basic (single crochet, double crochet, slip stitch), the construction involves managing multiple pieces, shaping with increases and decreases, and assembling the garment. If you are comfortable with basic shaping and seaming, you can tackle this project.
Pin This Crochet Pattern!