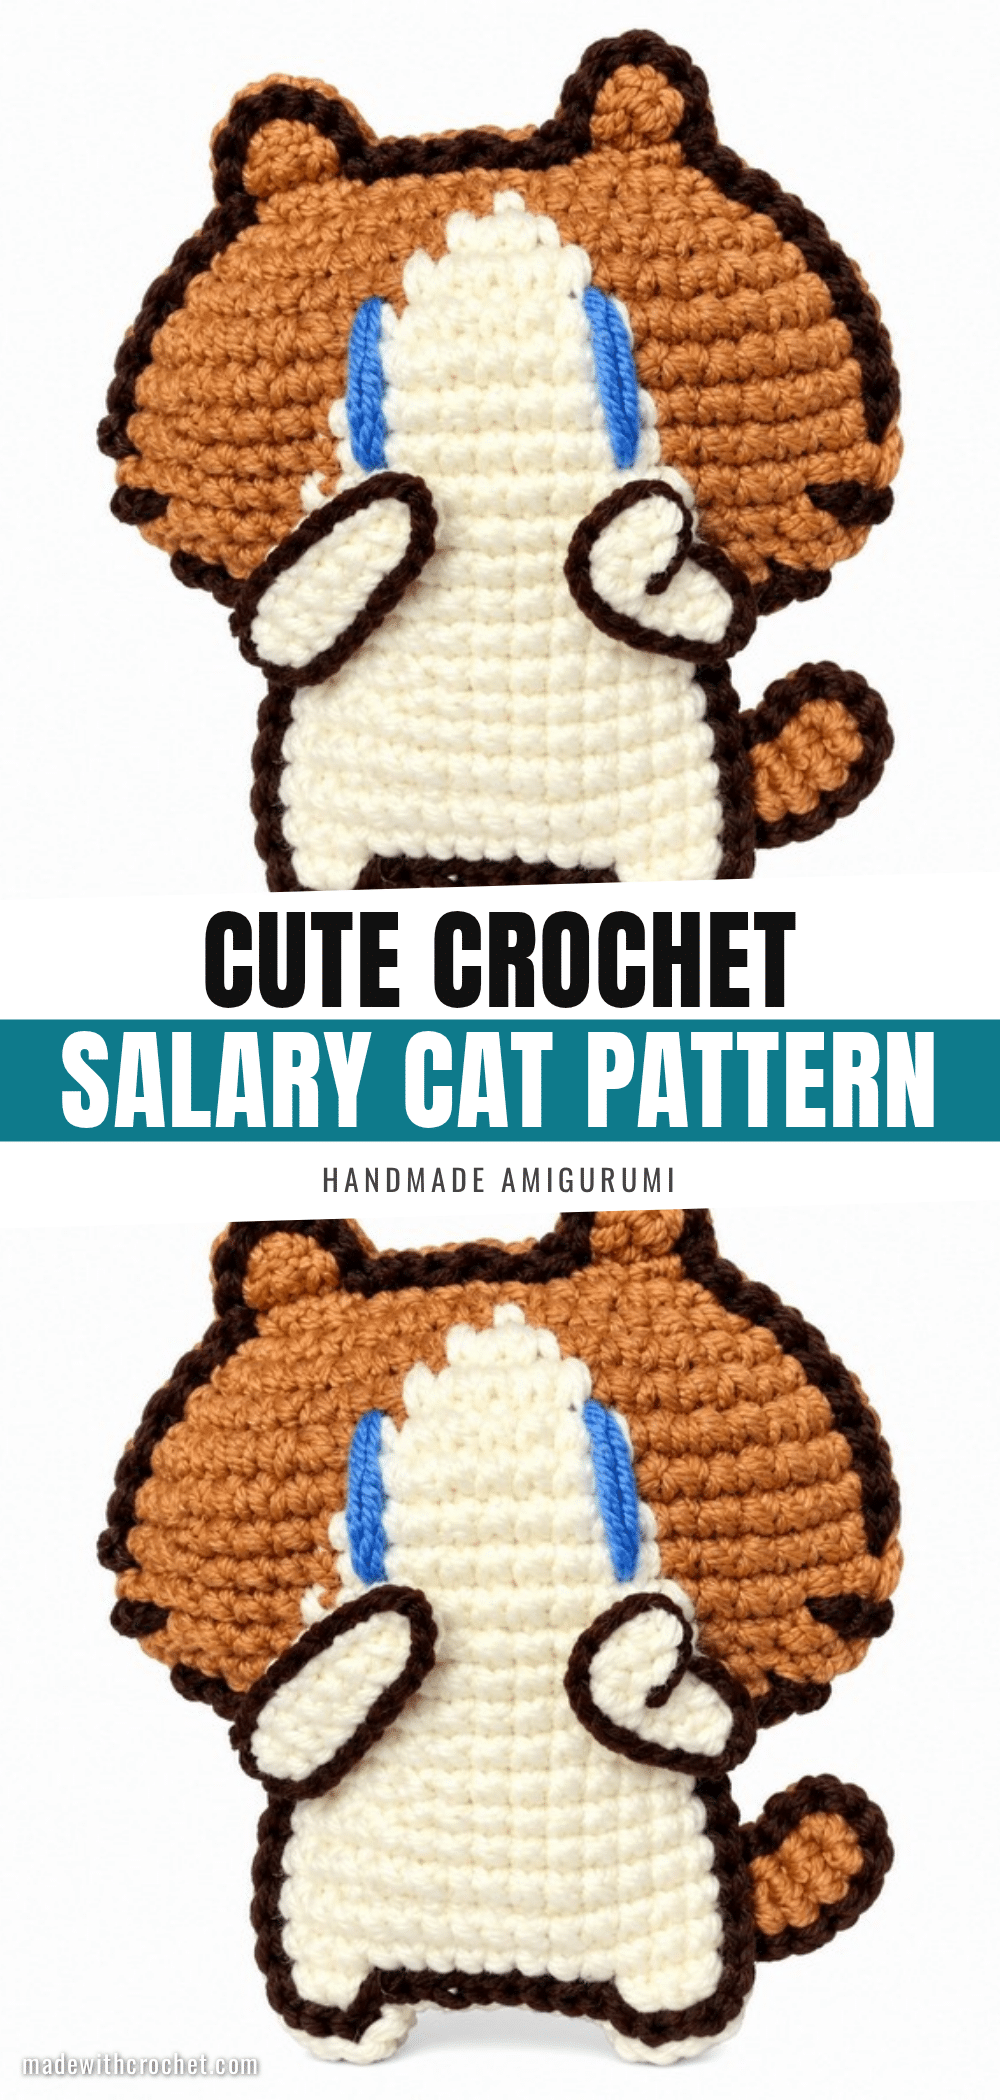
Have you ever started a round of amigurumi, only to panic when your stitch count didn’t match the pattern? It is a classic beginner mistake that makes even the simplest projects feel daunting. But with this Cute Crochet Salary Cat Amigurumi, you can put those worries to rest. This project is designed to be approachable, using straightforward techniques and clear color changes to create a charming desk companion. Whether you are a novice looking for your first amigurumi or an experienced maker wanting a quick gift, this pattern guides you through every step with precision.
Maker Notes
There is something undeniably satisfying about creating a “Salary Cat” to keep you company during long workdays or study sessions. This little feline is more than just a toy; it is a mood booster. The choice of plush baby yarn in light brown and white gives the cat a soft, inviting texture that begs to be held. I love how the white chest and belly patches contrast with the brown fur, giving the cat a distinct personality without requiring complex shaping. Because the finished size is compact—about 12 cm tall—it is the perfect size to tuck into a pocket or place on a crowded desk without taking up too much space. The use of glue for the arms and tail is a clever touch that ensures they stay securely in place, even if your cat is a bit rough and tumble. It is a project that balances cute aesthetics with practical construction.
Project Overview
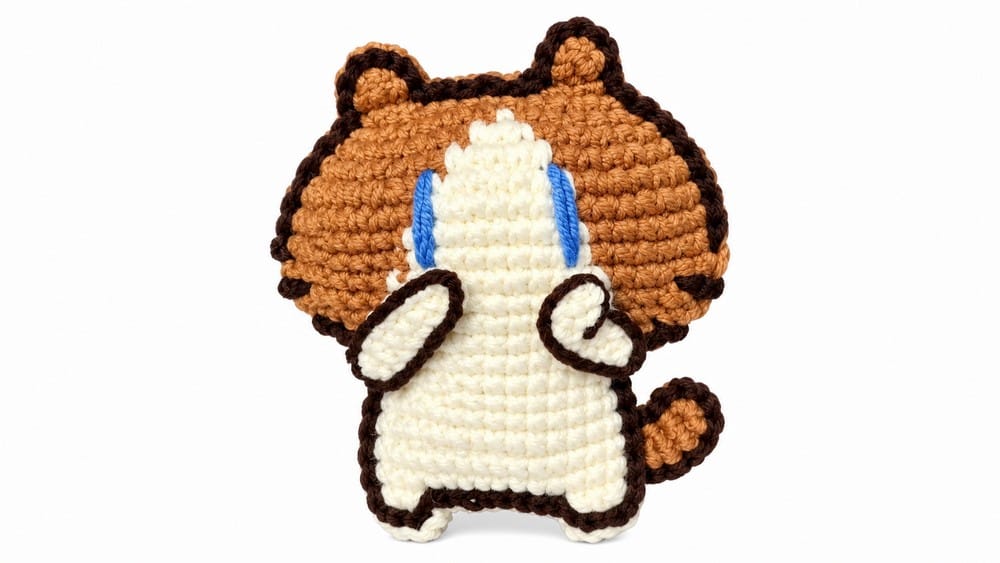
This detailed crochet pattern guide will help you create an adorable Salary Cat, crafted using baby yarn, with clearly broken-down steps so beginners can follow along easily. Working with a 1.8 mm hook, you will crochet the head, body, legs, ears, tail, and arms, followed by final assembly and embroidery for the face. These cute handmade animal toys make amazing presents for friends, kids, or coworkers on special holidays and birthdays. Giving a sweet yarn doll shows deep personal care and spreads pure joy to the receiver. You can place this cheerful toy on a study desk or bedroom shelf to add warmth and a playful mood to the room.
Quick Overview of Pattern
- Worked in stitches around a foundation chain in rounds.
- Uses plush baby yarn in light brown and white.
- Combination of single crochet (SC), increase (INC), decrease (DEC), double crochet (DC), half double crochet (HDC).
- Color changes incorporated during rounds for fur pattern detail.
- Separate small pieces for ears, legs, arms, and tail.
- Assembly with stuffing, embroidery, and glue finishing touches.
Pattern Notes
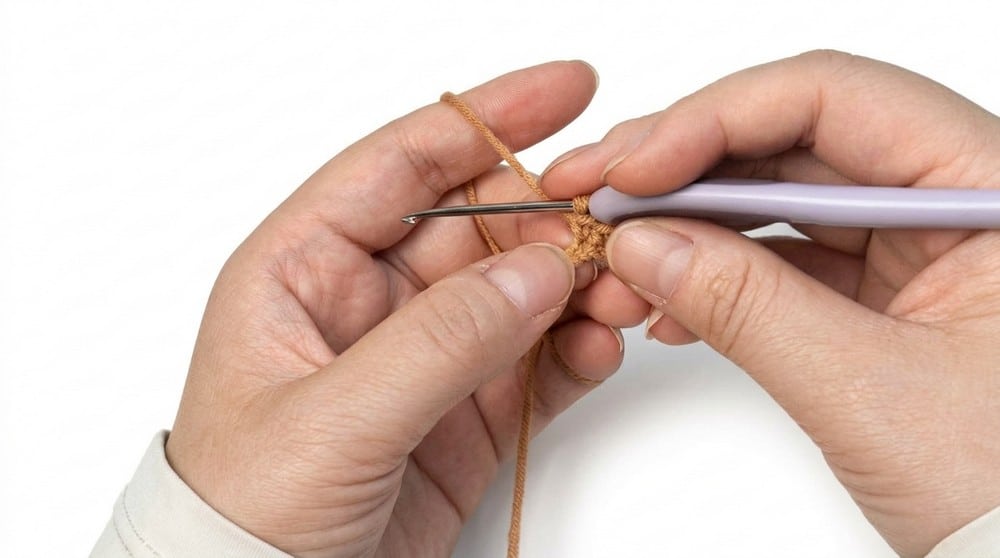
- Maintain consistent tension with the 1.8 mm hook to achieve neat stitches and tight fabric.
- Work color changes carefully, switching yarn color where indicated within rounds.
- Use stitch markers or count stitches often to ensure accuracy, especially during increases and decreases.
- Stuff firmly but not overly so to keep the cat’s shape squishy and soft.
- Glue used only for attaching arms and tail securely; ears sewn on for durability.
Skill Level
This pattern is rated Beginner to Intermediate. You should be comfortable with:
- Basic crochet stitches: SC, HDC, DC.
- Working in rounds starting from a chain.
- Increase (INC), Decrease (DEC) techniques.
- Changing yarn colors mid-round.
- Basic embroidery and assembly.
Materials
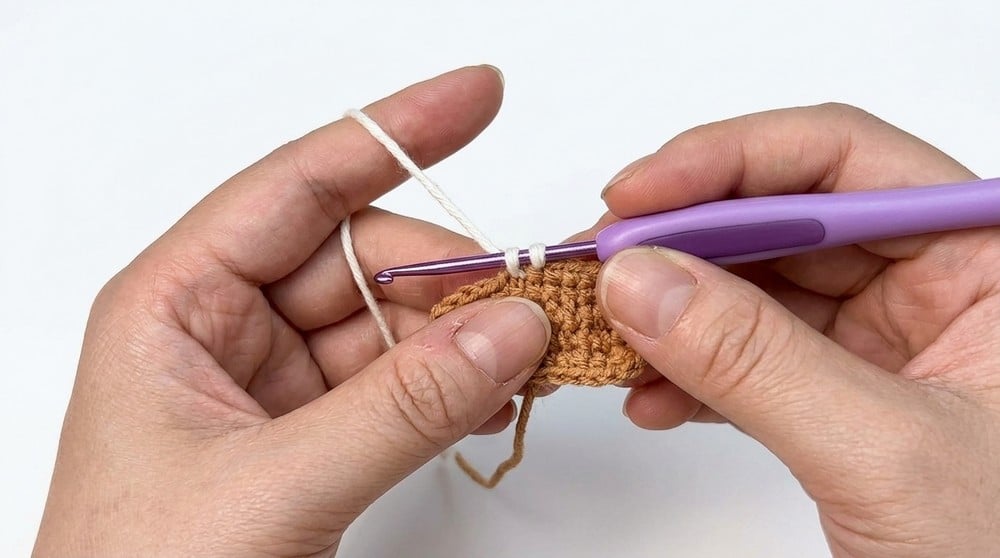
- Baby yarn in light brown and white colors.
- Crochet hook 1.8 mm.
- Fiberfill for stuffing.
- Embroidery thread (for eyes and other facial features).
- Glue (for attaching certain parts).
- Tapestry needle, stitch markers, scissors.
Gauge and Finished Size
Gauge: Gauge is approximate; tighter tension is recommended to prevent stuffing from showing and maintain stitches’ shape. The entire project is worked in continuous rounds. Change colors precisely at designated stitches for pattern accuracy.
Finished Size:
- Height: Approximately 12 cm (including ears and tail).
- Width: About 6-7 cm at widest body part.
Abbreviations
- ch: Chain
- SC: Single Crochet
- HDC: Half Double Crochet
- DC: Double Crochet
- INC: Increase – 2 SC in one stitch
- DEC: Decrease – crochet 2 stitches together
- sl st: Slip Stitch
Special Stitches
Increase (INC): Work 2 SC stitches into the same stitch to increase.
Decrease (DEC): Insert hook into next stitch, pull up loop, insert hook into following stitch, pull up loop, yarn over and pull through all loops on the hook to decrease stitch count by one.
Pattern Instructions
Head & Body (Light Brown and White Baby Yarn)
Round 1: Chain 10. Starting from the 2nd chain from the hook: Work 2 SC in the same stitch (INC), then 7 SC (one in each chain), 4 SC in the last stitch (work into the very last chain to increase width), 7 SC along the other side of the foundation chain, End with 1 INC in the last stitch. Join with a slip stitch to the first SC.
Round 2: Work 2 SC in the same stitch (INC), then 7 SC (one in each chain), 4 SC in the last stitch (work into the very last chain to increase width), 7 SC along the other side of the foundation chain, End with 1 INC in the last stitch.
Round 3: Work 2 INC in each of the first two stitches, Follow with 7 SC, Work 4 INC, 7 SC, Finish with 2 INC. Join with a slip stitch.
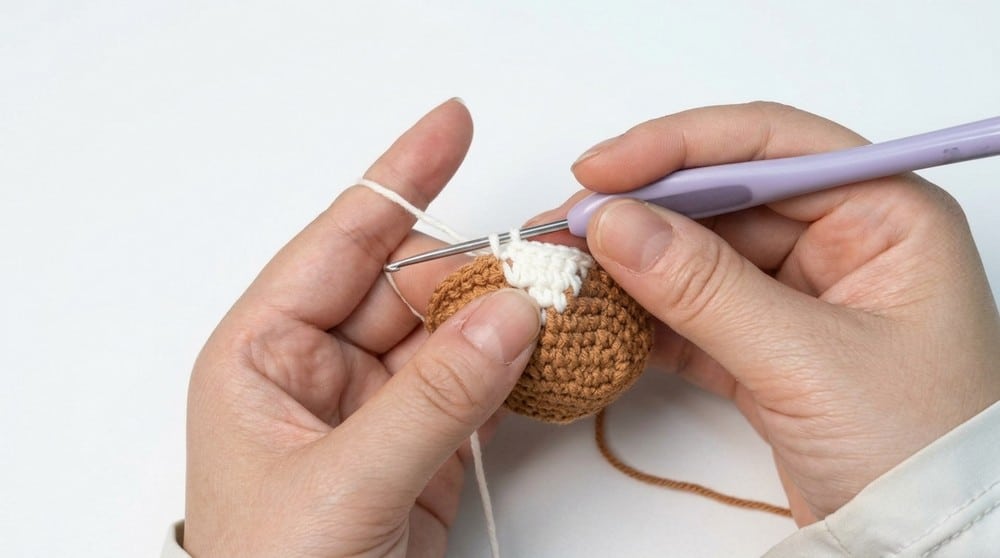
Round 4: Work 7 SC (switch to white yarn on the 7th stitch), Then 1 SC in white, Followed by 22 SC in brown.
Round 5: Repeat the following sequence: (1 SC, 1 INC) twice, Then 2 SC (switch to white on the 2nd SC), 3 SC in white, 2 SC in brown, (1 SC, 1 INC) repeated 4 times, 7 SC, (1 SC, 1 INC) repeated twice.
Round 6: (1 SC, 1 INC) twice, Then 2 SC (switch to white on the 2nd SC), 3 SC in white, 2 SC in brown, (1 SC, 1 INC) repeated 4 times, 7 SC, (1 SC, 1 INC) repeated twice.
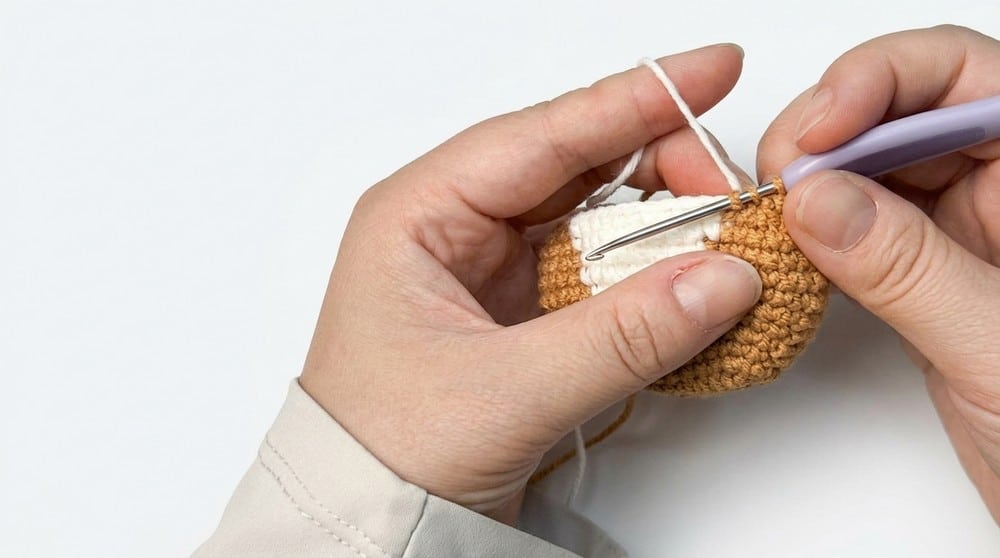
Round 7: Work 7 SC (switch to white on the 7th), Follow by 5 SC in white, Then 26 SC in brown.
Round 8: Repeat this pattern: (1 SC, 1 INC, 1 SC) twice (switch to white on the 2nd SC), 7 SC in white, (1 SC, 1 INC, 1 SC) three times, 7 SC, (1 SC, 1 INC, 1 SC) twice.
Round 9: (1 SC, 1 INC, 1 SC) twice (switch to white on the 2nd SC), 7 SC in white, (1 SC, 1 INC, 1 SC) three times, 7 SC, (1 SC, 1 INC, 1 SC) twice.
Round 10: Work 8 SC (switch to white on the 8th stitch), Then 7 SC in white, Followed by 31 SC in brown.
Round 11: Work 7 SC, Then 9 SC in white, Followed by 30 SC in brown each round.
Round 12: Work 6 SC, Then 11 SC in white, Finish with 29 SC in brown.
Round 13: Work 2 DEC, Then 2 SC, 11 SC in white, 2 SC in brown, Then 4 DEC, 15 SC, End with 2 DEC.
Round 14: Work 2 DEC, 11 SC in white, 4 DEC, 11 SC, 2 DEC.
Round 15: Work 1 DEC, 11 SC white, 2 DEC, 11 SC, Finish with 1 DEC.
Rounds 16 to 23: Work 26 SC in white for these rounds (build the body height).
Legs (Make 2)
Starting at the side edge, Chain 1, Work 6 SC, Finish with a slip stitch.
Ears (Make 2, Brown Yarn)
Chain 4, Start in the 2nd chain from hook: Work 1 SC, Then 2 DC, Slip stitch to join and finish.
Tail (Brown Yarn)
Chain 8, Start in the 3rd chain from hook: Work 2 DC, Then 4 HDC.
Arms
Left Arm: Chain 8, Work 5 SC, Then 1 HDC, Follow with 1 DC.
Right Arm: Chain 7, Work 4 SC, Then 2 HDC.
Assembly
Attach ears symmetrically on top of the head using a tapestry needle or pins to check placement. Stuff the body firmly with fiberfill to desired plushness. Crochet any additional border details as preferred around openings or edges. Attach arms and tail securely to the body using glue for quick, stable adhesion. Embroider the eyes and any desired facial details using embroidery thread for a charming finish.
Tips
- Working with a 1.8 mm hook requires patience; take your time to ensure stitches are tight.
- You should be comfortable with basic stitches, working in rounds, color changes, and assembly before starting.
- Taking your time during color switches, stitch counts, stuffing, and final assembly will ensure a neat and professional finish.
FAQs
1. What type of yarn is best for this pattern?
The pattern calls for baby yarn in light brown and white colors. This type of yarn is soft and plush, perfect for a cuddly amigurumi toy.
2. Do I need to use glue for assembly?
Yes, the pattern specifies using glue to attach the arms and tail securely to the body for quick, stable adhesion. The ears should be sewn on instead.
3. Is this pattern suitable for absolute beginners?
It is rated Beginner to Intermediate. You should be comfortable with basic stitches (SC, HDC, DC), working in rounds, and changing yarn colors mid-round.
4. How do I prevent stuffing from showing?
The gauge notes recommend tighter tension. Use a 1.8 mm hook and maintain consistent tension to achieve neat stitches and tight fabric.
5. What size will the finished cat be?
The finished cat is approximately 12 cm in height (including ears and tail) and about 6-7 cm wide at the widest part of the body.
Pin This Crochet Pattern!