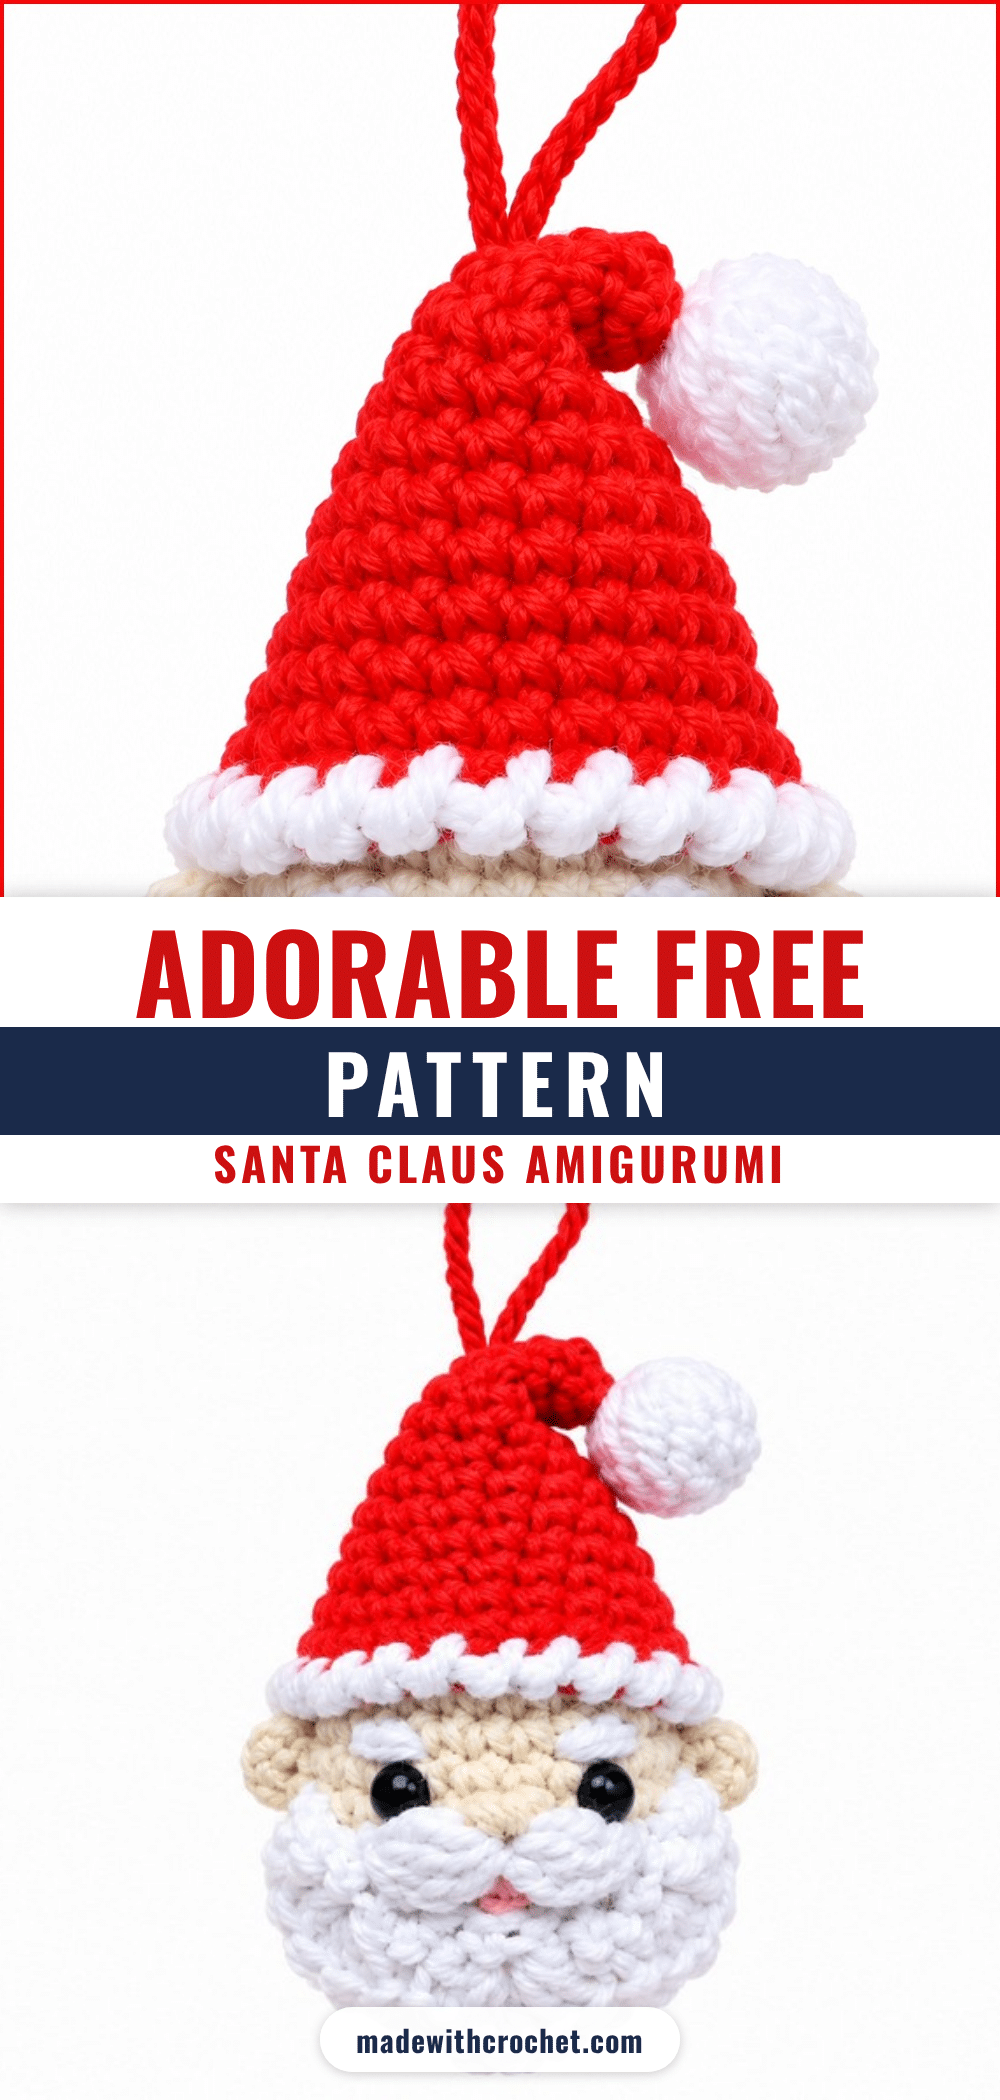
There is something undeniably magical about seeing a small, handmade Santa Claus amigurumi ornament hanging from a tree branch or resting on a mantelpiece. The finished object is irresistibly cute, perfectly tidy, and displays a level of craftsmanship that makes it an ideal gift for loved ones or a delightful addition to your own holiday decor. This jolly figure brings a warm, festive spirit to any room, offering a charming way to celebrate the season with a handmade touch.
Why the Finished Piece Stands Out
What makes this Santa Claus amigurumi truly special is the balance between its classic holiday aesthetic and its sturdy, plump construction. The dense single crochet stitches give the figure a solid, high-quality feel, while the textured beard and the ribbed white trim of the hat add visual interest that catches the eye. The soft beige skin tone contrasts beautifully with the bright red hat and fluffy white beard, creating a traditional look that feels both nostalgic and fresh. Whether you choose to hang it as an ornament or display it as a standalone decoration, the expressive safety eyes and embroidered details give this little Santa a personality that is sure to bring smiles during your holiday gatherings.
Project Overview
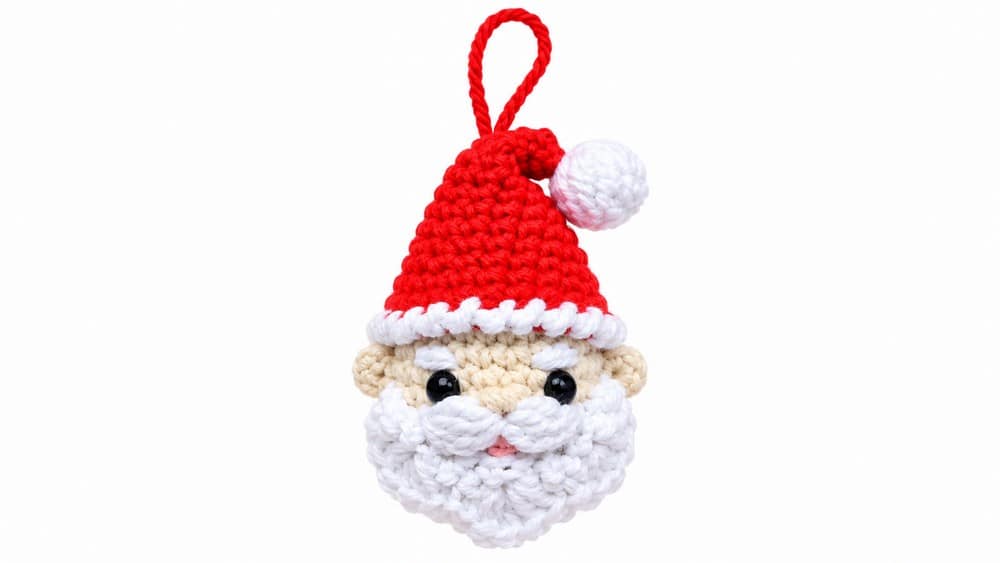
This tutorial guides you through crafting a charming Santa Claus Amigurumi Ornament, perfect for adorning your holiday tree or gifting as a festive keepsake. Using simple stitches and clever construction techniques, this pattern features a soft, textured head, expressive facial features, a fluffy beard and moustache, as well as a classic Santa hat. All components come together to create an endearing miniature Santa with personality and holiday spirit. The design is versatile; you can add a full body or a hanging loop to make it suitable for different uses around your home.
Materials
- Yarn: Beige skin tone, red, white, and a small amount of pink yarn. Choose a soft weight suitable for amigurumi, such as DK or worsted weight cotton or acrylic.
- Hooks: 3mm crochet hook.
- Safety Eyes: 4mm size for eyes.
- Other Tools: Yarn needle, stitch marker, scissors, fiberfill stuffing.
Gauge and Finished Size
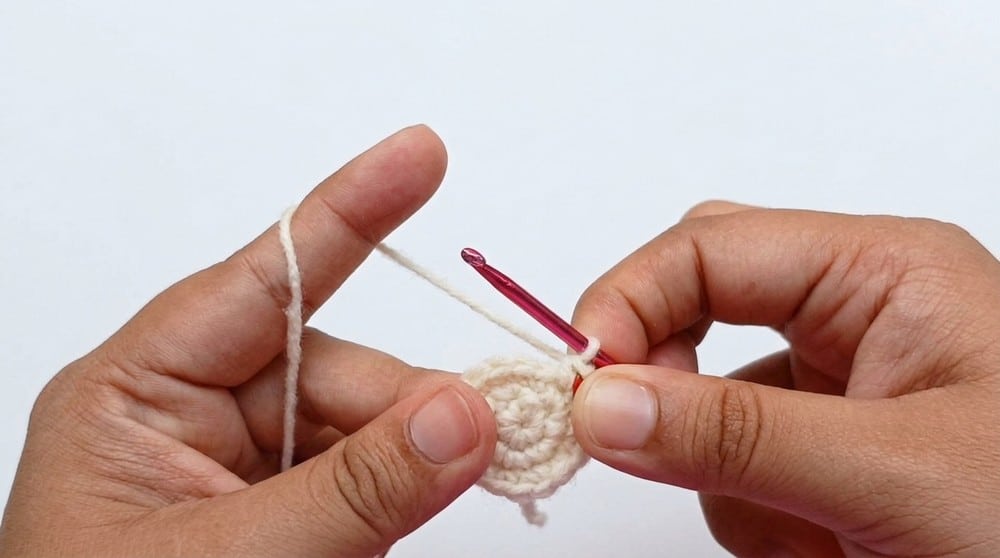
Gauge is flexible; the key is maintaining firm stitches to avoid gaps showing stuffing. The main stitch used is single crochet (sc) worked in continuous rounds for smooth shaping. The finished Santa Claus ornament stands approximately 10 to 12 cm tall. Head circumference is roughly 11 to 13 cm after stuffing. Hat dimensions match proportionally to the head; length can vary slightly depending on tension.
Abbreviations
- ch: Chain
- sc: Single Crochet
- dc: Double Crochet
- sl st: Slip Stitch
- inc: Increase (2 sc in one stitch)
- dec: Decrease (crochet two stitches together)
- MR: Magic Ring
Pattern Notes
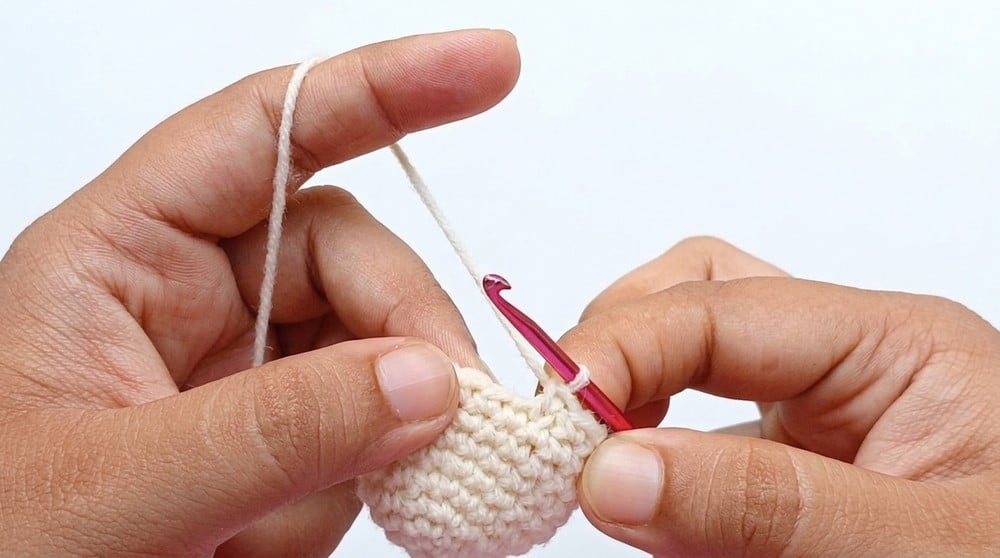
Use a stitch marker to track the beginning of each round. Insert the 4mm safety eyes between rounds 6 and 7, spaced three stitches apart for optimal facial proportion. Stuff the head firmly but gently to help the shape hold well. Yarn tension should be consistent throughout to avoid holes that expose stuffing. Embroidery details like eyebrows and mouth are instrumental in adding character. The hat’s reverse single crochet edge adds a lovely finishing touch.
Special Stitches
- Magic Ring (MR): Creates a tight starting loop ideal for amigurumi heads.
- Reverse Single Crochet: Used for edging the hat; worked left to right, gives a nice textured finish.
- Double Crochet (dc) Clusters: Used in the beard to produce fluffy texture.
Pattern Instructions
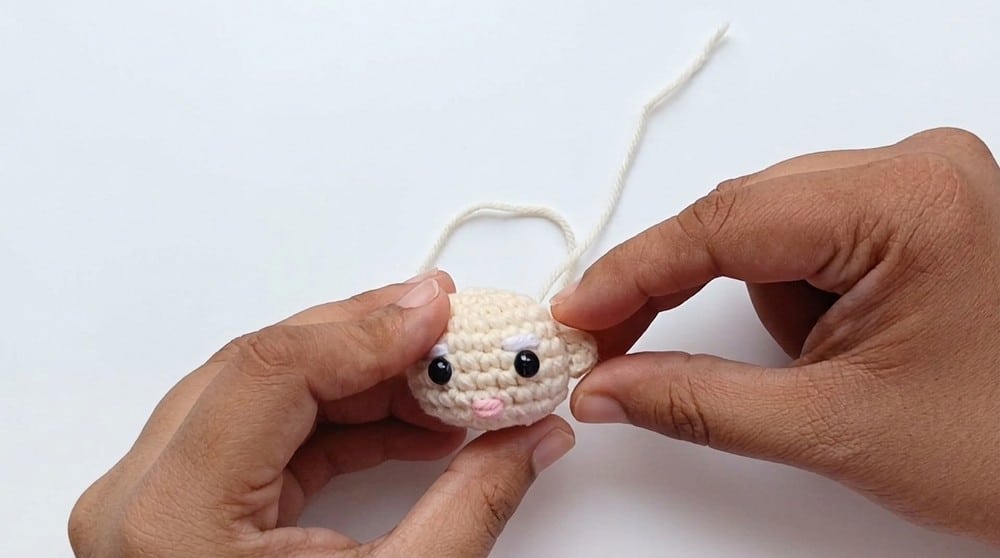
1. Head
Using beige skin color yarn.
Round 1: Begin with a Magic Ring (MR). Work 6 single crochet (sc) into the ring. (6 stitches)
Round 2: Increase in each stitch around — 2 sc in each stitch — for a total of 12 stitches.
Round 3: (1 sc, 1 inc) repeat 6 times to total 18 stitches.
Round 4: (1 sc, 1 inc, 1 sc) repeat 6 times to total 24 stitches.
Rounds 5 to 9: Work 24 single crochets (sc) in each round. At this point, insert the 4mm safety eyes between rounds 6 and 7, spacing them three stitches apart.
Round 10: (1 sc, 1 decrease (dec)) repeat 8 times, decreasing to 16 stitches.
Round 11: Decrease in every stitch around — crochet 2 together across the round — resulting in 8 stitches. Stuff the head firmly before closing.
2. Ears (Make Two)
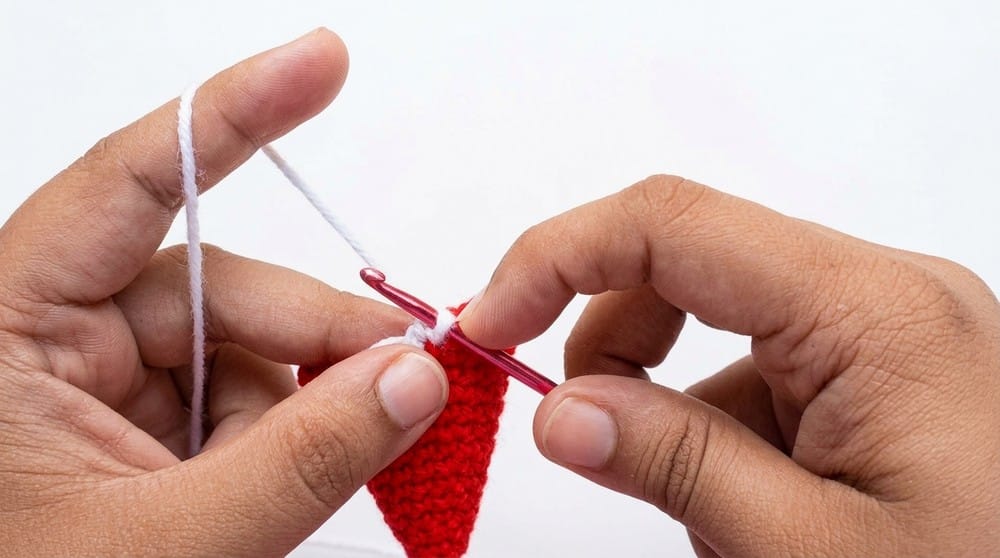
Using beige skin color yarn.
Round 1: Create a Magic Ring (MR). Work 4 single crochet (sc) stitches into the ring. Fasten off, leaving a tail for sewing.
3. Beard
Using white yarn.
Chain 12: This will create the length of the beard.
Row 1: Skip the first chain from the hook. Work 3 sc, then an increase (inc), 3 sc, another increase (inc), and 3 sc — total 13 stitches.
Row 2: Skip the first 2 stitches. Work 5 double crochets (dc) into the next stitch, skip 1 stitch, slip stitch (sl st) into the next stitch — repeat this sequence 3 times. This creates a ruffled beard effect.
4. Moustache
Using white yarn.
Chain 3. In the first chain, work 2 double crochets (dc) together (decrease within the chain). Repeat (ch 3, 2 dc together in 1st ch) two more times total for 3 sets. This forms a delicate moustache piece.
5. Santa Hat
Using red yarn for the main body of the hat, switching to white yarn for the brim.
Round 1: Create a Magic Ring (MR) and work 6 single crochet (sc) stitches.
Round 2: Work 6 sc stitches evenly.
Round 3: (1 sc, 1 inc) repeat 3 times; total 9 stitches.
Round 4: Work 9 sc stitches evenly.
Round 5: (2 sc, 1 inc) repeat 3 times; total 12 stitches.
Round 6: Work 12 sc stitches evenly.
Round 7: (3 sc, 1 inc) repeat 3 times; total 15 stitches.
Round 8: Work 15 sc stitches evenly.
Round 9: (4 sc, 1 inc) repeat 3 times; total 18 stitches.
Round 10: Work 18 sc stitches evenly.
Round 11: (5 sc, 1 inc) repeat 3 times; total 21 stitches.
Round 12: Work 21 sc stitches evenly.
Round 13: (6 sc, 1 inc) repeat 3 times; total 24 stitches.
Round 14: Change to white yarn. Work reverse single crochet (crab stitch) around the hat to create a clean and textured edge.
Assembly
Embroider eyebrows and the mouth onto the face using pink yarn and a yarn needle for soft, subtle features. A simple straight or curved stitch will add character. Sew the ears on either side of the head, positioning just above the beard line. Secure the moustache beneath the nose area on the face. Attach the beard below the moustache, centering it under the face for fullness. Slip the hat over the head, lightly shaping it as it rests. Position and sew carefully to secure. Optionally, attach a yarn loop or ribbon to the top of the hat to allow it to hang as an ornament.
Tips
- Use a stitch marker to track the beginning of each round.
- Insert the 4mm safety eyes between rounds 6 and 7, spaced three stitches apart for optimal facial proportion.
- Stuff the head firmly but gently to help the shape hold well.
- Yarn tension should be consistent throughout to avoid holes that expose stuffing.
- Embroidery details like eyebrows and mouth are instrumental in adding character.
- The hat’s reverse single crochet edge adds a lovely finishing touch.
FAQs
What yarn weight is best for this pattern?
Choose a soft weight suitable for amigurumi, such as DK or worsted weight cotton or acrylic. This ensures the finished ornament is sturdy yet soft to the touch.
Can I make this Santa Claus larger or smaller?
Yes, you can adjust the size by changing your hook size or using a different yarn weight. However, be mindful that changing the hook size may affect the tightness of your stitches, which is crucial for preventing stuffing from showing.
How do I attach the safety eyes securely?
Insert the 4mm safety eyes between rounds 6 and 7, spacing them three stitches apart. Ensure the washer is tightly secured on the inside of the head to prevent them from pulling out.
Is this pattern suitable for beginners?
This pattern is suitable for intermediate crocheters who have experience working in rounds, managing increases and decreases, placing safety eyes, and performing basic embroidery. Beginners with patience and careful attention can also attempt this with some practice.
How do I make the beard fluffy?
The beard uses a combination of stitches to provide texture and dimension. Specifically, Row 2 of the beard incorporates double crochets (dc) and slip stitches to create a ruffled, fluffy effect.
What is reverse single crochet?
Reverse single crochet, also known as crab stitch, is used for the hat’s edging. It is worked left to right and gives a nice, textured, rope-like finish that looks like a ribbed trim.
Pin This Crochet Pattern!