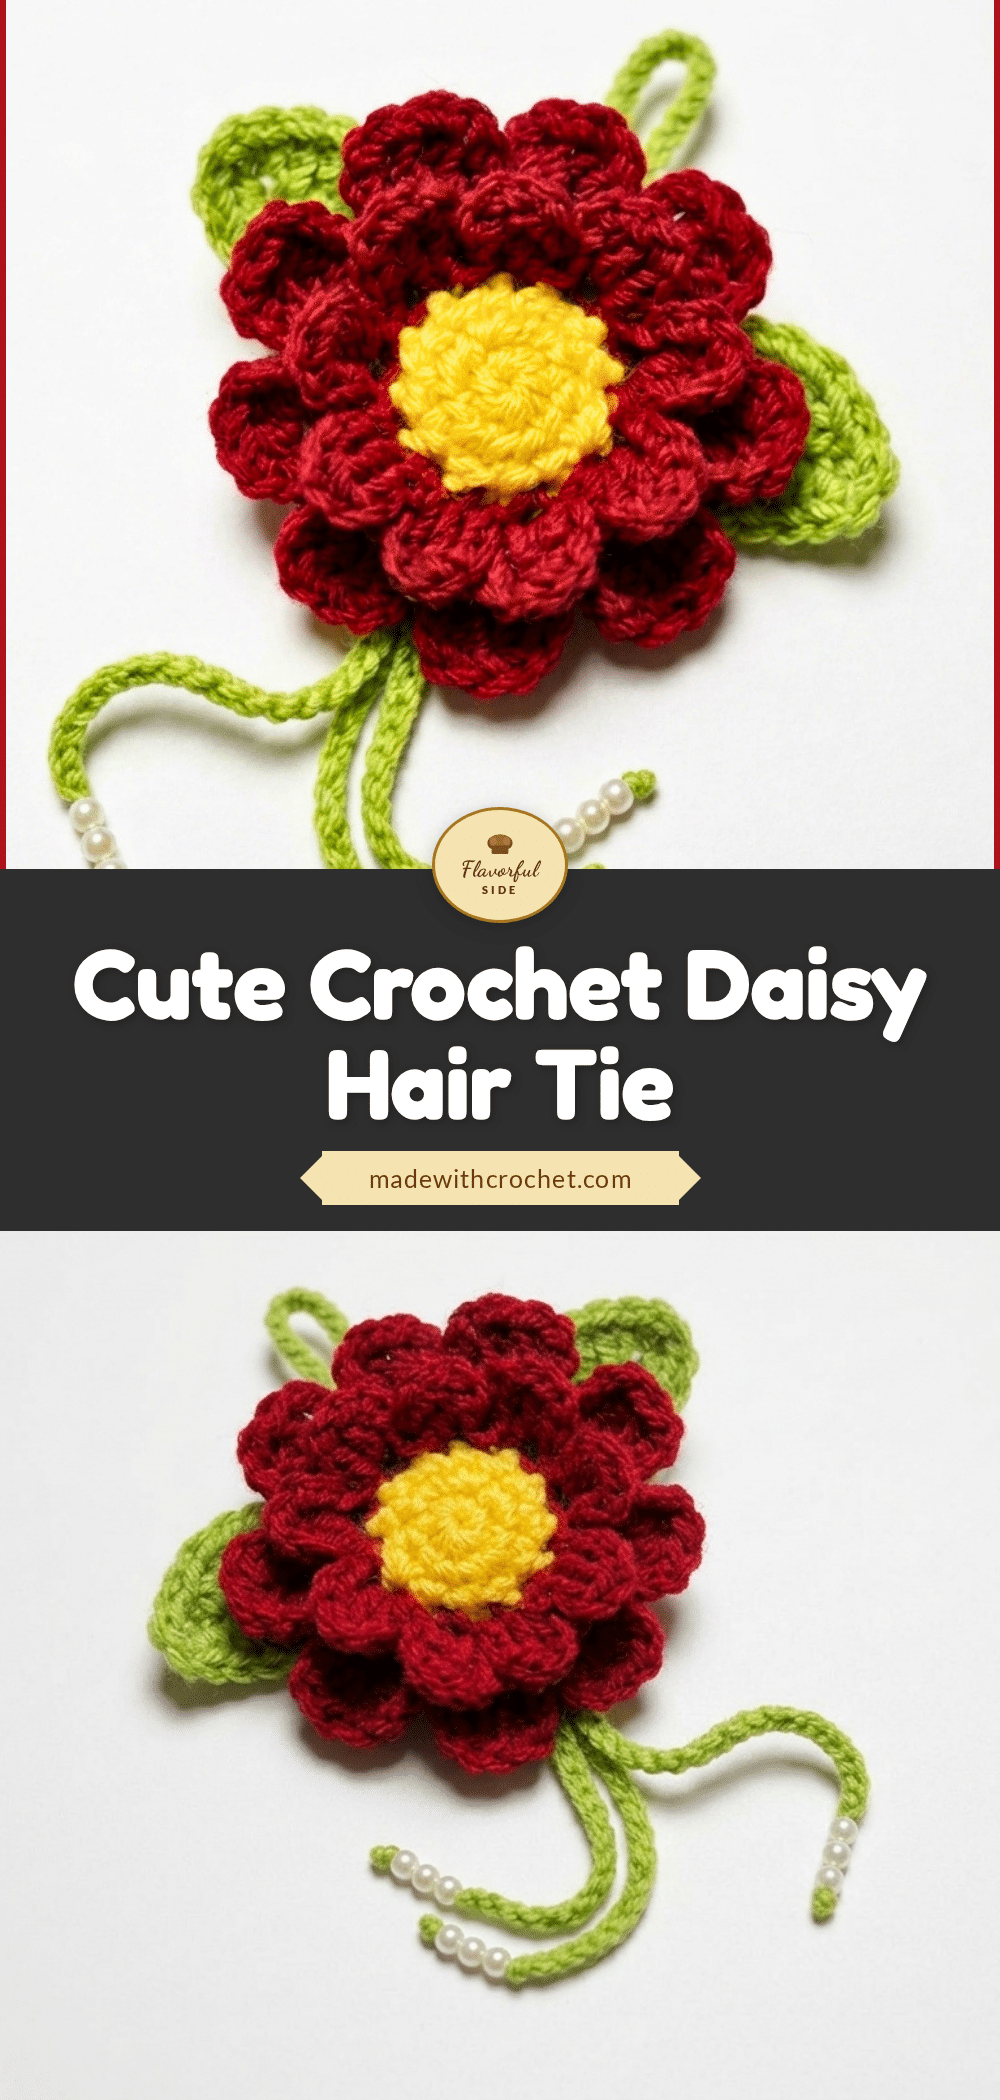
There is a specific kind of magic that happens when you sit down with a small scrap of yarn and a hook, turning something simple into a wearable piece of art. The daisy hair tie pattern is a perfect example of this maker’s moment. It starts with a magic circle, builds into structured layers, and ends with a finished accessory that feels like a personal victory. This project is designed to be approachable yet rewarding, allowing you to create a functional piece of jewelry that adds a touch of spring to any ponytail or bun.
Why This Project Works
This pattern stands out because it balances delicate aesthetics with structural integrity. Unlike flat flower motifs, this 3D daisy uses specific loop techniques to create depth, making it a statement piece rather than a simple embellishment. The use of contrasting colors for the base, front petals, and back petals allows for endless customization, whether you want a classic white and yellow daisy or a bold, modern colorway that matches your outfit. It is an excellent project for using up small yarn remnants, transforming “leftovers” into high-value fashion items. The finished flower is large enough to be seen but proportioned to remain elegant, and the inclusion of optional pearls adds a sophisticated shimmer suitable for both casual wear and festive occasions.
Project Overview
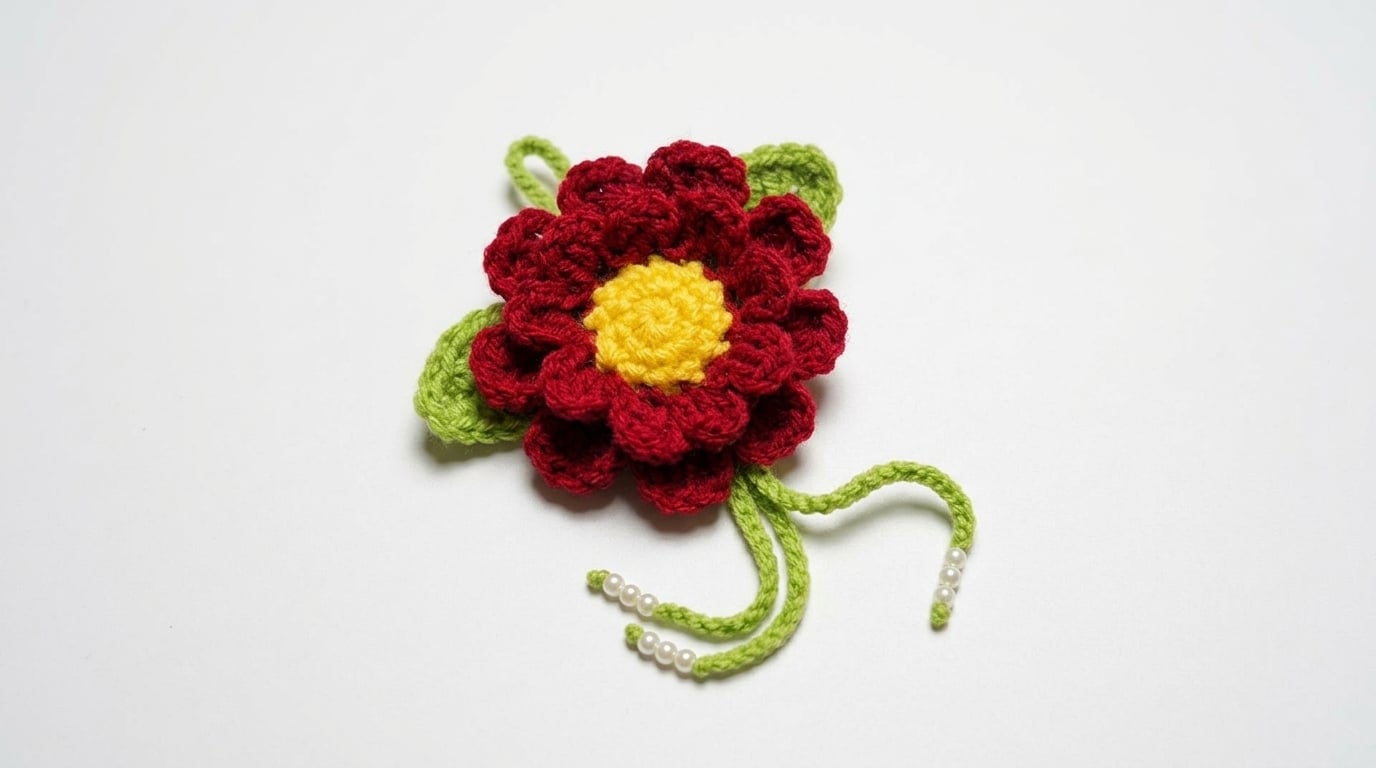
This detailed pattern teaches you how to crochet a beautiful and dimensional 3D Daisy Flower ideal for hair ties, brooches, or other decorative accessories. The construction involves creating layered bases, delicate front and back petals, and an elegant leaf, all expertly shaped to give a lifelike floral effect. The finished piece can be enhanced with optional pearl beads and attached to a coordinating hair tie cord for a charming finishing touch.
The Crochet Pattern
The centerpiece of the 3D Daisy Flower consists of two circular bases crocheted separately and joined together, forming a sturdy foundation. The flower is built upward with two distinct sets of petals—front petals made with shorter chains and double crochets, and larger, fuller back petals created with triple crochets and longer chains. A meticulously shaped leaf adds a naturalistic element, followed by assembly on a long chain serving as a hair tie or accessory cord with optional pearl detailing for sophistication.
Materials
- Three contrasting colors of yarn for bases, petals, and leaf (weight suitable for 3.5 mm hook, e.g., DK or light worsted)
- 3.5 mm crochet hook
- Pearls or beads (optional, quantity depends on personal preference for decoration)
- Scissors
- Yarn needle for sewing ends and assembly
- Fabric glue (optional, for securing pearls or flower attachments)
Gauge and Finished Size
Gauge is flexible; tight but not overly dense stitches preferred to maintain petal shape. Bases are flat circular discs created primarily with single crochet (SC) and increase rounds. Front petals utilize double crochet (DC) combined with slip stitches and chained sections into the front loops only (FLO) for raised, delicate texture. Back petals are fuller, worked with triple crochet (TR) into back loops only (BLO) for volume. Leaf shaped by specially sequenced single, half-double, and double crochets combined with chains, worked symmetrically along a central chain spine.
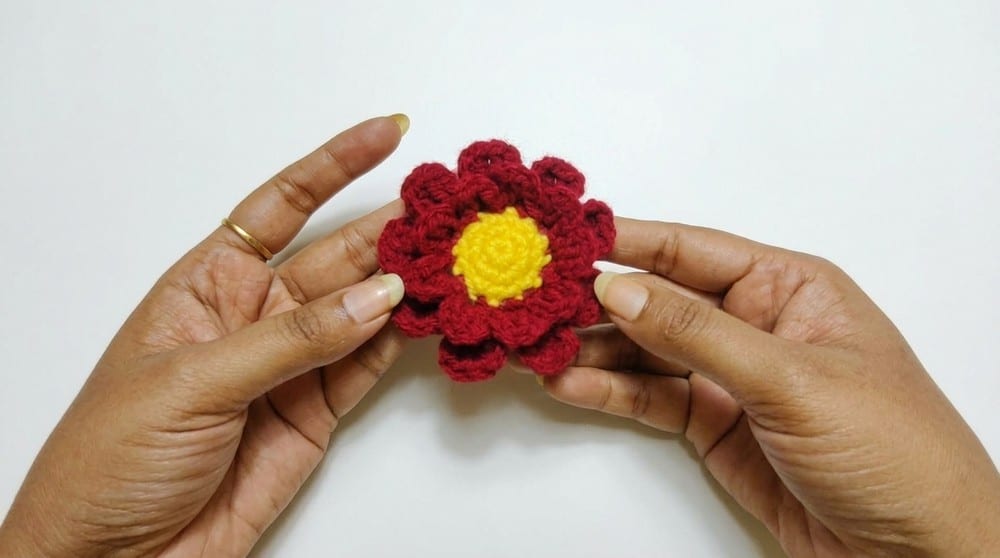
Diameter of flower approximately 6–7 cm (2.4–2.8 inches) after assembly. Leaf length approximately 5 cm (2 inches). Hair tie cord length approximately 40–45 cm (15.7–17.7 inches), adjustable based on styling preference. Completed flower diameter measures approximately 6–7 cm (2.4–2.8 inches), large enough to be a statement accessory without overwhelming wearability. The leaf extends around 5 cm (2 inches), adding a lovely offset silhouette. Hair tie cord length can be customized; 60 chains (about 40 cm) is recommended for comfortable tying and handling. Optional pearls add elegant shimmer suitable for formal or festive occasions.
Abbreviations
- CH: Chain stitch
- SC: Single Crochet
- DC: Double Crochet
- TR: Triple Crochet (also called treble crochet)
- SL ST: Slip Stitch
- FLO: Front Loop Only
- BLO: Back Loop Only
- MC: Magic Circle (Magic Ring)
Pattern Notes
This pattern works in rounds and rows, combining looping techniques for dimensionality. Front and back loops are selectively worked to emphasize textural separation of petals and base layers. Stitch tension consistency ensures even petal size and smooth joining. Crochet hook size is recommended at 3.5 mm but may be adjusted depending on yarn thickness for desired flower scale. Pearls add elegant adornment but are optional. Secure finishing and sewing/gluing attachment are essential for durability in wearable use. Careful counting of chains and stitches in petals/leaf is necessary for symmetry.
Special Stitches
- Magic Circle: A ring made of yarn to start crochet in the round with adjustably tight center.
- Triple Crochet (TR): A taller stitch requiring yarn over twice before inserting the hook into the stitch, yielding a more open texture.
- Working in Front/Back Loops Only: Crochet stitches made by inserting the hook under the forward or rearward loop of the stitch only, creating defined ridges or spaces ideal for layering petals.
Pattern Instructions
Step 1: Creating the Bases
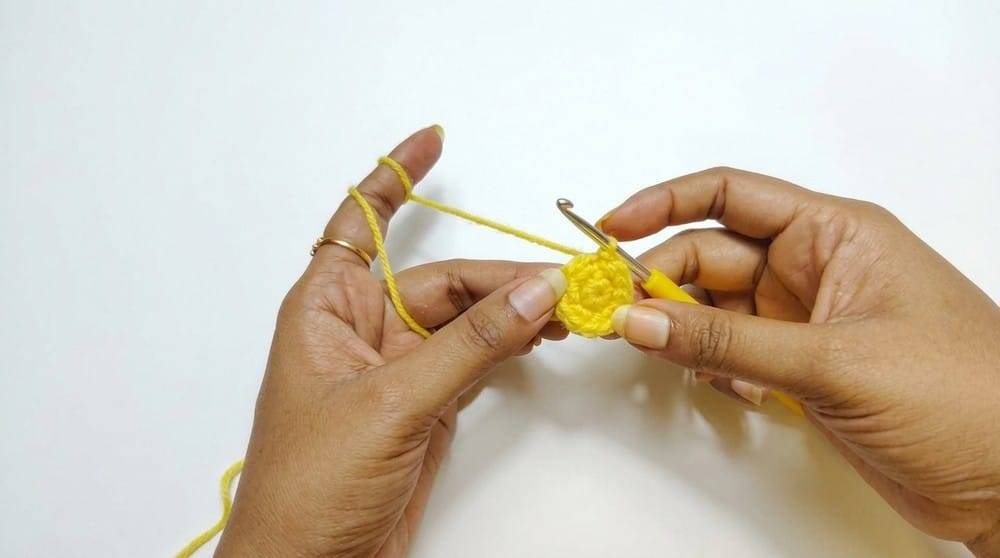
Begin by forming a Magic Circle (MC).
Row 1: Work 6 SC into the MC. Pull ring tight and join to first stitch to close the circle. [6 stitches]
Row 2: Increase in every stitch by making 2 SC in each stitch around. [12 stitches]
Row 3: Work 1 SC in each stitch around, maintaining 12 stitches. Complete two identical circular bases and fasten off each, securing yarn ends for neatness.
Step 2: Joining the Bases
Align the two circular pieces perfectly, holding them together. Use your crochet hook to join them by working SC stitches through both loops of each stitch pair from both pieces. Continue around to form a sandwich-like base with a sturdy edge.
Step 3: Front Petals
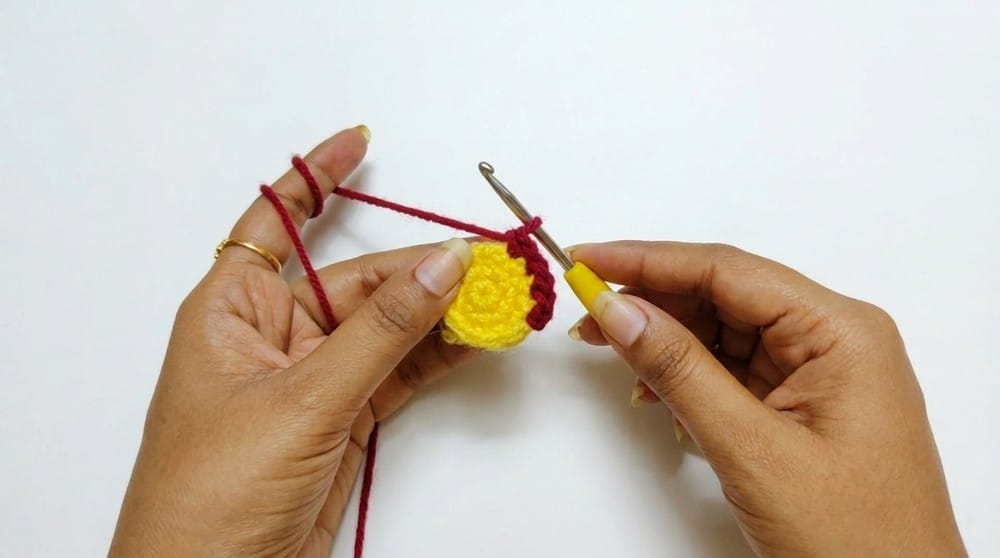
Work in the front loops only (FLO) of the stitches around the joined base. For each stitch: Slip stitch (SL ST) into the stitch, Chain 3 (CH 3), Double crochet (DC) in the next stitch, Chain 3 (CH 3), Slip stitch (SL ST) into the same space where slip stitch started. Repeat this petal pattern around completely. This creates delicate small petals framing the base.
Slip stitch (SL ST) into the stitch, Chain 3 (CH 3), Double crochet (DC) in the next stitch, Chain 3 (CH 3), Slip stitch (SL ST) into the same space where slip stitch started.
Step 4: Back Petals
Now work into the back loops only (BLO) left from the previous step. For each stitch: Chain 4 (CH 4), Make 2 triple crochets (TR) in the same stitch, Chain 4 (CH 4), Slip stitch (SL ST) to close the petal shape. Repeat around for larger, fuller petals that extend behind and between the front petals, adding depth and dimension.
Chain 4 (CH 4), Make 2 triple crochets (TR) in the same stitch, Chain 4 (CH 4), Slip stitch (SL ST) to close the petal shape.
Step 5: Making the Leaf
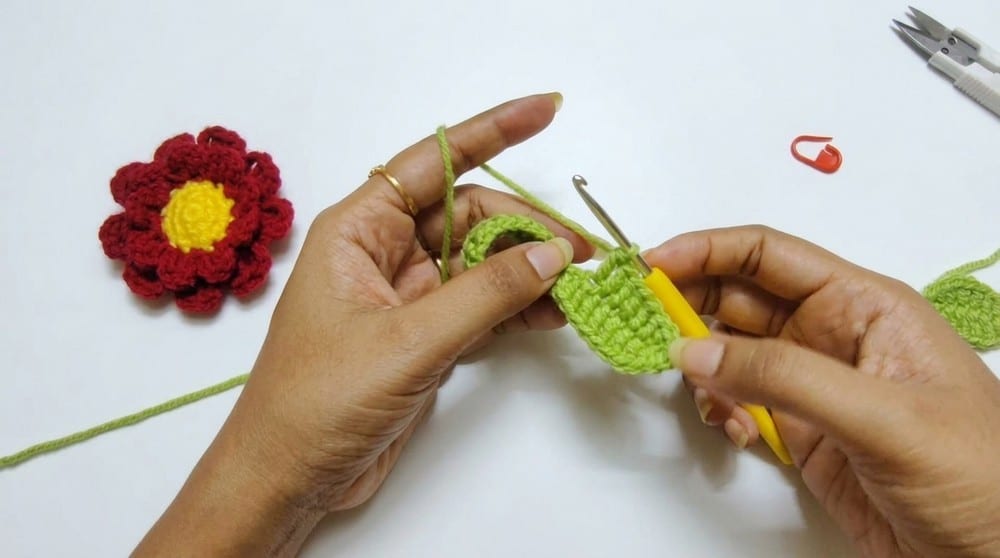
Chain 12 to create the foundation of the leaf shape. Starting from the second chain from the hook, work these stitches along one side: 1 SC 1 half-double crochet (HDC) 6 DC 1 HDC 1 SC 1 SL ST to turn at the tip. Repeat the same stitch sequence on the opposite side of the chain to mirror the first side, forming a symmetrical leaf. Add 3 extra SC at the very tip of the leaf for pointed detail and secure finishing.
1 SC 1 half-double crochet (HDC) 6 DC 1 HDC 1 SC 1 SL ST to turn at the tip.
Step 6: Assembly
Chain 60 (or desired length) to create the hair tie cord that will hold your flower securely when worn. Thread pearls or beads onto the yarn before securing for decorative sparkle. Attach the leaf to the cord by pulling the cord strand through the back loops of the leaf foundation chain for natural draping. Securely sew or apply fabric glue to attach the flower centerpiece to the center of the leaf and cord junction, ensuring a strong bond for wear and movement.
Assembly
Align the two circular pieces perfectly, holding them together. Use your crochet hook to join them by working SC stitches through both loops of each stitch pair from both pieces. Continue around to form a sandwich-like base with a sturdy edge.
Work in the front loops only (FLO) of the stitches around the joined base. For each stitch: Slip stitch (SL ST) into the stitch, Chain 3 (CH 3), Double crochet (DC) in the next stitch, Chain 3 (CH 3), Slip stitch (SL ST) into the same space where slip stitch started. Repeat this petal pattern around completely. This creates delicate small petals framing the base.
Slip stitch (SL ST) into the stitch, Chain 3 (CH 3), Double crochet (DC) in the next stitch, Chain 3 (CH 3), Slip stitch (SL ST) into the same space where slip stitch started.
Now work into the back loops only (BLO) left from the previous step. For each stitch: Chain 4 (CH 4), Make 2 triple crochets (TR) in the same stitch, Chain 4 (CH 4), Slip stitch (SL ST) to close the petal shape. Repeat around for larger, fuller petals that extend behind and between the front petals, adding depth and dimension.
Chain 4 (CH 4), Make 2 triple crochets (TR) in the same stitch, Chain 4 (CH 4), Slip stitch (SL ST) to close the petal shape.
Chain 12 to create the foundation of the leaf shape. Starting from the second chain from the hook, work these stitches along one side: 1 SC 1 half-double crochet (HDC) 6 DC 1 HDC 1 SC 1 SL ST to turn at the tip. Repeat the same stitch sequence on the opposite side of the chain to mirror the first side, forming a symmetrical leaf. Add 3 extra SC at the very tip of the leaf for pointed detail and secure finishing.
1 SC 1 half-double crochet (HDC) 6 DC 1 HDC 1 SC 1 SL ST to turn at the tip.
Chain 60 (or desired length) to create the hair tie cord that will hold your flower securely when worn. Thread pearls or beads onto the yarn before securing for decorative sparkle. Attach the leaf to the cord by pulling the cord strand through the back loops of the leaf foundation chain for natural draping. Securely sew or apply fabric glue to attach the flower centerpiece to the center of the leaf and cord junction, ensuring a strong bond for wear and movement.
Tips
Working on small-scale floral accessories allows makers to transform leftover yarn remnants into high-value, reusable fashion items. Customizing the center and petal colors provides endless versatility, enabling you to match specific wardrobe palettes or personal style themes. Whether styled in a sleek ponytail or gifted as a sweet token of appreciation, this charming creation brings simple elegance, dependable functionality, and handmade warmth to everyday routines.
FAQs
What yarn weight is best for this pattern?
The pattern recommends a weight suitable for a 3.5 mm hook, such as DK or light worsted. This weight provides enough structure to hold the petal shape while remaining soft enough for hair accessories.
Can I use this pattern to make a brooch instead of a hair tie?
Yes. You can skip the long chain cord and instead sew a safety pin or brooch pin to the back of the joined circular bases after completing the petals and leaf.
How do I keep the petals from looking too loose?
The pattern notes that tight but not overly dense stitches are preferred. Maintaining consistent tension, especially when working into the FLO and BLO, ensures the petals remain defined and do not droop.
Is this pattern suitable for beginners?
This is considered an intermediate pattern. It requires familiarity with magic circles, working in rounds, and specific techniques like working in front and back loops only. If you are comfortable with these basics, you will find it accessible.
How do I attach the pearls securely?
You can thread pearls onto the yarn before crocheting the cord. For additional security, especially if using larger beads, apply a small amount of fabric glue to the knots or the base of the flower where the cord attaches.
Can I adjust the size of the flower?
Yes. You can adjust the hook size or yarn weight to change the scale. Additionally, the hair tie cord length is customizable; you can chain more or fewer stitches depending on your styling preference.
Pin This Crochet Pattern!