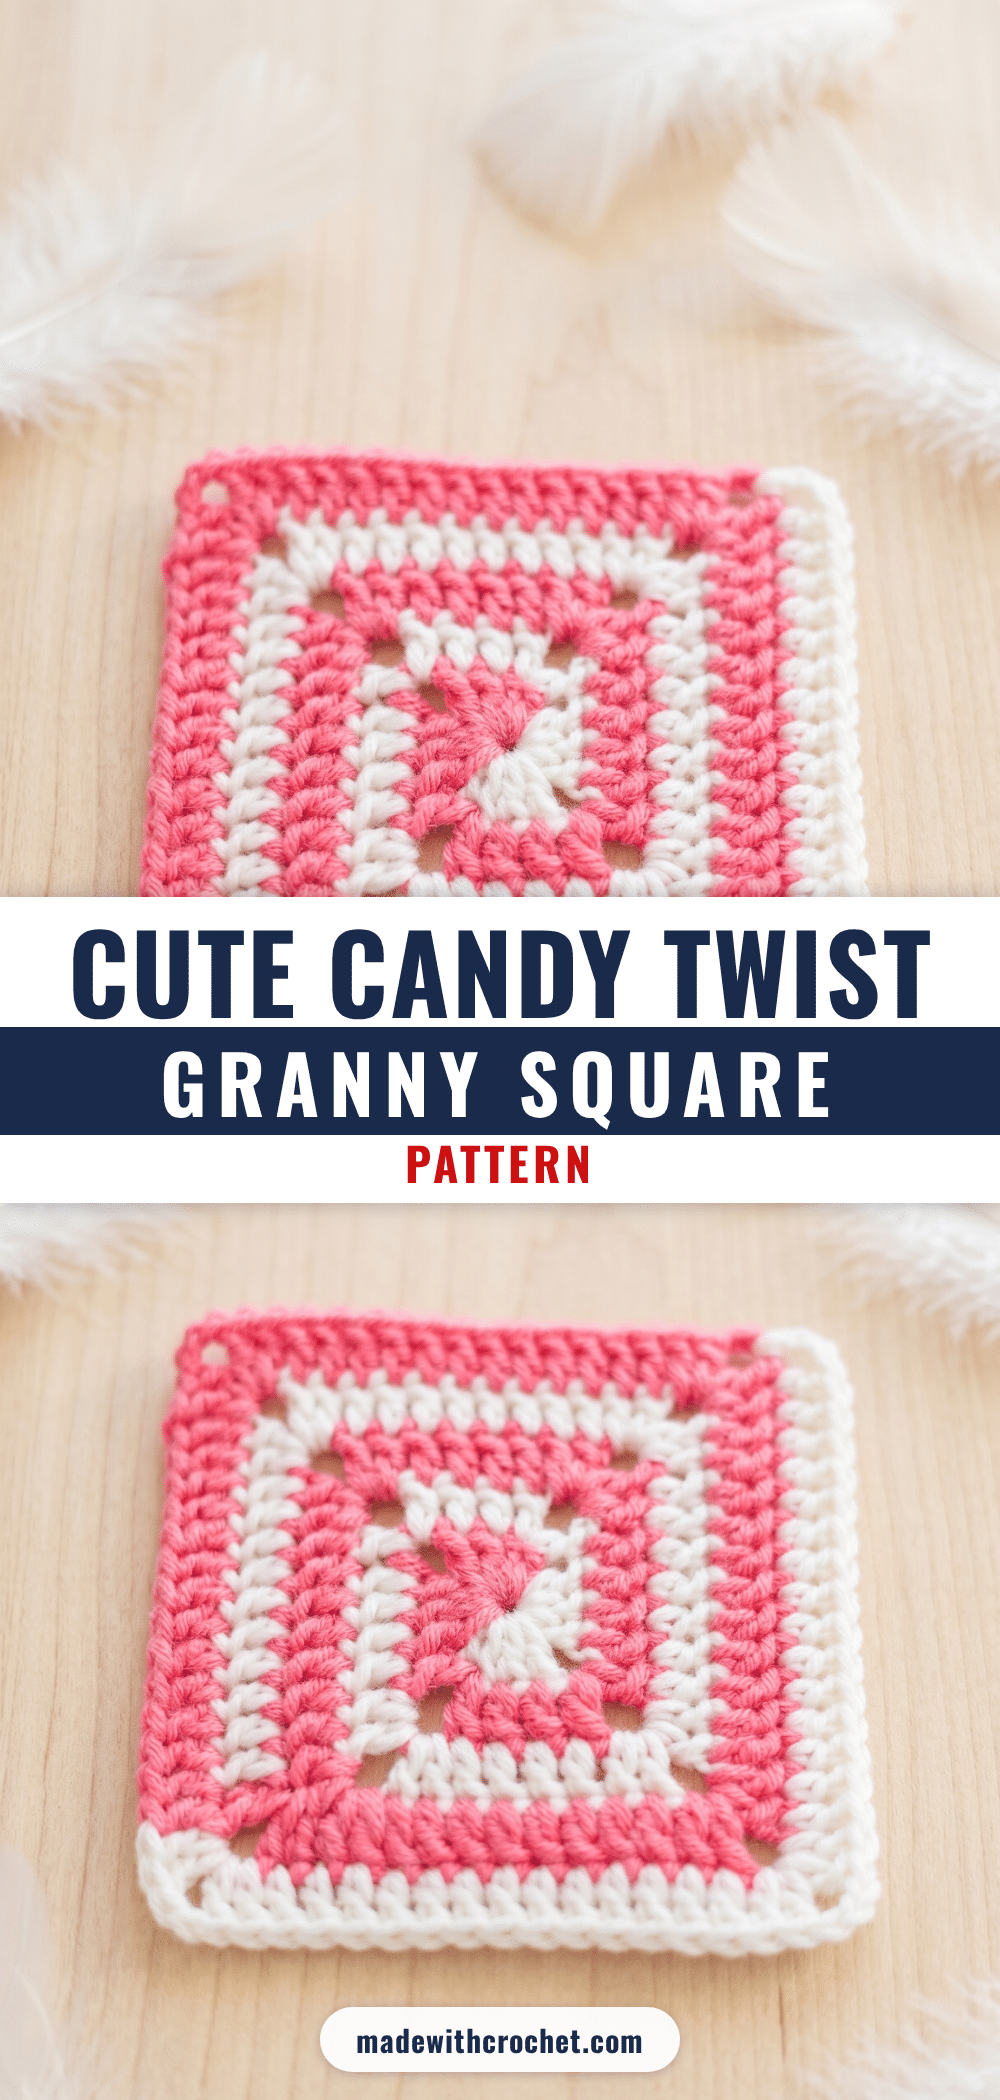
There is a specific kind of magic that happens when you sit down with two contrasting skeins of yarn, a 3.5 mm hook, and a clear plan for how they will interact. The Candy Twist Granny Square is exactly that kind of project. It starts as a simple loop, but as you work through the rounds, you will find yourself in a satisfying rhythm of swapping colors, parking loops, and watching a structured, geometric shape emerge. It is an intermediate-level motif that feels fresh because it challenges the traditional granny square construction in a way that is manageable and visually striking.
Why This Project Works
What makes this motif stand out is the construction technique. Unlike standard granny squares where you cut and join colors at the end of each round, this design keeps both colors live simultaneously. You work a segment in Color 1, remove your hook, and immediately pick up Color 2 to work its segment. This creates a continuous, alternating spiral effect that is both playful and precise.
The square is compact, measuring 10 cm x 10 cm, which makes it incredibly versatile. You can use it as a standalone embellishment, a coaster, or the building block for a larger wearable or home decor item. The DK weight yarn provides enough structure to hold the shape without being too stiff, while the two-color contrast ensures the stitch definition pops. It is a project that rewards patience with a beautiful, orderly result.
Project Overview
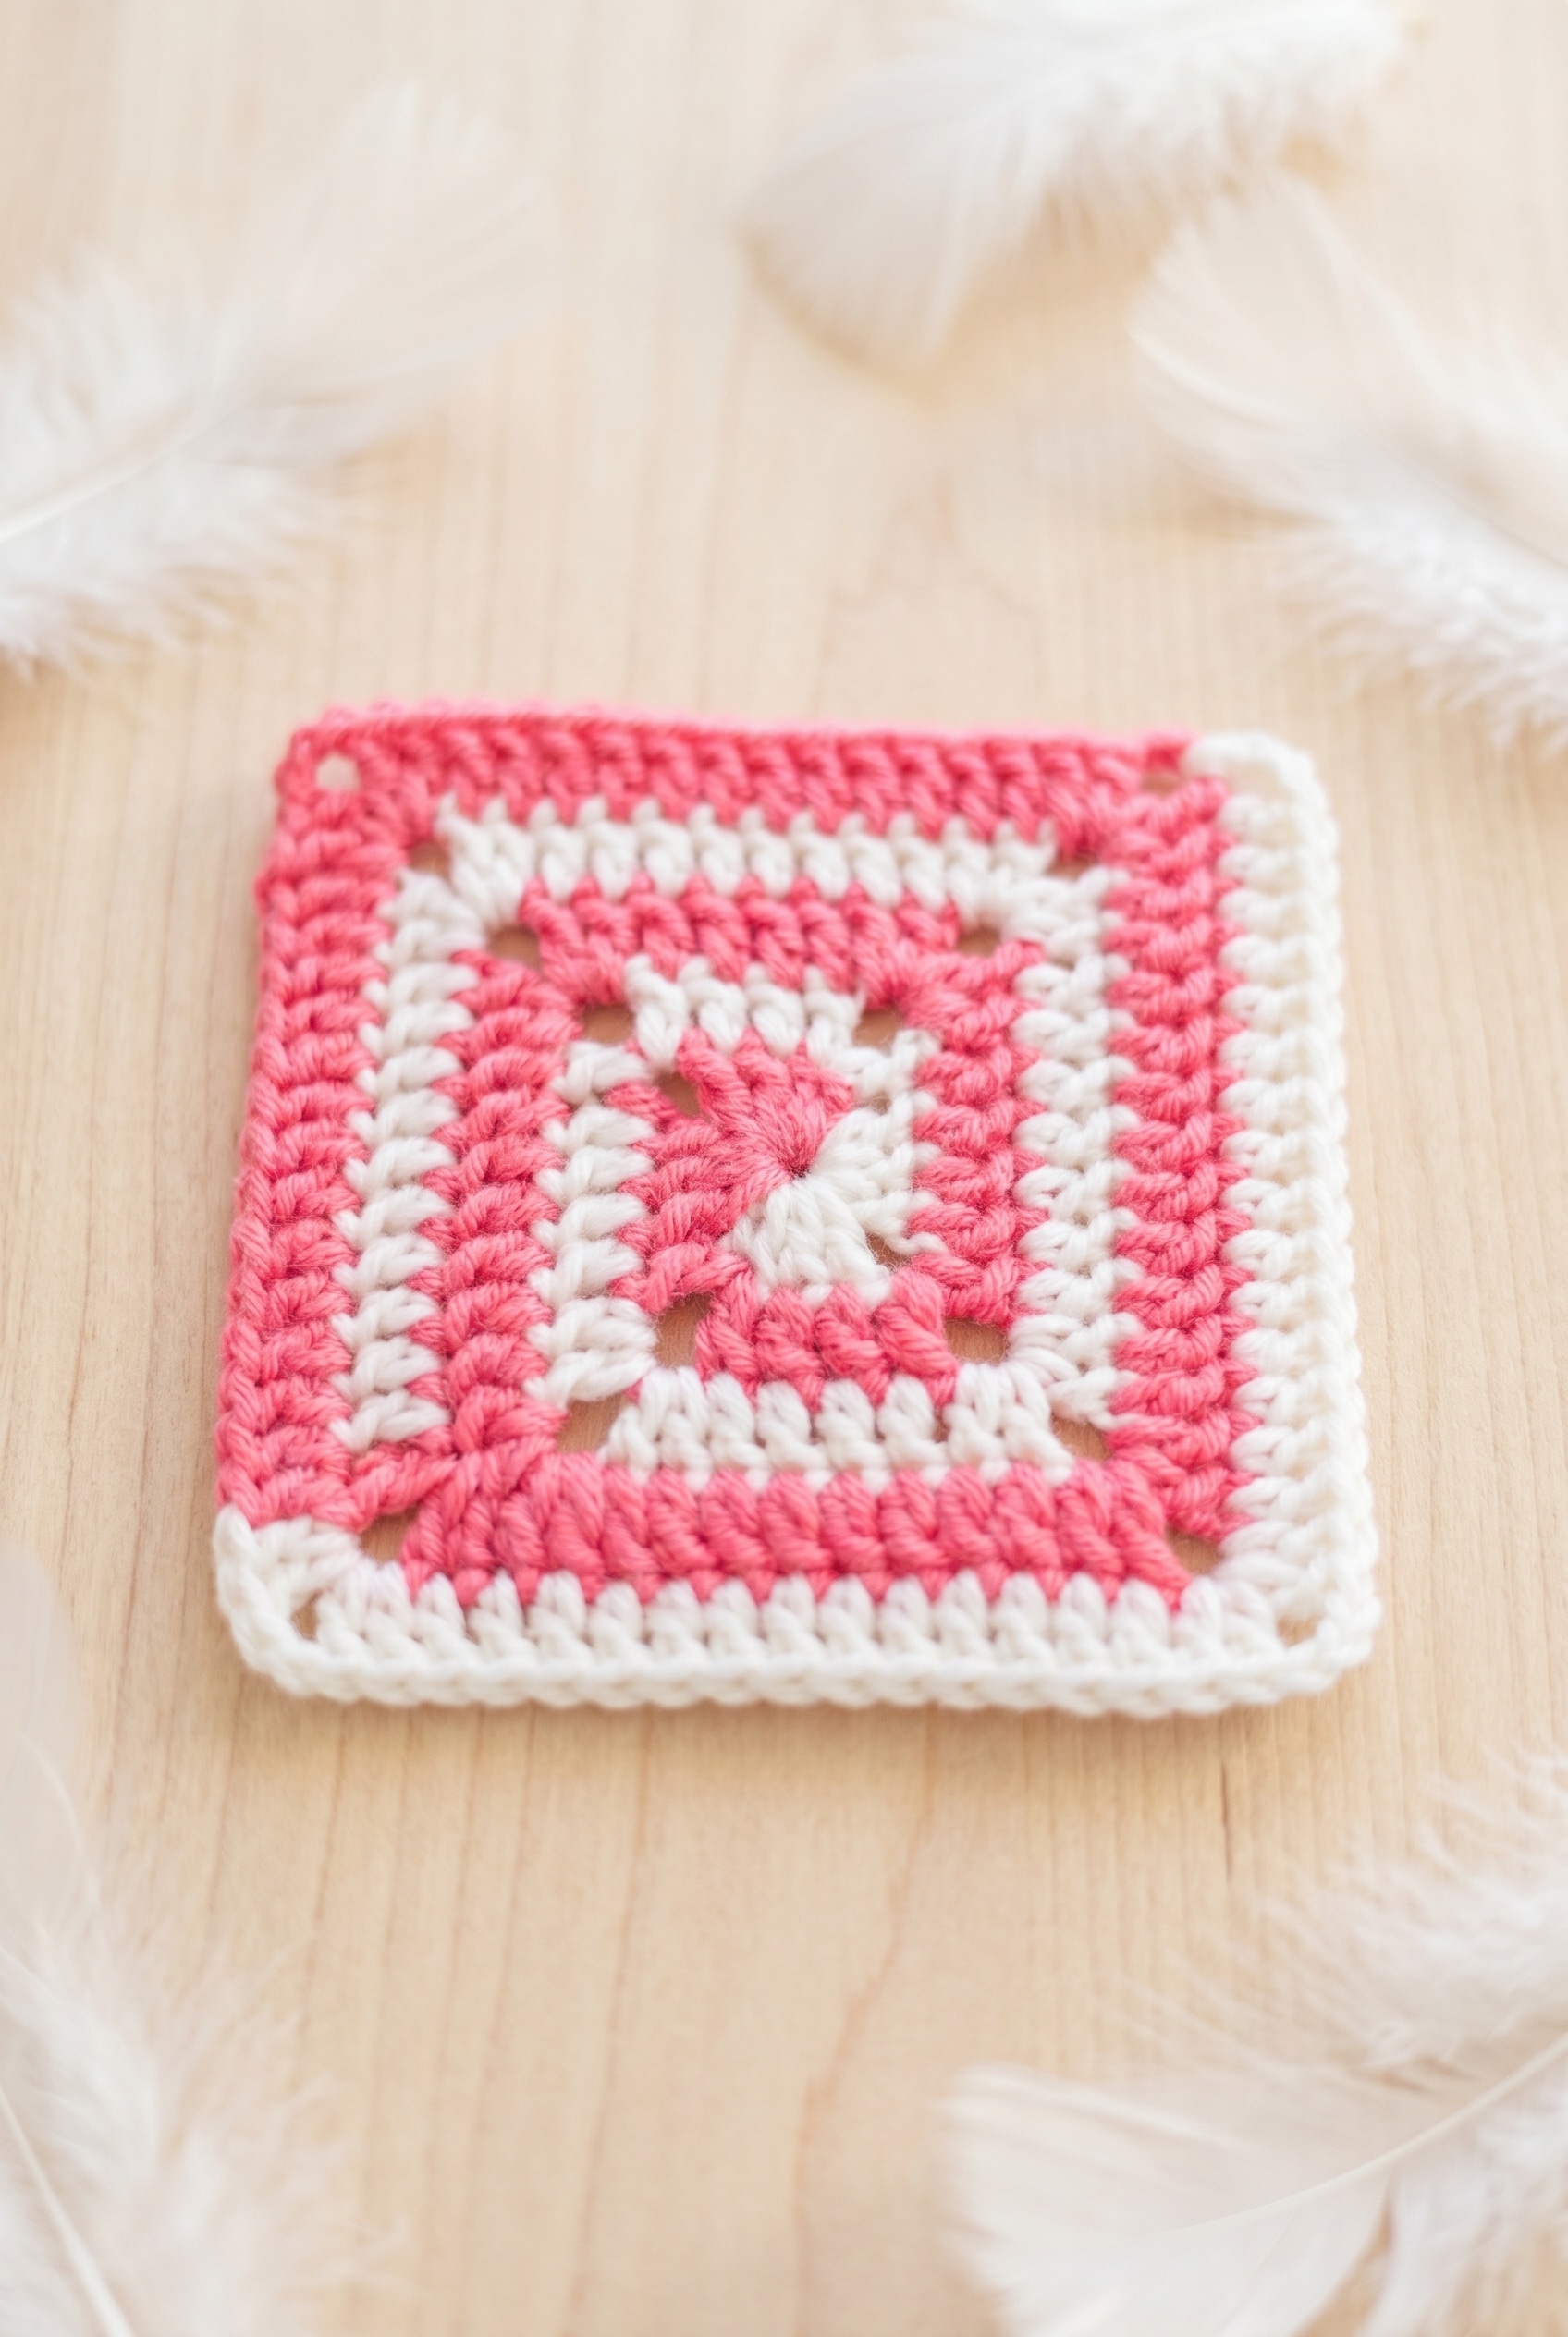
This pattern creates a structured, two-color granny square using a unique spiral technique. It is designed for crocheters who are comfortable with basic stitches and ready to tackle a slightly more complex construction method involving live loops and color swapping.
Key Information
- Project Type: Wearable / Motif
- Skill Level: Intermediate
- Finished Size: 10 cm x 10 cm
- Technique: Two-color spiral construction with live loops
Materials
You will need DK weight yarn in two contrasting colors and a few basic notions to complete this square.
- DK Weight Yarn, Two Colors: DK weight sits in a nice middle ground for a project like this — fine enough to show stitch definition clearly, but not so thin that it becomes fiddly to work with. You will want two colors that contrast well, since the alternating spiral is the whole visual point. Yardage isn’t specified in the original pattern notes, but for a small motif or square this size, somewhere in the range of 20 to 40 meters per color is a reasonable starting estimate. Check your stash before buying anything new.
- 3.5 mm Crochet Hook: A 3.5 mm pairs well with DK weight and keeps the fabric from getting too loose or too stiff. You want a little structure here, not a floppy result.
- Notions: Yarn needle, scissors, and a stitch marker (essential for keeping your live loops safe).
Gauge and Finished Size
Gauge is not critical for this project. Use the stated hook size (or adjust as needed) to create an even fabric and achieve the desired finished square size. The pattern finishes at 10 cm x 10 cm on a 3.5 mm hook with DK weight yarn. If you’re making multiples to join into a larger project, consistency matters more than hitting that exact size, so just pick a hook and stick with it throughout.
Abbreviations
This pattern uses standard US crochet terminology.
- ch = chain
- ch-sp = chain space
- dc = double crochet
- sl st = slip stitch
- st(s) = stitch(es)
- * * = repeat instructions between asterisks as directed
Pattern Notes
A two-color spiral granny square worked in DK weight, where both colors stay live at the same time. Stitch counts in the instructions reflect only the stitches made in that round. The total stitch count for the finished square is given at the very end.
The thing that makes this square a little different is that both colors are working at the same time in a spiral. You don’t cut and rejoin. Instead, you drop one color, set it aside (a stitch marker through the live loop helps here), and pick up the other. It sounds fiddlier than it is once you’re a round or two in.
Keep a stitch marker handy for those parked loops. Losing one means unraveling to find it, and that’s not a fun detour.
Pattern Instructions
Here’s how I work the Candy Twist Granny Square, round by round. This square is worked in rounds with two colors running simultaneously in a spiral. The key thing to know before you start: you’re not carrying the unused color or cutting between rounds. Instead, you remove your hook from one color’s loop, set it aside with a stitch marker if needed, and re-join the other color exactly where it left off. It takes a little getting used to, but the rhythm clicks quickly once you’re a round or two in.
The Granny Square
Round 1: In Color 1: ch 4, sl st in 1st ch to form a loop, ch 1, 3 dc in center of loop, ch 3, 3 dc in center of loop, remove hook (add stitch marker if needed). Join Color 2 with ch 1, 3 dc in center of loop, ch 3, 3 dc in center of loop, remove hook (add stitch marker if needed). Re-join hook in Color 1 loop. [12 sts, not including chs]
Round 2: Color 1: [1 dc, ch 3, 1 dc] in next st, 1 dc in next 2 sts, [1 dc, ch 3, 1 dc] in next ch-3 sp, remove hook. Re-join hook in Color 2 loop: [1 dc, ch 3, 1 dc] in next st, 1 dc in next 2 sts, [1 dc, ch 3, 1 dc] in next ch-3 sp, remove hook. Re-join hook in Color 1 loop. [12 sts]
Round 3: Color 1: 1 dc in next 4 sts, [2 dc, ch 3, 2 dc] in next ch-3 sp, 1 dc in next 4 sts, [2 dc, ch 3, 2 dc] in next ch-3 sp, remove hook. Re-join hook in Color 2 loop: 1 dc in next 4 sts, [2 dc, ch 3, 2 dc] in next ch-3 sp, 1 dc in next 4 sts, [2 dc, ch 3, 2 dc] in next ch-3 sp, remove hook. Re-join hook in Color 1 loop. [32 sts]
Round 4: Color 1: 1 dc in next 7 sts, [2 dc, ch 3, 2 dc] in next ch-3 sp, 1 dc in next 8 sts, [2 dc, ch 3, 2 dc] in next ch-3 sp, remove hook. Re-join hook in Color 2 loop: 1 dc in next 7 sts, [2 dc, ch 3, 2 dc] in next ch-3 sp, 1 dc in next 8 sts, [2 dc, ch 3, 2 dc] in next ch-3 sp, remove hook. Re-join hook in Color 1 loop. [46 sts]
Round 5: Color 1: 1 dc in next 11 sts, [2 dc, ch 3, 2 dc] in next ch-3 sp, 1 dc in next 12 sts, [2 dc, ch 3, 2 dc] in next ch-3 sp, remove hook. Re-join hook in Color 2 loop: 1 dc in next 11 sts, [2 dc, ch 3, 2 dc] in next ch-3 sp, 1 dc in next 12 sts, [2 dc, ch 3, 2 dc] in next ch-3 sp, remove hook. Re-join hook in Color 1 loop. [62 sts]
Round 6: Color 1: 1 dc in next 15 sts, 1 dc in next ch-3 sp, remove hook. Re-join hook in Color 2 loop: 1 dc in next 15 sts, 1 dc in next ch-3 sp, fasten off and tie in all ends to finish. [32 sts] Note that this final round drops the corner ch-3 spaces entirely, closing the square off with straight dc across each side.
Assembly
Fasten off and weave in all ends. Color 2 only fastens off once, at the very end of Round 6. For everything before that, you just remove your hook and leave the loop live while you work the other color. That’s the whole point of the stitch marker: keeping that loop safe so you can come back to it without losing your place.
Tips
- Stitch Counts: Stitch counts in the instructions reflect only the stitches made in that round. The total stitch count for the finished square is given at the very end.
- The Spiral Technique: Both colors are worked at the same time in a spiral, but you’re not carrying them together. You work a segment in Color 1, remove your hook, then pick up Color 2 and work its segment, remove that hook, and re-join Color 1 again. A stitch marker in the live loop keeps everything from unraveling while you swap. It feels a bit awkward at first, but by Round 2 it clicks.
- Round 6 Design: Round 6 is intentionally shorter than the rounds before it. Each color only works 15 dc plus 1 dc into the ch-3 space, giving you 32 stitches for that round. It’s not a mistake in the pattern. The square closes out that way by design, and Color 2 fastens off at the end of Round 6 while Color 1 finishes last.
- Weaving Ends: Not as many as you’d expect for a two-color project. Color 2 is joined once in Round 1 and fastened off once in Round 6, so that’s two ends for that color. Color 1 starts the square and finishes last. Check your yarn label for fiber content before weaving in, since the method that works best for securing ends can vary quite a bit between fibers.
FAQs
How does the two-color spiral technique actually work in this pattern?
Both colors are worked at the same time in a spiral, but you’re not carrying them together. You work a segment in Color 1, remove your hook, then pick up Color 2 and work its segment, remove that hook, and re-join Color 1 again. A stitch marker in the live loop keeps everything from unraveling while you swap. It feels a bit awkward at first, but by Round 2 it clicks.
Why does my stitch count look off in Round 6?
Round 6 is intentionally shorter than the rounds before it. Each color only works 15 dc plus 1 dc into the ch-3 space, giving you 32 stitches for that round. It’s not a mistake in the pattern. The square closes out that way by design, and Color 2 fastens off at the end of Round 6 while Color 1 finishes last.
Can I use a different hook size than 3.5 mm?
You can, and your finished size will shift depending on what you use. The pattern finishes at 10 cm x 10 cm on a 3.5 mm hook with DK weight yarn. If you’re making multiples to join into a larger project, consistency matters more than hitting that exact size, so just pick a hook and stick with it throughout.
Do I need to fasten off between every round?
No. Color 2 only fastens off once, at the very end of Round 6. For everything before that, you just remove your hook and leave the loop live while you work the other color. That’s the whole point of the stitch marker: keeping that loop safe so you can come back to it without losing your place.
How many ends will I have to weave in when I’m done?
Not as many as you’d expect for a two-color project. Color 2 is joined once in Round 1 and fastened off once in Round 6, so that’s two ends for that color. Color 1 starts the square and finishes last. Check your yarn label for fiber content before weaving in, since the method that works best for securing ends can vary quite a bit between fibers.
Pin This Crochet Pattern!