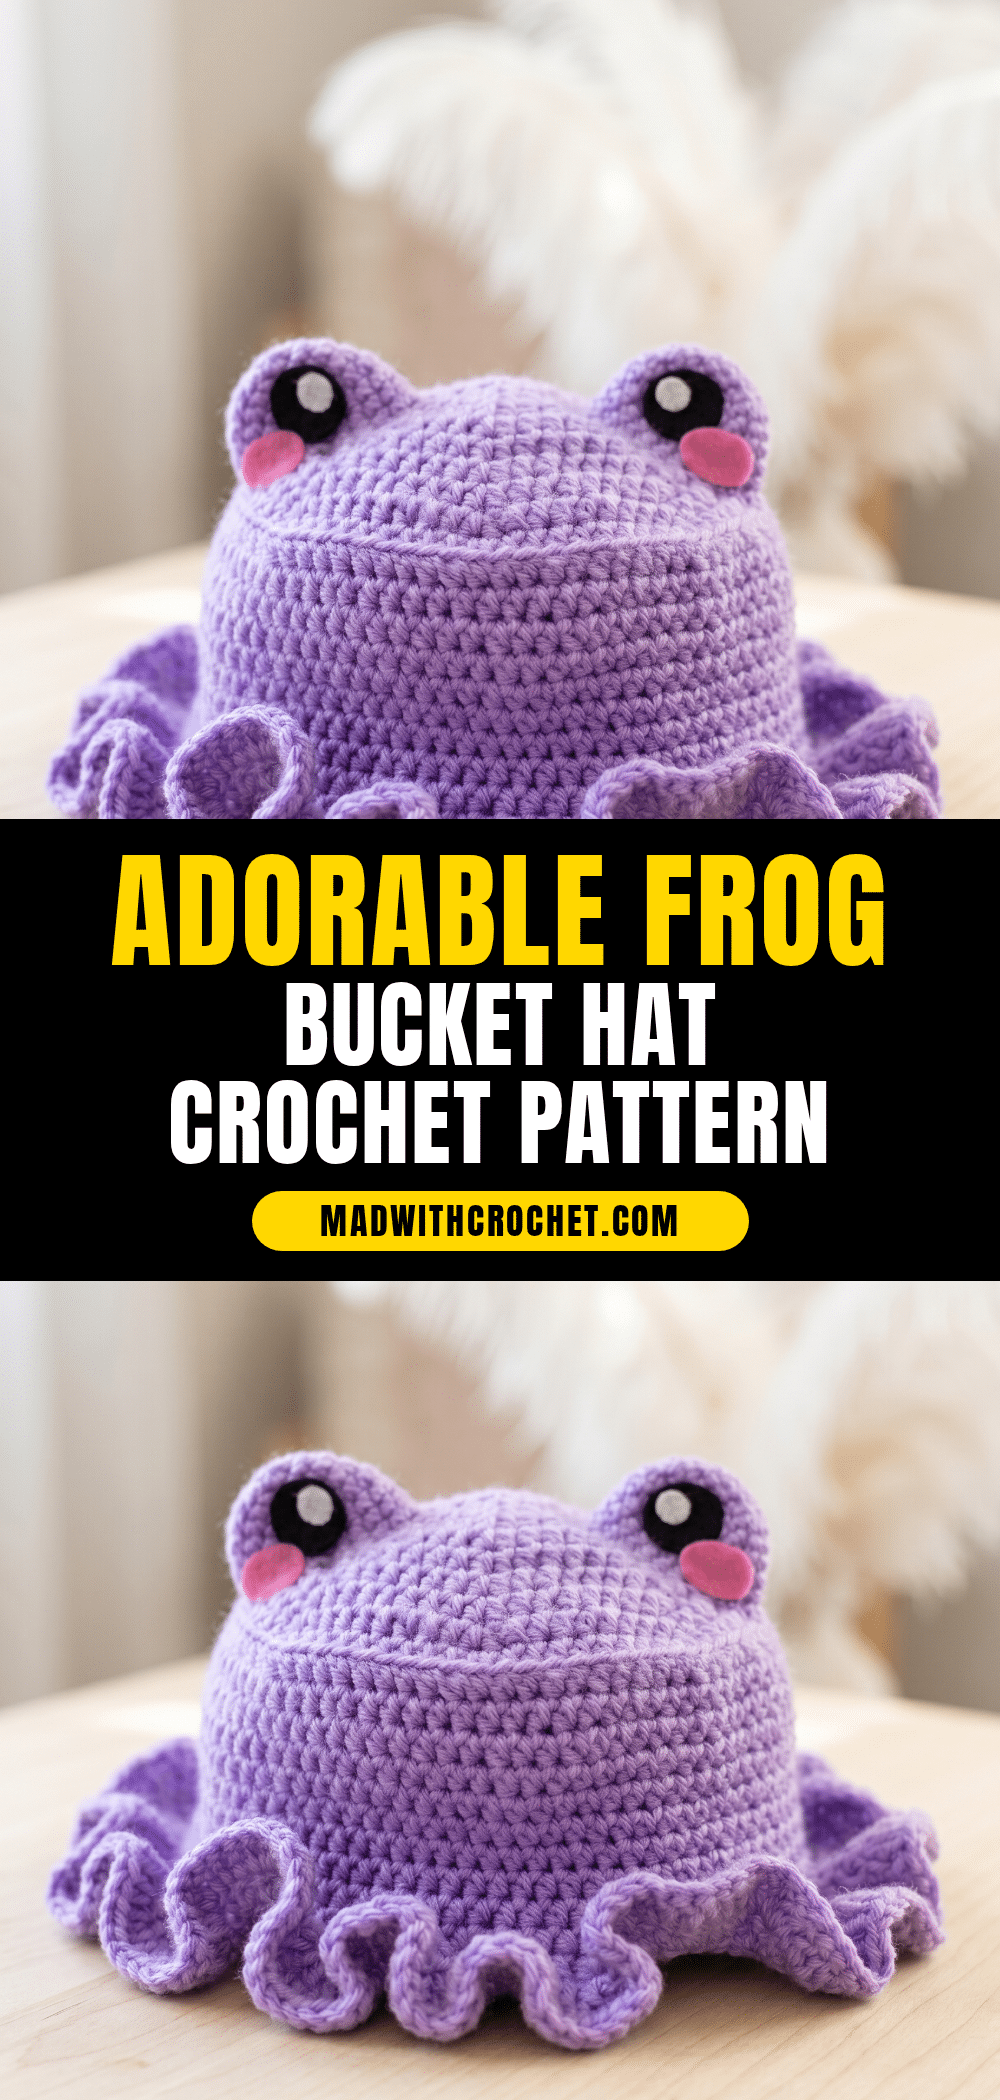
Looking for a handmade gift that guarantees smiles and conversation? The Adorable Frog Bucket Hat Crochet Pattern is a playful, wearable project that transforms a classic silhouette into a character piece. Perfect for market tables, photo props, or a child’s wardrobe, this intermediate-level design combines structured hat construction with charming, attachable facial features. It is a fun way to practice surface embellishment while creating a functional accessory that kids and adults alike will love wearing.
Our Touch: Gift and Use Ideas
This hat is more than just a cozy accessory; it is a conversation starter. The playful frog face makes it an ideal gift for birthdays, Easter baskets, or as a unique addition to a handmade market collection. Because the facial features are attached separately, you can customize the expression to suit the recipient—whether that is a wide-eyed look for a toddler or a subtle smile for an adult. The bucket hat style offers excellent sun protection, making it practical for outdoor adventures, while the purple yarn provides a vibrant pop of color that stands out in any photo. It is a project that balances the technical satisfaction of hat-making with the whimsical joy of character design.
Project Overview
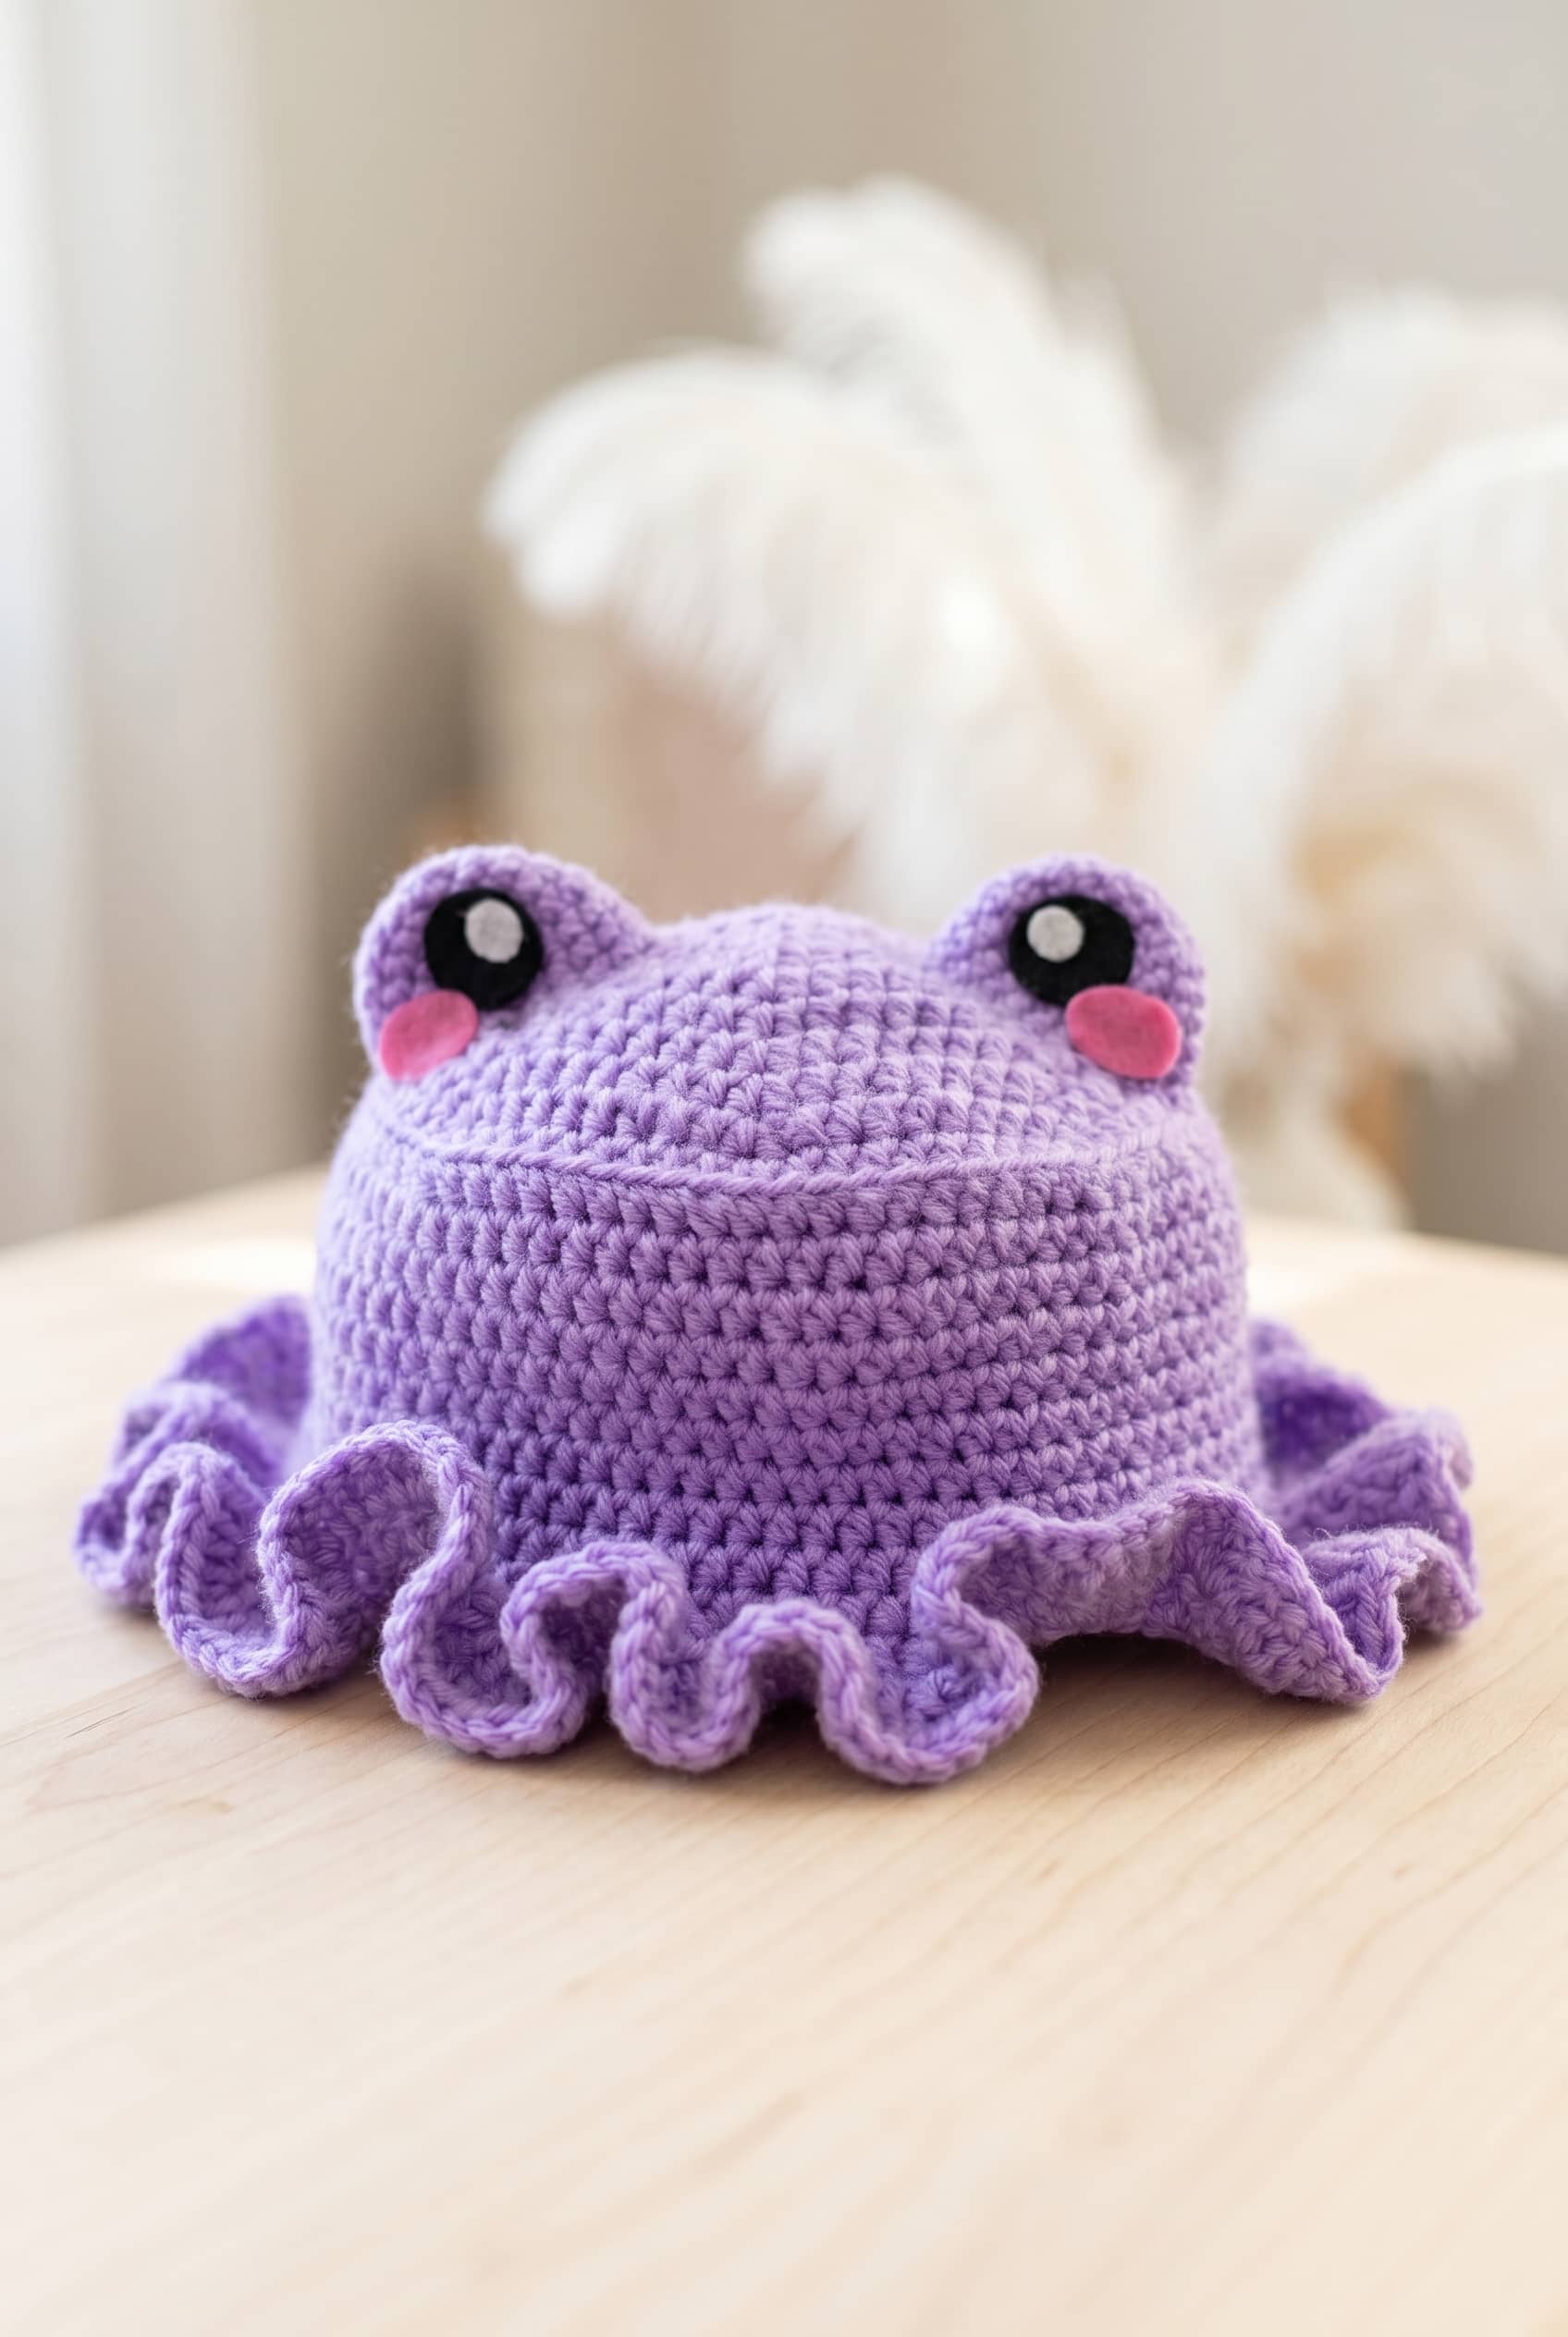
The Frog Bucket Hat is worked in joined rounds from the top down. The crown is built with half double crochet (hdc) increases, followed by straight rounds to form the sides. The brim is created by working into the front loops left by the side rounds, using double crochet (dc) to fan out the shape. The frog face details—including raised eye bumps, felt eyes, cheeks, and an optional smile—are made separately and attached to the finished hat.
Materials
- Yarn: Worsted Weight Yarn in Purple (Color A). Approximately 50 to 100 yards, depending on gauge and desired size.
- Crochet Hook: 4 mm hook.
- Felt:
- Black felt for eye circles and optional smile.
- White felt for the inner eye circles.
- Pink felt for the cheeks.
- Tools: Hot glue gun and glue, scissors, tapestry needle.
Gauge and Finished Size
Gauge: Approx. 4.5 hdc x 3.5 rounds = 1 inch with 4 mm hook (worsted yarn).
Finished Size: Hat size is not specified; the pattern is worked to the stitch counts provided. The finished facial features measure approximately: eyes are about 1 inch in diameter; cheeks are about 1 inch wide and a bit more than half an inch tall; the smile is about 2 ½” long and a quarter inch thick.
Abbreviations
US Terms
- beg = beginning
- BLO = back loop only
- ch = chain
- dc = double crochet
- FLO = front loop only
- FO = fasten off
- hdc = half double crochet
- inc = increase (work 2 sts in the same st, as directed)
- MR = magic ring
- rnd = round
- sc = single crochet
- sl st = slip stitch
- st = stitch
Pattern Notes
The hat is worked in continuous rounds from the top down. The ch 2 at the beginning of each round counts as the last stitch of that round. In the crown section, increases are worked as 2 hdc in the same stitch. In the brim section, increases are worked as 2 dc in the same stitch. The eye bumps are not stuffed; they are sewn flat to the hat to avoid a puffy appearance. For young children, ensure all felt pieces and eye bumps are securely attached to prevent choking hazards.
Pattern Instructions
Bucket Hat (Crown)
Work entirely in Color A. Increase every round until the final stitch count is reached.
- Rnd 1: In a MR, ch 2, 7 hdc. Sl st in ch to join. [8 hdc]
- Rnd 2: Ch 2, *inc* x8. Sl st in ch to join. [16 hdc]
- Rnd 3: Ch 2, *hdc, inc* x8. Sl st in ch to join. [24 hdc]
- Rnd 4: Ch 2, *2 hdc, inc* x8. Sl st in ch to join. [32 hdc]
- Rnd 5: Ch 2, *3 hdc, inc* x8. Sl st in ch to join. [40 hdc]
- Rnd 6: Ch 2, *4 hdc, inc* x8. Sl st in ch to join. [48 hdc]
- Rnd 7: Ch 2, *5 hdc, inc* x8. Sl st in ch to join. [56 hdc]
- Rnd 8: Ch 2, *6 hdc, inc* x8. Sl st in ch to join. [64 hdc]
- Rnd 9: Ch 2, *7 hdc, inc* x8. Sl st in ch to join. [72 hdc]
- Rnd 10: Ch 2, *8 hdc, inc* x8. Sl st in ch to join. [80 hdc]
Sides of the Hat
Round 11 is worked in the back loops only (BLO) to create a ridge separating the crown from the sides. The front loops left behind will be used for the brim.
- Rnd 11: Ch 2, in BLO, hdc around. Sl st in ch to join. [80 hdc]
- Rnds 12–20: Ch 2, in both loops, hdc around. Sl st in ch to join. [80 hdc] (Repeat for each round)
Brim
Work into the front loops left by Round 11. Switch to double crochet (dc) and increase aggressively.
- Rnd 21: Ch 2, in FLO, *3 dc, inc* x20. Sl st in ch to join. [100 dc]
- Rnd 22: Ch 2, in both loops, *dc, inc*. Sl st in ch to join. [150 dc]
- Rnd 23: Ch 2, *inc* around. Sl st in ch to join. [300 dc]
FO and weave in ends.
Eye Bumps
Make 2. These are worked in the round and left open at the bottom for sewing.
- Rnd 1: In a MR, sc 6. [6 sc]
- Rnd 2: Inc around. [12 sc]
- Rnd 3: *sc, inc* x6. [18 sc]
- Rnd 4: *2 sc, inc* x6. [24 sc]
- Rnds 5–8: Sc around. [24 sc] (Repeat for each round)
FO, cut a long tail for sewing.
Eyes
Make 2 sets. You can use felt, safety eyes, or crocheted circles.
- Cut or crochet 2 black circles about 1 inch in diameter.
- Cut or crochet 2 white circles a little less than half an inch in diameter.
- Attach the black circles first, then the white ones on top using hot glue.
Cheeks
Make 2. You can use felt, crochet, or embroidery.
- Cut or crochet 2 pink felt ovals about 1 inch wide and a bit more than half an inch tall.
- Attach the cheeks under the eyes, slightly overlapping, using hot glue.
Smile (Optional)
You can use felt, embroidery, or surface crochet.
- Cut or create a quarter-inch thick line with felt that curves for a smile, approximately 2 ½” long.
- Attach the smile towards the top of the sides of the hat using hot glue.
Assembly
Sew the eye bumps directly across from each other on the sides near the top of the hat using the long tails left from FO. Attach the black felt circles onto each bump, followed by the white circles. Attach the cheeks just under the eyes and the smile towards the top of the sides. Fabric glue or hand stitches can be used as alternatives to hot glue.
Blocking
Lightly block the hat to even out the brim. If the yarn is acrylic, steam the brim from a few inches away. If wool or a blend, damp block over a bowl or balloon close to head size and let dry completely.
Care Instructions
Spot clean the yarn sections with a damp cloth and mild soap. Avoid getting the felt and glue wet, as hot glue can loosen with heat and moisture. Keep away from dryers and direct sunlight. If a piece comes loose, it can be re-glued.
FAQs
Do I have to use felt for the eyes, cheeks, and smile?
No, you can use safety eyes, crochet similar-sized circles, or embroider the features directly onto the hat for a more secure finish.
What are the eye bumps and do they need to be stuffed?
The eye bumps are raised crochet pieces that give the frog face dimension. They are not stuffed; they are sewn flat to the hat to maintain a comfortable fit.
Why does the brim end up with so many stitches?
The brim increases aggressively in the final three rounds to create the wide, floppy shape characteristic of a bucket hat.
What does the ch 2 at the beginning of each round actually do?
The ch 2 counts as the first stitch of the round (or the last stitch of the previous round, depending on interpretation, but here it acts as the height of the stitch). It helps maintain the stitch count and height as you join rounds.
Where exactly do the eye bumps get sewn on?
The eye bumps are sewn symmetrically across from each other on the sides near the top of the hat, just below the crown.
If you enjoyed this pattern, you might also like our Adorable Crochet Chick and Frog Hat Amigurumi or our Easy Crochet Bunny Pattern for more character-based makes.
Pin This Crochet Pattern!