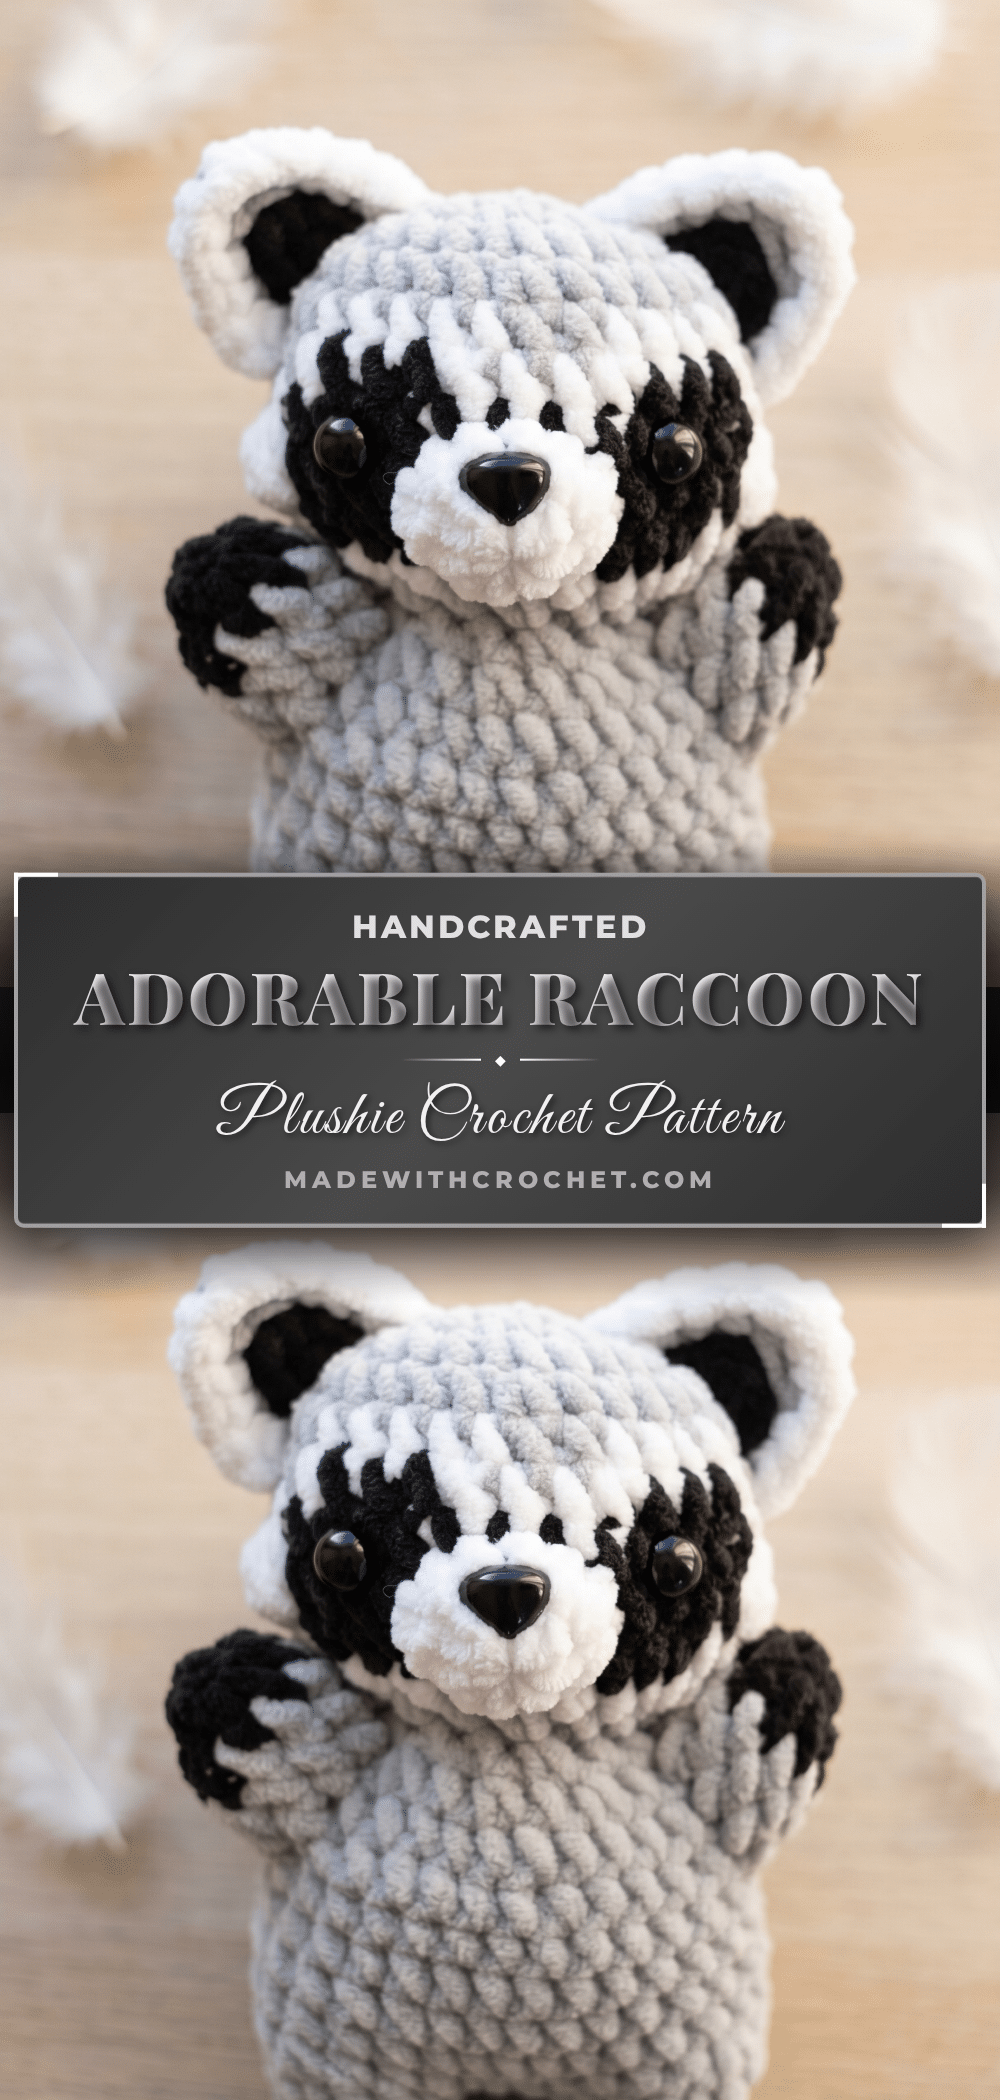
Have you ever started a crochet project and immediately worried you’d messed up the first round? Maybe you dropped a stitch, or the magic ring just wouldn’t tighten, leaving you staring at a loose hole in the center. It’s a common beginner mistake that can make even the simplest patterns feel daunting. But here is the good news: this raccoon plushie is forgiving. The super bulky yarn hides minor tension inconsistencies, and the multi-piece construction means if one piece needs a tweak, you can fix it before assembly. You don’t need perfect stitches to make something this charming; you just need to follow the rounds.
Maker Notes
There is something deeply satisfying about making a plushie that looks like it has a personality. This raccoon, with its distinctive masked face and banded tail, feels ready for an adventure the moment you finish the final seam. I love that this pattern uses super bulky polyester yarn, which gives the finished toy a soft, slightly fluffy texture that is perfect for cuddling. It works up incredibly fast, too. Because the pieces are small—under 6 inches tall—you can finish this project in a single sitting, making it a fantastic “win” for your crochet stash. The colorwork on the face is the star of the show, creating that classic raccoon look without requiring complex tapestry crochet techniques. Instead, you simply switch colors at the end of each stitch, which is much easier to manage and keeps your tension even.
Project Overview
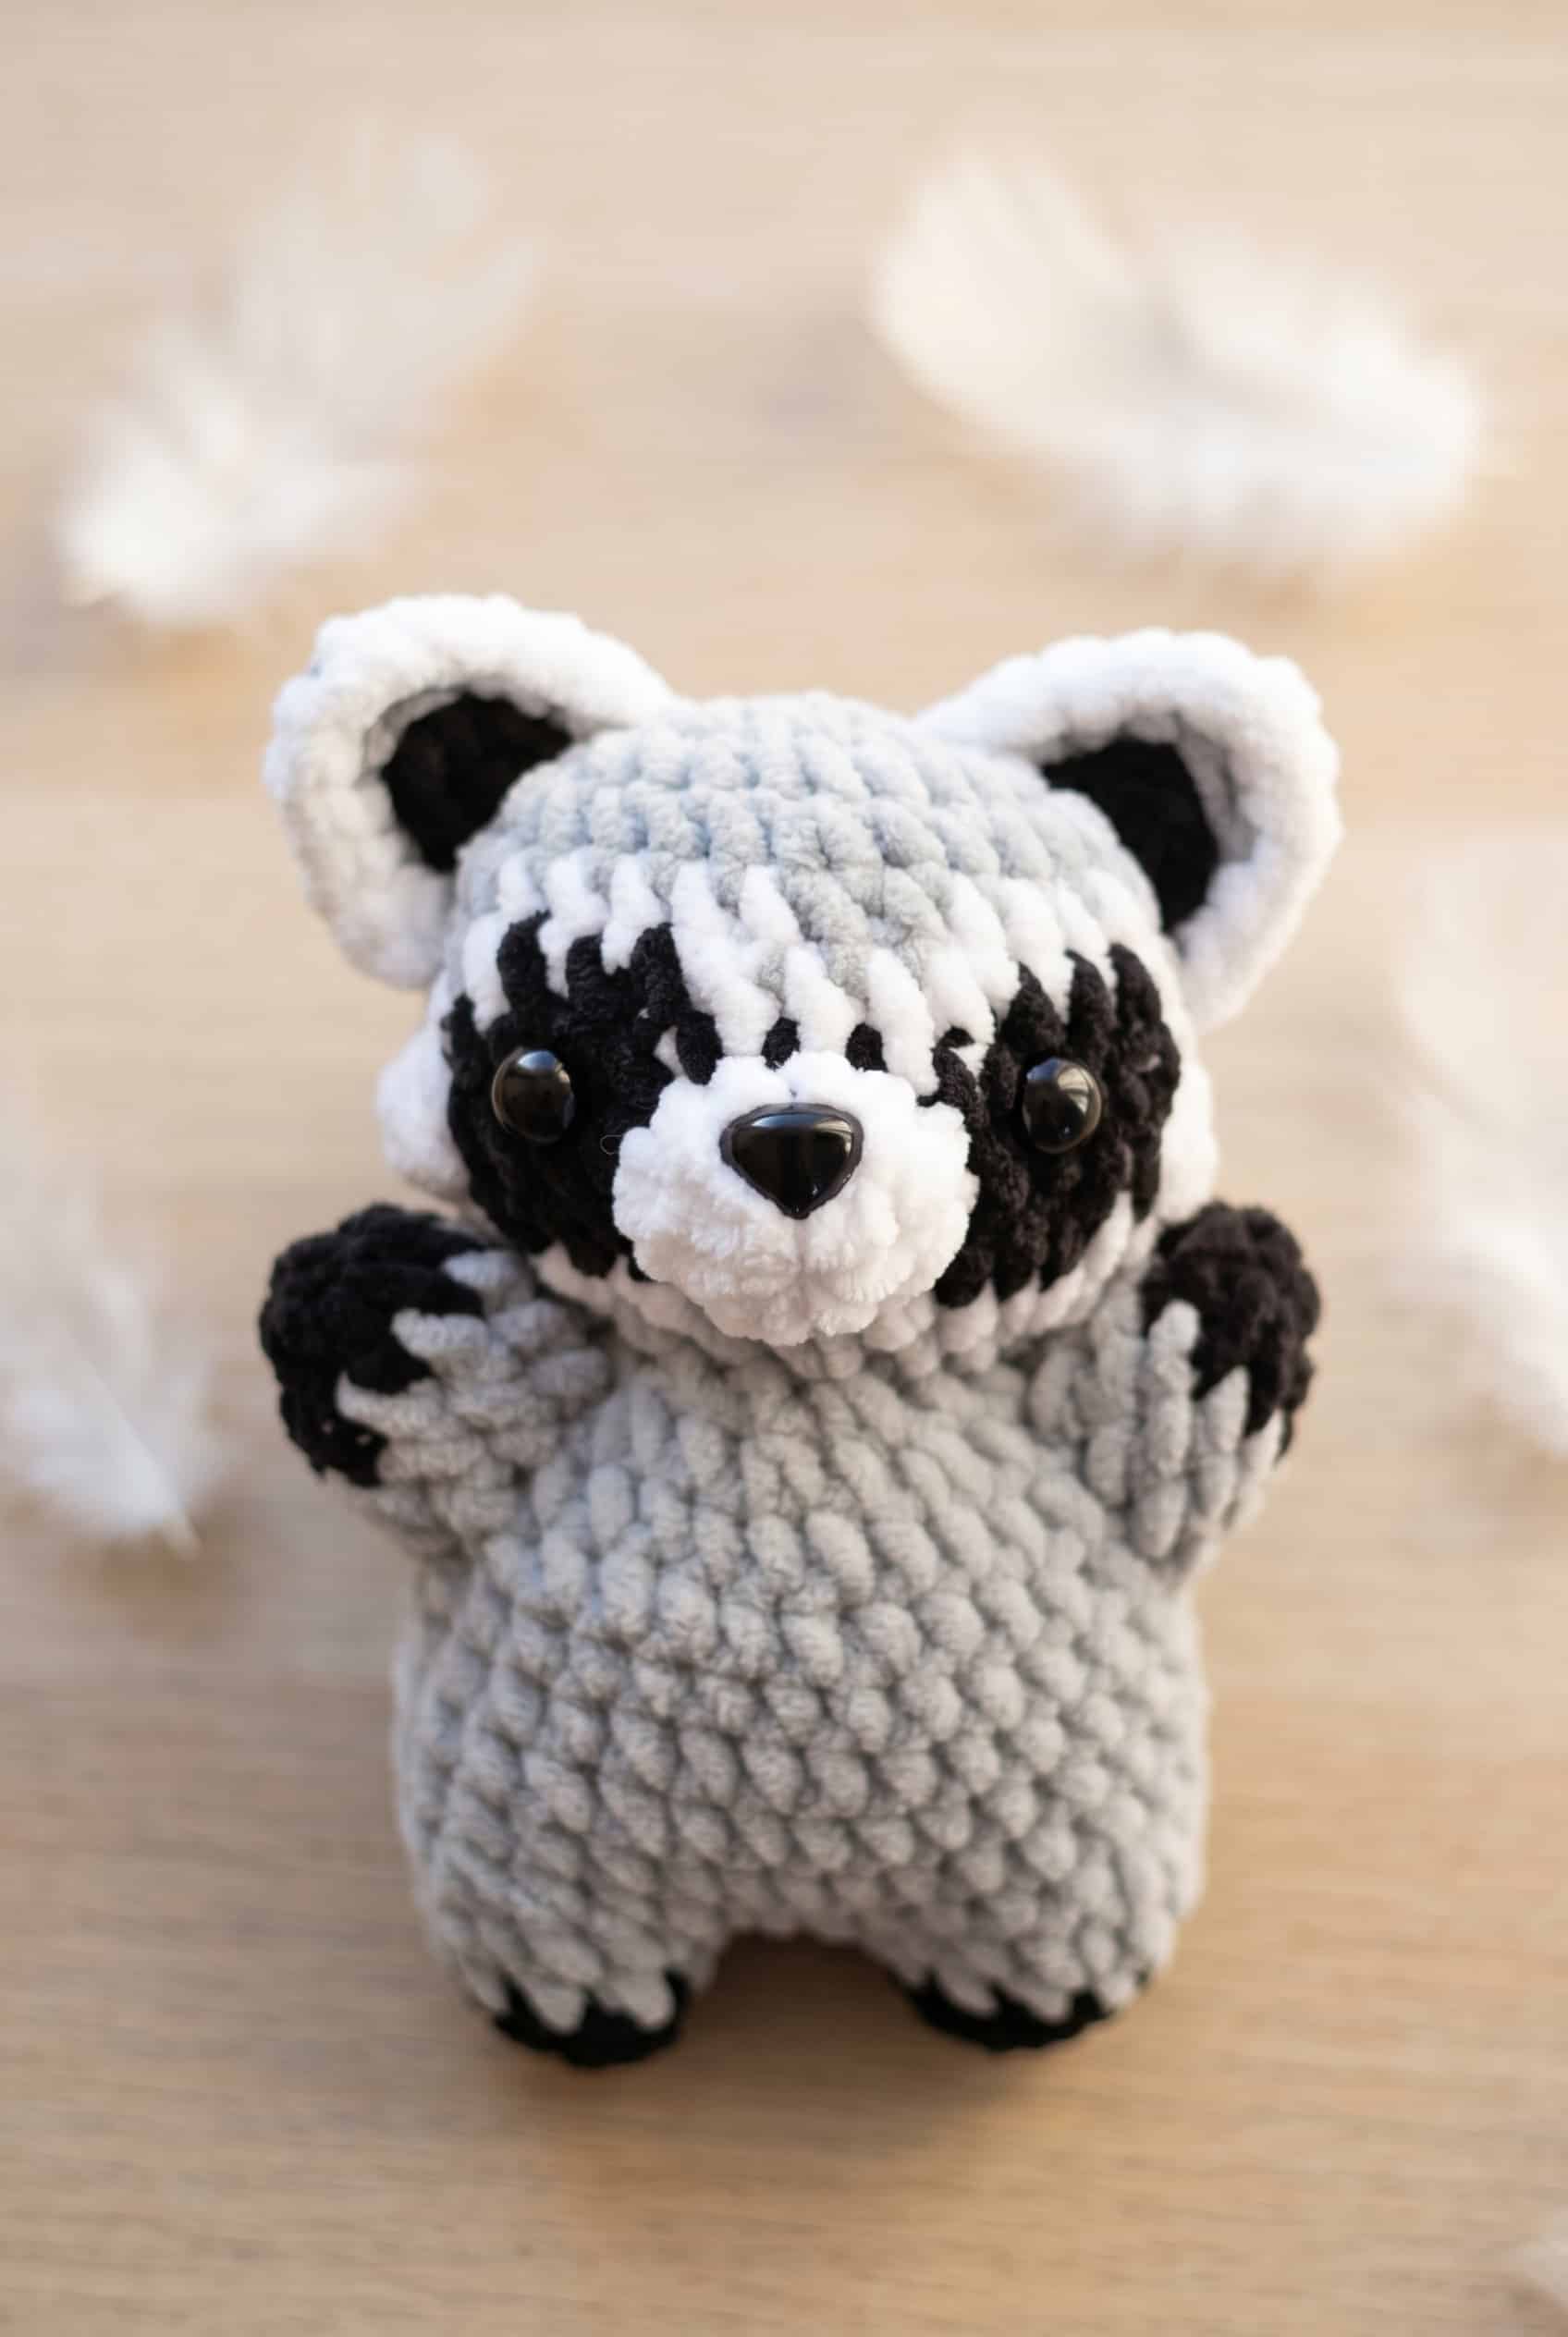
This is an intermediate-level amigurumi pattern that features a multi-piece construction. You will crochet the legs, body, head, arms, tail, snout, and ears separately, then assemble them. This approach teaches valuable skills in shaping and joining that apply to many other toy projects. The finished raccoon is compact, sturdy, and perfect for gifting to children or animal lovers.
Materials
- Yarn: Super Bulky Weight 100% Polyester Yarn in three colors: Grey, Black, and White. You will need approximately 30 to 50 yards total, with grey being the most used color.
- Crochet Hook: 5 mm hook. This size pairs well with super bulky yarn to create a tight fabric that prevents stuffing from showing.
- Safety Eyes: 12 mm safety eyes (2).
- Nose: Small safety nose OR black acrylic yarn for embroidery.
- Stuffing: Polyfil stuffing.
- Notions: Black felt (for inner ears), fabric glue, scissors, and a darning needle.
Gauge and Finished Size
Gauge is not critical for this project. However, it is important to use a hook size that creates a tight, firm fabric so the stuffing does not show through. The finished raccoon will be no more than 5 ⅞” tall.
Abbreviations
- BO = bobble stitch (yo, insert hook in indicated st, yo and pull up a loop, yo and pull through 2 loops) 4 times in same st (5 loops on hook total), yo and pull through all loops on hook
- ch = chain
- dc = double crochet
- dec = decrease
- inc = increase
- MR = magic ring
- rep = repeat
- sc = single crochet
- sc3tog = single crochet 3 stitches together
- sl st = slip stitch
- st = stitch
- sts = stitches
- tog = together
Pattern Notes
- Safety Warning: This pattern uses 12 mm safety eyes and a small safety nose. These are not recommended for children under three years old. If making for a toddler, embroider the face instead. Check all hardware regularly to ensure washers are seated tightly.
- Color Changes: This pattern involves multiple color changes, particularly in the head, body, and tail. Keep your yarn strands organized to avoid tangling.
- Leg Construction: The legs are made separately and then joined. Ensure you have enough yarn to complete both legs before cutting.
Pattern Instructions
Head
Start in grey. The head is worked in rounds from the top down. Color changes mid-round create the face markings.
Round 1: 18 sc in MR (18)
Round 2: 8 inc (16)
Round 3: (sc, inc)*8 (24)
Round 4: (3 sc, inc)*6 (30)
Round 5: 9 sc, WHITE: 5 sc, GREY: 2 sc, WHITE: 5 sc, GREY: 9 sc (30). Carry colours loosely or use separate lengths to keep tension even.
Round 6: 9 sc, WHITE: sc, BLACK: 3 sc, WHITE: 4 sc, BLACK: 3 sc, WHITE: sc, GREY: 9 sc (30)
Round 7: 8 sc, WHITE: sc, BLACK: 12 sc, WHITE: sc, GREY: 8 sc (30)
Round 8: 8 sc, WHITE: 4 dc BO, BLACK: 12 sc, WHITE: 4 dc BO, GREY: 8 sc (30). The bobble stitches form the eye socket ridges. Work each bobble fully before moving on.
Round 9: 8 sc, WHITE: 2 sc, BLACK: 10 sc, WHITE: 2 sc, GREY: 8 sc (30)
Insert eyes between Rounds 7 and 8, 6 stitches apart.
Round 10: (sc, dec)*3, WHITE: (sc, dec)*4, GREY: (sc, dec)*3 (20). Count carefully across color segments.
Round 11: (2 sc, dec)*5 (15)
Cut yarn, leaving a tail for sewing. Stuff firmly.
Body (Legs First)
Start in black. Make Leg 1 and Leg 2 separately, then join them.
Leg 1:
Round 1: 5 sc in MR (5)
Round 2: 5 inc (10)
Round 3: Switch to GREY. 10 sc (10)
Cut yarn short (do not leave a tail).
Leg 2:
Repeat Rounds 1–3 for Leg 2. After Round 3, ch 2. With a sc, connect Leg 2 to Leg 1. Note: The first sc of Round 4 is this joining stitch.
Body Continuation:
Round 4: [(sc, inc)*5, 2 sc]*2 (34)
Round 5: 4 sc, dec, 3 sc, dec, 10 sc, dec, 3 sc, dec, 6 sc (30)
Rounds 6–11: 30 sc (30)
Round 12: (sc, dec)*10 (20)
Round 13: (2 sc, dec)*5 (15)
Cut yarn (do not leave a tail). Stuff firmly, especially the feet. Sew the head to the body.
Arms
Make 2. Start in black.
Round 1: 5 sc in MR (5)
Round 2: 5 inc (10)
Round 3: Switch to GREY.
Rounds 4–5: 10 sc (10)
Cut yarn, leaving a long tail for sewing. Stuff firmly. Sew between Rounds 10–13 of the body, close to the head.
Tail
Start in black. Alternates between black and grey.
Round 1: 8 sc in MR (8)
Round 2: 8 inc (16)
Round 3: 16 sc (16)
Round 4: GREY: 16 sc (16)
Round 5: (sc, dec, sc)*4 (12)
Round 6: BLACK: 12 sc (12)
Round 7: (sc, dec)*4 (8)
Round 8: GREY: 8 sc (8)
Stuff and leave a long tail for sewing. Sew between Rounds 6–8 of the body at the back.
Snout
In white.
Round 1: 8 sc in MR (8)
Round 2: (2 sc, 2 inc)*2 (12)
Cut yarn, leaving a long tail. Insert safety nose between Rounds 1–2 if using. Sew snout between Rounds 7–9 of the head, between the eyes. Stuff lightly as you sew.
Embroidery Option: If not using a safety nose, use black acrylic yarn and a darning needle to embroider a nose after attaching the snout. Go over the stitch 3–4 times for thickness.
Ears
Make 2. In grey. Worked in rows.
Row 1: ch 6, from the second st from the hook, 5 sc (5)
Row 2: ch 1, turn: dec, sc, dec (3)
Row 3: ch 1, turn: 3 sc (3)
Row 4: ch 1, turn: sc3tog (1)
Detailing: Cut a black felt triangle smaller than the ear and glue it to the front. Optionally, sc in white around the ear, working an inc at the tip. Sew ears between Rounds 2–7 of the head, 5–6 stitches behind the eyes.
Assembly
1. Sew the head to the body first to anchor the piece.
2. Attach the arms between Rounds 10–13 of the body, close to the head.
3. Sew the tail between Rounds 6–8 of the body at the back.
4. Sew the snout between Rounds 7–9 of the head, centering it between the eyes.
5. Position the ears between Rounds 2–7 of the head, behind the eyes.
Pin pieces in place before sewing to ensure correct placement.
Care Instructions
This plushie can be gently machine washed in a mesh laundry bag on a delicate cycle with cold water. Air dry completely. Do not use a dryer, as heat can warp safety eyes and flatten stuffing. Reshape by hand once dry.
FAQs
When do I insert the safety eyes and nose?
Insert the safety eyes between Rounds 7 and 8 of the head, 6 stitches apart. If using a safety nose, insert it between Rounds 1 and 2 of the snout before sewing the snout to the head.
How do I connect the two legs to start the body?
After completing Round 3 of the second leg, chain 2. Then, make a single crochet into the first leg to join them. This joining single crochet counts as the first stitch of Round 4 of the body.
How many color changes are in this pattern?
There are several color changes. The head changes colors in Rounds 5–9. The body and arms switch from black to grey. The tail alternates between black and grey in Rounds 4, 6, and 8.
What are my options for the ears?
You can glue a black felt triangle to the front of the grey ear for an inner-ear detail. You can also optionally single crochet around the ear in white, adding an increase at the tip for a clean finish.
What if I don’t have a safety nose?
You can embroider the nose using black acrylic yarn and a darning needle. After sewing the snout to the head, stitch the nose shape, going over the thread 3–4 times to build up thickness and visibility.
How firmly should I stuff this raccoon?
Stuff the feet, body, and arms firmly. Stuff the head firmly before closing. Stuff the snout gradually as you sew it on, and the tail just enough to hold its shape.
Pin This Crochet Pattern!