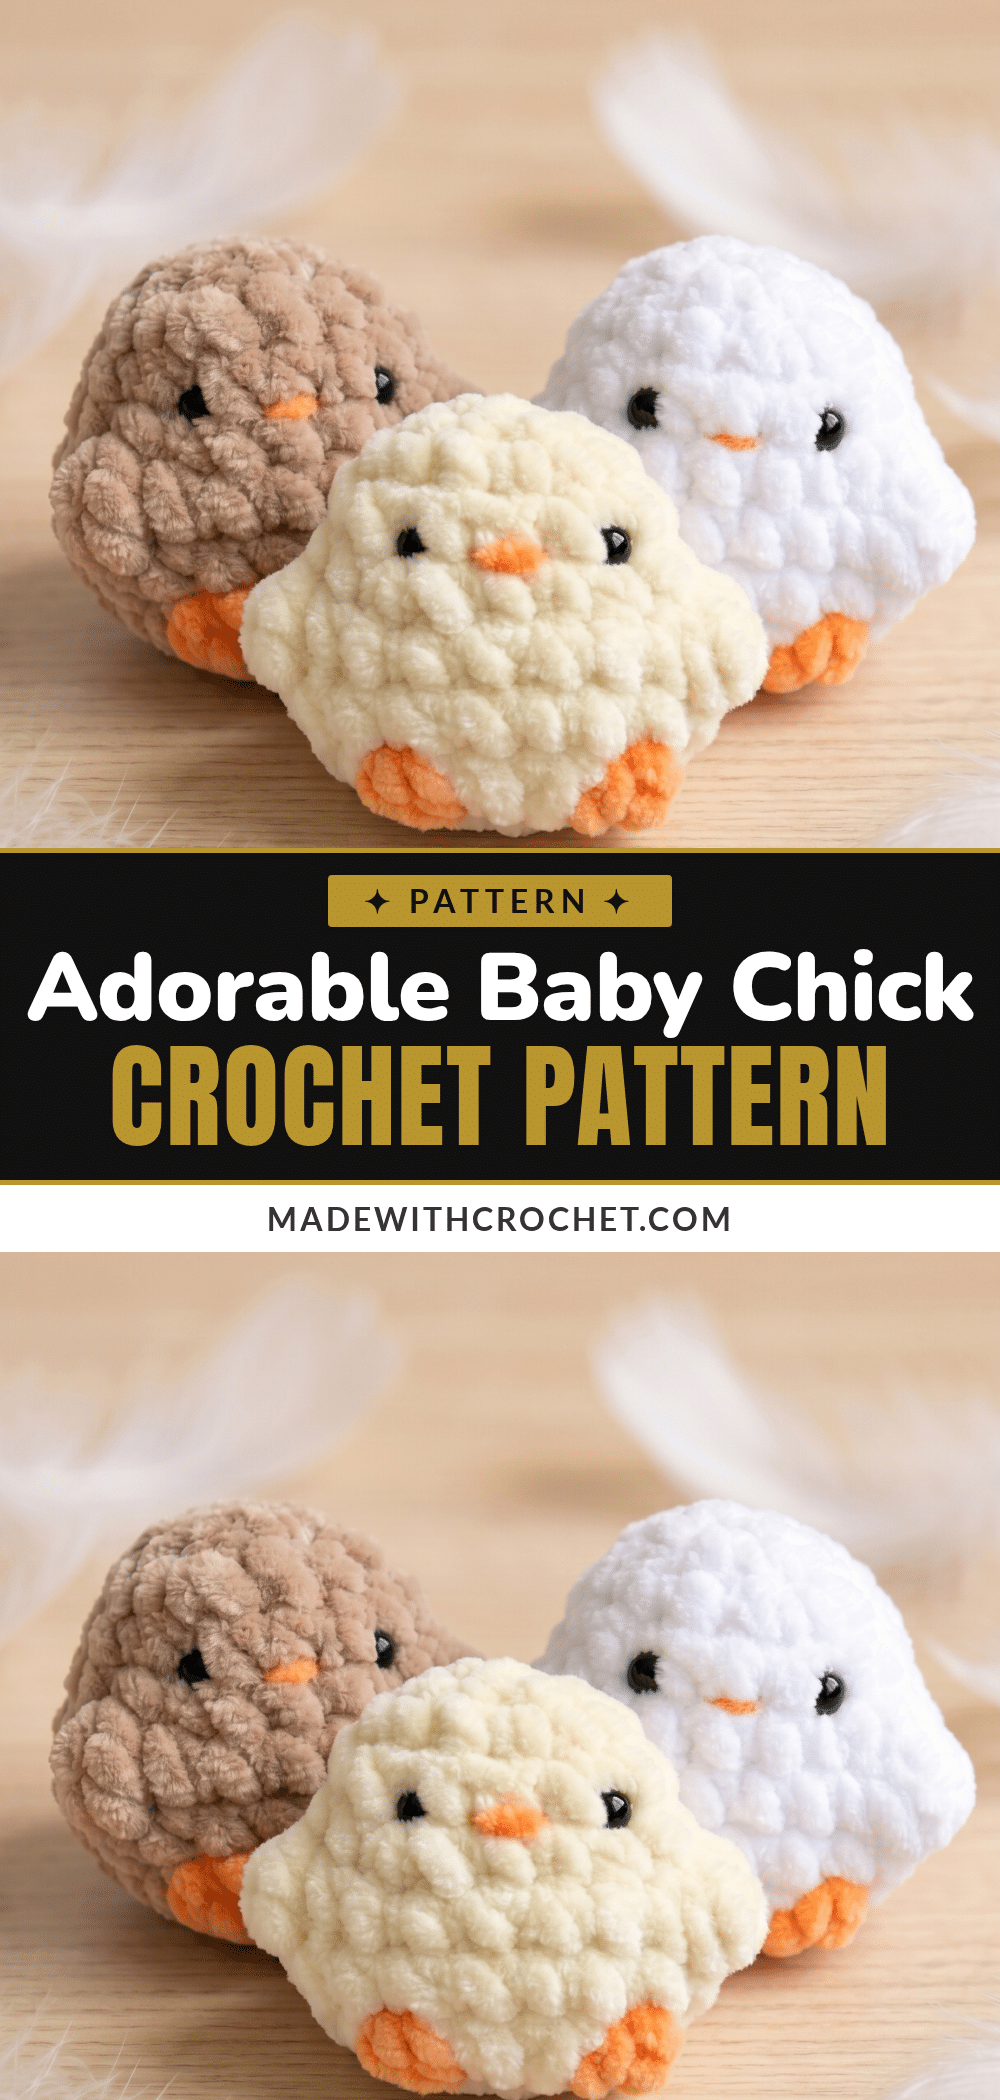
There is a quiet magic in the rhythm of amigurumi: the soft click of the hook, the steady pull of yarn, and the satisfaction of watching a flat circle transform into a three-dimensional friend. This Baby Chick Crochet Pattern is designed for those cozy evenings where you want a project that is as relaxing as it is rewarding. With just a small batch of yarn and a handful of stuffing, you can create a tiny companion that fits perfectly in the palm of your hand. It is a simple, no-sew construction that allows you to focus on the joy of making rather than complex assembly, resulting in a charming plushie that is ready to brighten any space.
Small Details That Make It Better
What makes this little chick stand out is how much personality fits into such a compact form. The construction is straightforward, but the addition of bobble stitches for the wings and the integrated feet gives the piece a unique texture that elevates it beyond a standard amigurumi. I designed this with Easter in mind, but its charm is timeless, making it a perfect handmade token for parents, grandparents, or teachers. Because the finished size is so small, you can easily knock out a small batch in different colorways—soft neutrals, pastels, or classic yellow—each one developing its own character. It is a low-stakes way to practice adding small details like beaks and feet, and the result is a gift that looks thoughtful and intentional without requiring hours of work.
Project Overview
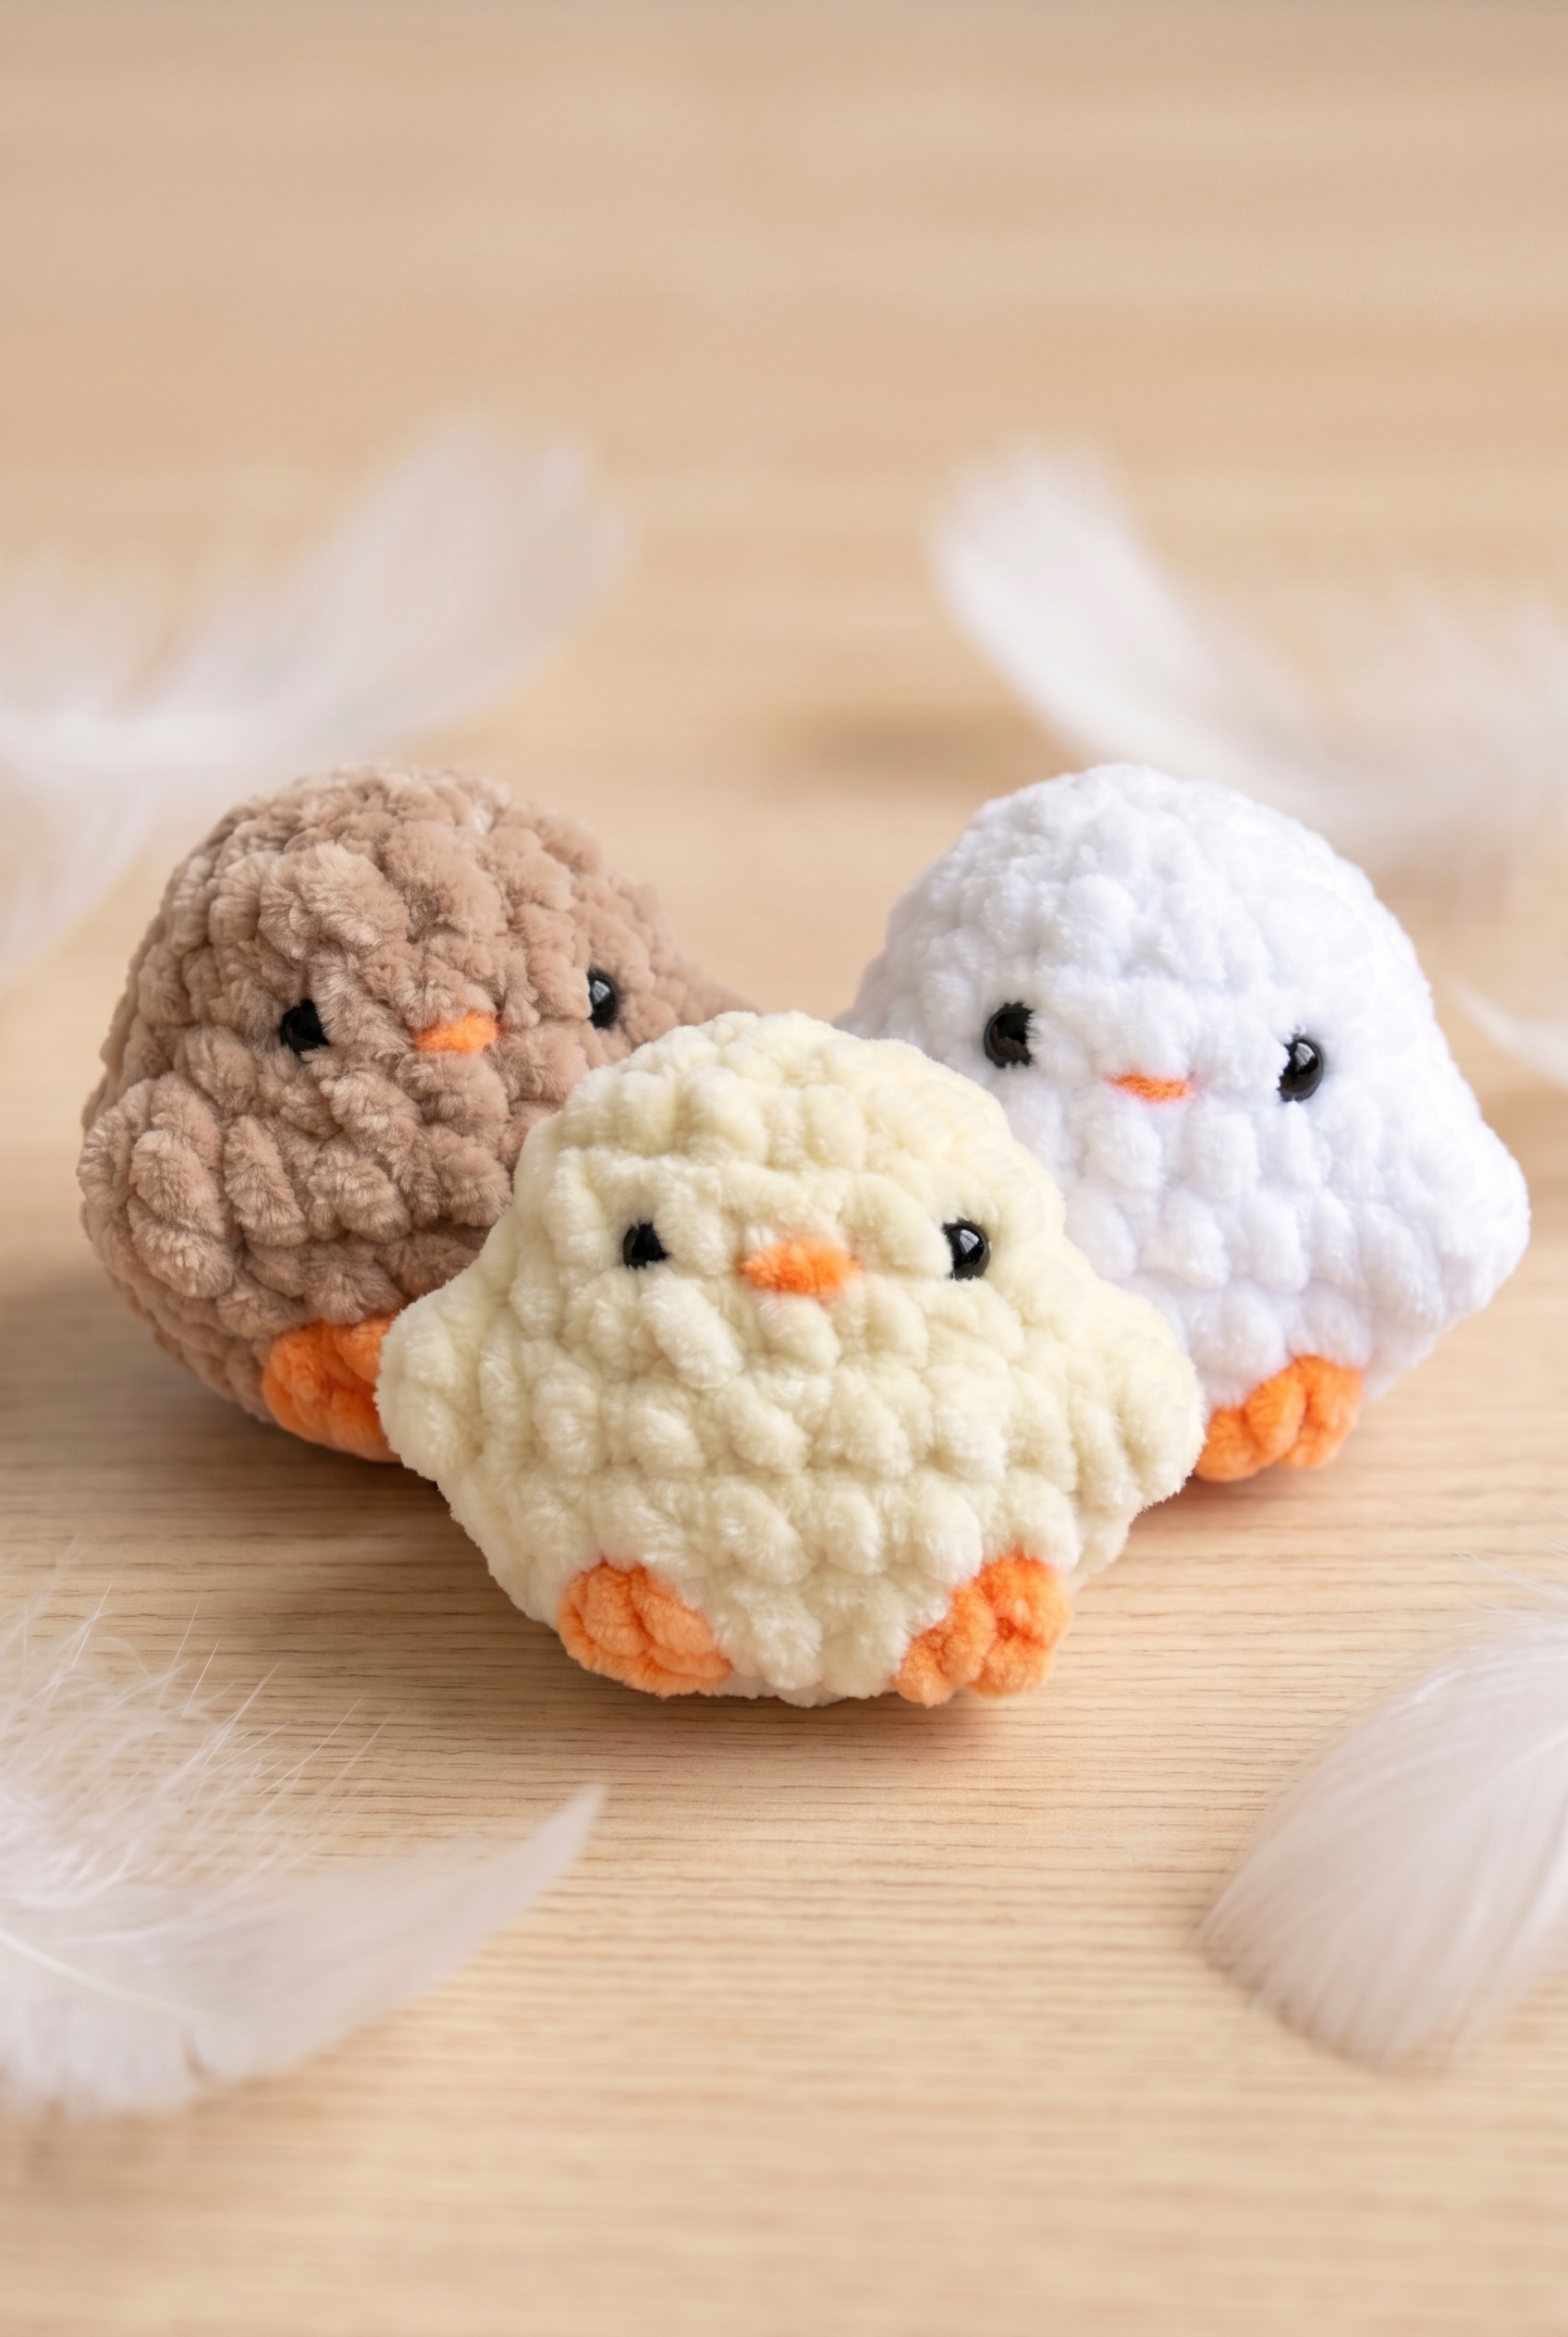
This is an easy, beginner-friendly amigurumi pattern worked in continuous rounds from the top of the head down. The body is created in one piece, utilizing a no-sew construction method for the main body shape. The pattern uses Color A (Yellow) for the body and Color B (Orange) for the feet and optional beak. The bobble stitches add a delightful texture, mimicking the soft down of a chick.
Materials
- Yarn: Bulky Weight Yarn (Yellow, Main Color). A soft, slightly stretchy bulky acrylic works best as it crochets up quickly and holds its shape. You will need approximately 20-40 meters for the body.
- Accent Yarn: Bulky Weight Yarn (Orange). You need a small scrap, approximately 5-10 meters, for the feet and optional beak. Using the same fiber as the main color keeps tension consistent.
- Crochet Hook: 3.5 mm hook. This smaller hook size is intentional to create a tight fabric that prevents stuffing from showing through.
- Safety Eyes: 6 mm safety eyes.
- Stuffing: Polyfil stuffing.
- Notions: Scissors, yarn needle, and a stitch marker.
Gauge and Finished Size
Gauge: Gauge is not critical for this project. However, use a hook size that creates a tight, firm fabric so stuffing does not show through.
Finished Size: 2 ⅛” (2.2″) tall.
Skill Level: Easy.
Abbreviations
The following abbreviations are used in this pattern:
- bbl: bobble stitch (YO, insert hook in indicated st, YO and pull up a loop, YO and pull through 2 loops) repeat as directed, then YO and pull through all loops on hook
- ch: chain
- dc: double crochet
- dec: decrease (sc2tog)
- FO: fasten off
- inc: increase (2 sc in same st)
- R: round
- sc: single crochet
- st(s): stitch(es)
- YO: yarn over
Pattern Notes
- Construction: This is a no-sew pattern. The body is worked in continuous rounds throughout.
- Color Changes: Color A (Yellow) is used for the body; Color B (Orange) is used for the feet and beak. Since this is a no-sew pattern, most color separation happens by working each piece independently or switching mid-round without complicated carrying techniques.
- Safety Eyes: Insert safety eyes between Rounds 4 and 5, about 3 to 4 stitches apart. Place them before you close up the body, as it is difficult to access once stuffed.
- Stuffing: Add stuffing as you go. Stuff lightly if you want a squishier result; do not pack it too tight.
- Safety Warning: For babies or toddlers who put things in their mouths, it is recommended to skip the safety eyes and embroider them instead. Ensure the beak (if used) is securely attached.
Pattern Instructions
The Chick Body
Work in continuous rounds. Use Color A (Yellow) for the body. Color B (Orange) is brought in briefly for the feet and beak details. Note that the bobble stitches in Round 8 are made with 2 dc, resulting in 3 loops on the hook when completed.
Round 1: Ch 2, 5 sc in 2nd ch from hook. [5 sc]
Round 2: Inc x 5. [10 sc]
Round 3: (Sc, inc) x 5. [15 sc]
Round 4: Sc around. [15 sc]
Round 5: (2 sc, inc) x 5. [20 sc]
Safety Eyes Placement: Insert safety eyes between Rounds 4 and 5, about 3 to 4 stitches apart.
Round 6: 6 sc, bbl with 3 dc, 6 sc, bbl with 3 dc, 11 sc. [20 sc]
Note: The two bobbles here sit opposite each other and form the wing nubs. Count carefully before and after to maintain position.
Round 7: Sc around. [20 sc]
Round 8: Dec, sc, change to color B and make a bbl, change back to color A; dec, sc, change to color B and make a bbl, change back to color A; (dec, 2 sc) x 3. [15 sc]
Note: This is the most involved round. You are decreasing to close the body while working the Color B bobbles for the feet and beak. Keep Color B yarn loose at the back to prevent pulling. Remember: these bobbles use 2 dc, not 3.
Round 9: (Sc, dec) x 5. [10 sc]
Round 10: Dec x 5. [5 sc]
Stuffing: Add stuffing at this stage. Stuff lightly if you prefer a squishy result.
Finish: FO. Sew through the front loops before closing the hole.
Assembly and Finishing
Beak: The beak is optional. If you choose to add it, use the orange yarn and sew it on securely after finishing the body. Pull tail ends inside the body to secure.
Tips
- Bobble Stitches: In Round 6, the bobbles create the wing nubs. Ensure they are placed opposite each other for symmetry.
- Carrying Yarn: In Round 8, when switching to Color B for the feet, keep the yarn loose at the back so it does not pull or distort the stitches.
- Stuffing Level: Avoid over-stuffing. A lighter hand results in a softer, more squishy chick that retains its shape better.
Care Instructions
Hand washing is the safest method for this chick. Submerge gently in cool water, squeeze out excess water without wringing, and air dry completely. Do not use a dryer, as heat can warp the plastic safety eyes or loosen them. Once dry, the stuffing should return to its original shape.
Frequently Asked Questions
When do I insert the safety eyes?
Insert the safety eyes between Rounds 4 and 5, about 3 to 4 stitches apart. It is crucial to do this before you stuff and close the body.
What are the bobble stitches in Round 6 for?
The two bobbles in Round 6 sit opposite each other and form the wing nubs, adding texture and character to the chick.
How do the feet get added if this is a no-sew pattern?
The feet are worked in using color changes in Round 8. You switch to orange, make a bobble with 2 dc, and switch back to yellow. This creates the orange feet without sewing.
How much should I stuff the chick?
Stuff lightly if you want a soft, squishy result. Packing it too firmly can make the chick stiff and distort the shape.
Does the beak have to be sewn on?
No, the beak is optional. For a safer toy for young children, you can skip it entirely or embroider it instead of using a sewn-on piece.
If you enjoy this pattern, you might also like our Adorable Crochet Chick Easy Frog Hat Amigurumi Pattern or check out the Adorable Crochet Bunny Easy Amigurumi Pattern for more spring-themed makes.
Pin This Crochet Pattern!