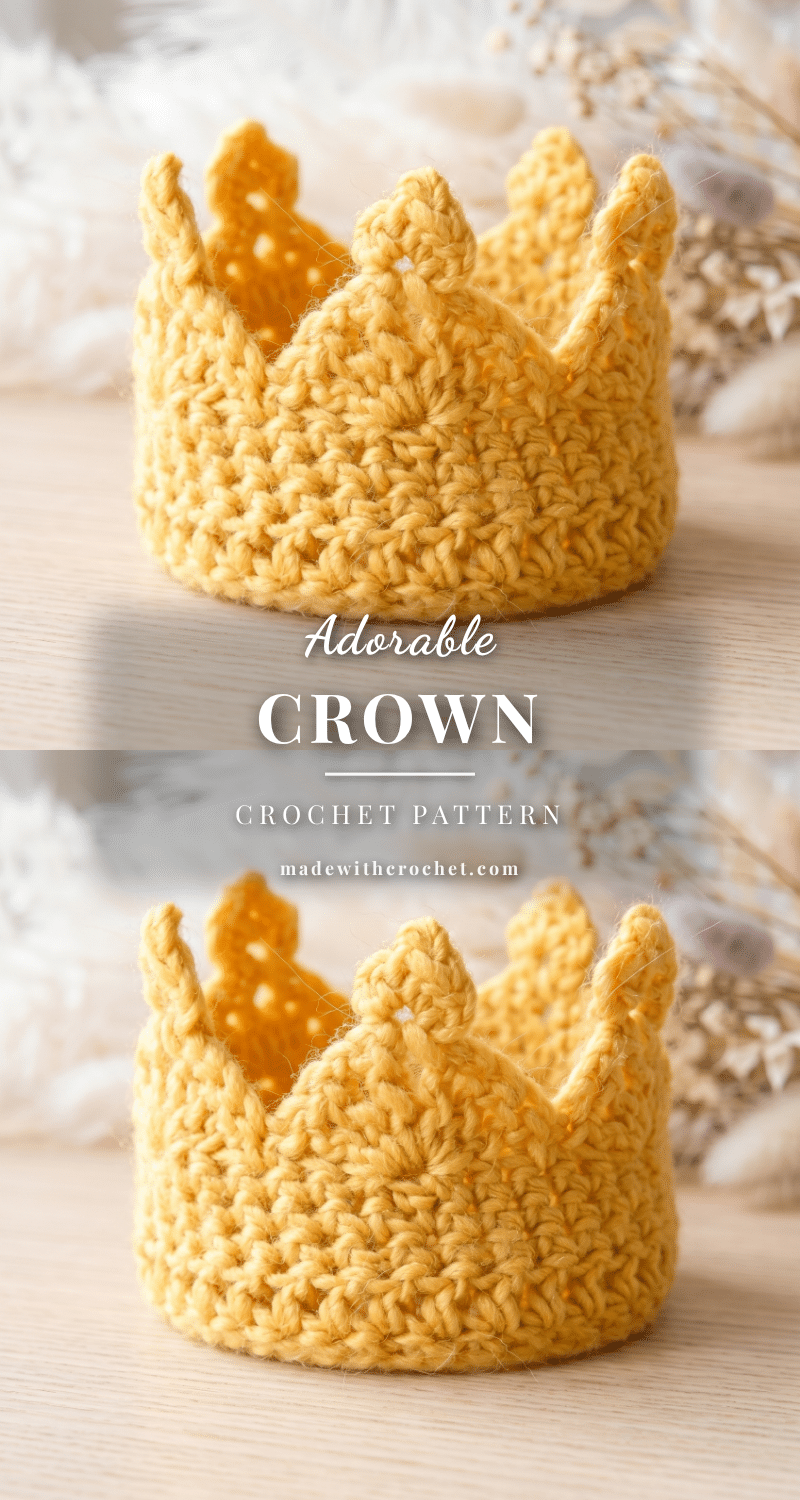
There is something undeniably magical about seeing a child’s face light up when they realize they are wearing a crown. This Cozy Chunky Crown Crochet Pattern transforms a simple hat into a wearable piece of royalty, perfect for birthdays, dress-up parties, or simply adding a touch of whimsy to a winter outfit. Designed for toddlers and young children, this project combines the warmth of super bulky wool with a structured silhouette that stands up on its own. It is an intermediate-level project that rewards the maker with a stunning finished piece that feels far more special than a standard beanie.
Seasonal Styling Ideas
While this crown hat is a year-round favorite, it shines brightest during specific seasons. In the winter, the rich yellow wool provides a cheerful contrast to snowy days, keeping little ears warm while they play. As spring approaches, it pairs beautifully with pastel dresses for Easter celebrations or garden parties. For autumn, the golden hue complements fall foliage perfectly, making it an ideal accessory for pumpkin patches or harvest festivals. It also serves as a standout piece for Halloween costumes, where it can be worn over a wizard’s robe or a princess gown to instantly elevate the look.
Project Overview
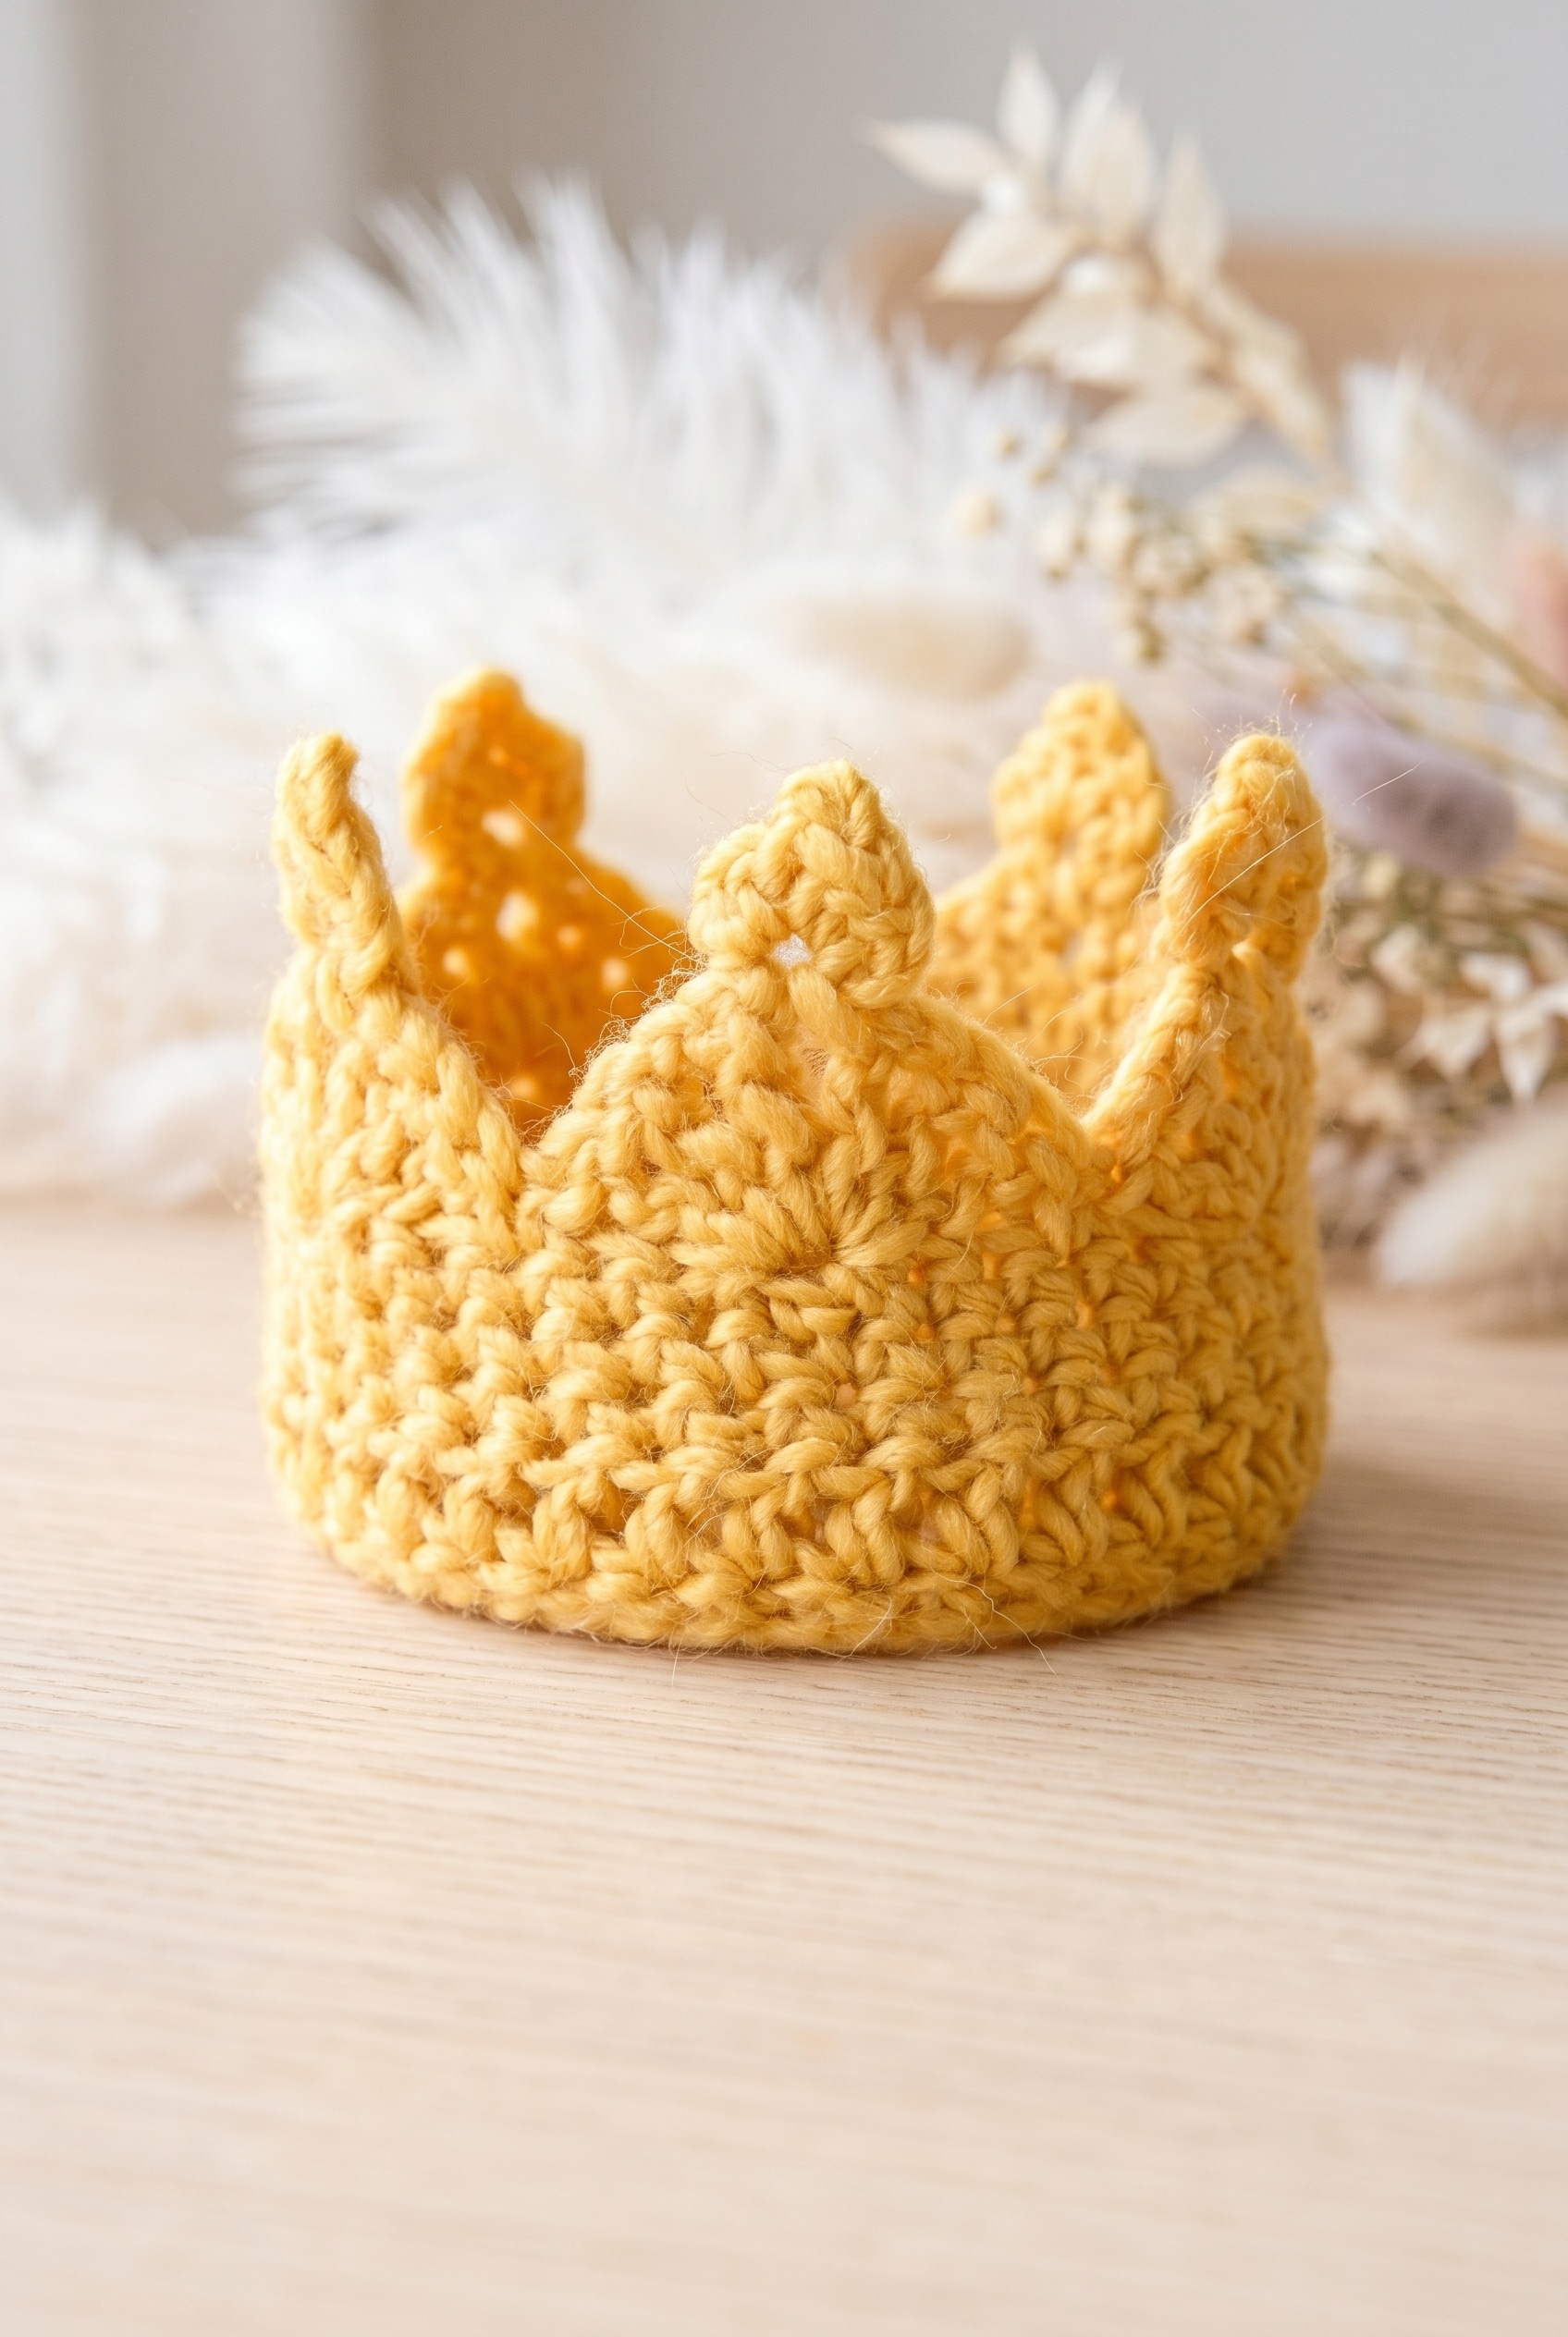
This crown hat is designed to look exactly like a crown, featuring a structured brim and pointed peaks adorned with delicate picot “jewels.” It is worked in rounds from the base up to the top, requiring no sewing or assembly. The pattern includes two sizes to fit growing children, making it a versatile gift for toddlers through early school age. The construction relies on a specific chain-to-stitch ratio to ensure the brim stretches comfortably over a child’s head without pulling tight.
Materials
- Yarn: One color of Super Bulky 100% Wool (Yellow). You will need 50 g, which is typically one ball. Wool is recommended for its body and natural elasticity, which helps maintain tension and structure.
- Hook: 7 mm (K or L) Crochet Hook. This size works well with super bulky wool to create a firm but flexible fabric.
- Notions: Scissors and a tapestry needle for weaving in ends.
Gauge and Finished Size
Pattern Gauge: 10 stitches in width = 10 cm / 4″.
Finished Size: Fits sizes 2-4 years (5-7 years).
Yarn Weight: 6 Super Bulky.
Fiber: 100% Wool.
Abbreviations
The pattern uses standard US crochet terminology:
- ch: chain
- sc: single crochet
- hdc: half double crochet
- dc: double crochet
- tr: treble crochet
- sl st: slip stitch
- st(s): stitch(es)
Special Stitches
Two unique picot stitches are used to create the crown’s jewel details:
- Picot 1: Ch 3, sl st in 3rd ch from hook.
- Picot 2: In 3rd ch from hook work: 1 hdc, ch 2, sl st in 2nd ch from hook, 1 hdc, ch 2, sl st.
Pattern Notes
Work this hat with Snow yarn and a 7 mm (K or L) hook, or whatever size gets you to gauge. The crown features small jewel details at the top worked using the two picot stitches defined above. One thing worth knowing before you start: the foundation chain is worked longer than the number of stitches you’ll actually use in round one. That’s intentional. It keeps the brim edge from pulling tight, so don’t adjust it down thinking it’s a mistake.
This crown hat is sized for 2 to 7 year olds, so it’s worth checking the seams and fastened ends before putting it on a child. The picot details and treble crochet points at the top are worked in yarn only, no added embellishments, so there’s nothing to pull off or swallow. That said, check periodically that the yarn ends are still secure, especially after washing. If a tail works loose, weave it back in right away.
Pattern Instructions
This is the entire crown, worked in rounds from the base up to the decorative jewel edging at the top. Work with Snow yarn and a 7 mm (K or L) hook throughout. The stitch count range accounts for different head sizes, so pick your starting chain based on the size you’re making and stay consistent with that number all the way through.
Crown with Small Jewels at the Top
Round 1: Ch 56-64 (divisible by 8), sl st in 1st ch to join. [56-64 ch]
Note: The extra chains provide elasticity for the brim.
Round 2: Ch 1, *sc in each of next 3 ch, skip next ch* repeat around, sl st in 1st sc to join. [42-48 sc]
Tip: By skipping every fourth chain, you reduce the stitch count while maintaining the stretch of the foundation edge.
Round 3: Ch 3, dc in first sc on round below, dc in every sc around, sl st in 1st dc to join. [42-48 dc]
The ch 3 counts as your first dc here. When you work “dc in first sc on round below,” you’re placing that dc into the same stitch as the ch 3, so you’ll have two dc in that spot before continuing evenly around.
Round 4: Ch 1, sc in every st around, sl st in 1st sc to join. [42-48 sc]
Round 5: Ch 1, *sc in each of next 3 sts, Picot 1, sc in each of next 3 sts* repeat around, sl st in 1st sc to join. [42-48 sc]
The Picot 1 sits between two groups of 3 sc within each repeat. Make sure you know how your pattern defines Picot 1 before starting this round.
Round 6: Ch 1, sc in every st around, sl st in 1st sc to join. [42-48 sc]
Round 7: Ch 1, sc in first sc, *skip next 2 sts, in next st work: 2 tr, ch 1, 1 tr, ch 3, Picot 2, 1 tr, ch 1, 2 tr, skip next 2 sts, sc in next st* repeat around, sl st in 1st sc to join.
This is the jewel edging. Each repeat builds one pointed jewel shape, and the Picot 2 sits at the very tip. Take your time placing all the elements into that single center stitch — it’s a lot going into one spot, but that’s what creates the crown point.
Fasten off.
Assembly
No assembly is required. Weave in all yarn ends securely using a tapestry needle. Ensure that the ends near the brim and the top points are tight to prevent unraveling.
Blocking
Because this hat is 100% wool, wet blocking is worth doing if the crown points come out a little uneven or the picot jewels at the top need to open up properly. Soak the hat in cool water for about 10 minutes, press out the excess water in a towel, and then shape it over a bowl or balloon that matches the head size. The wool responds really well to this. The picot details especially benefit from a little gentle coaxing while damp. Let it dry completely before wearing, which usually takes overnight.
Care Instructions
Hand wash this hat in cool water with a wool-safe detergent. Hot water will felt 100% wool fast, so don’t risk it. Press the water out gently, never wring it, and reshape the crown points while it’s still damp before laying it flat to dry. Store it flat or loosely folded rather than hanging, since hanging a damp or even dry wool hat can stretch the brim out over time.
Yarn Substitutes
Pure wool is worth using here because of how it behaves structurally, but if wool is off the table for you, there are workable options at the same weight:
- Super Bulky Wool-Acrylic Blend: A blend in the same weight class will give you similar stitch definition and a bit more stretch. Look for something with at least 50% wool content if you want the structure to hold up the same way.
- Super Bulky Acrylic: A fully synthetic option works if that’s what you have. The crown may be slightly softer and less structured, but for a small decorative piece it’s no trouble at all. Stick to the same weight and swatch to confirm your gauge.
Tips
- Elasticity Check: The foundation chain is worked longer than the number of stitches you’ll actually use in Round 2. You start with 56 or 64 chains, then on Round 2 you skip every fourth chain, which brings the count down to 42 or 48 single crochets. The extra chains give the cast-on edge stretch so the hat can actually go on a child’s head. If you skip this step and work into every chain, the brim will be too tight.
- Count Your Fans: After each repeat in Round 7, you should have one completed fan and one single crochet. If you end the round with the same number of fans as you started with points in your stitch count divided by 7, you’re good. Stitch markers between each repeat help a lot here. Place one after each sc before the fan, and you can catch a mistake before it compounds.
Frequently Asked Questions
Why does the pattern tell me to chain more stitches than I’ll actually use in Round 2?
That’s the elasticity tip built into the pattern. You start with 56 or 64 chains, then on Round 2 you skip every fourth chain, which brings the count down to 42 or 48 single crochets. The extra chains give the cast-on edge stretch so the hat can actually go on a child’s head. If you skip this step and work into every chain, the brim will be too tight.
What is Picot 2 in Round 7, and is it different from the Picot 1 in Round 5?
Yes, they’re two different picots. Picot 1 in Round 5 is a smaller decorative picot worked between single crochets along the body of the hat. Picot 2 in Round 7 is worked inside the large treble crochet fan that forms each crown point, so it sits right at the tip of the point. Check the abbreviations section of the pattern for the exact chain count for each one, since they’re defined there.
How many crown points does the finished hat have?
It depends on the size you’re making. The stitch count after Round 2 is 42 or 48 single crochets. Round 7 repeats a 7-stitch fan sequence around the full round, so you get 6 points for the smaller size and 6 points for the larger as well, since both counts divide evenly by 7. Each point is made from that large treble crochet shell with Picot 2 at the tip.
How much yarn do I actually need for this hat?
50 grams of super bulky wool covers both sizes. The pattern lists 50 g for each size bracket, so one skein is enough either way. Super bulky works up fast and the hat is only 7 rounds, so yardage isn’t something I’d stress about here.
Round 7 looks complicated. Is there a way to check my work as I go?
Count your fans. After each repeat in Round 7, you should have one completed fan and one single crochet. If you end the round with the same number of fans as you started with points in your stitch count divided by 7, you’re good. Stitch markers between each repeat help a lot here. Place one after each sc before the fan, and you can catch a mistake before it compounds.
Happy Crocheting!
Pin This Crochet Pattern!