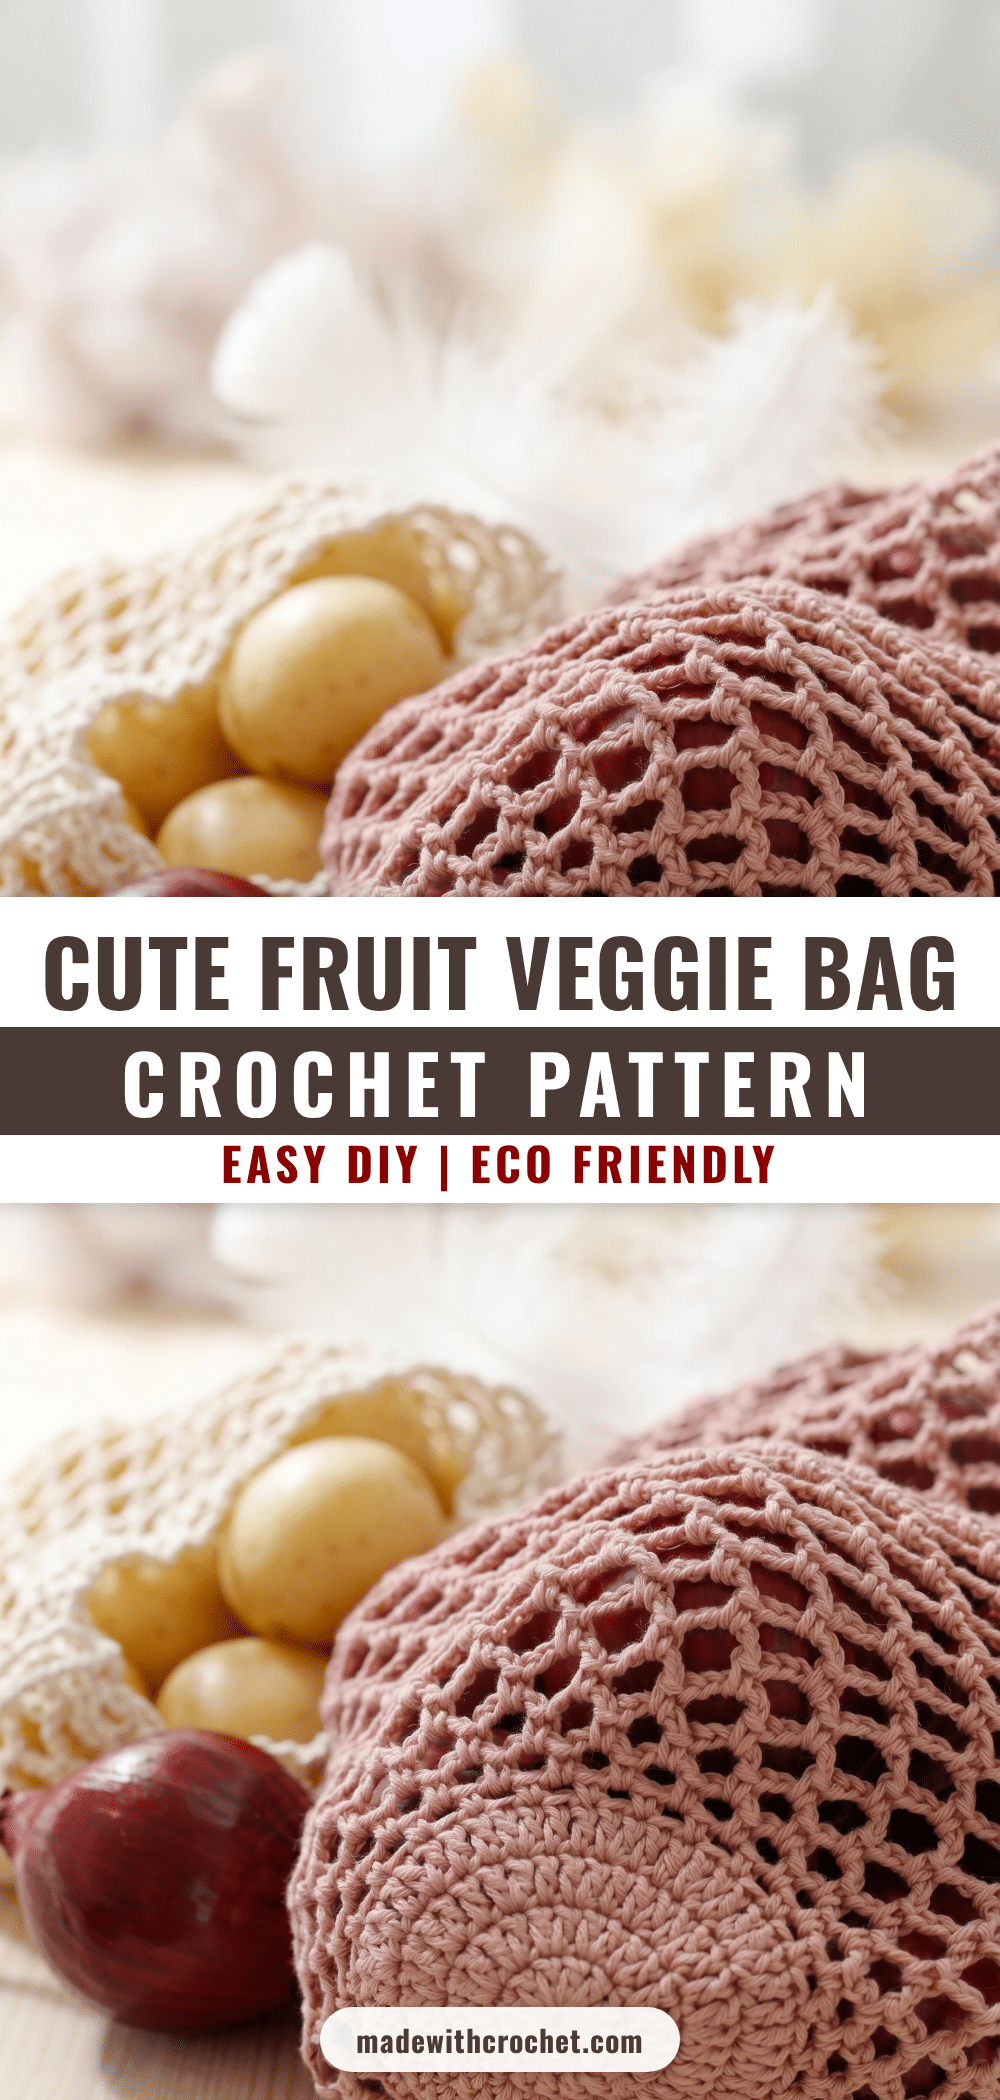
There is something undeniably satisfying about pulling a crocheted bag out of your project bag and watching it spring open, ready to hold a week’s worth of groceries. This Fruit and Vegetable Bag is the kind of project that feels instantly useful—a tidy, display-worthy tote that makes you want to make a stack of them for every season. It is a small, practical piece that looks as good on a kitchen counter as it does in a reusable shopping cart.
Why the Finished Piece Stands Out
What makes this pattern truly special is that it isn’t just a simple mesh sack with a drawstring thrown on top. It features a solid, structured base that gives the bag real integrity, allowing it to hold its shape without becoming stiff or bulky. The transition from the solid double crochet bottom to the open, airy net body is a joy to work through, offering two distinct textures in one compact project. It is the perfect blend of utility and charm, making it an excellent handmade gift for anyone looking to reduce single-use plastics or simply appreciate a well-made, everyday essential.
Project Overview
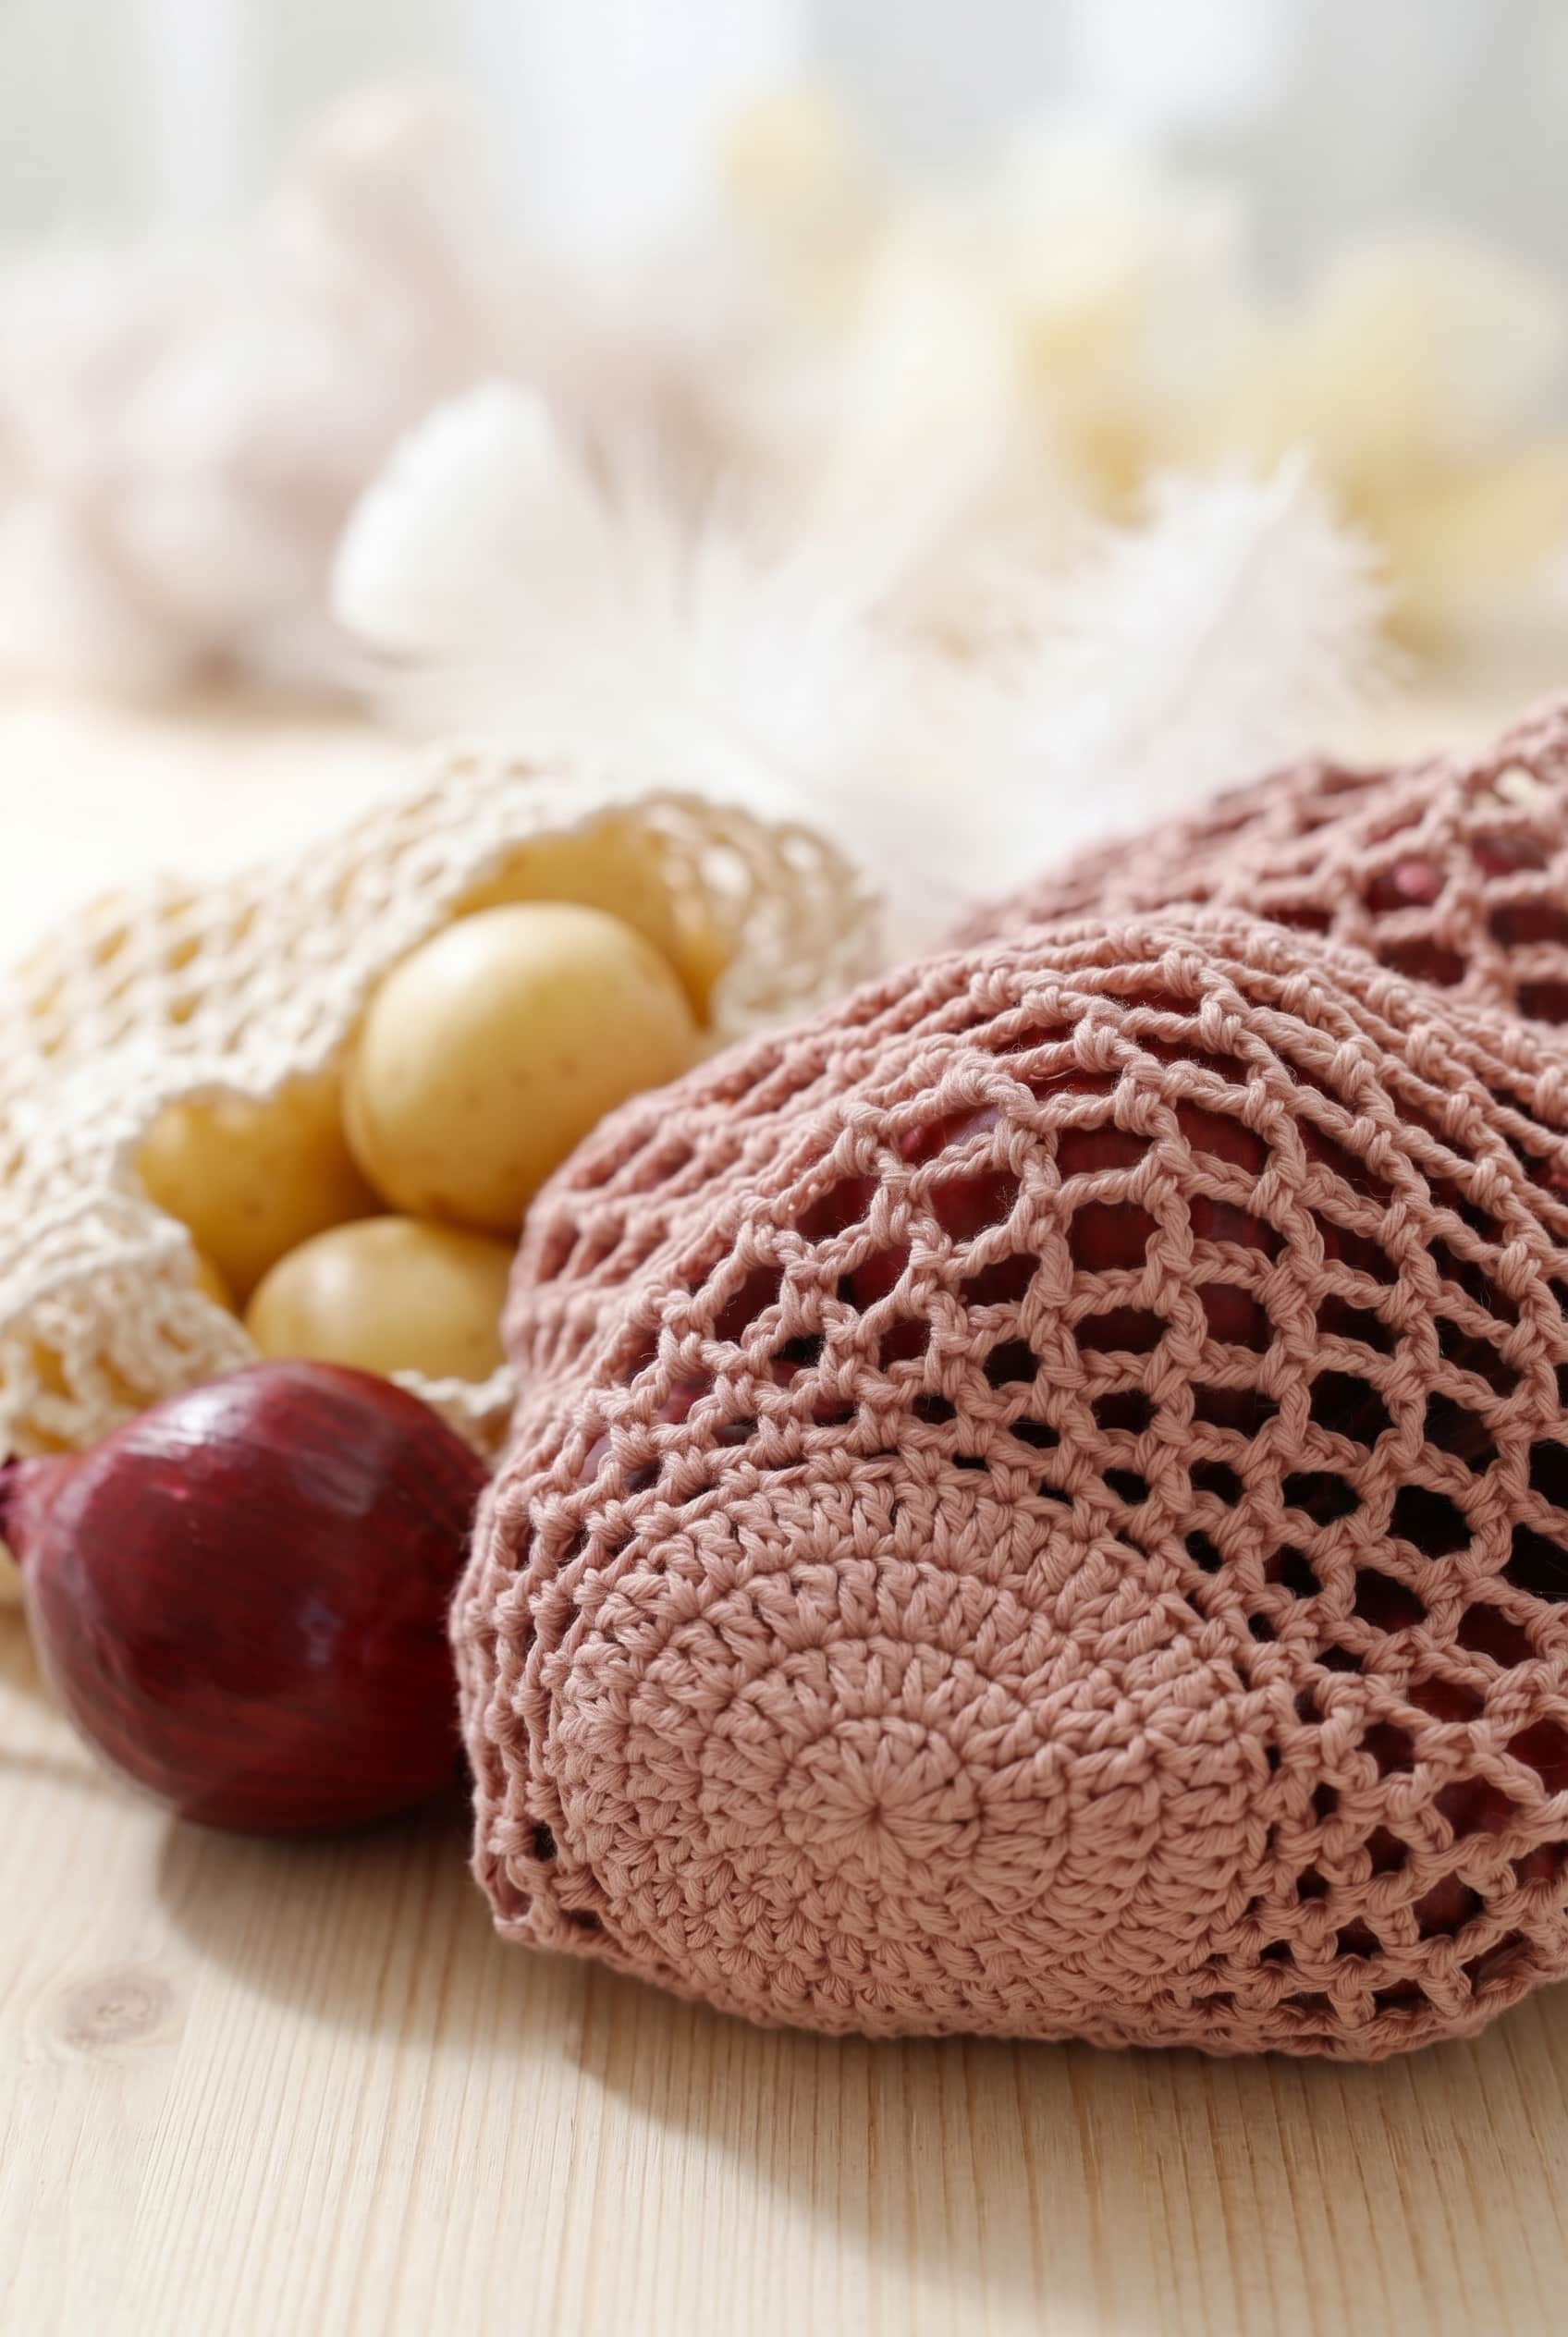
This is a quick, easy crochet project worked in the round from the bottom up. It is rated as an easy skill level, making it ideal for crocheters who are past the very basics and want a project with a bit more structure. You can finish one in an evening, and because the finished size is compact, it is a fantastic candidate for making multiples to keep in your kitchen or gift to friends.
Materials
- Yarn: Fine Weight Cotton Yarn (Weight 2). Cotton is the ideal fiber choice here; it holds its shape without being stiff, and the fine weight keeps the fabric tight enough that the chain spaces look clean and deliberate rather than loose. You will need 50 g of off white and 50 g of powder pink (two small balls or partial skeins).
- Hook: 3 mm Crochet Hook (US C). This pairs well with fine cotton to keep the fabric from going too open.
- Stitch Marker: One marker is essential for tracking the beginning of rounds, especially once the chain-space sections begin.
- Notions: Scissors and a tapestry needle.
Gauge and Finished Size
Gauge: 24 dc in width and 13 rows in height = 10 x 10 cm (4″ x 4″).
Finished Size: Width: approx. 14–19 cm (5 ½”–7 ½”) measured flat. Height: approx. 17–20 cm (6 ¾”–8″) measured flat without handle.
Note: Gauge matters more than hook size. The 3 mm hook is a starting point. If you are getting more than 24 dc across 10 cm, go up a hook size. If you get fewer than 24, go down. The finished bag weighs roughly 22–25 g, so a tight or loose gauge will shift the size noticeably.
Abbreviations
US Terminology
- ch = chain
- sc = single crochet
- dc = double crochet
- sl st = slip stitch
- st(s) = stitch(es)
- * * = repeat instructions between asterisks as directed
Pattern Notes
- Chain Tension: If you work the chain with the yarn sitting at the outermost position on the hook, it tends to come out too tight. Each chain stitch should be about as wide as a double crochet. If your chains are pulling snug, consciously loosen your grip or try working them with a hook one size up.
- Starting Double Crochet Rounds: At the start of every double crochet round, ch 3. That chain-3 counts as your first dc. Skip the first dc from the previous round directly below it, work across, then close the round with a sl st into the 3rd chain of that starting ch-3.
- Color Changes: The pattern lists both off white and powder pink but does not specify placement, so you have flexibility. A clean color change at the start of a round works best—join the new color on the slip stitch that closes the round, then start your chain-3 in the new color so the transition sits neatly.
- Structure: There are no separate pieces to sew together. The bag starts at the bottom with a circle of double crochet, builds upward using chain-spaces for the net structure, and finishes with a handle.
Pattern Instructions
The bag comes together starting from the flat circular bottom and working up through the open net body to the simple drawstring handle. The bottom is finished at size XS; if you are making size S, continue straight into the Net section after completing Round 4.
Building the Bottom
Round 0: Work 4 ch with crochet hook size 3 mm. Form them into a ring with 1 sl st in the first ch. This magic ring method gives you a tight, closed center to build from.
Round 1: Work 12 dc around the ring. [12 dc]
Round 2: Work 2 dc in each st. [24 dc]
Round 3: *2 dc in first st, 1 dc in next st* repeat around. [36 dc]
The bottom measures approx. 5 cm (2″) in diameter.
Round 4: *2 dc in first st, 1 dc in each of next 2 sts* repeat around. [48 dc]
The piece measures approx. 6 cm (2 ⅜”) in diameter.
Working the Net Body
Now the bag opens up into its net structure, worked in chain-space rounds that expand with each row. The stitch count will vary depending on your size, giving you between 18 and 24 chain-spaces to work with.
Round 1: Ch 2, *skip 1 st, 1 sc in next st, ch 2* repeat around, finishing with 1 sl st around the first ch-2 on the round. [18–24 ch-spaces]
This round transitions you from the solid dc base into the open net. The slip stitch goes around the chain-2 arch, not into a stitch.
Round 2: Ch 3, insert a marker in these ch (first chain-space). *1 sc around next ch-space, ch 3* repeat to the first chain-space, 1 sl st around this chain-space. The marker tracks your first chain-space so you know exactly where each round ends. Move it up as instructed in the rounds that follow.
Round 3: Ch 4, move the marker to these ch (first chain-space). *1 sc around next ch-space, ch 4* repeat to the first chain-space, 1 sl st around this chain-space.
Round 4: Ch 5, move the marker to these ch (first chain-space). *1 sc around next ch-space, ch 5* repeat to the first chain-space, 1 sl st around this chain-space. By this point the chain-spaces have expanded from 2 to 5 chains, and that is where they stay for the rest of the bag.
Rounds 5+: Repeat Round 4 until the piece measures 17–20 cm (6 ¾”–8″) measured flat. Cut and fasten off. Measure the bag flat rather than stretched—the net will have some give, so check it relaxed.
Adding the Handle
The handle is a simple chain drawstring threaded through the top of the net to cinch and carry the bag.
Step 1: Work a row of ch, 60 cm (23 ⅝”) long, and thread it up and down through the last round. Tie a knot in the end. Weaving the chain in and out through the final round of chain-spaces creates the drawstring effect—pull it tight to close the bag, or leave it loose to keep it open while you fill it.
Assembly
There is no sewing required for the body of the bag. The only assembly step is threading the handle chain through the top round as described above. Because the handle is a crocheted chain threaded through the top round and tied in a knot, pulling the bag off a hook or overloading it can stress that knot over time, so it is worth checking it every now and then and retying if it loosens.
Tips for Success
- Customizing Size: This pattern comes in two sizes: XS and S. If you want something in between, you can adjust the number of chain-spaces in the net rounds, but do swatch first so you know where your gauge lands before committing to a size.
- Handle Length: You can absolutely make the handle longer if you want more of a shoulder-bag drop. Just chain more before you thread it through.
- Knowing When to Stop: Keep repeating the ch-5 round until the bag measures 17 to 20 cm (6 ¾” to 8″) when laid flat, not counting the handle. The range gives you flexibility depending on how you want it to fit.
Care Instructions
This bag is worked in 100% cotton, so it washes well, but I would skip the machine wash and hand wash it instead to keep the net structure from stretching out of shape. Lay it flat to dry rather than hanging it.
Frequently Asked Questions
Do I need to change hook sizes as the net section grows?
No, you do not need to change hook sizes as the net section grows. The 3 mm hook is used throughout. However, if you find your gauge is too loose or tight, adjust your hook size before starting to ensure you hit the correct measurements.
What does the stitch marker actually do in this pattern?
The stitch marker tracks the first chain-space of each net round so you know exactly where to end with a slip stitch. You move it up each round as the chain-spaces get bigger, from ch-2 up to ch-5. Without it, it is easy to lose your place, especially once you are repeating the same ch-5 round multiple times.
How long should the handle chain be, and can I adjust it?
The pattern calls for a chain 60 cm (about 23 ⅝”) long. You can absolutely make it longer if you want more of a shoulder-bag drop; just chain more before you thread it through the top of the bag.
How do I know when to stop adding net rounds?
Repeat the rounds until the piece measures 17–20 cm (6 ¾”–8″) when laid flat. Measure the bag relaxed, not stretched, as the net will have some give.
Can I use both colors in the same bag, or is each color for a separate bag?
The pattern lists 50 g of off white and 50 g of powder pink but does not specify placement, so each color is likely intended for a separate bag. That said, there is nothing stopping you from switching colors between the bottom circle and the net section if you want a two-tone look.
Pin This Crochet Pattern!