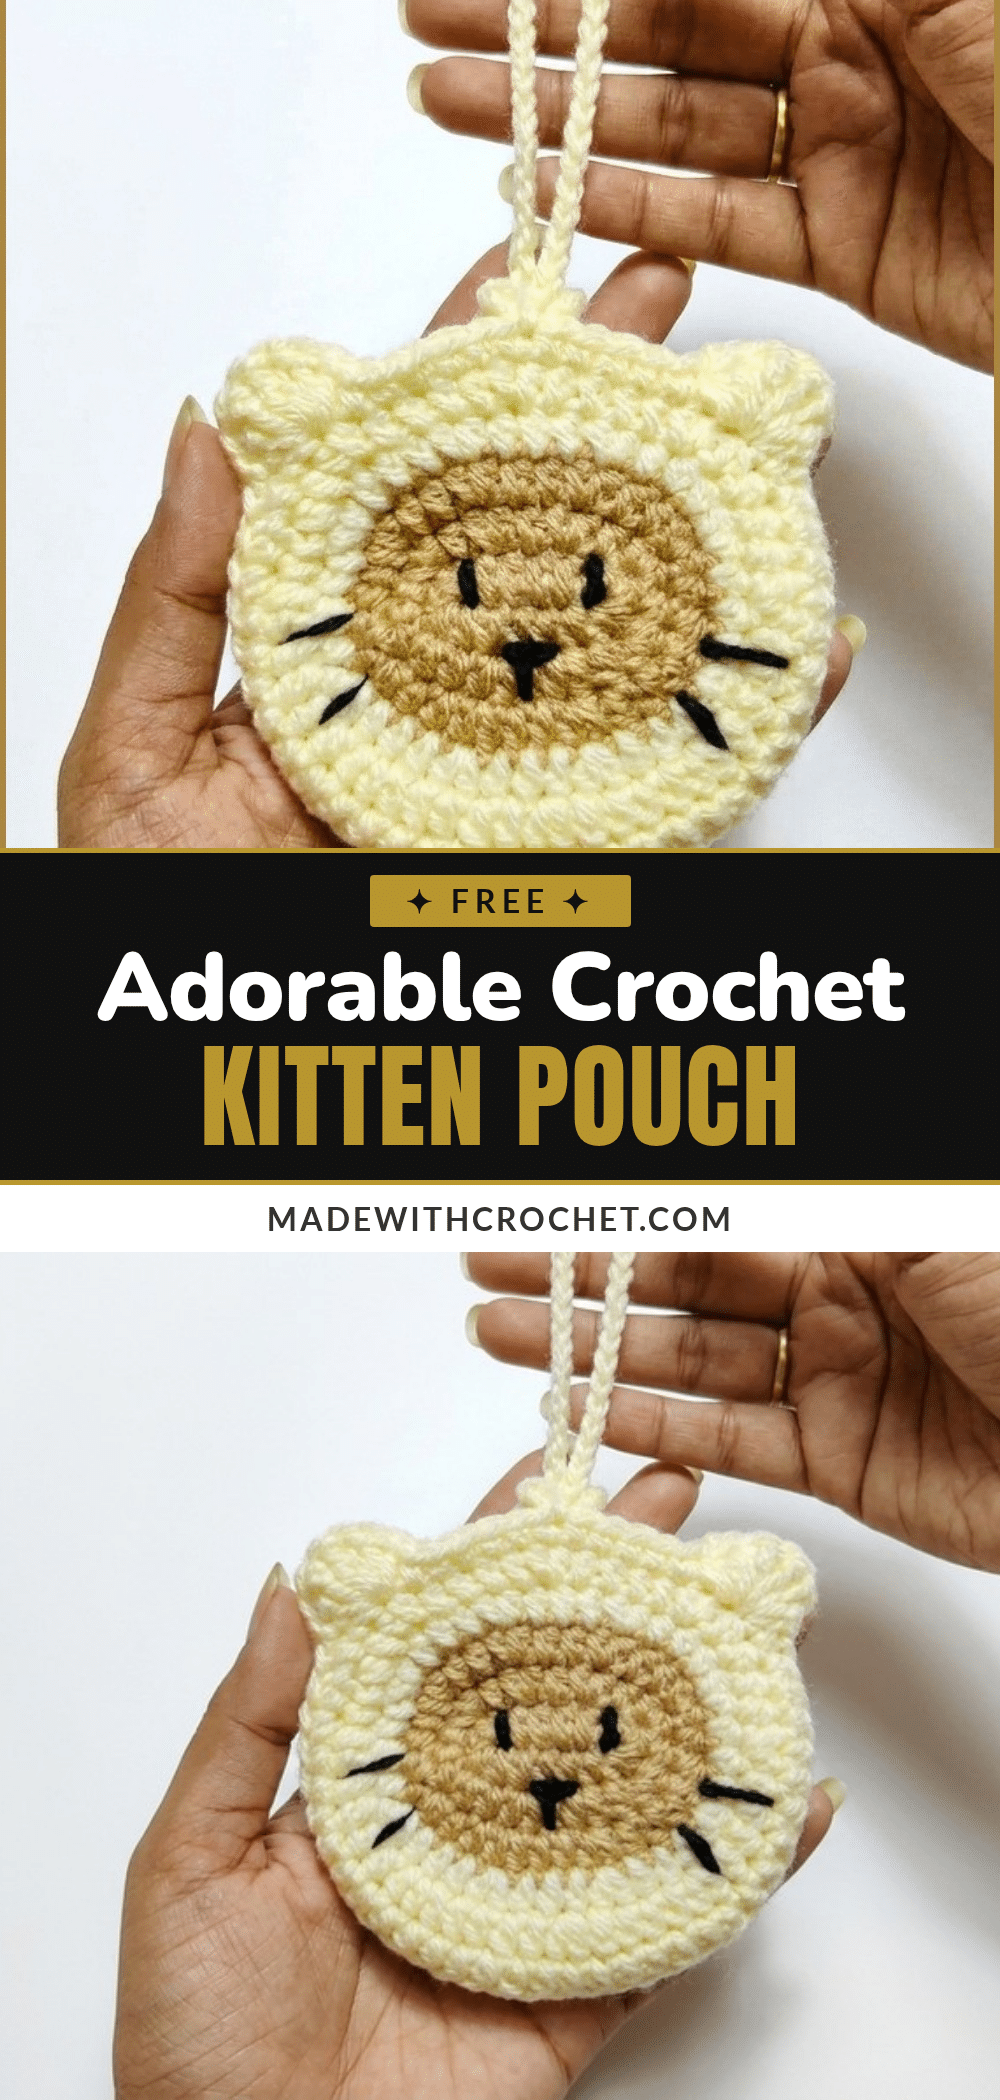
There is something undeniably sweet about pulling a specific skein from your stash that just screams “kitten.” For this project, I found myself reaching for a smooth, soft yarn in a gentle pastel shade—perhaps a dusty rose or a creamy white—because the texture needed to be sleek enough to make the embroidered facial features pop. The decision to use two contrasting colors wasn’t just aesthetic; it was a practical choice to define the ears and the base, creating a crisp silhouette that brings the character to life. This yarn choice sets the tone for a project that is as much about the joy of creation as it is about the adorable result.
Yarn and Color Notes
The success of this pouch relies heavily on your yarn selection. A smooth texture is highly recommended because it allows the embroidery for the eyes and nose to sit cleanly on the fabric without getting lost in a fuzzy halo. While you can choose your favorite colors, using two distinct shades helps separate the body from the ears, giving the kitten its signature shape. The smooth fiber also ensures that the final finish looks polished, especially when you turn the piece right-side out after assembly.
Project Overview
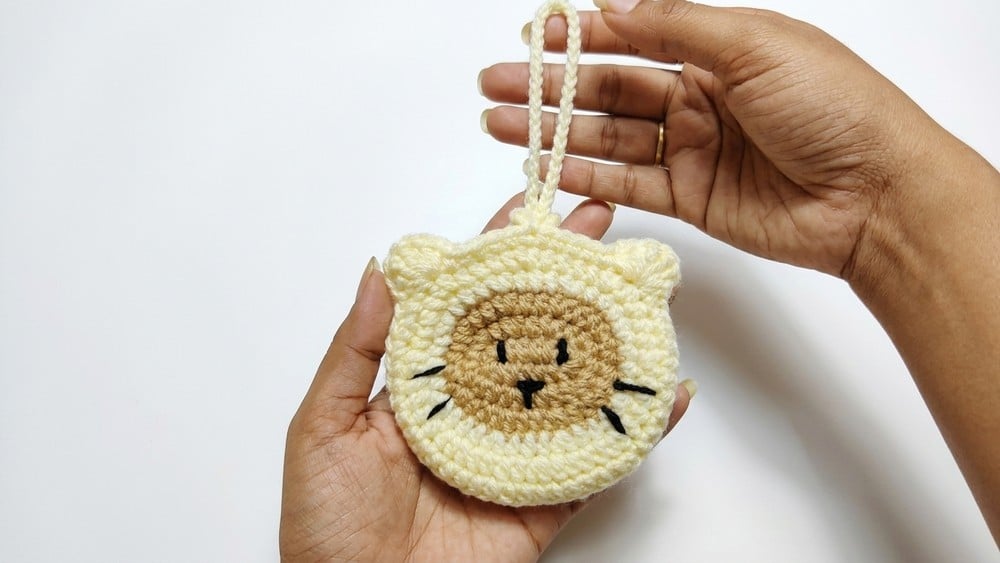
This adorable crochet kitten pouch is a charming blend of function and whimsy. Designed for intermediate beginners, it features a two-part construction that creates a sturdy pouch with a rounded rectangular base. The standout features are the shaped ears, created using a combination of half double crochets (HDC), double crochets (DC), and triple crochets (tr), along with embroidered facial details that give the pouch personality. It is perfect for storing coins, keys, or small makeup items and can be worn as a small bag or kept as a decorative accessory.
Materials
- Two colors of yarn (your choice), smooth texture recommended for embroidery visibility
- 3.5 mm crochet hook
- Stitch marker
- Yarn needle for sewing and embroidering
- Scissors
Gauge and Finished Size
Gauge: Half double crochet gauge is approximately 14 sts x 9 rows per 10 cm. The pouch is worked in continuous rounds, combining increases and stitch groups, mainly HDC and SC stitches.
Finished Size: The kitten pouch stands approximately 12 cm tall and 16 cm wide, excluding the handle. The handle length is adjustable from 5 cm to 25 cm or longer, depending on chains made in Row 6. The pouch opening allows for easy placing and removal of small items.
Abbreviations
- ch = chain
- sc = single crochet
- hdc = half double crochet
- dc = double crochet
- tr = triple crochet
- slst = slip stitch
- inc = increase (2 stitches in one stitch)
Pattern Notes
Use a stitch marker to keep track of the start of rounds, especially when working in the round increases. Keep consistent tension to ensure even shaping, particularly in ear formations and base increases. When joining the two pouch pieces, work through front loops only to create a sturdy yet flexible seam. Tailor the chain length in Row 6 to adjust the handle length or strap to your preference. Embroidery requires a yarn needle and steady hand; test on scrap yarn if new to the technique. Turning the piece inside out at the end helps to hide seams and achieve a polished finish.
Special Stitches
Front Loops Only (FLO) Single Crochet: In joining rounds, insert hook only into the front loops of stitches to create a distinct seam.
Triple Crochet (tr): Yarn over twice before inserting hook, pulling through two loops three times in total—used in ear shaping to add height and texture.
Pattern Instructions
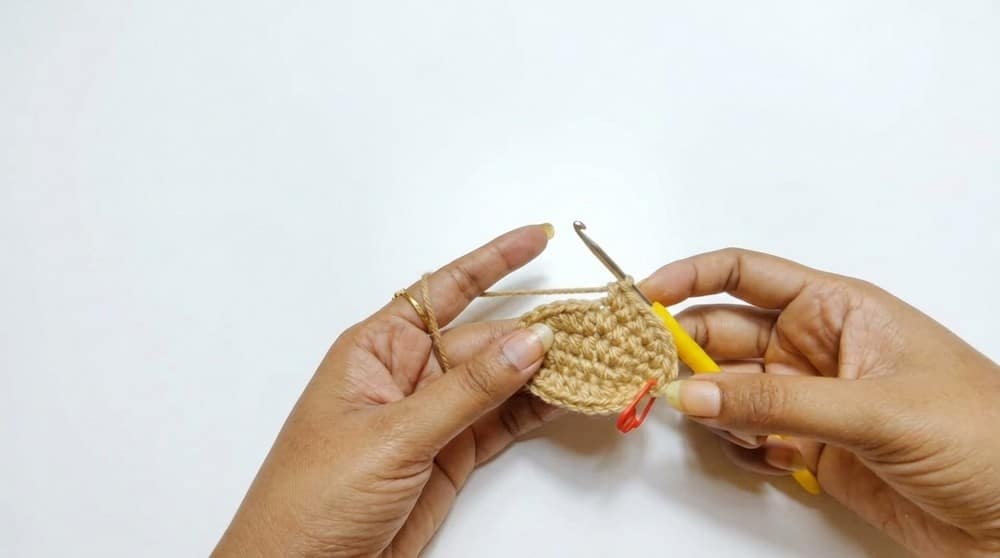
Work two identical pieces following the steps below. Once both pieces are complete, proceed to the assembly section.
1. Base
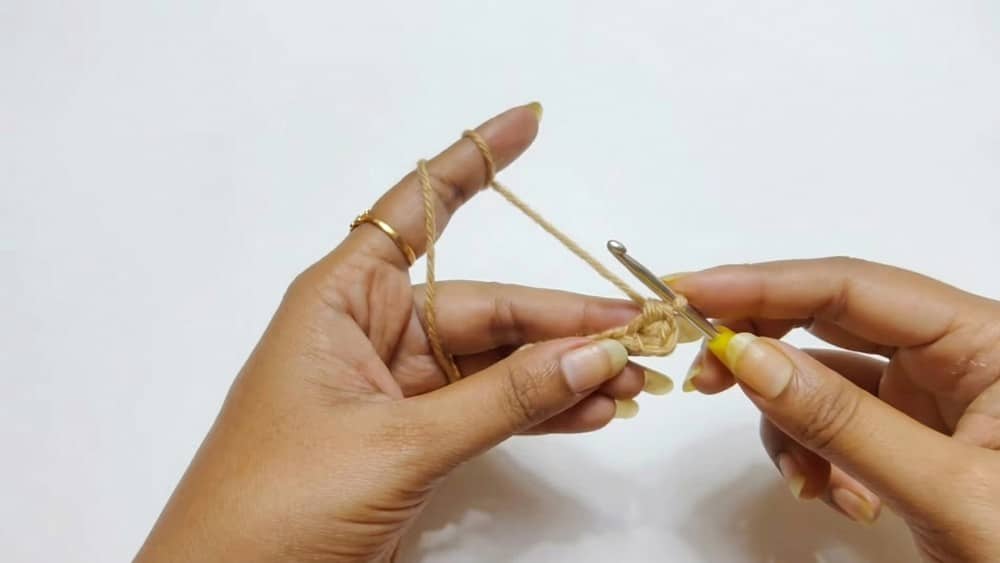
Create a slip knot and chain 8.
2. Row 1
Skip the first 2 chains from the hook. Work an HDC increase (2 HDC) into the 3rd chain from the hook. Work 4 HDC evenly along the next 4 chains. In the last chain, work 4 HDC (to turn the corner). Continuing on the opposite side of the foundation chain, work 4 HDC evenly. Then work an HDC increase in the last stitch of this side. Slip stitch into the chain 1 space to close the round.
3. Row 2
Chain 1. Work 1 HDC, then 1 increase (2 HDC in same stitch); repeat this sequence all around the oval base. Slip stitch into the first chain’s starting point to close.
4. Row 3
Chain 1. Work 2 HDC, then 1 increase; repeat this pattern 8 times around. Slip stitch to close the round.
5. Row 4
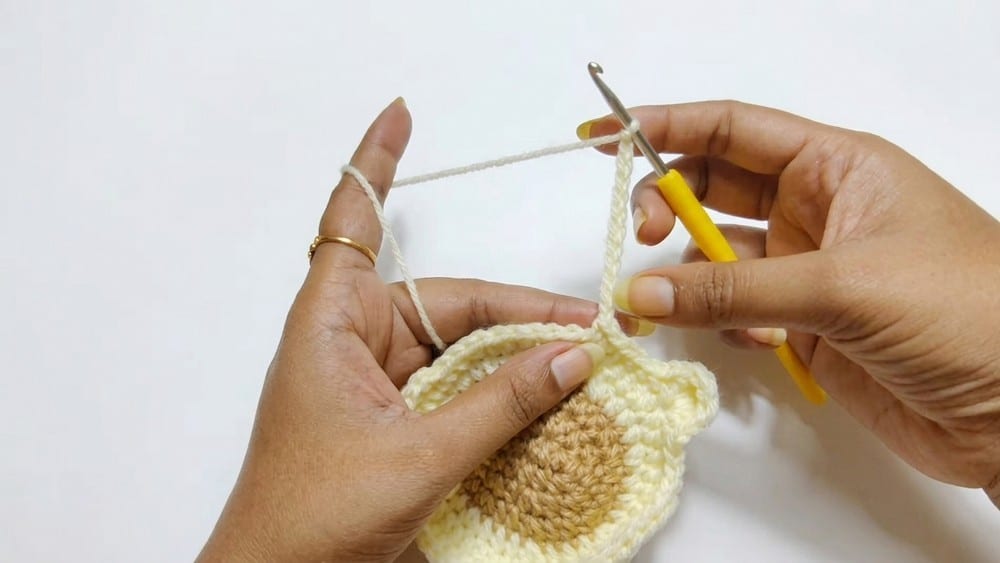
Attach new yarn color at any stitch to start. Chain 1. Work 3 HDC, then 1 increase; repeat around the pouch base. Slip stitch to join.
6. Row 5
Chain 1. Work 2 HDC, 1 increase, then 2 HDC; repeat around until the round completes. Slip stitch to close evenly.
7. Row 6 and Ear Formation
Chain 1. Work 2 SC. Work 26 HDC in a row. Work 4 SC.
Ear formation (in the same stitch as last SC of previous step):
Work 1 HDC. Work 1 DC. Work 3 triple crochets (3 tr) consecutively. Work 1 DC. Work 1 HDC.
Body continuation:
Work 6 SC. Chain 12 (for a short handle). For a longer back part handle or strap, chain 50 to 60 chains as preferred. Slip stitch back to the start of the chain.
Second ear:
Repeat the ear formation pattern exactly as above: 1 HDC, 1 DC, 3 tr, 1 DC, 1 HDC in the corresponding stitch. Finish with 2 SC and slip stitch to close and complete the row.
8. Face Details
Using yarn needle and contrasting yarn, embroider simple eyes and a nose on the front face of one piece:
- Eyes: Small stitches shaped like ovals or circles for cuteness.
- Nose: A small inverted triangle or heart shape centered between eyes.
Embroidery style and complexity are adjustable based on preference.
Assembly
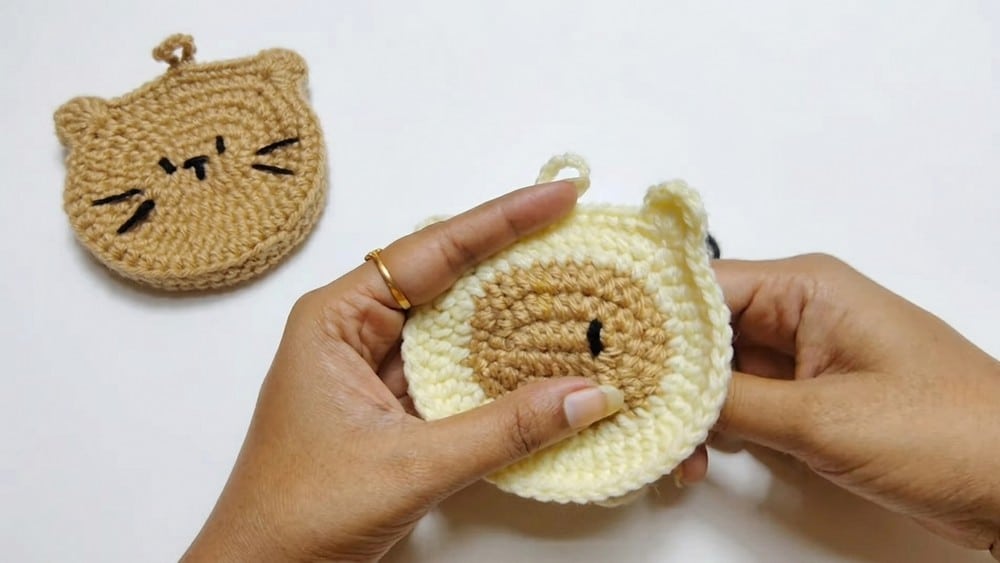
Position the two crocheted pieces together, matching edges. Join by working single crochet stitches through the front loops only (FLO) of each corresponding stitch on both pieces. Continue around the three sides, leaving the top open to serve as the pouch opening.
After joining, review all seams and ends. Turn the pouch inside out if desired to hide seams. Weave in any loose yarn tails carefully with a yarn needle. Ensure the shape is neat; adjust handle length or ear shaping if needed.
Tips
- Use a stitch marker to keep track of the start of rounds, especially when working in the round increases.
- Keep consistent tension to ensure even shaping, particularly in ear formations and base increases.
- When joining the two pouch pieces, work through front loops only to create a sturdy yet flexible seam.
- Tailor the chain length in Row 6 to adjust the handle length or strap to your preference.
- Embroidery requires a yarn needle and steady hand; test on scrap yarn if new to the technique.
- Turning the piece inside out at the end helps to hide seams and achieve a polished finish.
FAQs
What type of yarn is best for this pouch?
A smooth texture yarn is recommended because it provides a clean surface for the embroidered facial features and ensures the stitches look crisp. Acrylic or cotton blends work well for this project.
How do I adjust the handle length?
The handle length is determined in Row 6. For a short loop, chain 12. For a longer strap suitable for wearing over the shoulder, chain 50 to 60 chains before slip stitching back to the body.
Can I make this pouch larger or smaller?
Yes. You can adjust the size by changing the number of chains in the foundation or adding more rounds to the base. However, keep in mind that changing the hook size or yarn weight will affect the gauge and final dimensions.
Do I need to weave in ends before joining the pieces?
It is generally easier to weave in loose ends on the individual pieces before joining them together using the FLO method, though you can also do it after assembly if you prefer.
Is this pattern suitable for absolute beginners?
This pattern is rated for intermediate beginners. It requires familiarity with working in the round, making increases, and working in front loops only. Basic embroidery skills are also needed for the face.
If you enjoy making functional accessories, you might also like our useful crochet handbag pattern or this cute crochet Christmas snowman for some festive fun.
Pin This Crochet Pattern!