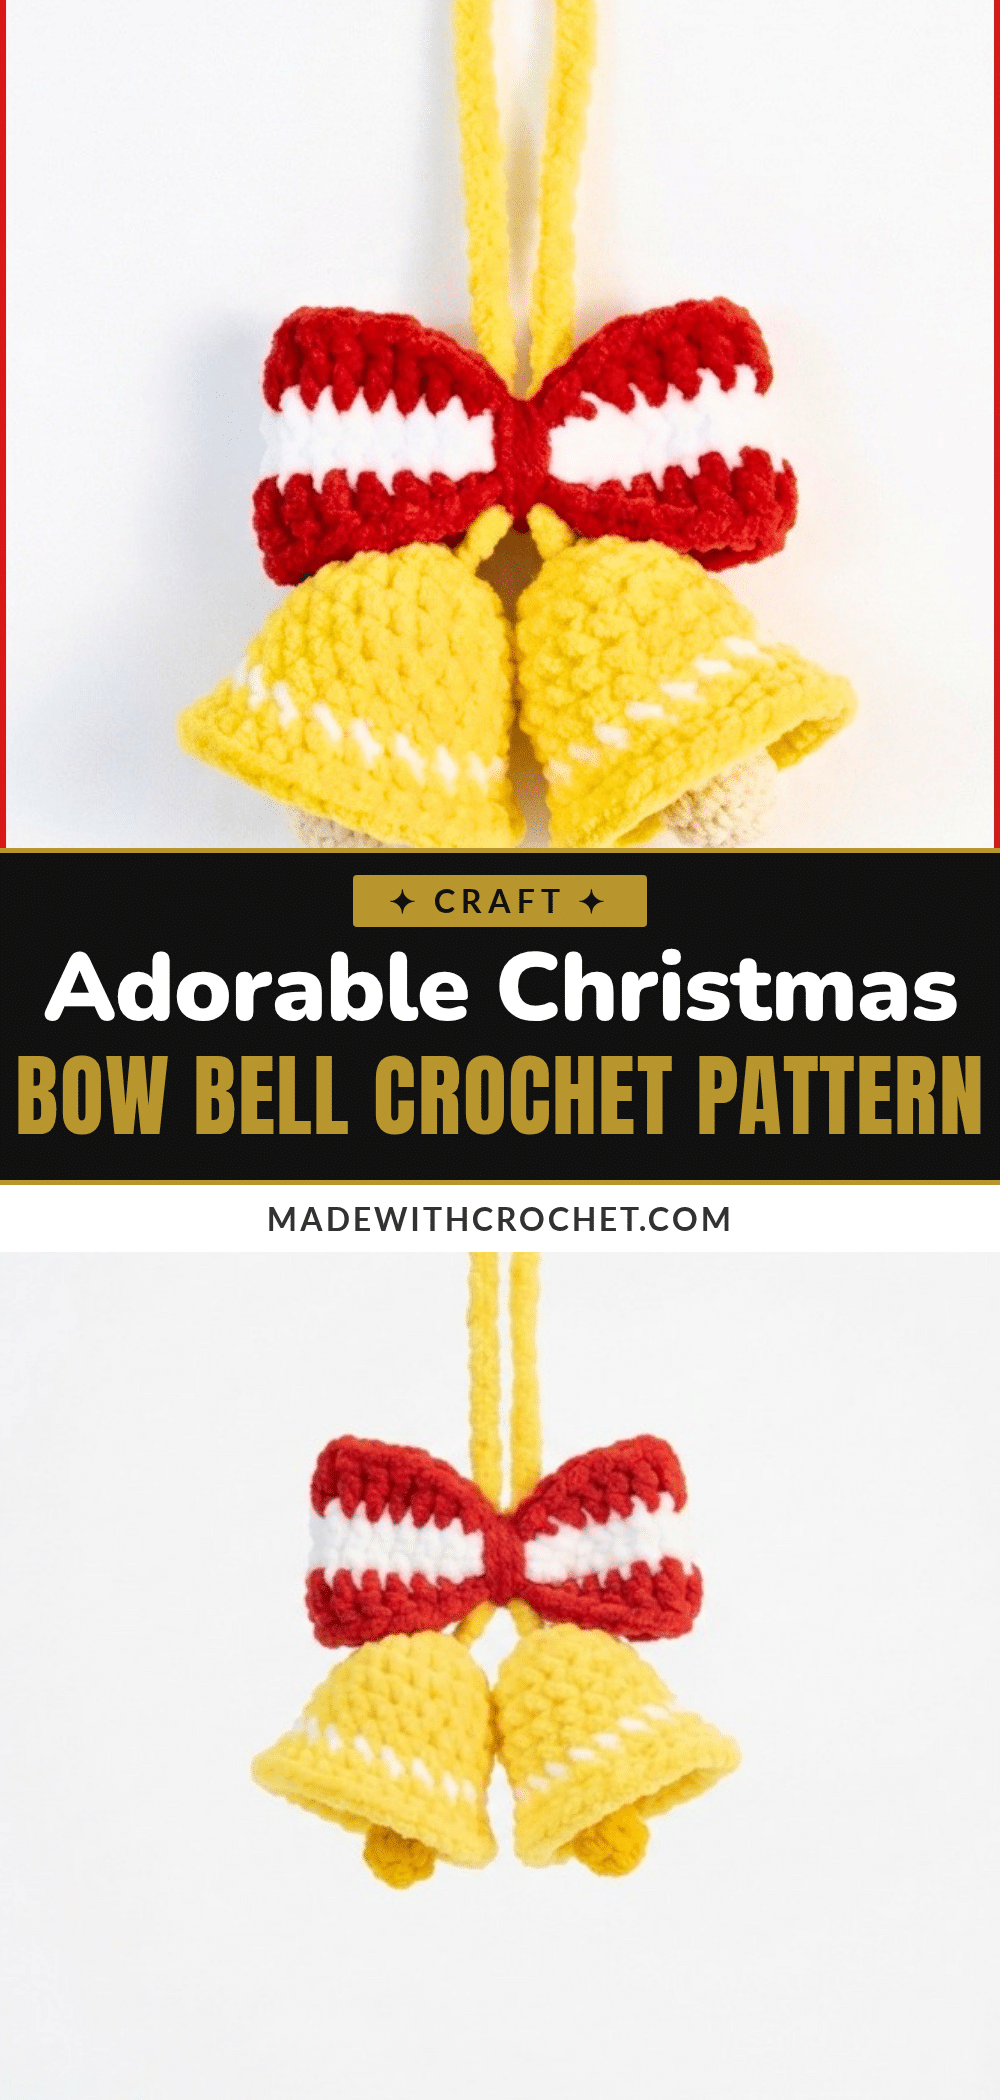
Bring a touch of festive cheer to your holiday decor with this charming Christmas Bow Bell crochet pattern. This delightful ornament is the perfect handmade gift for friends and family, or a sweet addition to your own Christmas tree, wreath, or mantel display. The combination of plush velvet bells and a structured bow creates a visually appealing piece that captures the warmth of the season.
Our Touch
The soft, tactile quality of teddy velvet yarn makes this project incredibly satisfying to work with. The contrast between the smooth, rounded bells and the textured, sculpted bow adds a layer of visual interest that elevates this simple ornament. We love how the yellow and white color scheme keeps the bells looking fresh and clean, while the red bow provides that classic holiday pop of color. It’s a compact project that yields a high-impact result, making it ideal for a quick market-table item or a thoughtful last-minute gift.
Project Overview
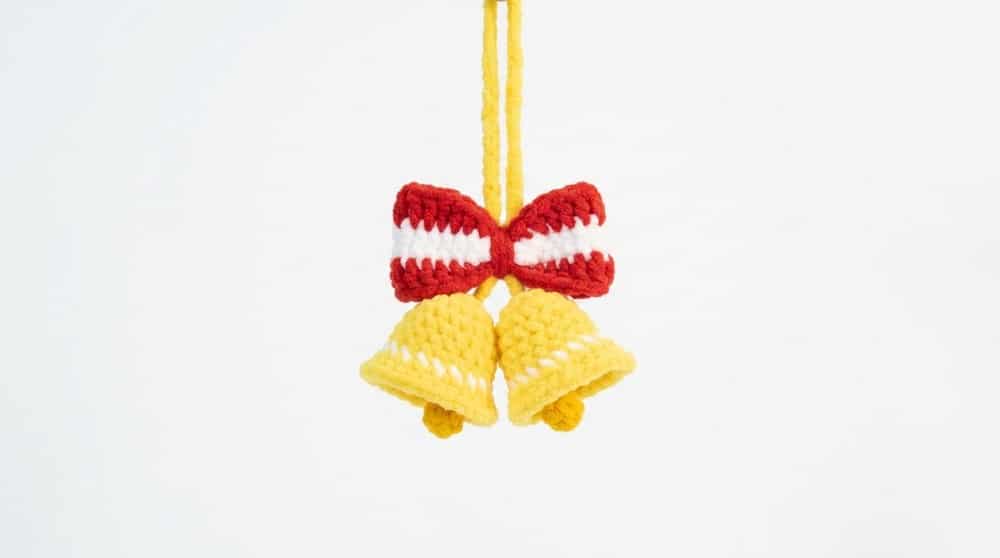
This crochet pattern features two textured velvet bells embellished with a contrast-color bow, crafted using cozy teddy velvet yarn and a 2.5 mm crochet hook. The design combines precise rounds of increases, strategic color changes, and finishing touches like a hanging loop. The result is a compact, elegant shape that combines tactile softness with visual appeal, perfect for the holiday season or year-round use.
Key Features
- Two Velvet Bells: Crocheted in the round starting with a magic ring, featuring increases and color changes for definition.
- Color Contrast: Bells alternate between yellow and white yarn for a fresh aesthetic.
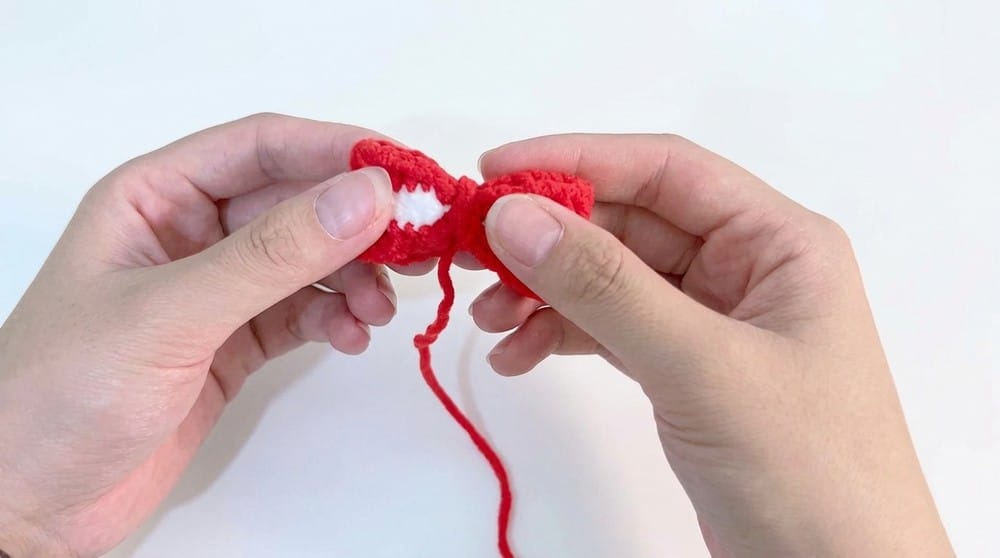
- Bow Creation: Worked flat in white and red using a combination of single crochets, half double crochets, double crochets, and slip stitches to sculpt the shape.
- Finishing: Bow ends joined, center wrapped with red yarn, and a sturdy hanging loop attached.
Materials
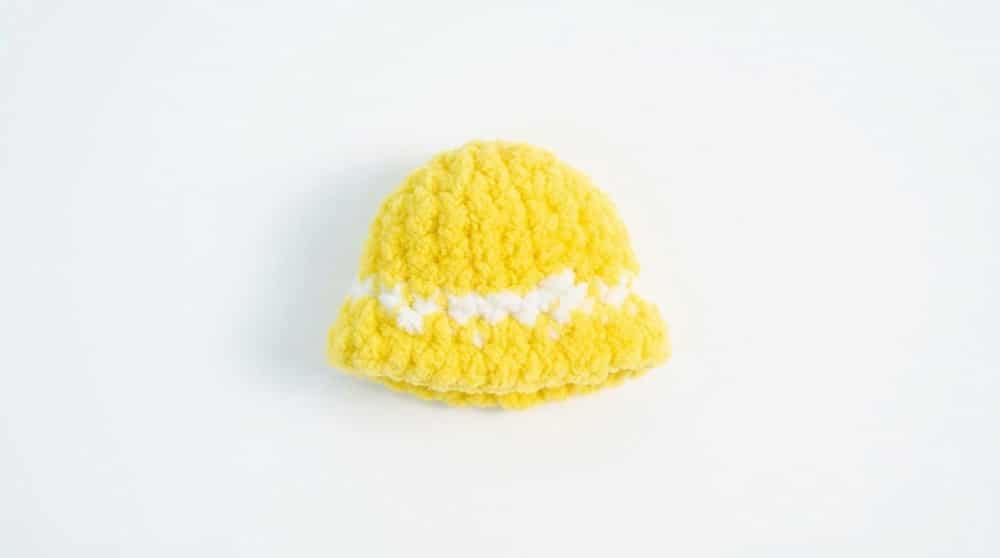
- Teddy velvet yarn in yellow, white, and red colors
- Crochet hook size 2.5 mm (suitable for plush yarn)
- Tapestry needle for weaving in ends and sewing pieces
- Scissors
- Stitch markers (optional but helpful)
Gauge and Finished Size
Gauge: Gauge is approximate due to plush yarn, but expect roughly 15 stitches and 18 rounds per 10 cm in single crochet rounds worked at a 2.5 mm hook. The stitch texture is dense to generate a firm bell shape supportive of hanging and handling. The bow’s stitch pattern alternates between hdc and dc’s interspersed with slip stitches for structure.
Finished Size:
Each bell measures approximately 6 cm in height and 5 cm in diameter at the base. The completed bow measures approximately 12 cm in width and 5 cm in height. The hanging loop is approximately 25 cm in length, providing enough space to attach or hang the ornament. The complete ornament measures approximately 6 cm tall (bells) by 12 cm wide (bow) with a hanging loop length of approximately 25 cm.
Abbreviations
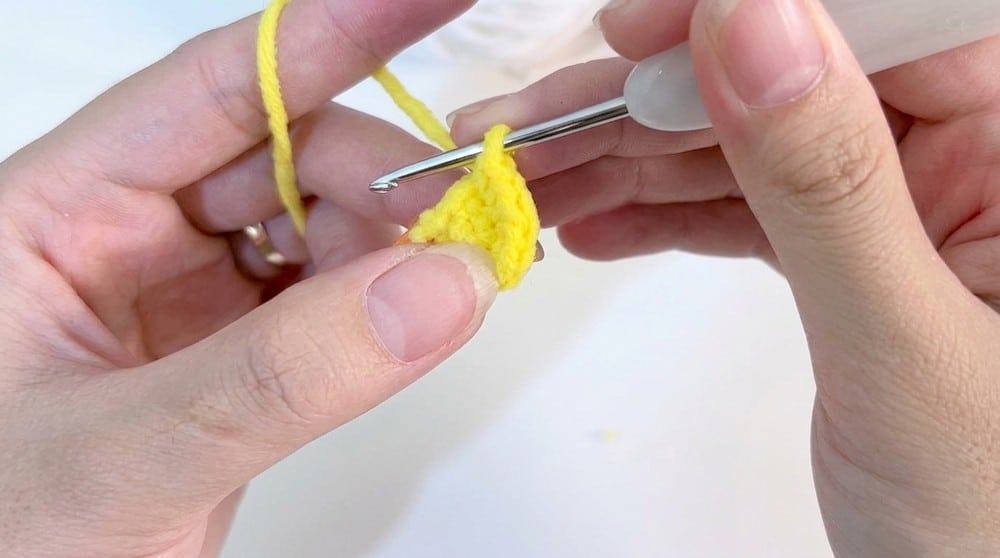
- ch = chain
- sc = single crochet
- hdc = half double crochet
- dc = double crochet
- slst = slip stitch
- inc = increase (2 sc in the same stitch)
- MR = magic ring
Pattern Notes
- Consistency in stitch tension is crucial due to the velvet yarn’s plush texture and tight construction required for the bells.
- Color changes are executed at the last stitch of rounds for a seamless transition.
- The bow involves multiple stitch types; work carefully to maintain stitch count and shape integrity.
- Use a tapestry needle to weave in ends carefully to avoid unraveling, especially with velvet yarn’s bulk.
- Blocking the bow and bells lightly if needed can improve shape and presentation.
Pattern Instructions
1. Crochet Bell (Make Two)
Round 1: Create a magic ring using yellow teddy velvet yarn. Work 6 single crochets (sc) into the ring. Slip stitch (slst) to join and close the round.
Round 2: Chain 1. Increase in every stitch (2 sc in each stitch) around. Total 12 stitches. Slip stitch to close the round.
Round 3: Chain 1. 1 sc, 1 increase (2 sc in next stitch) repeat 6 times. Total 18 stitches. Slip stitch to close the round.
Rounds 4 to 6: Chain 1. Work 18 sc uniformly around in each round. Slip stitch to close each round.
Color Change to White: At the final stitch of Round 6, switch to white yarn seamlessly.
Round 7: Chain 1. Work 18 sc with white yarn. Slip stitch to close the round.
Color Change Back to Yellow: At the last stitch of Round 7, switch back to yellow yarn.
Round 8: Chain 1. 1 sc, 1 increase repeat 9 times. Total 27 stitches.
Round 9: Chain 1. Work 27 sc evenly around the round. Fasten off and weave in ends securely.
Repeat the above to create the second bell identical to the first.
2. Crochet Bow
Foundation Chain: Using white yarn, chain 30.
Round 1: Starting in the second chain from the hook: Work an increase (2 sc in one chain). Work 27 sc along the chain. Work 3 sc in the last chain to turn. Working along the opposite side of the foundation chain, work 28 sc. Do not join — work the row continuously to form an oval strip.
Color Change to Red: Switch to red yarn at the 28th stitch seamlessly.
Round 2 (Shaping the Bow): Chain 1 to start. Work the following stitch sequence designed to sculpt the bow’s contours and introduce textural interest:
1 sc, 1 increase (inc), 1 sc, 1 half double crochet (hdc), 8 double crochets (dc), 1 hdc, 1 sc, 3 slip stitches (slst), 1 sc, 1 hdc, 8 dc, 1 hdc, 1 sc, 1 increase, 1 sc, 1 increase, 1 sc, 1 hdc, 8 dc, 1 hdc, 1 sc, 3 slip stitches, 1 sc, 1 hdc, 8 dc, 1 hdc, 1 sc, 1 increase. Bind off and fasten securely.
3. Assembly
Bow Construction: Sew the ends of the bow strip together using yarn and needle to form the classic bow shape. Wrap the center tightly with red yarn multiple times to form the bow knot and to secure the shape. Weave in yarn ends.
Attach Bells: Position the two velvet bells side by side or slightly overlapping, and sew them together at their top edges securely.
Attach Bow to Bells: Sew the assembled bow at the region where the bells meet, ensuring it sits centered and snug.
Create Hanging Loop: With yellow yarn, chain 50 chains long (approximately 25 cm). Attach and sew the ends of the chain loop to the top center of the bells, creating a sturdy hanging loop suitable for hooks or ribbon.
Tips
- Ensure all sewn parts are tightly fastened to maintain durability.
- Weave in any loose ends carefully to prevent unraveling or snagging.
- For a cleaner finish on the velvet yarn, use a tapestry needle and pull ends through existing stitches rather than cutting them short.
- If the bow loses its shape, consider lightly steaming or blocking it to set the curves.
FAQs
What type of yarn is best for this pattern?
The pattern is designed for teddy velvet yarn, which provides a plush, soft texture. This yarn works well for amigurumi as it creates a dense fabric that holds shape nicely.
Can I use a different hook size?
A 2.5 mm hook is recommended to ensure the stitches are tight enough to prevent stuffing from showing and to maintain the firm structure of the bells. Using a larger hook may result in a loose, floppy ornament.
How do I make the color changes seamless?
Complete the final stitch of the round with the old color, but pull up the last loop. Insert the hook into the same stitch, yarn over with the new color, and pull through both loops on the hook. This hides the transition within the stitch.
Is this pattern suitable for beginners?
This is an intermediate pattern. It requires familiarity with basic amigurumi techniques including magic rings, increases, and working in continuous rounds, as well as managing color changes and multiple stitch types for the bow.
How do I attach the hanging loop securely?
Chain 50 for the loop. Sew one end to the top center of the joined bells, ensuring you catch both the outer yarn and the inner stuffing (if any) or the base of the bell for maximum strength. Repeat on the other side to create a loop.
Pin This Crochet Pattern!