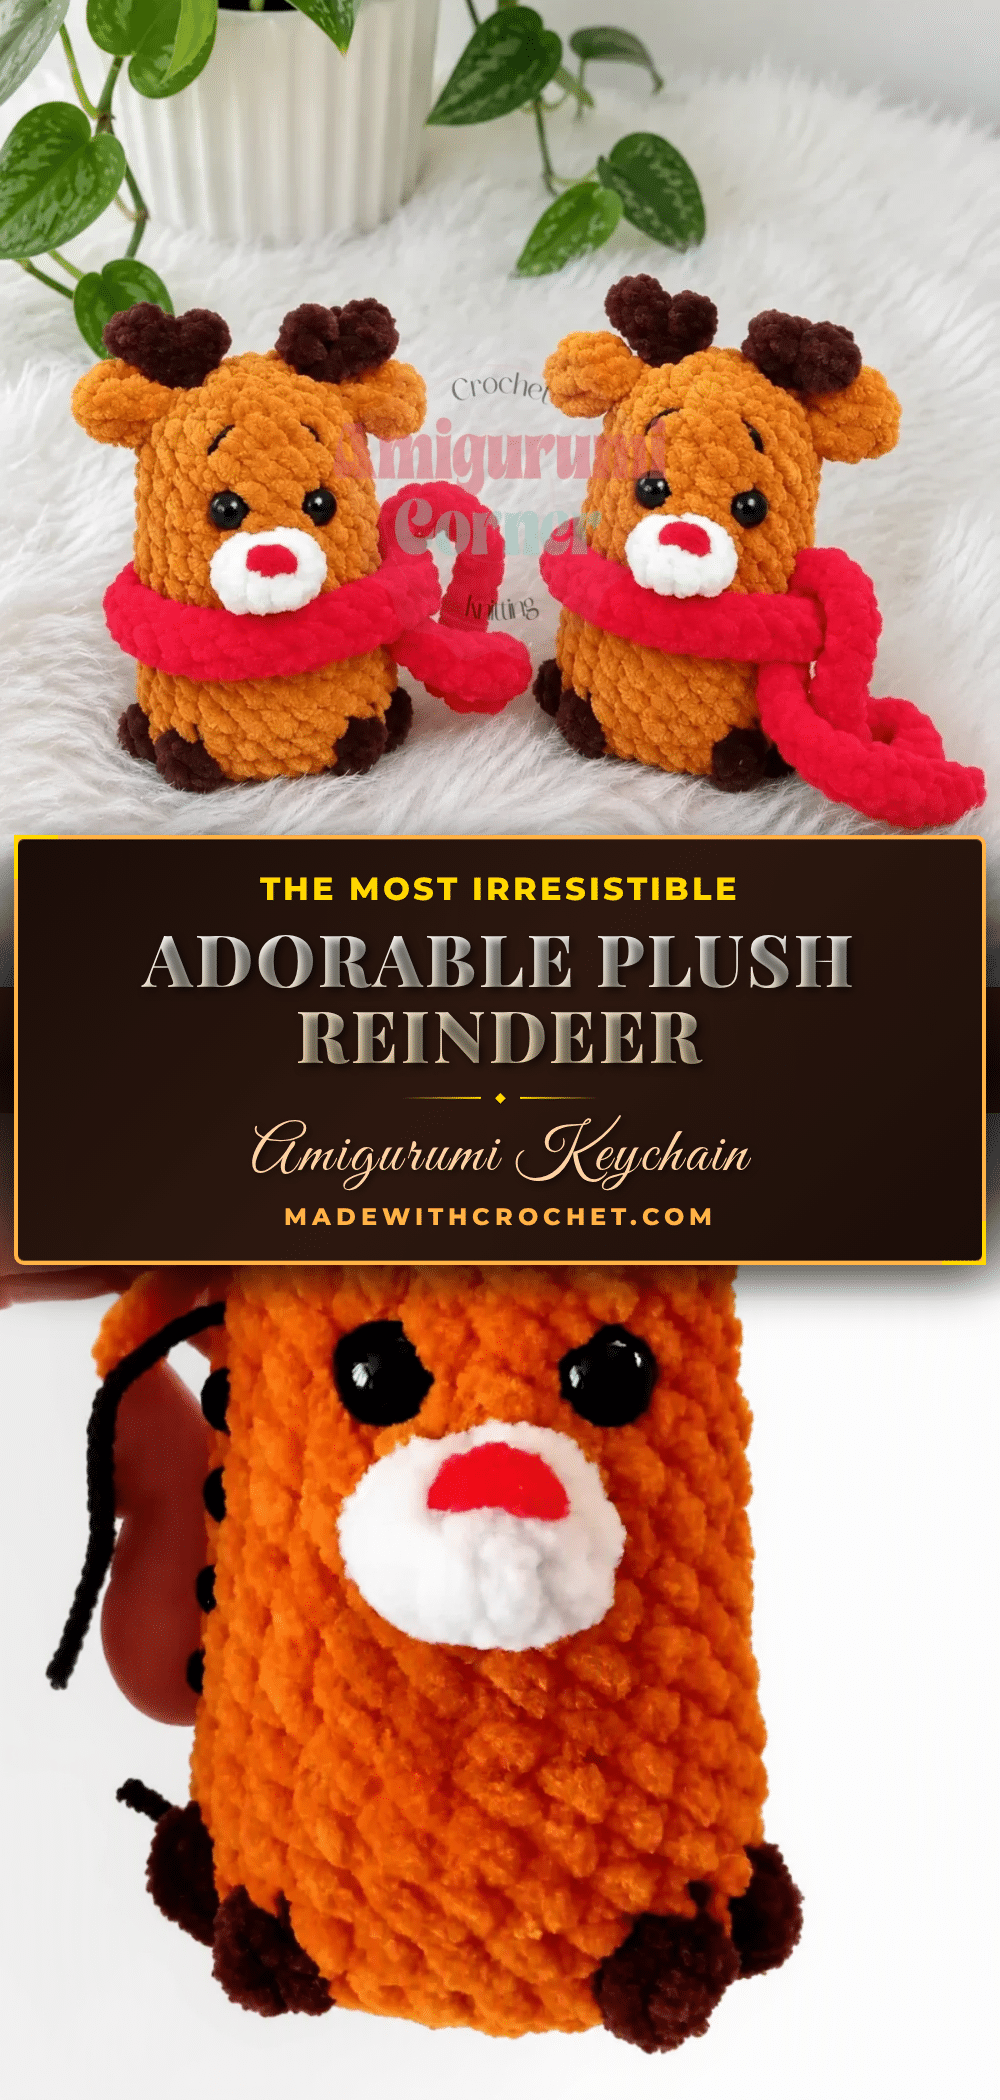
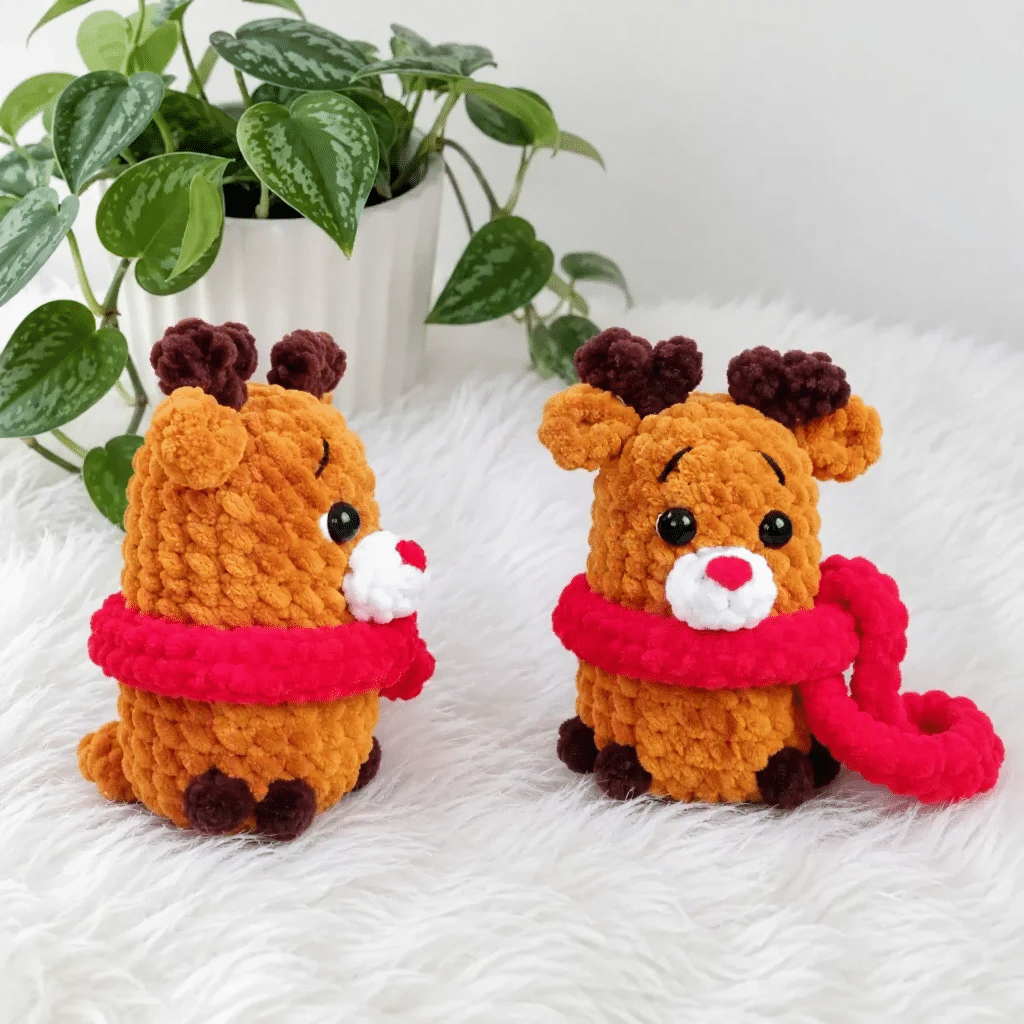
Looking for the perfect handmade gift that is both adorable and practical? This plush reindeer amigurumi keychain is a delightful solution. Measuring just 3.3 inches tall, this tiny reindeer is compact enough to clip onto a backpack, hang from a handbag, or serve as a festive desk ornament. Because it is worked almost entirely as a single piece with built-in details, it is a beginner-friendly project that can be completed in an evening. The velour yarn gives it an irresistibly soft texture, making it a charming addition to any holiday collection or a sweet treat for a friend who loves cozy accessories.
Gift and Use Ideas
While this little reindeer is perfect for holiday gifting, its versatility extends far beyond December. The soft, plush texture of the velour yarn makes it an excellent sensory toy for toddlers or a comforting companion for travel. Because it functions as a keychain or bag charm, it is an ideal way to personalize everyday items like tote bags, laptop sleeves, or car keys. You can also use it as a unique gift topper for wrapped presents or a cute decoration for a Christmas tree. The optional scarf adds a layer of customization, allowing you to match it to any outfit or theme.
Project Overview
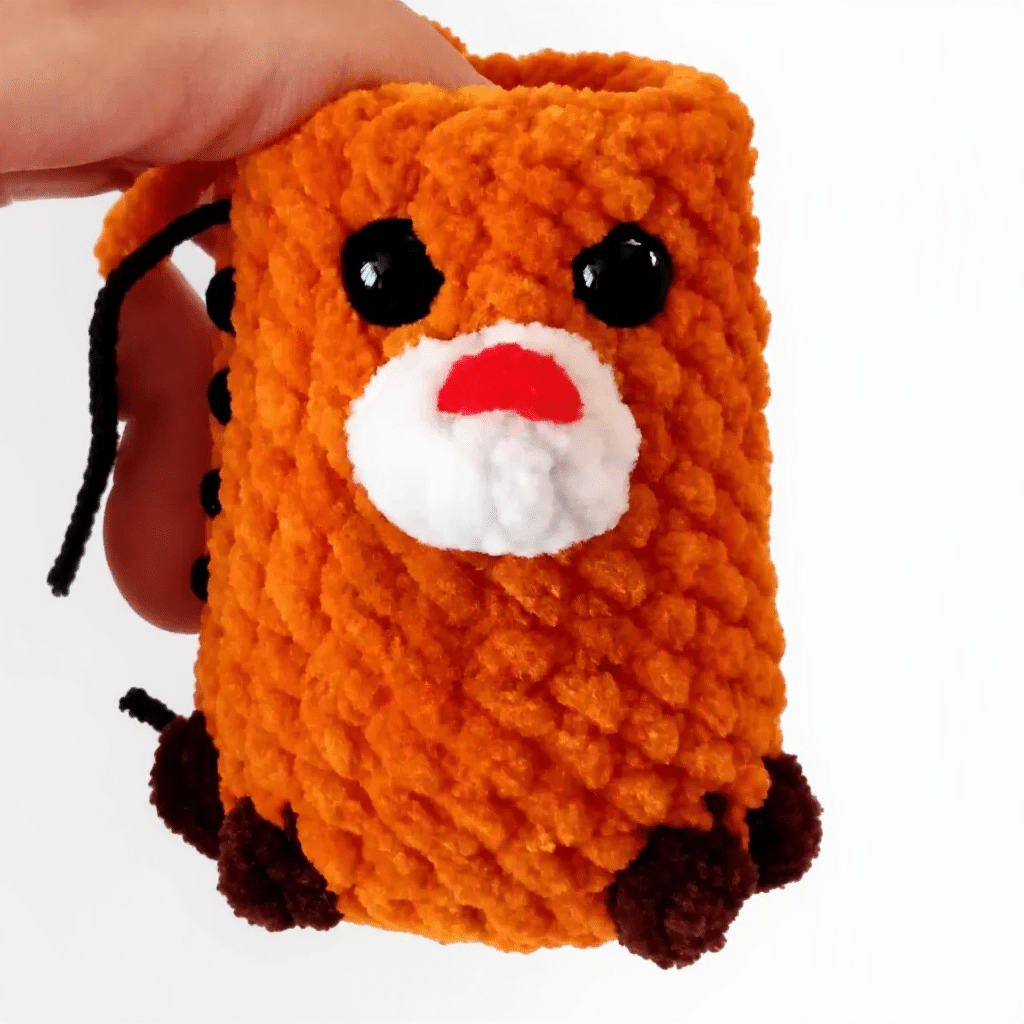
This pattern creates a small, plush reindeer amigurumi keychain. The body is worked flat from a foundation chain before transitioning into a continuous spiral for the main torso. Unique features like the tail, hooves, ears, and muzzle are integrated directly into the body rows rather than being sewn on separately. The project is designed for beginners but includes playful texture details that elevate the final look.
Materials
- Yarn: LaVita Velur (or any velour/velvet-weight yarn in your chosen color), approximately one skein
- Hook: E-4 (3.5 mm)
- Safety Eyes: 8 mm, 2 pieces
- Stuffing: Fiberfill (polyfill), enough to firmly fill the body
- Tools: Stitch marker, yarn needle / tapestry needle, scissors
- Optional: Keychain ring or lobster clasp for finishing as a bag charm
Gauge and Finished Size
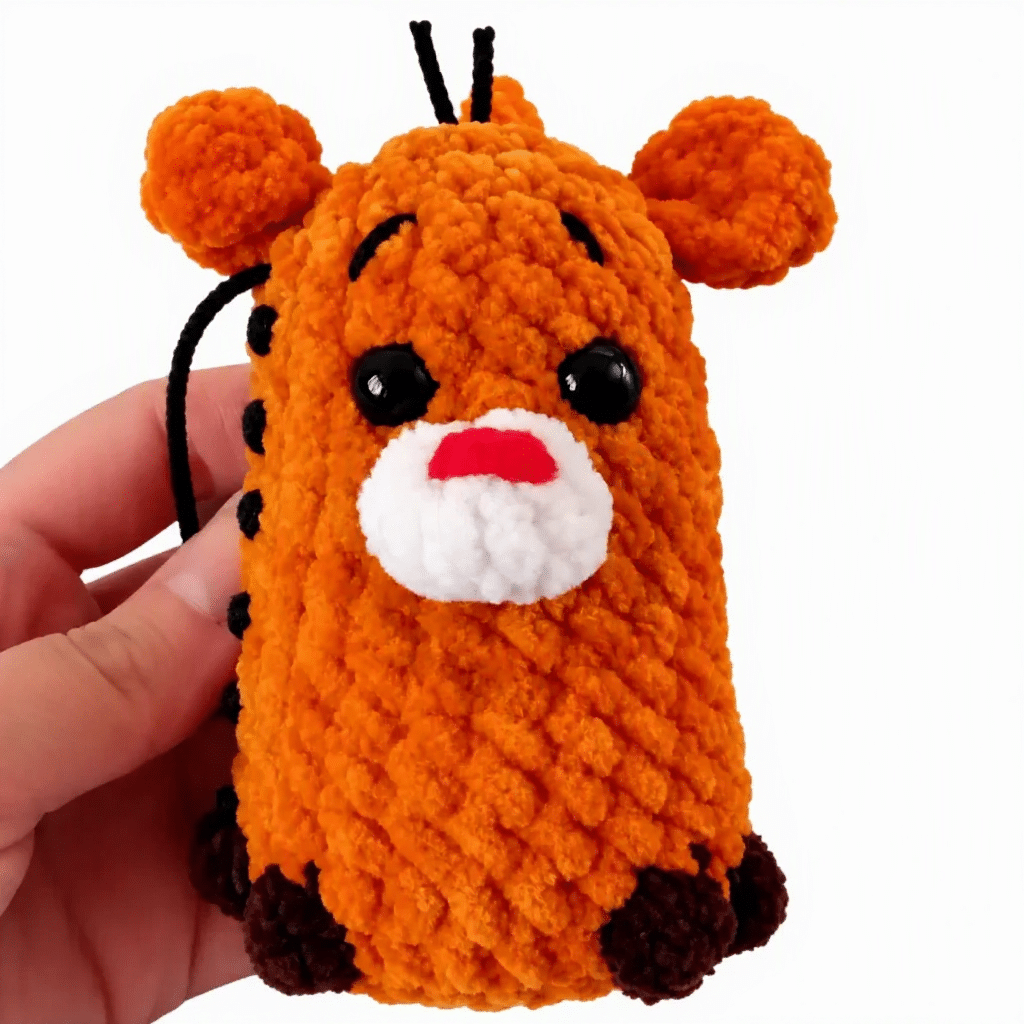
Gauge is not critical for this project. However, your finished reindeer should measure approximately 3.3 inches (8.5 cm) tall (excluding antlers) when using velour yarn and a 3.5 mm hook. A different yarn weight or hook size will change the finished size.
Abbreviations
- ch: Chain
- dc: Double Crochet
- dec: Decrease (invisible decrease recommended)
- inc: Increase (2 sc in same stitch)
- sc: Single Crochet
- sl st: Slip Stitch
Pattern Notes
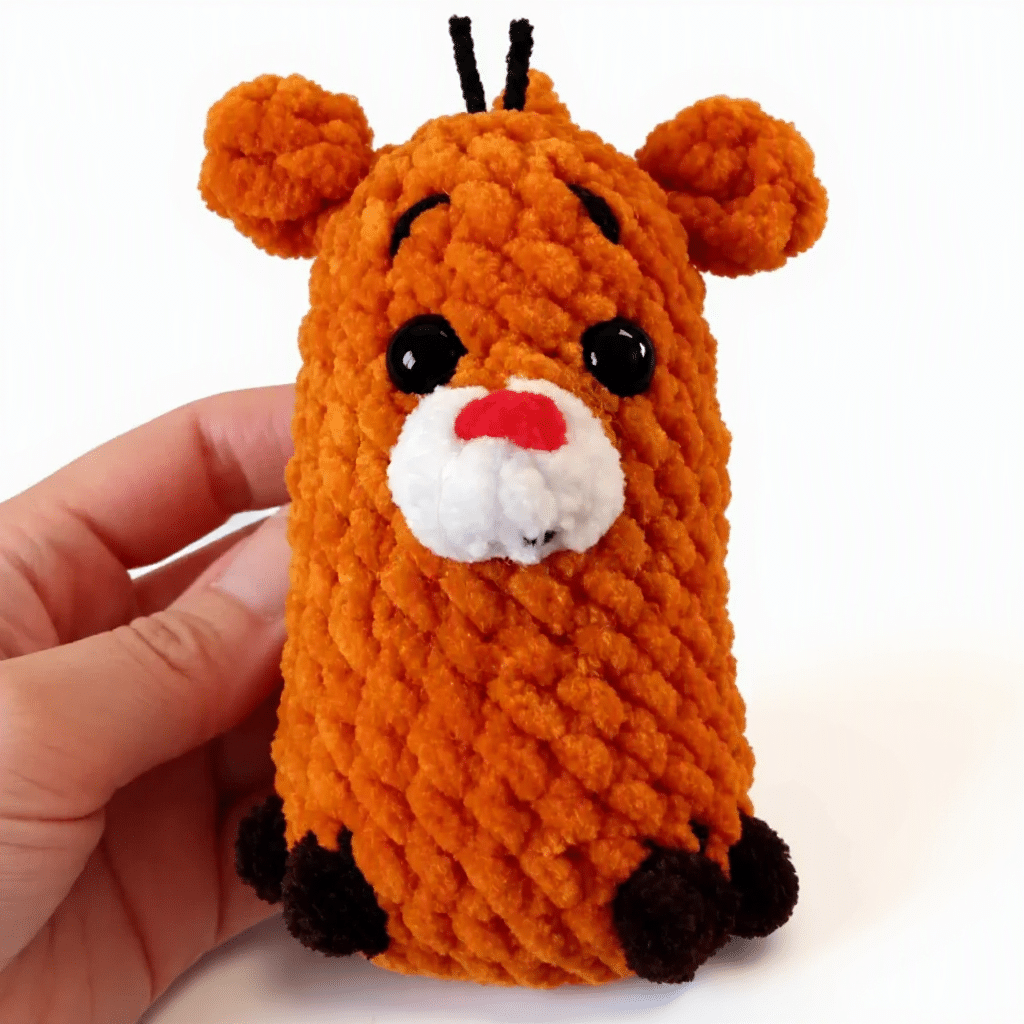
This pattern is written in US crochet terminology. The main body begins as flat rows worked from a foundation chain, then transitions into working in the round continuously (spiral, no join) as the body is shaped. Stitch counts are given at the end of each row or round in parentheses: (22). Begin adding fiberfill as you work. Stuff firmly as you go so you do not have to force stuffing in through a small opening at the end. The bottom of the body should be stuffed flat, not rounded or bulging outward. Safety eyes are placed between Rows 13 and 14, with 3 sc between the eye posts. Embroider the nose at the same stage, before the opening closes further. The tail, hooves, ears, and muzzle are all worked directly into specific rows of the body, not sewn on separately.
Pattern Instructions
Main Body (worked flat, then shaped in the round)
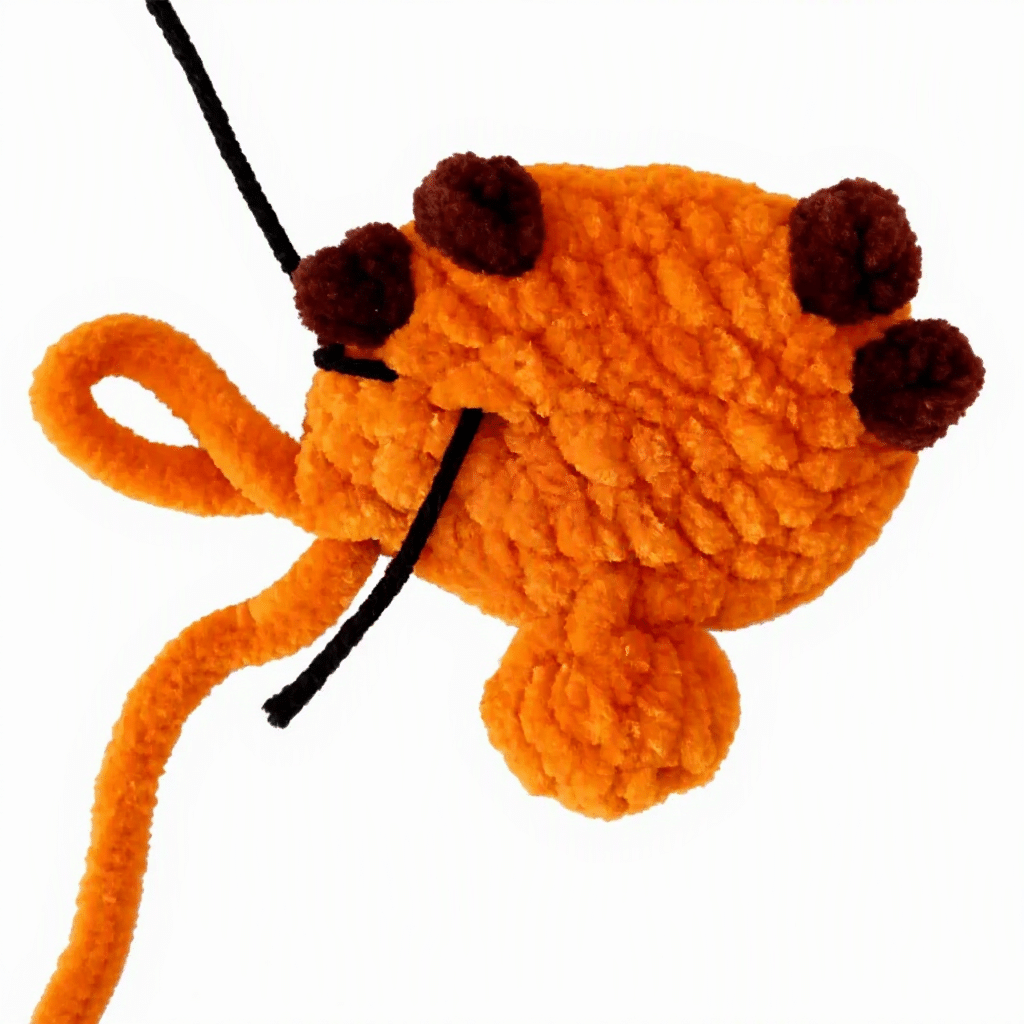
Start with a foundation chain of 6 ch. Work into the chain beginning at the second ch from the hook.
Row 1: inc, 3 sc, 4 sc in the last st (working around the bottom of the chain), 3 sc, inc. (14)
Row 2: 2 inc, 3 sc, 4 inc, 3 sc, 2 inc. (22)
Row 3: Includes the tail and the four hooves. Read through the full row before you begin.
Row 3: 5 sc, work tail into the next st (1 sc into the st, ch 2, work a Puff Stitch of 3 dc into the second ch from the hook, ch 3, sl st back into the same st where you worked the 1 sc, do not work into this st again), 5 sc, work hoof (Puff Stitch of 2 dc closed together into one st), 1 sc, work hoof (same as before), 5 sc, work hoof, 1 sc, work hoof. (22)
From Row 4 onward, work continuously in a spiral (no joining sl st, no turning ch). Place a stitch marker at the beginning of each round.
Rnds 4-10: sc in each st around. (22) — 7 rounds total
Row 11: Includes the muzzle, which should sit centered on the front of the body.
Rnd 11: 17 sc, work muzzle Puff Stitch (7 dc closed together into one st), 4 sc. (22)
Rnd 12: sc in each st around. (22)
Decreases are worked at the sides of the body. Use the project photos for placement reference.
Rnd 13: dec, 10 sc, dec, 8 sc. (20)
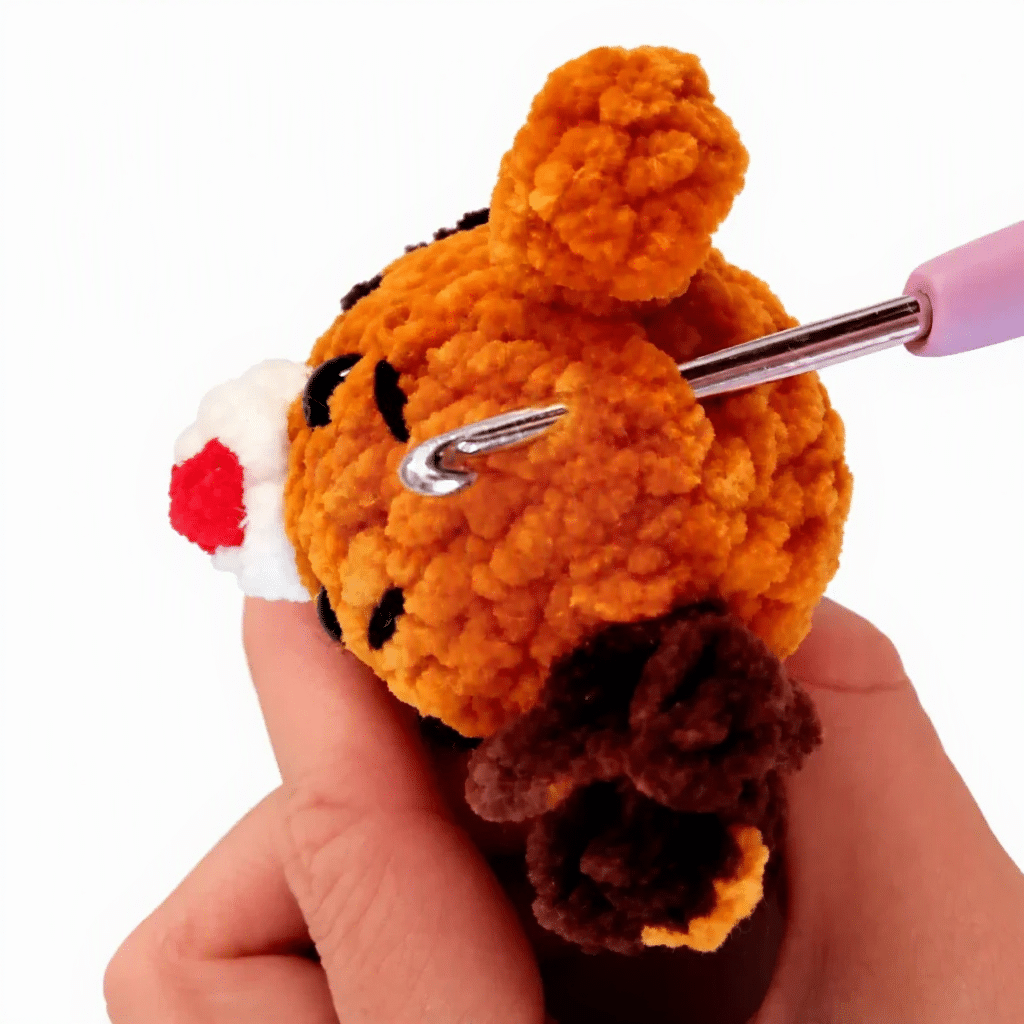
Place 8 mm safety eyes between Rnds 13 and 14, with 3 sc between the two eye posts. Embroider the nose now, before the opening gets too small.
Rnds 14-15: sc in each st around. (20)
Rnds 16 and 17: Include the ears, worked directly into the round.
Rnd 16: 11 sc, work left ear into next st (1 sc into st, ch 2, work 2 dc into the second ch from hook, ch 3, sl st back into the same st where you worked the 1 sc), 8 sc. (20)
Rnd 17: 1 sc, work right ear (same method as left ear), 1 sc, dec, 3 sc, dec repeat 3 times. (16)
Rnd 18: dec repeat 8 times. (8)
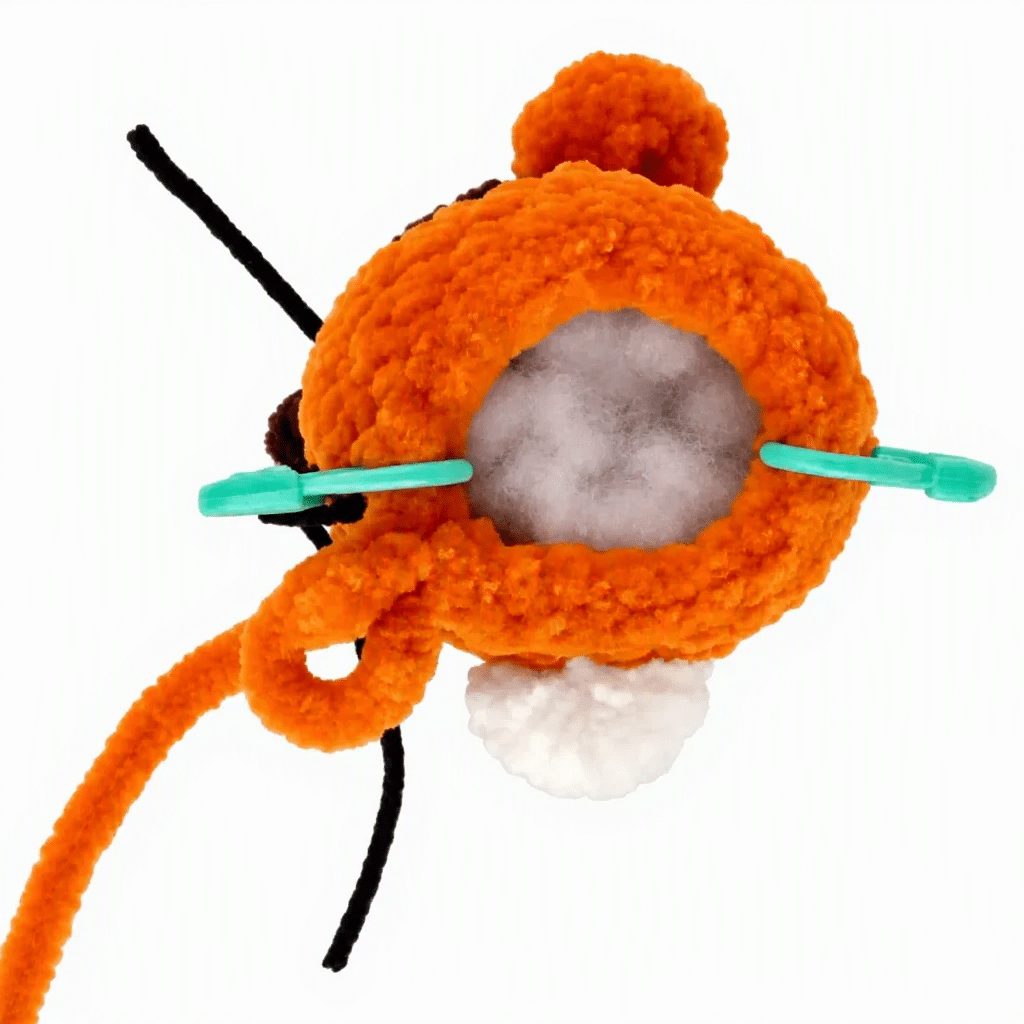
At this point you can finish closing, or work 2 additional decreases if you prefer a tighter top. Add any remaining fiberfill now before closing fully. If desired, embroider a small mouth and eyebrows. Use a knitting needle or the blunt end of a yarn needle to push stuffing up toward the top of the body so it is evenly distributed. Weave in all ends and close the opening.
Antlers (make 2)
Both antlers are made the same way. Attach yarn to the head from the front (face side) for the left antler. For the right antler, insert the hook from the back (spine side).
Ch 4. Beginning at the second ch from hook, work 2 sl st. Ch 2, then work 1 sl st into the second ch from hook (this forms the branch of the antler). Work 1 sc into the first ch at the base of the antler. Sl st into the attachment point on the head to anchor.
Fasten off and weave in ends. The antler has a small forked branch shape.
Scarf (optional)
This little scarf adds a charming finishing touch. You can adjust the length to your liking.
Ch 61. Beginning at the second ch from hook, work 60 sc. (60) Fasten off, leaving a long tail.
Wrap the scarf around the reindeer’s neck and tie or sew it in place. Trim or fringe the ends as desired.
Assembly
Once the main body is fully closed and all fiberfill is in place, check that the muzzle puff stitch is centered on the front and the tail is positioned at the back. Confirm that both safety eyes are securely locked between Rnds 13 and 14, with the embroidered nose sitting just below the muzzle puff stitch. Attach both antlers to the top of the head: the left antler from the front face side, the right antler from the back spine side, as noted in the instructions. Pull the yarn tails through to the inside of the body and weave in firmly. If you made the optional scarf, wrap it around the neck and use the long yarn tail and a yarn needle to tack it in place with a few invisible stitches so it stays centered. Attach a keychain ring or lobster clasp through the top of the head if you are finishing this as a bag charm. Weave in any remaining ends. Give the reindeer a gentle squeeze to even out the stuffing one final time.
Tips
- Work tight stitches throughout: Velour yarn is wonderfully soft, but it can loosen up faster than cotton. Keep your tension snug so no stuffing peeks through the fabric. If you find your stitches opening up, try going down half a hook size.
- Read the built-in detail rows before you start them: Rows 3, 11, 16, and 17 each include in-row features (hooves, muzzle, ears). Skim those rows in full before you get to them so you are not stopping mid-row to re-read. Marking the beginning of each round also helps you keep track of where those feature rows fall.
- Stuff the body firmly and in stages: Add fiberfill every few rounds rather than waiting until the end. This gives you much better control over the shape, especially for keeping the bottom flat. A knitting needle or chopstick is perfect for pressing stuffing into corners without overstretching the fabric.
- Install the safety eyes before Rnd 14: Once you finish Rnd 13, the opening is still large enough to reach inside comfortably. After Rnd 14 it gets noticeably tighter. Do the eyes and the embroidered nose at the same time so everything is placed before visibility is limited.
- Keep the puff stitches even: For the muzzle (7 dc) and the hooves (2 dc), pull each yarn over to the same height before closing the puff. Uneven yarn overs create a lopsided bump. Working over your finger as a tension guide can help you keep each dc loop consistent.
FAQs
Can I use a different type of yarn?
Yes, you can use any velour or velvet-weight yarn. However, keep in mind that different yarn weights or hook sizes will change the finished size of your reindeer.
How do I keep the puff stitches from looking lopsided?
Consistency is key. Pull each yarn over to the same height before closing the puff stitch. Using your finger as a tension guide while working the double crochets can help maintain even loops.
When should I attach the safety eyes?
Install the safety eyes between Rnds 13 and 14. This is the last point where the opening is large enough to comfortably reach inside to secure the backs of the eyes.
Do I need to sew on the hooves and ears?
No, this pattern is designed so that the tail, hooves, ears, and muzzle are worked directly into the body rows. This creates a seamless, plush look without extra assembly steps.
What is the best way to stuff the reindeer?
Add fiberfill in stages as you work. Stuff the bottom flat and firm, and use a knitting needle or chopstick to push stuffing into corners and up toward the top for even distribution.
How do I attach the keychain hardware?
Once the body is closed and stuffed, you can attach a keychain ring or lobster clasp through the top of the head. Weave in any remaining yarn tails securely before attaching the hardware.
Pin This Crochet Pattern!