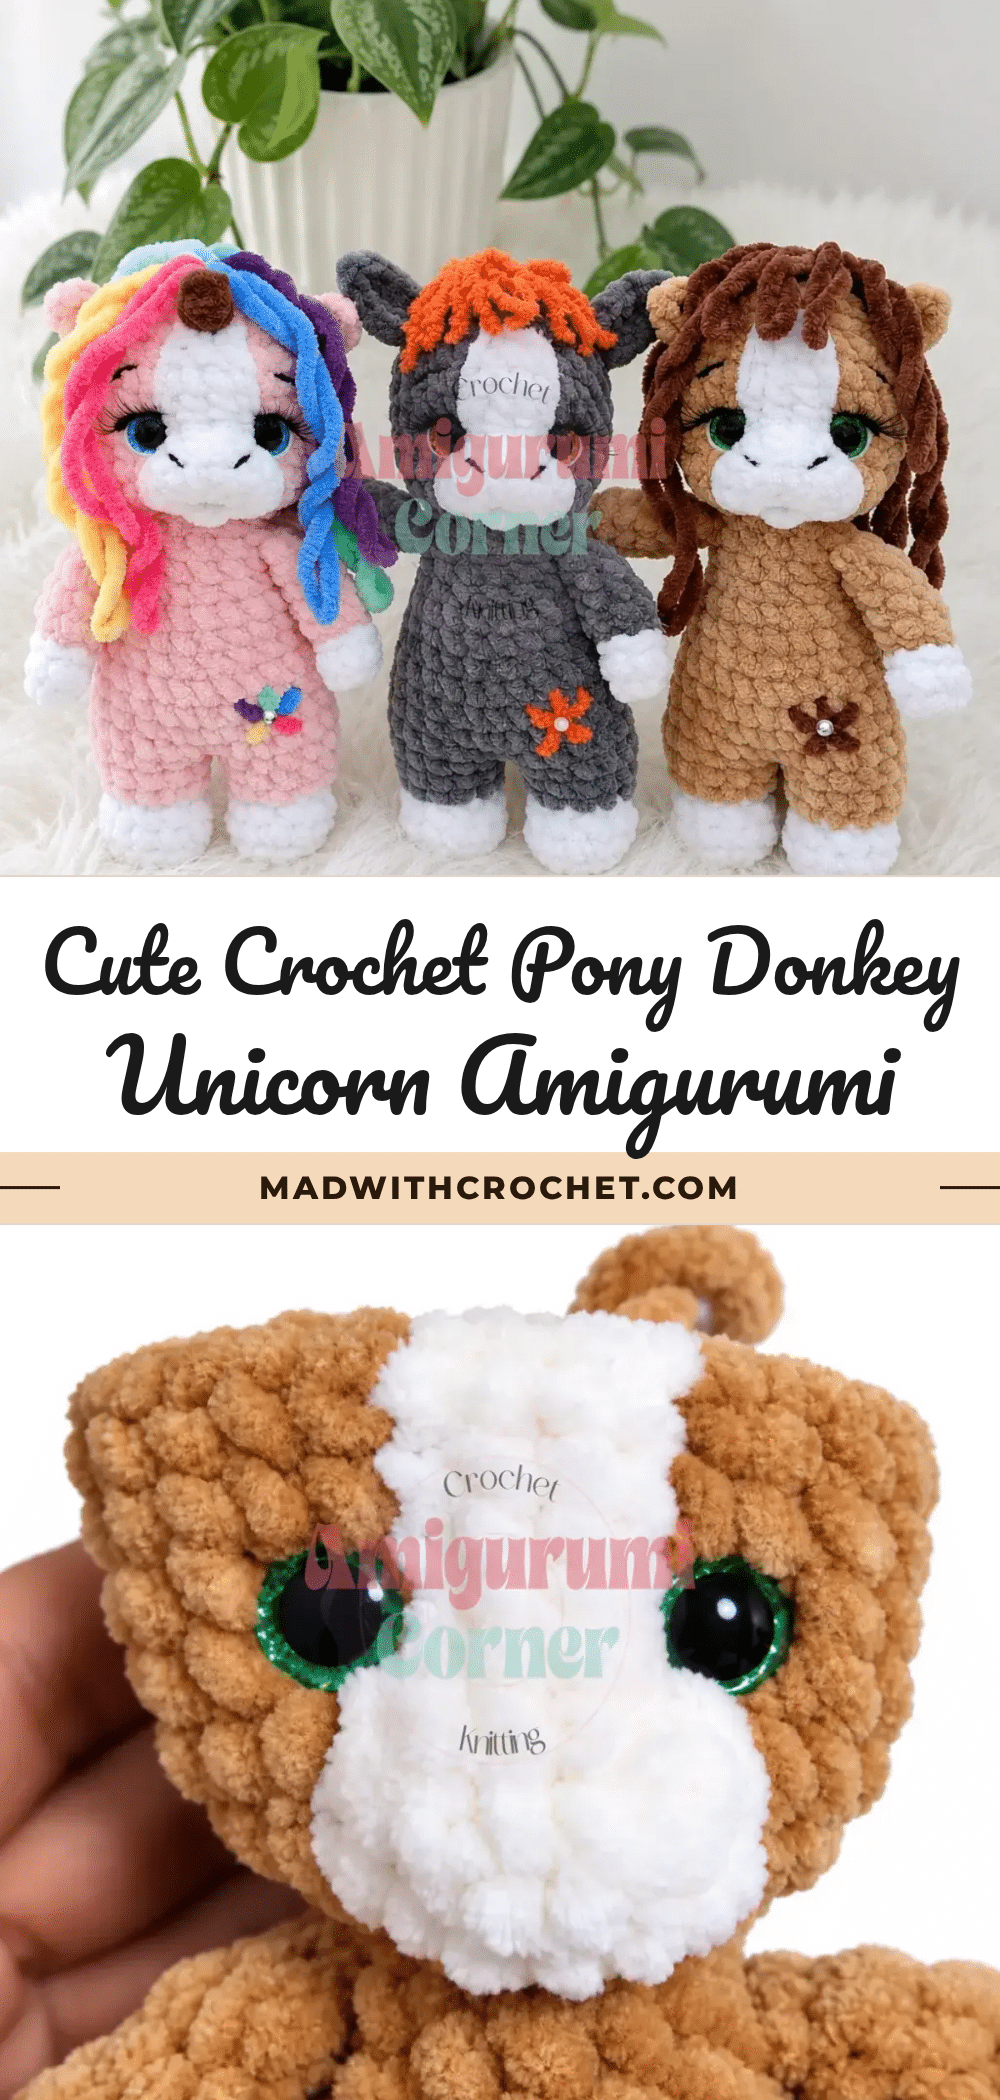
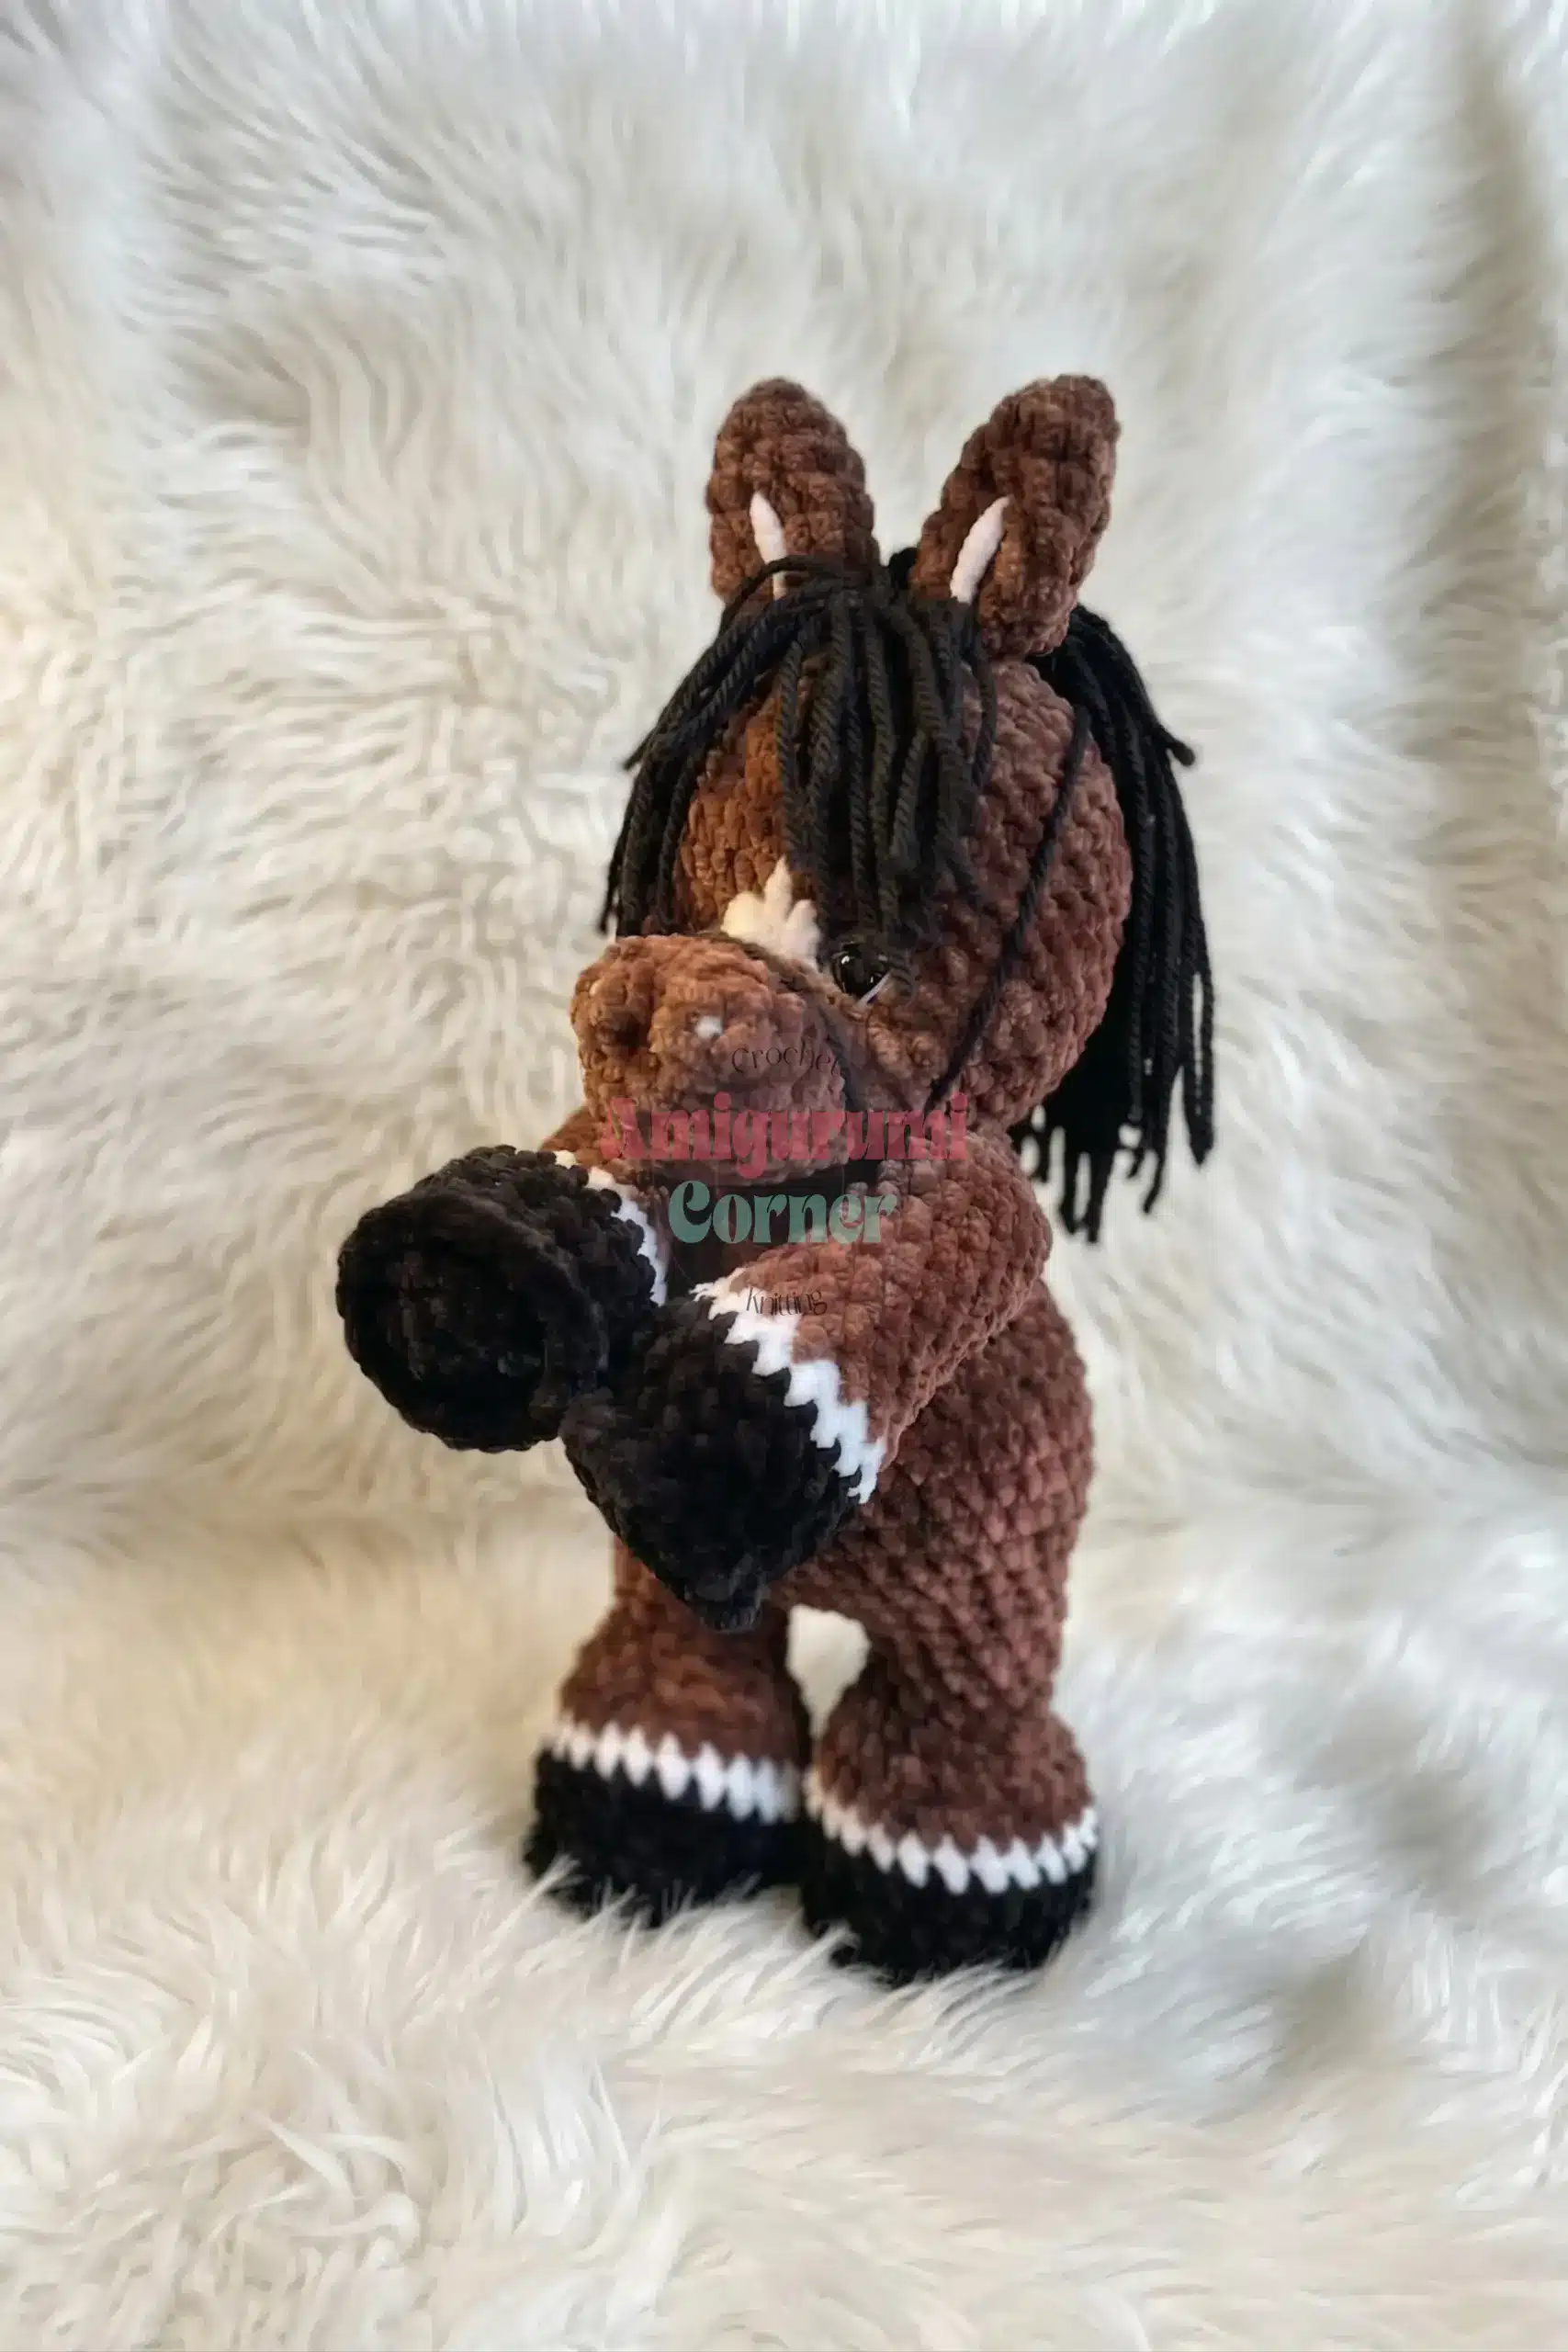
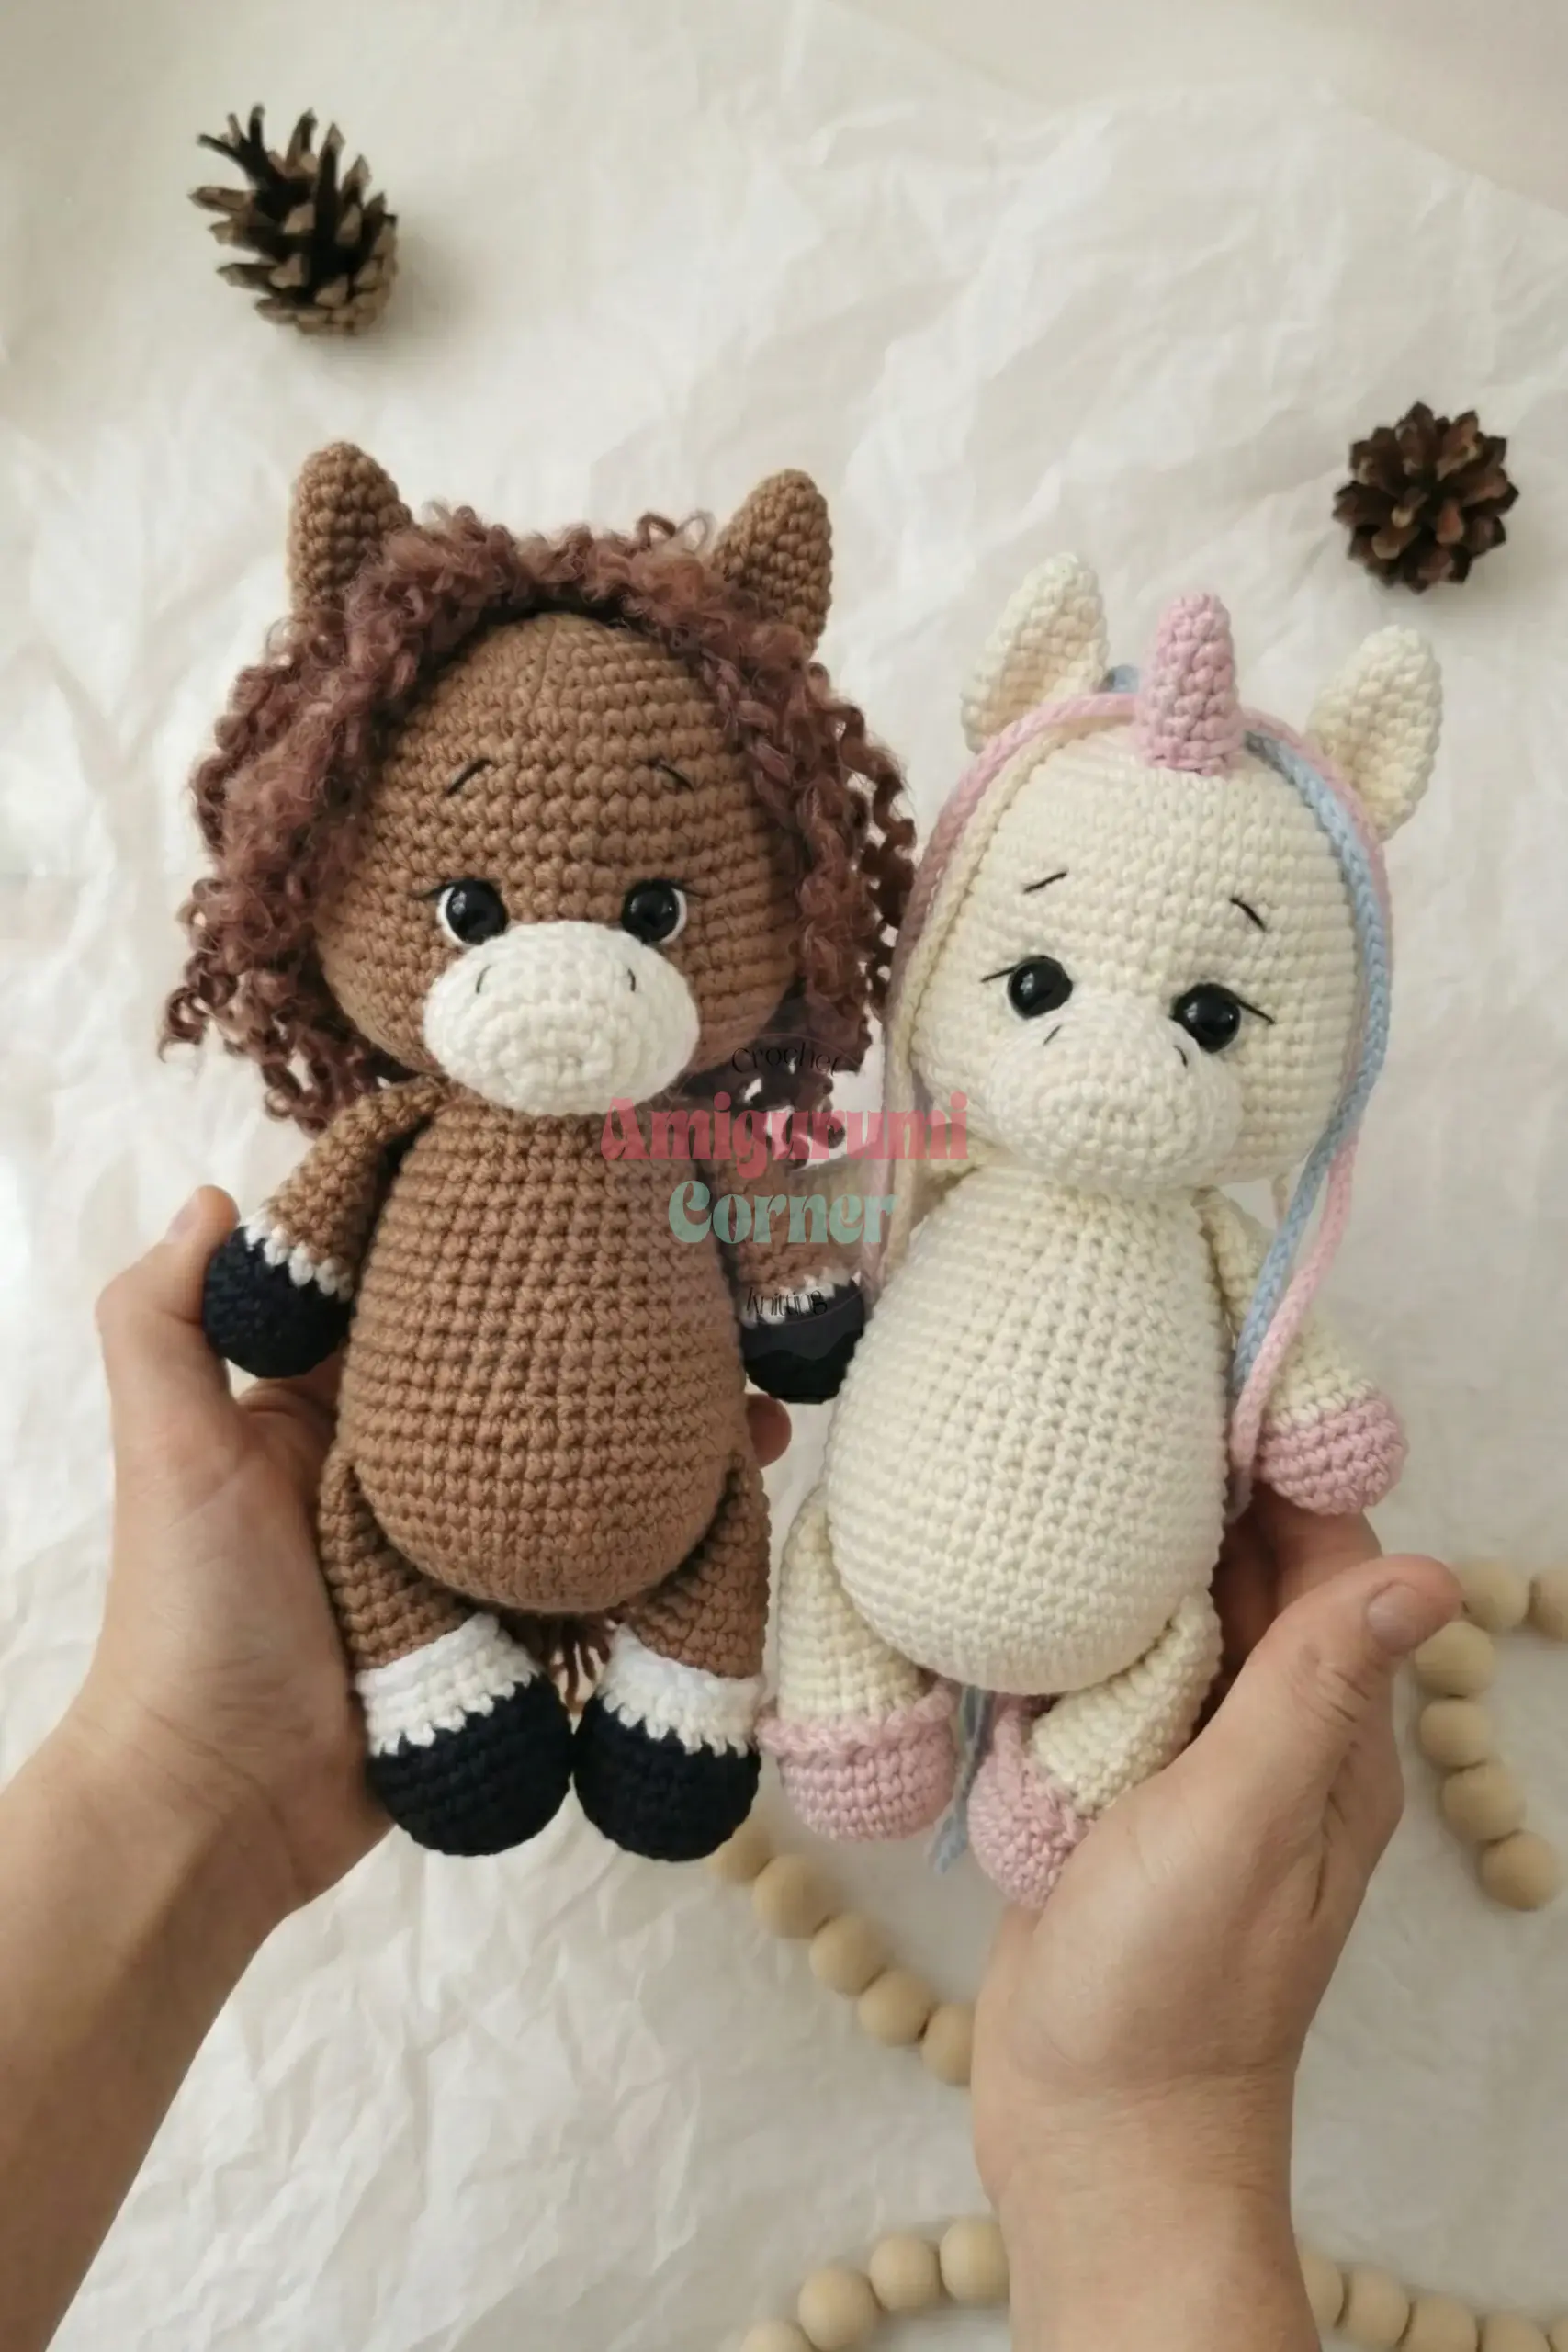
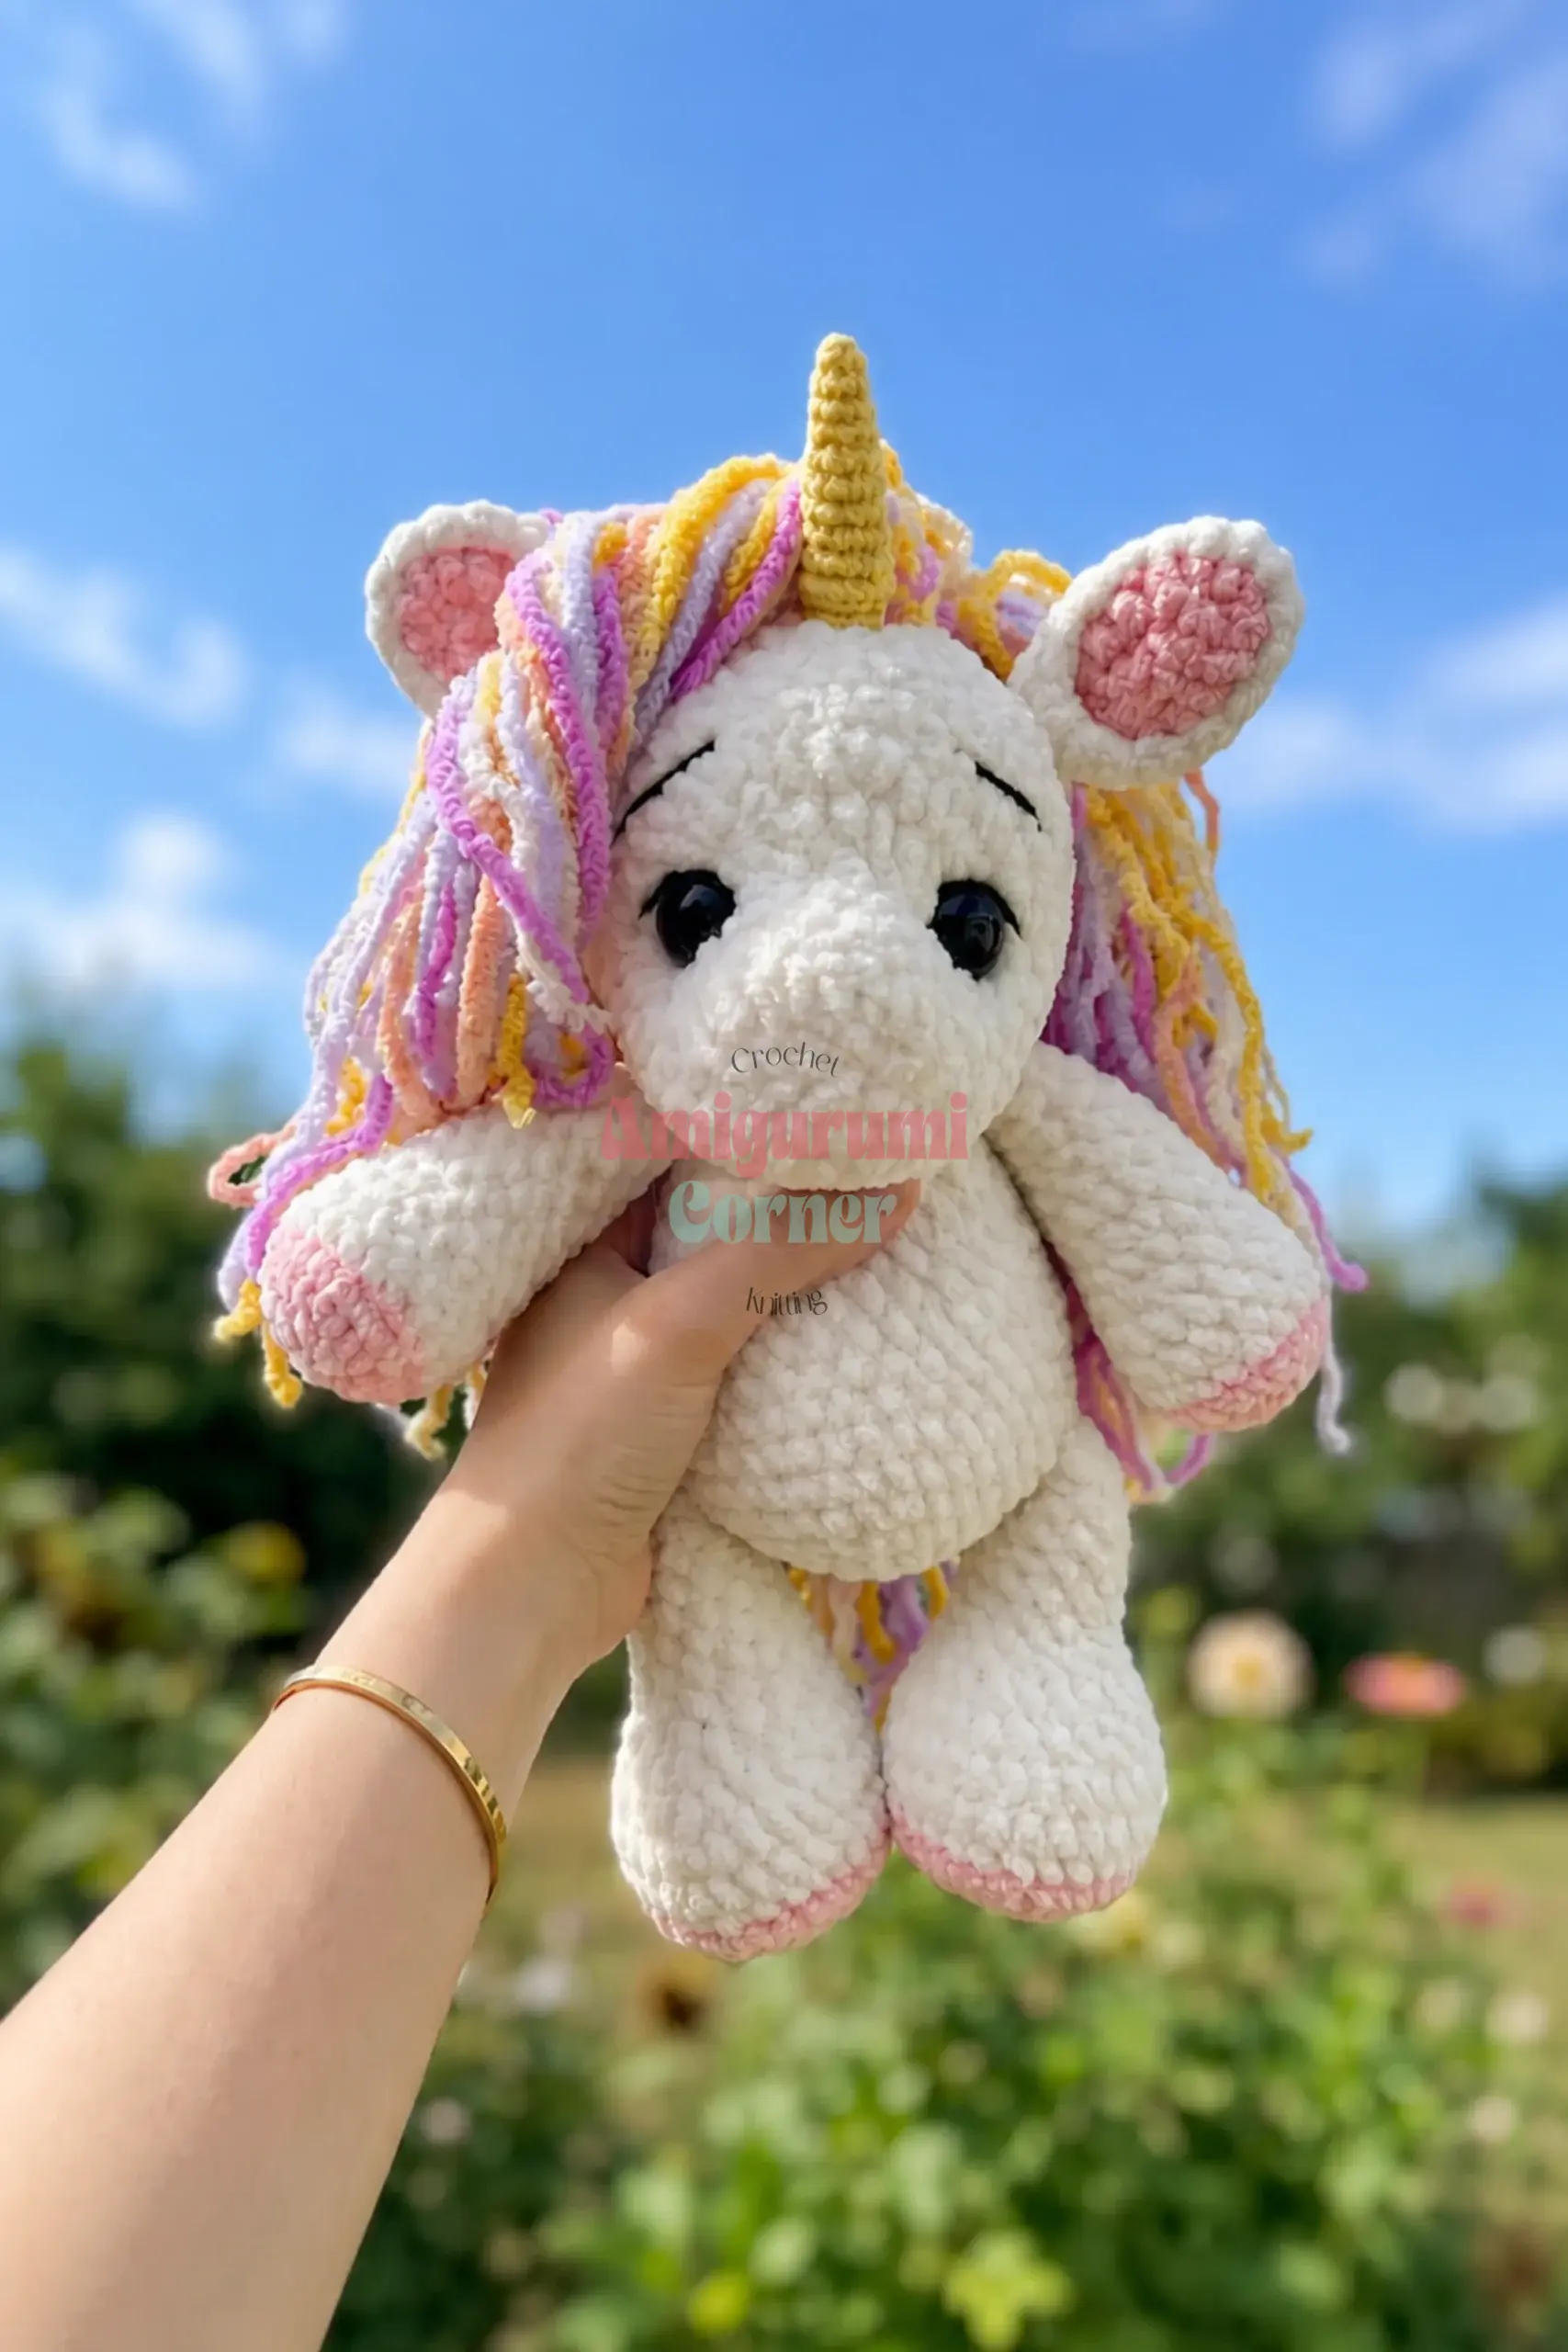
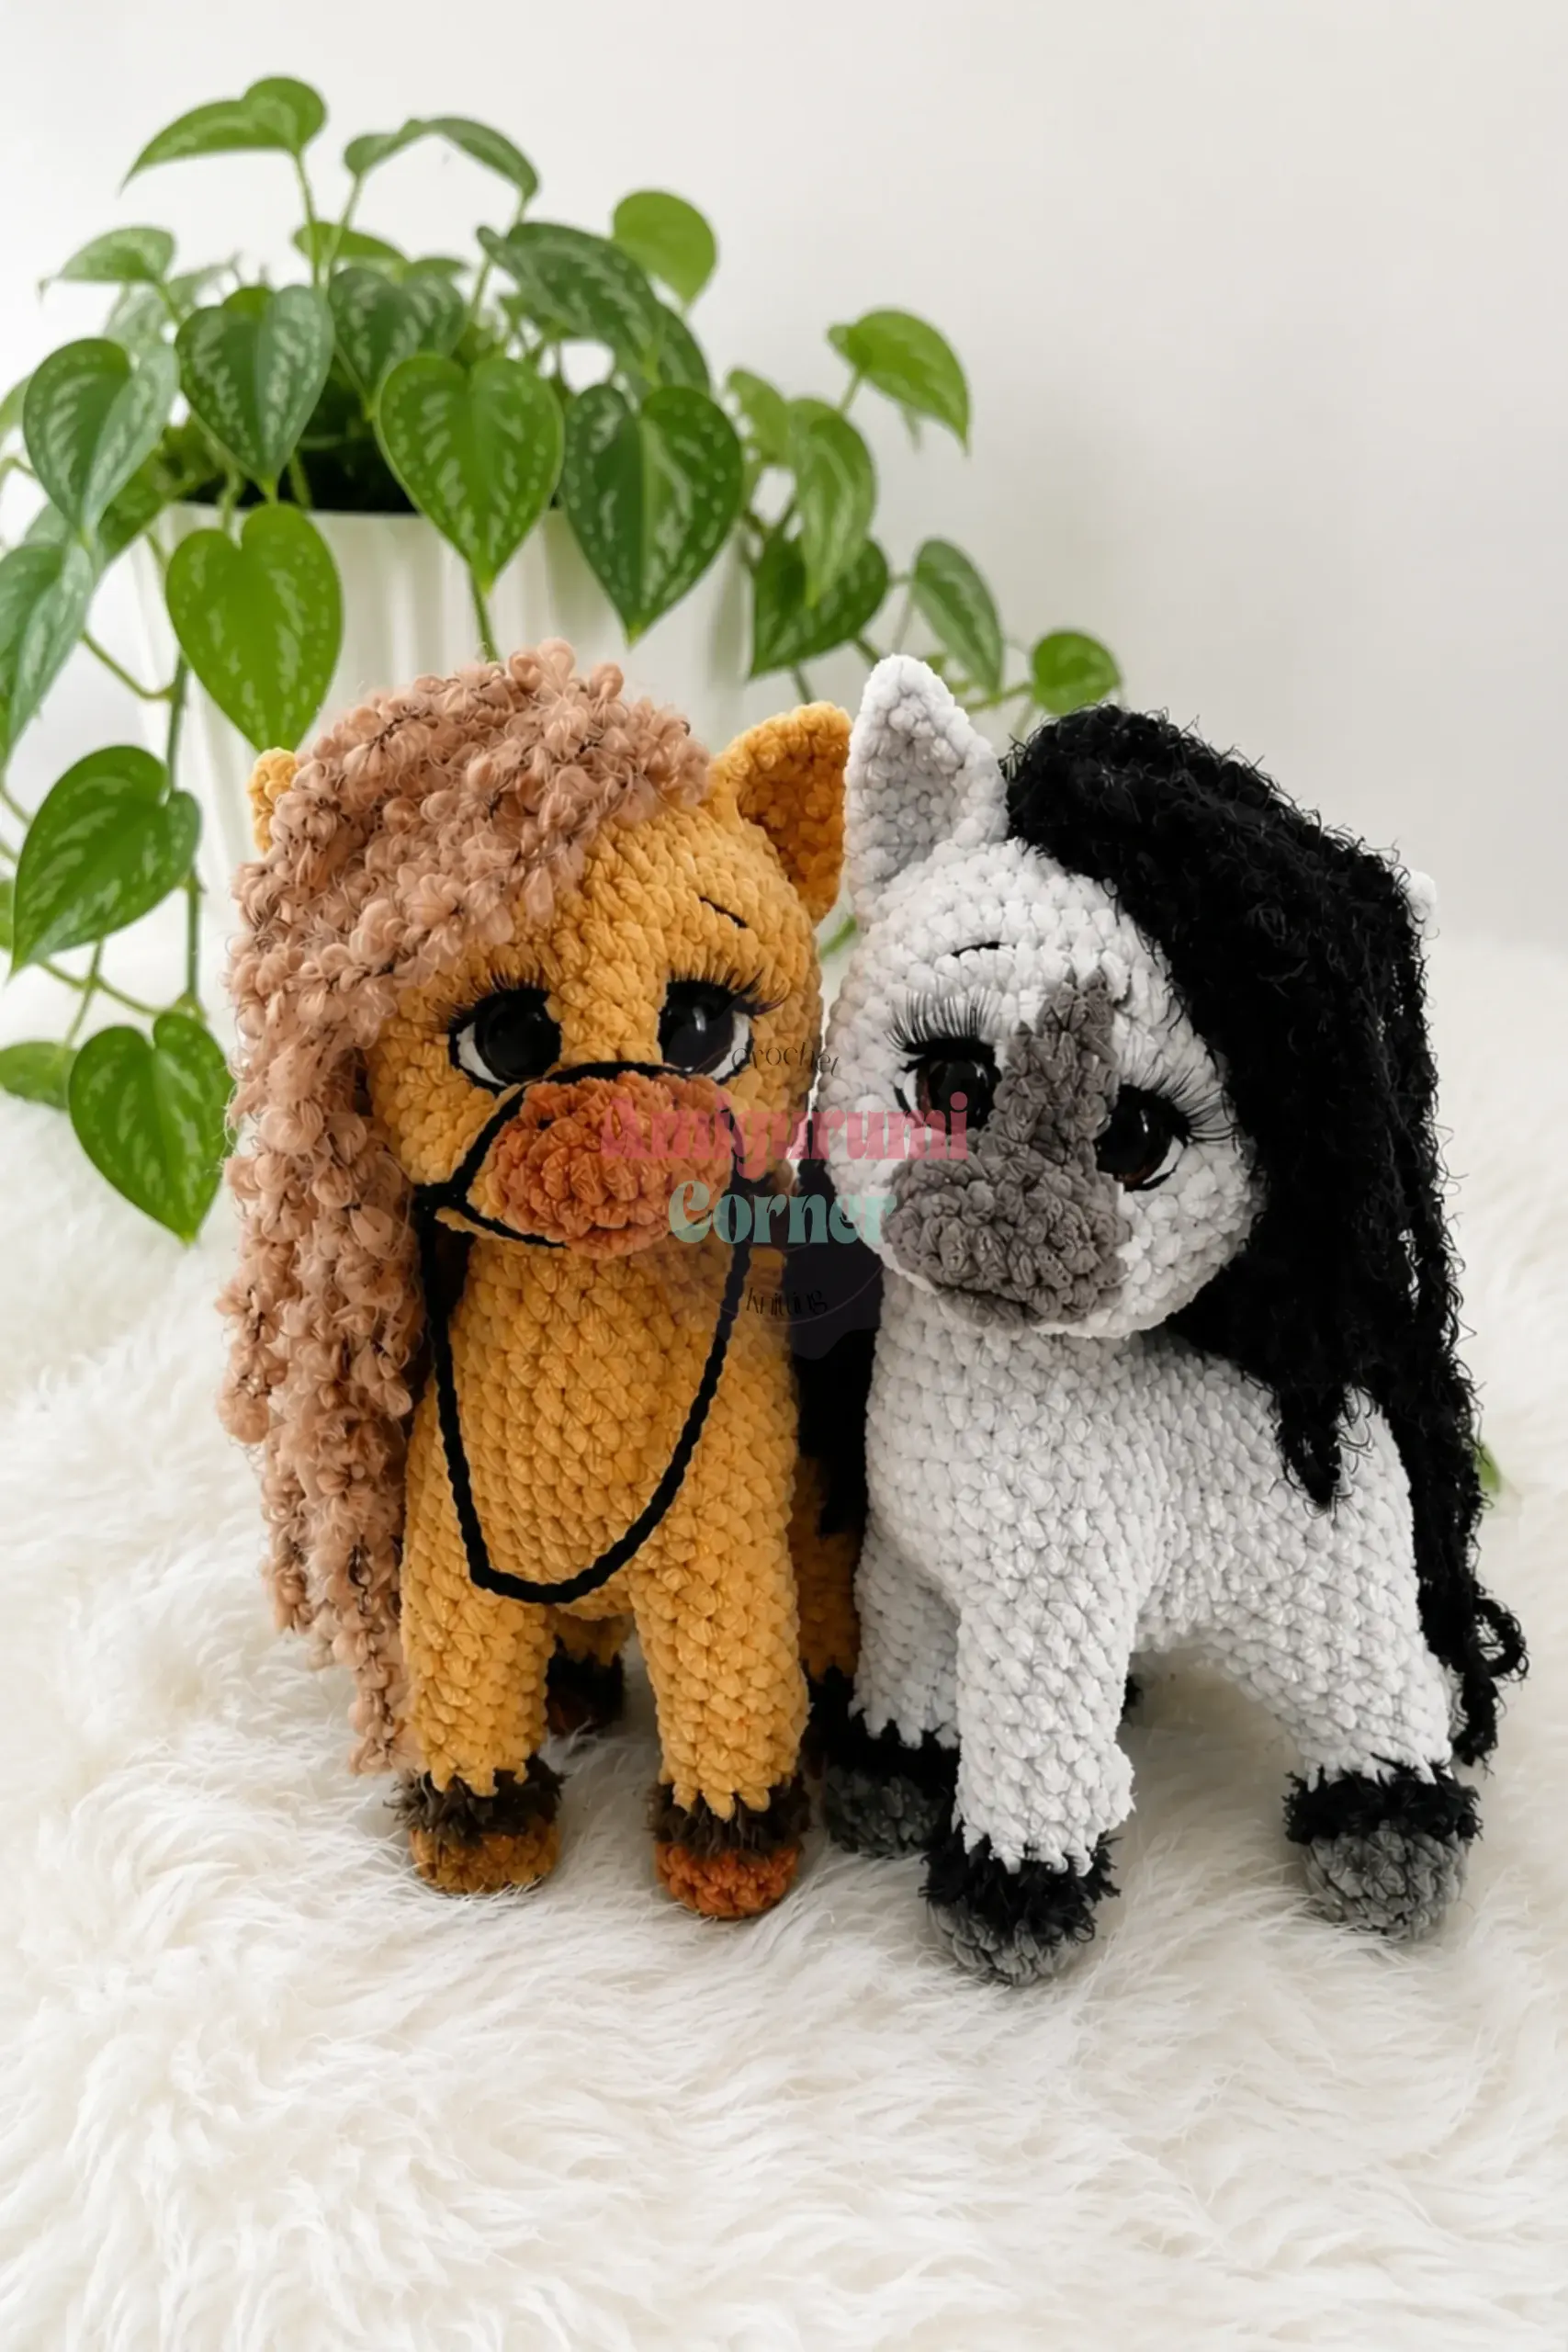
Yarn is on the table, hook in hand, and the project begins to take shape. It starts with a simple magic ring and a few single crochets, but soon you are building the sturdy legs and rounded body of a creature that feels alive in your hands. This amigurumi pattern for a pony, donkey, or unicorn is a delightful intermediate project that rewards patience with a plush, huggable result. Whether you are crafting a magical unicorn for a nursery or a sturdy donkey for a farm-themed gift, the seamless construction and clever shaping techniques make this a standout piece for your crochet collection.
Why This Project Works
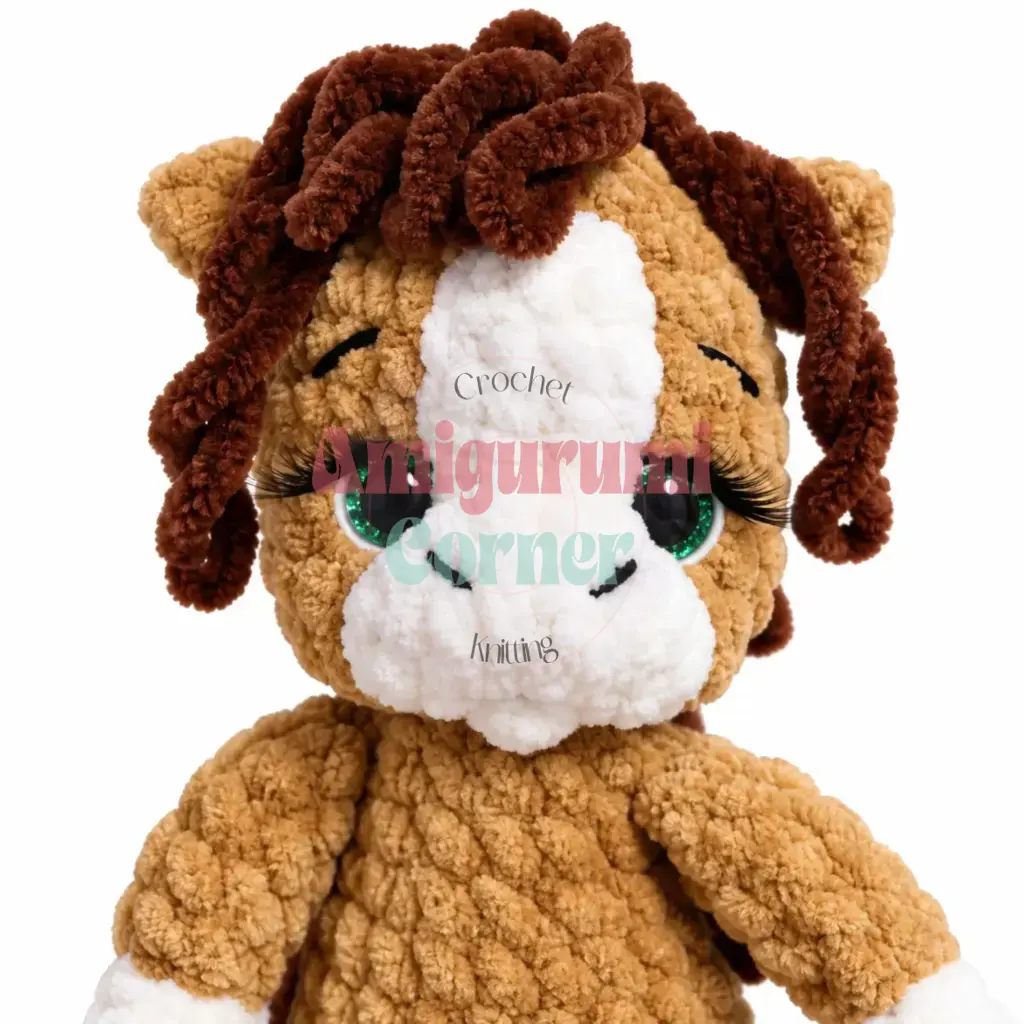
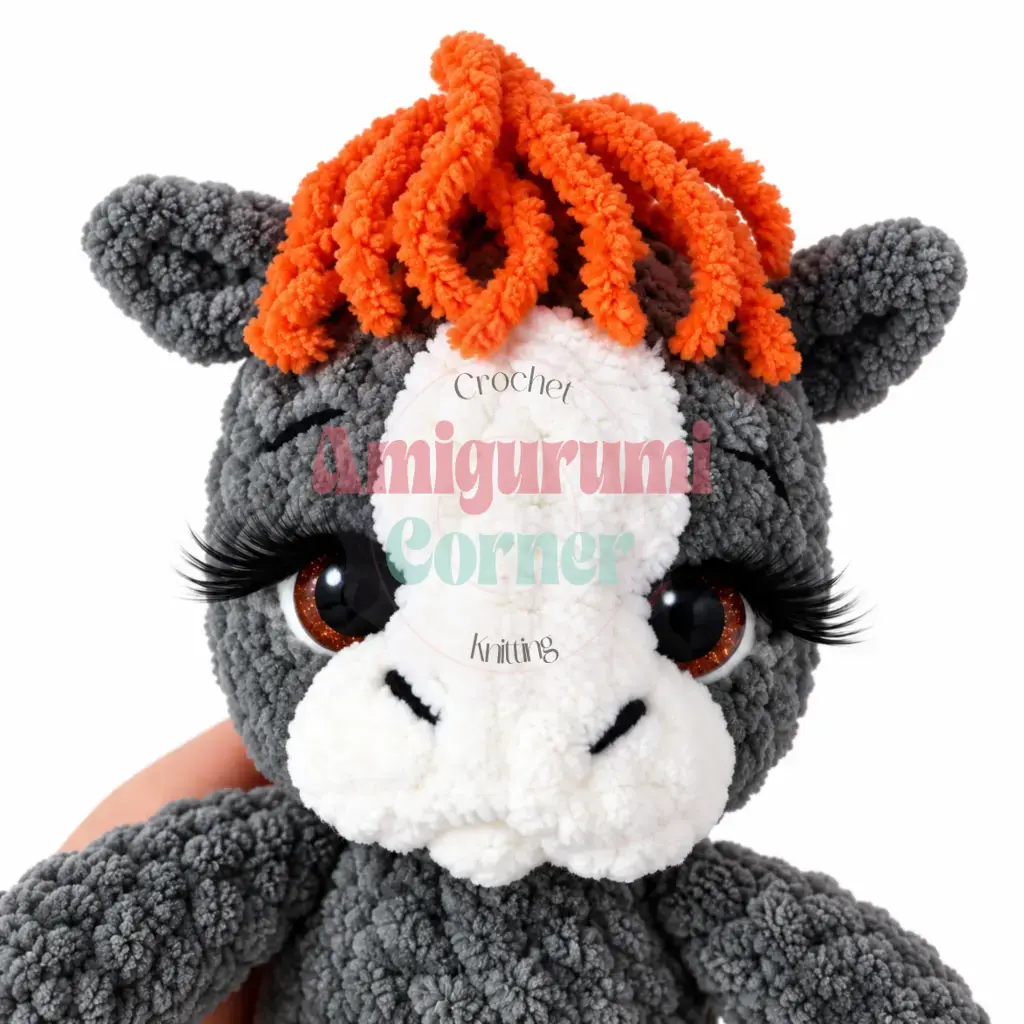
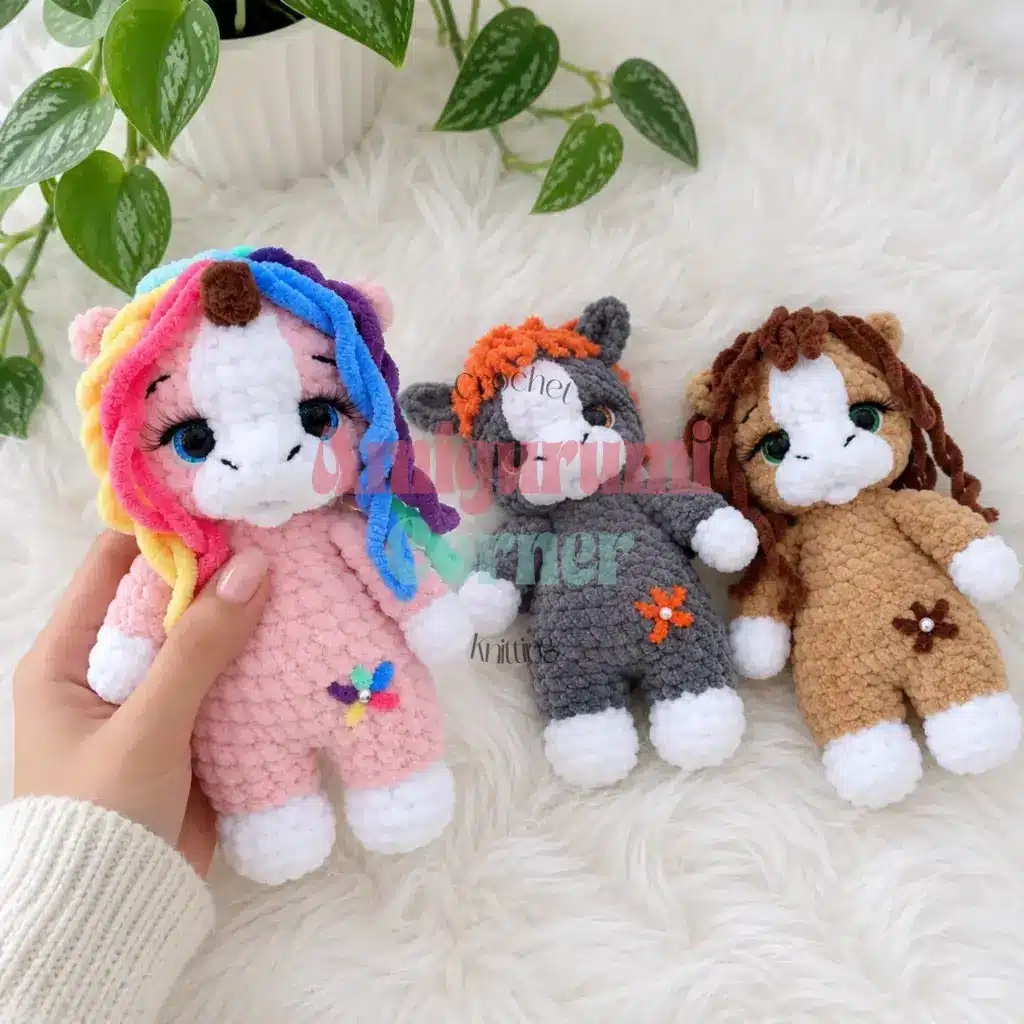
This pattern stands out because it transforms a standard amigurumi construction into a character with distinct personality. By utilizing the fluffy texture of Himalaya Dolphin Baby yarn, the finished toy has a soft, cloud-like appearance that is incredibly inviting to touch. The design cleverly uses color changes to define the muzzle and hooves without complex tapestry crochet, keeping the fabric clean and the lines sharp. It is a versatile set; with just a few changes in yarn color and the addition of a horn or specific mane styling, you can create an entire little herd. The inclusion of needle-sculpting techniques allows for subtle facial details, giving your pony or donkey a gentle, expressive look that flat embroidery simply cannot achieve.
Project Overview
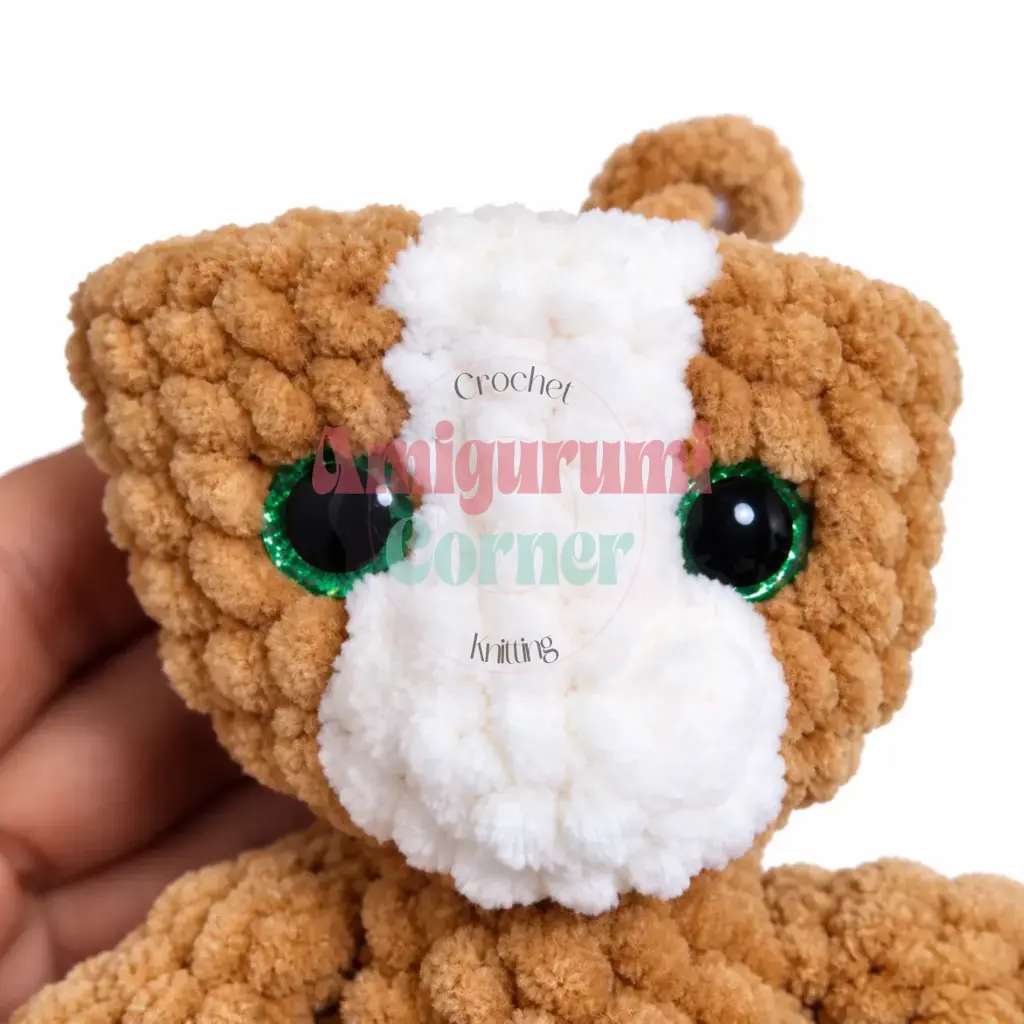
This pattern provides instructions for creating a hoofed amigurumi animal that can be styled as a pony, donkey, or unicorn. The construction is unique, starting with the legs and working continuously up through the body and head in a spiral. This method minimizes seaming and creates a smooth, organic silhouette. The project is designed for intermediate crocheters who are comfortable with color changes, invisible decreases, and shaping techniques like working in the front or back loop only.
Materials
- Yarn (main): Himalaya Dolphin Baby, approximately 40 g in your main body color
- Yarn (accent): Himalaya Dolphin Baby, approximately 15 g for the mane and tail
- Yarn (white): Himalaya Dolphin Baby, a small amount for the hooves and muzzle
- Yarn (donkey mane only): Alize Softy, a small amount in your chosen color
- Yarn (embroidery details): A thin, smooth yarn such as a sport or fingering weight in black and white, for embroidering eyes, brows, and nostrils
- Hook: E-4 / 3.5 mm
- Safety eyes: 12 mm trapezoid sparkle eyes, 2
- Stuffing: Polyfill or fiberfill, enough to stuff the body and head firmly
- Stitch marker: 1, to track the start of each round
- Yarn needle / tapestry needle: 1 standard and 1 long needle for needle-sculpting the face
- Strong thread: For pulling through the head to create slight indents around the eyes and muzzle
- Scissors
- Eyelashes: Decorative craft eyelashes, 1 pair
- Rhinestones / gems: A few for embellishment on the body
- Instant-dry adhesive: A small amount, for attaching eyelashes
Gauge and Finished Size
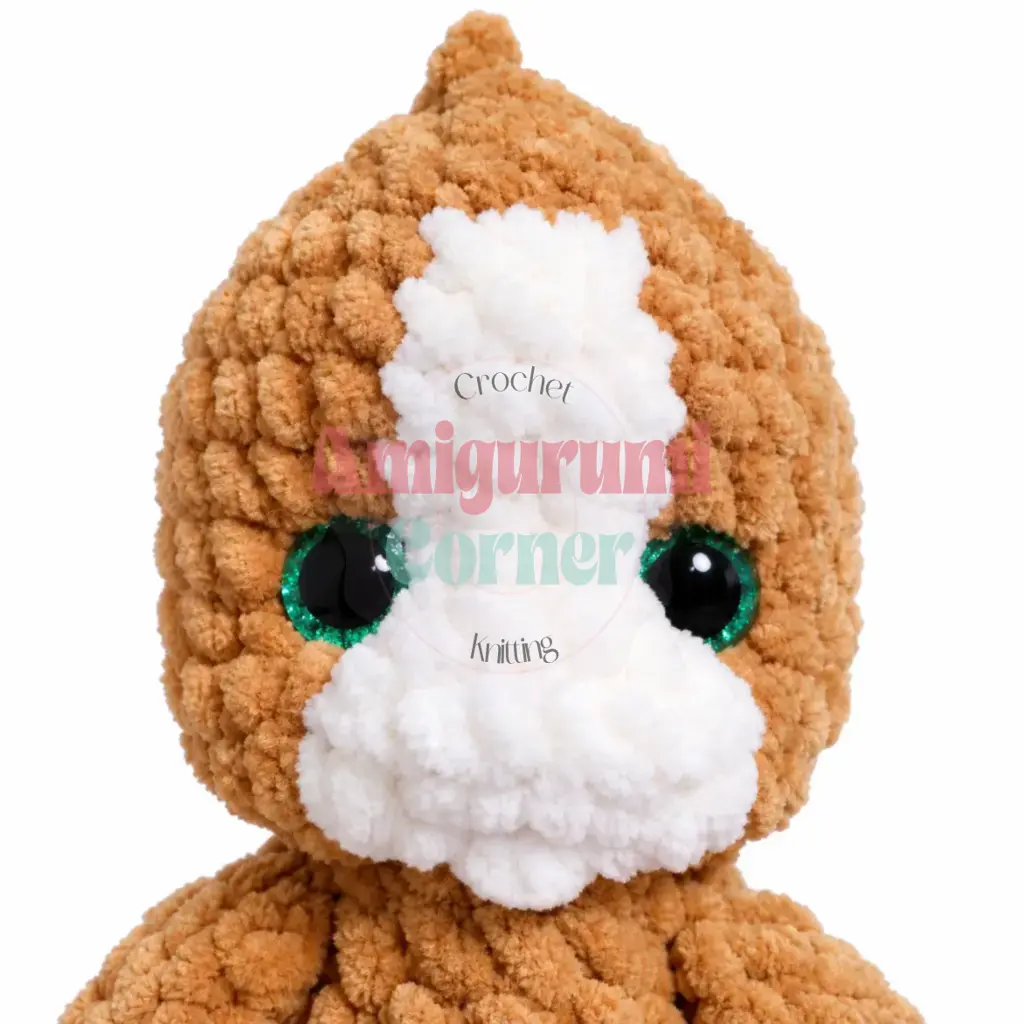
Gauge is not critical, but consistent tension matters for amigurumi. Your fabric should be tight enough that no stuffing shows through. The finished height is approximately 18 cm when using the recommended yarn and hook. Your size may vary slightly based on your personal tension.
Abbreviations
- BLO: Back Loop Only
- ch: Chain
- dec: Decrease (invisible decrease: insert hook into front loops of next 2 sts, pull up a loop, yarn over, pull through all 3 loops)
- FLO: Front Loop Only
- inc: Increase (2 sc in same stitch)
- MR: Magic Ring
- sc: Single Crochet
- sl st: Slip Stitch
- st / sts: Stitch / Stitches
Pattern Notes
This pattern is written in US crochet terminology. All pieces are worked in a continuous spiral unless otherwise noted. Do not join rounds or chain up unless specifically instructed. Place a stitch marker in the first stitch of each round and move it up as you go.
Important spiral technique: Work your single crochets so the spiral does not drift to the right. In each round, insert your hook into the next stitch, pull up a loop, and before completing the sc, bring the working loop slightly to the left. This keeps your rounds stacking vertically rather than spiraling diagonally, which is especially important for the color-change muzzle section.
Stitch counts are given in parentheses at the end of each round: (##). Safety eyes are inserted between Rounds 24 and 25, with 4 white stitches between their inner edges. When changing colors, always cut the previous color rather than carrying it. Tie the two ends together and weave them securely inside the piece.
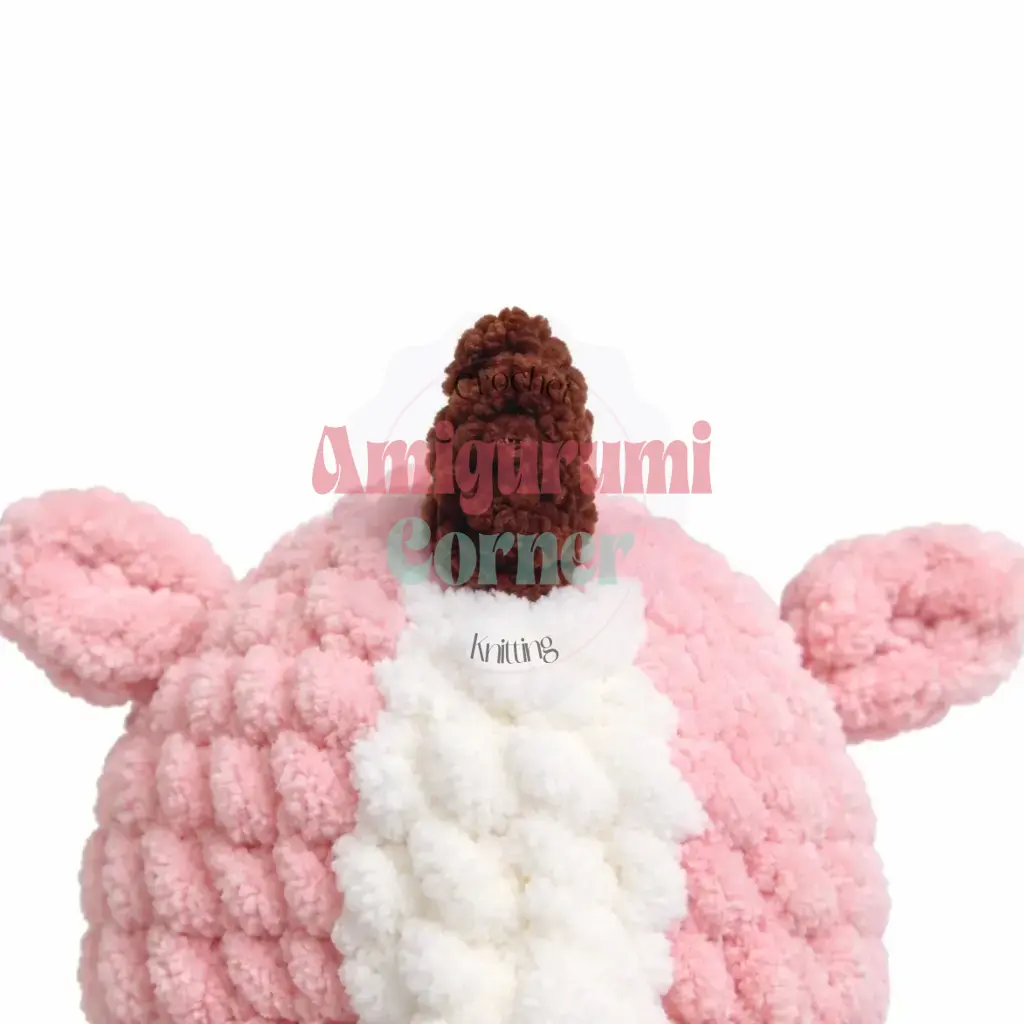
Note on incomplete instructions: The original source for this pattern includes only photographs (no written round-by-round instructions) for the ears (pony/unicorn and donkey versions), the lower lip shaping, the needle-sculpting steps for the face, the unicorn horn, and the mane and tail construction for the pony and unicorn. Those sections are marked clearly below. The donkey mane is described in text and is included in full.
Pattern Instructions
Front Legs (make 2)
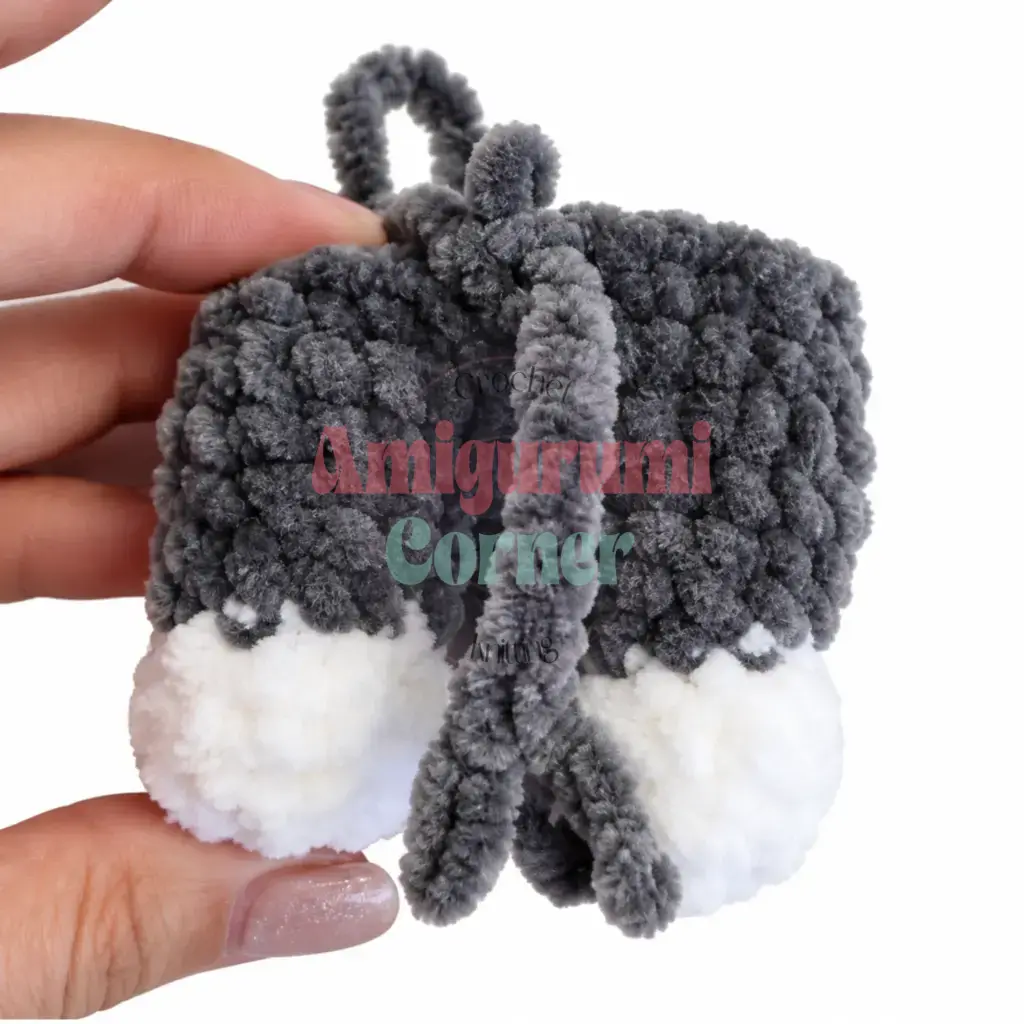
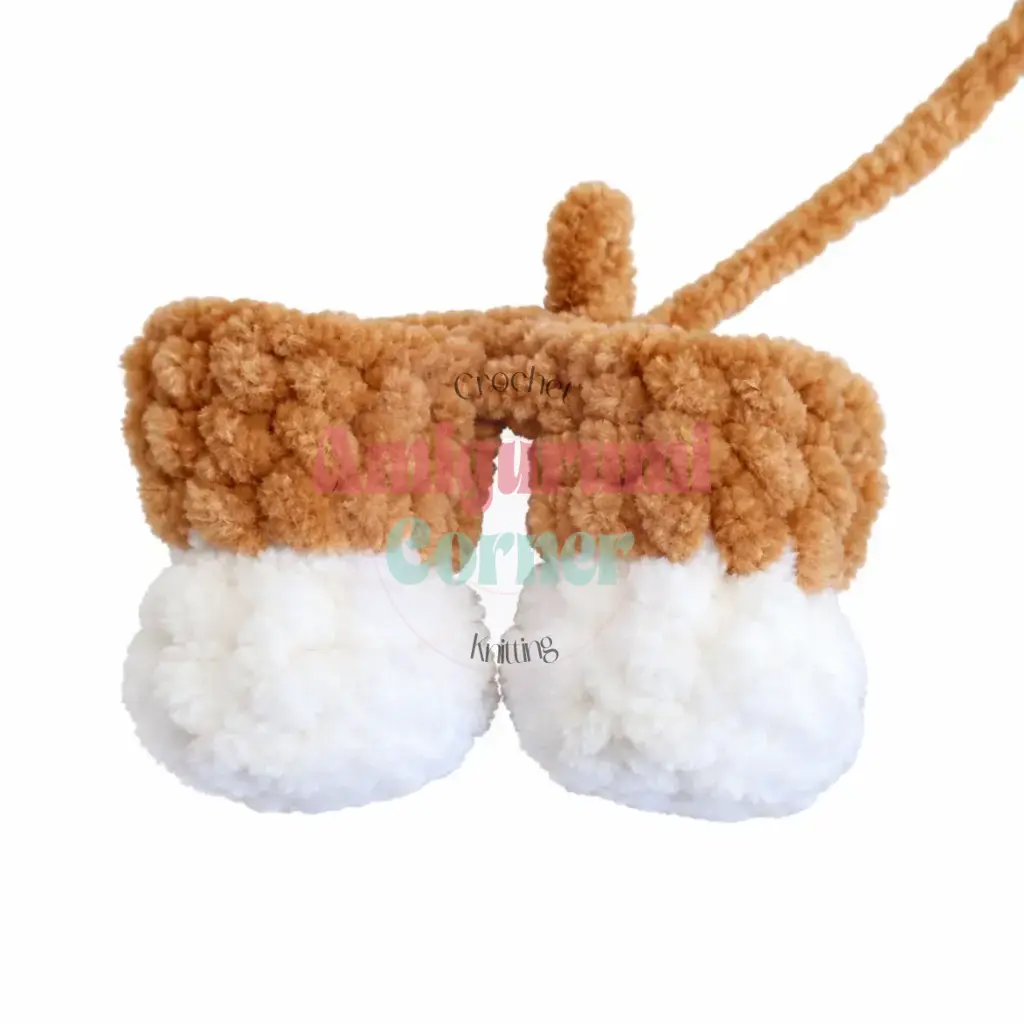
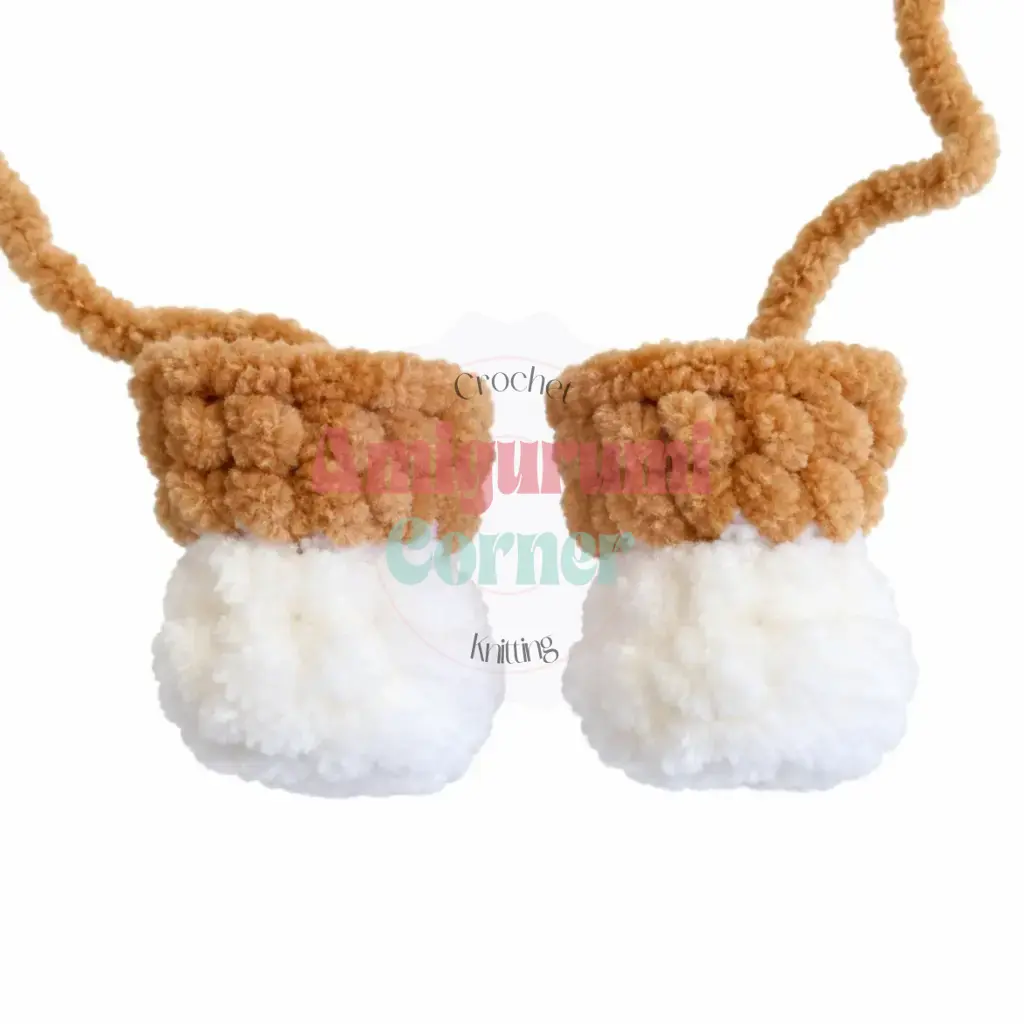
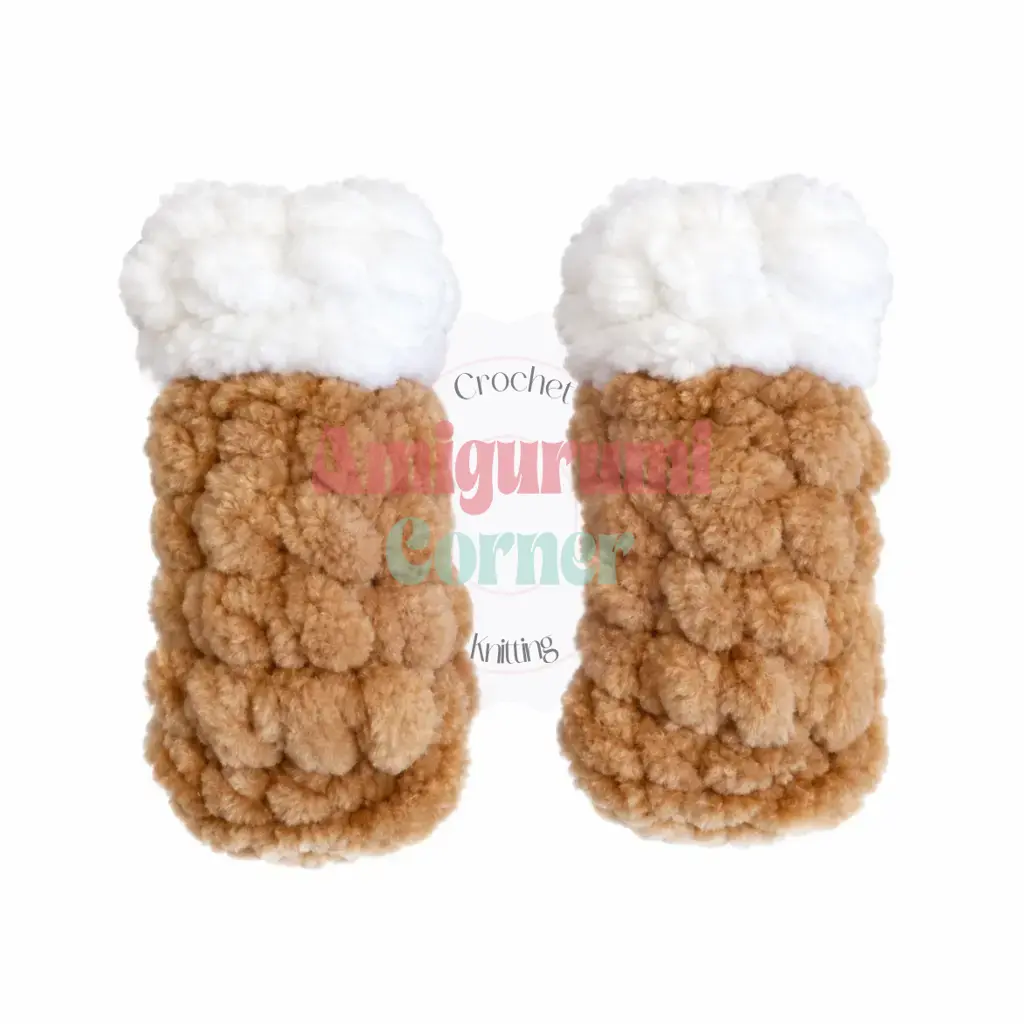
Begin with white yarn.
Start with a foundation chain of 3 ch. Working from the 2nd ch from the hook:
- Rnd 1: inc (2 sc in same st), then work 4 sc all into the last ch (these 4 sc should sit to the right of the knot); along the opposite side of the foundation chain, work 2 sc, with the 2nd sc worked into the 3rd ch through the back loop only. (8)
- Rnd 2: sc in each st around. (8)
- Rnd 3: sl st in each st around. (8) On the 8th sl st, change to main color. Cut white yarn and tie it to the end of the main color yarn.
- Rnd 4: Working in BLO: sl st in each st around. (8)
- Rnd 5: Working in BLO: sc in each st around. (8)
- Rnds 6-8: sc in each st around. (8) 3 rounds.
Lightly stuff the leg. The leg should remain flat and easy to press together; do not overstuff. Leave the last 2 rounds unstuffed.
Forming the hoof: Thread a length of white yarn onto a needle. Pull the needle through the center of the white section, pulling from side to side, to create a slight pinch across the middle of the hoof. This defines the hoof shape. Tie the yarn ends together and weave them inside the leg.
If needed, work additional rounds to reach the fold point. Fold the leg flat so both layers of stitches align.
- Rnd 9: Working through both layers: sc, dec (insert hook into the first pair of stitches and pull up a loop, then insert hook into the second pair of stitches and pull up a loop, yarn over and pull through all 3 loops on the hook), sc. (3)
Cut yarn, leaving a short tail. Pull the tail through to the inside and weave in to secure.
Back Legs (make 2)
Begin with white yarn.
- Rnd 1: 6 sc in MR. (6)
- Rnd 2: inc in each st around. (12)
- Rnd 3: Working in BLO: sc in each st around. (12)
- Rnd 4: 2 sc, dec repeat 3 times around. (9)
- Rnd 5: sl st in each st around. (9) On the 9th sl st, change to main color. Cut white yarn and tie it to the end of the main color yarn.
- Rnd 6: Working in FLO: sc, inc, 2 sc, inc repeat 2 times, sc. (12)
Left back leg:
- Rnd 7: 2 sc, inc, 8 sc, sl st. (13) Cut yarn, leaving a short tail. Pull tight to close the last sl st.
Right back leg:
- Rnd 7: 9 sc, inc, 2 sc. (13) Do not cut yarn. Continue directly to the Body.
Body
The body is worked by joining both back legs.
Work 4 sc along the right back leg, then ch 1.
- Rnd 8: sl st into the 10th stitch of the left back leg, 3 sc along the left back leg, then hiding the left leg’s yarn tail under your stitches as you go: 9 sc; along the ch-1 space (working into the FLO): inc (work the sc with an extra wrap of the working yarn as described in the video note), 13 sc along the right back leg; along the ch-1 space (working into the BLO): inc. (30)
Stuff the white sections of both back legs, keeping the surface flat.
- Rnd 9: sc in each st around. (30)
- Rnd 10: 4 sc, dec repeat 5 times around. (25)
Pony and unicorn: continue to Rnd 11. Donkey: attach the tail now before continuing (see Mane and Tail section for donkey notes), then continue to Rnd 11.
- Rnds 11-12: sc in each st around. (25) 2 rounds.
Stuff the upper section of the back legs and the lower body. Continue stuffing as you go.
- Rnd 13: dec, 3 sc repeat 5 times around. (20)
- Rnds 14-15: sc in each st around. (20) 2 rounds.
- Rnd 16: 2 sc, dec repeat 5 times around. (15)
- Rnd 17: sc in each st around. (15)
Stuff the body.
Attaching the front legs (Rnd 18): Position the two front legs so that 3 stitches from each leg will be crocheted together with the body. On either side, there should be 4 body stitches across the front and 5 body stitches across the back between the attachment points. Count your stitches so that 1 sc remains before the first stitch of the left leg.
- Rnd 18: 1 sc, then 3 sc crocheting through both the body stitch and the corresponding leg stitch simultaneously (left front leg), 4 sc across the belly, then 3 sc crocheting through both the body stitch and the corresponding leg stitch simultaneously (right front leg), 4 sc across the back. (15)
- Rnd 19: 2 sc, dec, 4 sc, dec, 3 sc, dec. (12)
Do not cut yarn. Continue directly to the Head.
Head
- Rnd 20: sl st in each st around. (12) Important: pull each sl st slightly to the left so the stitches sit directly above the stitches of the previous round without shifting.
Important for all color changes in the head section: always cut the previous color each time you switch. Do not carry yarn across the back. After each round, tie the main color and white yarn tails together on both sides and leave them to weave in later.
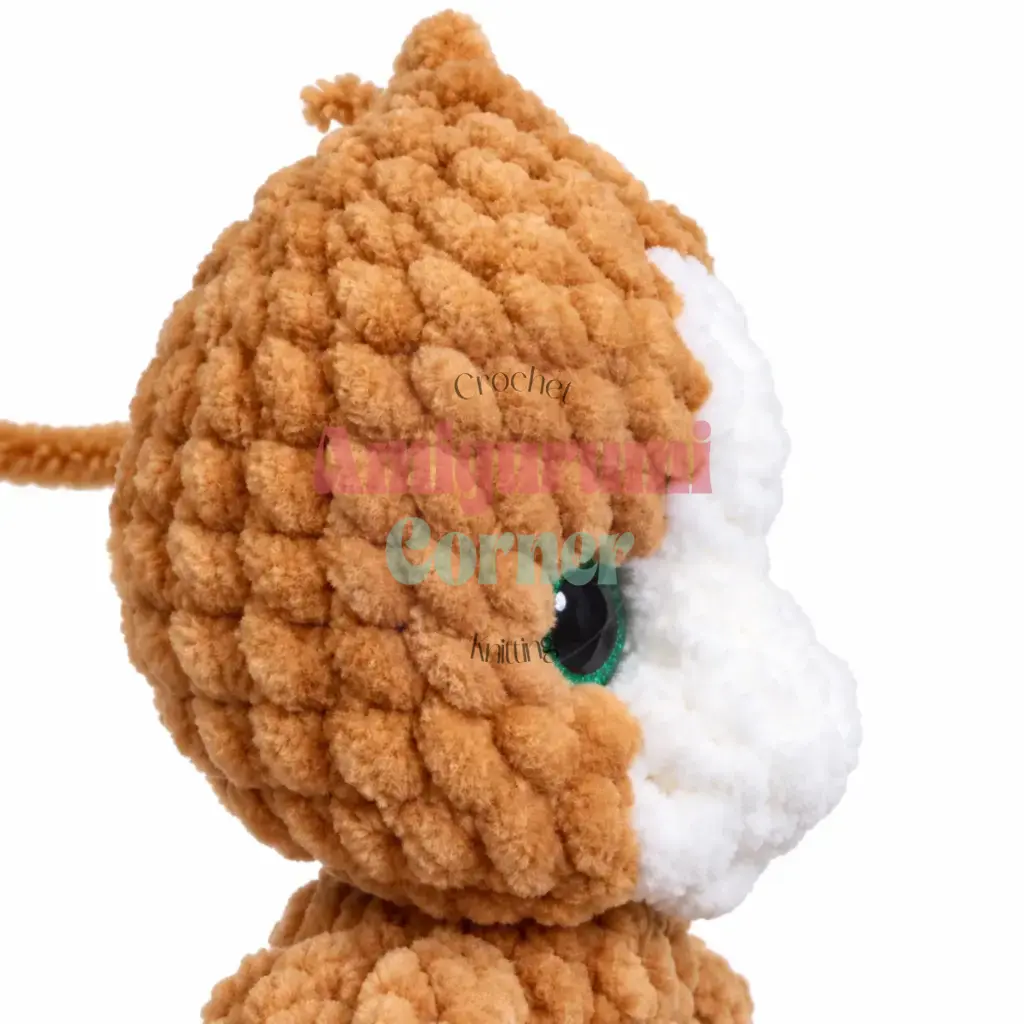
- Rnd 21: Working in FLO: 3 inc, then 1 inc changing to white on the first sc of that inc and completing the second sc of the inc in white (cut main color), 2 inc, then 1 inc changing to main color on the first sc of that inc and completing the second sc of the inc in main color (cut white), 5 inc. (24) There should be 6 white stitches across the front center of the muzzle.
- Rnd 22: 3 sc, inc, 3 sc, change to white on the last sc (cut main color), inc, 4 sc, inc, change to main color on the last sc (cut white), 3 sc, inc repeat 2 times, 2 sc, inc. (30)
The next three mini-rows shape the muzzle. They are worked as partial rounds using sl sts as anchors.
- Rnd 22.1: sl st, 2 sc, sl st. (4 sts worked)
- Rnd 22.2: sl st, 4 sc, sl st. (6 sts worked)
- Rnd 22.3: sl st, 6 sc, sl st. (8 sts worked)
- Rnd 23: 8 sc, dec (closing the decrease with white yarn), 4 sc, change to main color on the 4th sc, dec (closing the decrease with main color, wrapping white around the hook to integrate it cleanly), 14 sc. (28)
- Rnds 24-27: 9 sc, change to white on the last sc (cut main color), 4 sc, change to main color on the last sc (cut white), 15 sc. (28) 4 rounds.
Insert the safety eyes between Rounds 24 and 25. There should be 4 white stitches between the inner edges of the two eyes.
- Rnd 28: sc, dec, 6 sc, change to white on the last sc (cut main color), sc, dec, sc, change to main color on the last sc (cut white), 6 sc, dec, 7 sc. (25)
Stuff the neck and then the muzzle area. Then continue stuffing the head from the sides, pulling it gently outward and adding fiberfill to the center. The head should be well-stuffed but still slightly yielding so that needle-sculpting can create indents around the eyes and muzzle.
- Rnd 29: sc, dec, 3 sc, dec, 3 sc (on this last sc, insert the hook and catch the white yarn with the hook so both white and main color are on the hook, then yarn over with main color and complete the sc normally), dec, 3 sc repeat 2 times, dec, 2 sc. (20)
- Rnd 30: 2 sc, dec repeat 5 times around. (15)
- Rnd 31: dec, sc repeat 5 times around. (10)
- Rnd 32: dec 4 times. (6) Partial round.
Add any final stuffing before closing. Cut yarn and weave through the remaining 6 stitches to close.
Mane and Tail
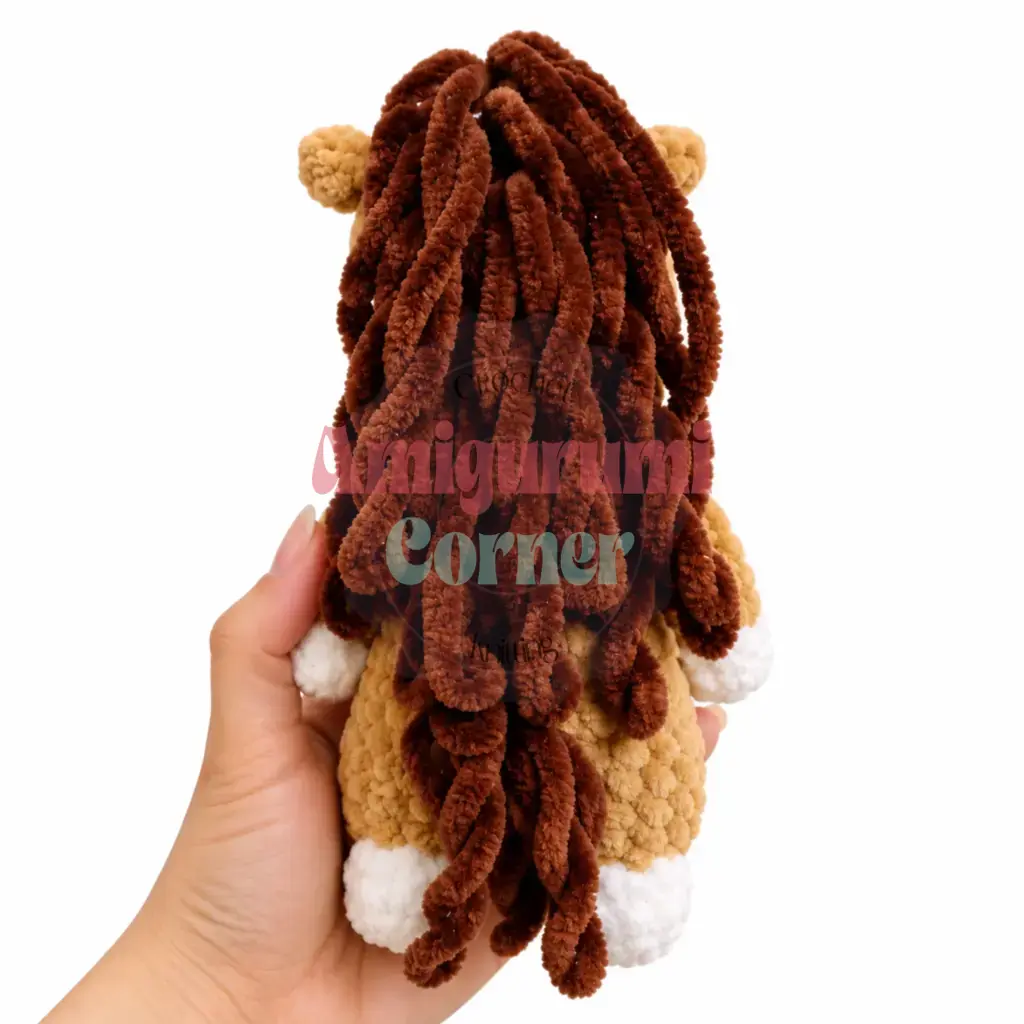
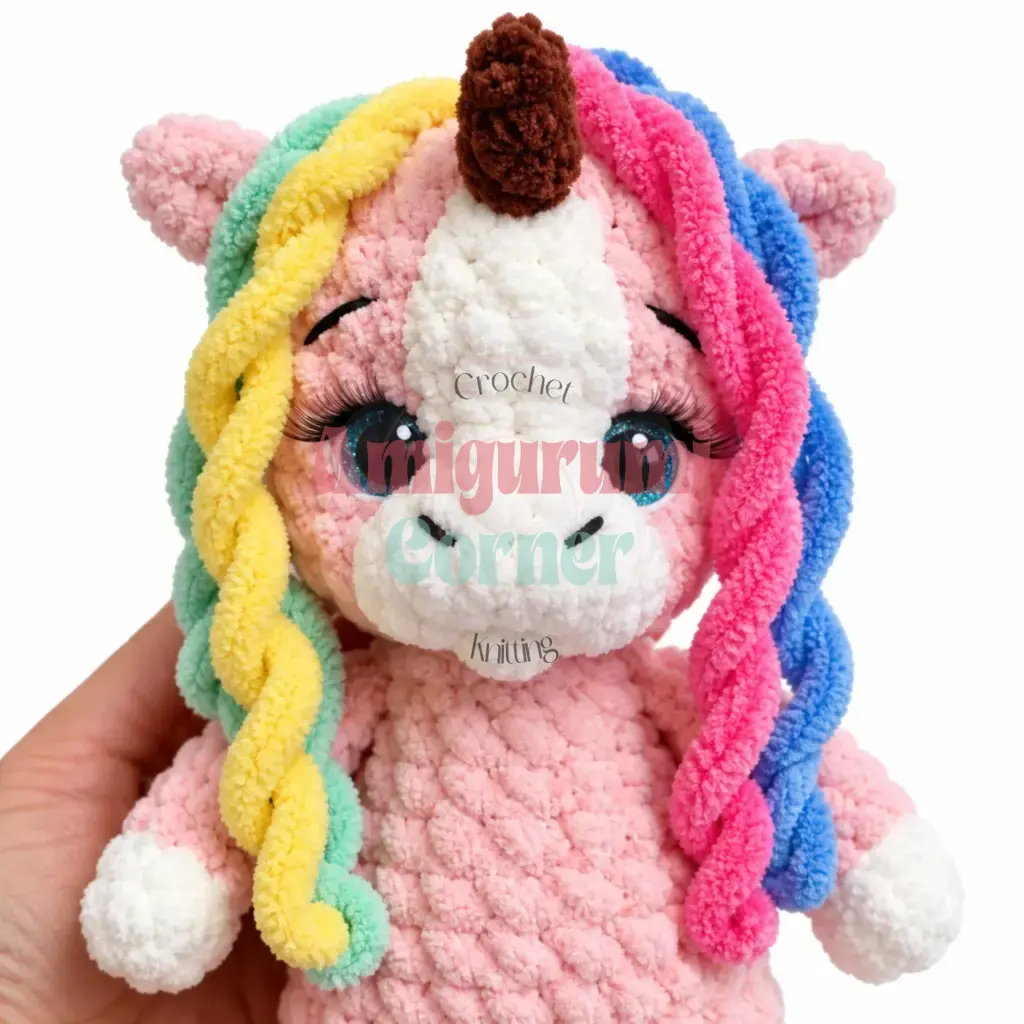
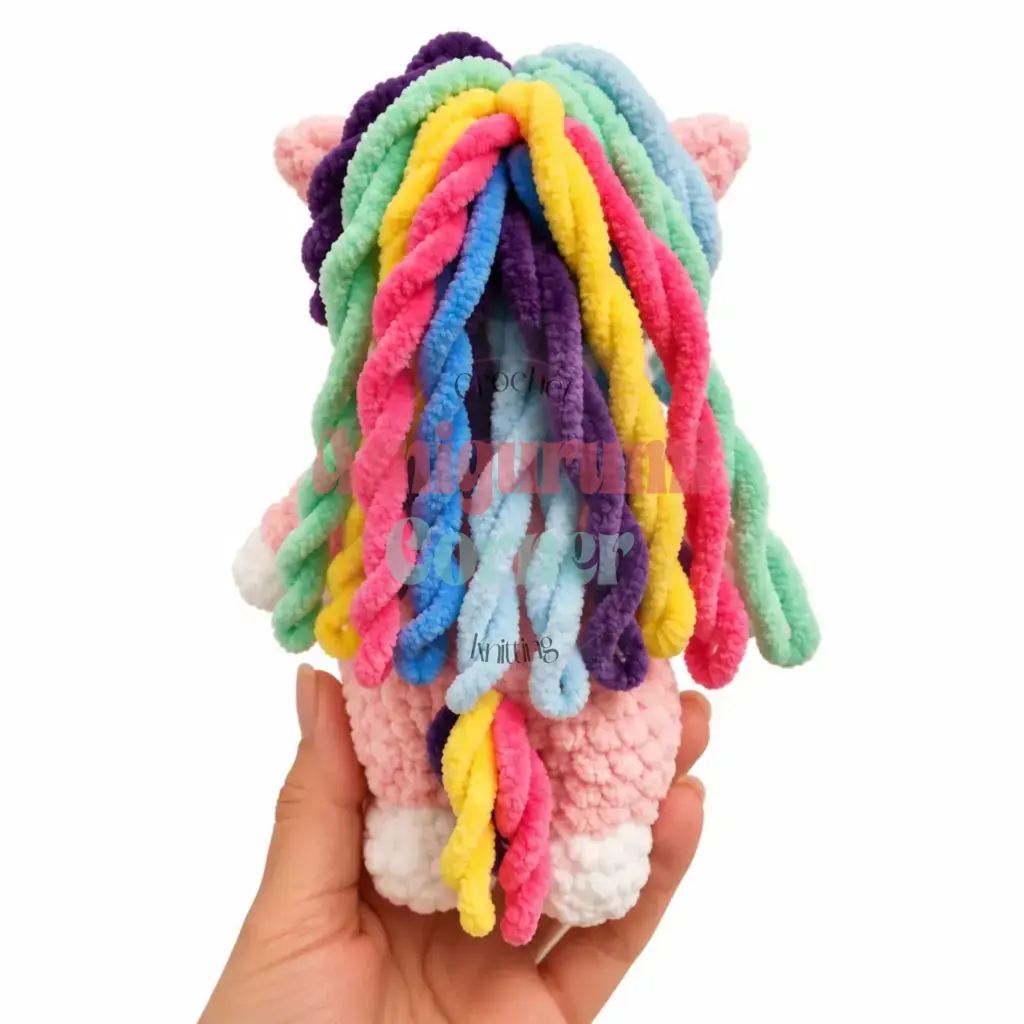
Note: The mane and tail construction for the pony and unicorn versions, and the unicorn horn, are shown in photographs only in the original pattern and are not accompanied by written round-by-round instructions.
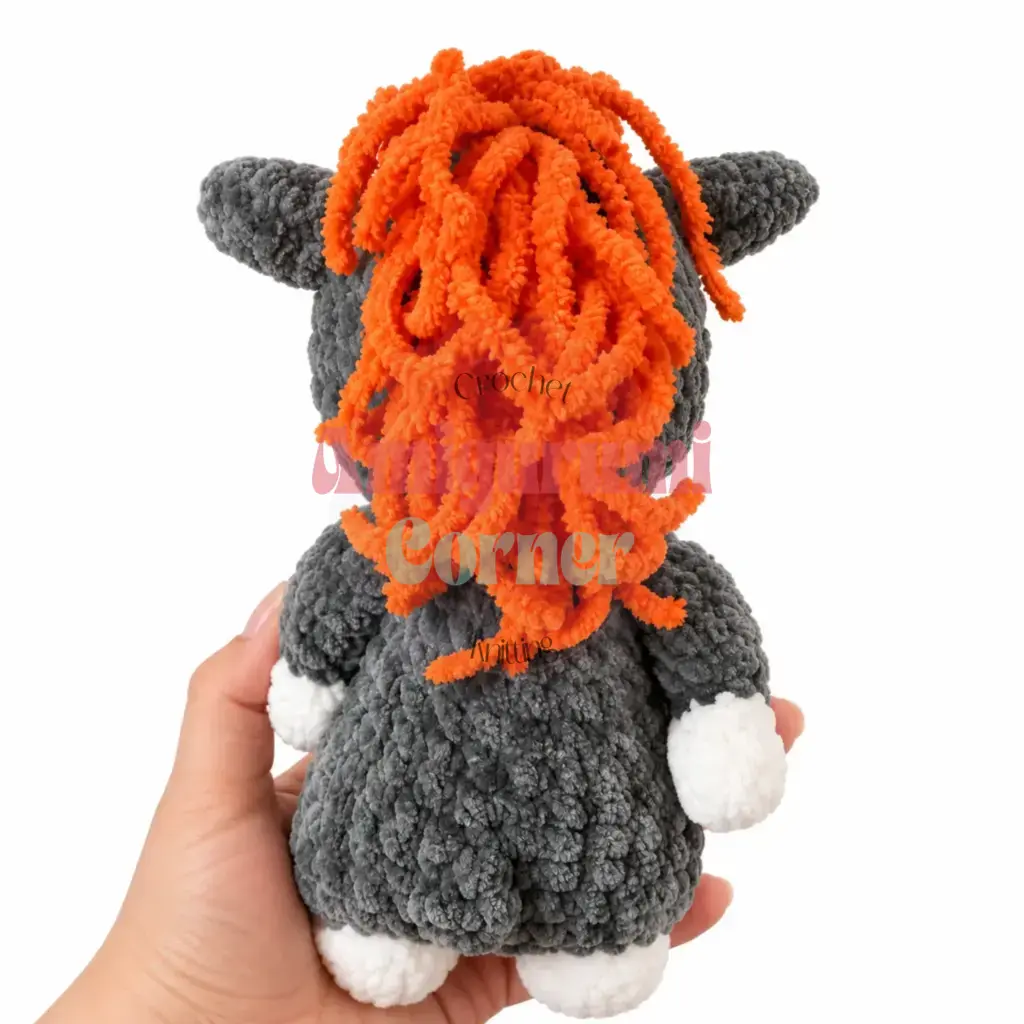
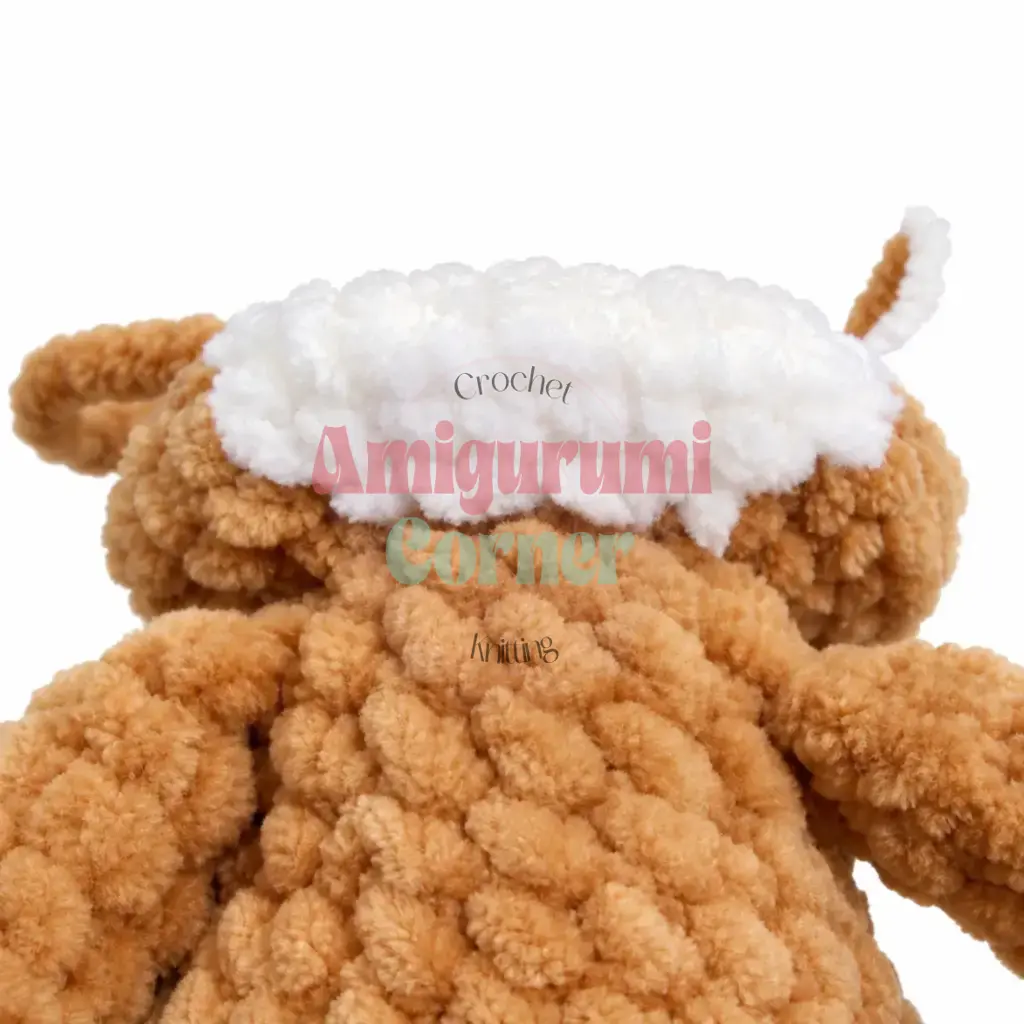
Donkey mane: Use Alize Softy yarn. Work loops along the top of the head from the forehead to the neck, following the same technique used for the pony mane. Make the loops at the back of the head slightly shorter than those at the front to create a natural-looking fringe. Cut each loop in half and trim the mane and fringe to an even length.
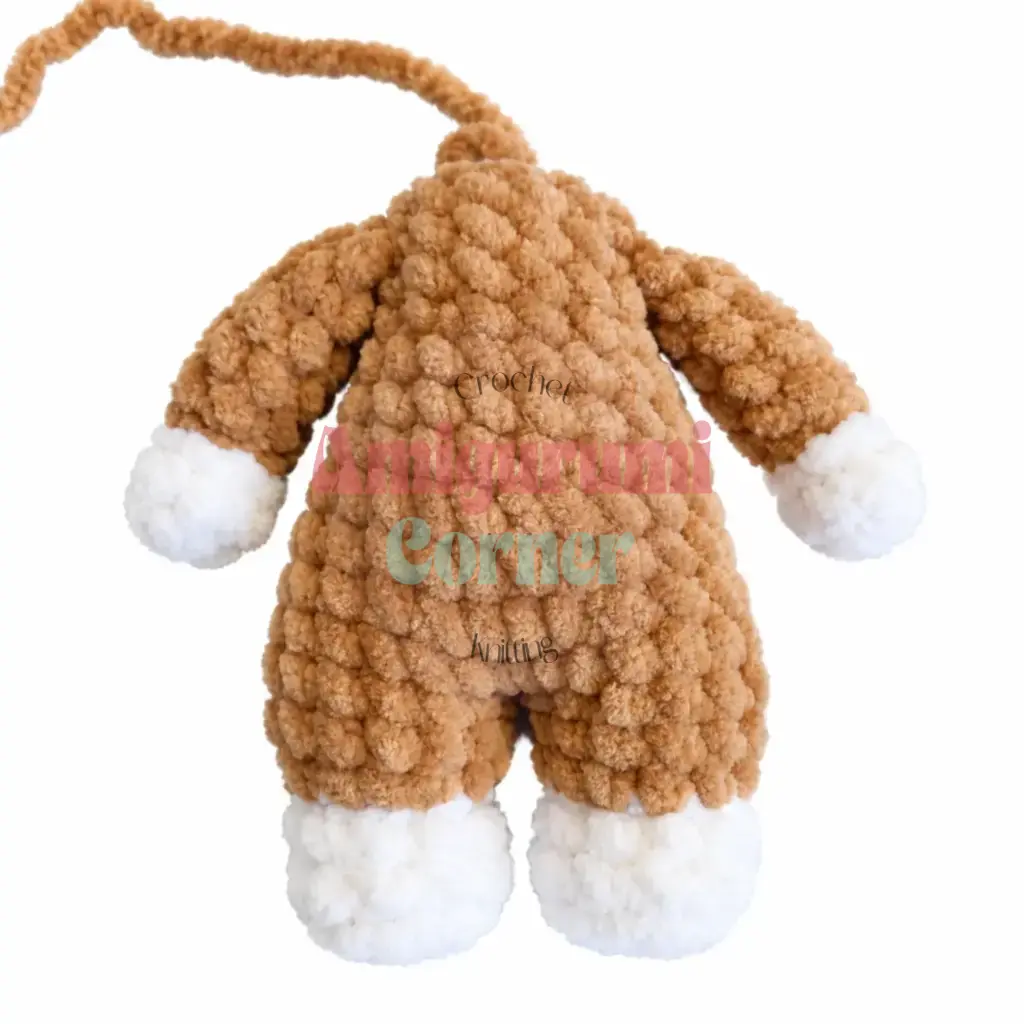
Donkey tail: The original pattern notes that the donkey tail should be attached at Rnd 10 of the body (on the left side) before continuing. No written instructions are provided; attach a bundle of yarn tails in the accent color, knotting them securely and trimming to length.
Embellishment: On Rounds 10-11 of the body (left side), embroider a small flower shape and attach a rhinestone at its center with a drop of instant-dry adhesive.
Assembly
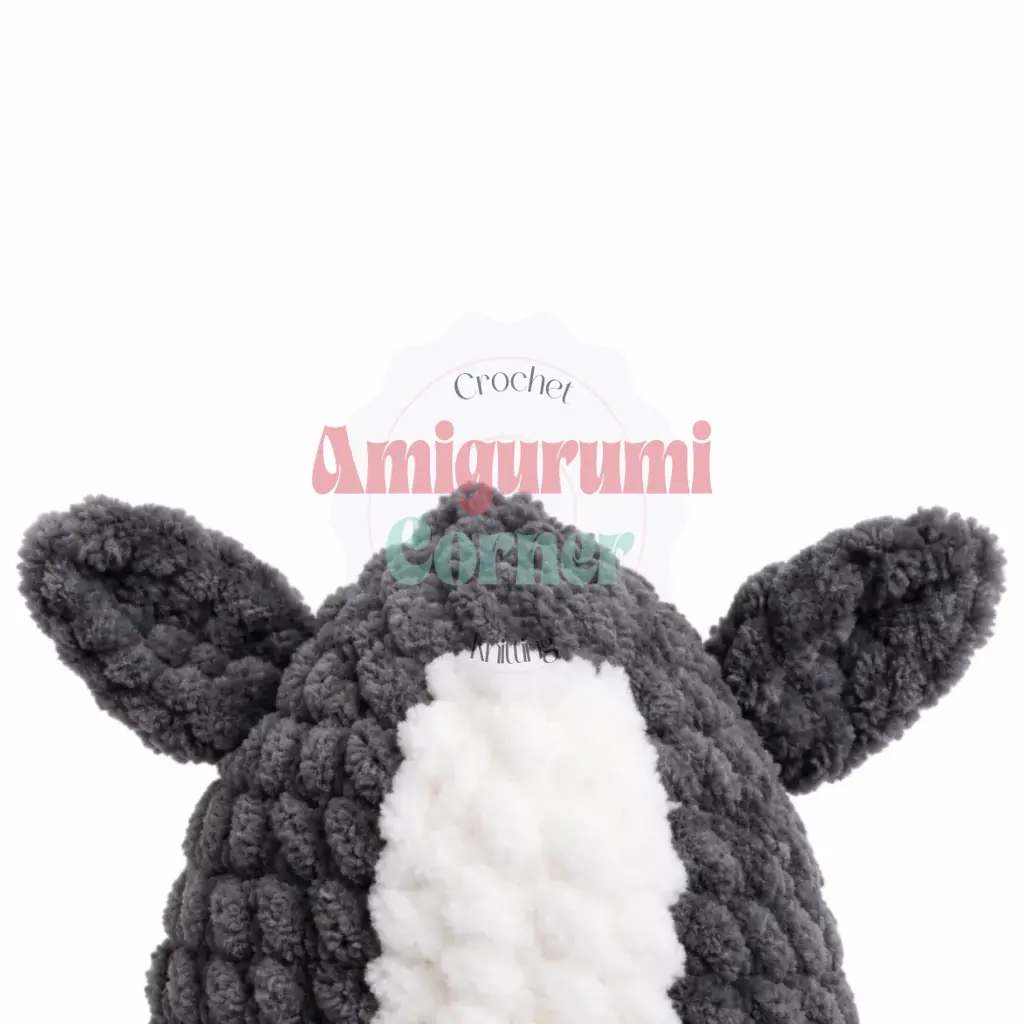
Note: The original pattern provides only photographs for the lower lip shaping, the needle-sculpting steps (pulling yarn through the head with a long needle and strong thread to create slight indents around the eyes and muzzle), and the ear construction for all three versions (pony, donkey, and unicorn). The embroidery and embellishment steps below are described in full from the original text.
Using white embroidery yarn, wrap around the outer edge of each eye to frame it. Using black embroidery yarn, wrap along the upper edge of each eye. Attach the decorative eyelashes with a small drop of instant-dry adhesive. On Round 27, embroider the eyebrows in black. On the Rnd 22.3 shaping row, embroider the nostrils in black. Refine the muzzle shape. Using white yarn, embroider short stitches along both sides and across the top of the white muzzle strip to clean up the color boundary. Using white yarn, embroider the “walls” of the muzzle to give it a soft, dimensional appearance. Use small white stitches to cover any main color yarn that peeks through along the edges of the muzzle. Tie all yarn tails together and weave them securely inside the head.
Tips
- Keep your tension tight throughout. Himalaya Dolphin Baby is a fluffy, chunky yarn that can hide small gaps, but loose tension creates a floppy toy that doesn’t hold its shape. If you can see the stuffing, go down a hook size.
- Work color changes cleanly in the muzzle section. Always complete the stitch before the color change in the old color, then use the new color only for the final yarn-over of that stitch. This creates a crisp boundary. Cutting and tying rather than carrying the yarn is essential here: the fabric is too thick for carried floats to lay flat invisibly.
- Stuff incrementally. Add fiberfill little by little as you close each section, rather than stuffing everything at once at the end. The body and head are particularly important to get right: overstuffed, the toy feels stiff and the needle-sculpting won’t work; understuffed, the toy droops and loses its shape.
- Use a firm invisible decrease for the head. Insert your hook under the front loops only of the next two stitches, then complete as a single sc. This eliminates the “V” gap that a standard decrease leaves, which is especially noticeable in the close-up curves of the muzzle area.
- Don’t skip the spiral correction technique. Without it, your color-change muzzle column will lean to the right by several stitches per 10 rounds, and the white muzzle strip won’t sit symmetrically on the face. Taking the time to correct your spiral at the beginning will save you from ripping back the entire head section later.
FAQs
Can I use a different yarn than Himalaya Dolphin Baby?
Yes, you can substitute the yarn, but be aware that the finished size and texture will change. Himalaya Dolphin Baby is a bulky, fluffy yarn that creates a specific soft look. If you use a standard worsted weight yarn, you will likely need a smaller hook (such as 3.5 mm or 4 mm) and the finished toy will be smaller and less plush.
How do I prevent the spiral from drifting to the right?
The pattern includes a specific technique for this. In each round, after you insert your hook and pull up a loop, bring the working loop slightly to the left before completing the single crochet. This subtle adjustment keeps your rounds stacking vertically rather than spiraling diagonally, which is crucial for keeping the muzzle centered.
Why do I need to cut the yarn for color changes instead of carrying it?
Because the yarn is thick and fluffy, carrying the yarn across the back of the work creates bulky floats that can show through or distort the shape. Cutting the yarn and tying the ends securely inside the piece ensures a clean color change and a smooth exterior.
What is needle-sculpting?
Needle-sculpting is a technique used to create subtle indentations in the head, such as around the eyes and muzzle. After stuffing the head, you use a long needle and strong thread to pull through the stuffing and yarn, creating slight dimples that give the face more dimension and expression.
How do I attach the ears if there are no written instructions?
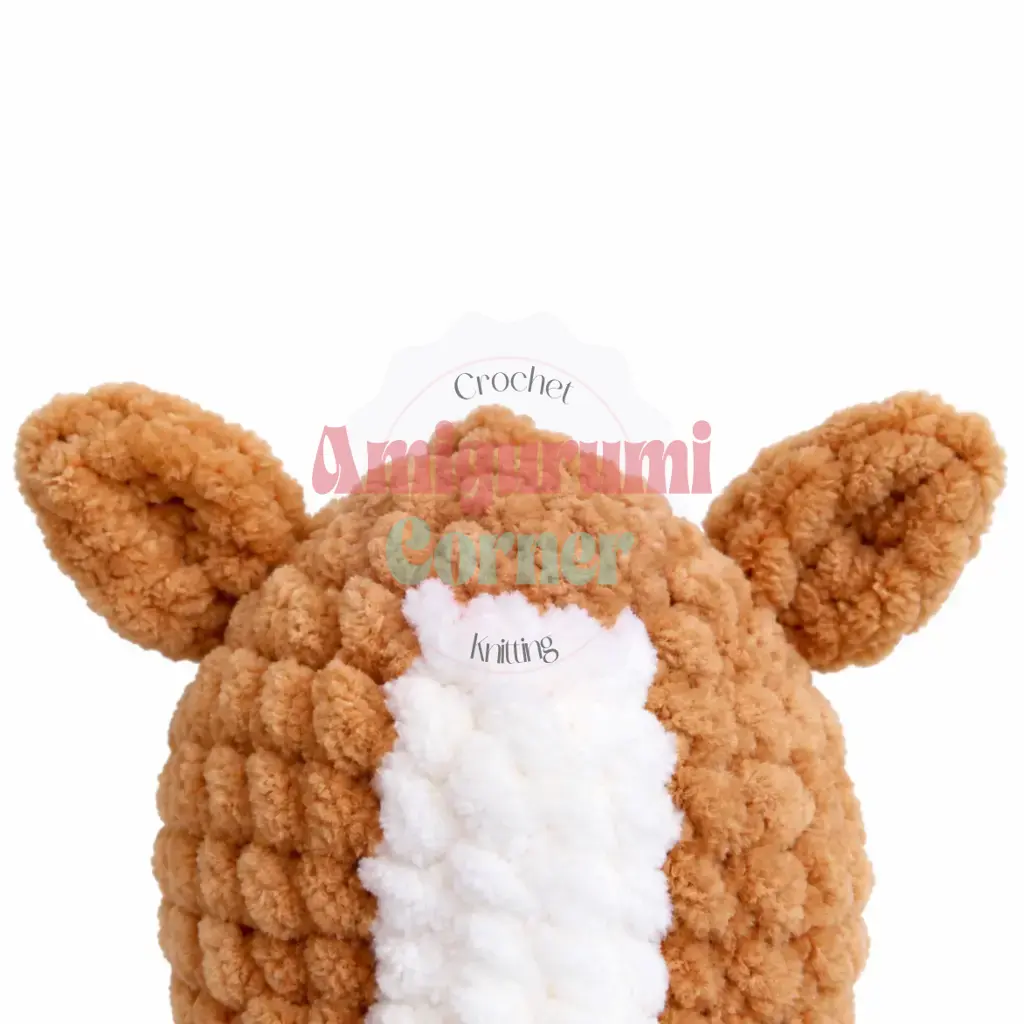
The original pattern provides photographs for the ear construction. Generally, you will crochet the ears separately and then sew them onto the top of the head. For the pony and unicorn, the ears are typically pointed, while the donkey ears are longer and more floppy. Position them according to the reference images and sew them securely in place.
Is this pattern suitable for beginners?
This pattern is rated for intermediate crocheters. It involves working in a continuous spiral, managing multiple color changes, and performing specific shaping techniques like working in the front and back loops only. If you are a beginner, you might find the color changes and spiral correction challenging, but it is a great project to learn these skills.
Pin This Crochet Pattern!