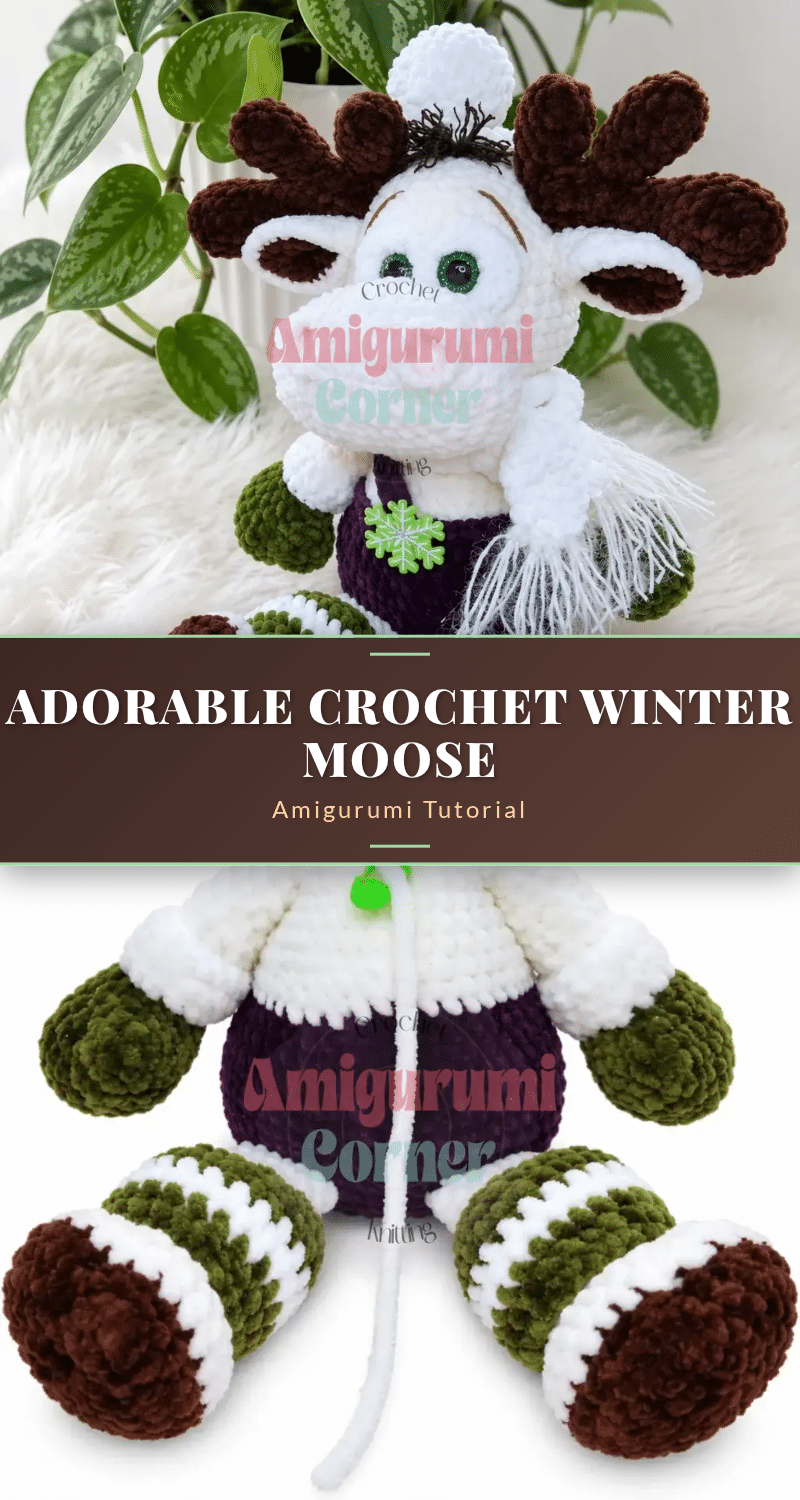
Picture a plump, rosy-cheeked moose bundled up in a green hat with a white pompom, a cozy scarf wrapped around his neck, and little mitten-tipped arms ready for a winter adventure. That image is exactly what this Winter Moose amigurumi pattern delivers: a charming, seated stuffed moose standing about 27 cm tall, complete with antlers, a sculpted muzzle, striped gaiters, and a snappy pair of suspenders. This is an intermediate-level crochet amigurumi project, ideal for anyone who is comfortable working in continuous spirals and wants to stretch their skills into multi-piece construction and colorwork details. The body and head are worked as one continuous piece, which keeps the finished toy sturdy and seamless through the torso. Every accessory, from the tiny pompom to the fringed scarf, is crocheted separately and assembled at the end, giving you full control over the character your moose takes on.
Grab your hook and let’s get started. If you are looking for more festive projects to complete your holiday crafting, you might also enjoy this adorable festive crochet amigurumi trio pattern for a complete holiday set.
Yarn and Color Notes
Choosing the right yarn palette is what brings this moose to life. The pattern calls for a mix of textures and colors to create a truly cozy character. The main body uses a soft pearl/cream color, while the legs and ears feature a rich dark brown to ground the design. For the winter accessories, the pattern suggests using a vibrant green for the hat and mittens, paired with a crisp white for the scarf and gaiters. The purple yarn adds a playful pop for the pants and suspenders. Don’t forget the velvet yarn for the eye bases—it adds a professional, plush finish that elevates the face. Using these specific yarns ensures the moose has the right weight and drape for stuffing and assembly.
Project Overview
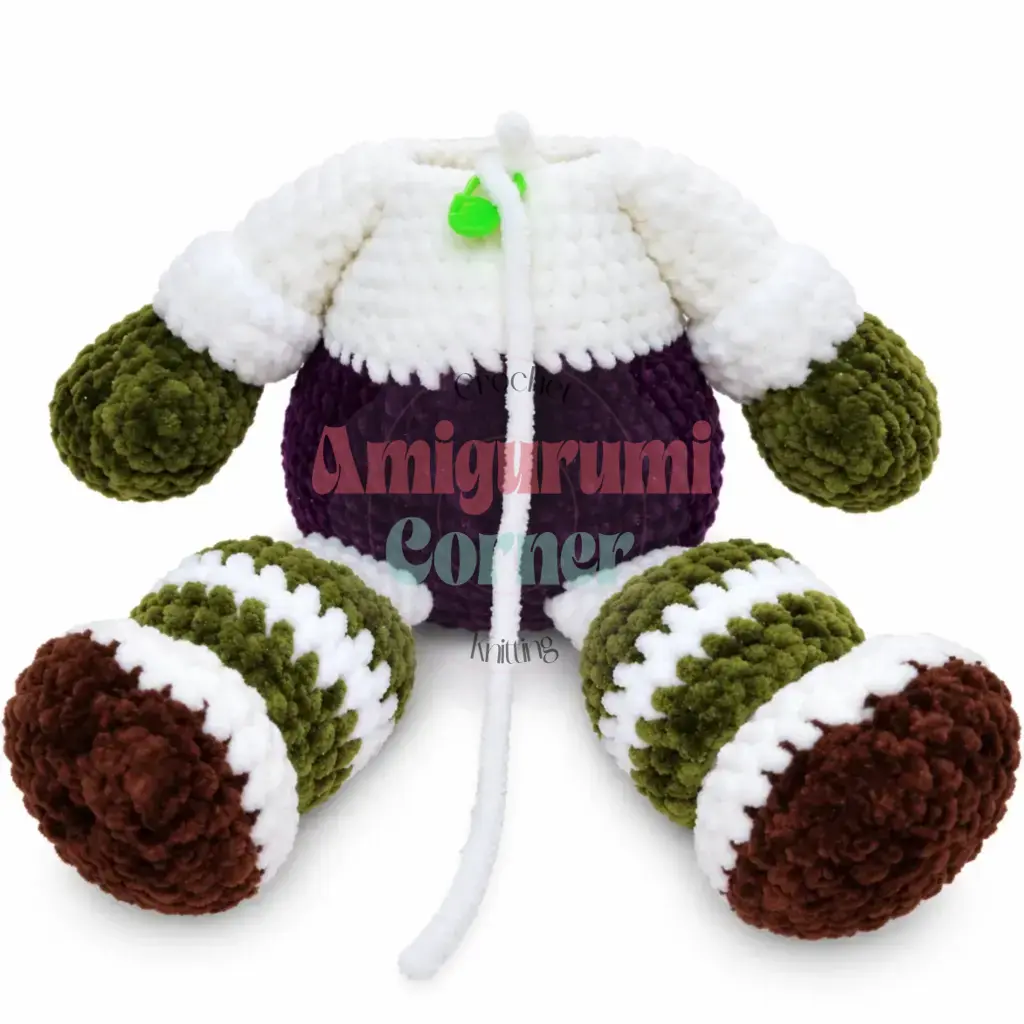
This pattern creates a 27 cm tall seated moose amigurumi. The project involves crocheting multiple components—including arms with mittens, legs, a body/head piece, ears, antlers, and various accessories—and assembling them into a cohesive character. The body and head are worked in one continuous piece, while other parts like the ears and scarf are worked in flat rows.
Materials
- Yarn (pearl/cream): HIMALAYA Dolphin Baby, pearl (80363), 120 g. This is the main body color.
- Yarn (dark brown): HIMALAYA Dolphin Baby, dark brown (80336), 48 g. Used for hooves/feet and ears.
- Yarn (white): HIMALAYA Dolphin Star, white (92101), 50 g. Used for arm cuffs, gaiters, and scarf.
- Yarn (green): HIMALAYA Dolphin Star, green (92161), 43 g. Used for mittens, gaiters, and hat.
- Yarn (purple): HIMALAYA Dolphin Star, purple (92128), 42 g. Used for body/pants and suspenders.
- Yarn (white velvet): HIMALAYA Velvet, white (90001), 5 g. Used for eye bases.
- Yarn (brown, thin): Yarnart Jeans, brown (40), small amount for embroidering eyebrows.
- Yarn (dark brown, thin): Yarnart Jeans, dark brown (70), small amount for the forelock fringe.
- Yarn (white, decorative): Yarnart Christmas, white (02), small amount for scarf fringe trim.
- Hook: E-4 / 3.5 mm
- Safety eyes: 18 mm diameter, 2
- Stuffing: polyester fiberfill
- Stitch markers
- Yarn needle / tapestry needle
- Scissors
- Pink dry pastel or eyeshadow for tinting the nostrils
- One button or iron-on patch for decorating the suspenders
- Craft glue (clear-drying, such as a crystal-bond type) or a low-temperature glue gun
Gauge and Finished Size
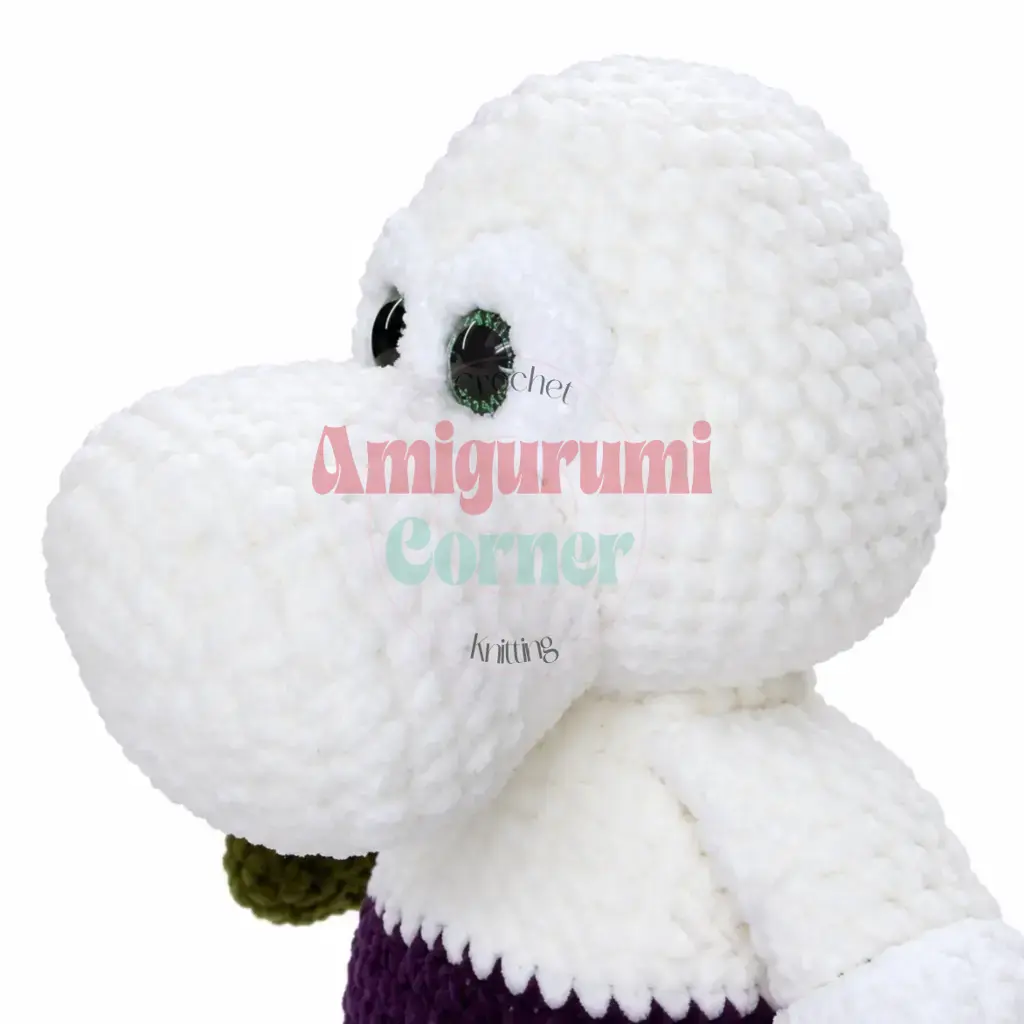
Gauge is not critical for this project; however, your finished toy’s size and yarn consumption will vary depending on your personal tension. The finished seated height is approximately 27 cm.
Abbreviations
- BLO: Back Loop Only
- ch: Chain
- dec: Decrease (invisible decrease)
- dc: Double Crochet
- FLO: Front Loop Only
- inc: Increase (2 sc in the same stitch)
- MR: Magic Ring
- Rnd: Round
- Row: Row
- sc: Single Crochet
- sk: Skip
- sl st: Slip Stitch
- SM: Stitch Marker
- st / sts: Stitch / Stitches
Pattern Notes
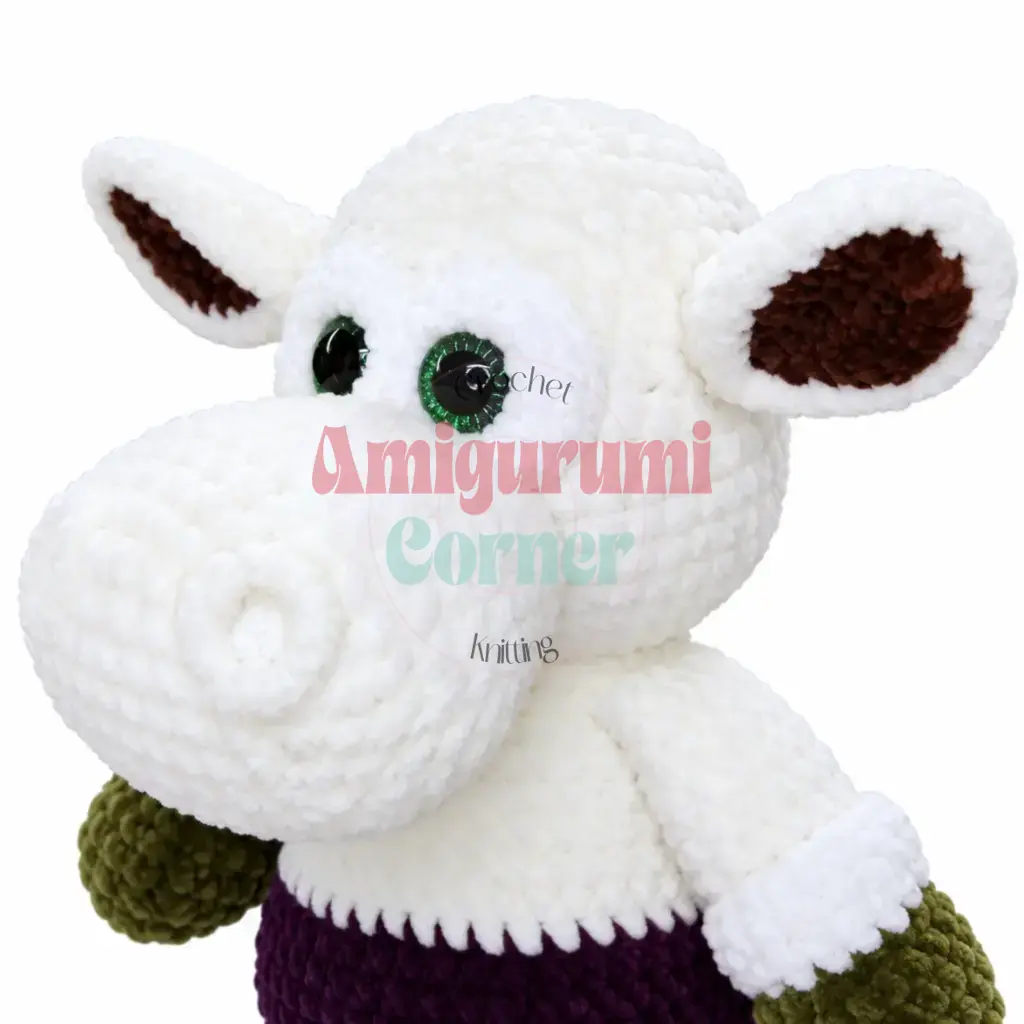
This pattern is written in US crochet terminology. The body and head are worked as one continuous piece in a continuous spiral (no joining, no turning), starting from the bottom of the body. All other components are also worked in a continuous spiral unless otherwise noted. The ears and scarf are worked in flat rows. Stitch counts are given in parentheses at the end of each round or row: (24). For a plump, firm result, stuff the body and head by pushing fiberfill outward from the center toward the sides, then adding more fiberfill to the center. This technique prevents flat spots. Do not stuff the top 3 rounds of any limb before it is joined to the body. Safety eyes (18 mm) are inserted between Rnds 39-40 of the Body and Head piece before the opening is fully closed. The eye bases are crocheted separately and sewn on after the eyes are secured. The stitch marker for the body/head runs along the front center of the piece throughout.
Pattern Instructions
Arms with Mittens (make 2)
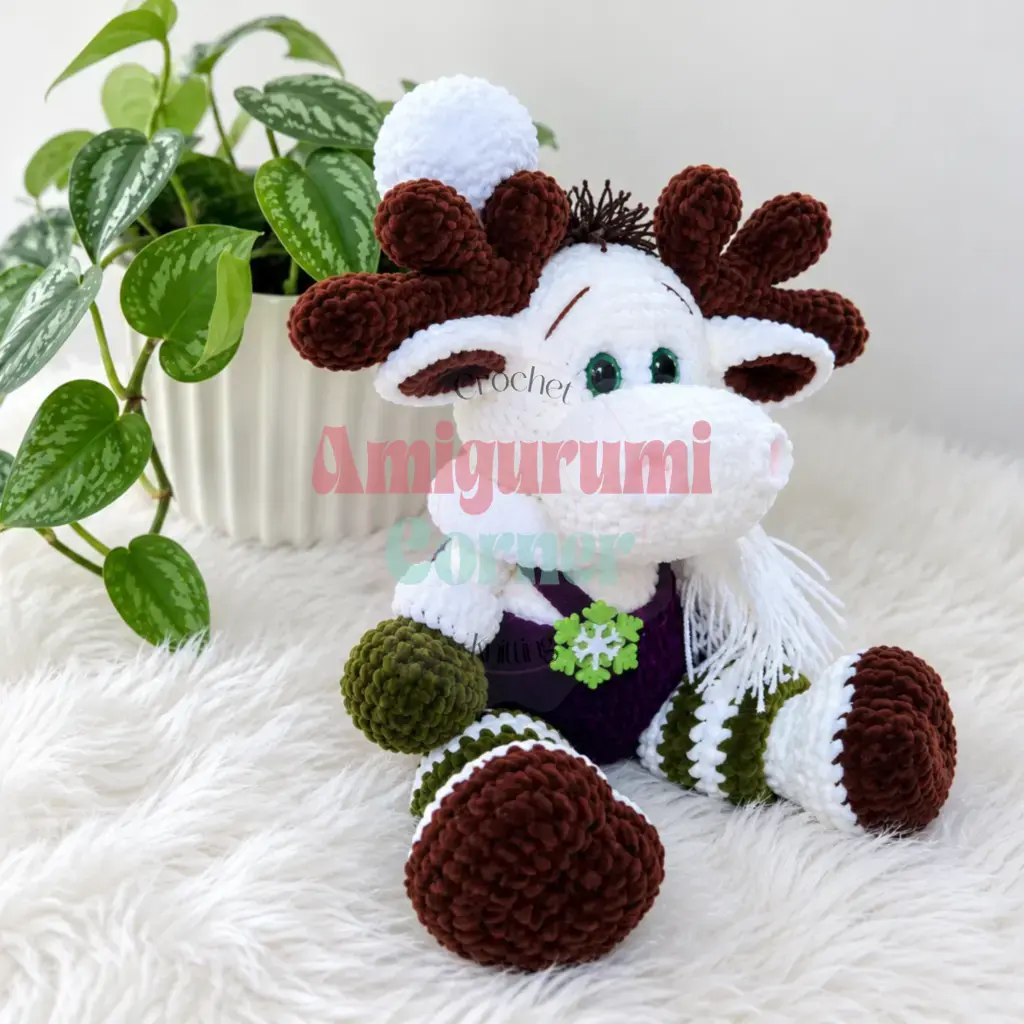
Work with green yarn (92161) and an E-4 / 3.5 mm hook. Each mitten is made of two parts joined together.
Part 1: Thumb
- Rnd 1: Ch 2, work 6 sc in the second ch from hook, continue working in the round (MR). (6)
- Rnd 2: inc in each st around. (12)
- Rnd 3: sc in each st around. (12)
Fasten off and leave a tail. Set aside.
Part 2: Mitten
- Rnd 1: Ch 2, work 6 sc in the second ch from hook, continue working in the round (MR). (6)
- Rnd 2: inc in each st around. (12)
- Rnd 3: 3 sc, inc repeat 3 times around. (15)
- Rnd 4: 4 sc, inc repeat 3 times around. (18)
- Rnd 5: 5 sc, inc repeat 3 times around. (21)
- Rnd 6: Join the thumb here: 6 sc working through both the mitten and the thumb simultaneously, 15 sc across the mitten. (21)
- Rnd 7: 6 sc along the other side of the thumb opening, 15 sc across the mitten. (21)
- Rnd 8: 5 sc, dec repeat 3 times around. (18)
- Rnd 9: 4 sc, dec repeat 3 times around. (15)
Lightly stuff the mitten now. Continue stuffing as you work up the arm, leaving the top 3 rounds unstuffed.
Switch to pearl yarn (80363).
- Rnd 10: Working in BLO: dec, 13 sc. (14)
- Rnds 11-20: sc in each st around. (14) (10 rounds)
Now attach white yarn (92101) to Rnd 10 and work 14 sc in FLO across the 14 stitches of Rnd 10 (1 round). Do not cut this yarn. Continue working in the round in both loops for 3 more rounds. Fasten off and weave in ends.
Legs (make 2)
Work with dark brown yarn (80336) and an E-4 / 3.5 mm hook.
- Rnd 1: Ch 2, work 6 sc in the second ch from hook, continue working in the round (MR). (6)
- Rnd 2: inc in each st around. (12)
- Rnd 3: 2 sc, 3 inc, 3 sc, 3 inc, 1 sc. (18)
- Rnd 4: 2 sc, 1 sc, inc repeat 3 times, 3 sc, 1 sc, inc repeat 3 times, 1 sc. (24)
- Rnd 5: 2 sc, 2 sc, inc repeat 3 times, 3 sc, 2 sc, inc repeat 3 times, 1 sc. (30)
- Rnd 6: 2 sc, 3 sc, inc repeat 3 times, 3 sc, 3 sc, inc repeat 3 times, 1 sc. (36)
- Rnd 7: sc in each st around. (36)
Work 9 sc, then move your stitch marker to this new position so it sits at the center of the heel. This is now the start of the round.
Switch to pearl yarn (80363).
- Rnd 8: Working in BLO: sc in each st around. (36)
- Rnds 9-10: sc in each st around. (36) (2 rounds)
- Rnd 11: 12 sc, 6 dec, 12 sc. (30)
- Rnd 12: 9 sc, 6 dec, 9 sc. (24)
- Rnd 13: 2 sc, dec repeat 6 times around. (18)
Stuff the leg now. Continue stuffing as you work upward. Leave the top 3 rounds unstuffed.
- Rnd 14: 2 dec, 10 sc, 2 dec. (14)
- Rnd 15: Working in BLO: sc in each st around. (14)
- Rnds 16-24: sc in each st around. (14) (9 rounds)
Leg Sculpting
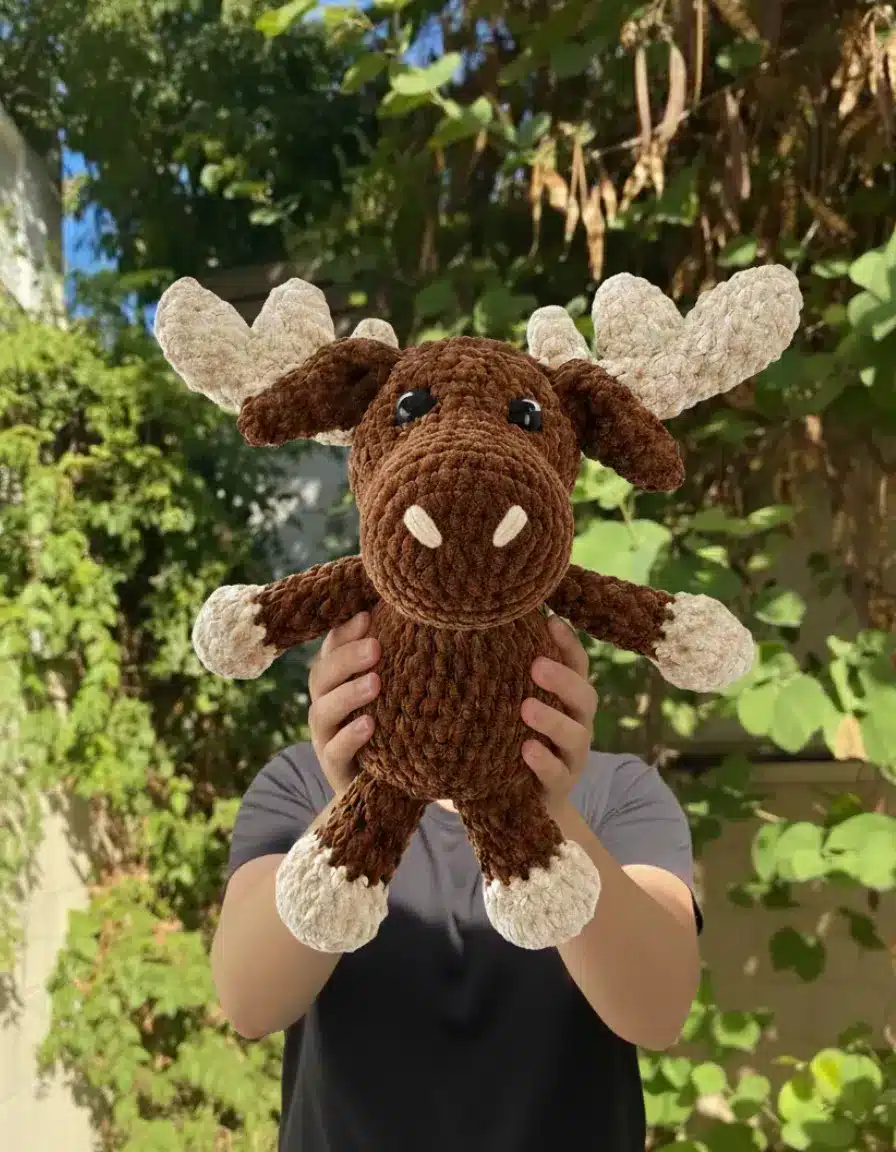
To shape each leg, thread a yarn needle from the bottom center of the leg up through to the top of the leg, exiting between Rnds 11-12. Leave a short tail at the bottom. Re-enter at the same bottom point, pull both yarn ends firmly to create a slight indent that gives the leg a natural bend, tie them together in a secure knot, trim the ends, and tuck them inside the leg.
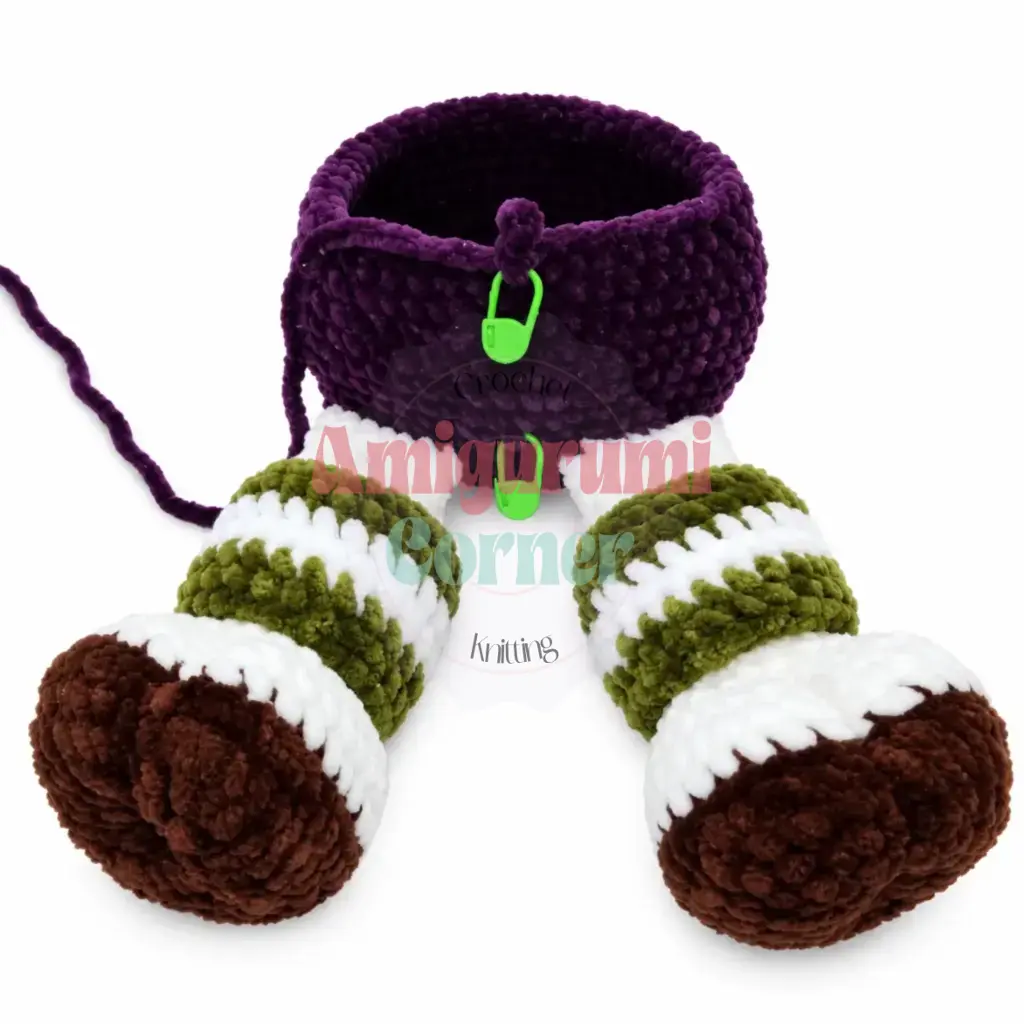
Gaiters (make 2)
Work with green yarn (92161) and an E-4 / 3.5 mm hook.
Chain 24 and join into a ring with a sl st to form a tube. Place a stitch marker and work in continuous rounds.
- Rnds 1-2: sc in each st around. (24) (2 rounds)
Switch to white yarn (92101).
- Rnds 3-4: sc in each st around. (24) (2 rounds)
Switch to green yarn (92161).
- Rnds 5-6: sc in each st around. (24) (2 rounds)
Fasten off and weave in ends. Slide the gaiters onto the legs.
Tail
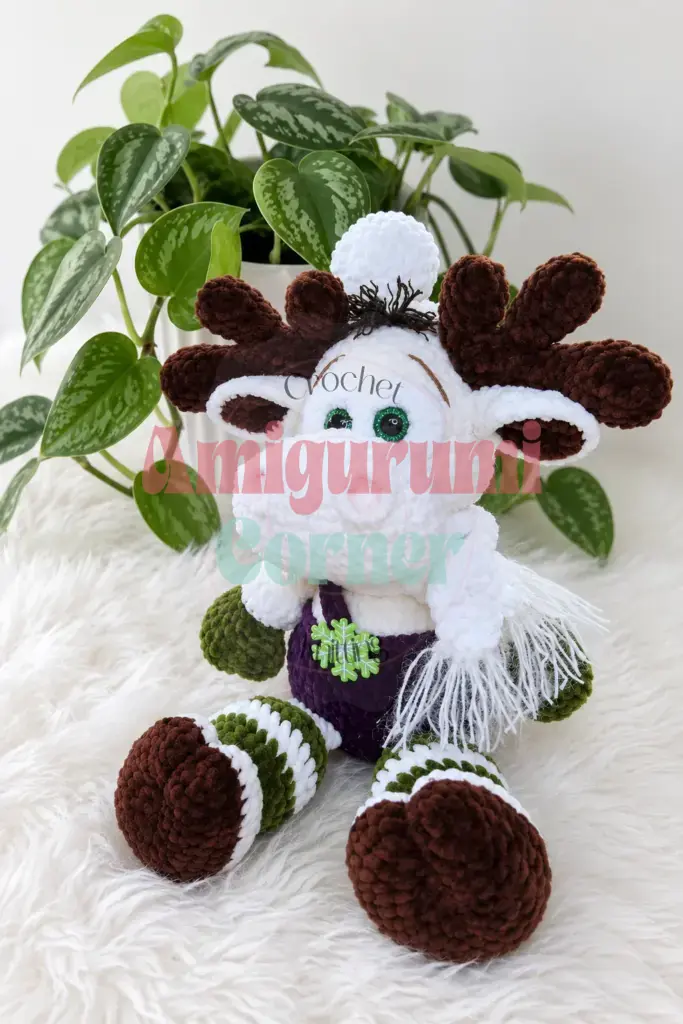
Work with pearl yarn (80363) and an E-4 / 3.5 mm hook.
- Rnd 1: Ch 2, work 6 sc in the second ch from hook, continue working in the round (MR). (6)
- Rnd 2: 2 sc, inc repeat 2 times around. (8)
- Rnd 3: 3 sc, inc repeat 2 times around. (10)
- Rnd 4: 4 sc, inc repeat 2 times around. (12)
- Rnd 5: 2 sc, inc repeat 4 times around. (16)
- Rnds 6-7: sc in each st around. (16) (2 rounds)
- Rnd 8: 6 sc, dec repeat 2 times around. (14)
- Rnd 9: 5 sc, dec repeat 2 times around. (12)
Fasten off. Do not stuff the tail.
Eye Bases (make 2)
Work with HIMALAYA Velvet white yarn (90001) and an E-4 / 3.5 mm hook.
First piece:
- Rnd 1: Ch 2, work 6 sc in the second ch from hook, continue working in the round (MR). (6)
- Rnd 2: inc in each st around. (12)
- Rnd 3: 3 sc, inc repeat 3 times around. (15)
Fasten off and weave in ends. Set aside.
Second piece:
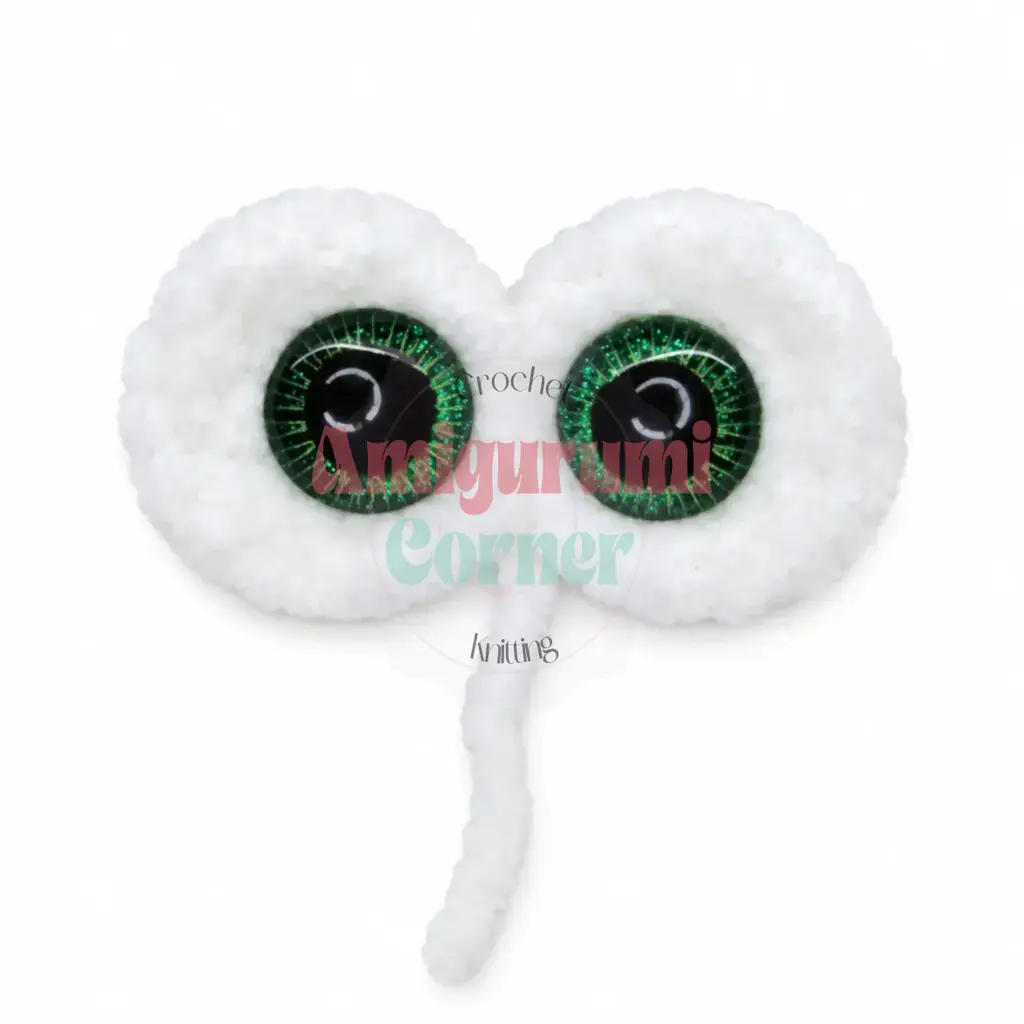
Work Rnds 1-3 exactly as for the first piece, then work 3 additional sc. Do not fasten off. Place the two pieces together with right sides facing outward (wrong sides together) and join them by working 3 sc through both layers simultaneously.
To position the safety eyes: measure 1 round up from the bottom edge of each eye base and 1 stitch in from the center, and mark the spot. Insert the safety eyes at those points from the front, but do not secure the backings yet. Set the joined eye base aside for now; you will attach it to the head later.
Body and Head (worked in one piece)
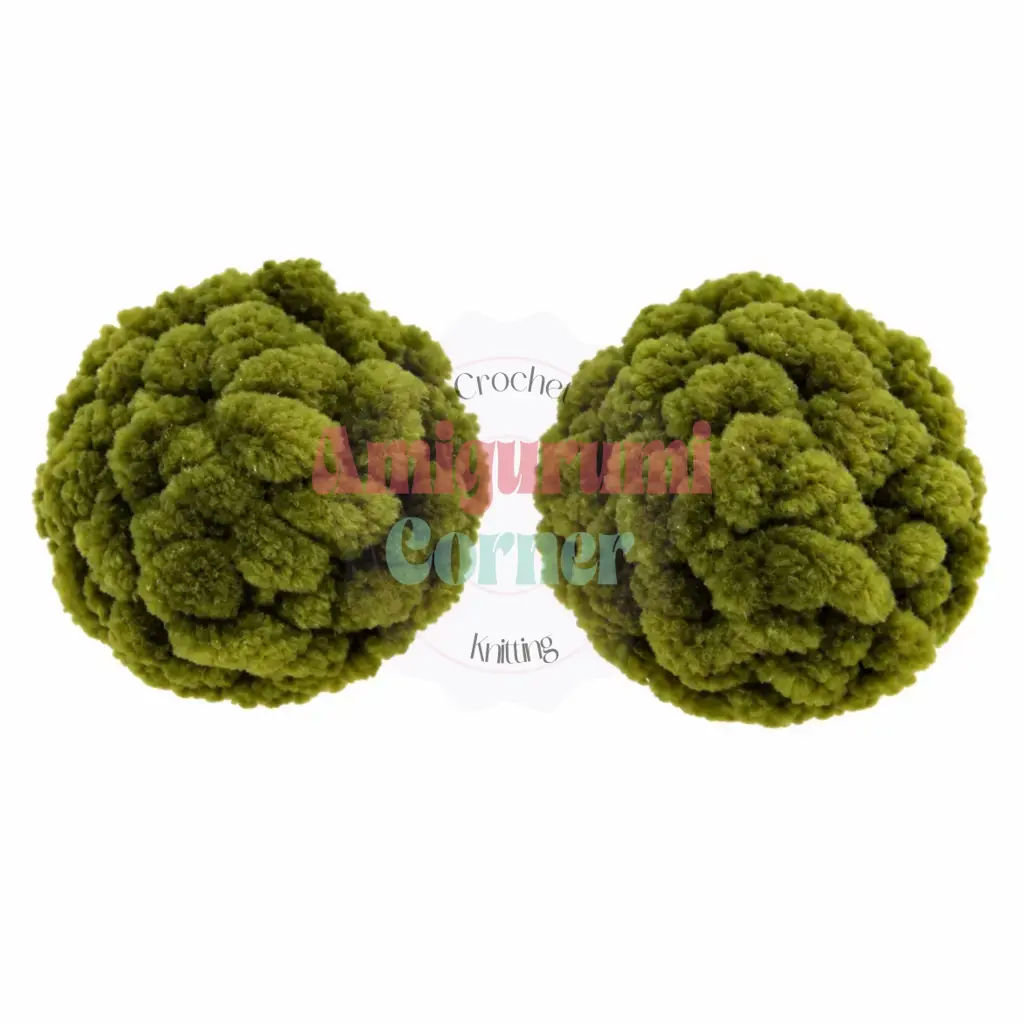
Work with purple yarn (92128) and an E-4 / 3.5 mm hook.
The stitch marker runs along the front center of the piece throughout.
- Rnd 1: Ch 2, work 6 sc in the second ch from hook, continue working in the round (MR). (6)
- Rnd 2: inc in each st around. (12)
- Rnd 3: 1 sc, inc repeat 6 times around. (18)
- Rnd 4: 1 sc, inc, 2 sc, inc repeat 5 times, 1 sc. (24)
- Rnd 5: 3 sc, inc repeat 6 times around. (30)
- Rnd 6: 2 sc, inc, 4 sc, inc repeat 5 times, 2 sc. (36)
- Rnd 7: 5 sc, inc repeat 6 times around. (42)
- Rnd 8: 3 sc, inc, 6 sc, inc repeat 5 times, 3 sc. (48)
- Rnd 9: 7 sc, inc repeat 6 times around. (54)
- Rnd 10: 4 sc, inc, 8 sc, inc repeat 5 times, 4 sc. (60)
- Rnd 11: Join the legs here, working sc through both the leg stitches and the body stitches simultaneously: 2 sc, 7 sc joining first leg, 42 sc across the body, 7 sc joining second leg, 2 sc. (60)
- Rnd 12: Join the tail here, working sc through both the tail stitches and the body stitches simultaneously: 28 sc, 3 sc joining the tail, 29 sc. (60)
- Rnds 13-16: sc in each st around. (60) (4 rounds)
- Rnd 17: 15 sc, 3 sc, dec repeat 6 times, 15 sc. (54)
- Rnd 18: 7 sc, dec repeat 6 times around. (48)
- Rnd 19: sc in each st around. (48)
Switch to pearl yarn (80363).
- Rnd 20: Working in BLO: sc in each st around. (48)
Stuff the body now, pushing fiberfill outward from the center toward the sides and adding more to the center.
- Rnd 21: 3 sc, dec, 6 sc, dec repeat 5 times, 3 sc. (42)
- Rnds 22-23: sc in each st around. (42) (2 rounds)
- Rnd 24: 5 sc, dec repeat 6 times around. (36)
- Rnd 25: sc in each st around. (36)
Add more stuffing to the body.
- Rnd 26: 2 sc, dec, 4 sc, dec repeat 5 times, 2 sc. (30)
- Rnd 27: Join the arms here, working sc through both the arm stitches and the body stitches simultaneously. Check that the arms are symmetrical: 3 sc, 7 sc joining first arm, 10 sc across the body, 7 sc joining second arm, 3 sc. (30)
- Rnd 28: sc in each st around. (30)
- Rnd 29: 3 sc, dec repeat 6 times around. (24)
Add more stuffing to the body. Do not fasten off. Continue working the head.
- Rnd 30: inc in each st around. (48)
- Rnds 31-37: sc in each st around. (48) (7 rounds)
- Rnd 38: 3 sc, dec, 6 sc, dec repeat 5 times, 3 sc. (42)
- Rnds 39-40: sc in each st around. (42) (2 rounds)
- Rnd 41: 5 sc, dec repeat 6 times around. (36)
- Rnds 42-43: sc in each st around. (36) (2 rounds)
Begin stuffing the head now. Continue adding fiberfill as you work.
- Rnd 44: 2 sc, dec, 4 sc, dec repeat 5 times, 2 sc. (30)
Insert the prepared eye bases (with safety eyes placed but not yet locked) between Rnds 39-40. Push the backings through the fabric from inside and lock them in place securely.
- Rnd 45: sc in each st around. (30)
- Rnd 46: 3 sc, dec repeat 6 times around. (24)
- Rnd 47: 1 sc, dec, 2 sc, dec repeat 5 times, 1 sc. (18)
- Rnd 48: 1 sc, dec repeat 6 times around. (12)
- Rnd 49: 6 dec. (6)
Pull the opening closed, fasten off, and weave in the end. Sew the eye bases onto the head.
Muzzle
Work with pearl yarn (80363) and an E-4 / 3.5 mm hook.
- Chain 8 + 1 turning chain.
- Row 1: Starting in the 2nd ch from hook: 7 sc, 3 sc in the last ch (corner), 6 sc along the opposite side of the foundation chain, inc. (18)
- Row 2: inc, 6 sc, 3 inc, 6 sc, 2 inc. (24)
- Row 3: 1 sc, inc, 6 sc, 1 sc, inc repeat 3 times, 6 sc, 1 sc, inc repeat 2 times. (30)
- Row 4: 2 sc, inc, 6 sc, 2 sc, inc repeat 3 times, 6 sc, 2 sc, inc repeat 2 times. (36)
- Row 5: 3 sc, inc, 6 sc, 3 sc, inc repeat 3 times, 6 sc, 3 sc, inc repeat 2 times. (42)
- Row 6: 4 sc, inc, 6 sc, 4 sc, inc repeat 3 times, 6 sc, 4 sc, inc repeat 2 times. (48)
- Row 7: sc in each st around. (48)
- Row 8: 4 sc, dec, 6 sc, 4 sc, dec repeat 3 times, 6 sc, 4 sc, dec repeat 2 times. (42)
- Row 9: 3 sc, dec, 6 sc, 3 sc, dec repeat 3 times, 6 sc, 3 sc, dec repeat 2 times. (36)
- Row 10: 2 sc, dec, 6 sc, 2 sc, dec repeat 3 times, 6 sc, 2 sc, dec repeat 2 times. (30)
- Rows 11-12: sc in each st around. (30) (2 rounds)
Fasten off, leaving a long tail for sewing. Stuff the muzzle and sew it onto the face just below the eyes.
Attach pearl yarn (80363) to the muzzle, approximately between Rows 1-5. Working clockwise, pick up 12 sc to form each nostril, leaving 4 to 5 sts between the two nostrils.
Ears (make 2)
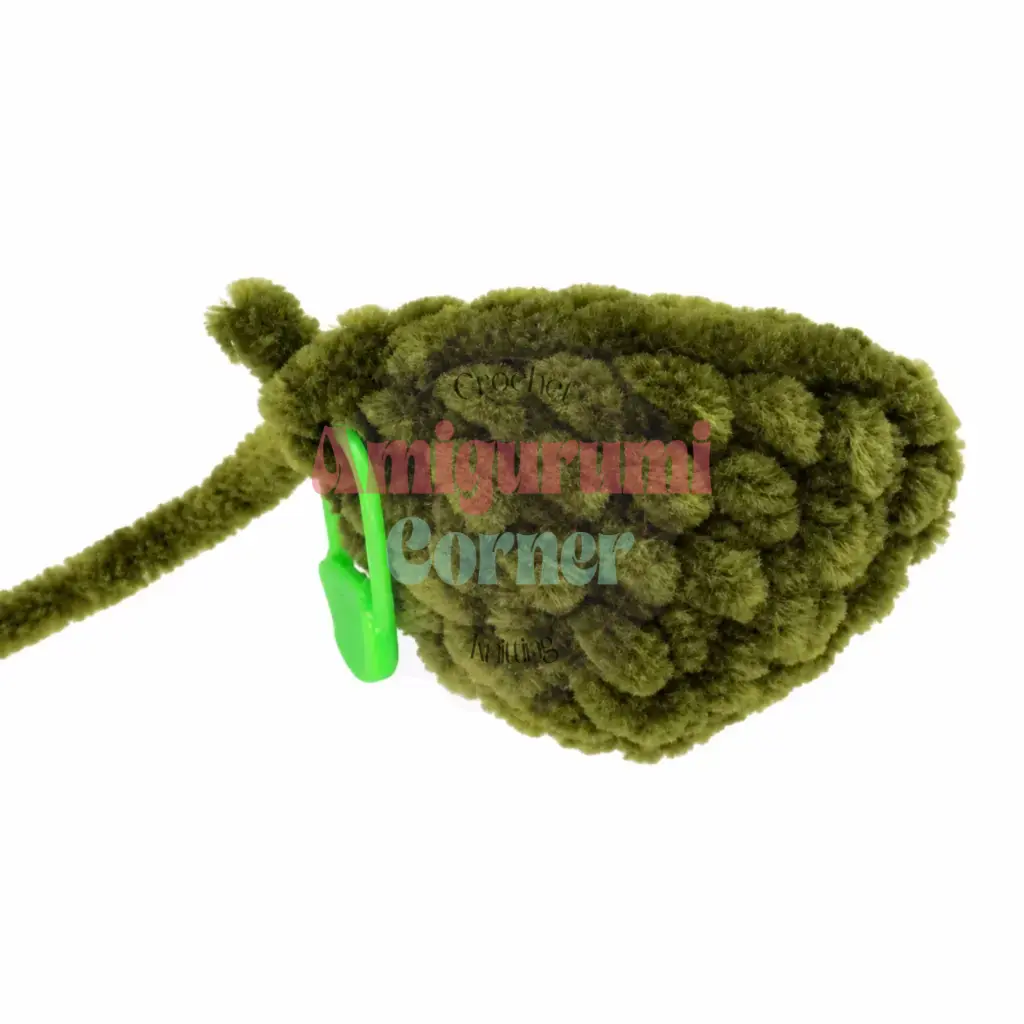
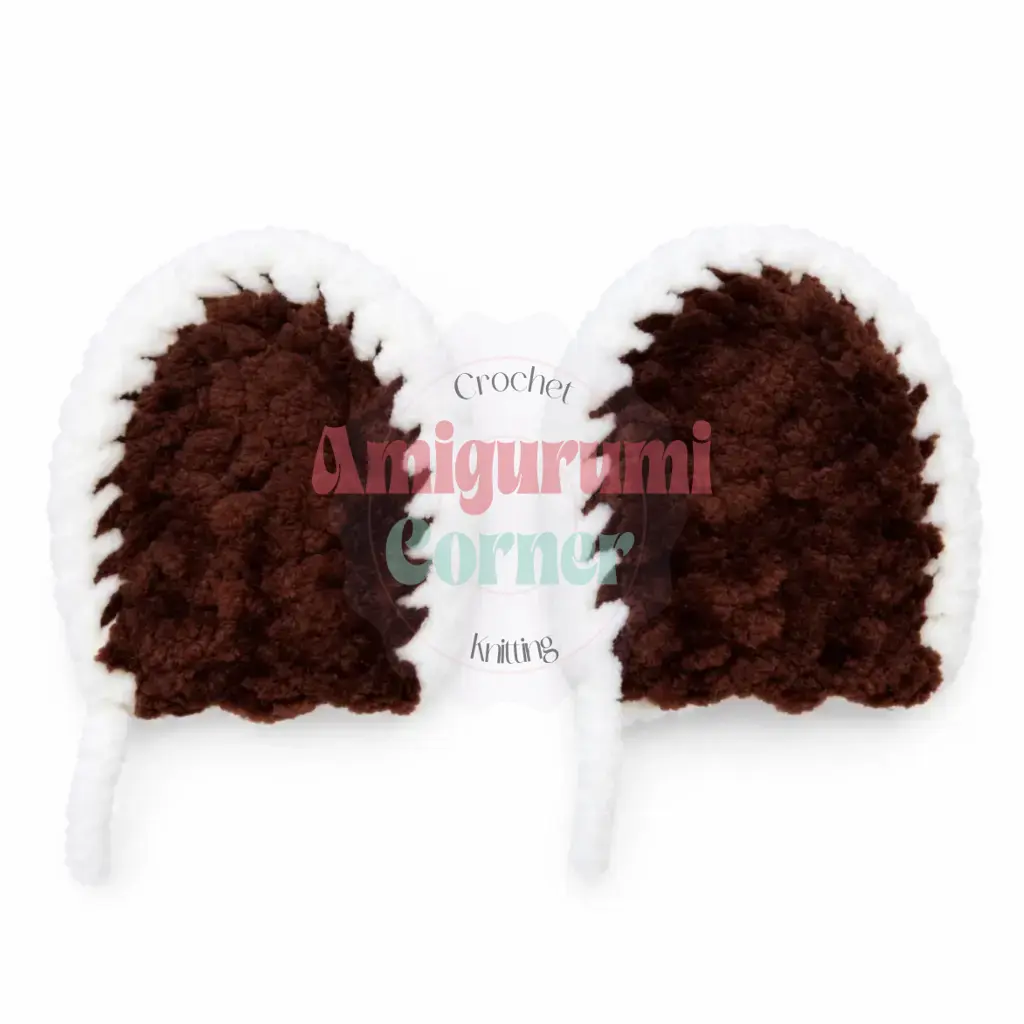
Each ear has two layers: one in dark brown (80336) and one in pearl (80363). Work with an E-4 / 3.5 mm hook.
Work the two dark brown layers first, in flat rows. Chain 8.
- Row 1: Starting in the 2nd ch from hook: 6 sc, 3 sc in the last st (corner), 6 sc, ch 1, turn.
- Row 2: 6 sc, inc, 3 sc in the center st, inc, 6 sc, ch 1, turn.
- Row 3: 6 sc, inc, 2 sc, 3 sc in the center st, 2 sc, inc, 6 sc.
Fasten off. Make a second dark brown layer the same way.
Now work two pearl layers using the exact same pattern. Do not fasten off the second pearl layer. Place one pearl and one dark brown layer together with wrong sides facing. Using the pearl yarn still attached, work sc around the entire edge through both layers to join them. Fasten off and weave in ends. Do not stuff the ears.
Fold each ear in half and sew the two sides together at the base to create a gentle cup shape. Sew the ears onto the head between Rnds 40-43, angled slightly forward.
Antlers
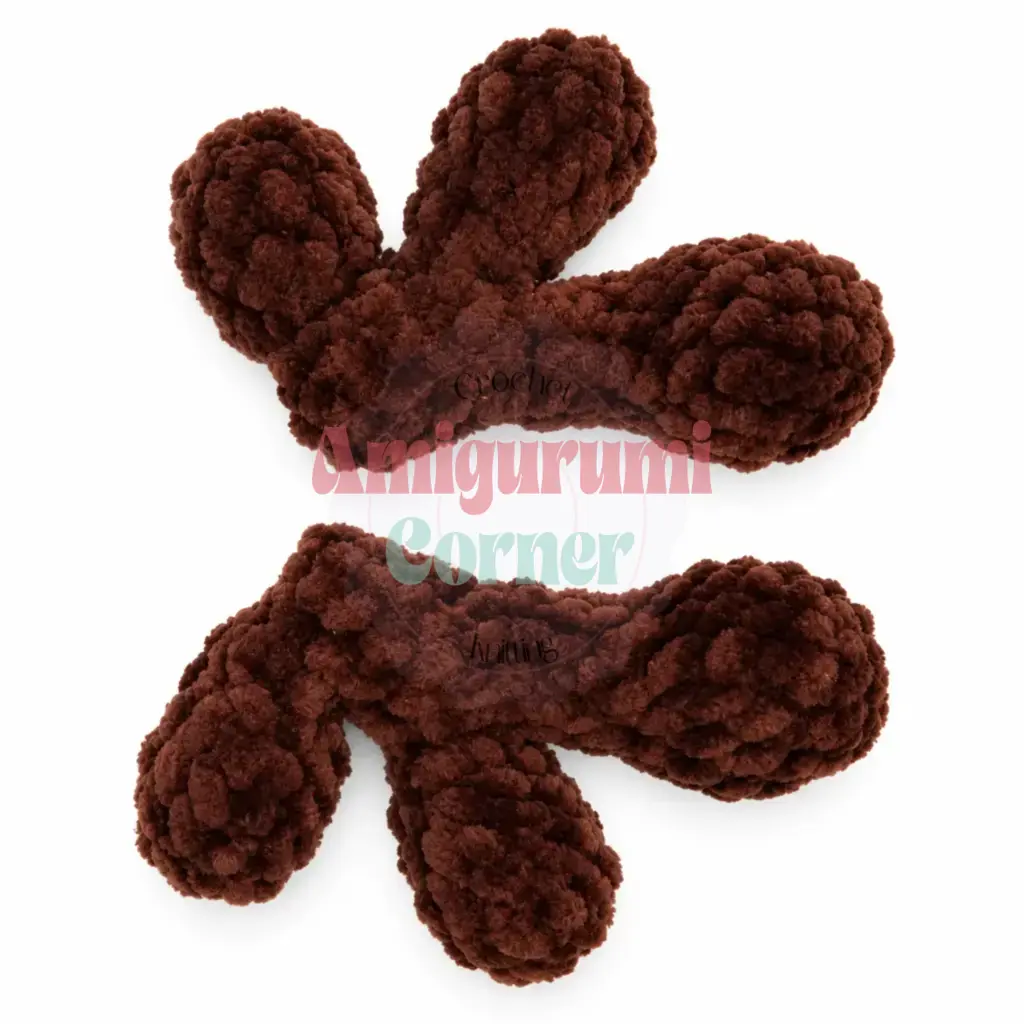
Work with dark brown yarn (80336) and an E-4 / 3.5 mm hook.
Each antler is made of three parts: one main piece and two branch pieces. Stuff each piece lightly as you work.
Main Piece:
- Rnd 1: Ch 2, work 6 sc in the second ch from hook, continue working in the round (MR). (6)
- Rnd 2: inc in each st around. (12)
- Rnd 3: 3 sc, inc repeat 3 times around. (15)
- Rnds 4-6: sc in each st around. (15) (3 rounds)
- Rnd 7: 3 sc, dec repeat 3 times around. (12)
- Rnd 8: 2 sc, dec repeat 3 times around. (9)
- Rnds 9-10: sc in each st around. (9) (2 rounds)
Set aside.
Branch Piece (make 2):
- Rnd 1: Ch 2, work 6 sc in the second ch from hook, continue working in the round (MR). (6)
- Rnd 2: inc in each st around. (12)
- Rnds 3-5: sc in each st around. (12) (3 rounds)
- Rnd 6: 2 sc, dec repeat 3 times around. (9)
Fasten off the first branch piece. Do not fasten off the second branch piece.
Now join the main piece to the second branch piece:
- Rnd 10: 9 sc across the main piece, 9 sc across the second branch piece. (18)
- Rnd 11: 1 sc, dec repeat 6 times around. (12)
- Rnds 12-13: sc in each st around. (12) (2 rounds)
- Rnd 14: 6 sc, then join the first branch piece and work 4 sc through both layers simultaneously, 2 sc. (12)
- Rnd 15: 6 sc along the main piece, 5 sc along the other side of the first branch piece, 2 sc along the main piece. (13)
Fasten off and weave in ends. Make a second antler the same way. Sew both antlers to the top of the head, just above the ears.
Overall Strap (Suspenders)
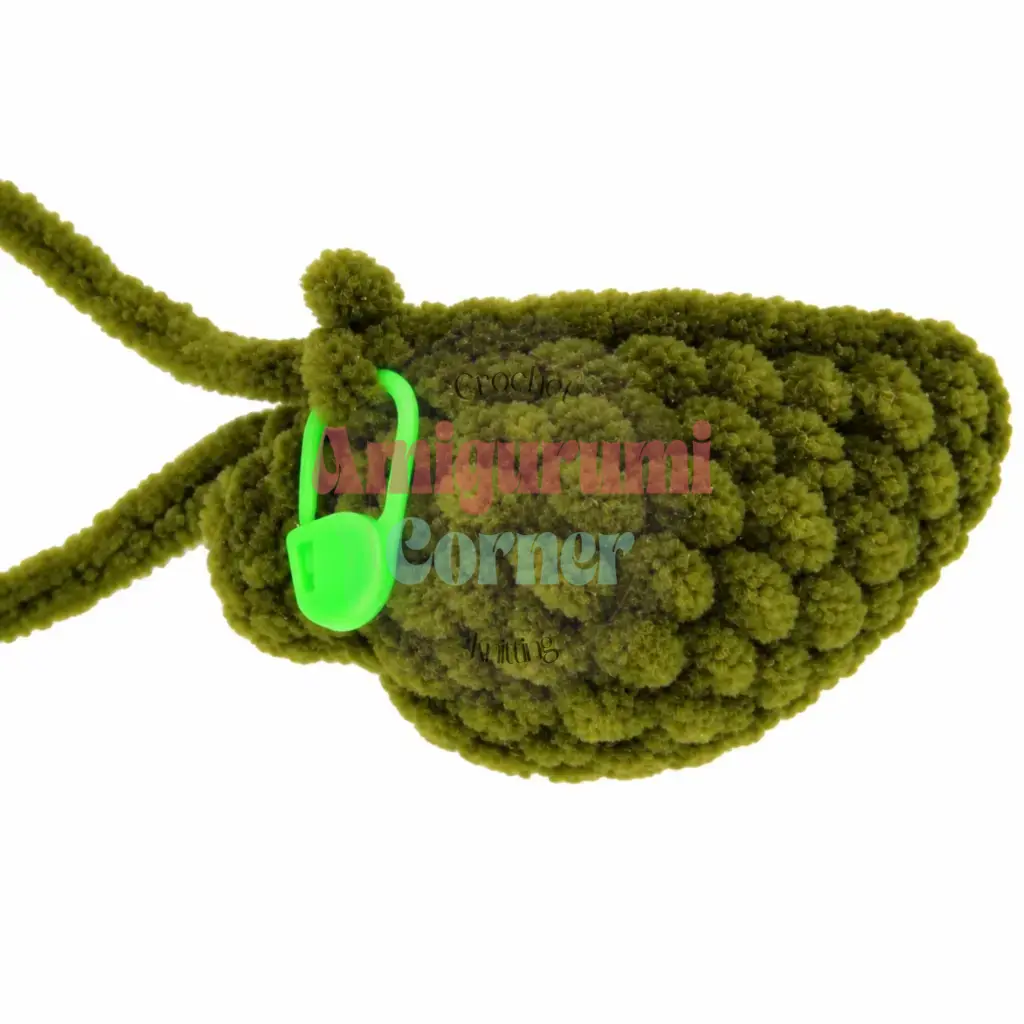
Work with purple yarn (92128) and an E-4 / 3.5 mm hook.
Working in FLO of Rnd 20, work 48 sc all the way around. Do not fasten off.
Chain 25 (try the strap on the toy; you may need slightly more or fewer chains to get a good fit).
Attach the chain to the back of the pants with a sl st, then work 24 sc back along the chain. Attach to the front of the pants with a sl st.
Decorate the front of the strap with a button or iron-on patch if desired.
Face Detailing
- Nostrils: Using pink dry pastel or eyeshadow, lightly color the inside of each nostril with a soft brush to create a warm, rosy tint.
- Eye base outlining: Thread a yarn needle with pearl yarn (80363). Enter the needle at one corner of the eye base and exit at the opposite corner, leaving a small tail. Run the yarn along the surface of the eye base, then enter at the center of the eye base and exit from below the muzzle. Re-enter from below the muzzle and exit at the top center of the eye base, run the yarn back along the surface, and re-enter at the starting corner. Secure and trim. To prevent the yarn from sagging, apply a small dot of clear-drying craft glue or use a glue gun to tack it in place.
- Eyebrows: Using brown Yarnart Jeans yarn (color 40), embroider eyebrows above the eyes with a yarn needle.
- Forelock fringe: Cut several short lengths of dark brown Yarnart Jeans yarn (color 70). Fold two strands in half together, use a smaller hook to pull the loop through the top of the head at the center between the antlers, then draw the ends through the loop and pull snug. Repeat until you have a full fringe. Trim the forelock to your desired length, then use a needle to separate each strand into individual plies for a fluffy, natural look.
Pompom
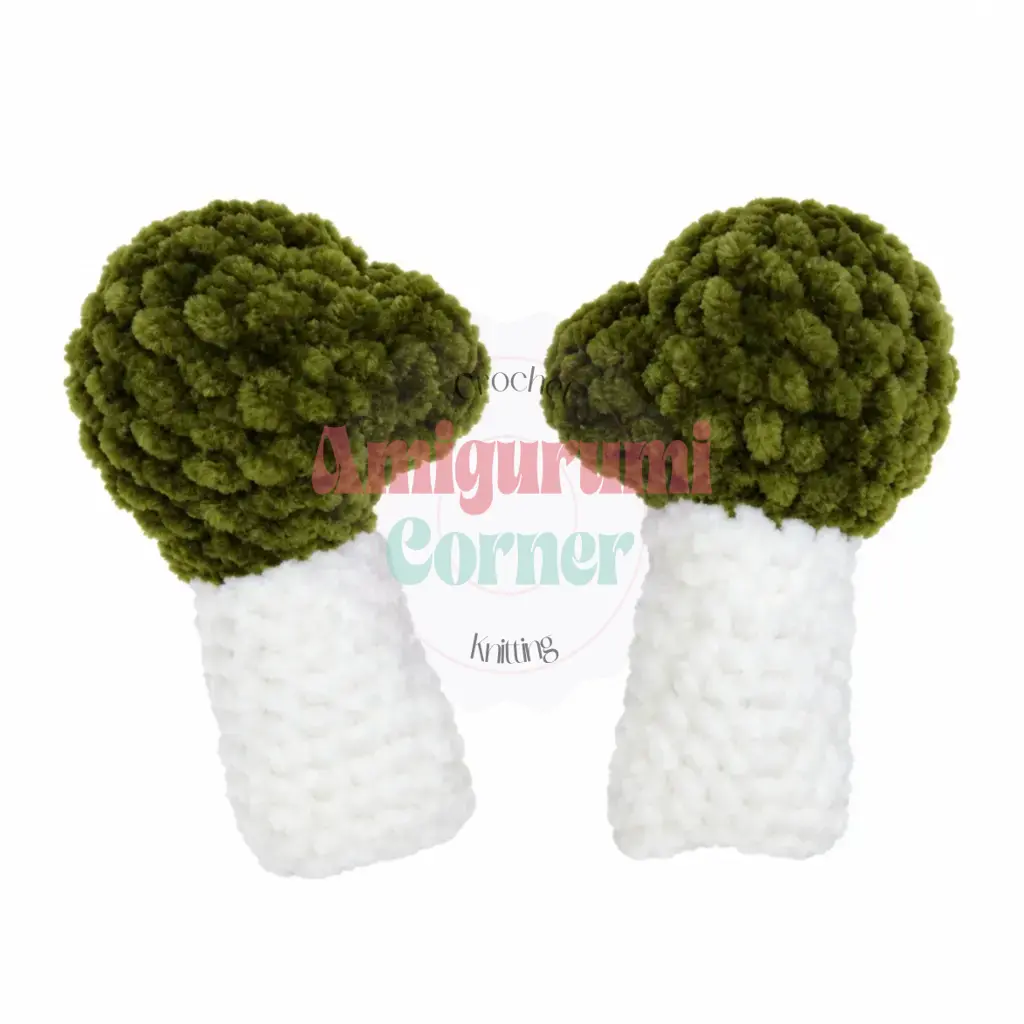
Work with white yarn (92101) and an E-4 / 3.5 mm hook.
- Rnd 1: Ch 2, work 6 sc in the second ch from hook, continue working in the round (MR). (6)
- Rnd 2: inc in each st around. (12)
- Rnd 3: 1 sc, inc repeat 6 times around. (18)
- Rnd 4: 2 sc, inc repeat 6 times around. (24)
- Rnds 5-8: sc in each st around. (24) (4 rounds)
- Rnd 9: 2 sc, dec repeat 6 times around. (18)
Stuff firmly.
- Rnd 10: 1 sc, dec repeat 6 times around. (12)
Fasten off, add a little more stuffing through the remaining opening, then close the opening and weave in the end.
Hat
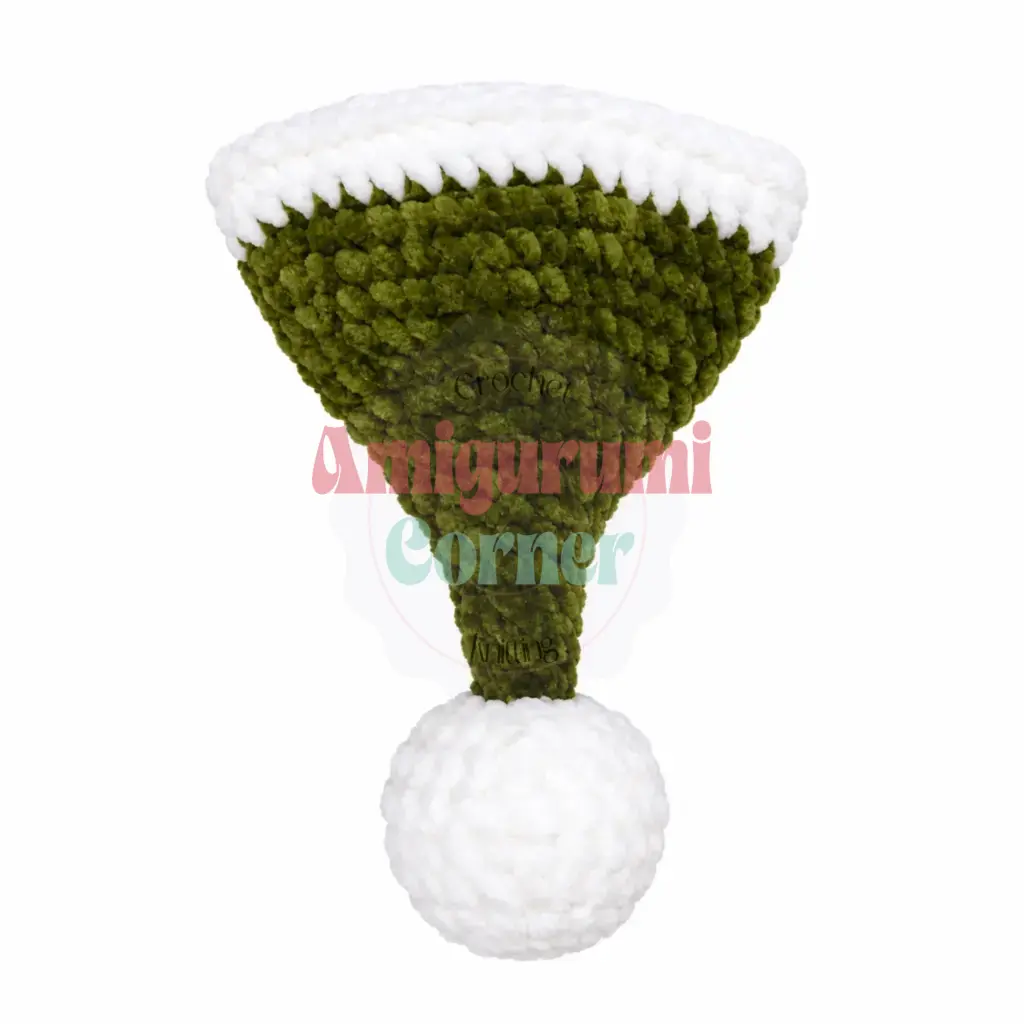
Work with green yarn (92161) and an E-4 / 3.5 mm hook.
- Rnd 1: Ch 2, work 6 sc in the second ch from hook, continue working in the round (MR). (6)
- Rnd 2: 2 sc, inc repeat 2 times around. (8)
- Rnd 3: sc in each st around. (8)
- Rnd 4: 3 sc, inc repeat 2 times around. (10)
- Rnd 5: sc in each st around. (10)
- Rnd 6: 4 sc, inc repeat 2 times around. (12)
- Rnd 7: sc in each st around. (12)
- Rnd 8: 5 sc, inc repeat 2 times around. (14)
- Rnd 9: 6 sc, inc repeat 2 times around. (16)
- Rnd 10: 7 sc, inc repeat 2 times around. (18)
- Rnd 11: 8 sc, inc repeat 2 times around. (20)
- Rnd 12: 4 sc, inc repeat 4 times around. (24)
- Rnd 13: 5 sc, inc repeat 4 times around. (28)
- Rnd 14: 6 sc, inc repeat 4 times around. (32)
- Rnd 15: sc in each st around. (32)
- Rnd 16: 7 sc, inc repeat 4 times around. (36)
- Rnd 17: sc in each st around. (36)
- Rnd 18: 8 sc, inc repeat 4 times around. (40)
Switch to white yarn (92101).
- Rnd 19: Working in FLO: sc in each st around. (40)
- Rnds 20-21
Pin This Crochet Pattern!