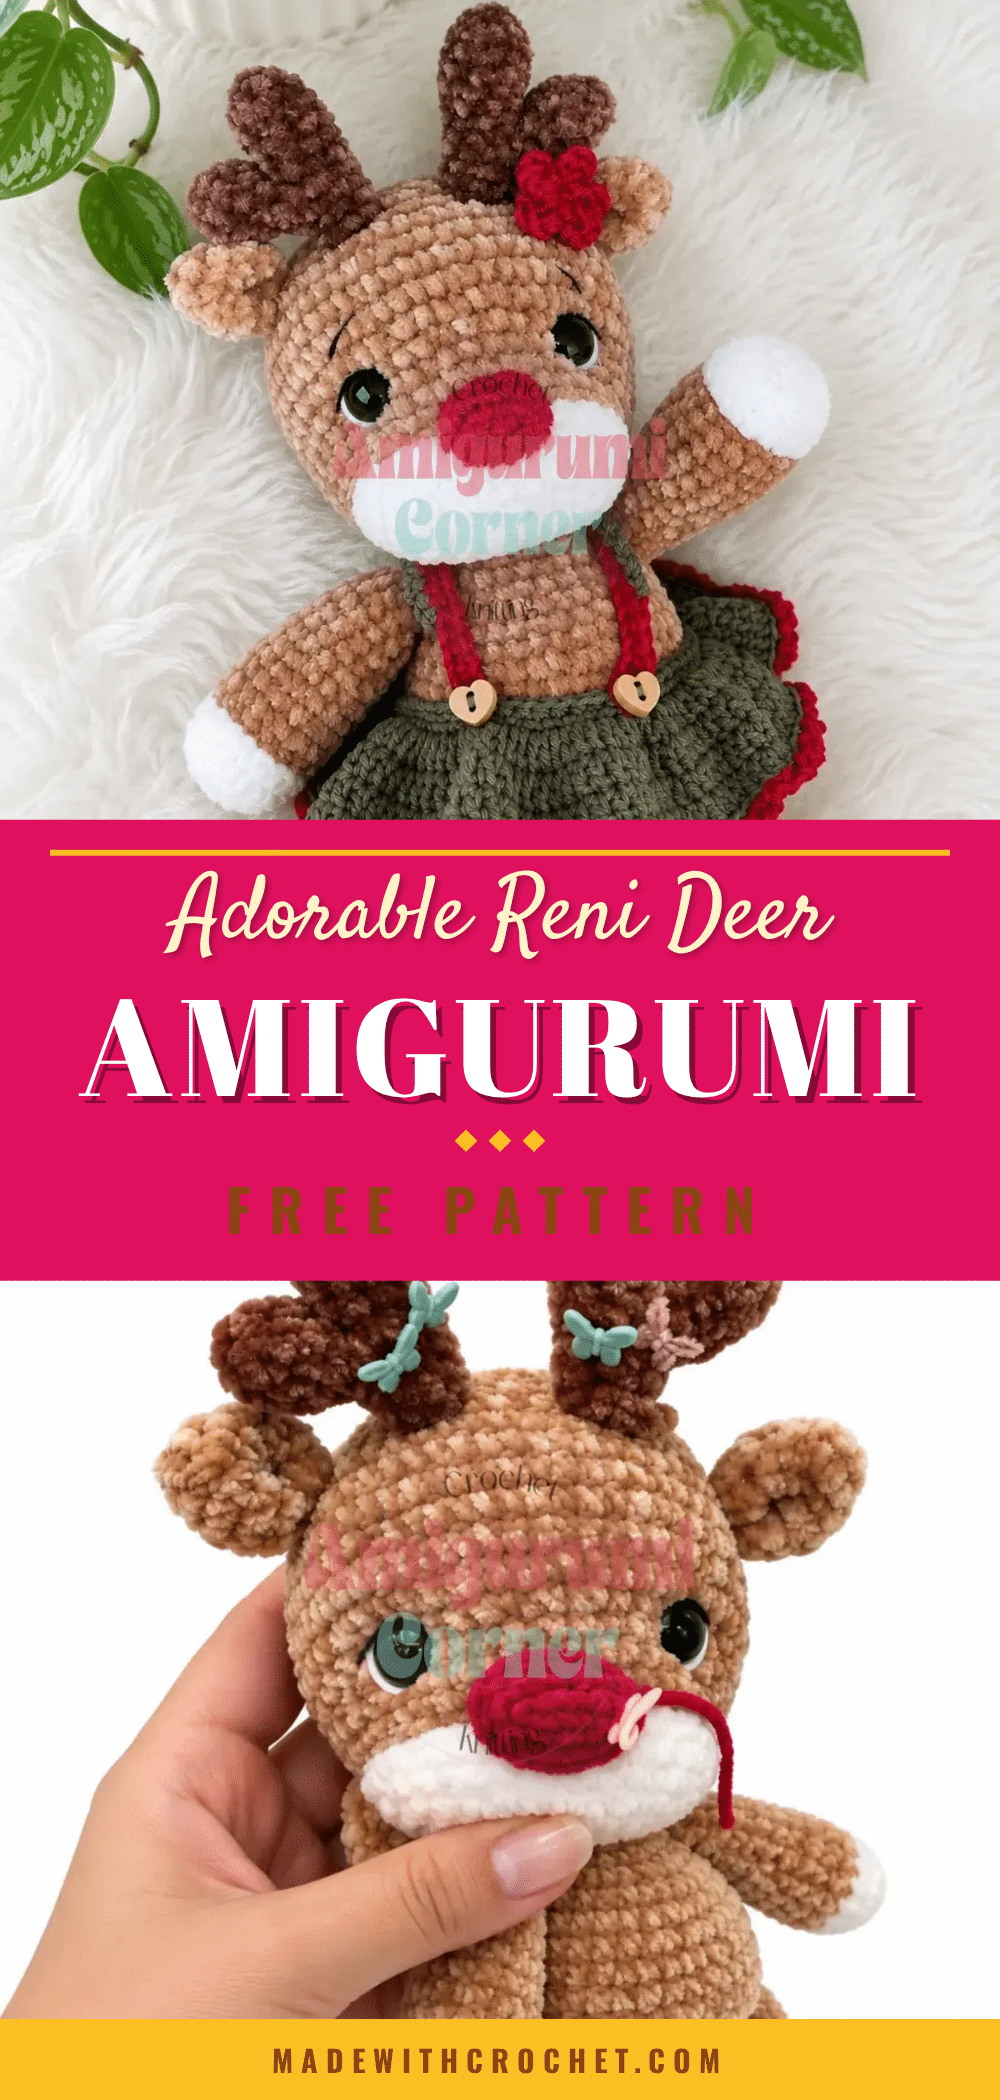
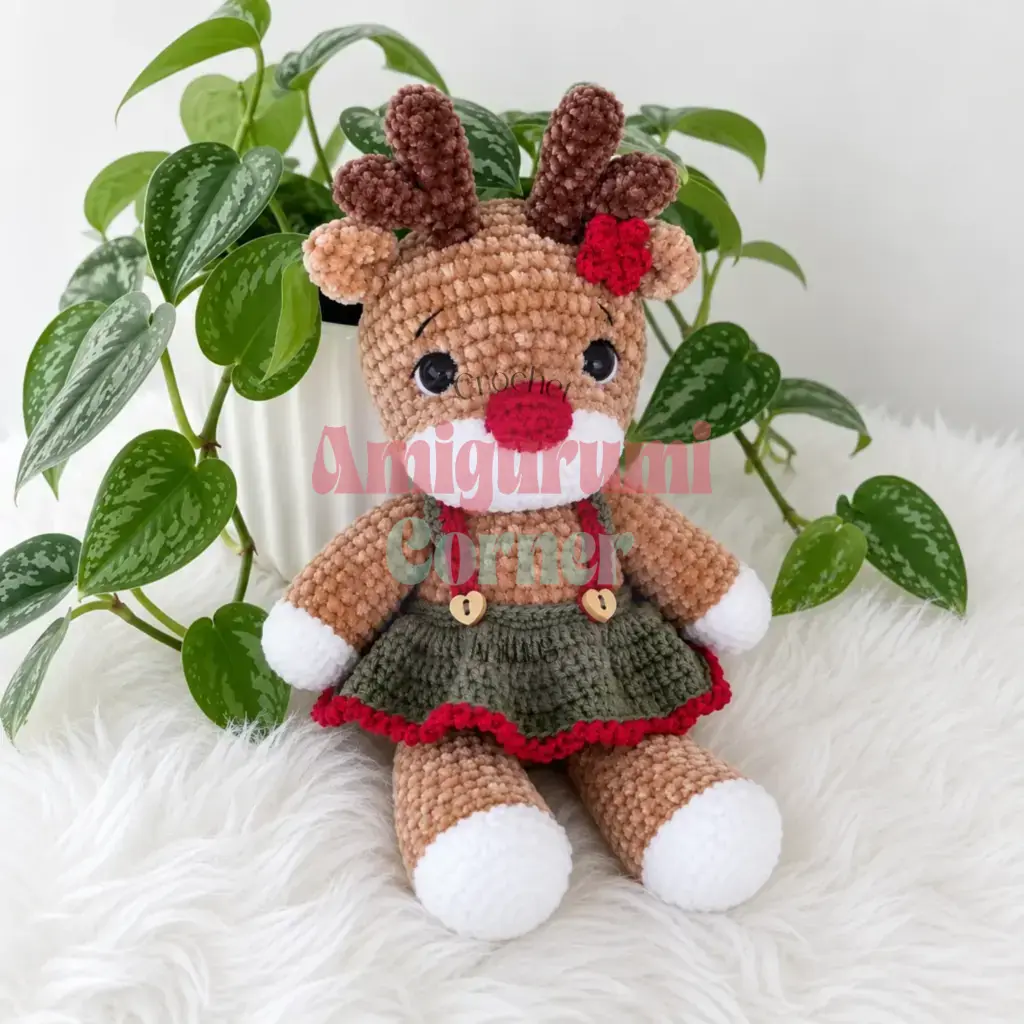
Picture a little deer, just about 30 cm tall, wearing a khaki skirt with cheerful red straps and a ruby flower tucked behind one ear. Reni is the kind of amigurumi deer crochet pattern that makes people stop and ask, “You made that?” Her two-tone coloring, with a white muzzle and cream hooves that fade into warm chestnut, gives her a polish that looks far more advanced than the intermediate skill level this pattern actually requires. Whether you’re making Reni as a gift for a child who loves woodland animals or simply treating yourself to a satisfying weekend project, this pattern walks you through every stitch clearly. You’ll build her from the ground up: hooves first, finishing with her adorable flower and skirt. Grab your hook and your favorite chestnut yarn, and let’s get started.
Gift and Use Ideas
Reni is more than just a decorative woodland creature; she is a versatile handmade object ready for a variety of roles. Her removable skirt and flower make her an excellent candidate for a nursery shelf display or a gentle toy for a toddler, as the fabric components add soft texture without small, detachable choking hazards. For makers who enjoy selling at craft fairs, her unique outfit sets her apart from standard amigurumi deer, offering a “ready-to-gift” appeal that buyers love. You can also swap the ruby red flower for a different color to match a child’s favorite hue, or use her as a charming centerpiece for a woodland-themed birthday party. Her sturdy construction allows her to stand on her own, making her a delightful companion for a bookshelf or a desk.
Project Overview
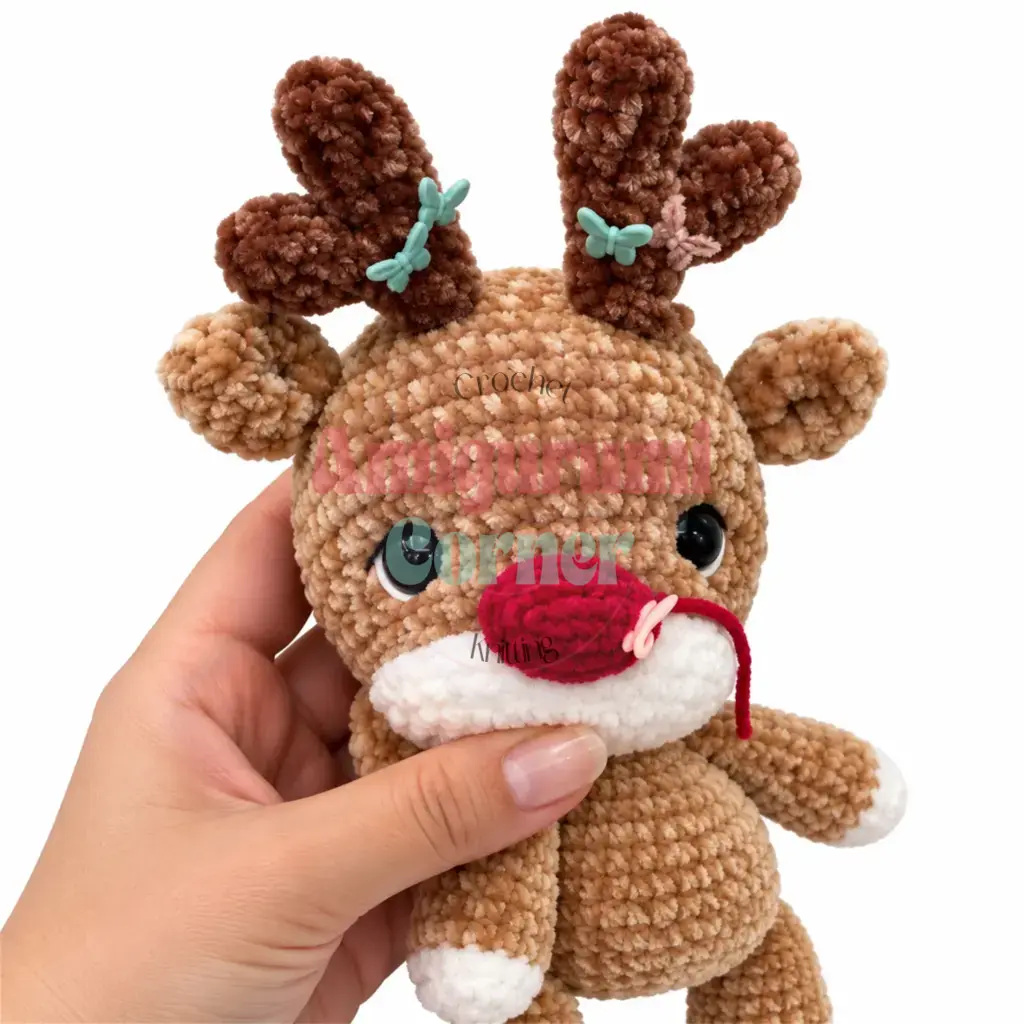
This pattern guides you through creating Reni, an intermediate-level amigurumi deer. The project involves working in continuous spirals, utilizing color changes to create distinct features like hooves and a muzzle, and assembling multiple components. The pattern includes instructions for the body, head, limbs, antlers, and a wearable skirt with straps.
Materials
- Yarn: Worsted weight in white, chestnut, brown, ruby red, and khaki
- Hook: US D-3 (3.0 mm) or US E-4 (3.5 mm)
- Safety eyes: 13 mm, 1 pair
- White and black embroidery thread (for embroidering eye details)
- Fiberfill stuffing
- Stitch marker
- Tapestry needle
- Straight pins (for positioning pieces before sewing)
- Scissors
Gauge and Finished Size
Gauge is not critical for this project, but your stitches should be tight enough that no stuffing shows through. If you can see gaps, go down a hook size. The finished size is approximately 30 cm tall.
Abbreviations
- BLO : Back Loop Only
- ch : Chain
- dc : Double Crochet
- dec : Decrease (invisible decrease recommended)
- FLO : Front Loop Only
- hdc : Half Double Crochet
- inc : Increase (2 sc in same stitch)
- MR : Magic Ring
- sc : Single Crochet
- sl st : Slip Stitch
Pattern Notes
This pattern is written in US crochet terminology. All pieces are worked in a continuous spiral (no joining slip stitch at the end of each round) unless otherwise noted. Use a stitch marker to track the beginning of each round. Stitch counts are given at the end of each round in parentheses: (24). Safety eyes are inserted between Rounds 8 and 9 of the Head, spaced 8 visible stitches apart. Embroider any additional eye detail before closing the head. Stuff pieces firmly and continuously as you work, especially the legs and body, rather than waiting until the end.
Note on source gaps: The original source pattern contained several truncated or obscured passages in the Arms (Rounds 15-18) and Antlers (Part 2, Rounds 3-7 and Round 8). These sections have been reconstructed to be internally consistent with the stitch counts and logic of the surrounding rounds. They are flagged with an asterisk (*) where reconstruction was applied. Always review these rounds against your physical work.
Crochet Pattern Instructions for Reni
Legs (make 2)
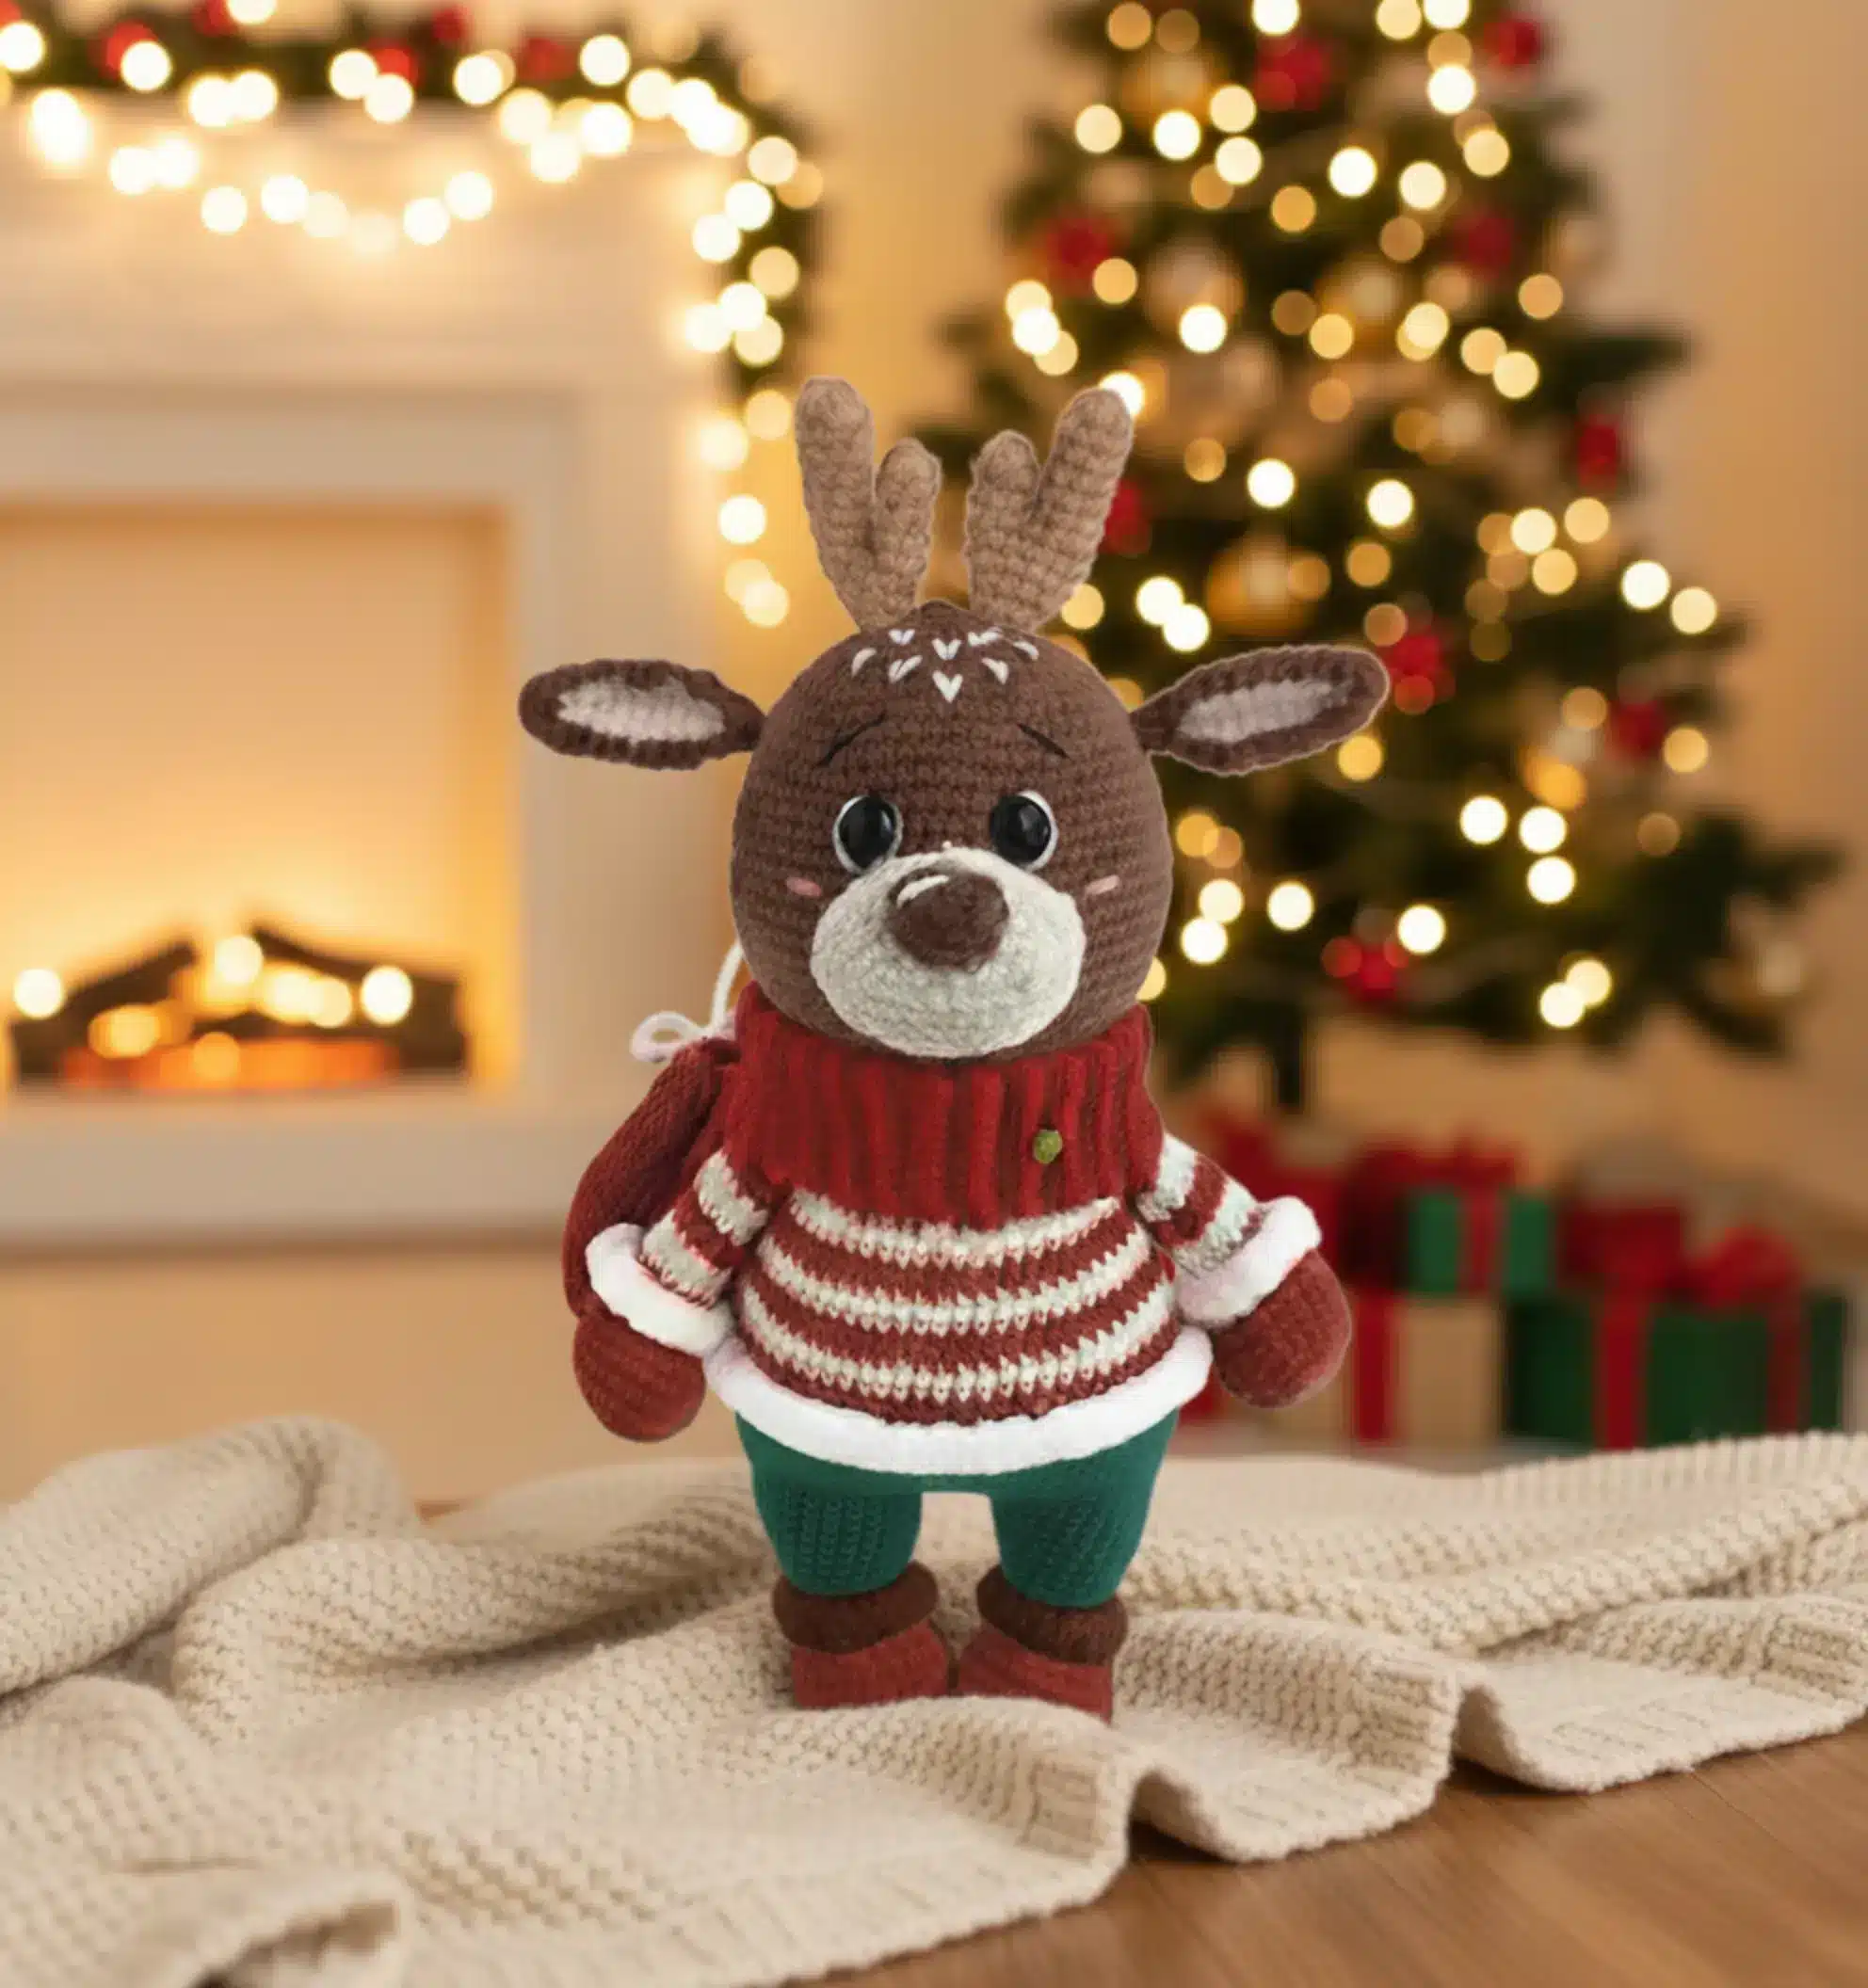
Begin with white yarn.
Rnd 1: 6 sc in MR. (6)
Rnd 2: inc in each st around. (12)
Rnd 3: sc, inc repeat 6 times around. (18)
Rnd 4: 2 sc, inc repeat 6 times around. (24)
Rnd 5: BLO: sc in each st around. (24)
Rnd 6: sc in each st around. (24)
Switch to chestnut yarn.
Rnd 7: BLO: sl st in each st around; then working into the remaining front loops of the same round: sc in each st around. (24)
Rnd 8: sc in each st around. (24)
Rnd 9: 6 sc, dec repeat 3 times around. (21)
Rnds 10-11: sc in each st around. (21)
Rnd 12: 5 sc, dec repeat 3 times around. (18)
Rnds 13-14: sc in each st around. (18)
Rnd 15: 4 sc, dec repeat 3 times around. (15)
Rnds 16-17: sc in each st around. (15)
Rnd 18: 3 sc, dec repeat 3 times around. (12)
Rnd 19: sc in each st around. (12)
Rnd 20: Flatten the leg so both sides align. Working through both layers at once, sc across 6 stitches to close. Fasten off and weave in ends.
Arms (make 2)
Begin with white yarn.
Rnd 1: 6 sc in MR. (6)
Rnd 2: inc in each st around. (12)
Rnd 3: sc, inc repeat 6 times around. (18)
Rnd 4: BLO: sc in each st around. (18)
Rnd 5: sc in each st around. (18)
Switch to chestnut yarn.
Rnd 6: BLO: sl st in each st around; then working into the remaining front loops of the same round: sc in each st around. (18)
Rnds 7-10: sc in each st around. (18)
Rnd 11: 4 sc, dec repeat 3 times around. (15)
Rnds 12-14: sc in each st around. (15)
Rnd 15: 3 sc, dec repeat 3 times around. (12) This round count is reconstructed; the original source was truncated here.
Rnd 16: sc in each st around. (12) Reconstructed to maintain consistent shaping.
Rnd 17: 2 sc, dec repeat 3 times around. (9) Reconstructed; this round was absent from the source.
Rnd 18: Flatten the arm so both sides align. Working through both layers at once, sc across to close. Fasten off and weave in ends. The stitch count at closure was truncated in the source; closing with approximately 4-5 sc is consistent with the shape.
Body
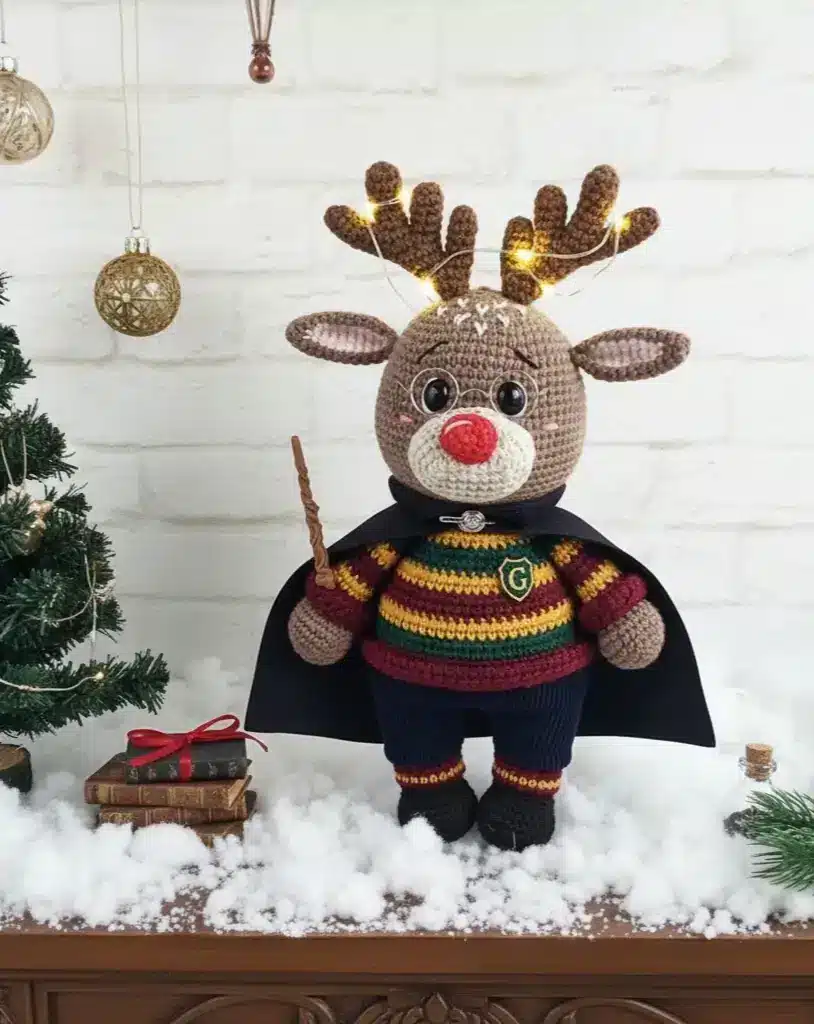
Use chestnut yarn throughout.
Rnd 1: 6 sc in MR. (6)
Rnd 2: inc in each st around. (12)
Rnd 3: sc, inc repeat 6 times around. (18)
Rnd 4: sc, inc, 2 sc, inc repeat 5 times, sc. (24)
Rnd 5: 3 sc, inc repeat 6 times around. (30)
Rnd 6: 2 sc, inc, 4 sc, inc repeat 5 times, 2 sc. (36)
Rnd 7: 5 sc, inc repeat 6 times around. (42)
Rnd 8: 3 sc, inc, 6 sc, inc repeat 5 times, 3 sc. (48)
Rnd 9: 9 sc, join 6 sc through the leg, 18 sc, join 6 sc through the leg, 9 sc. (48) At this round, you attach the legs by working sc through both the body stitch and the corresponding top stitch of each leg simultaneously.
Rnd 10: 7 sc, inc repeat 6 times around. (54)
Rnds 11-12: sc in each st around. (54)
Rnd 13: 7 sc, dec repeat 6 times around. (48)
Rnds 14-15: sc in each st around. (48)
Rnd 16: 3 sc, dec, 6 sc, dec repeat 5 times, 3 sc. (42)
Rnds 17-18: sc in each st around. (42)
Rnd 19: 5 sc, dec repeat 6 times around. (36)
Rnds 20-21: sc in each st around. (36)
Rnd 22: 2 sc, dec, 4 sc, dec repeat 5 times, 2 sc. (30)
Rnd 23: 7 sc, join 6 sc through the arm, 7 sc, join 6 sc through the arm, 4 sc. (30) Arms are attached at this round using the same join technique as the legs.
Rnd 24: 3 sc, dec repeat 6 times around. (24)
Rnd 25: 2 sc, dec repeat 6 times around. (18)
Rnds 26-27: 4 dc, hdc, 9 sc, hdc, 3 dc. (18) These shaping rounds create a slight forward tilt at the neck opening. Do not fasten off; leave the opening for attaching the head.
Head
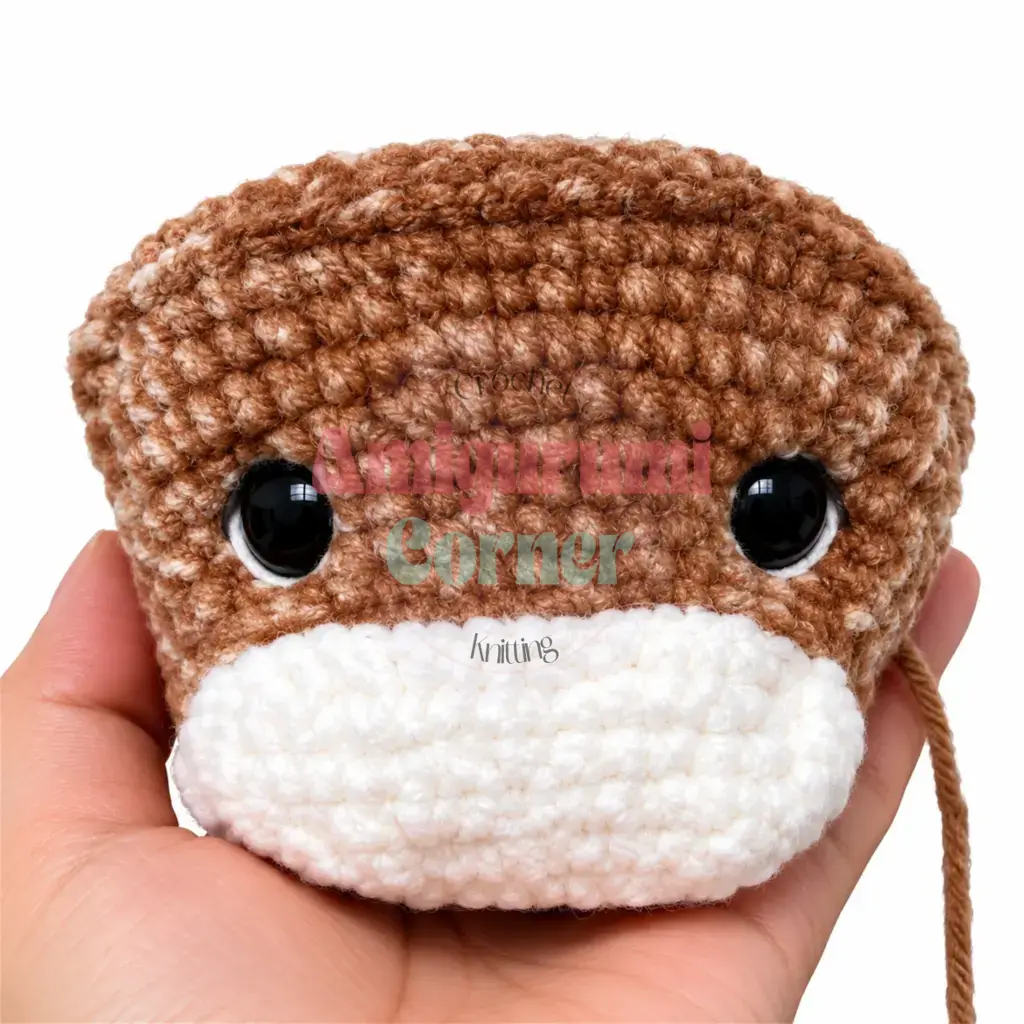
Begin with white yarn. The muzzle is worked flat from a foundation chain.
Rnd 1: Foundation chain of 12 ch. Starting in the 2nd ch from the hook: 10 sc, 3 sc in the last ch (corner); working back along the other side of the chain: 9 sc, inc in the first ch. (24)
Rnd 2: inc, 9 sc, inc 3 times, 9 sc, inc twice. (30)
Rnd 3: sc, inc twice, 7 sc, sc, inc 3 times, 12 sc, inc. (36)
Rnd 4: 2 sc, inc twice, 7 sc, 2 sc, inc 3 times, 13 sc, inc. (42) The original source contained a typographical error at this round; this is the corrected and logically consistent instruction.
Rnd 5: sc in each st around. (42) End the last 2 stitches of this round with a sl st.
Switch to chestnut yarn.
Rnd 6: BLO: sl st in each st around; then working into the remaining front loops of the same round: sc in each st around. (42) This technique creates a clean, invisible color change.
Rnds 7-8: sc in each st around. (42)
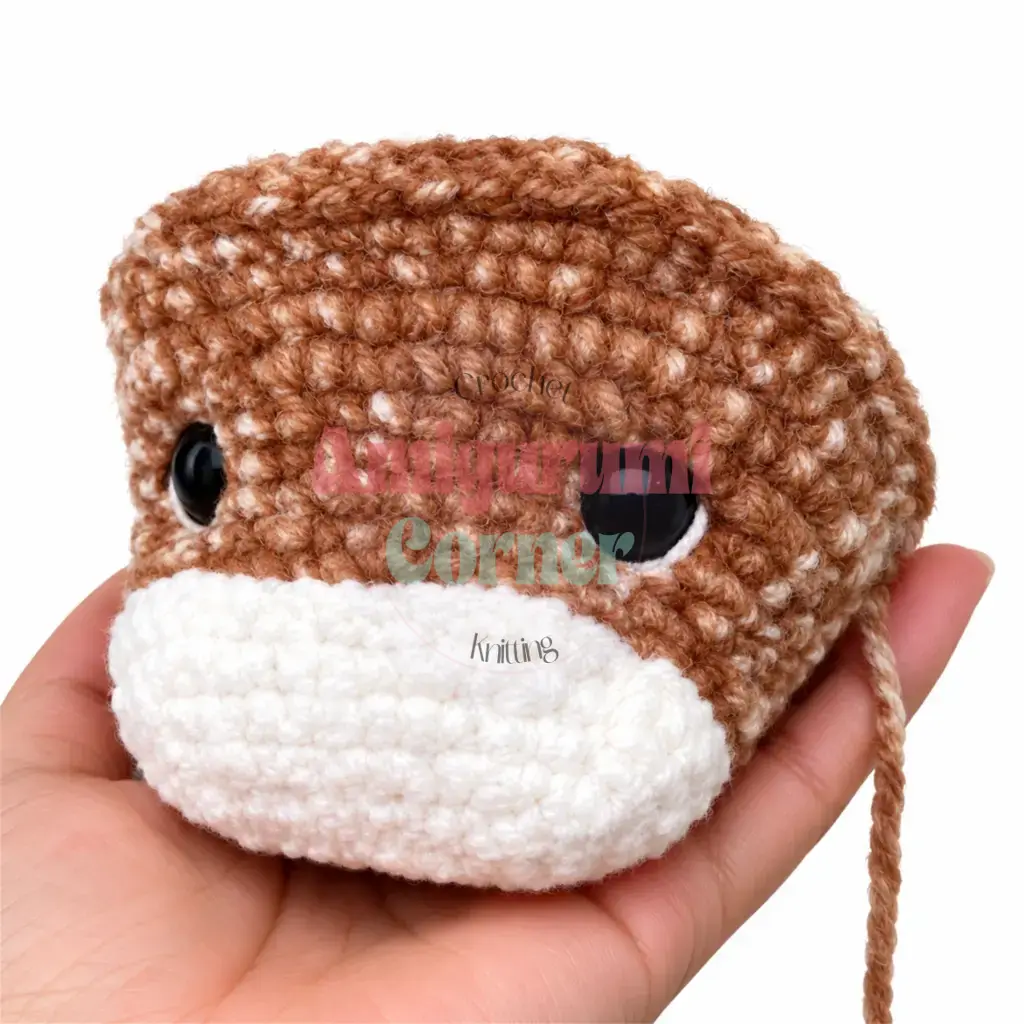
Insert the 13 mm safety eyes between Rounds 8 and 9, spacing them 8 visible stitches apart. Embroider any additional eye detail with white and black embroidery thread now, while the head is still open.
Rnd 9: 2 sc, inc repeat 6 times, 24 sc. (48)
Rnd 10: 3 sc, inc repeat 6 times, 24 sc. (54)
Rnds 11-14: sc in each st around. (54)
Rnd 15: 7 sc, dec repeat 6 times around. (48)
Rnd 16: sc in each st around. (48)
Rnd 17: 3 sc, dec, 6 sc, dec repeat 5 times, 3 sc. (42)
Rnd 18: sc in each st around. (42)
Rnd 19: 5 sc, dec repeat 6 times around. (36)
Rnd 20: 2 sc, dec, 4 sc, dec repeat 5 times, 2 sc. (30) The stitch count at the end of this round was not printed in the original source; 30 is consistent with the progression.
Rnd 21: 3 sc, dec repeat 6 times around. (24)
Rnd 22: sc, dec, 2 sc, dec repeat to end, sc. (18) Part of the repeat instruction was obscured in the original source; this reconstruction is consistent with the decrease sequence.
Rnd 23: sc, dec repeat 6 times around. (12) This round was absent from the original source (the source jumped from Round 22 directly to Round 24); it has been inserted here to maintain a consistent closing sequence.
Rnd 24: dec 6 times around. Close the opening. Fasten off, leaving a long tail for sewing.
Ears (make 2)
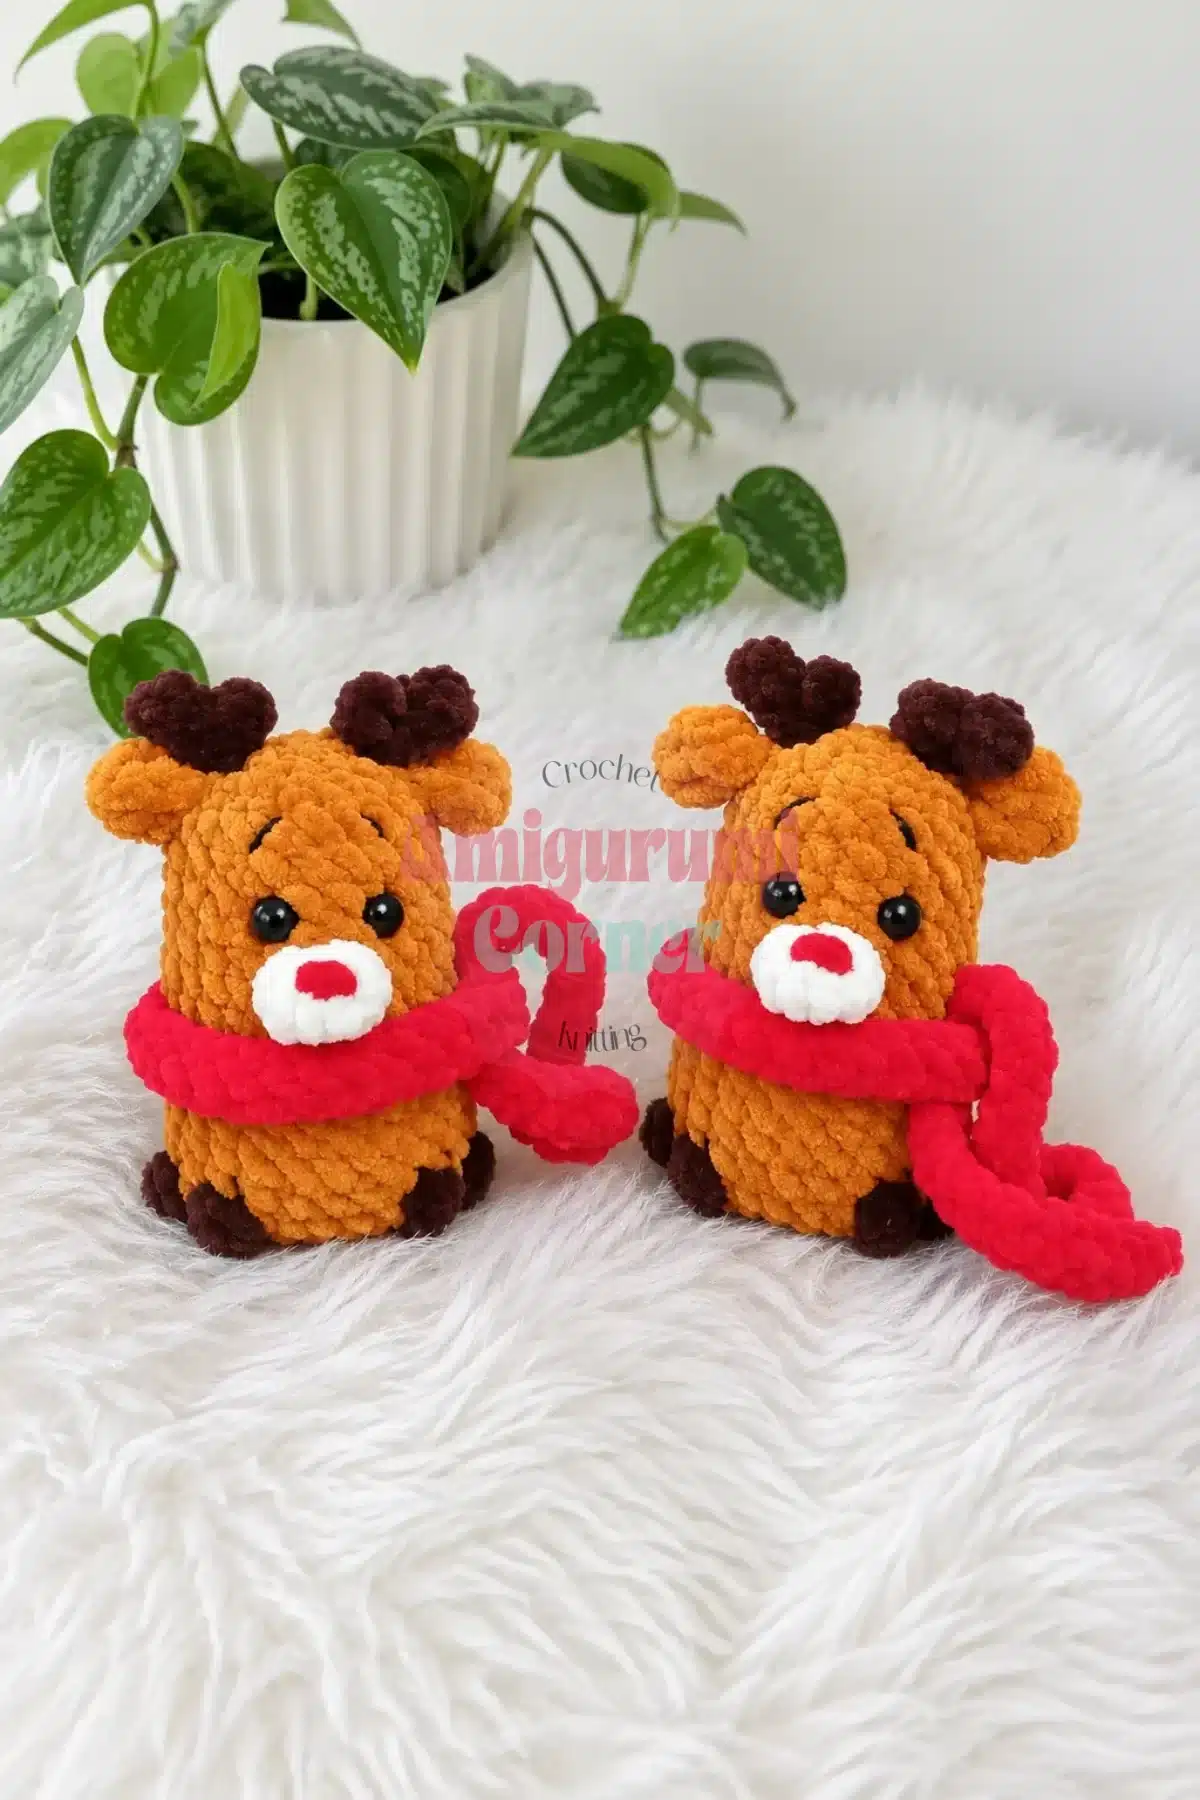
Use chestnut yarn.
Rnd 1: 6 sc in MR. (6)
Rnd 2: sc, inc repeat 3 times around. (9)
Rnd 3: 2 sc, inc repeat 3 times around. (12)
Rnds 4-5: sc in each st around. (12)
Rnd 6: sc, dec repeat 4 times around. (8)
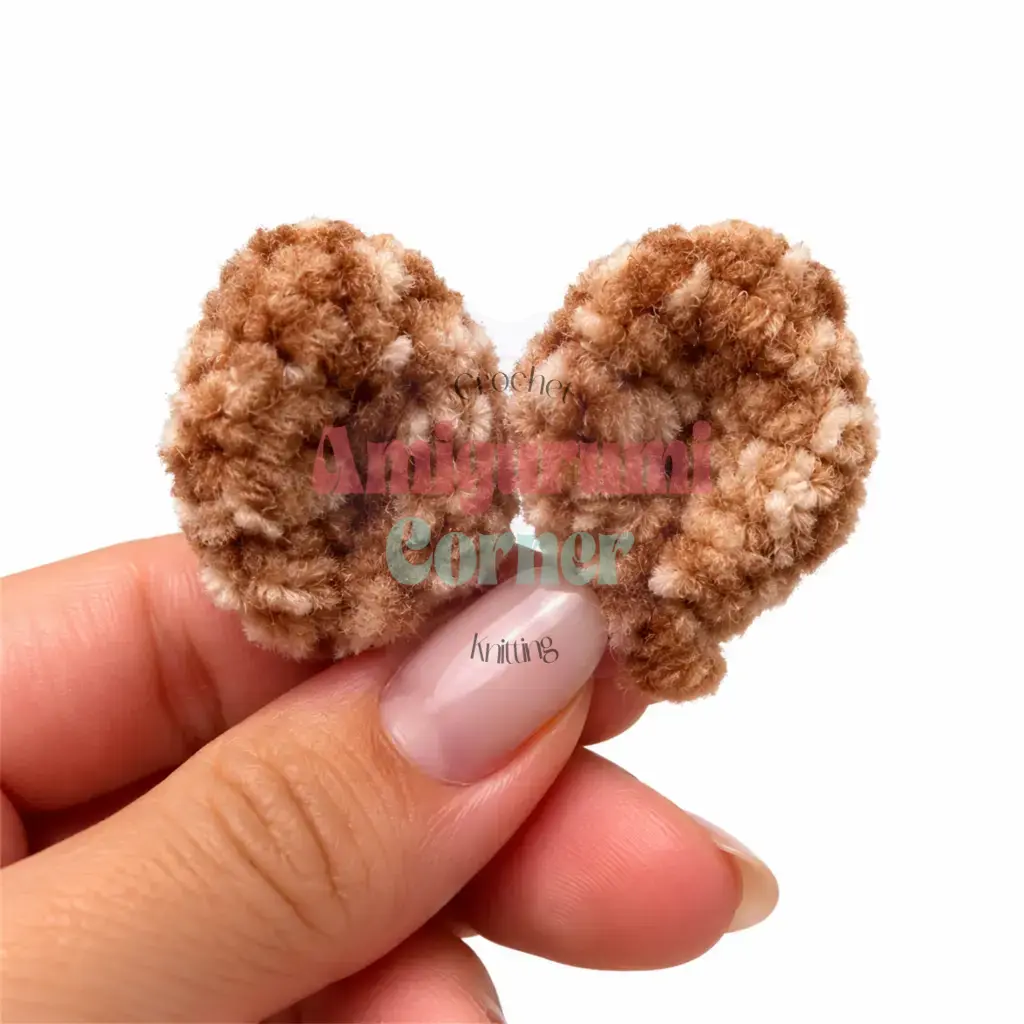
Flatten and close the ear with a whipstitch or by working a sl st across, as shown in your reference photo. Leave a tail for sewing.
Antlers (make 2)
Use brown yarn. Each antler is made in two parts that are joined together.
Part 1 (small branch)
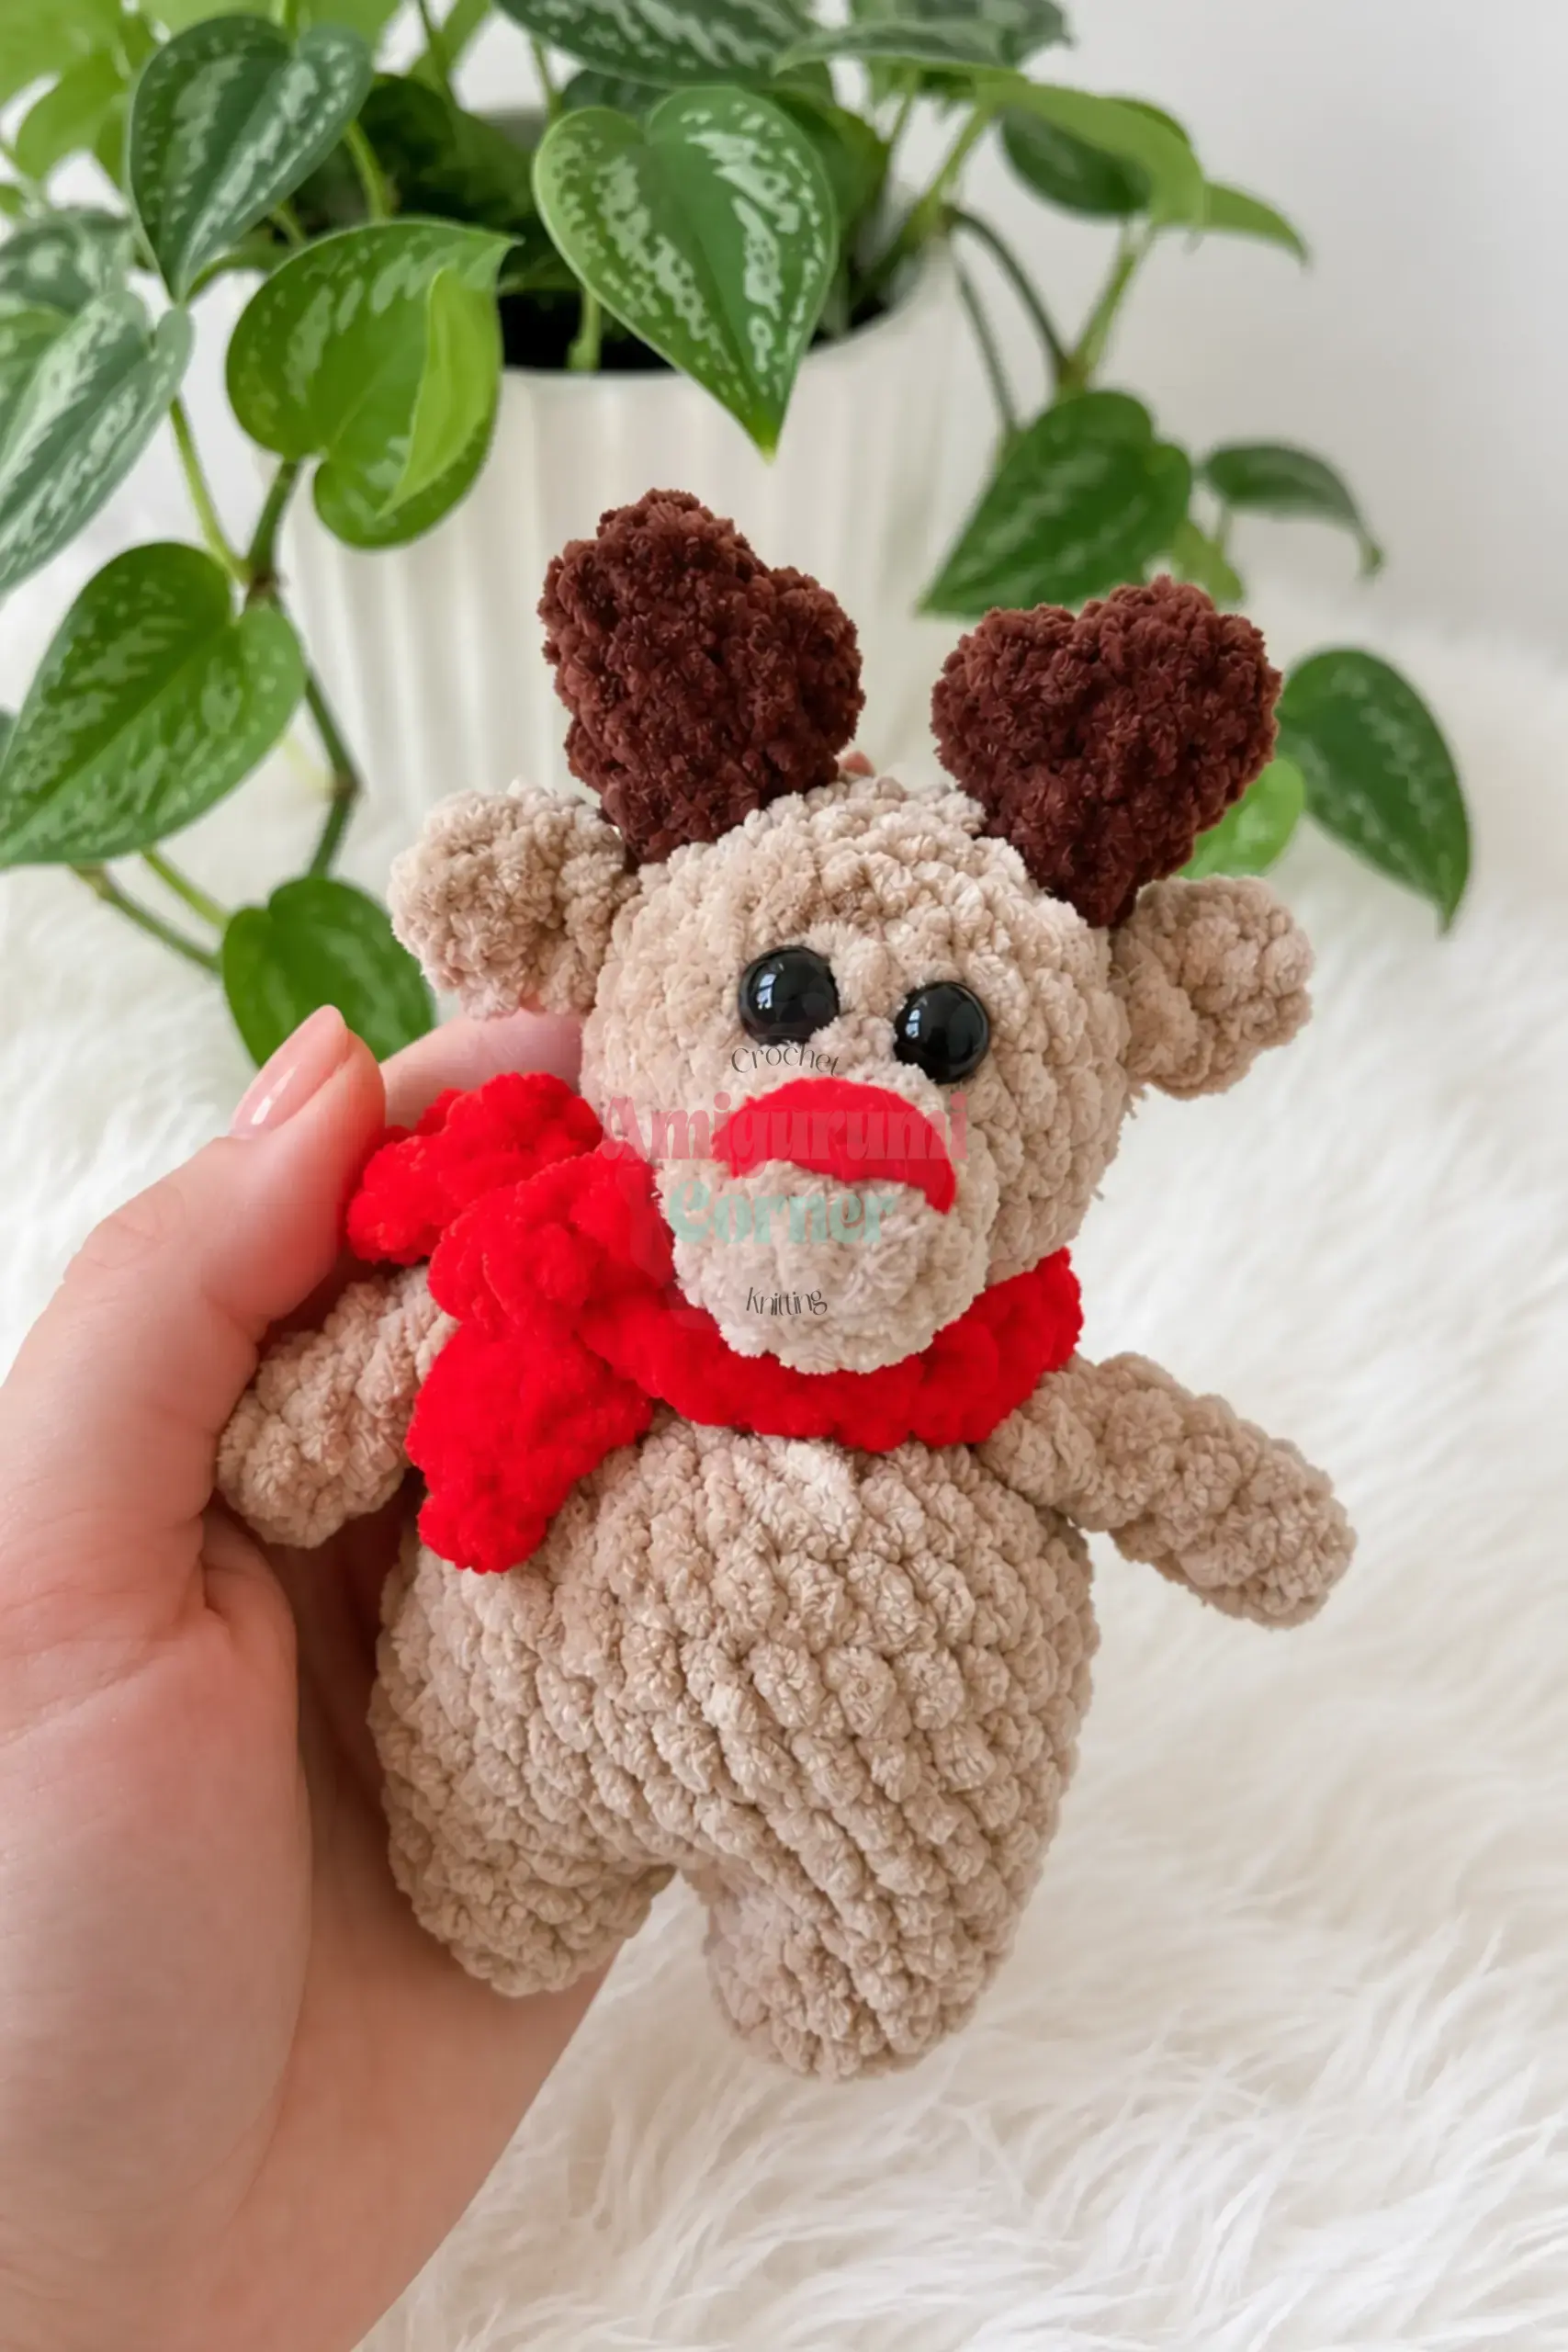
Rnd 1: 6 sc in MR. (6)
Rnd 2: sc, inc repeat 3 times around. (9) Note: the original source listed this as “x9” which appeared to be a typographical error; x3 is consistent with the 6-stitch start and 9-stitch result.
Rnds 3-4: sc in each st around. (9)
Set aside without fastening off.
Part 2 (main antler)
Rnd 1: 6 sc in MR. (6)
Rnd 2: sc, inc repeat 3 times around. (9)
Rnd 3: sc in each st around. (9) The original source was truncated after the number 7 in this round; sc in each st around is consistent with the stitch count and shape.
Rnds 4-7: sc in each st around. (9) These rounds were absent from the original source and have been reconstructed to produce a proportionate antler length for a 30 cm doll.
Do not fasten off. Join Part 1 to Part 2 now.
Rnd 8: 9 sc across Part 1, then 9 sc continuing around Part 2. (18) The exact wording of this round was corrupted in the original source; this join instruction is reconstructed from context.
Rnd 9: dec 6 times, 6 sc. (12)
Rnd 10: dec 3 times, 6 sc. (9)
Rnds 11-12: sc in each st around. (9)
Fasten off, leaving a tail for sewing.
Flower
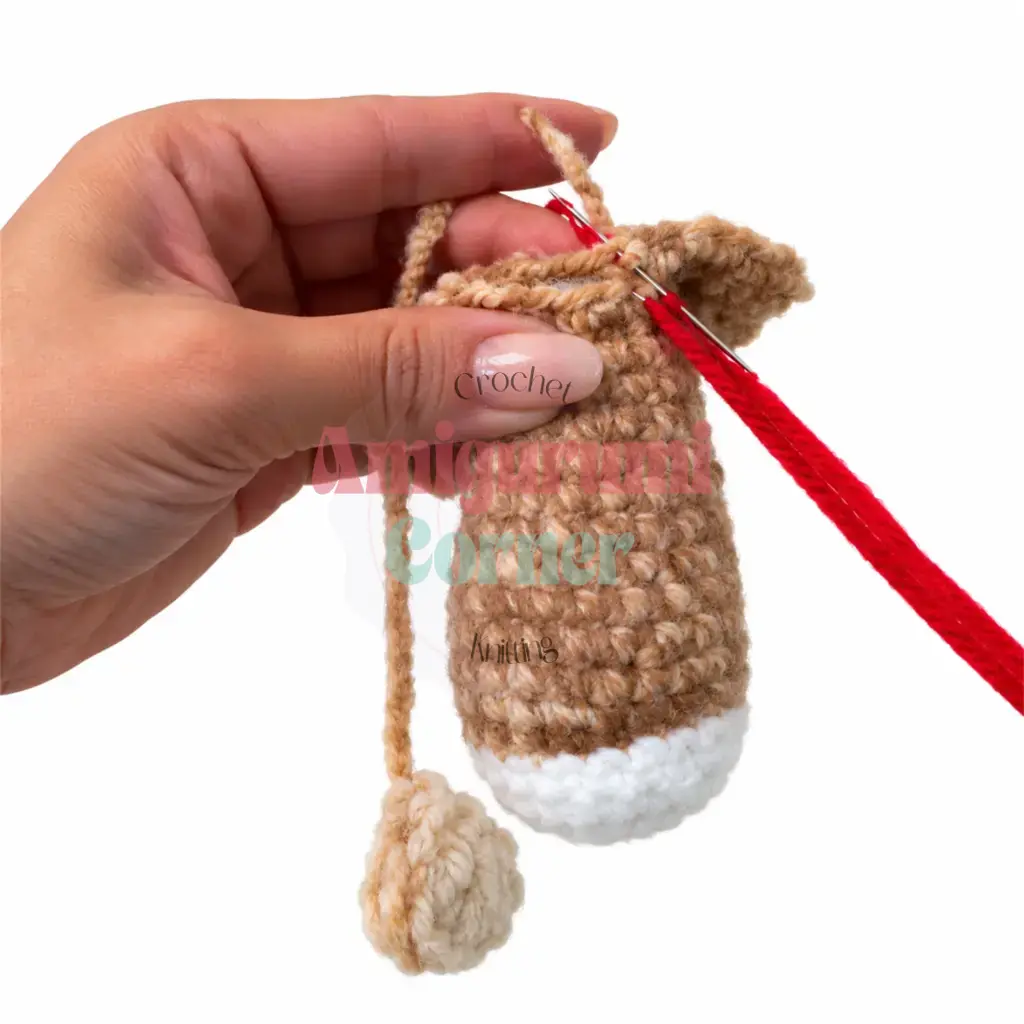
Use ruby red yarn.
Into a MR, work (2 ch, dc, ch, dc, 2 ch, sl st) repeat 5 times to create 5 petals. Pull ring closed. Fasten off, leaving a tail for sewing.
Nose
Use ruby red yarn.
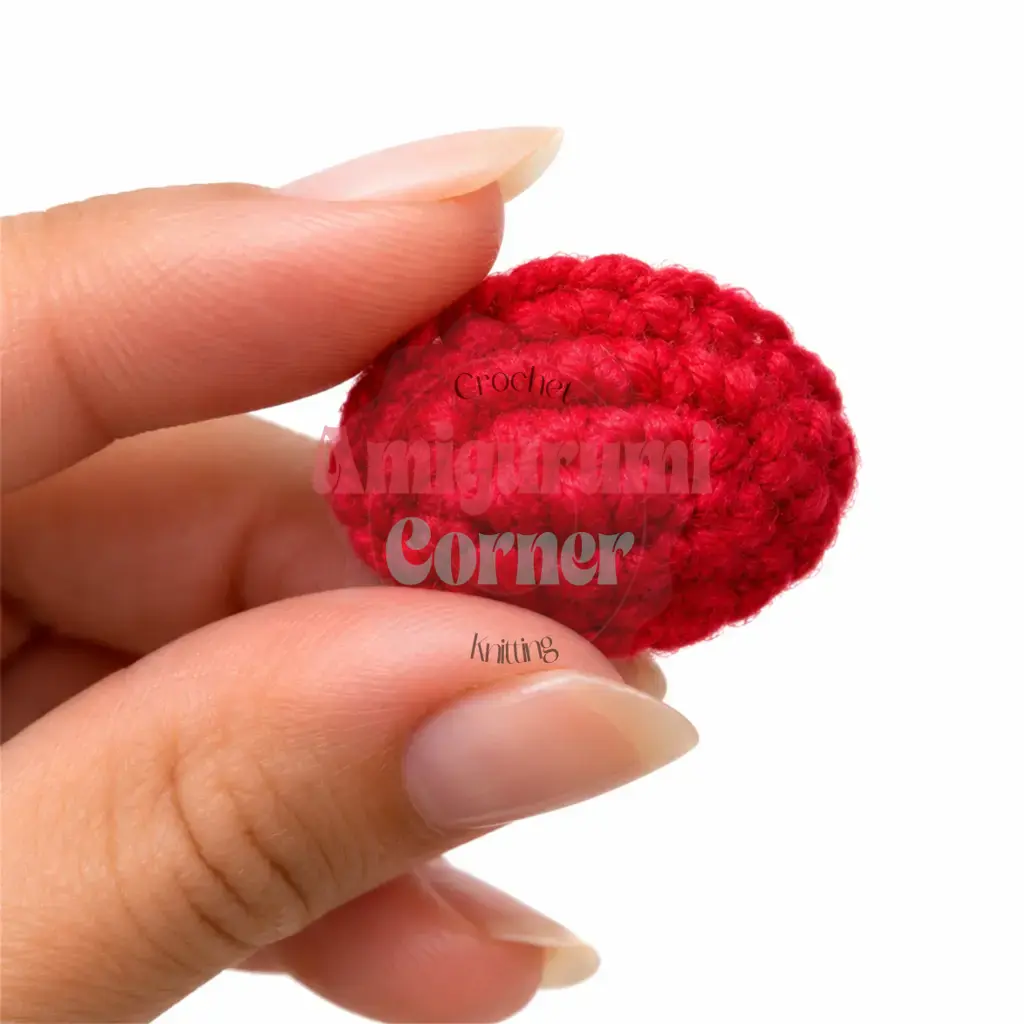
Rnd 1: Foundation chain of 5 ch. Starting in the 2nd ch from the hook: 3 sc, 3 sc in the last ch (corner); working back along the other side: 2 sc, inc. (10)
Rnd 2: inc, 2 sc, inc 3 times, 2 sc, inc twice. (16)
Rnd 3: sc in each st around. (16)
Leave a long tail for sewing. Pin the nose in place before sewing to get the position right.
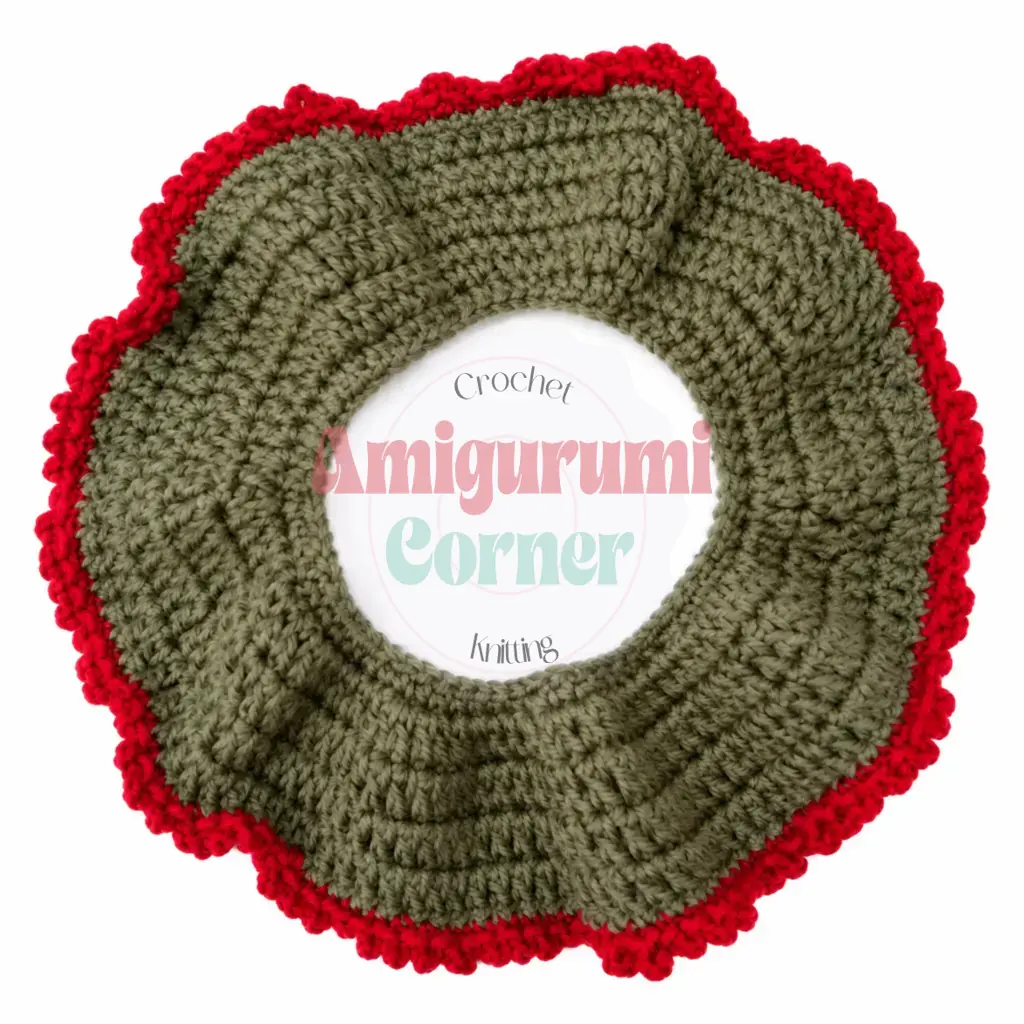
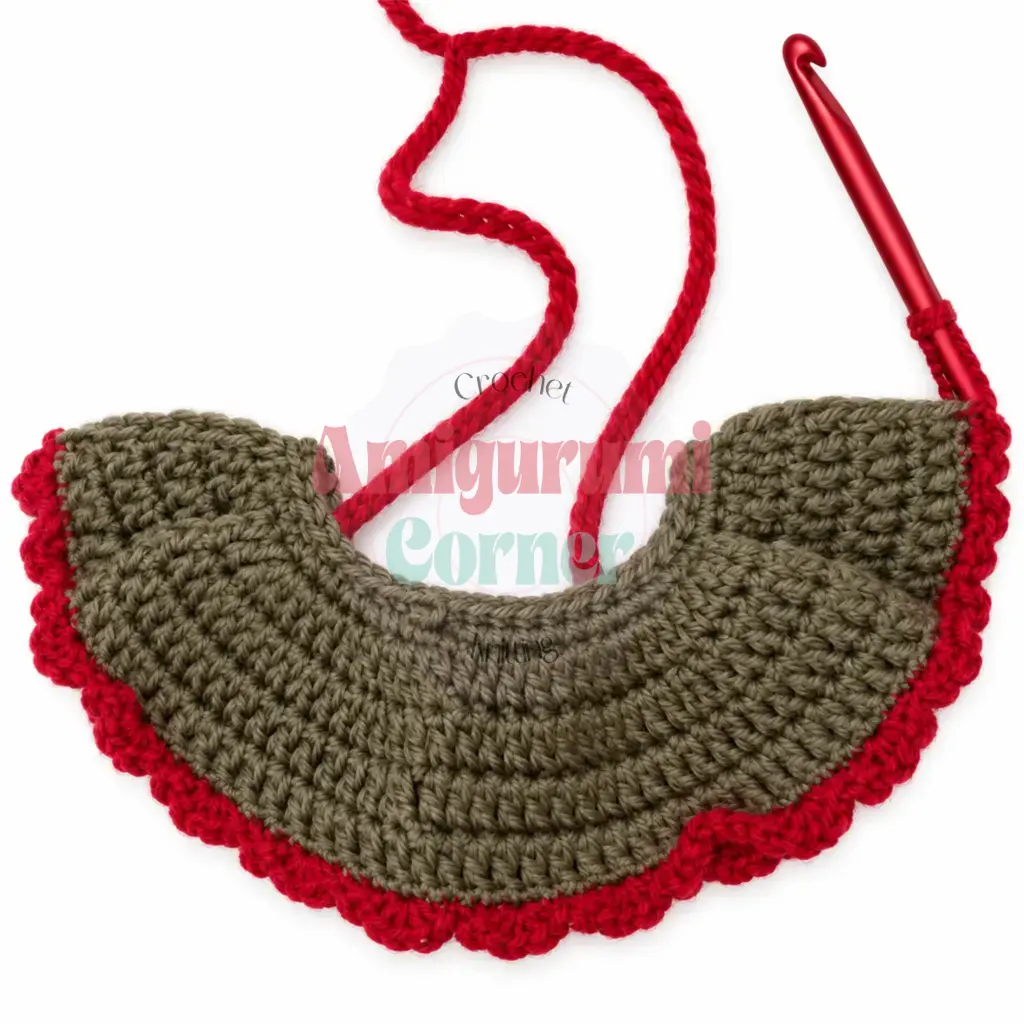
Skirt
Begin with khaki yarn.
Foundation chain of 57 ch. Join with a sl st to the first ch to form a ring, being careful not to twist.
Rnd 1: sc in each ch around. (57)
Rnd 2: inc with dc in each st around. (114)
Rnds 3-4: dc in each st around. (114)
Switch to red yarn.
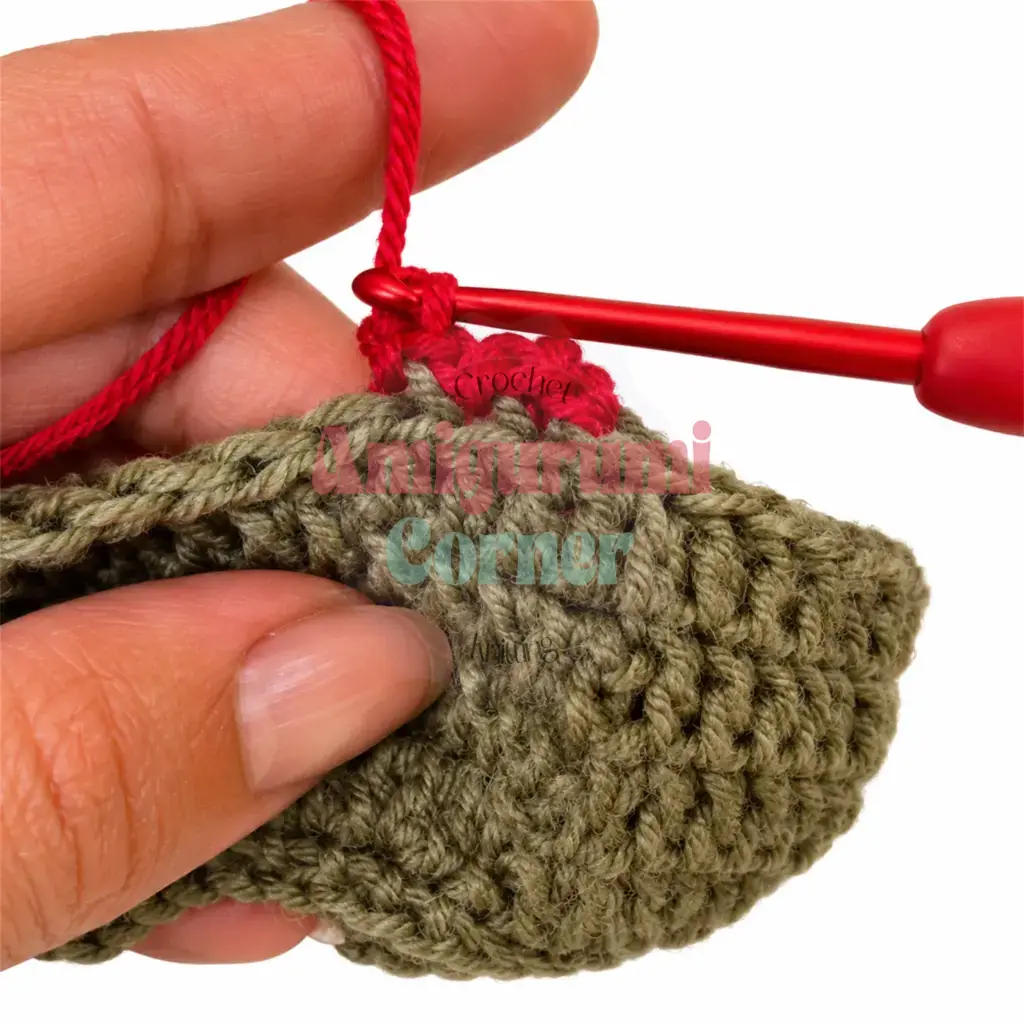
Rnd 5: (2 ch, sl st) repeat to end of round. This creates a picot edging along the hem.
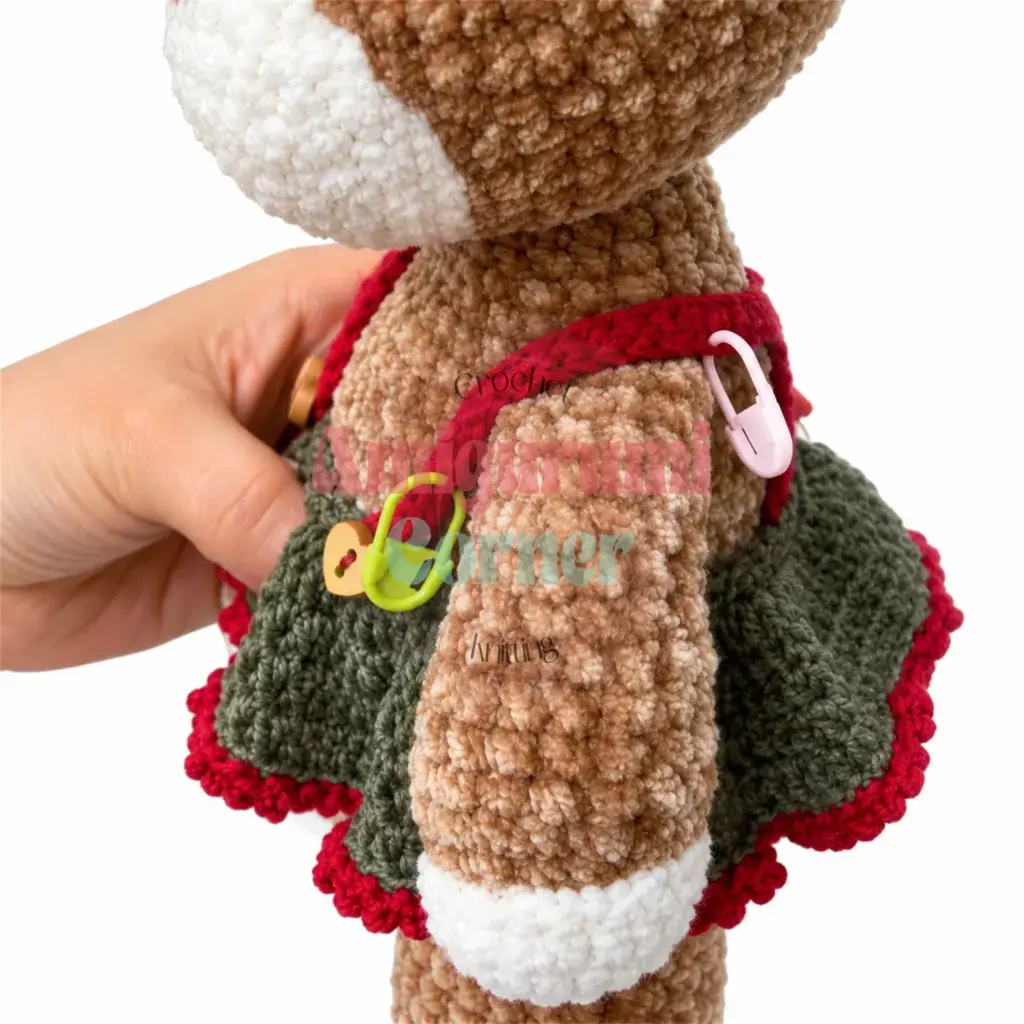
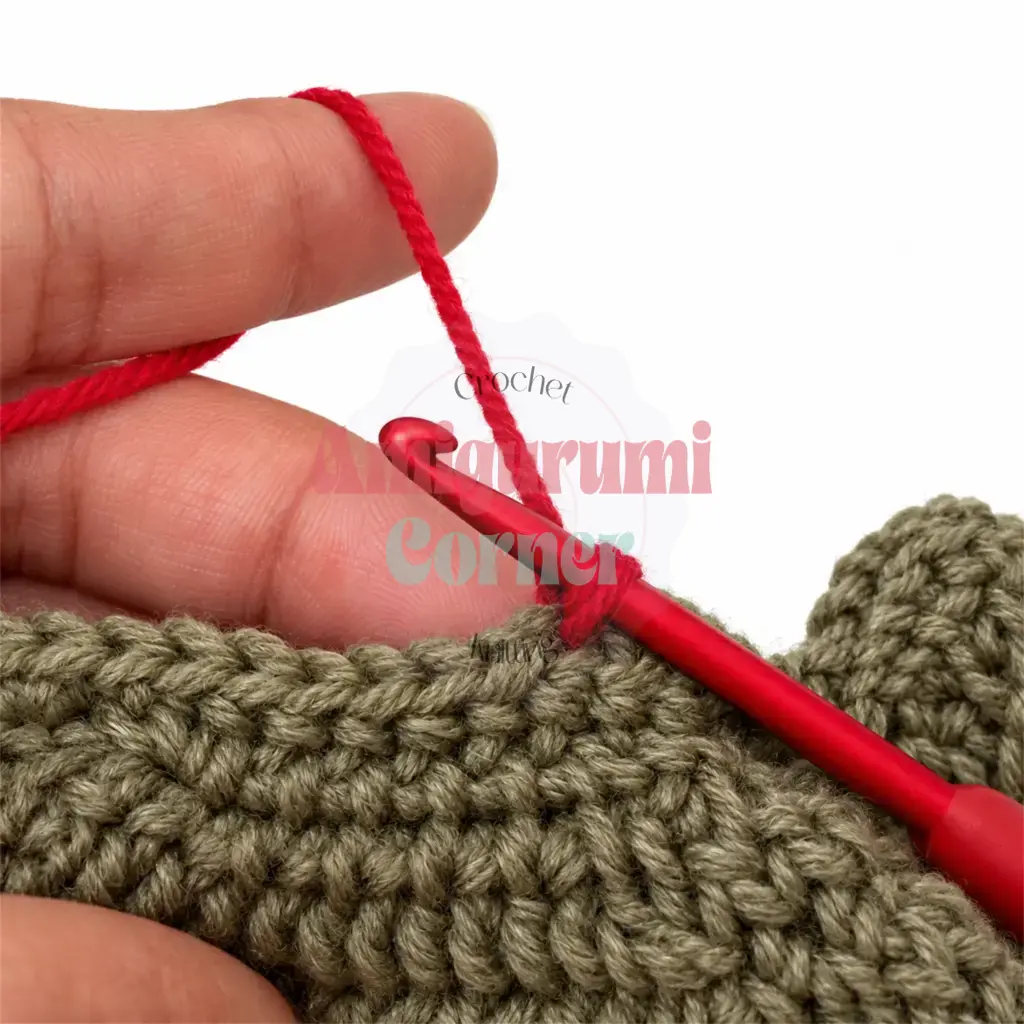
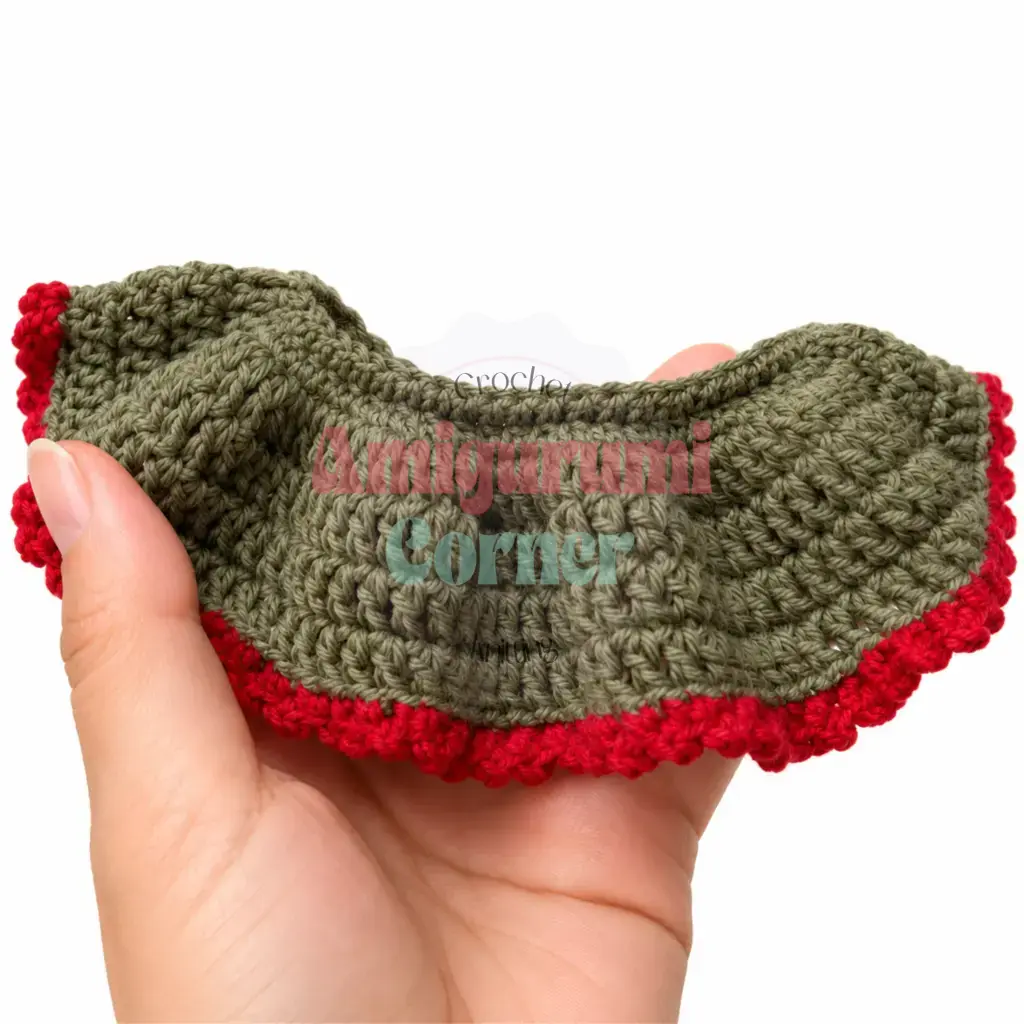
Straps: Join khaki yarn to the first round of the skirt and sc in each st around (57 sc) to create a neat waistband.
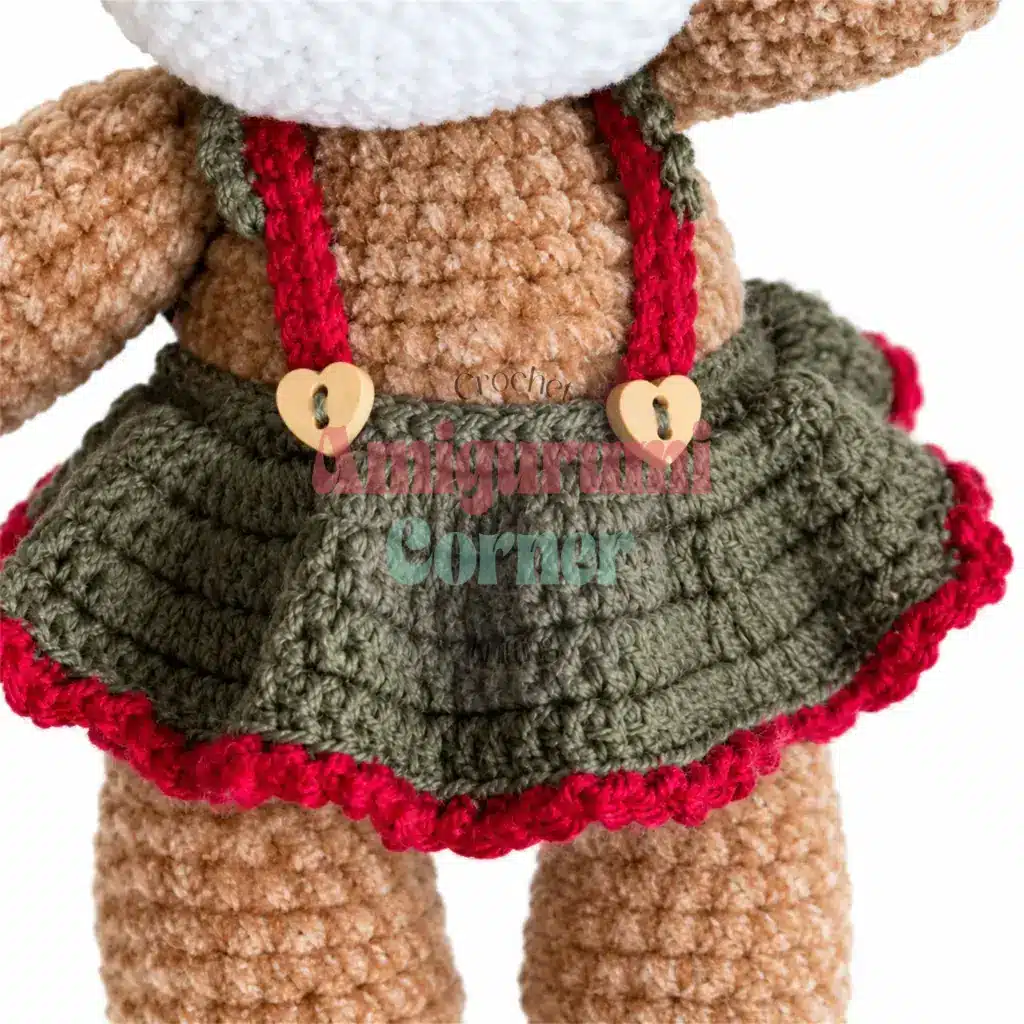
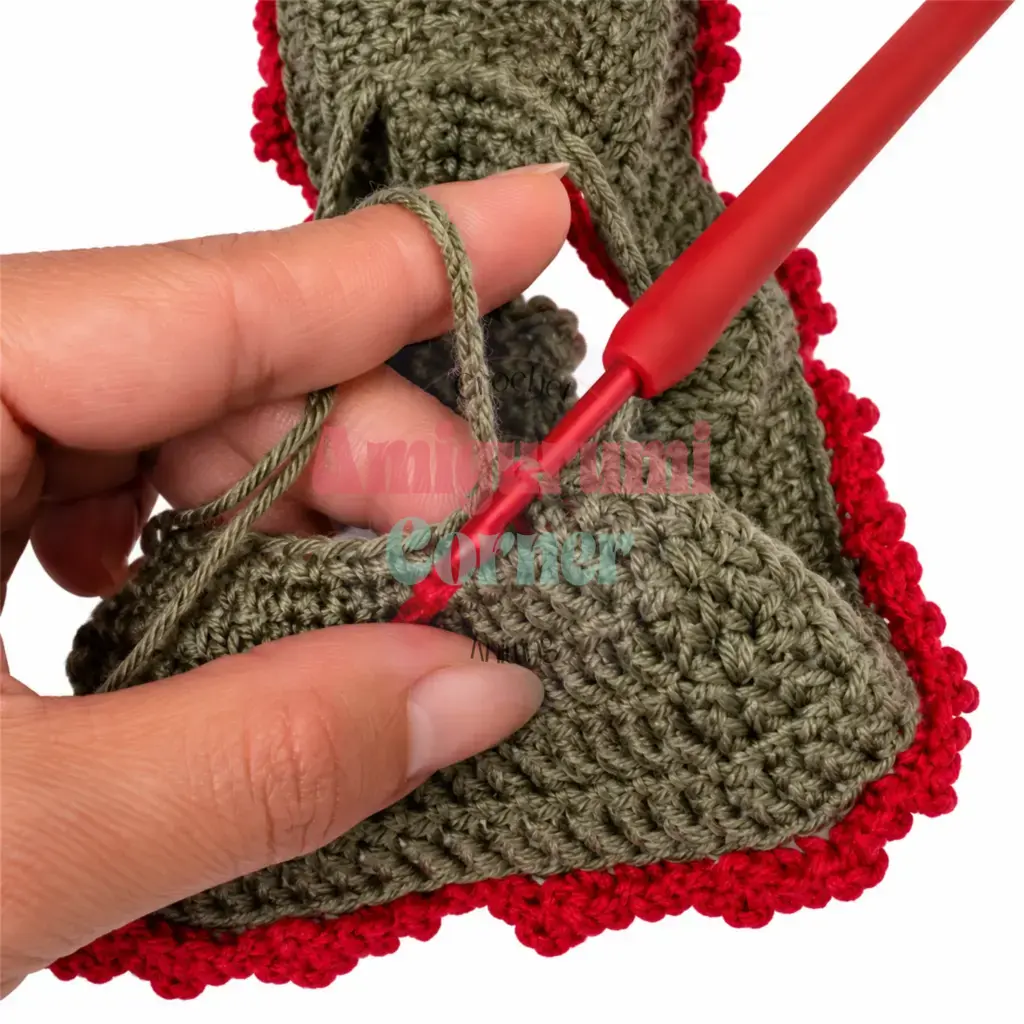
Join red yarn to the back loops of the back of the skirt at the waistband. Chain 30. Starting in the 6th ch from the hook: 25 sc back along the chain. Sl st into the next stitch at the waistband. Fasten off. Skip 10 stitches along the waistband and make a second identical strap in the same way. Dress Reni in the skirt and sew on buttons to secure the straps at the front.
Strap detail: mark 12 stitches along each strap, join khaki yarn, and work (2 ch, sl st) 12 times for a decorative picot edge along the straps.
Putting Reni Together
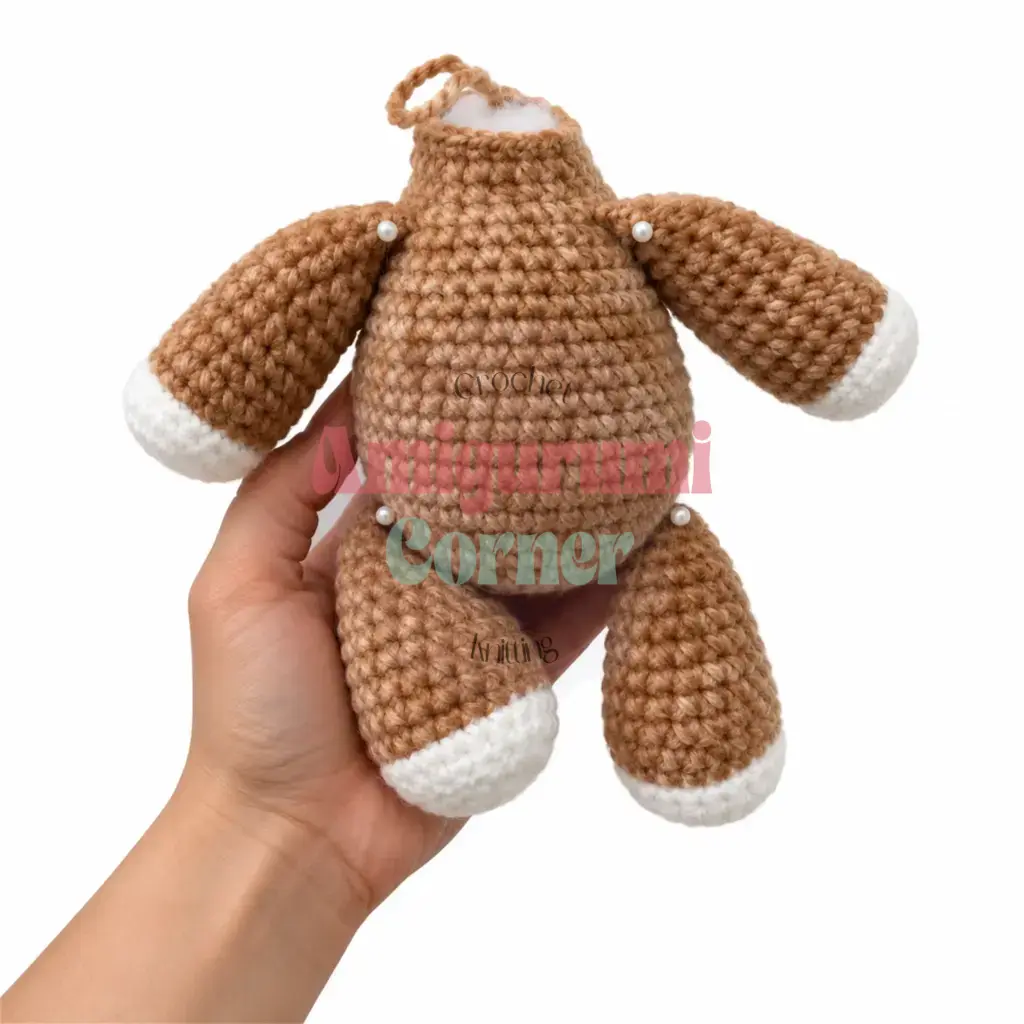
- Attach the head to the body by aligning the neck opening of the body with the base of the head.
- Pin in place to check positioning before sewing.
- Sew around the full opening using the yarn tail and a whipstitch, pulling firmly so no gap shows.
- The ears sit on either side of the head at approximately Round 11-12, angled slightly outward and back.
- Pin both ears before sewing either one, so you can compare their placement.
- Sew each ear securely using its yarn tail.
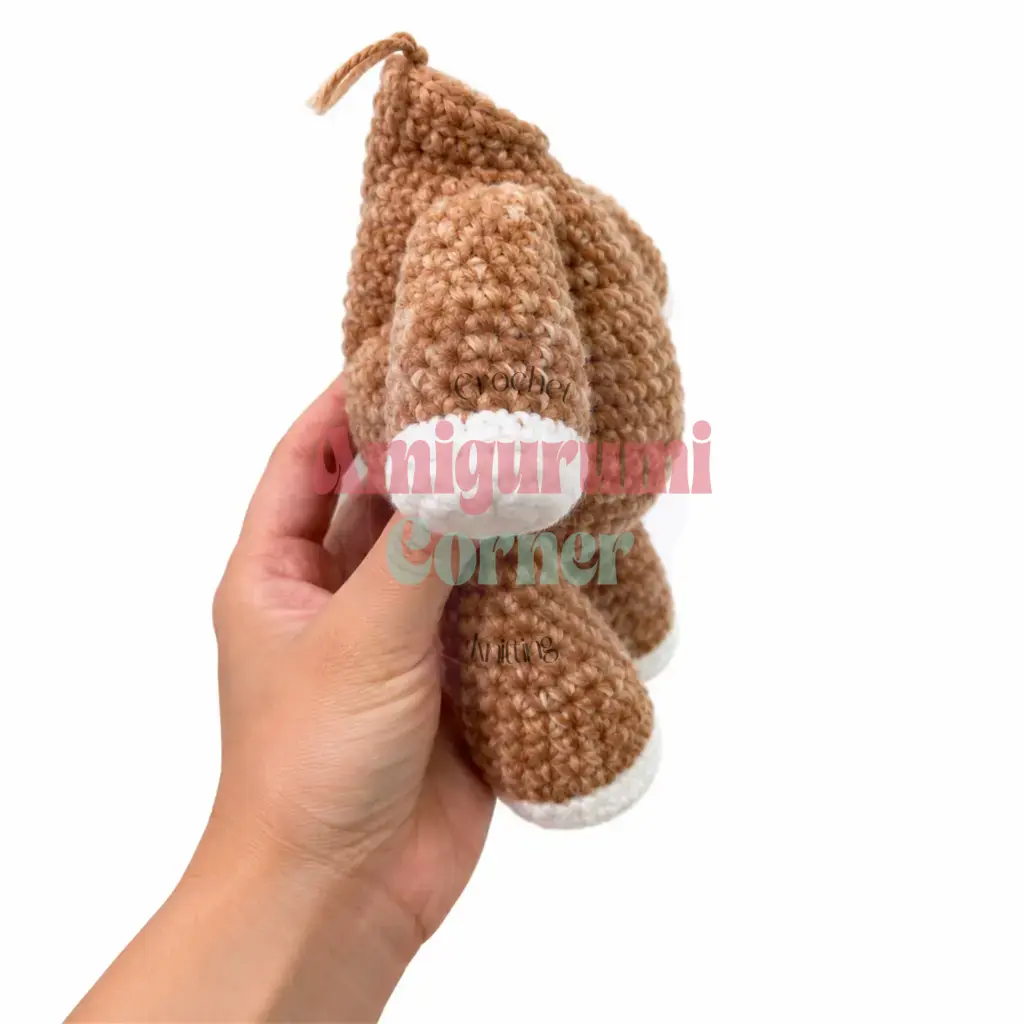
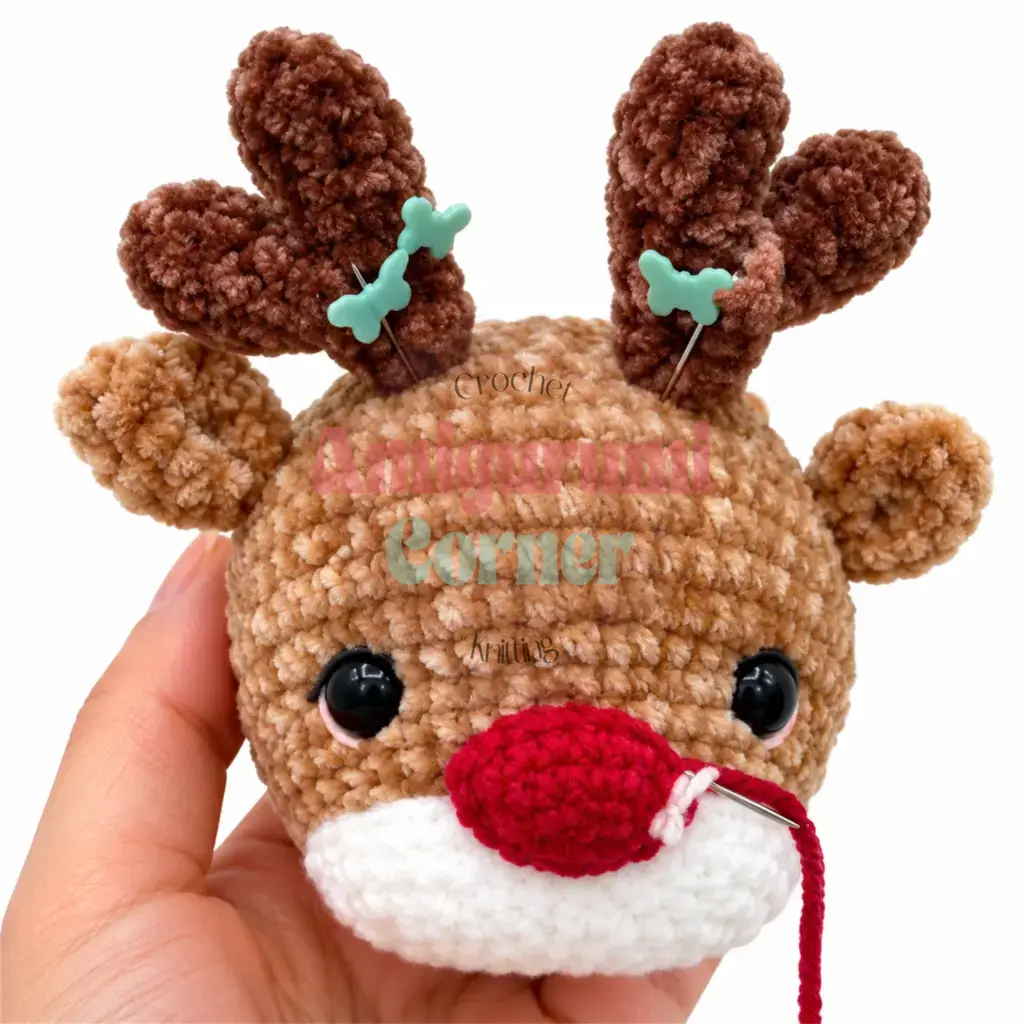
- Position the antlers on top of the head, one on each side, just above and slightly behind the ears.
- Pin and sew each antler firmly, working several passes of yarn through the base so they hold their angle.
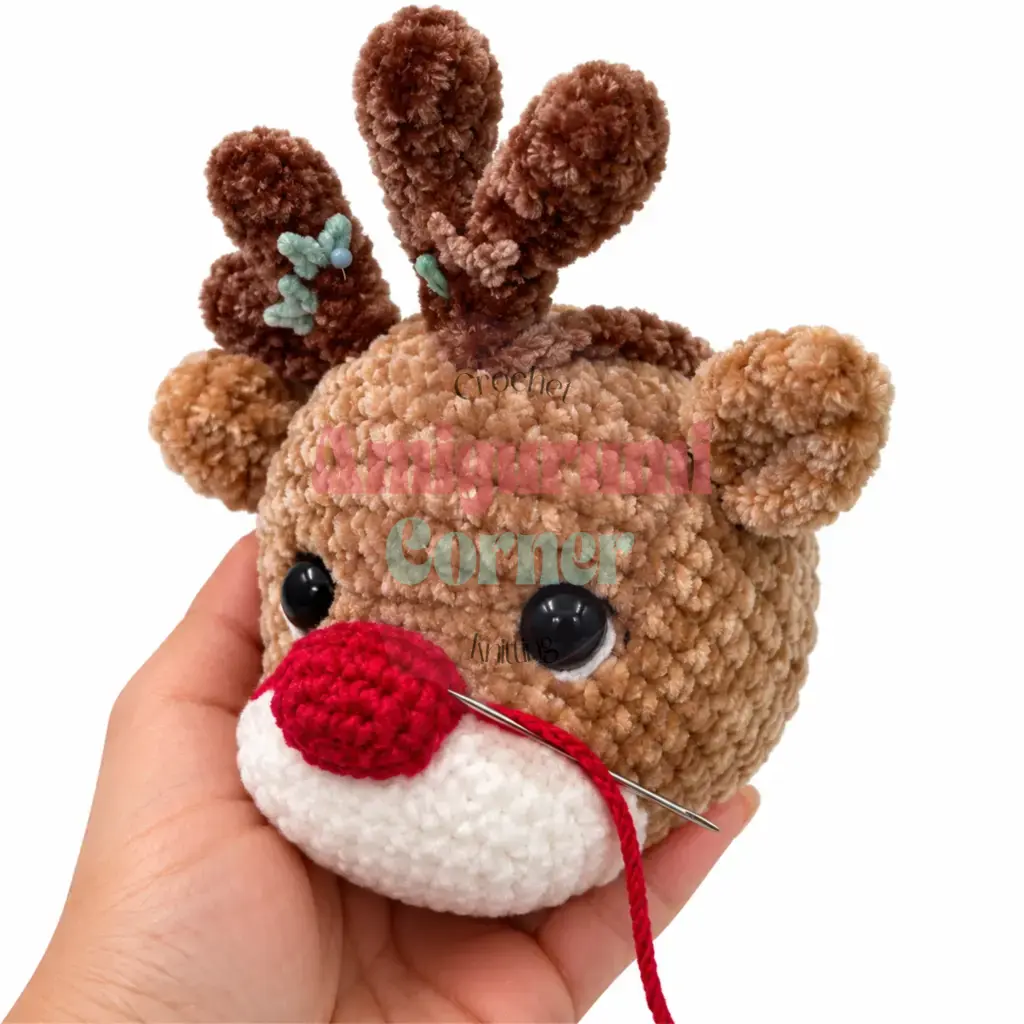
- Center the ruby red nose on the white muzzle section.
- Pin it carefully, then sew it in place using the long tail you left, pulling slightly to create a gentle sculptural curve.
- Position the ruby red flower beside one ear or on the side of the head.
- Sew it flat against the head using its yarn tail.
- Slide the skirt onto Reni and sew the buttons to the front of the body at the top of the straps to hold everything in place.
- Weave in all remaining ends, trimming neatly.
Tips for Crafting a Beautiful Reni
- Keep your tension tight throughout. Amigurumi relies on a dense, firm fabric so stuffing doesn’t peek through. If you find yourself seeing holes between stitches, switch to a hook that’s half a millimeter smaller. The difference is immediate.
- Use the invisible decrease every time. Inserting your hook into the front loops of two consecutive stitches before pulling through gives you a smooth, nearly invisible reduction. It makes a noticeable difference on the rounded curves of Reni’s legs and head compared to a standard decrease.
- Stuff the legs before closing them. It’s easy to forget at Round 20 when you’re flattening and seaming the leg closed. Stuff each leg firmly before you start that closing row. A leg stuffed after the seam is sealed will have an uneven, lumpy feel.
- The color-change technique at the hoof and wrist seams is intentional. Working a round of slip stitches in the back loops and then sc in the front loops creates a crisp, defined ridge where the white meets the chestnut. Take your time on this round and keep your tension even, because this ridge is one of Reni’s most distinctive details.
- Pin every piece before sewing. This applies especially to the antlers and ears, which are easy to place asymmetrically. Step back and look at Reni from the front and from above before you commit the needle. A minute of pinning saves a lot of unpicking.
Frequently Asked Questions About Reni
What hook size should I use for Reni?
You can use a US D-3 (3.0 mm) or US E-4 (3.5 mm) hook. The most important factor is that your stitches are tight enough that no stuffing shows through. If you see gaps, switch to a smaller hook.
How do I attach the legs and arms?
The legs are attached in Round 9 of the Body, and the arms are attached in Round 23. You attach them by working single crochet through both the body stitch and the corresponding top stitch of the limb simultaneously.
Can I change the colors of Reni’s outfit?
Absolutely. The pattern uses ruby red for the flower and skirt straps, and khaki for the skirt body. You can substitute these with any yarn colors that suit your style or the recipient’s preferences.
Why are some rounds marked as reconstructed?
The original source pattern had some truncated or obscured text in the Arms and Antlers sections. These rounds have been logically reconstructed to ensure the stitch counts and shaping remain consistent with the rest of the pattern.
Is this pattern suitable for beginners?
This pattern is rated for an intermediate skill level. It involves working in spirals, attaching limbs while crocheting the body, and managing multiple yarn colors, which may be challenging for absolute beginners.
How do I finish the head?
After Round 24, you decrease to close the opening. Before completely closing it, ensure you have inserted your safety eyes and embroidered any details. Then, pull the yarn tail tight to close the hole and weave in the end.
Pin This Crochet Pattern!