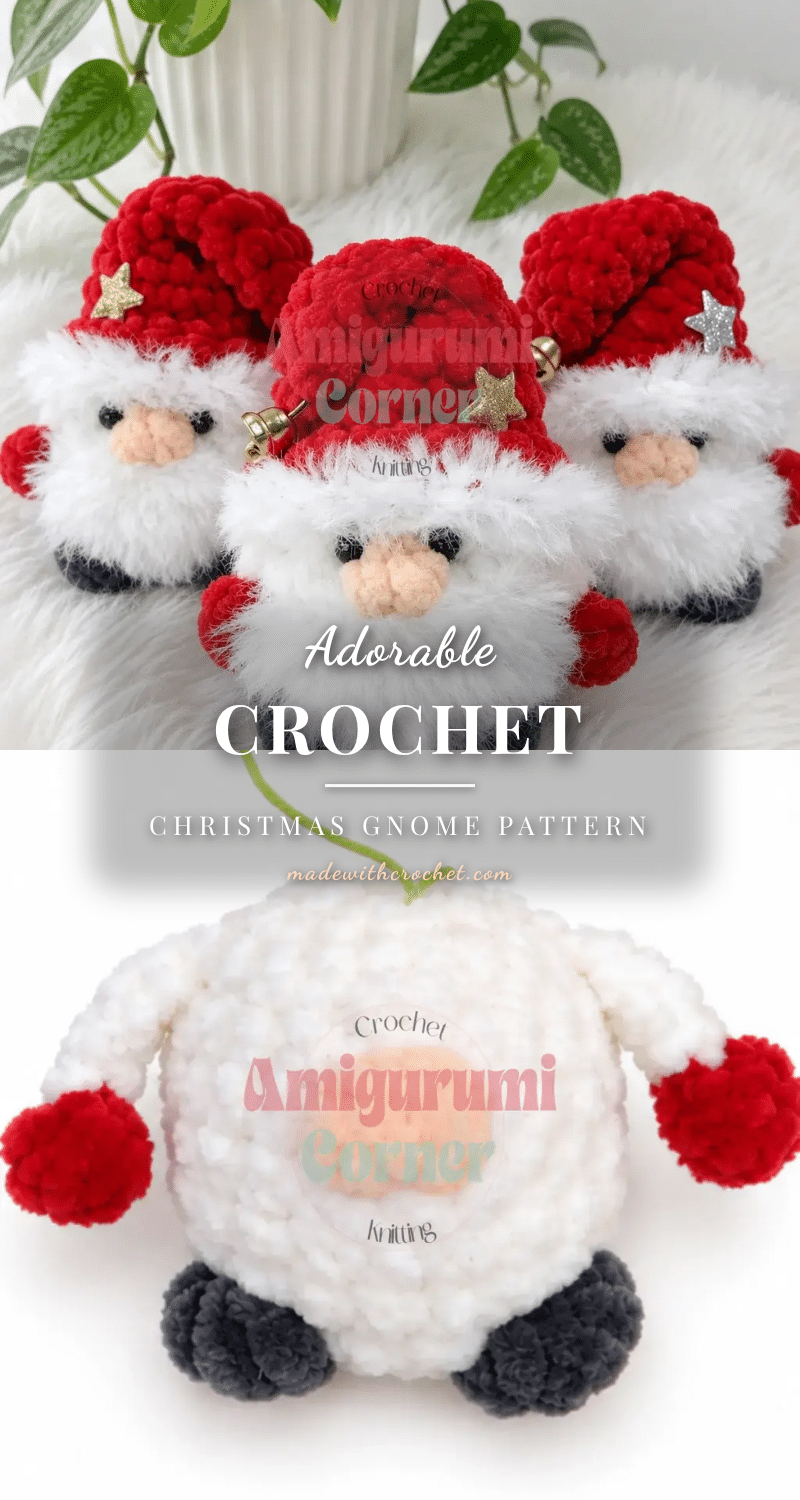
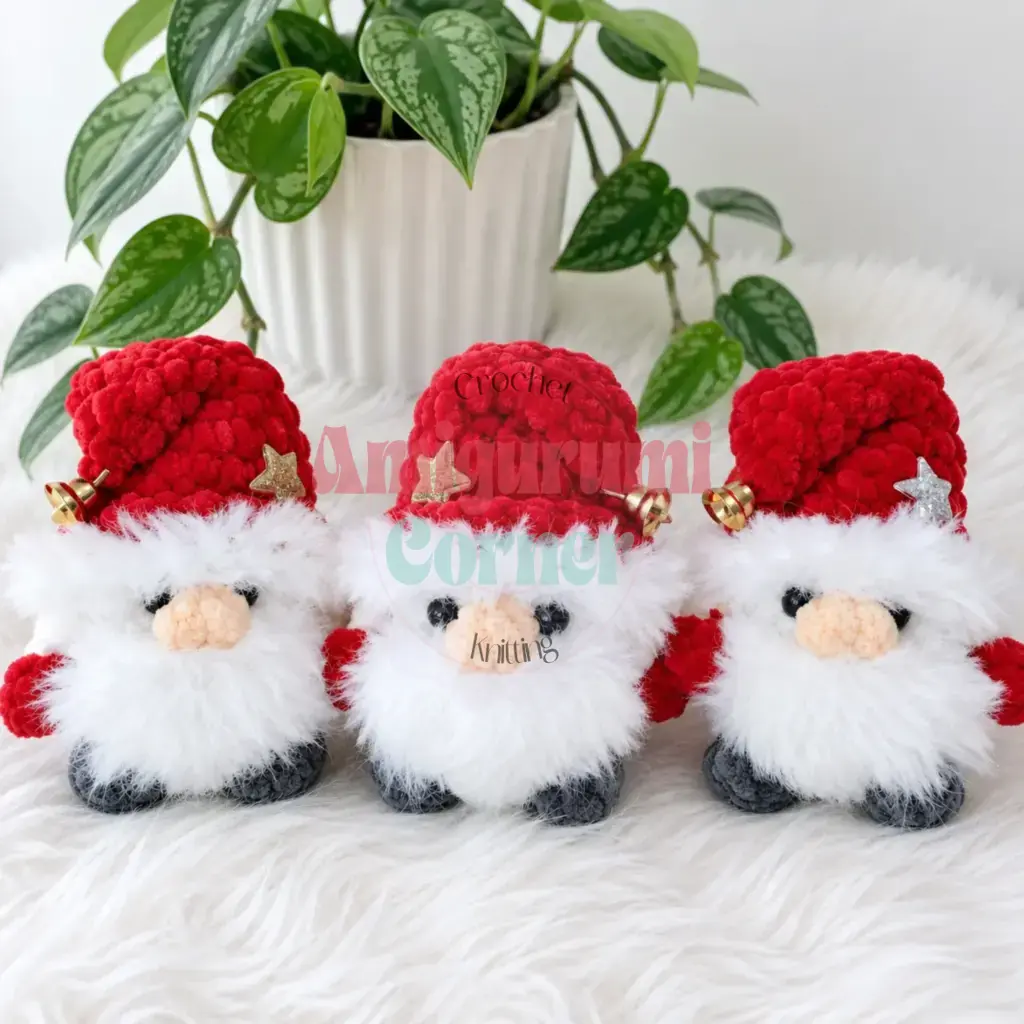
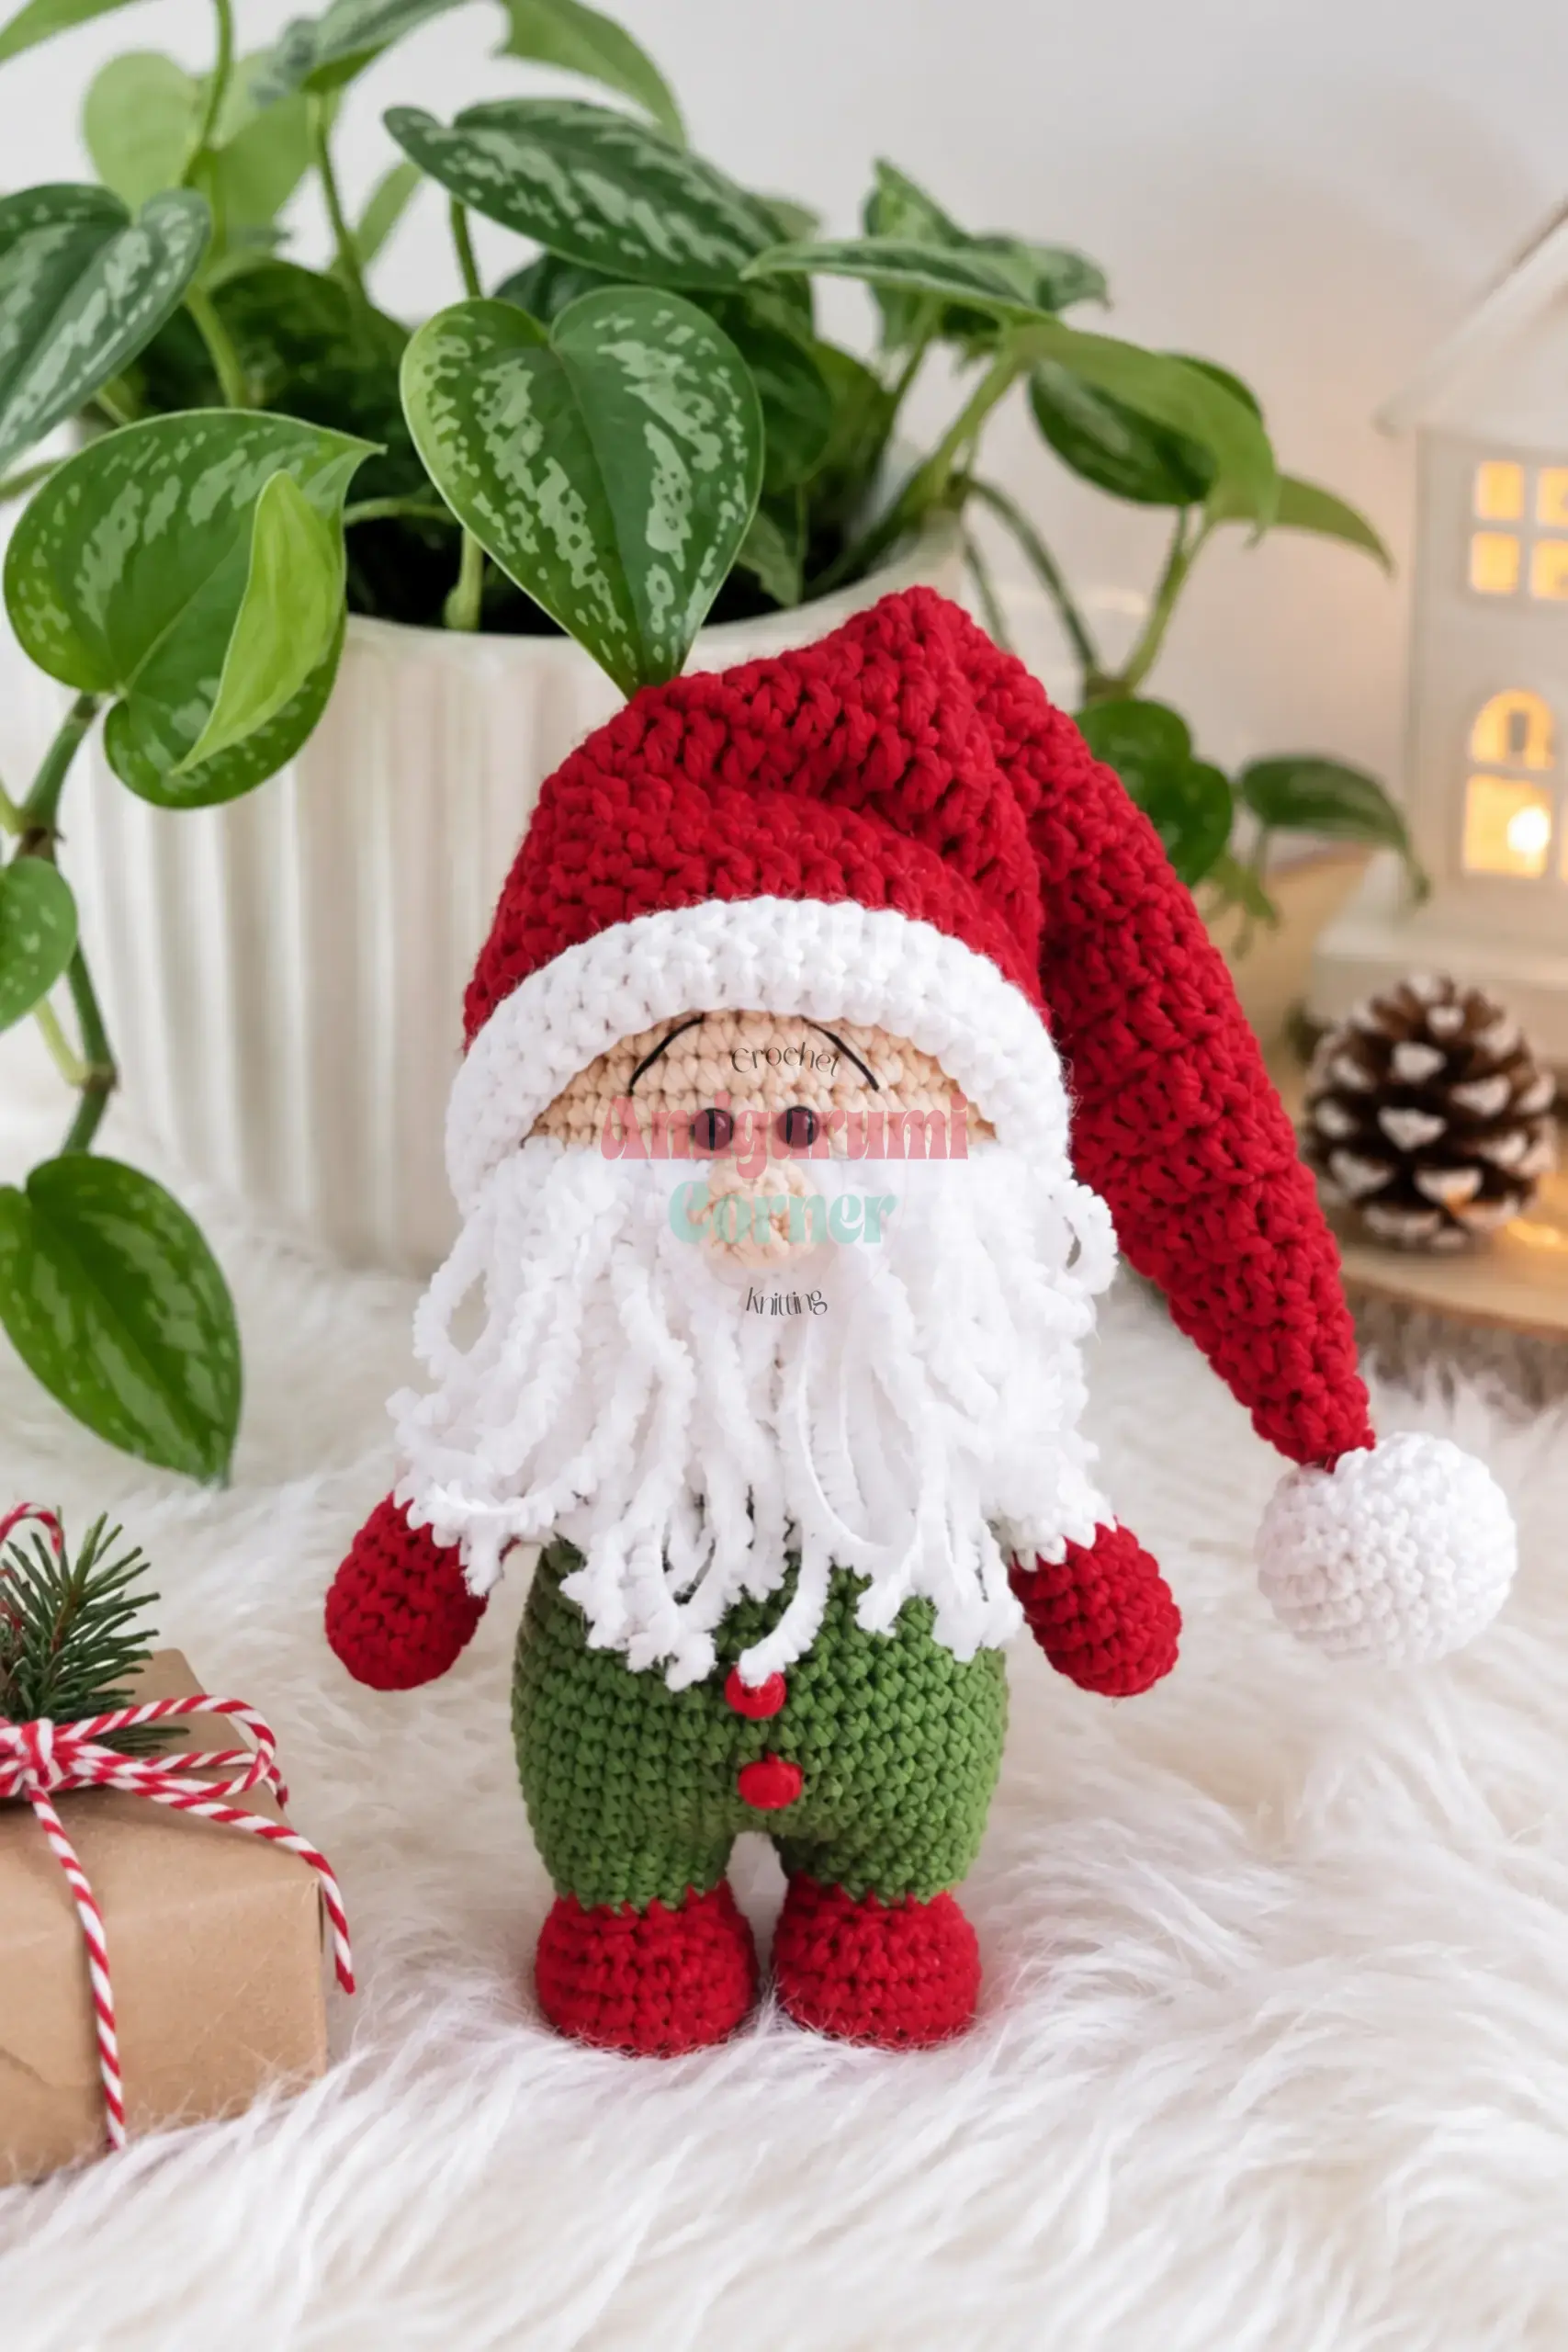
Picture a tiny gnome tucked beneath the tree, red hat tipped to one side, fuzzy white beard soft enough to touch. That’s exactly what this crochet Christmas gnome delivers: a charming 10 cm (about 4 inch) amigurumi figure worked mostly in plush yarn, with a bobble nose, mitten hands, and little legs peeking out from the base. He’s beginner-friendly, quick to finish, and makes a wonderful handmade ornament or gift topper. The pattern uses plush yarn for the body and hat, then switches to a fluffy eyelash-style yarn for the beard and hat trim, creating a lovely textural contrast that really makes the gnome come alive. If you’ve been looking for a satisfying holiday project you can complete in one sitting, this crochet Christmas gnome pattern is exactly it. Grab your yarn and let’s get started.
Texture and Stitch Notes
What makes this little gnome so satisfying to make is the interplay between the smooth, dense plush yarn and the wild, cloud-like texture of the eyelash yarn. Working in a continuous spiral allows the body to form a seamless cylinder, but it requires a firm hand to keep the fabric tight. The real magic happens in the details: the bobble clusters for the legs and nose add a playful 3D element, while the flat-turned brim gives the hat a structured, sturdy base. Paying attention to the offset stitch in the early rounds ensures your decreases stack neatly, keeping the final shape symmetrical and professional.
Project Overview
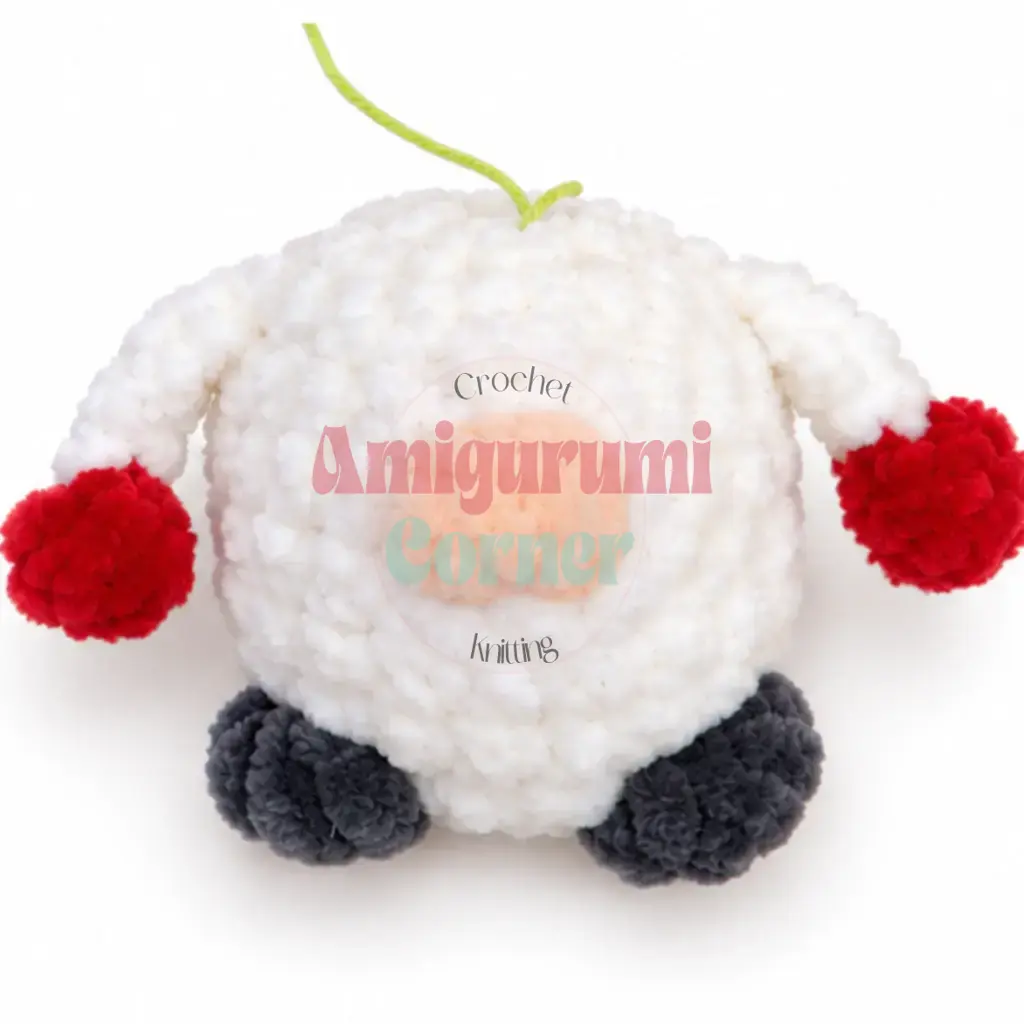
This beginner-friendly amigurumi pattern creates a festive holiday gnome standing approximately 10 cm (4 inches) tall. It is designed to be worked in US crochet terminology using plush yarn for the main structure and fluffy or eyelash-style yarn for the beard and hat edging. The project involves working in a continuous spiral for the body and hat, with specific mid-round techniques for attaching limbs and facial features.
Materials
- Yarn (main): Plush yarn, approximately 120 m / 100 g per skein. Total used: about 20 g. Breakdown: 8 g white, 10 g red, 1 g beige, 1 g gray.
- Yarn (accent): Fluffy or eyelash-style yarn (such as Mink-type yarn), 5 to 6 g, used doubled for the hat edging and single strand for the beard.
- Hook size: Sized to suit your plush yarn (typically a C-2 / 2.5 mm to E-4 / 3.5 mm; use whatever gives you a firm, tight fabric with no gaps).
- Safety eyes: 10 mm, 2 pieces. (Alternatively, use flat-back adhesive half-bead eyes 10 mm and glue them on at the finishing stage.)
- Stuffing: Polyester fiberfill, a small amount for the body and a light fill for the hat.
- Stitch marker: 1, to track the start of each round.
- Yarn needle: For weaving in ends and sewing the hat tip.
- Scissors.
- Optional: A small bell to attach to the hat tip. A pet slicker brush or stiff bristle brush for fluffing the beard and hat edging.
Gauge and Finished Size
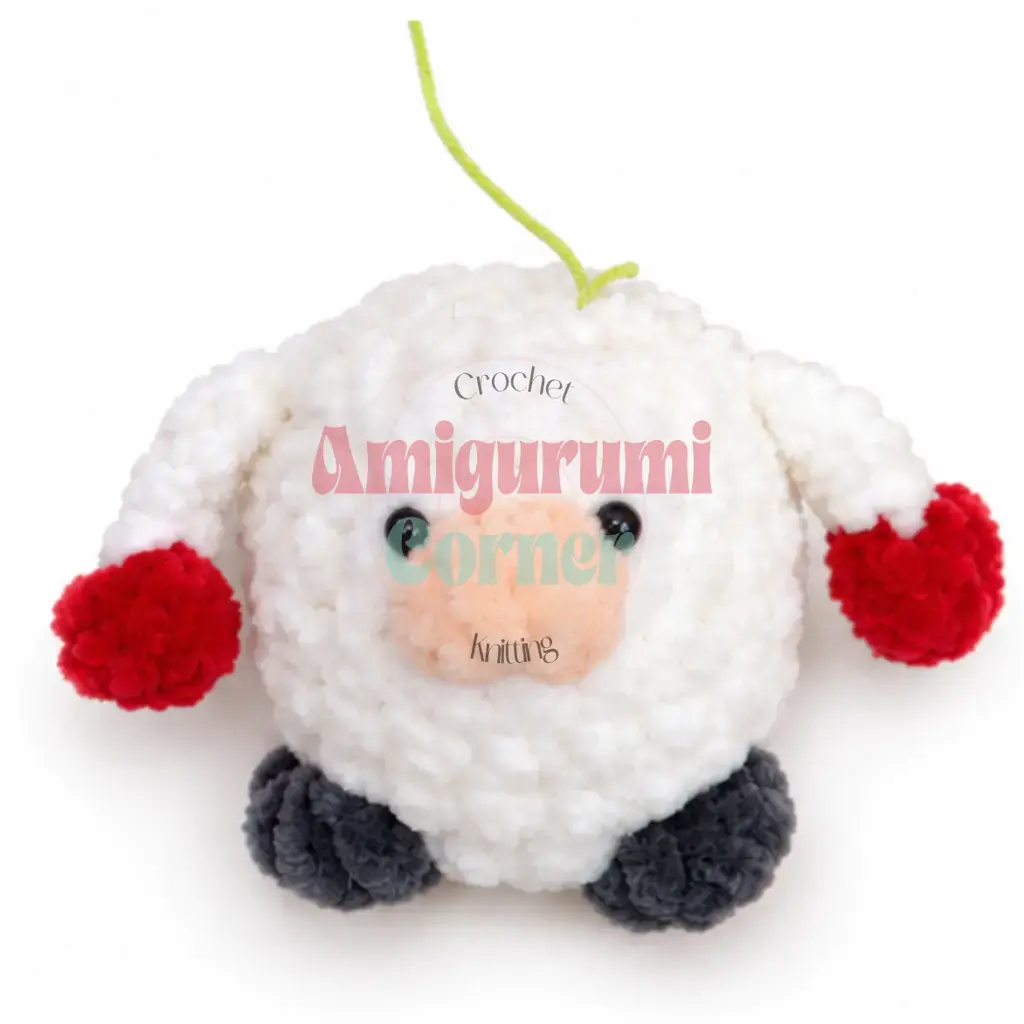
Finished Size: A charming 10 cm (about 4 inch) amigurumi figure.
Gauge: Gauge is not critical for this project, but your fabric must be tight enough that no stuffing shows through. If you can see gaps, go down a hook size.
Abbreviations
- BLO: Back Loop Only
- ch: Chain
- dc: Double Crochet
- dec: Decrease (invisible decrease recommended)
- hdc: Half Double Crochet
- inc: Increase (2 sc in the same stitch)
- MR: Magic Ring
- sc: Single Crochet
- sl st: Slip Stitch
- st / sts: Stitch / Stitches
- tr: Treble Crochet
Pattern Notes
This pattern is written in US crochet terminology. The body is worked in a continuous spiral (no joining slip stitch at the end of each round). Place a stitch marker in the first stitch of each round and move it up as you go. The stitch marker should sit at the exact center back of the piece throughout. Where noted, an offset stitch is used to keep the stitch column vertically aligned. This extra stitch is not counted in the stitch total.
Stitch counts are given at the end of each round in parentheses: (##). Safety eyes on a safety backing: install them between Rnds 7 and 8 before closing the body. If you are using adhesive half-bead eyes, glue them on at the very end after all finishing is complete. The legs, nose, and arms are worked as attached bobble-style clusters directly into the body fabric as you go. Read each round description carefully before beginning it. Stuff the body firmly after Rnd 10. Stuff the hat lightly after Rnd 5 of the upper hat section.
Pattern Instructions
Body
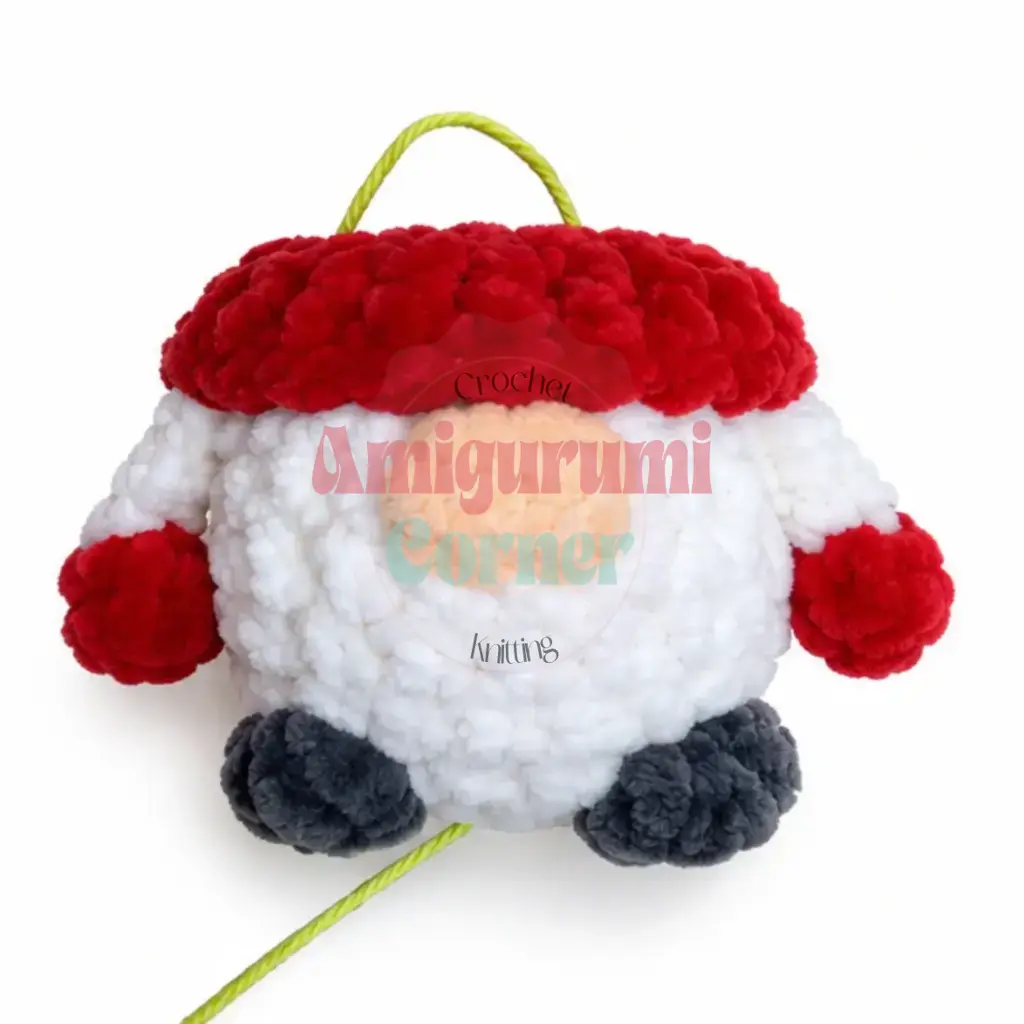
Work in white plush yarn throughout the body unless a color change is noted.
Rnd 1: 8 sc in MR. (8)
Rnd 2: inc in each st around. (16)
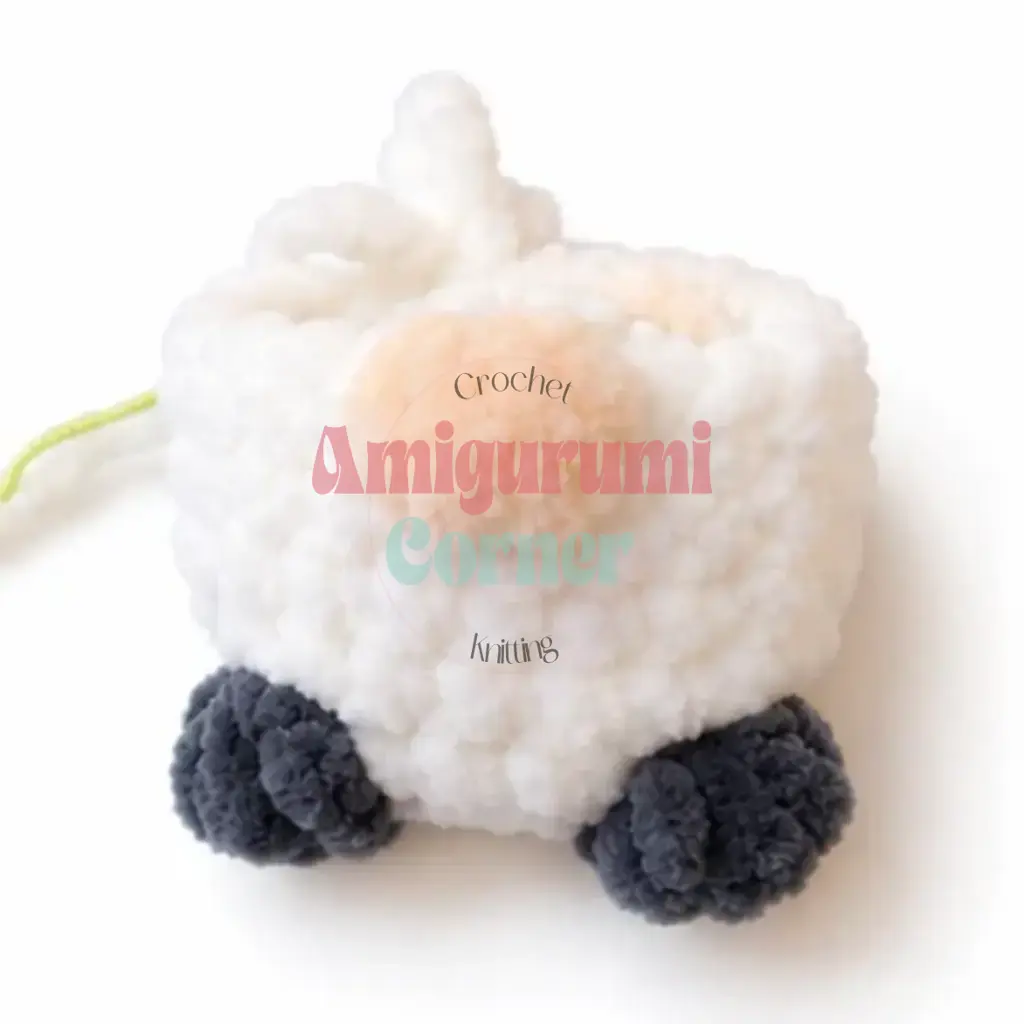
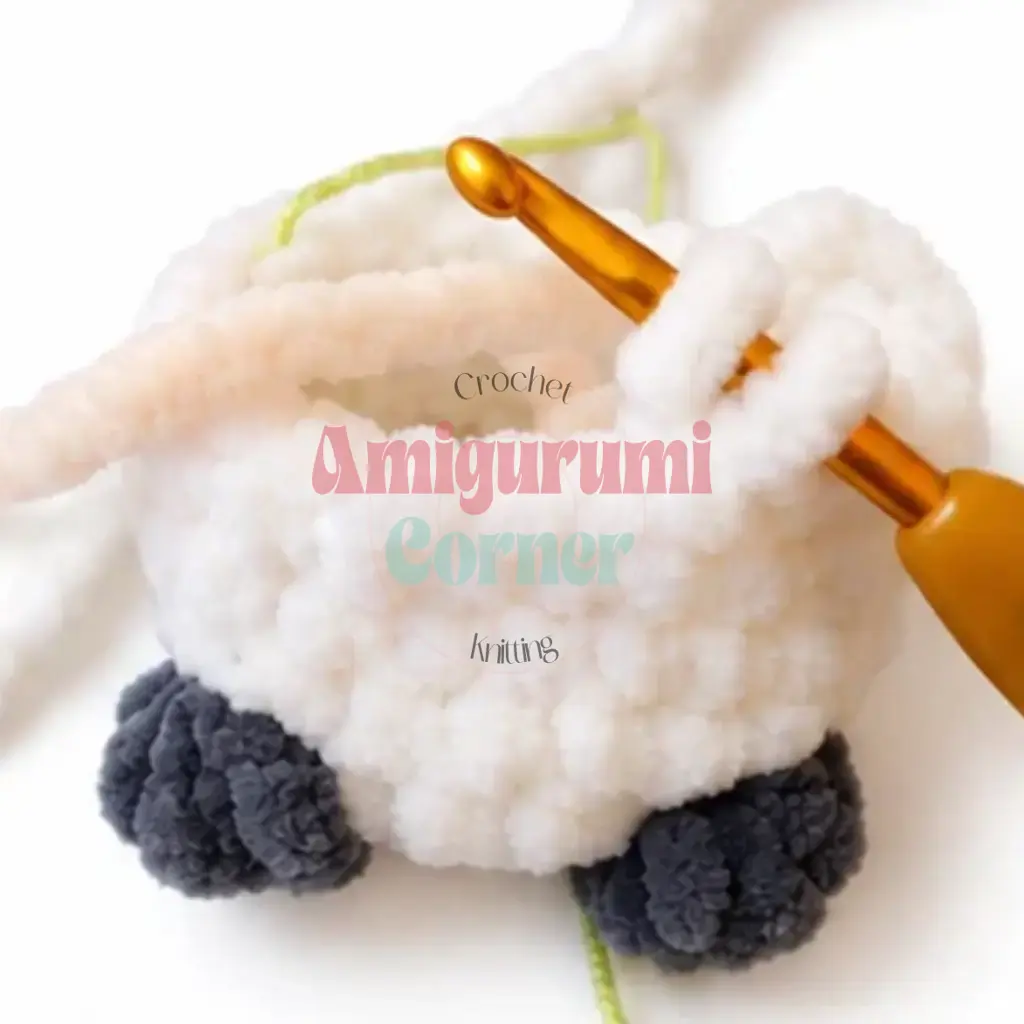
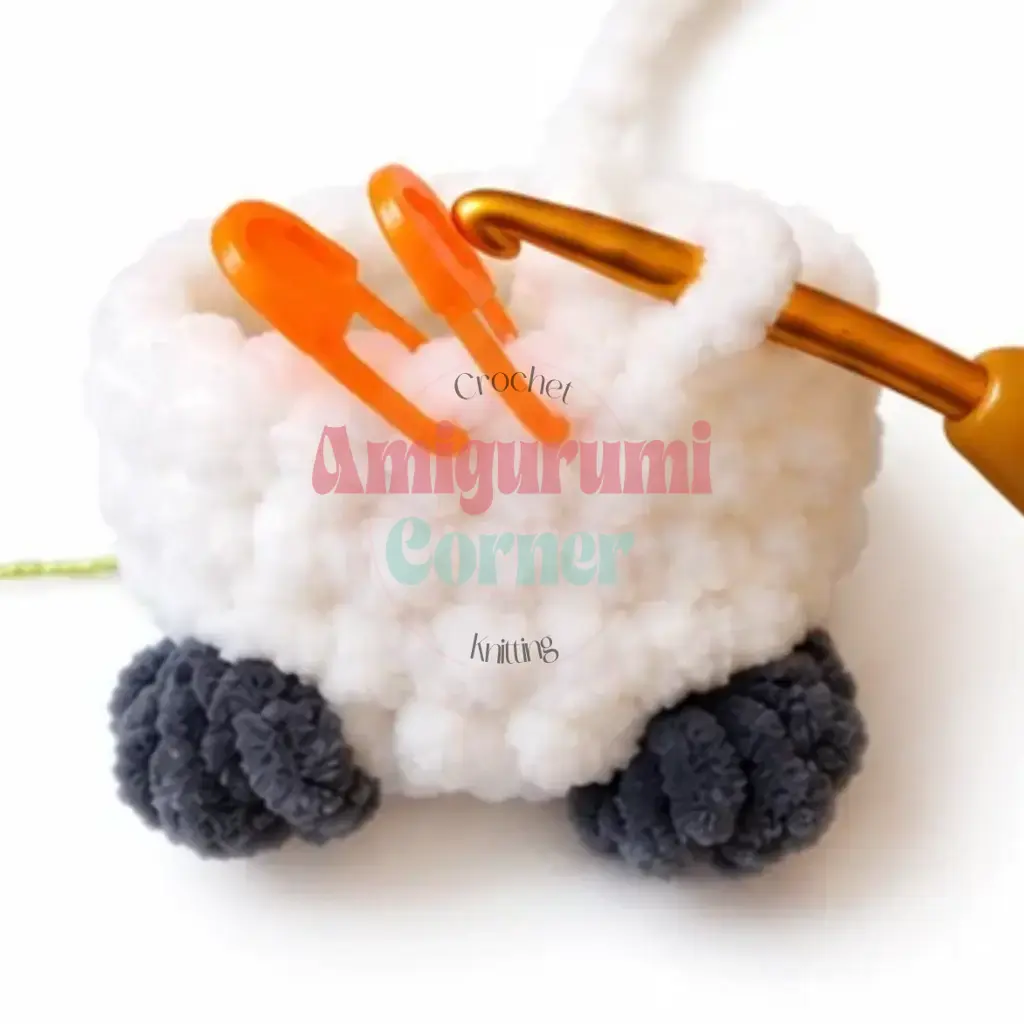
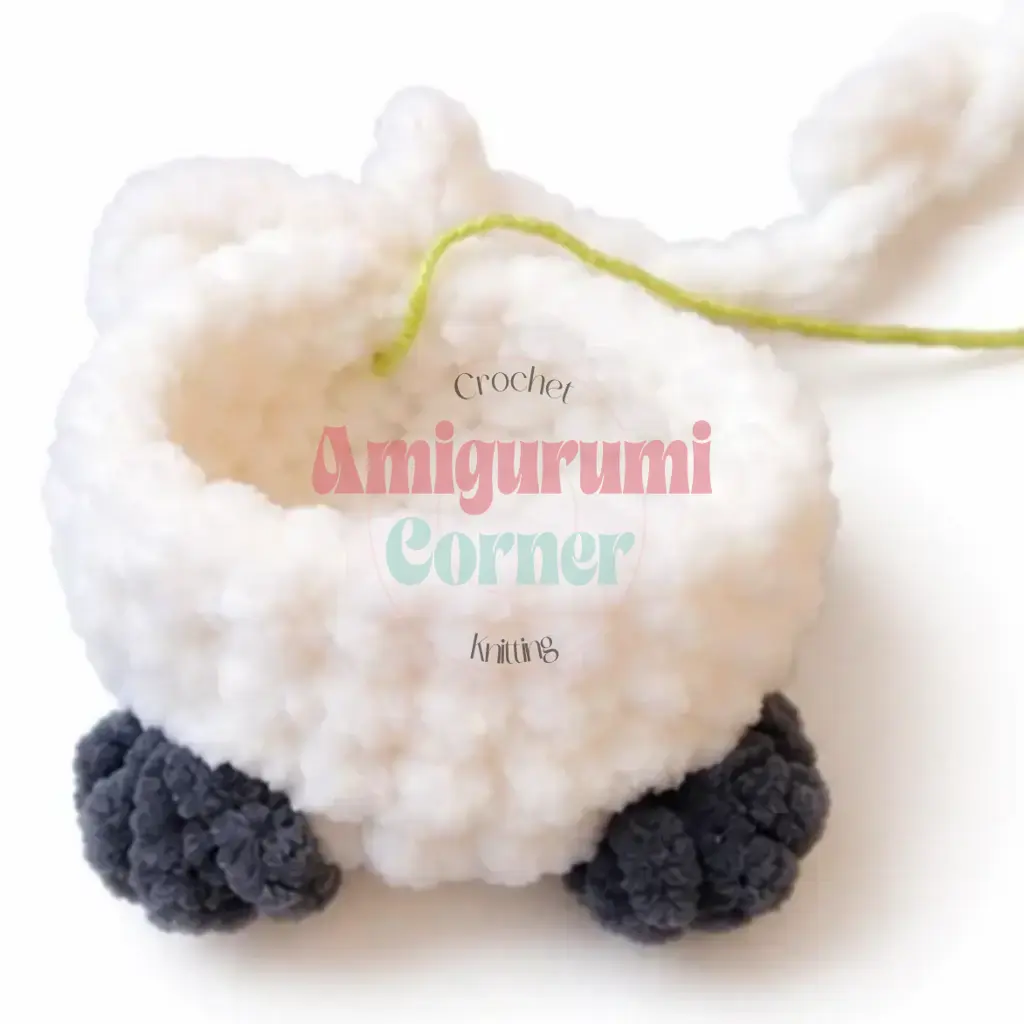
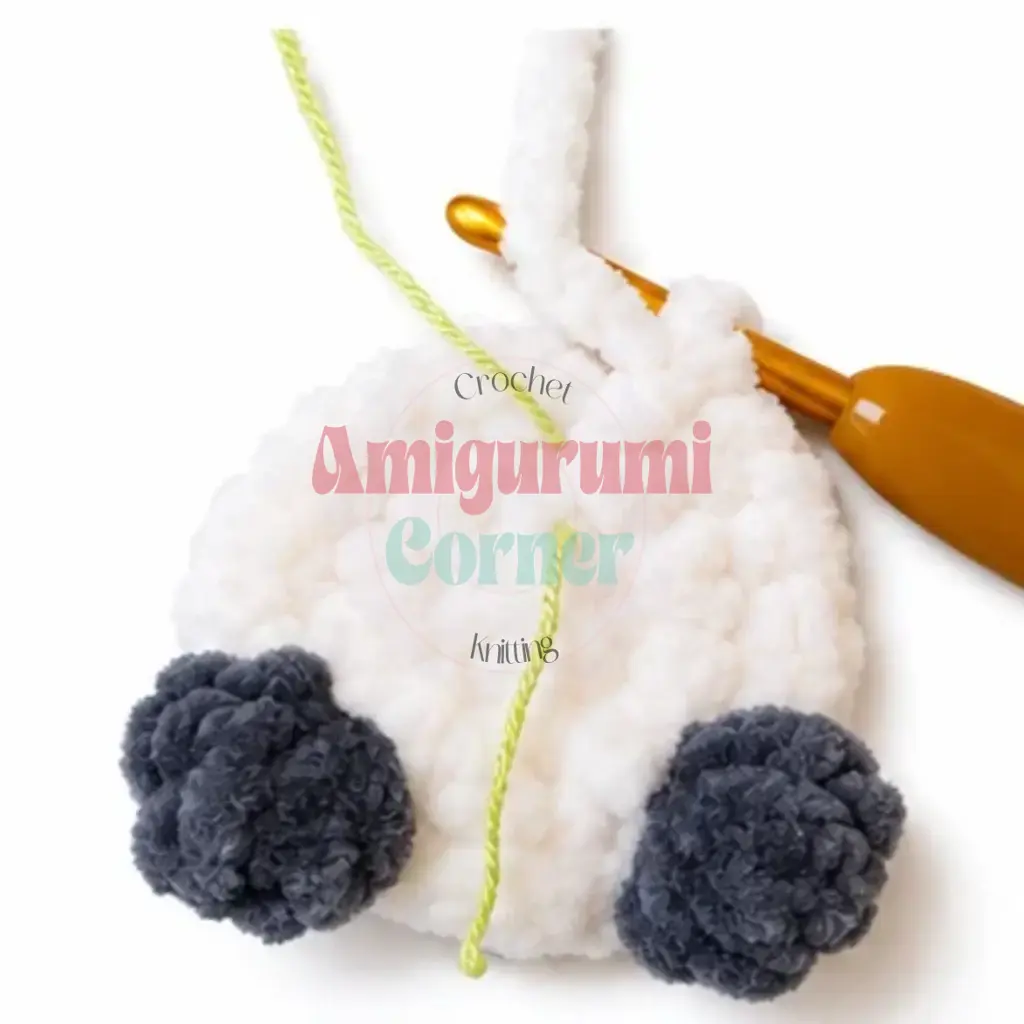
Rnd 3: 1 sc, inc repeat 2 times, 1 sc, then work the first leg: using a separate length of yarn in your contrasting color, work 4 tr all into the same stitch with a shared top closure (the closing loop is pulled through with white yarn to finish the cluster), 4 sc, work the second leg the same way as the first into the next stitch, 1 sc, 1 sc, inc repeat 2 times. (20)
Rnds 4-6: sc in each st around for 3 rounds. Add an offset stitch after Rnd 6 if needed to realign the marker to center back. (20)
Rnd 7: 9 sc, then work the nose: using a separate length of beige yarn, work 2 hdc into the same stitch with a shared top closure (the closing loop is pulled through with white yarn) repeat 2 times, 9 sc. (20)
If you are using safety eyes with a backing, attach them now, positioning them between Rnds 7 and 8, one stitch on either side of the nose.
Rnd 8: 5 sc, then work the first arm: chain 4 with white yarn, join a length of red yarn and draw it through (see note below), chain 2 more with red yarn, work 4 hdc all into the first chain from the hook with a shared top closure, pulling the closing loop through with red yarn to finish. Switch back to white at the color-change point on the foundation chain. Work 4 sl st across the underside of the foundation chain to complete the arm. Work 10 sc across the body, then work the second arm the same way as the first. Work 5 sc to end of round. (20)
After completing both arms, tie off the red yarn tails, trim, and tuck them neatly inside the fist cluster so they are hidden.
Rnd 9: 4 sc, dec, 8 sc, dec, 4 sc. (18)
Rnd 10: 9 dec around. Fasten off and leave a tail long enough to close and weave in. (9)
Stuff the body firmly now. Close the opening and weave in all ends.
Hat
Work in red plush yarn.
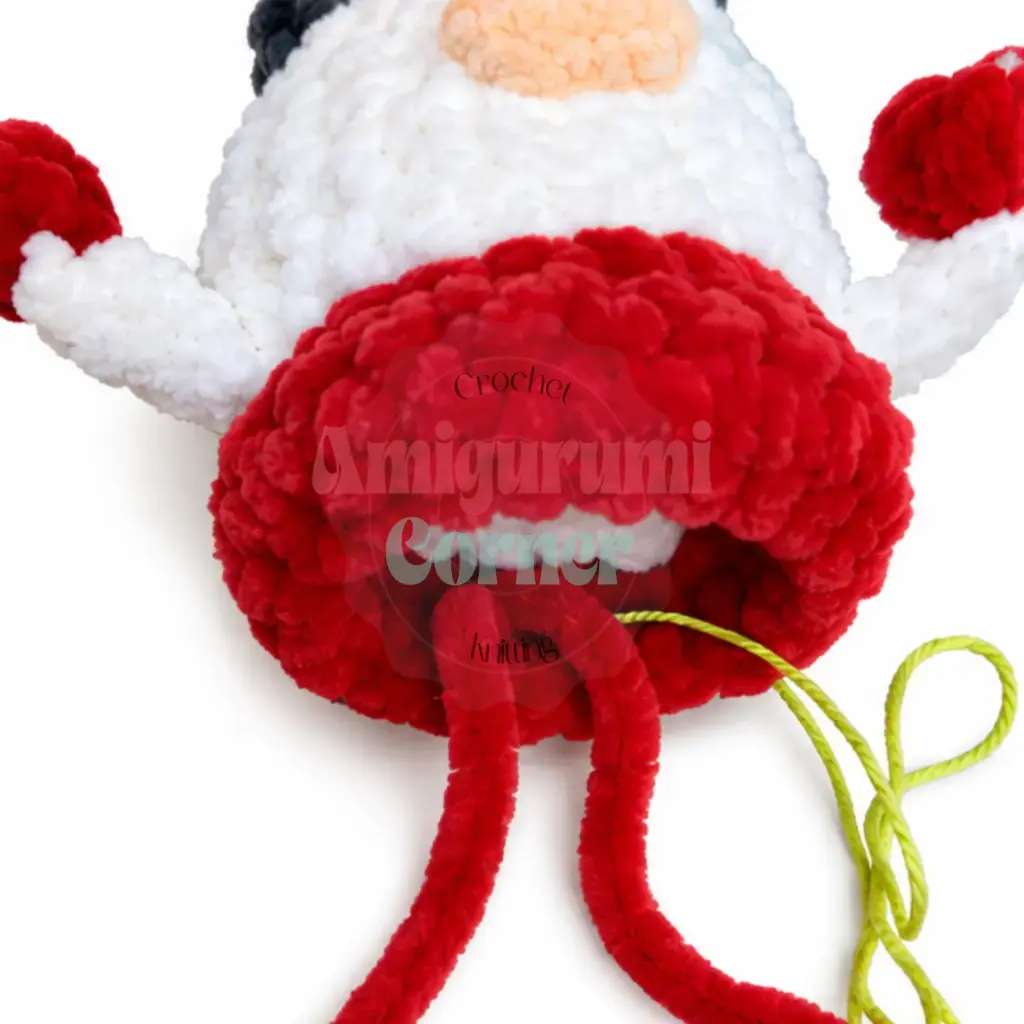
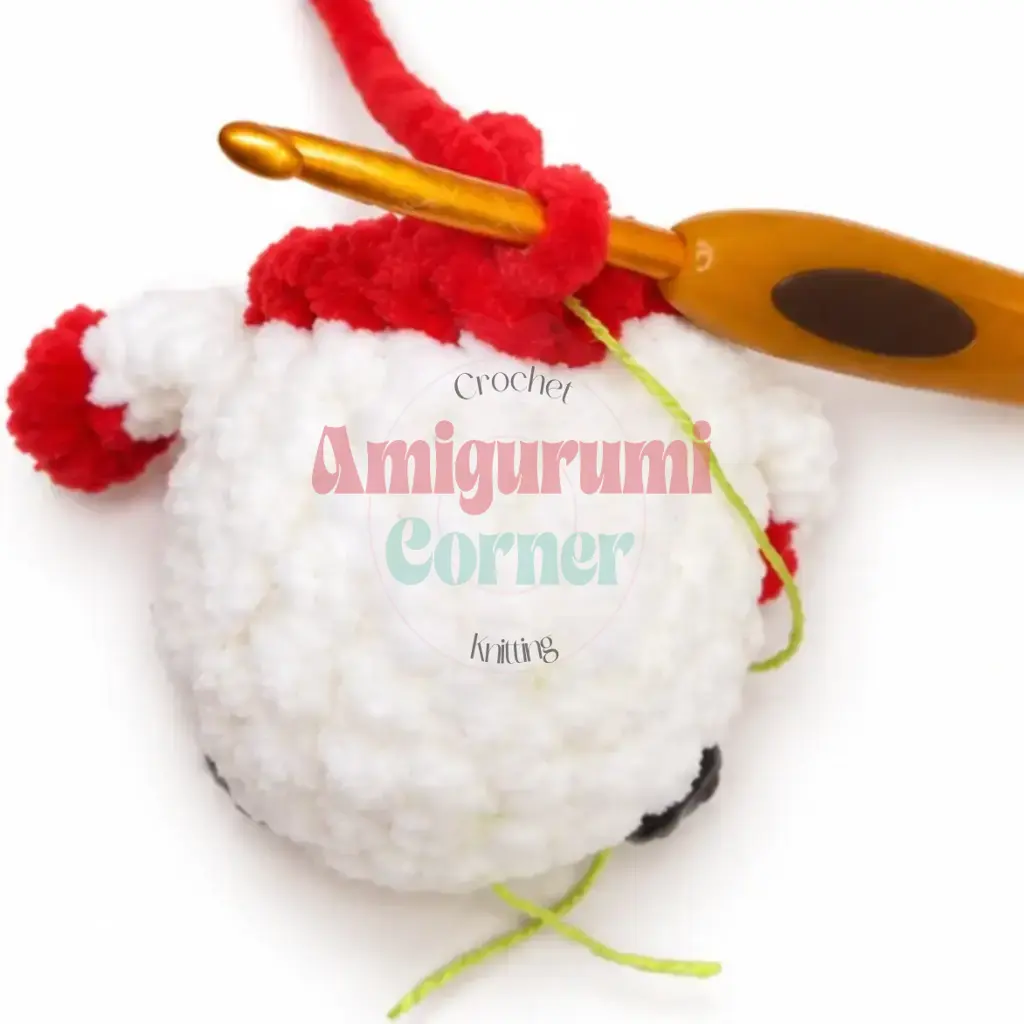
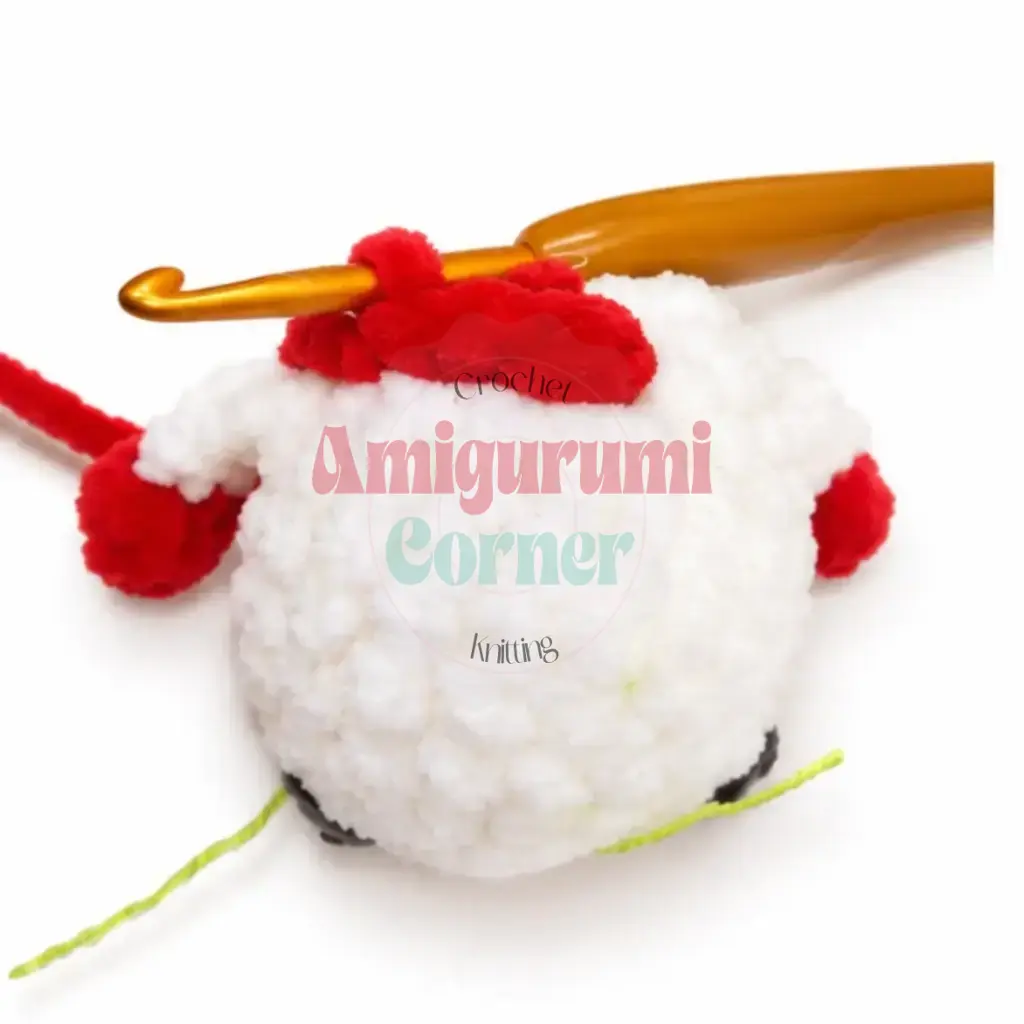
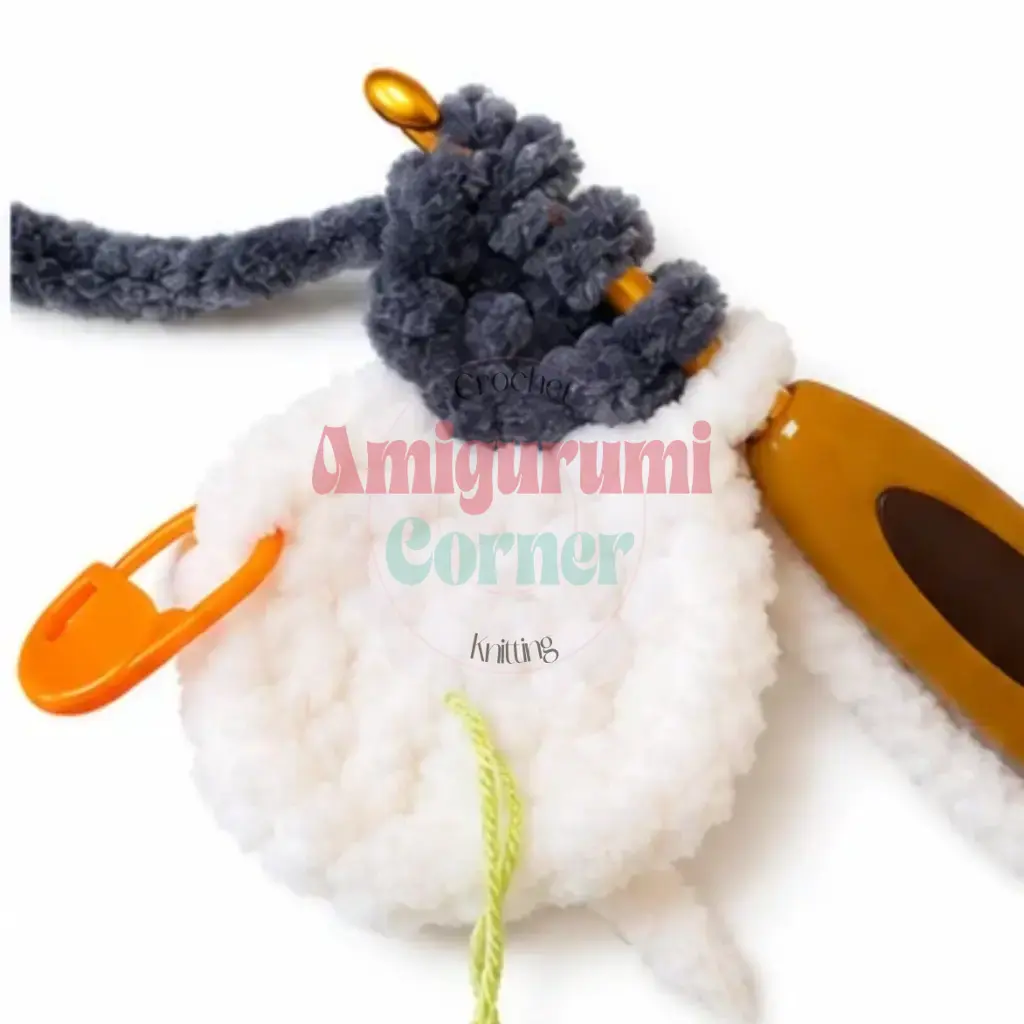
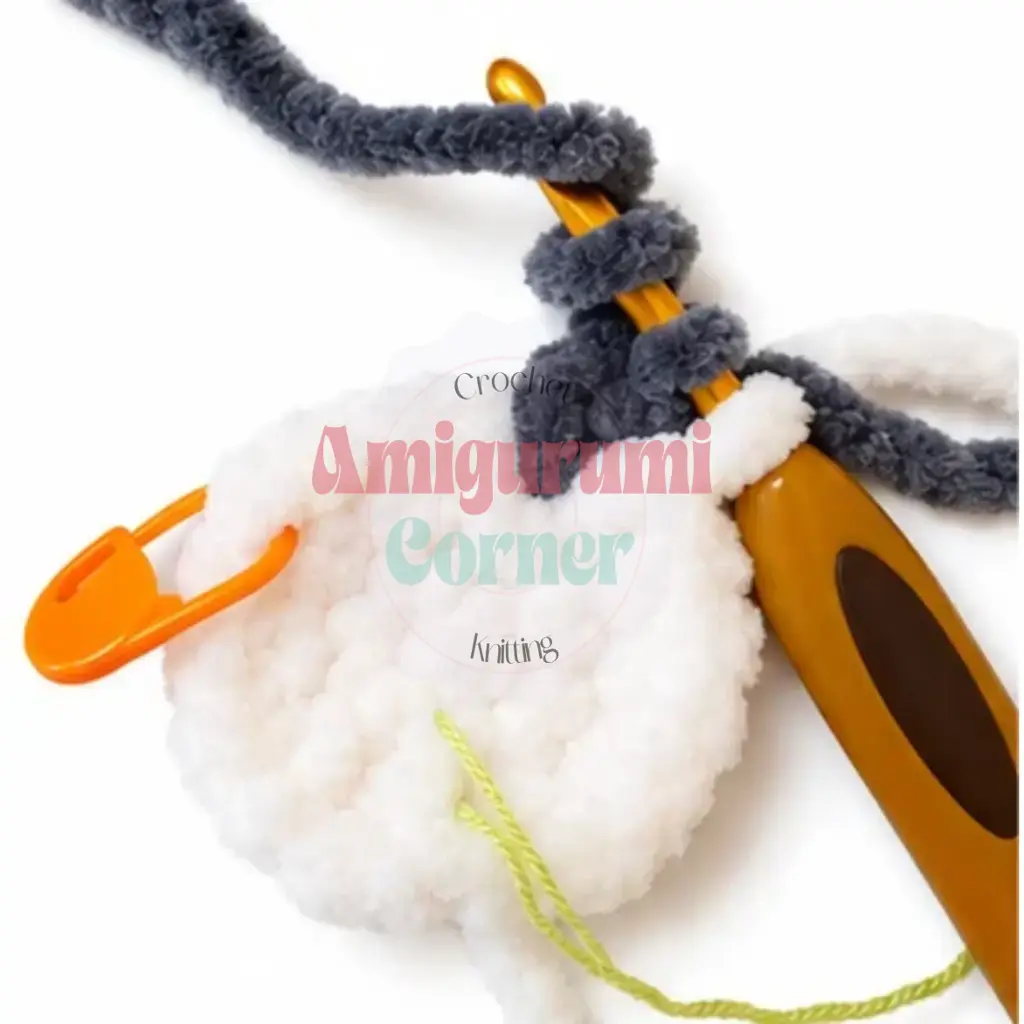
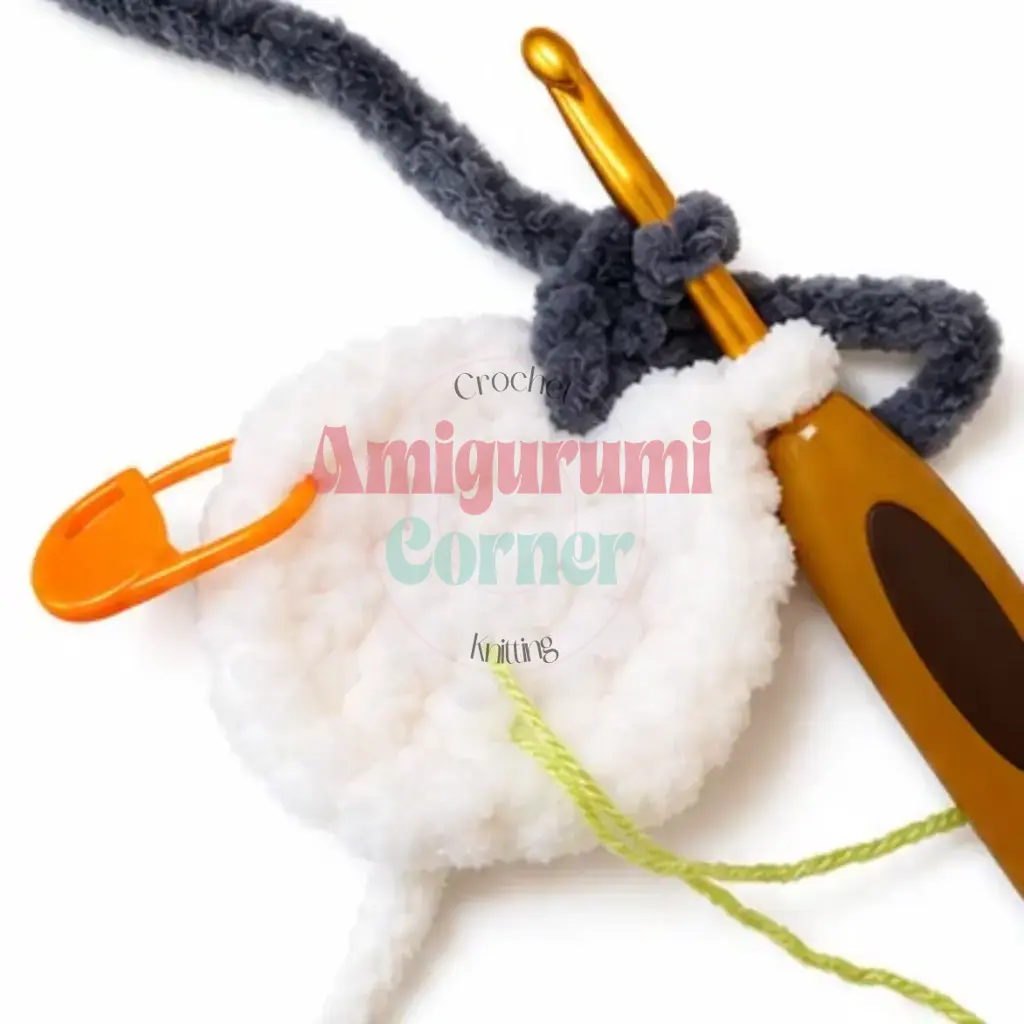
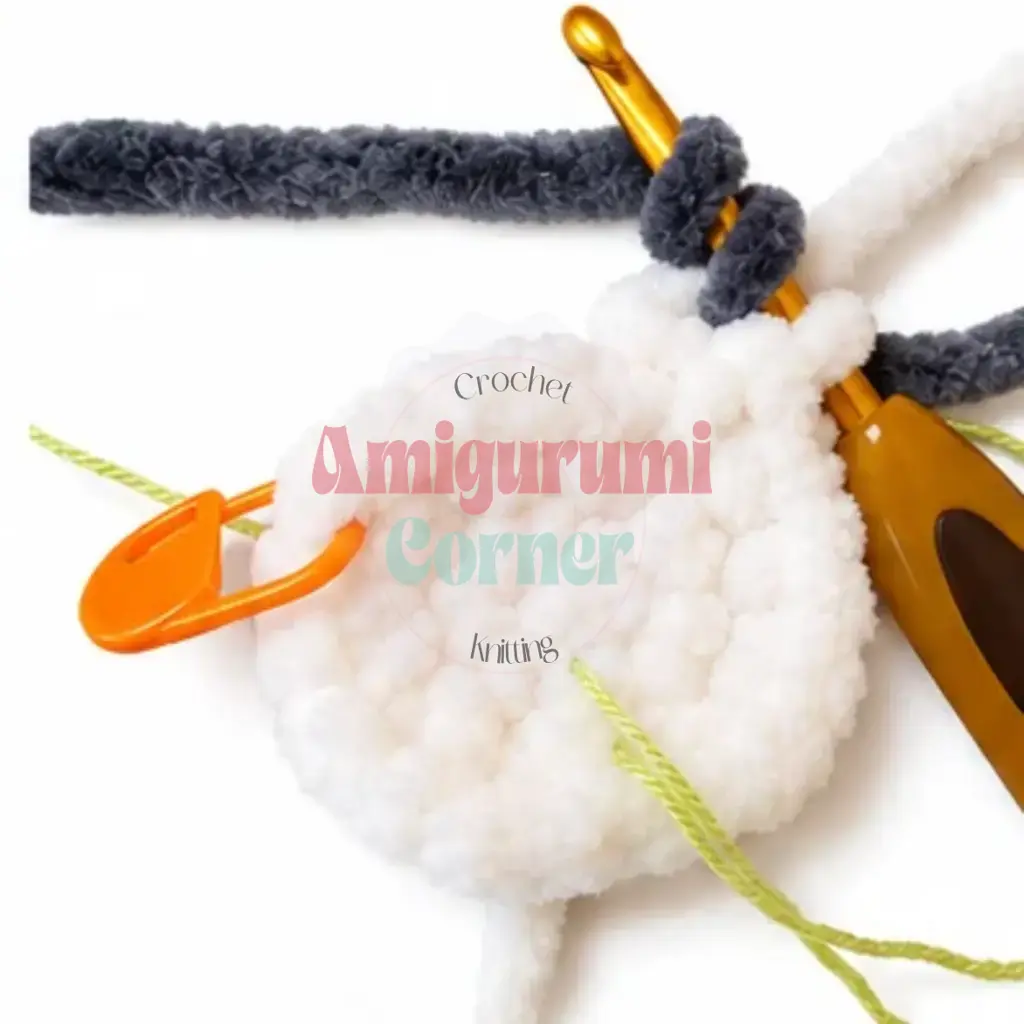
Rnd 1: Join red yarn between Rnds 9 and 10 of the body. Ch 1, 4 sc, inc, 8 sc, inc, 4 sc. (20) Join with a sl st to the first sc of this round. Turn your work.
Brim (worked flat on the turning row):
Rnd 1.1: 20 sc worked in BLO (the loop that is now facing away from you after turning). (20)
Rnd 1.2: 20 sc worked through both loops. (20)
Fasten off and weave in the end.
Upper Hat (worked in the round from the remaining loops of Rnd 1):
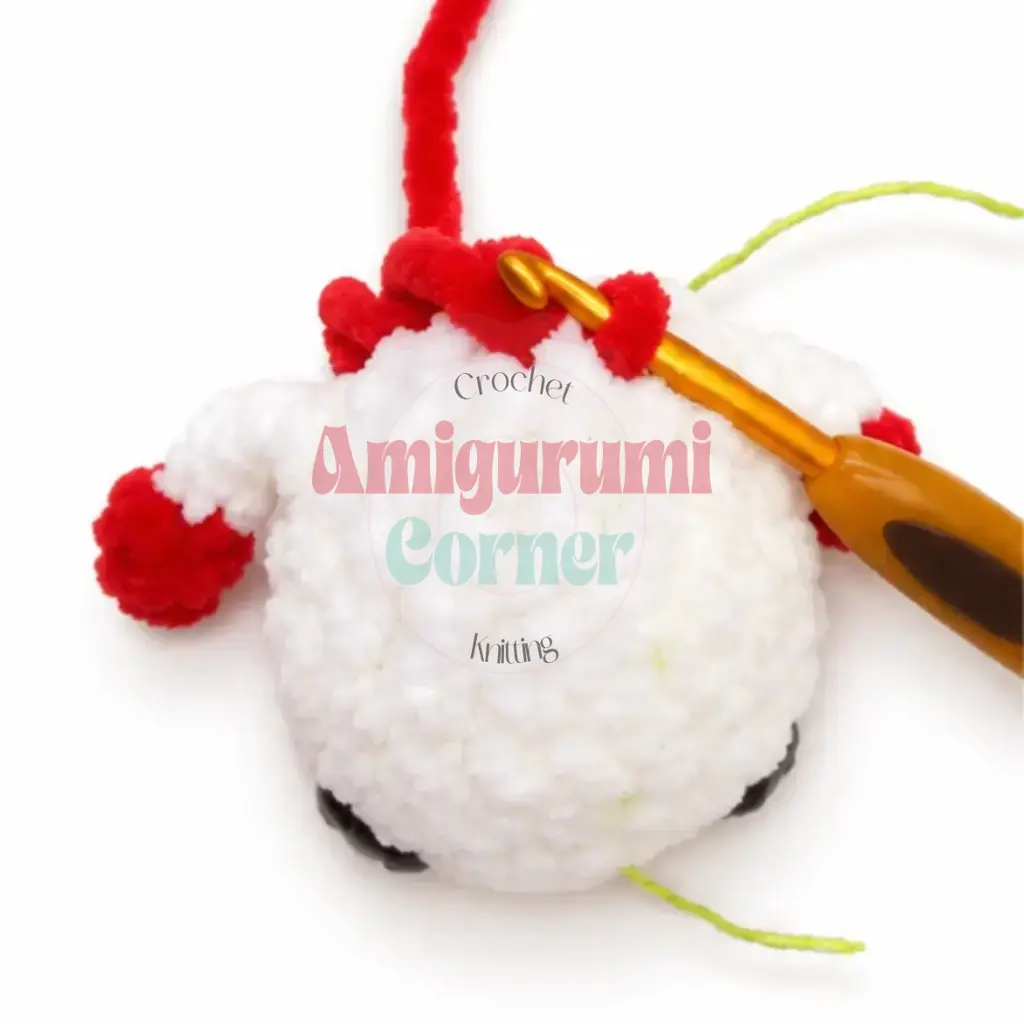
Rnd 2: Join red yarn to the first stitch of Hat Rnd 1 and work into the remaining unworked loops of that round: 20 sc. (20)
Rnd 3: 4 sc, dec, 8 sc, dec, 4 sc. (18)
Rnd 4: 4 sc, dec, 7 sc, dec, 3 sc. (16)
Rnd 5: sc in each st around. Lightly stuff the hat now. (16)
Rnd 6: 3 sc, dec, 6 sc, dec, 3 sc. (14)
Rnd 7: 3 sc, dec, 5 sc, dec, 2 sc. (12)
Rnd 8: 2 sc, dec, 4 sc, dec, 2 sc. (10)
Rnd 9: 2 sc, dec, 3 sc, dec, 1 sc. (8)
Rnd 10: 1 sc, dec, 2 sc, dec, 1 sc. (6)
Rnd 11: 1 sc, dec, 1 sc, dec. (4)
Fasten off, leaving a long tail for sewing. Use this tail to sew the tip of the hat down to Hat Rnd 1 so it curves forward naturally. Use the same tail to attach a small bell to the tip if desired.
Hat Edging
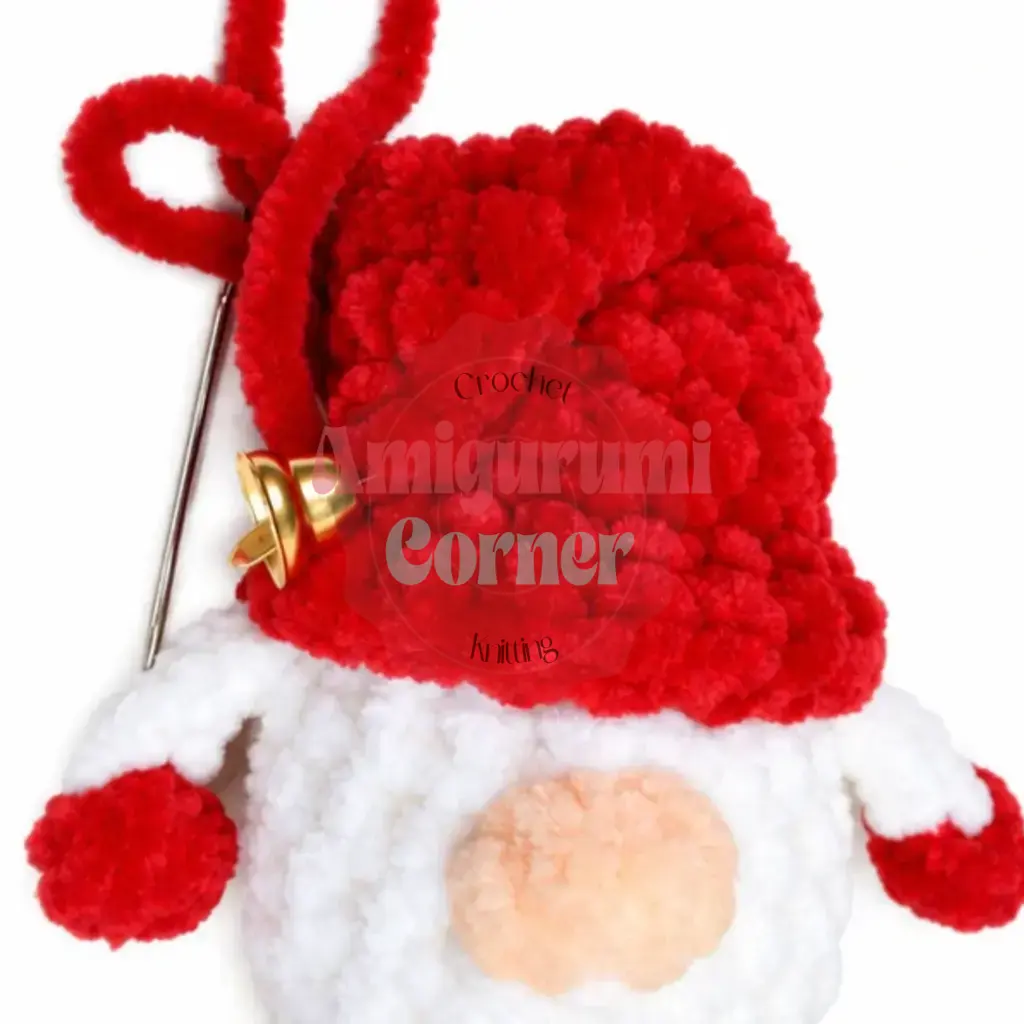
Join fluffy/eyelash yarn (used doubled) to the last round of the brim. Work sc evenly around the edge in a continuous round. Fasten off and weave in ends.
Beard
Work in fluffy/eyelash yarn, single strand.
Join the yarn between Rnds 6 and 7 of the body. Work sc across the stitches between Rnds 6 and 7, then between Rnds 5 and 6, then between Rnds 4 and 5, building up three rows of fluffy texture across the lower face area. Fasten off and weave in ends.
Once the beard and hat edging are complete, use a pet slicker brush or stiff bristle brush to gently brush out the fluffy yarn until it is fully fluffed and cloud-like.
Assembly
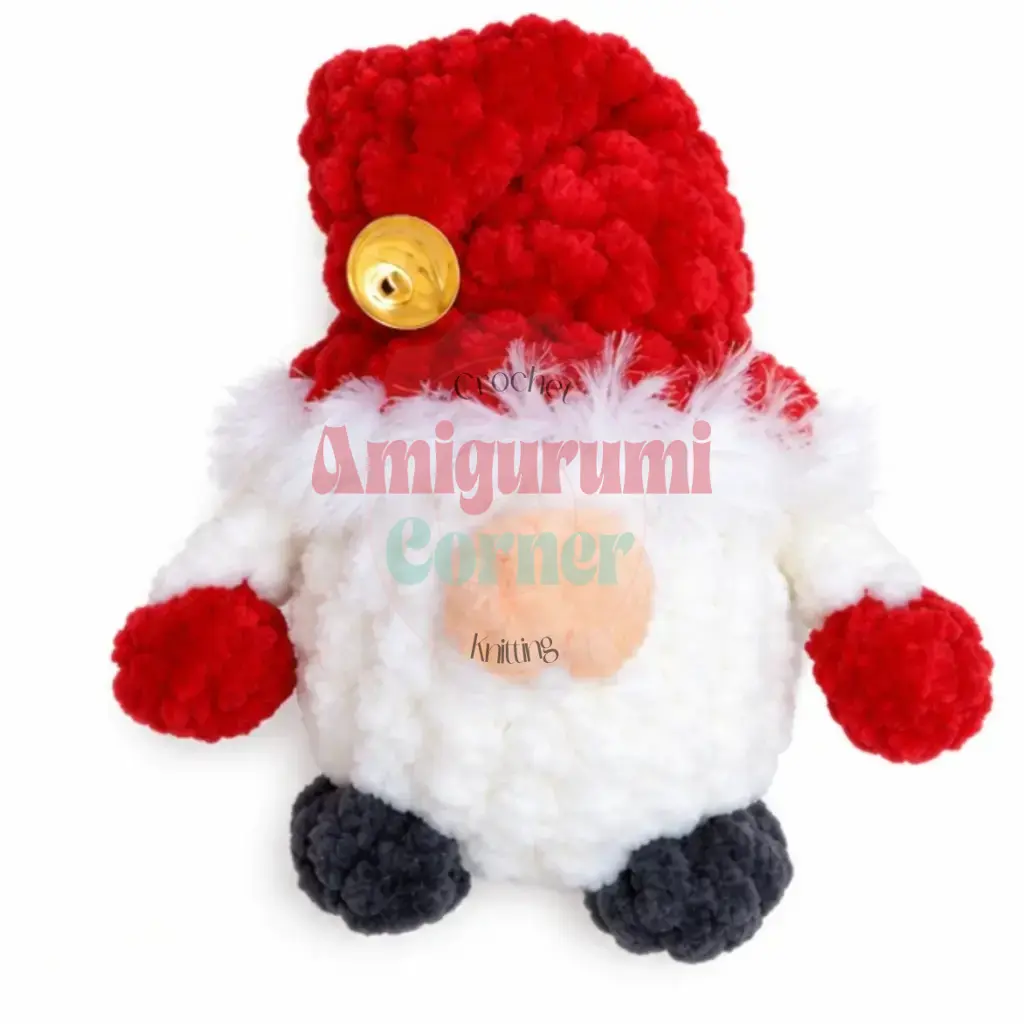
- Stuff the body firmly before closing Rnd 10. The gnome should feel solid and hold its shape when set down.
- Close the opening of the body using the yarn tail and a yarn needle, pulling the remaining 9 stitches together tightly. Weave in the end securely.
- Using the long tail from Hat Rnd 11, sew the hat tip down to Hat Rnd 1 at the front-center of the hat, creating a gentle forward curve.
- Attach a small bell to the very tip at this same point if you are using one.
- If you are using adhesive half-bead eyes (10 mm), glue them into position now, centered between Rnds 7 and 8, one on each side of the nose cluster. Allow the adhesive to cure fully before handling.
- Brush out the beard and hat edging with a slicker brush until both are fully fluffed.
- Weave in any remaining ends throughout the piece, burying them deep in the stuffing or the plush fabric so they stay hidden.
- Decorate the hat further as you like: a ribbon, a tiny star, or a few seed beads all look wonderful.
Tips
- Keep your tension firm: Plush yarn can be deceptive: the pile hides gaps that stuffing will push right through once the piece is filled. Work tightly enough that you can’t see the fiberfill when you hold the piece up to the light. If you’re unsure, drop down one hook size and test a few rounds.
- Read the arm and leg rounds slowly: Both the legs (Rnd 3) and the arms (Rnd 8) involve mid-round color changes and cluster stitches worked directly into the body fabric. Running through the steps dry before picking up your yarn will save you from having to frog later.
- The offset stitch: Keeps your decreases stacked cleanly. After Rnd 6, you may notice your stitch marker has drifted slightly from center back. If it has, work one extra sc (not counted in the total) to re-center it. This keeps all subsequent shaping symmetrical and is especially visible from the front on a finished gnome.
- Stuff the hat lightly: The upper hat needs just enough fiberfill to hold its conical shape after the tip is sewn down. Over-stuffing makes it stand too straight and rigid, which prevents the tip from curving forward naturally. A pinch of stuffing after Rnd 5 is almost always enough.
- Brush the beard and hat edging: Work in short, gentle strokes. Fluffy eyelash-style yarn can tangle if you drag the brush through it in long pulls. Work in small sections from the outside edge inward, and the result will be an even, full cloud of fluff that looks professionally finished.
FAQs
Can I use regular acrylic yarn instead of plush yarn?
While you can use regular acrylic yarn, the plush yarn is essential for the soft, fuzzy texture that defines this specific gnome design. If you substitute, the final look will be smoother and less “gnome-like.”
How do I attach the safety eyes securely?
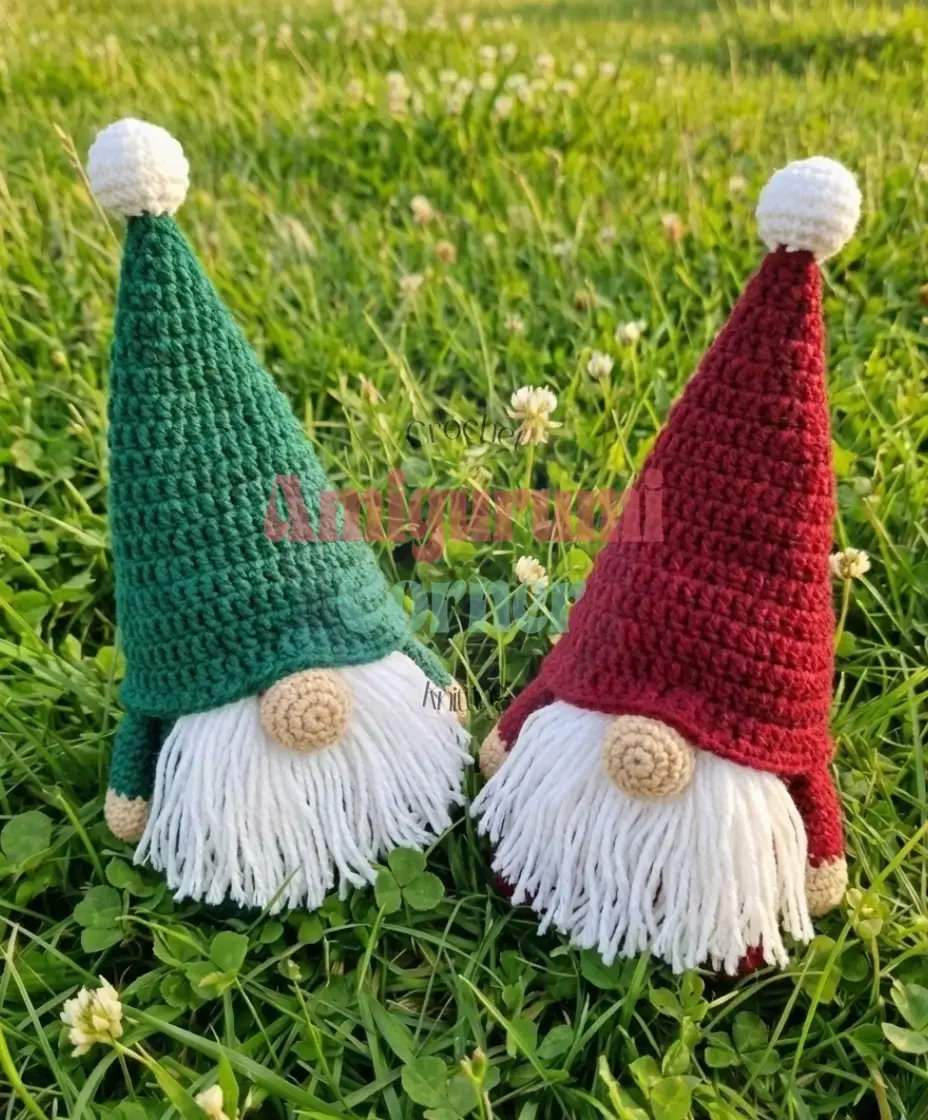
Install safety eyes with a backing between Rnds 7 and 8 before closing the body. Ensure the washer is pushed firmly against the fabric. If using adhesive half-bead eyes, wait until all finishing is complete to glue them on.
Why is my stitch marker drifting off-center?
This is common when working in a spiral. After Rnd 6, check your marker. If it has drifted, work one extra sc (the offset stitch) to realign it to the center back. This ensures your decreases remain symmetrical.
How do I get the beard to look fluffy?
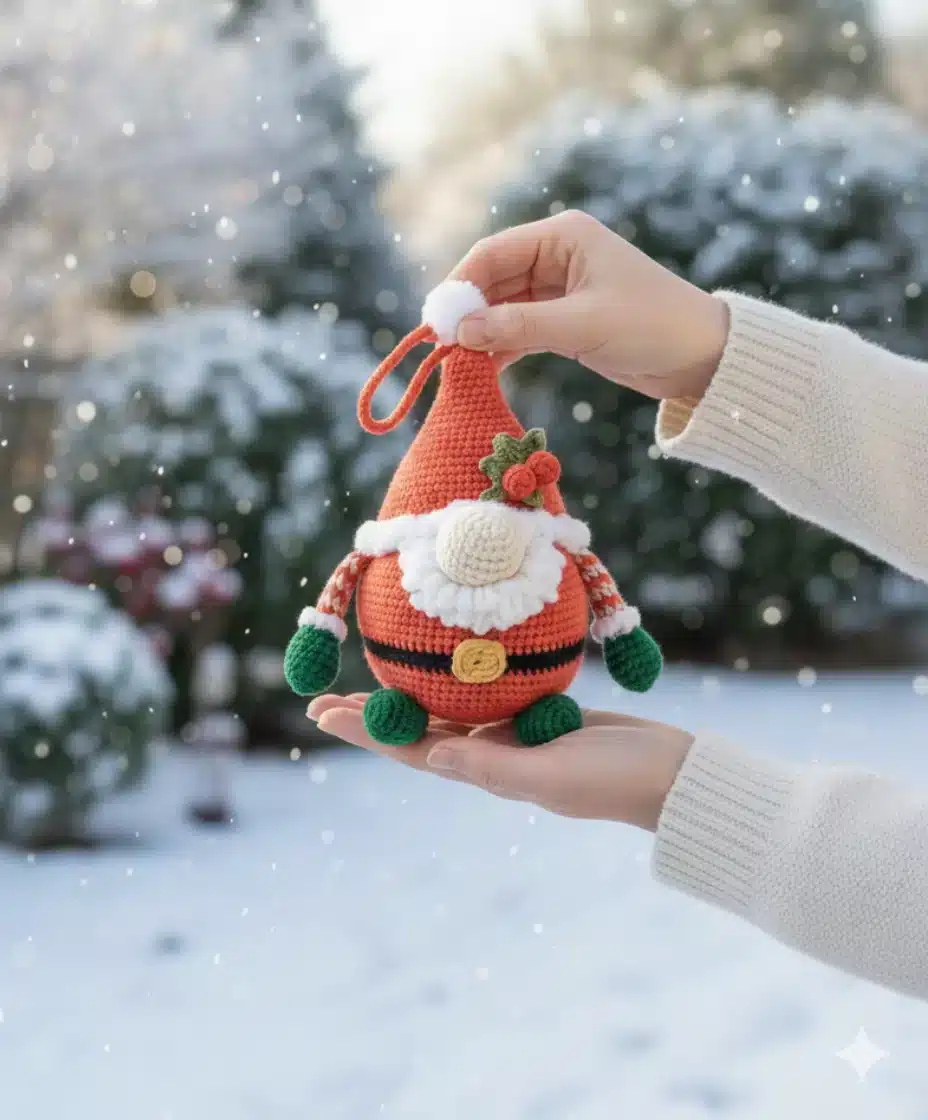
Use a pet slicker brush or stiff bristle brush. Brush in short, gentle strokes from the outside edge inward to avoid tangling. This reveals the full volume of the eyelash yarn.
Can this gnome be used as an ornament?
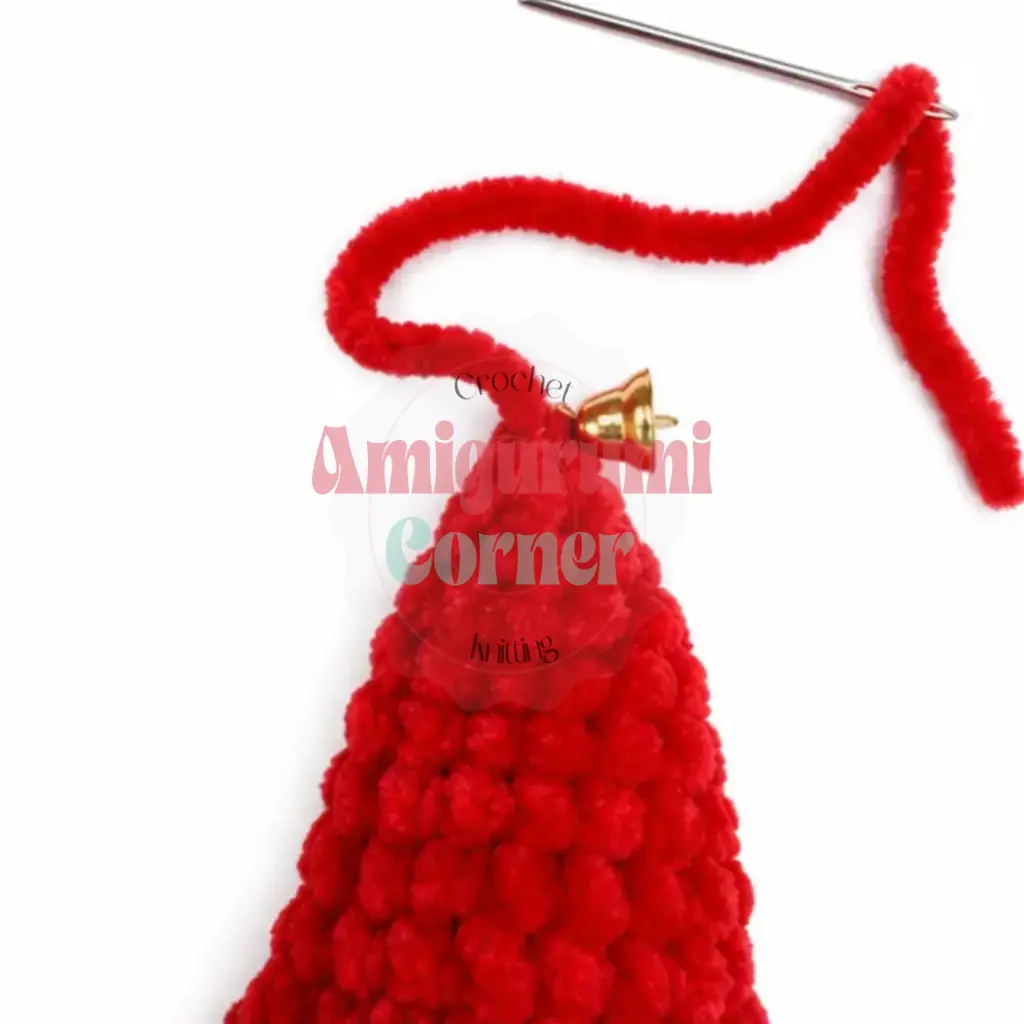
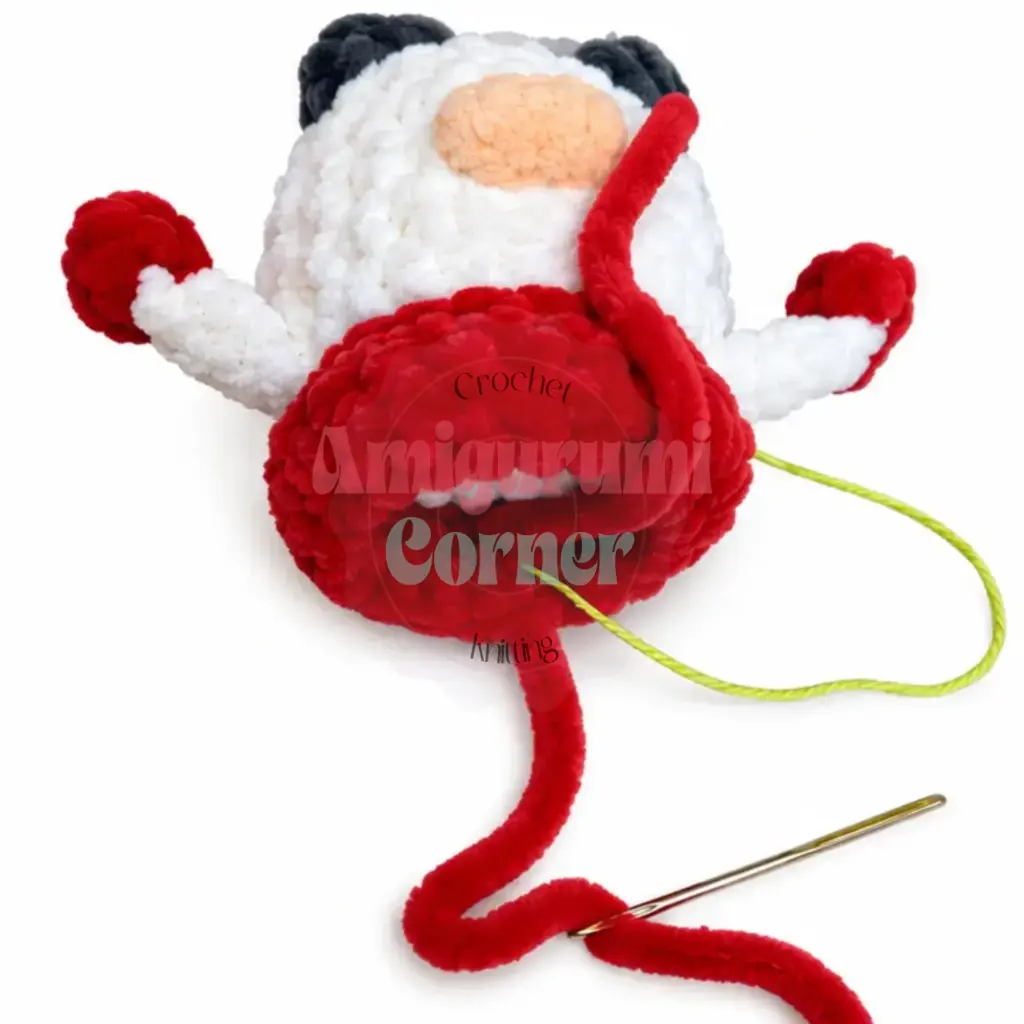
Yes, it is a perfect size for an ornament. You can attach a ribbon loop to the top of the hat or use the optional bell at the tip to add a festive touch.
If you enjoy making festive amigurumi, you might also like this adorable festive crochet amigurumi trio pattern or this adorable snowman amigurumi in overalls for more holiday cheer.
Pin This Crochet Pattern!