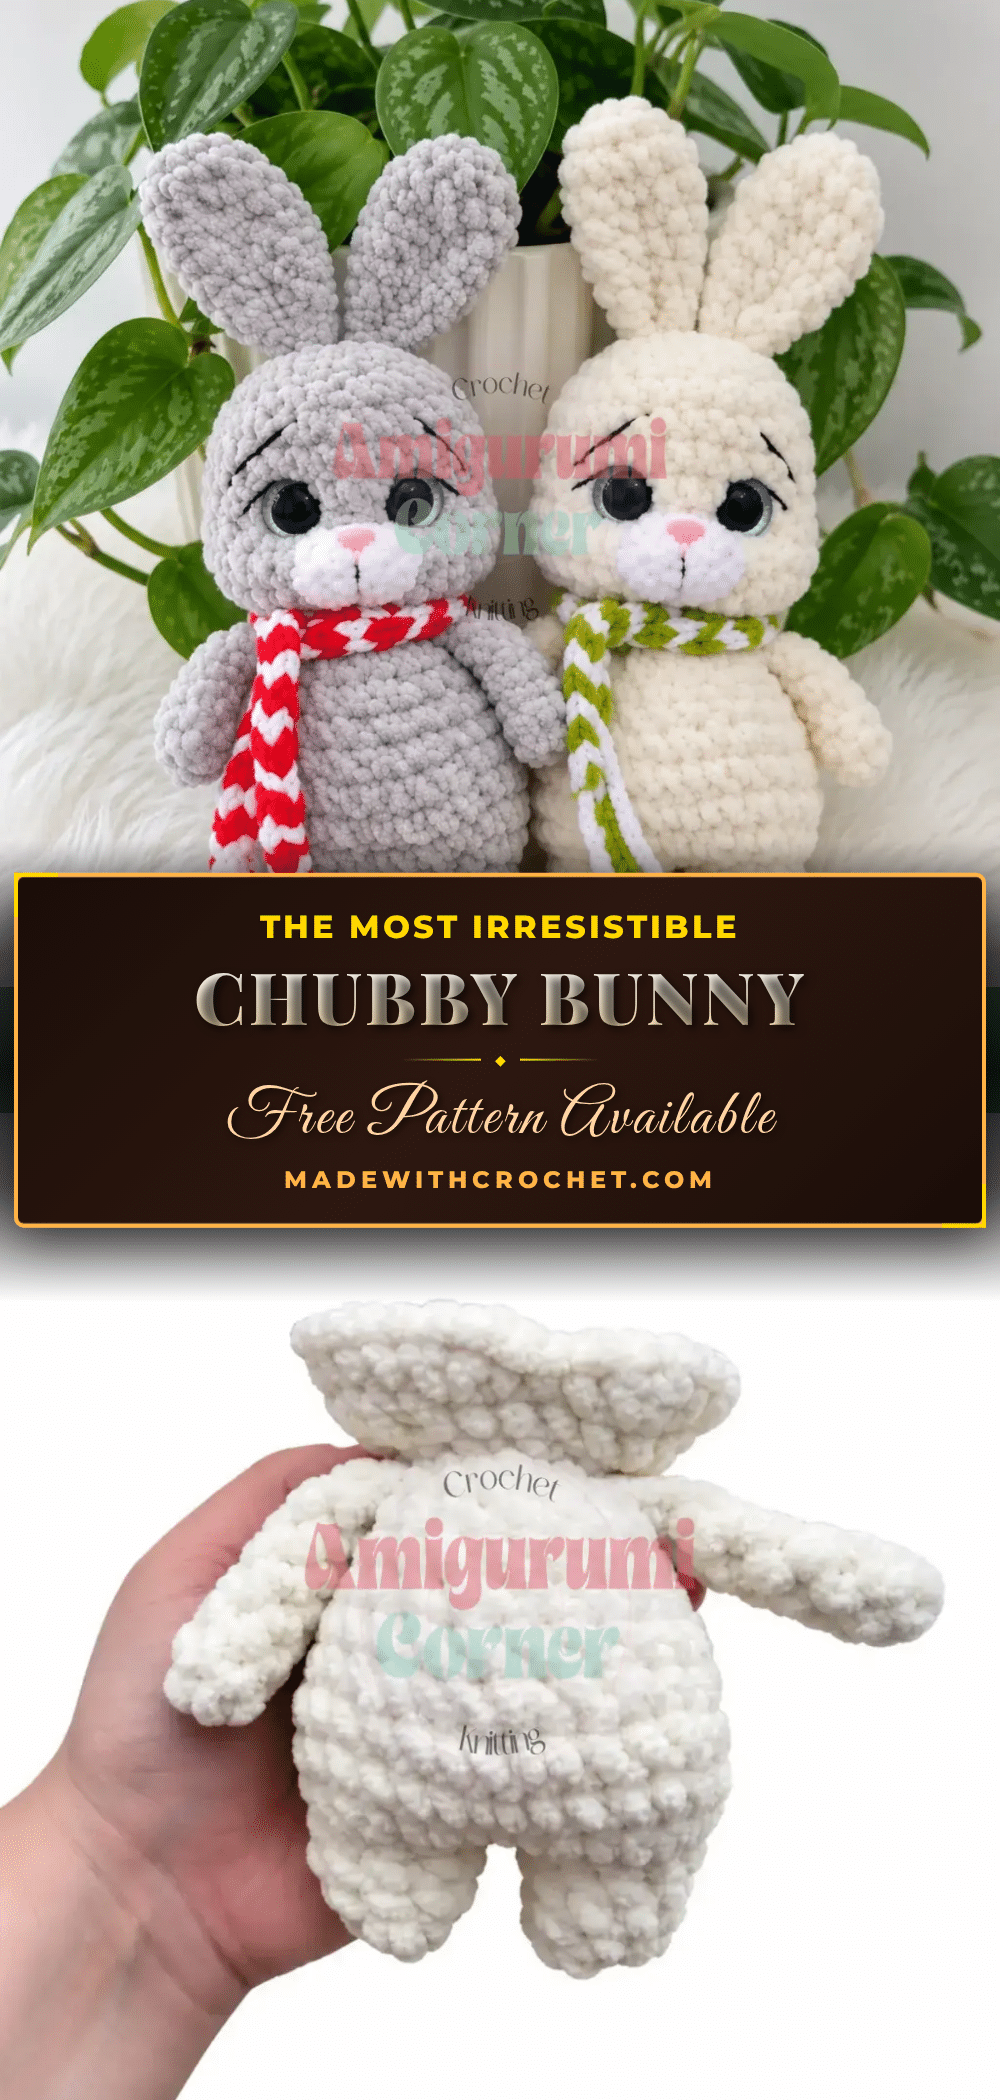
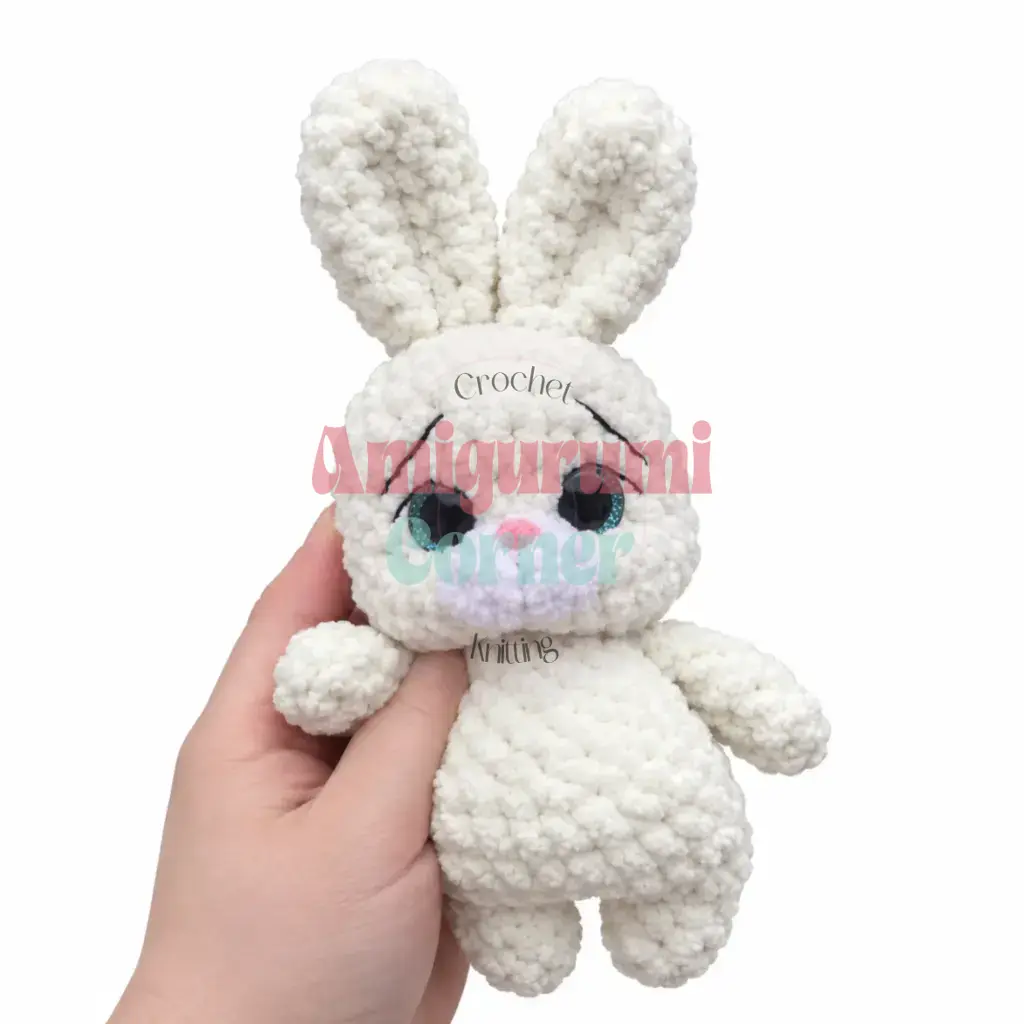
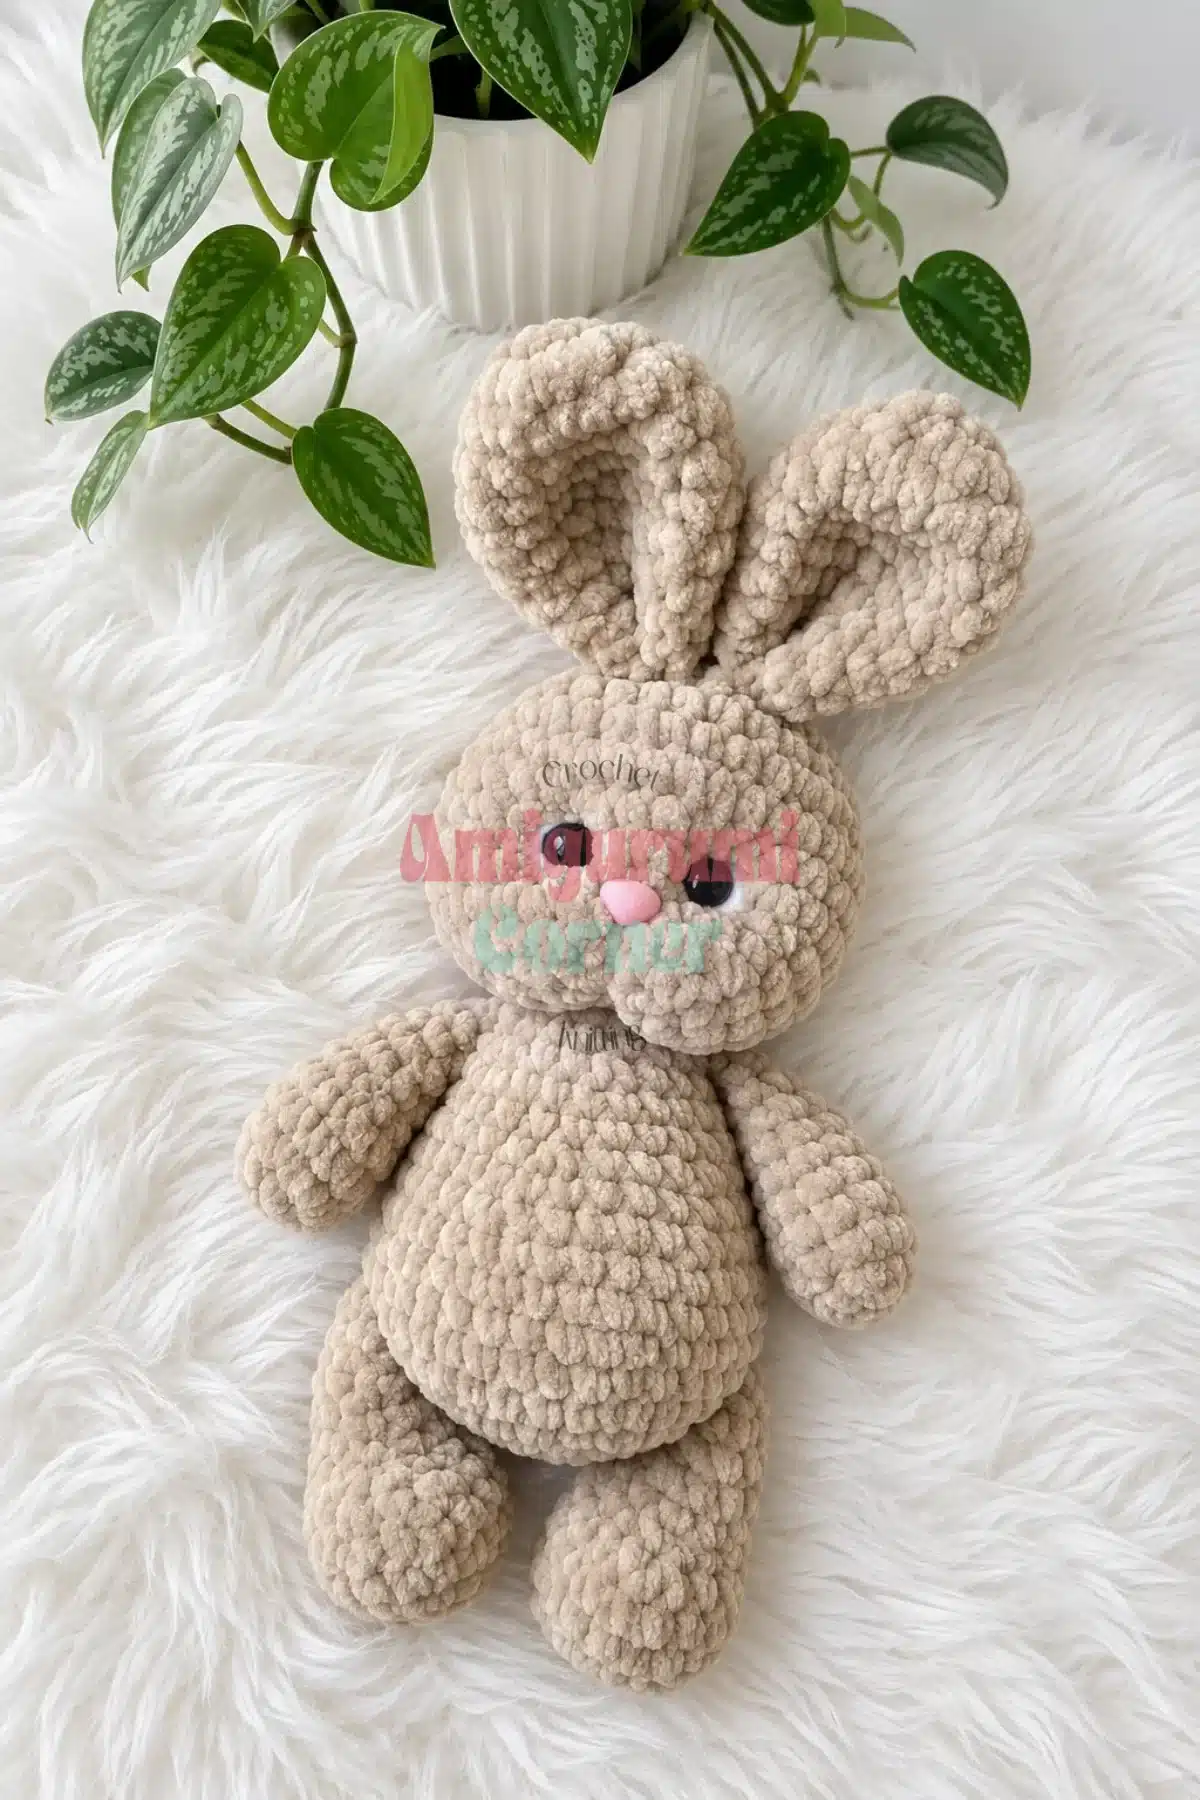
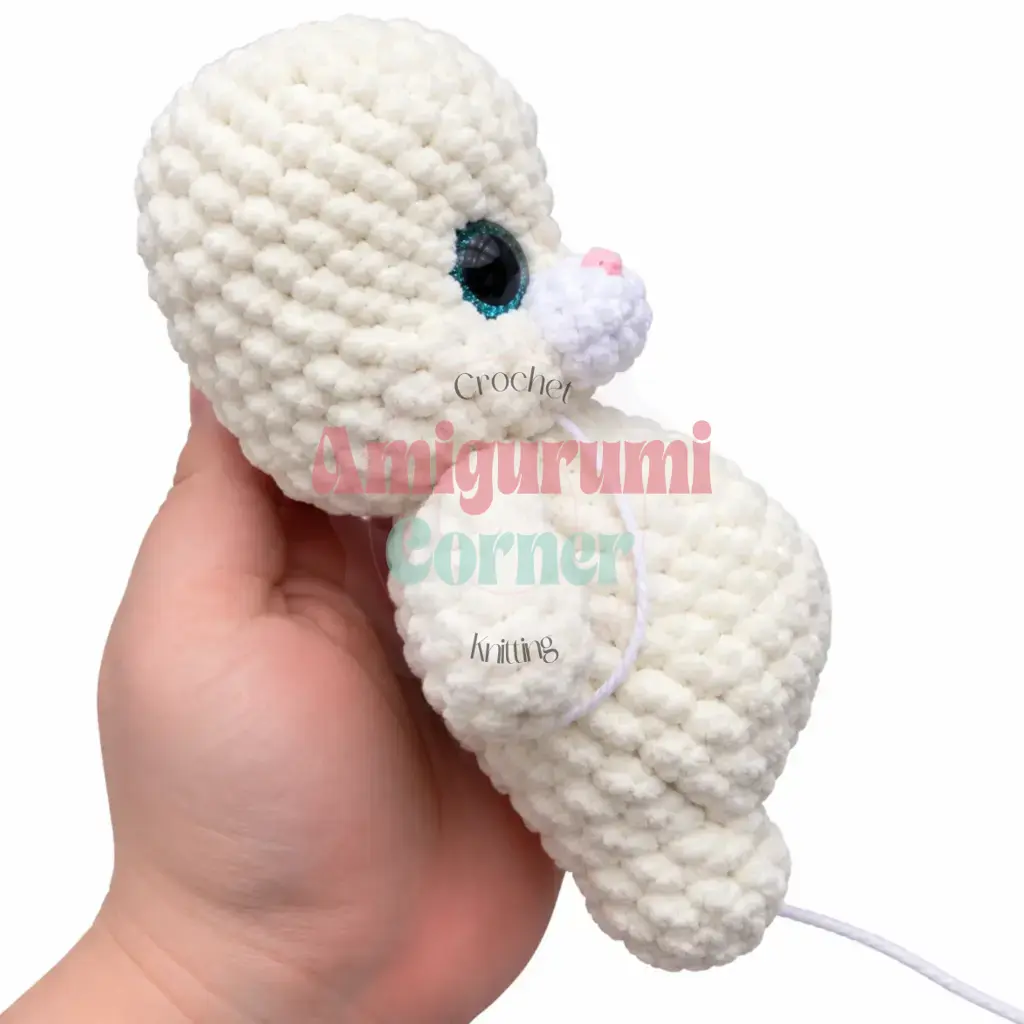
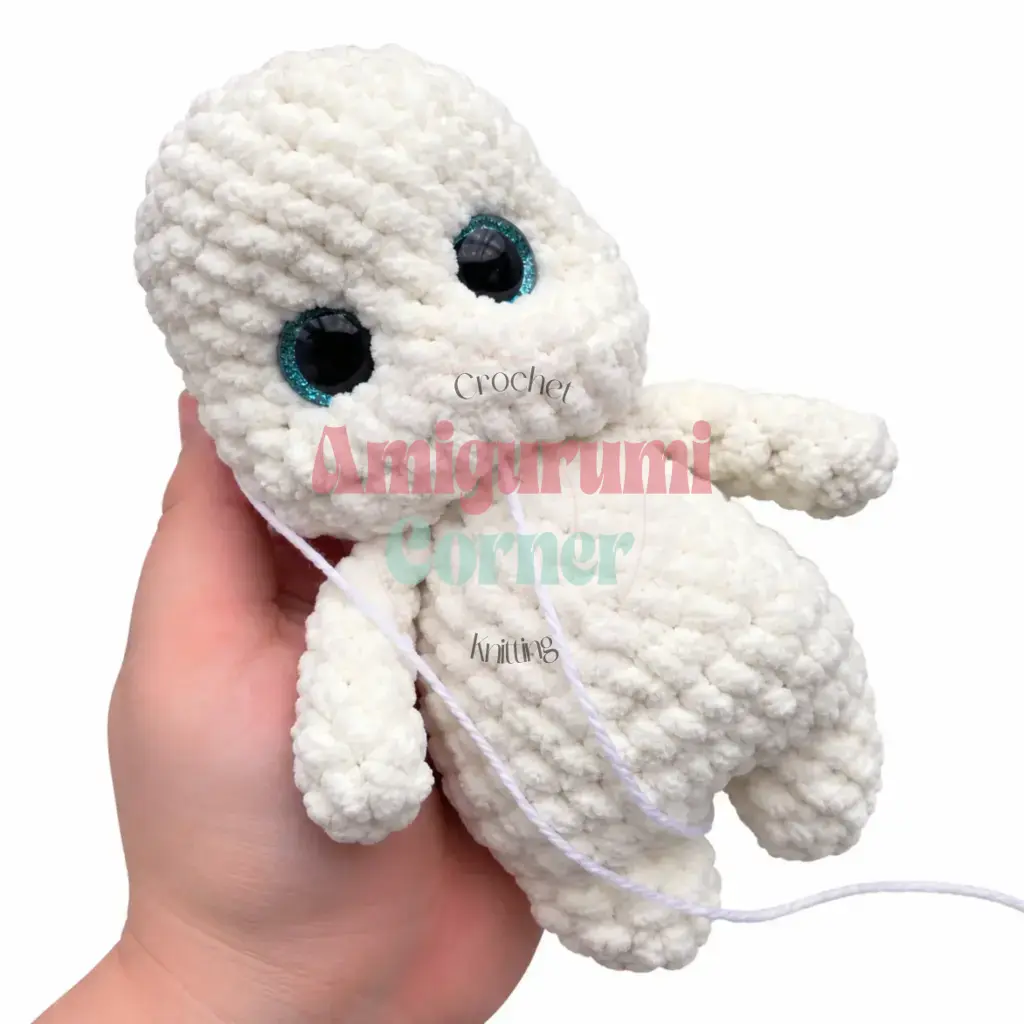
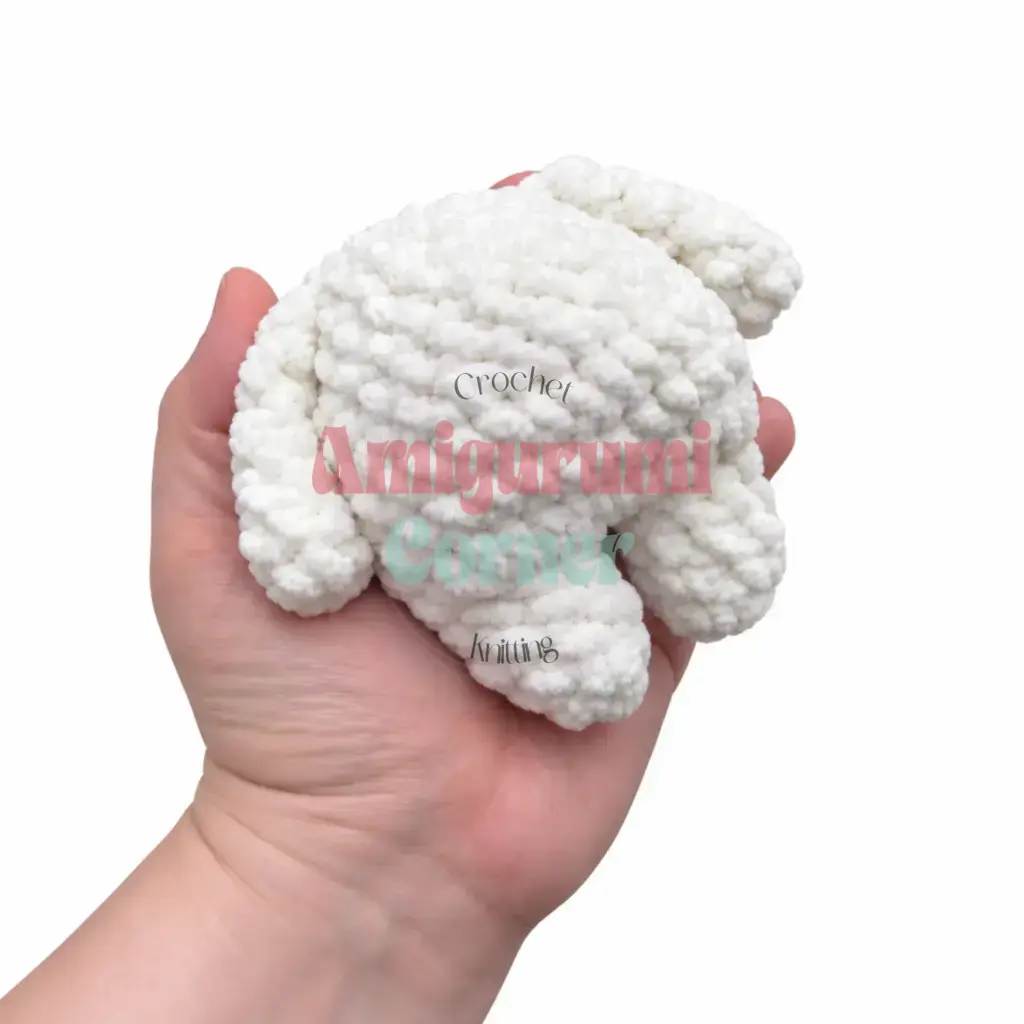
Picture a soft, round little bunny sitting up with the proudest belly you’ve ever seen on a stuffed animal. That’s exactly what this Chubby Bunny amigurumi delivers: a compact, puffed-out torso, rosy sculpted cheeks, and ears that fold just right. It’s the kind of project that looks impressive on a shelf but is genuinely approachable for anyone who’s comfortable crocheting in the round. The body, legs, and head are all worked as a single continuous piece, which means less sewing and a neater finish.
Why the Finished Piece Stands Out
What makes this bunny truly special is the “needle-sculpting” technique used to define the face. Unlike many amigurumi patterns that rely solely on stuffing for shape, this design uses internal yarn tension to pull the eye sockets inward and create soft triangular indentations beneath the eyes. This adds a layer of personality and depth that flat stuffing simply cannot achieve. The use of plush, bulky-weight yarn enhances this effect, giving the bunny a velvety, squishy texture that is incredibly satisfying to hold. It is the perfect size for a bedside companion or a unique gift for a child, combining a modern, chubby aesthetic with classic amigurumi charm.
Project Overview
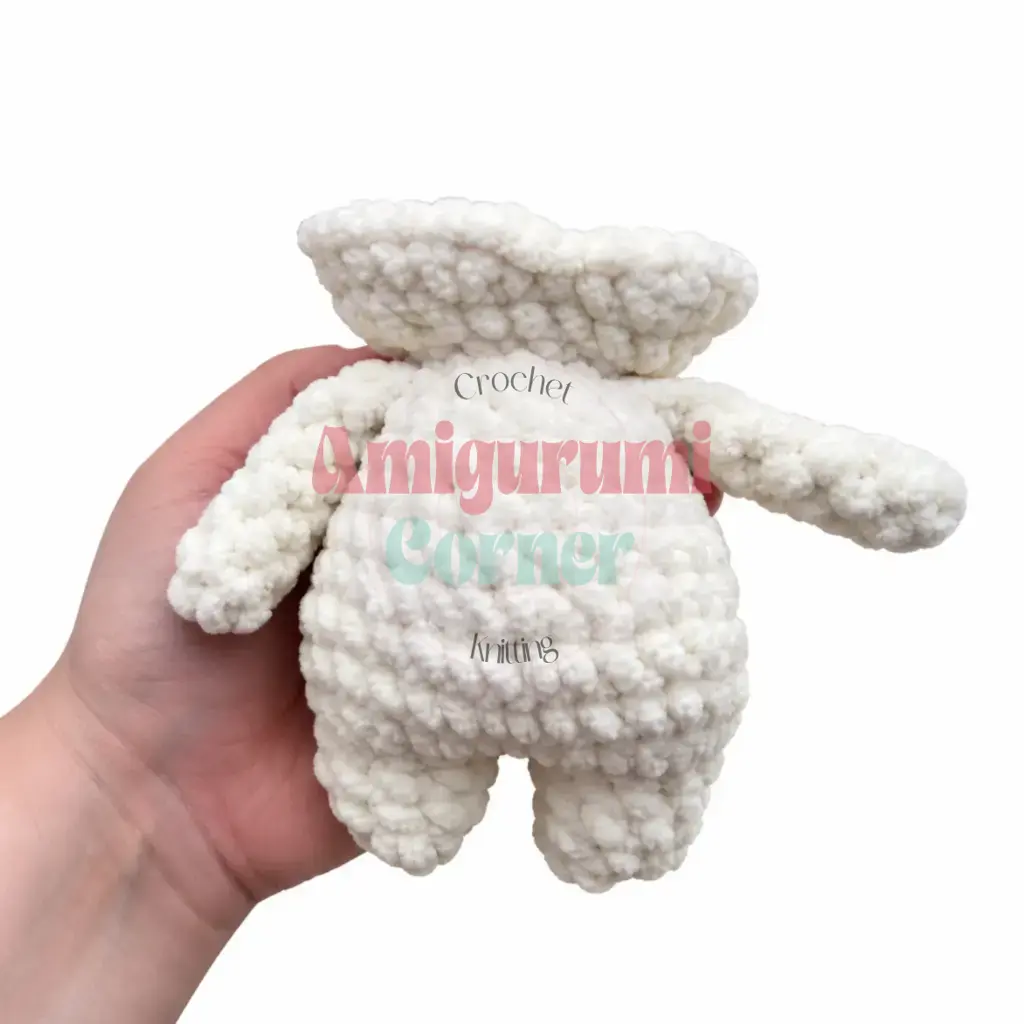
This is an intermediate-level pattern, best suited to makers who’ve already made a few amigurumi and are comfortable with increases, decreases, and shaping. The half double crochet increases used to build the belly bump and cheeks are what give this bunny its signature chubby silhouette, and they’re easier to work than they sound. The body, legs, and head are worked as one continuous piece in a continuous spiral, while the arms are worked flat and joined later. The muzzle, ears, and tail are worked separately and sewn on.
Materials
- Yarn: Plush (bulky-weight) yarn in your main color, just under half a skein; a small amount of white or main-color yarn for the muzzle.
- Hook: E-4 / 3.75 mm (or the size recommended on your yarn’s label).
- Safety eyes: 16 mm sparkle/glitter safety eyes, 1 pair.
- Nose: 9 to 12 mm safety nose (glued on) or embroidered with black yarn.
- Stuffing: Polyester fiberfill.
- Notions: Craft glue; optional eyelashes; black and white embroidery thread for face details; a length of matching yarn for needle-sculpting the face; yarn needle; scissors; stitch markers.
Gauge and Finished Size
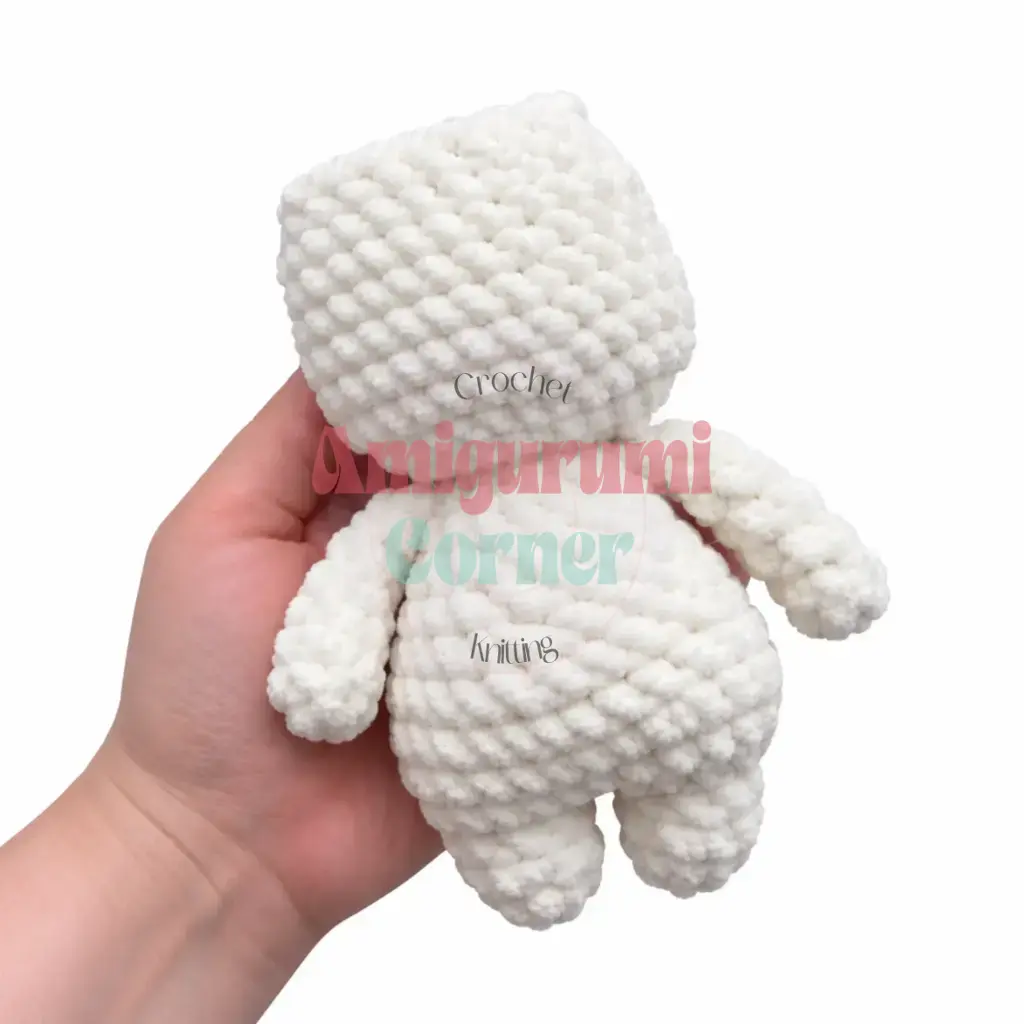
Gauge is not critical for amigurumi, but your fabric should be tight enough that no stuffing shows through. If you can see gaps, go down a hook size. The finished size is a compact, puffed-out torso suitable for display or gifting.
Abbreviations
- ch : Chain
- dec : Decrease (invisible decrease: insert hook through front loops of next 2 sts, yarn over, pull through both loops, yarn over, pull through remaining 2 loops)
- hdc : Half Double Crochet
- inc : Increase (2 sc in the same stitch)
- MR : Magic Ring
- sc : Single Crochet
- sl st : Slip Stitch
- st / sts : Stitch / Stitches
Pattern Notes
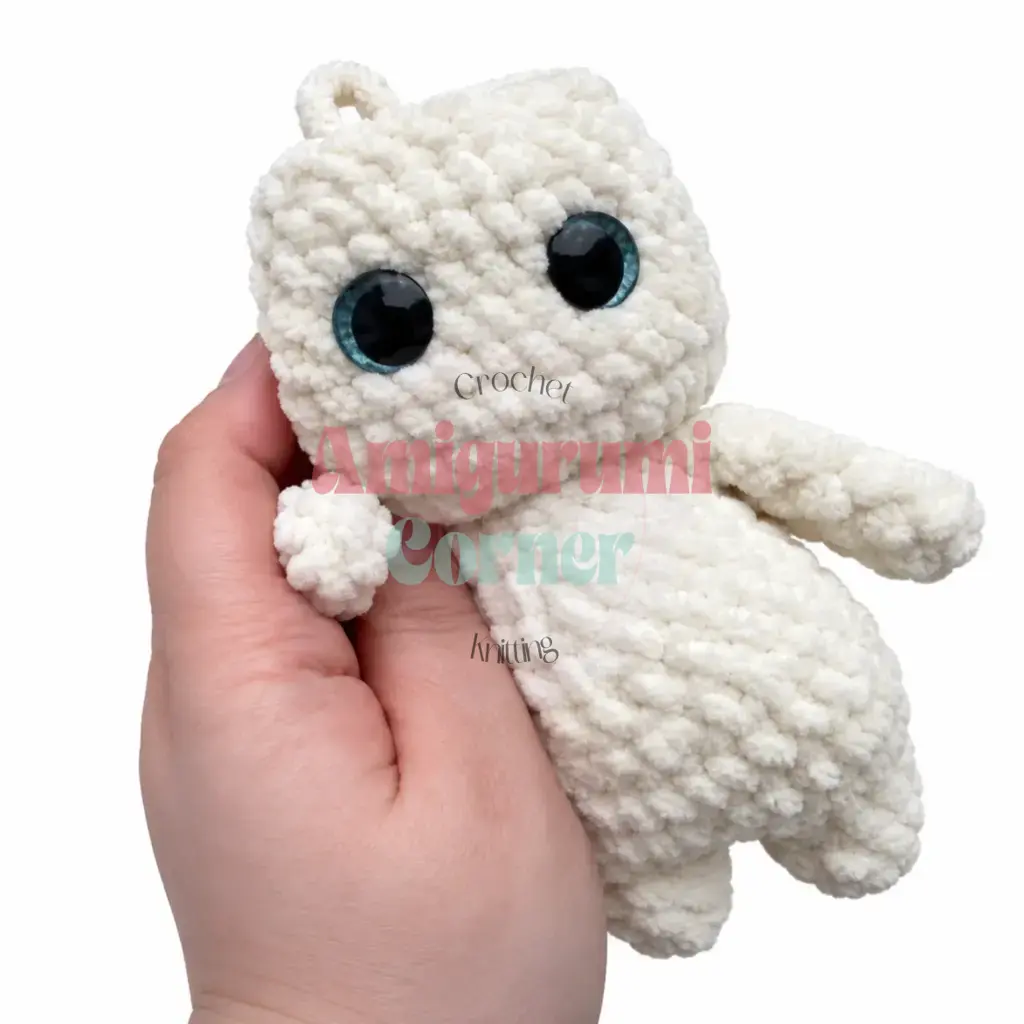
This pattern is written in US crochet terminology. The arms are worked flat in continuous rounds and then folded and joined. The legs, body, and head are crocheted as one continuous piece in a continuous spiral (no joining slip stitch at the end of each round). The muzzle, ears, and tail are worked separately and sewn on. Stitch counts are given in parentheses at the end of each round: (18). Place a stitch marker in the first stitch of each round and move it up as you go. This is especially important in the body section where the start of the round shifts. Insert safety eyes between Rounds 21 and 22 with 5 to 6 stitches between the posts, before closing the head. Stuff the body firmly, paying extra attention to the belly bump, the neck area, and the cheeks. Continue adding fiberfill as you decrease the head. The needle-sculpting steps (described below after the main piece instructions) create the indented eye sockets and cheek definition that give this bunny its character. Do not skip them.
Pattern Instructions
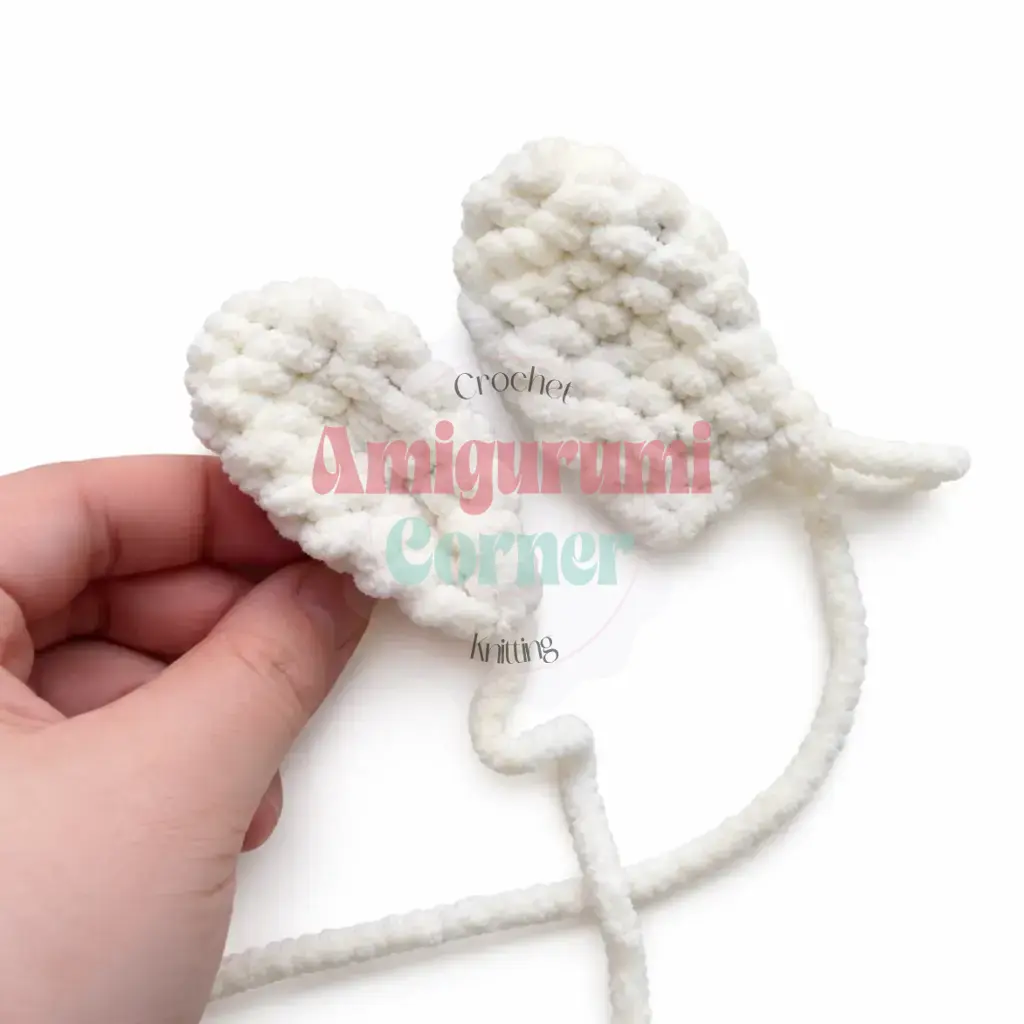
Upper Arms (Make 2)
Rnd 1: 6 sc in MR. (6)
Rnds 2-8: sc in each st around. (6) Work 7 rounds total.
Do not stuff. Flatten the piece and sc through both layers across: 3 sc to close. Set aside. Make a second arm the same way.
Legs, Body, and Head (Worked in One Piece)
Legs (Make 2)
Rnd 1: 6 sc in MR. (6)
Rnd 2: sc, inc repeat 3 times around. (9)
Rnds 3-4: sc in each st around. (9) Work 2 rounds total.
For the first leg: fasten off and leave a tail. For the second leg: do not fasten off. You will join the legs in the next round.
Joining the Legs and Starting the Body
Rnd 5: Chain 3, then attach to the first leg with a sl st. Work 9 sc around the first leg, 3 sc along one side of the chain, 9 sc around the second leg, 3 sc along the other side of the chain. (24)
The increases in the following rounds build the belly bump at the front of the body. Keep the increases facing toward you as the front throughout.
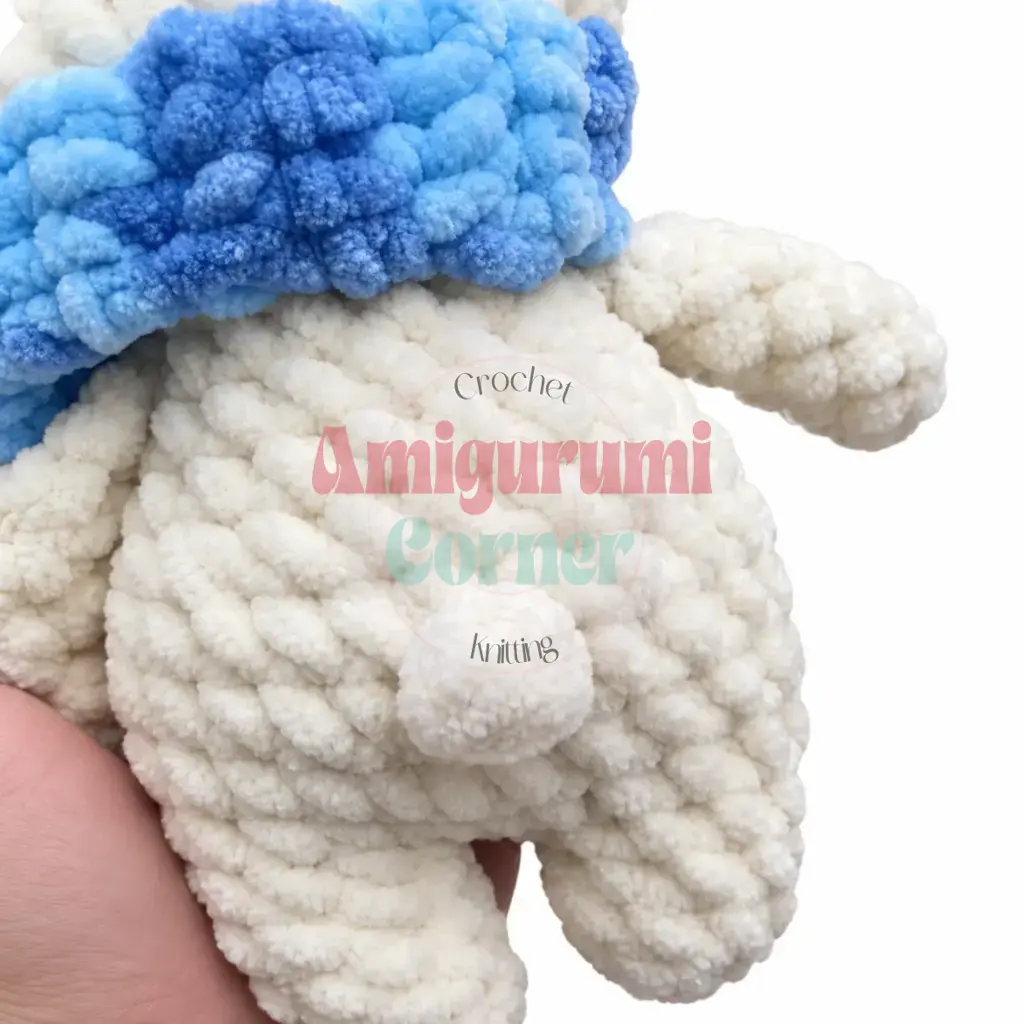
Rnd 6: 7 sc, inc using 3 hdc into the same stitch, hdc inc (2 hdc in same st), 3 sc, hdc inc (2 hdc in same st), inc using 3 hdc into the same stitch, 10 sc. (30)
Rnds 7-8: sc in each st around. (30) Work 2 rounds total. At the end of Round 8, adjust your position so the round ends at the center back.
In the next round, the decreases fall across the front center. Adjust the start of your round if needed so they land correctly.
Rnd 9: 8 sc, dec, sc repeat 5 times, 7 sc. (25)
Rnd 10: sc in each st around. (25)
Rnd 11: 3 sc, dec repeat 5 times around. (20)
Rnd 12: sc in each st around. (20)
In the next round, the decreases fall at the front center again. Adjust the start of the round if needed.
Rnd 13: 8 sc, dec, dec, 8 sc. (18)
In the next round you will attach the arms. They sit on either side of the body. Adjust the start of the round if needed so the arm joins fall at the sides.
Rnd 14: 3 sc, then work 3 sc through both the body stitch and the edge of the first arm at the same time to join, 6 sc, then work 3 sc through both the body stitch and the edge of the second arm at the same time to join, 3 sc. (18)
Stuff the body now, paying extra attention to filling the belly bump fully. The body should feel firm and rounded.
Rnd 15: dec 9 times around. (9)
Do not fasten off. Continue directly into the head.
Head (continuing from body)
Rnd 16: inc in each st around. (18)
In the next round, the hdc increases build the cheeks on either side. Adjust the start of the round if needed so they fall at the sides.
Rnd 17: 3 sc, hdc inc (2 hdc in same st) repeat 3 times, 6 sc, hdc inc (2 hdc in same st) repeat 3 times, 3 sc. (24)
Rnd 18: 6 sc, hdc inc at the side (2 hdc in same st), 3 sc, hdc inc (2 hdc in same st), 3 sc, hdc inc (2 hdc in same st), 3 sc, hdc inc at the side (2 hdc in same st), 5 sc. (28)
Rnds 19-20: sc in each st around. (28) Work 2 rounds total.
Rnd 21: 7 sc, dec at the side, 12 sc, dec at the side, 5 sc. (26)
Rnd 22: 11 sc, dec repeat 2 times around. (24)
Rnds 23-24: sc in each st around. (24) Work 2 rounds total.
Rnd 25: 4 sc, dec repeat 4 times around. (20)
Insert safety eyes between Rounds 21 and 22, with 5 to 6 stitches between the posts.
Rnd 26: 8 sc, dec repeat 2 times around. (18)
Begin stuffing the head now. Pack the neck area and cheeks firmly. Continue adding fiberfill as you work the remaining rounds.
Rnd 27: sc, dec repeat 6 times around. (12)
Rnd 28: dec 6 times around. (6)
Close the opening and fasten off. Pull the yarn tail through to the inside.
Needle-Sculpting the Face
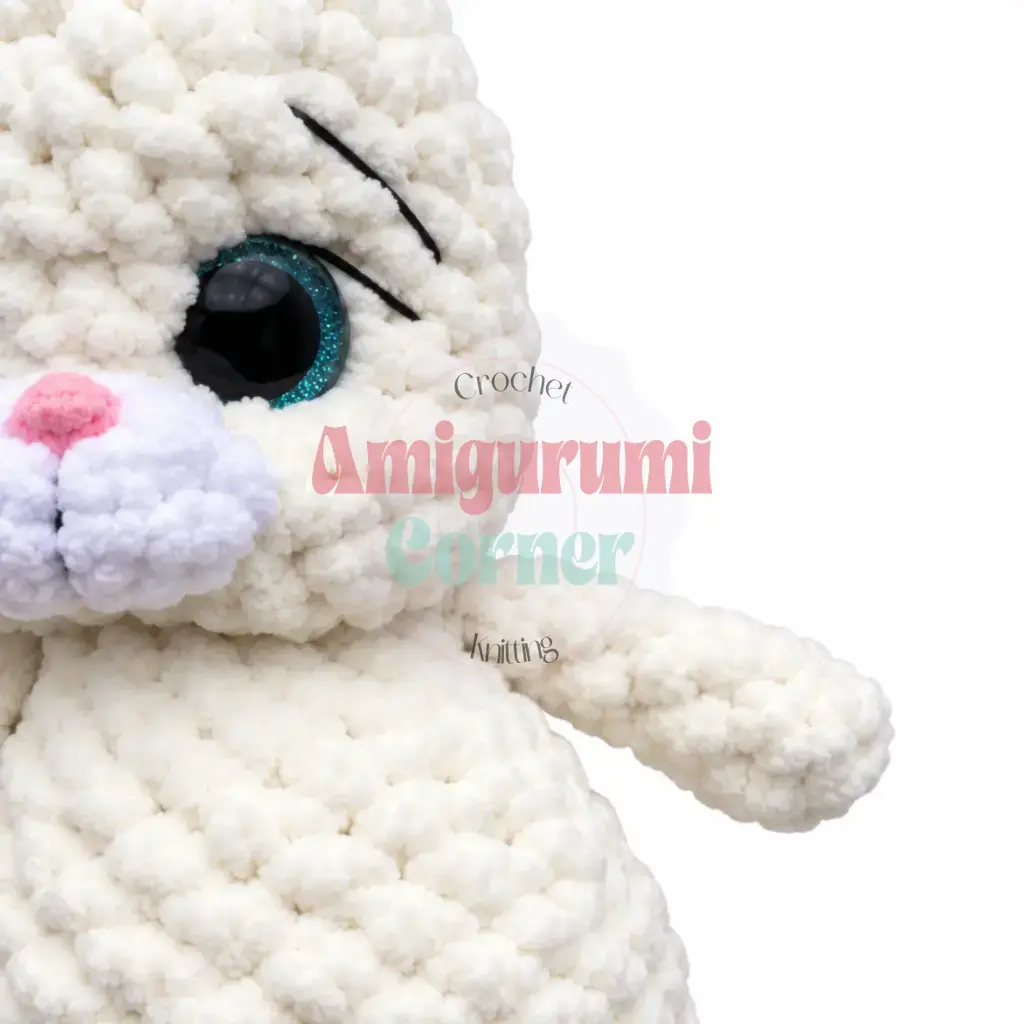
After fastening off, use a length of matching yarn on a yarn needle to sculpt the eye sockets. This pulls the safety eyes slightly inward and creates definition around the cheeks.
Sculpt 1: Thread your yarn needle and insert it from the front at the base of the neck, bringing it out at the lower outer corner of one eye. The yarn lies beneath the eye. Reinsert at the lower inner corner of the same eye and bring the needle out approximately 1 stitch away from where you started. Pull gently while pressing the eye inward with your fingertip to distribute the fiberfill. Repeat the same sequence for the second eye. You can repeat each pass a second time for a more pronounced effect.
Sculpt 2: With the yarn at the bottom, reinsert at the starting point and bring the needle out at approximately the midpoint beneath one eye. Reinsert at the midpoint beneath the second eye and bring it out approximately 1 stitch away. Pull gently to create a soft triangular indent below both eyes, with the point of the triangle at the neck base. Repeat if desired.
Work in white yarn or your main color.
Muzzle
Rnd 1: 6 sc in MR. (6)
Rnd 2: inc, inc, sc, inc, inc, sc. (10)
Leave a long yarn tail for sewing. Gently stretch the piece slightly wider before attaching.
If using a safety nose with a post, insert it into the muzzle now. It is recommended to slightly flatten or melt the backing washer so it lies flat against the inside of the muzzle and doesn’t interfere with sewing it on.
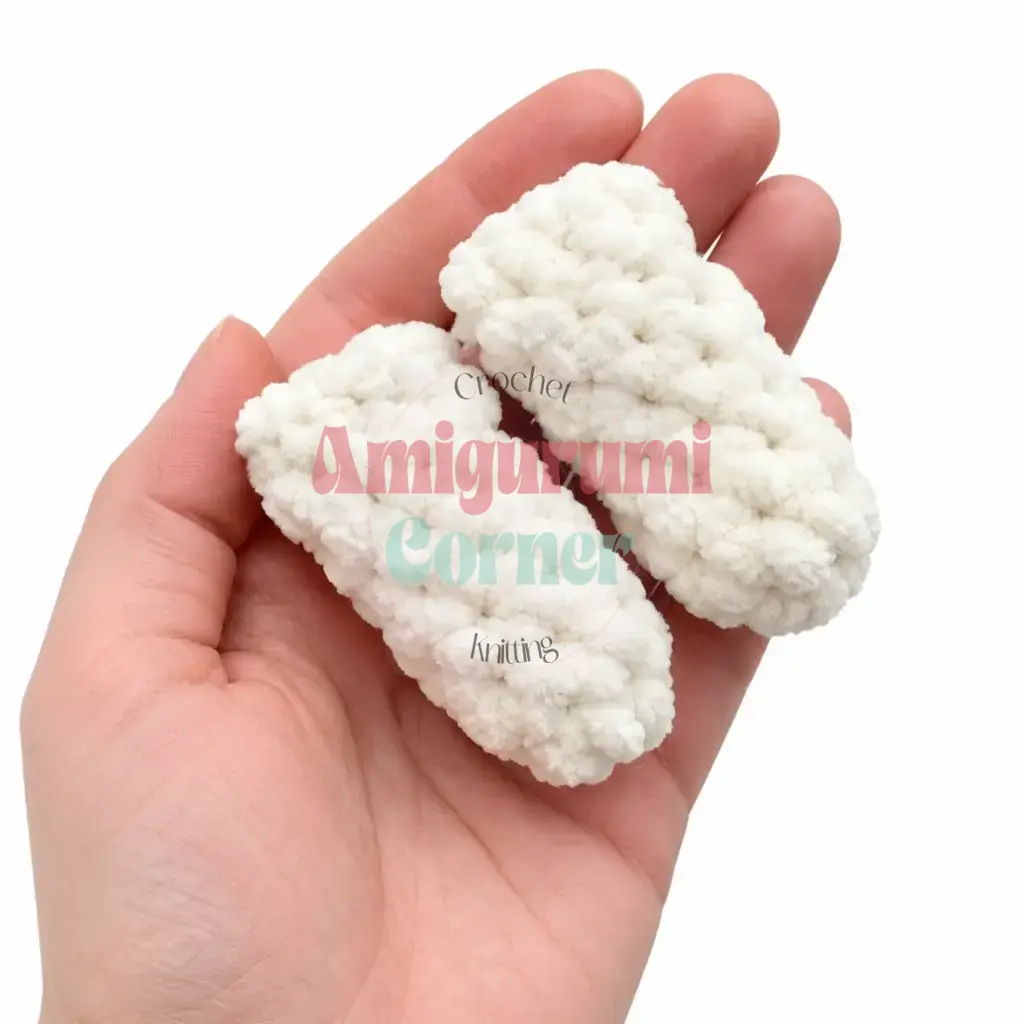
Ears (Make 2)
Rnd 1: 6 sc in MR. (6)
Rnd 2: inc in each st around. (12)
Rnds 3-4: sc in each st around. (12) Work 2 rounds total.
Rnd 5: 4 sc, dec repeat 2 times around. (10)
Rnd 6: sc in each st around. (10)
Rnd 7: 3 sc, dec repeat 2 times around. (8)
Rnd 8: sc in each st around. (8)
Flatten the ear and sc through both layers: 4 sc to close. Fold the base of the ear once more and whipstitch the folded edge closed to give the ear a slight pinched shape at the base.
Tail
Mark the center stitch at the back of the body at Round 9. Join yarn at that stitch and work 5 hdc into it, all sharing the same top (bobble stitch). Close with a sl st into the neighboring stitch. Fluff and shape the bobble into a round little pom-pom tail.
Assembly
Putting Your Chubby Bunny Together
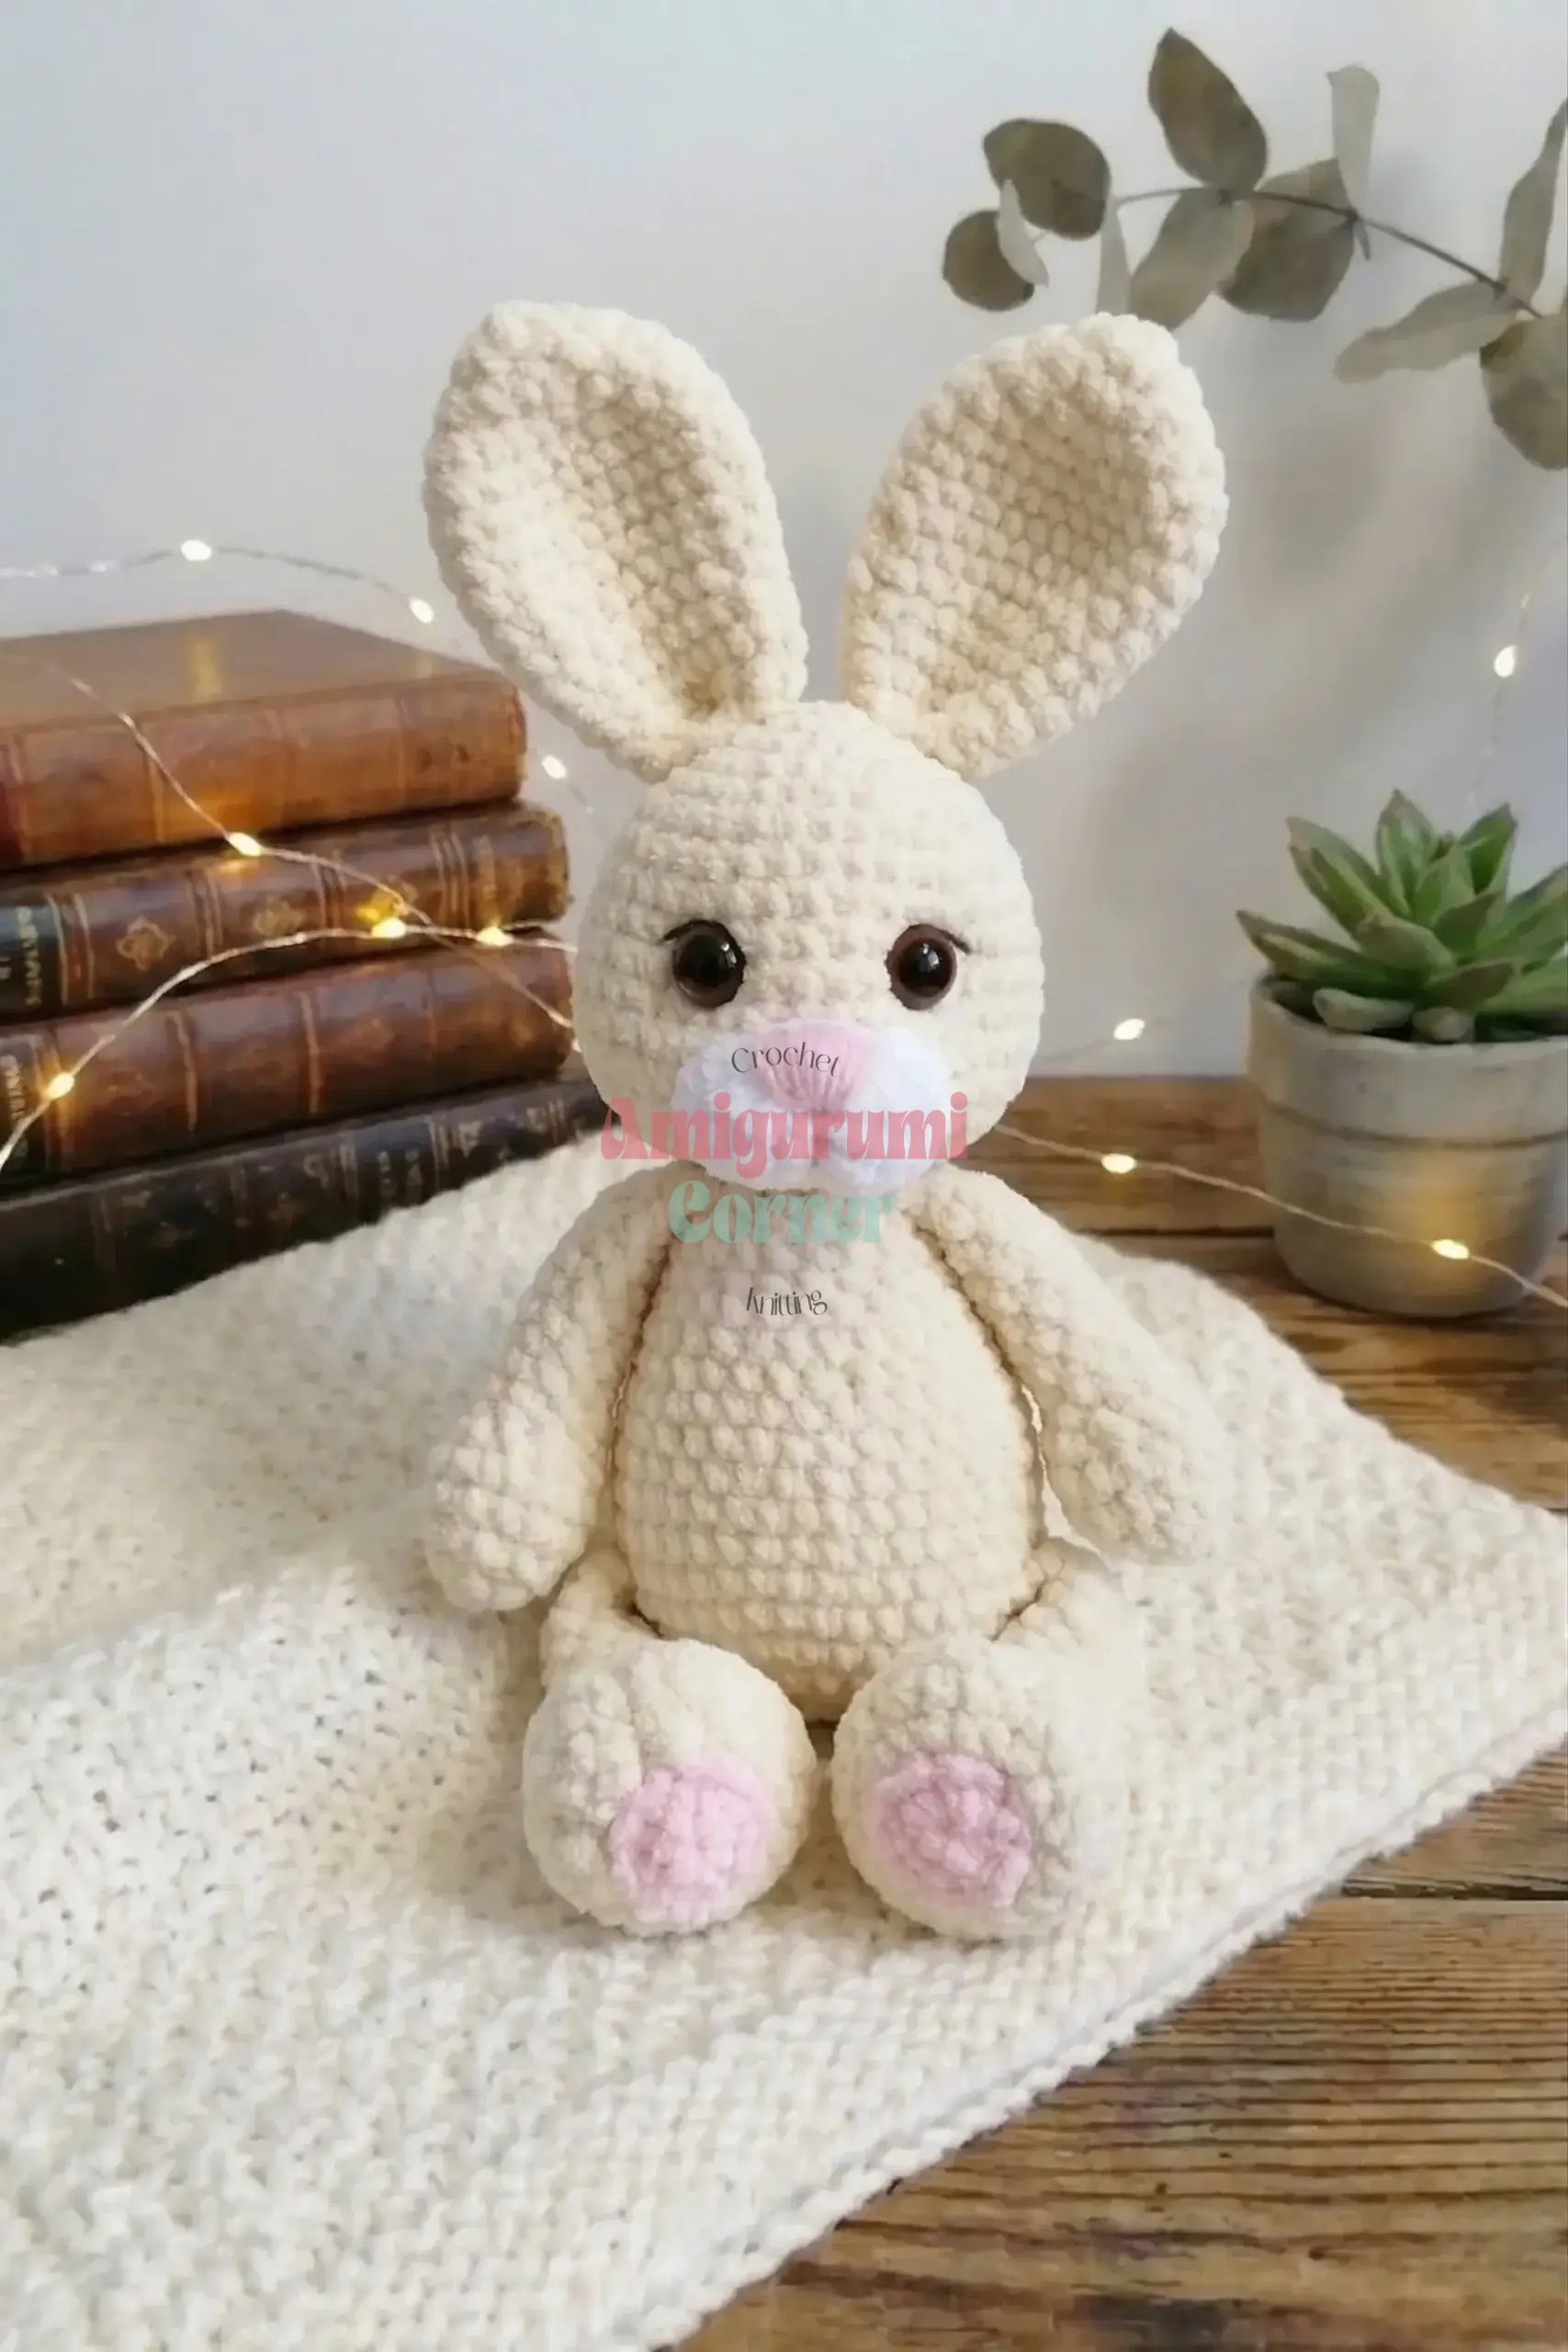
Attach the muzzle. After completing the needle-sculpting, position the muzzle on the front of the face, centered over the area made prominent by the sculpting. The top edge of the muzzle should sit just below and between the eyes. Sew it on securely with the long yarn tail using a whipstitch around the entire outer edge. Pull the tail to the inside and weave it in.
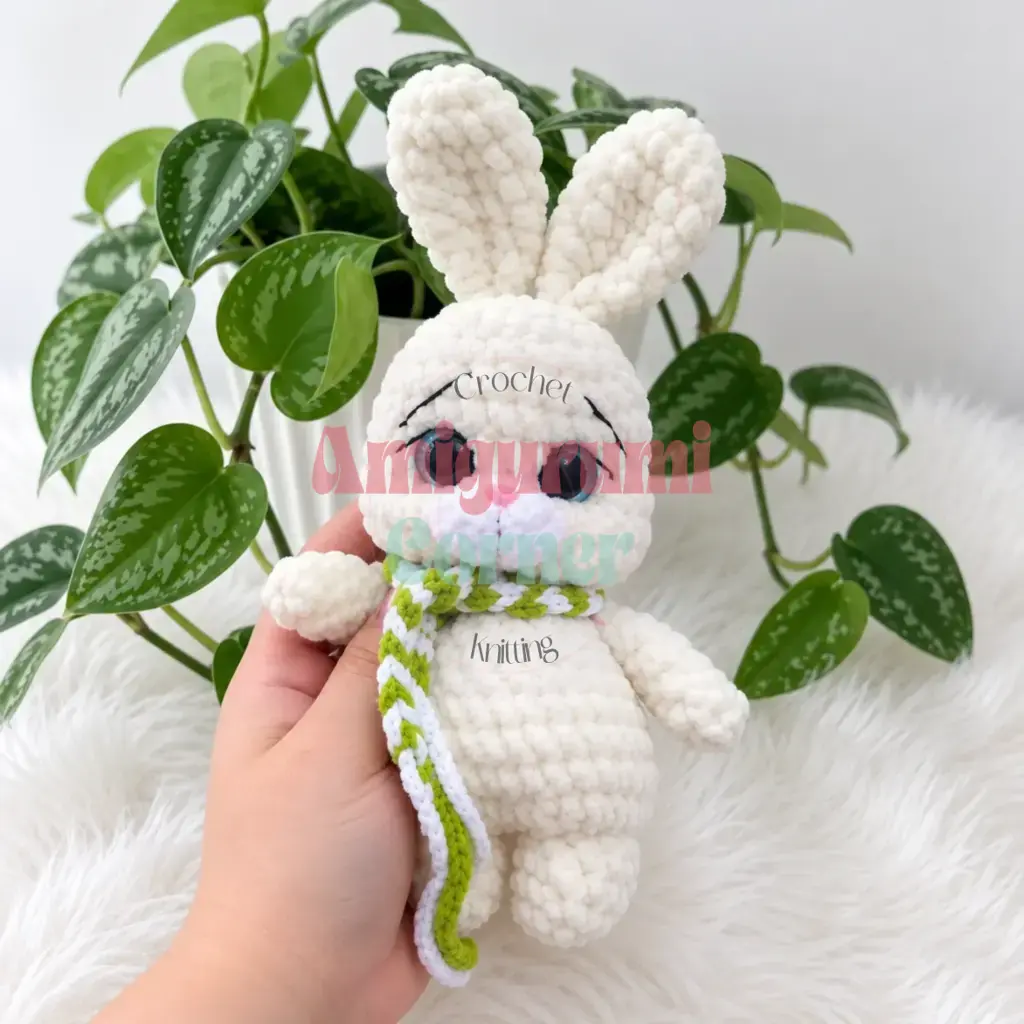
Embroider the face details. Using white embroidery thread, stitch small highlights (eye whites) onto or beside the safety eyes. Using black thread, add eyebrows, directional lash lines, and a small dividing line below the nose on the muzzle. Glue or embroider the nose at the top center of the muzzle.
Attach the ears. Position both ears at the top center of the head, with 1 to 2 stitches of space between them. Sew each ear on firmly through the folded base using a whipstitch. The ears should sit upright.
Check the tail. The bobble tail was worked directly onto the body at Round 9 center back, so no separate sewing is needed. Fluff it into shape if needed.
Weave in all remaining ends. Thread each yarn tail onto a yarn needle and weave it through several stitches in different directions before trimming.
Tips
- Go tighter than you think with plush yarn. Plush and chenille-style yarns are forgiving of gaps because the fibers hide them, but a too-loose tension means floppy limbs and a body that won’t hold its round shape. Use the hook size on the label as a starting point, and go down half a size if the piece feels slack.
- Mark your belly and cheek increases before you start the round. The hdc increases in Rounds 6, 17, and 18 need to land at specific positions (front center for the belly, sides for the cheeks). Before you begin each of those rounds, count your stitches and place a second stitch marker where the first increase should fall. It takes thirty seconds and saves you from frogging.
- Stuff the belly before Round 15. The pattern asks you to stuff the body before closing it off at Round 15, and it means it. Once you dec down to 9 stitches, the opening is too small to get enough fiberfill inside. Stuff it firmer than feels natural at first; the plush yarn compresses slightly over time.
- Don’t rush the needle-sculpting steps. The two sculpting passes are what transform a round stuffed head into a face with personality. Pull slowly and evenly, and press the safety eye inward with your fingertip while you tension the yarn. If the indent looks uneven, a second pass almost always fixes it.
- Sew the muzzle on after sculpting, not before. The needle-sculpting changes the surface contour of the face. If you attach the muzzle first, you may find it sits in the wrong position once the eye sockets are pulled in. Complete both sculpting passes, then pin the muzzle in place before committing to sewing.
FAQs
Can I use acrylic yarn instead of plush yarn?
While plush yarn gives the signature soft, velvety look, you can use acrylic bulky yarn. However, the fabric may be less dense, so you might need to stuff it more firmly and use a slightly smaller hook to prevent gaps.
How do I prevent the safety eyes from showing through the plush yarn?
Plush yarn can be tricky because the fibers can hide gaps. Ensure you are using a hook size that creates tight stitches. If you see gaps, switch to a smaller hook. You can also place a small piece of felt or fabric behind the eyes inside the head before closing the final rounds.
What if I don’t have sparkle safety eyes?
Standard black or brown safety eyes work perfectly fine. The character of the bunny comes from the sculpting and the chubby shape, so any eye color that contrasts with your yarn will work.
How do I fix an uneven belly bump?
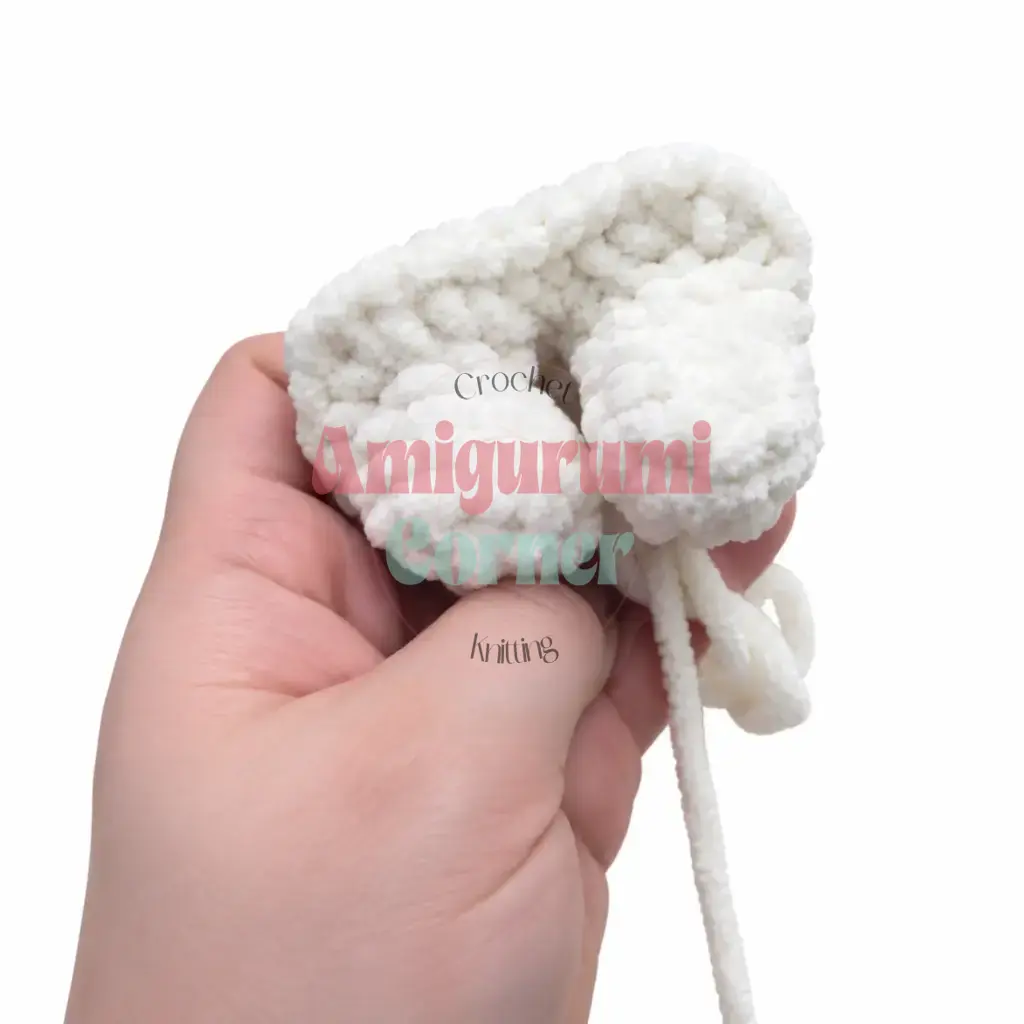
The belly bump is created by specific hdc increases in Round 6. If it looks uneven, check your stitch marker placement. You can also adjust the stuffing distribution before closing the body at Round 15, adding more fiberfill to the lower front section.
Can this pattern be made smaller?
Yes, you can use a smaller hook and lighter weight yarn (like DK or worsted) to create a smaller version. However, you will need to adjust the stitch counts and round numbers accordingly, as this pattern is designed specifically for bulky plush yarn.
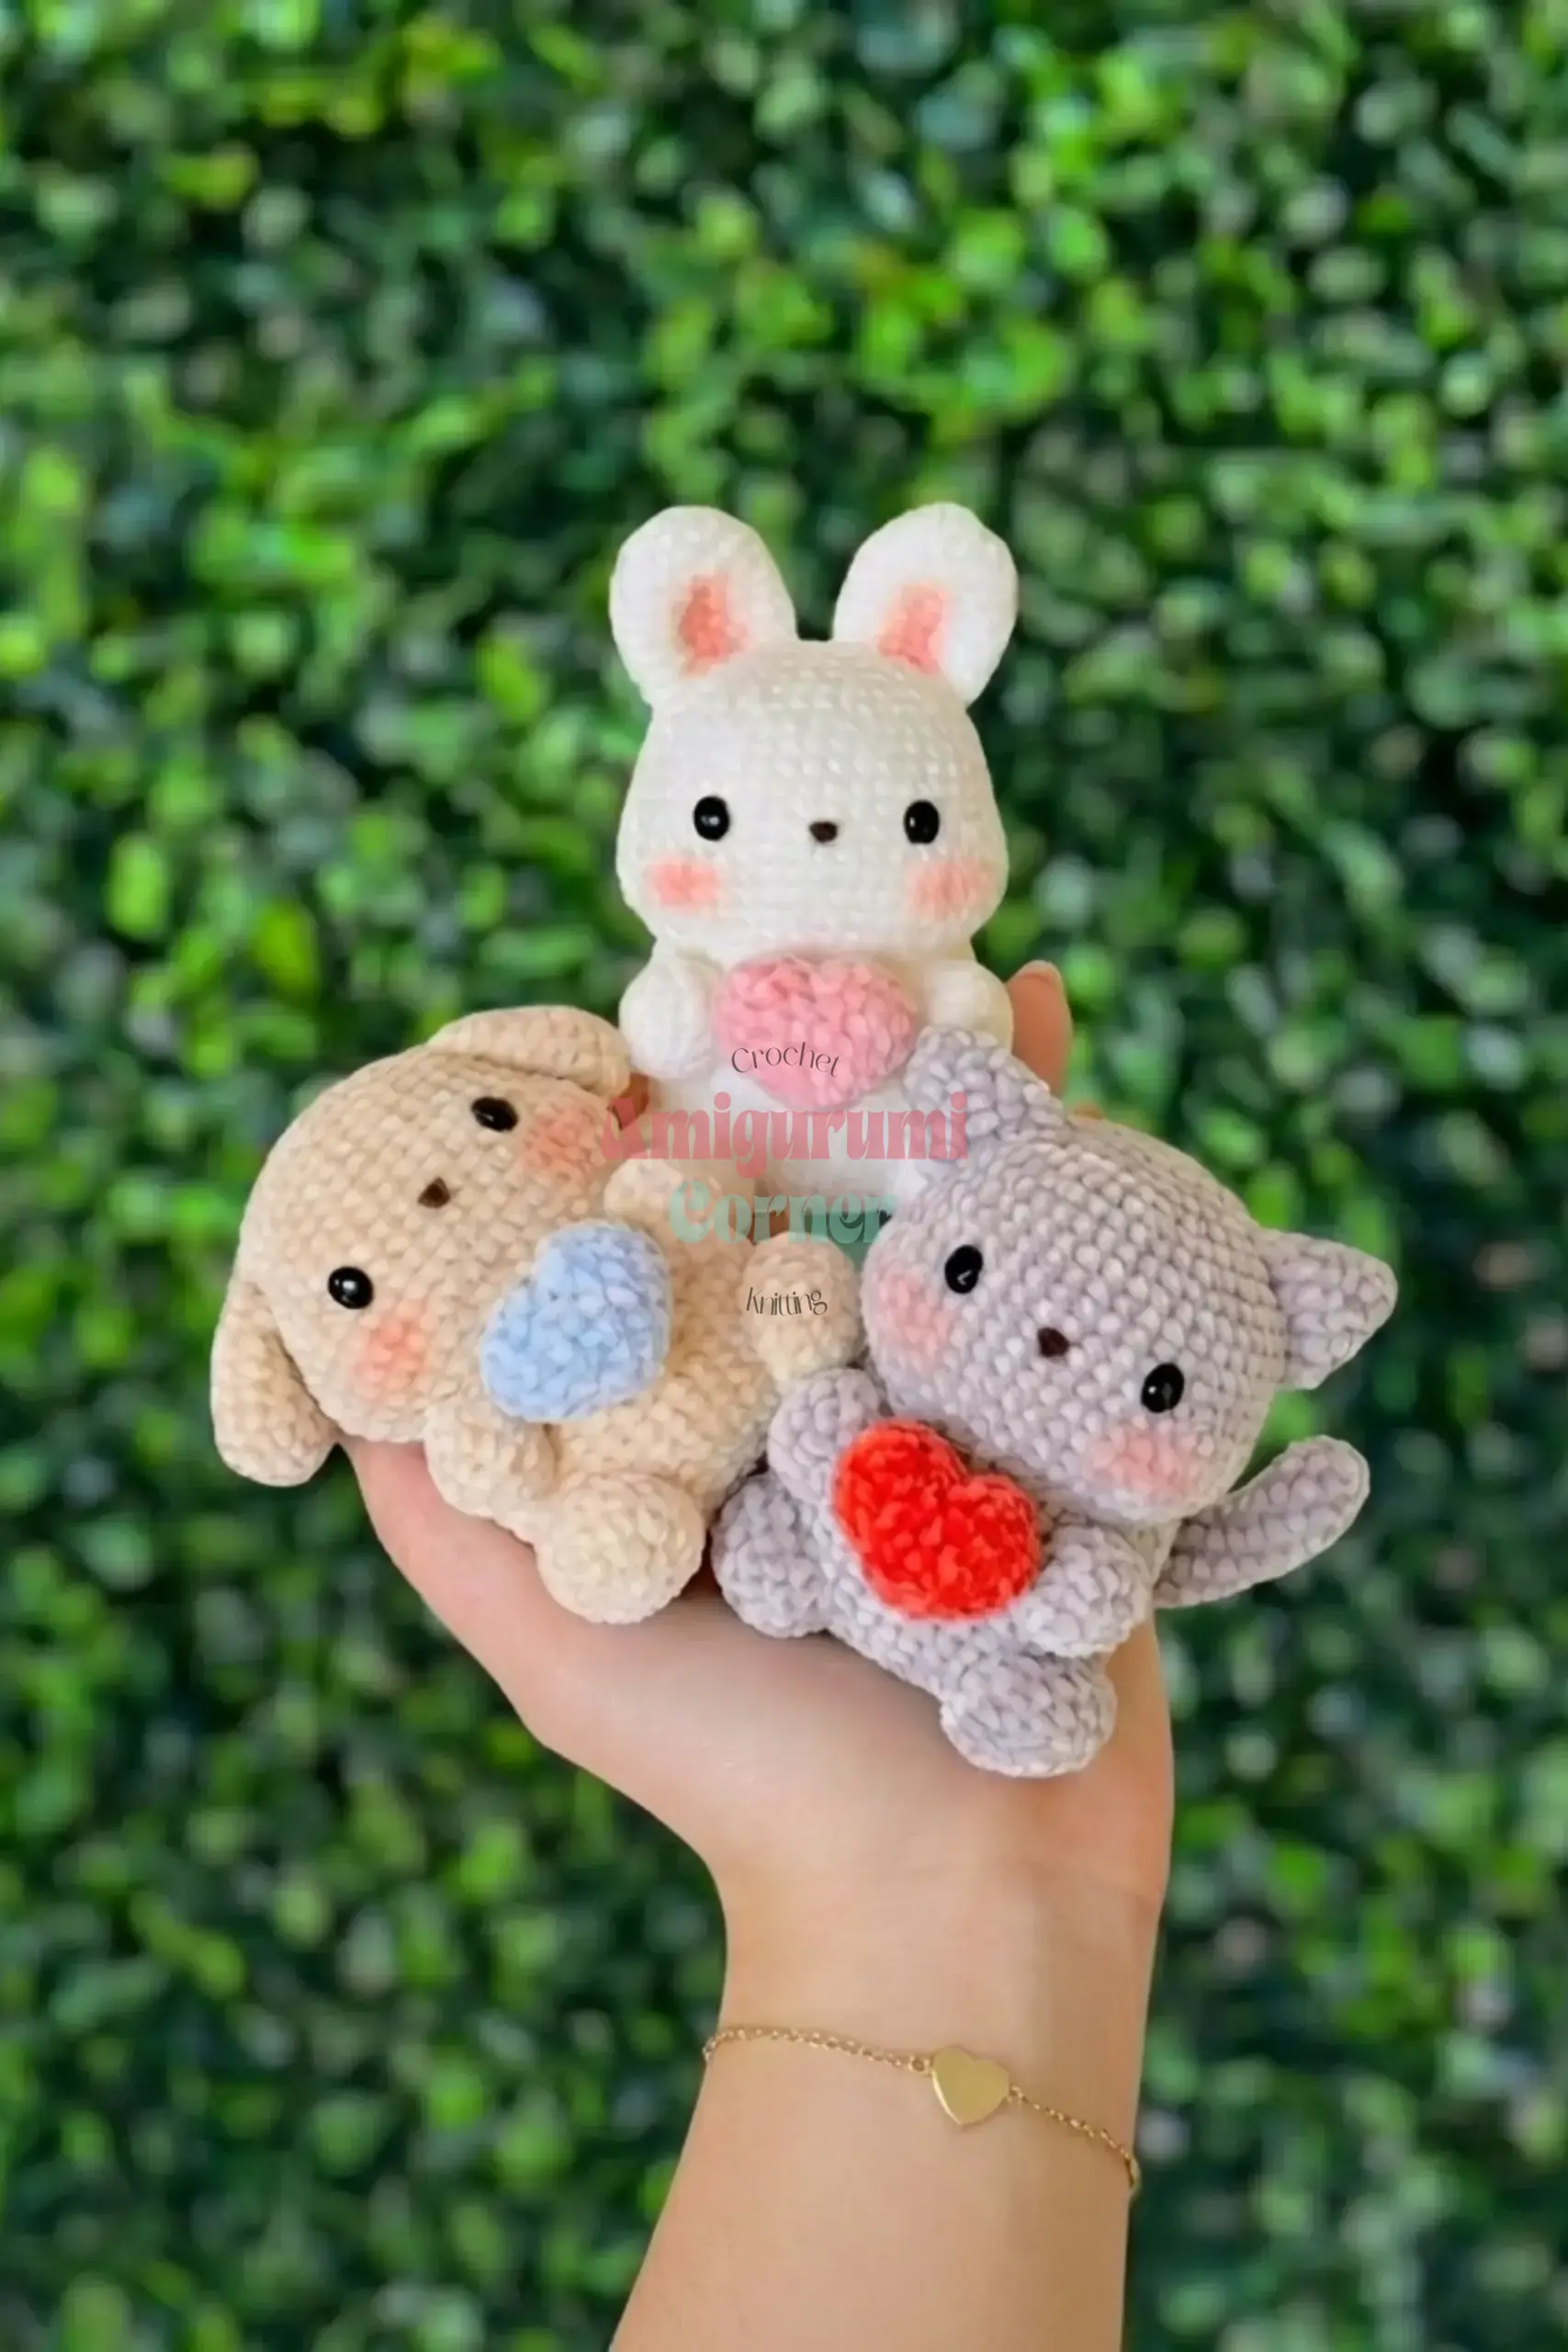
If you enjoyed making this adorable bunny, you might also like our adorable festive crochet amigurumi trio pattern for more holiday crafting ideas.
Pin This Crochet Pattern!