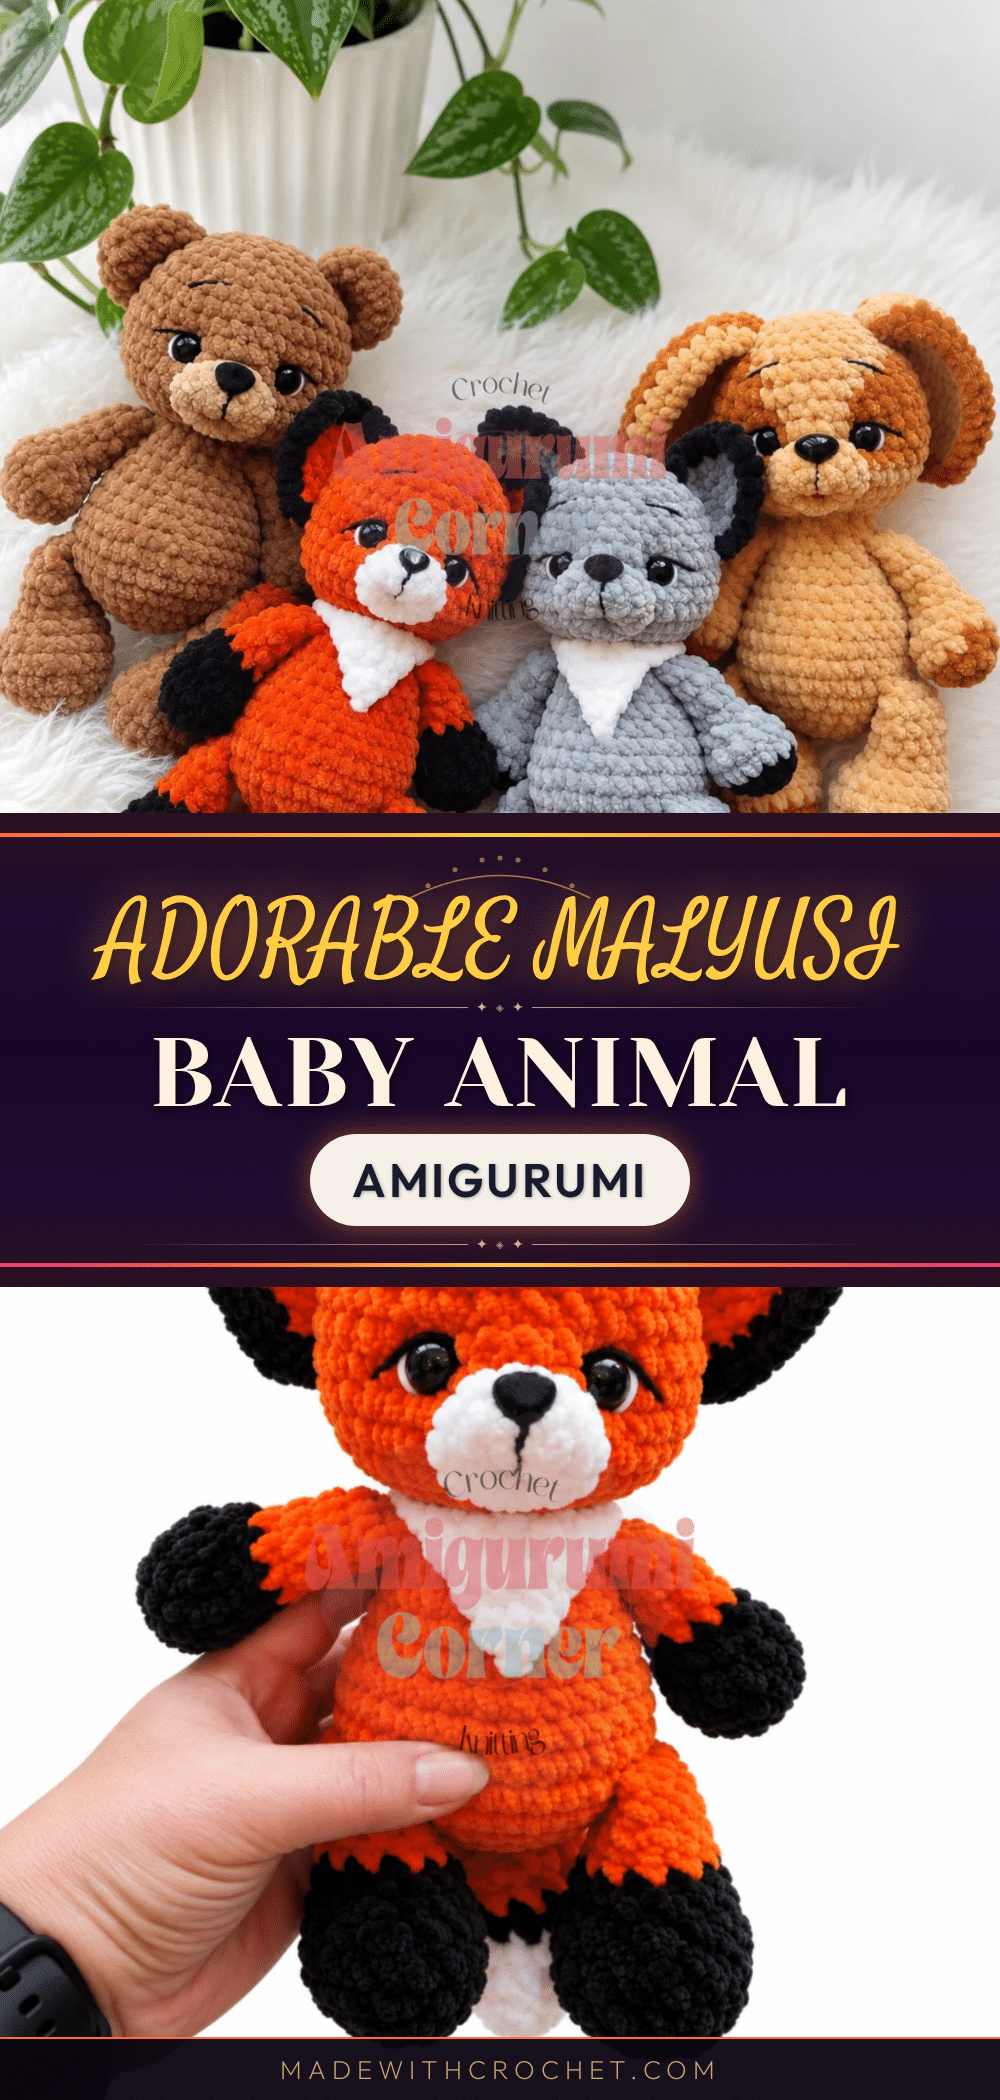
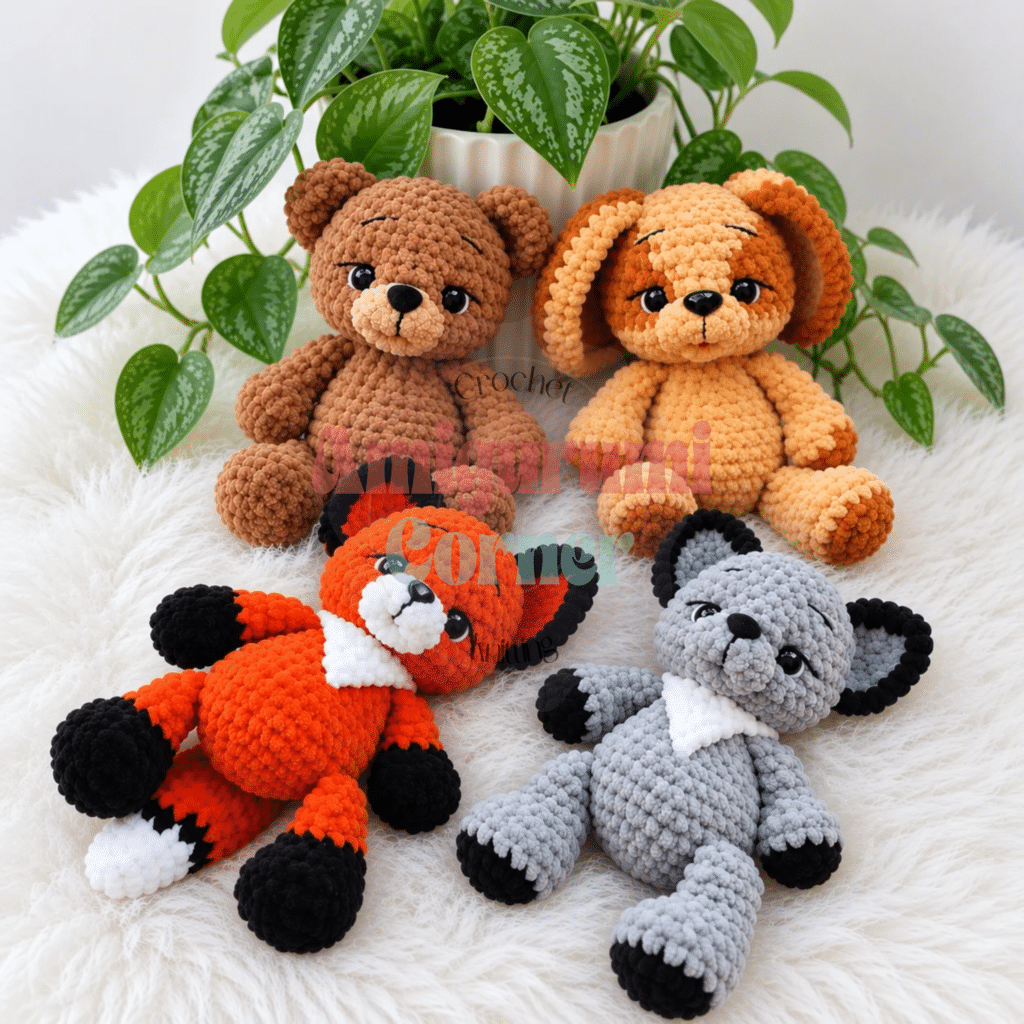
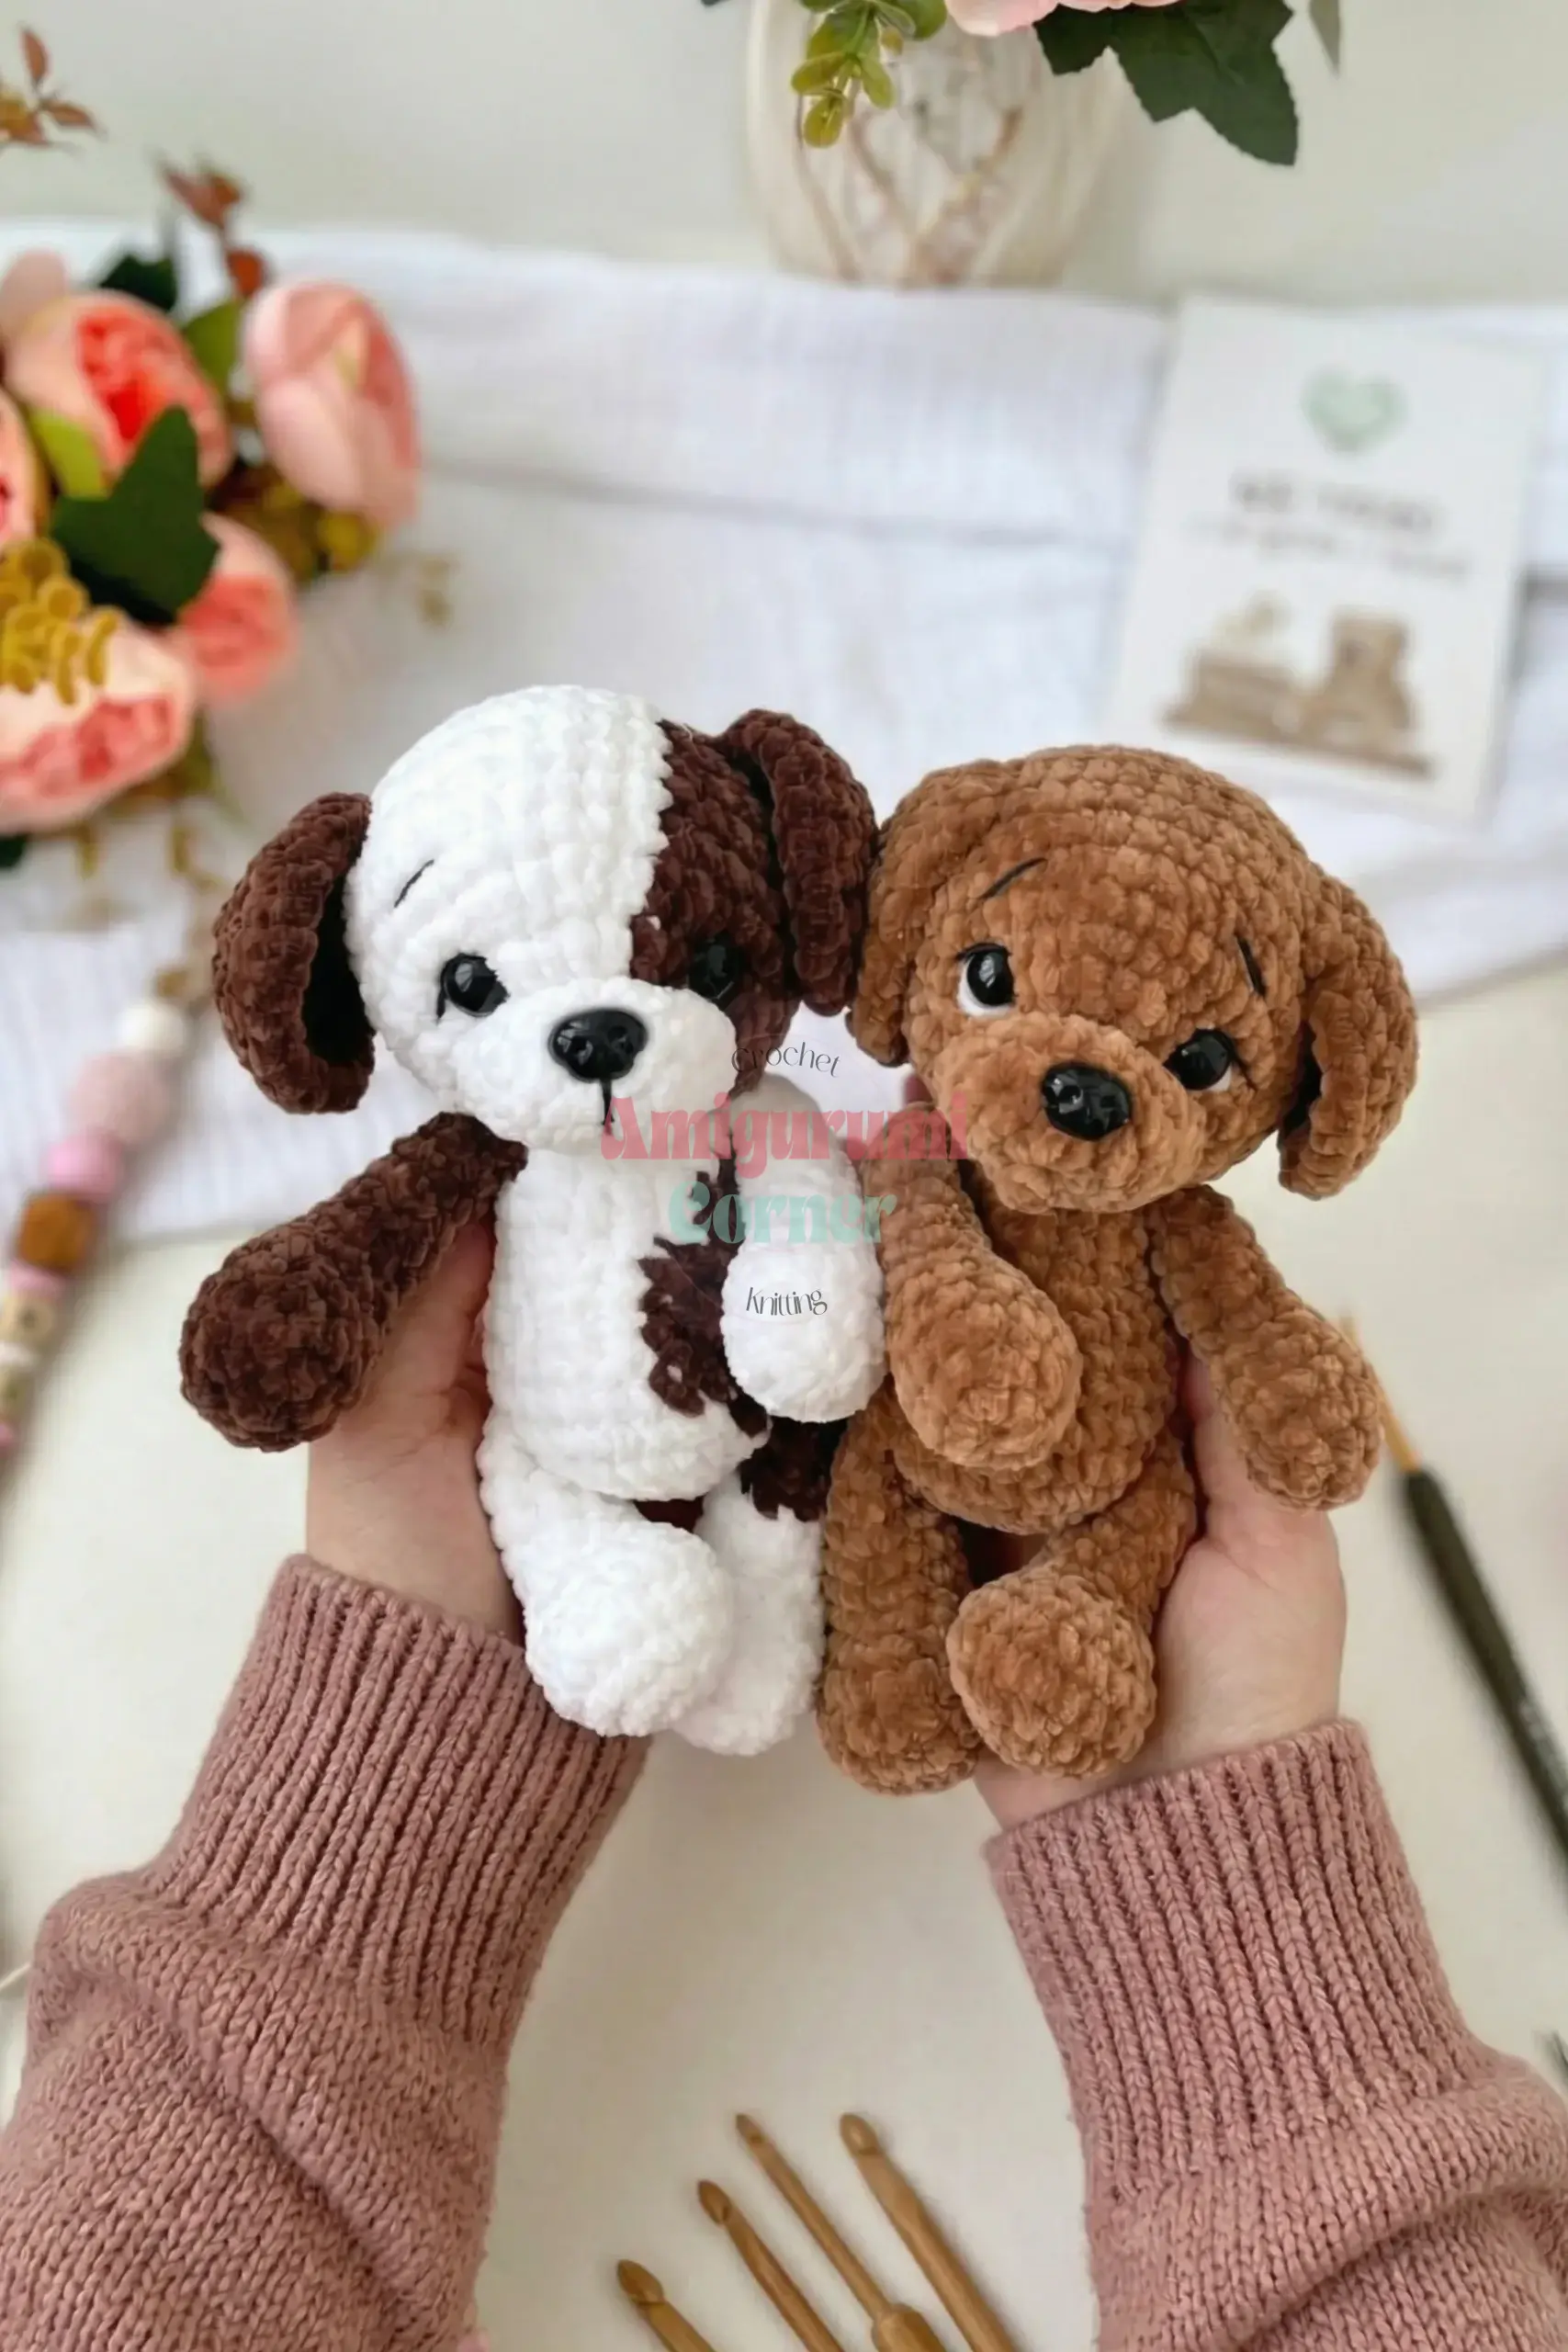
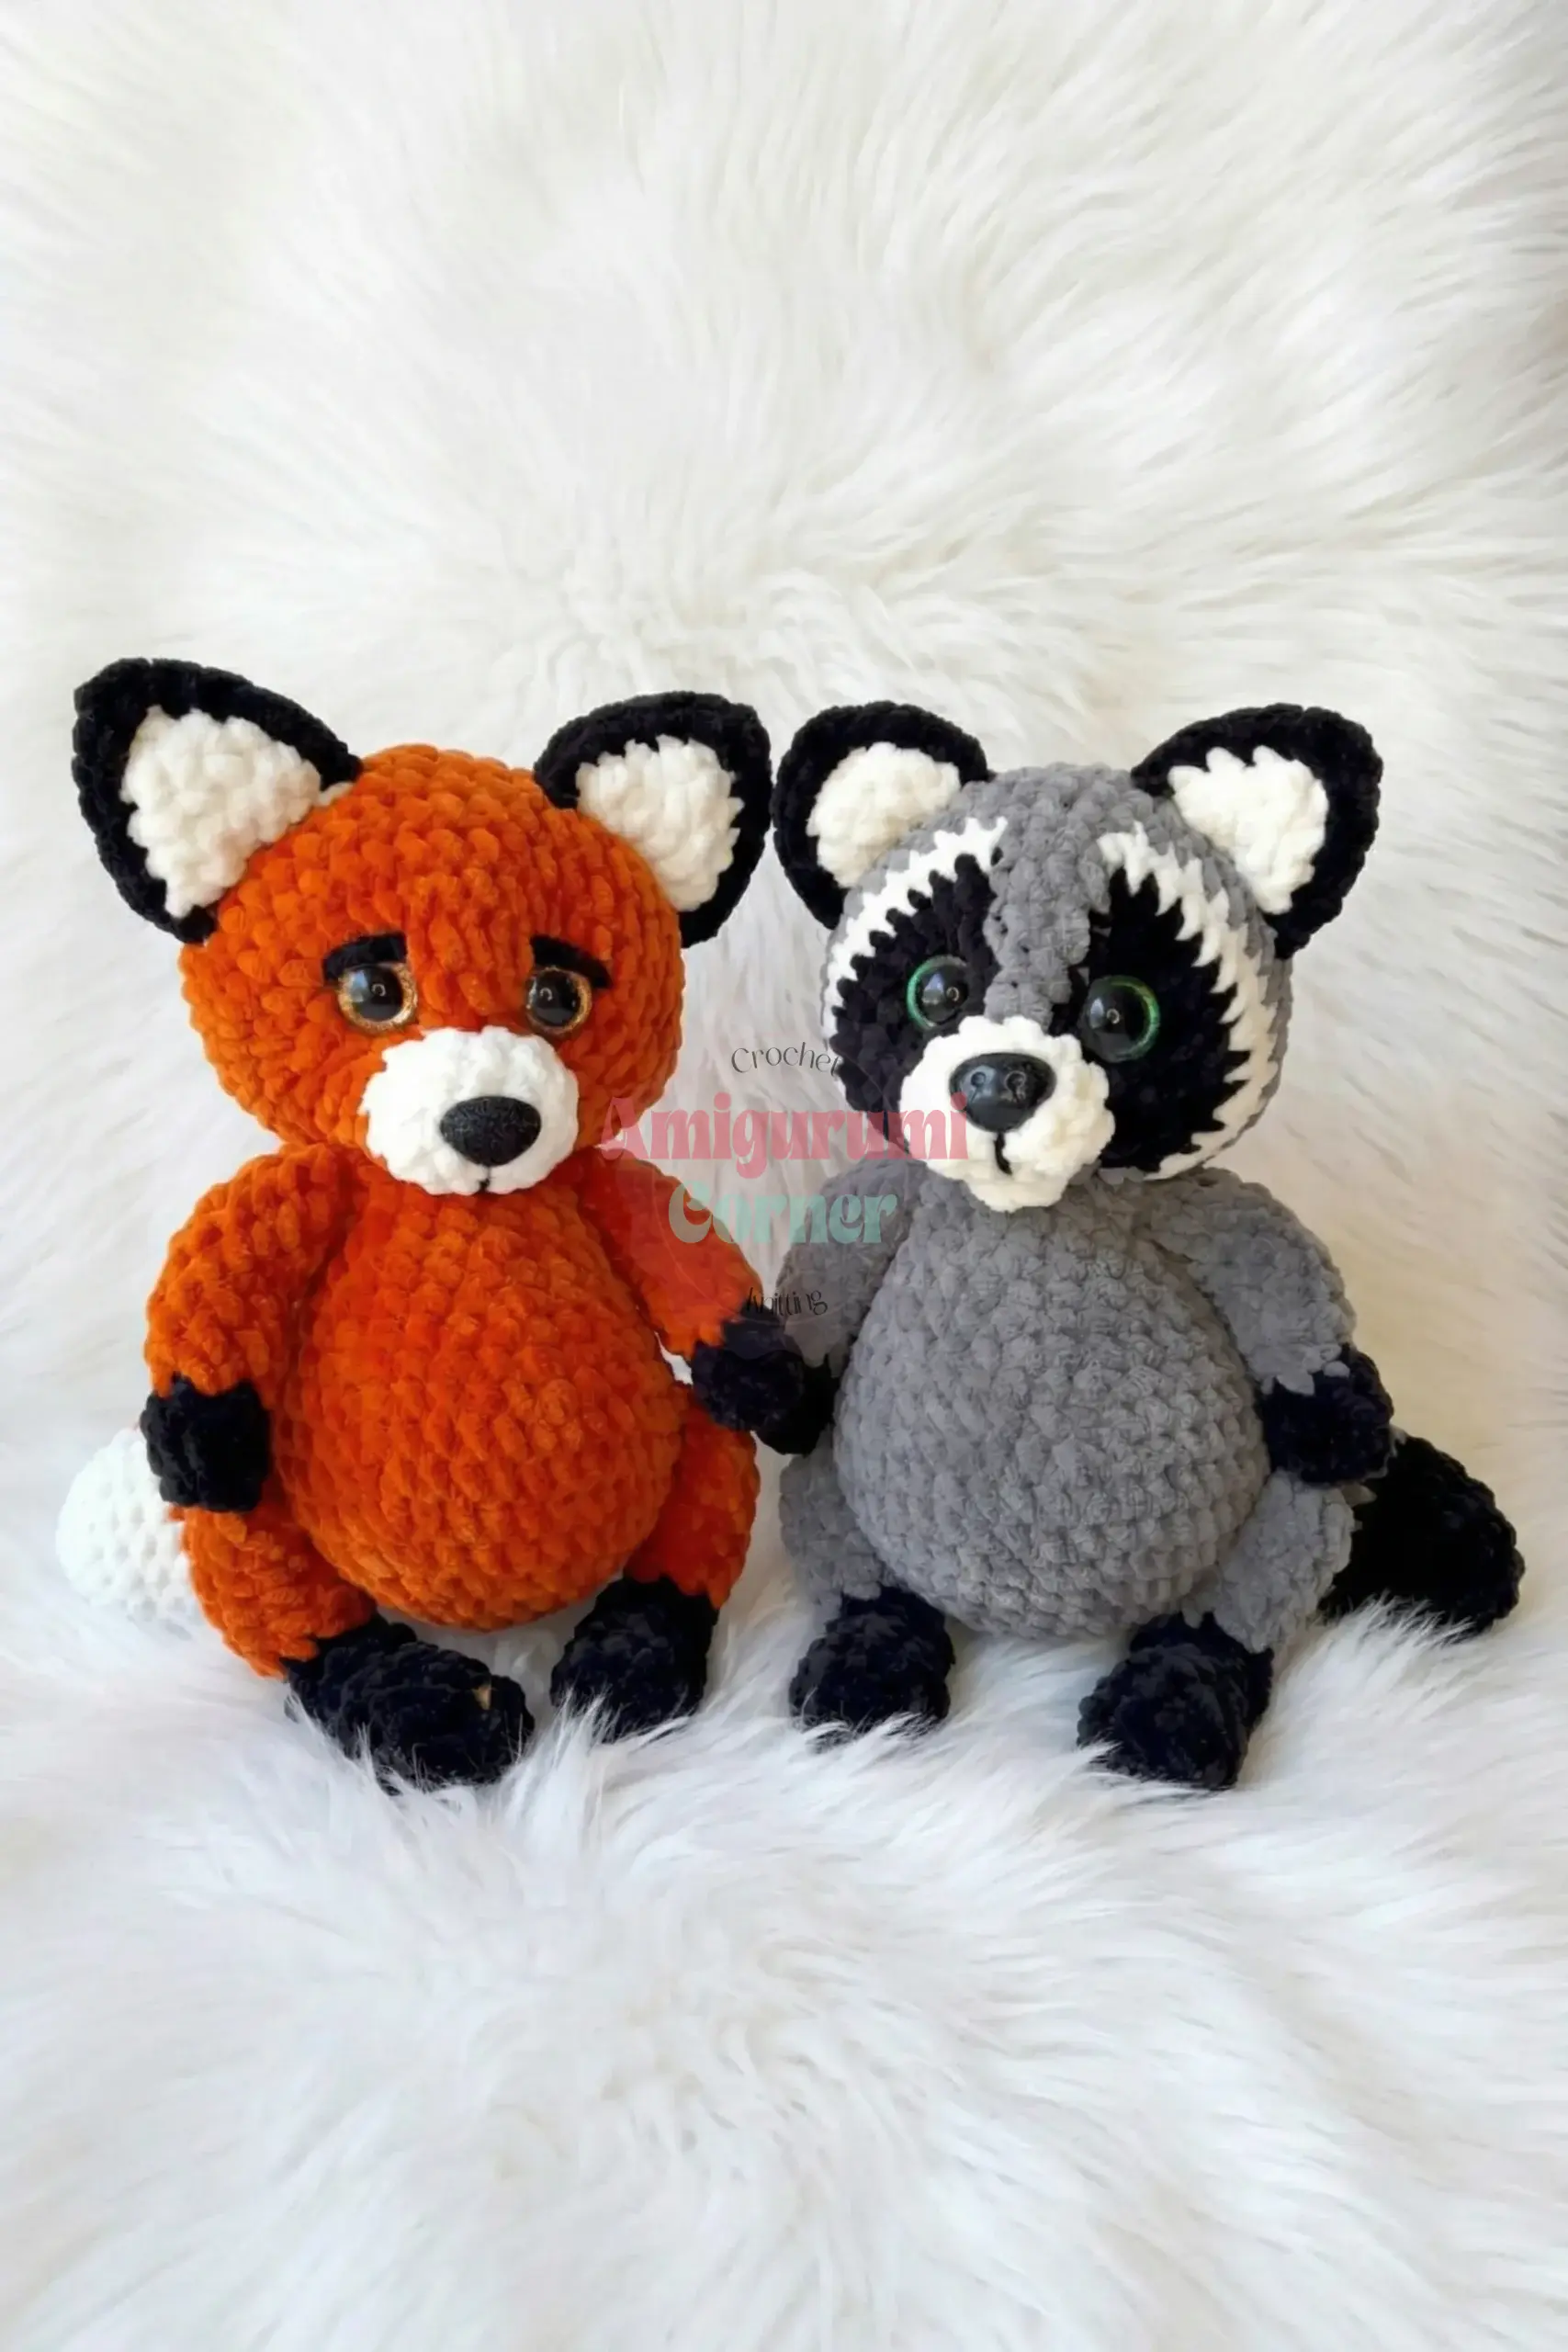
The MaLyusi baby animal collection brings together four distinct characters—a fox, a wolf, a puppy, and a bear—using a single, brilliantly versatile pattern structure. At approximately 20 to 21 cm tall, these plush figures are perfect for nursery decor, handmade gifting, or simply adding a touch of woodland charm to your home. Because the wolf, bear, and puppy share the same body, limbs, and construction as the fox, mastering the fox first unlocks the entire series. With just a few clever swaps to the head, ears, and tail, you can create a whole family of cuddly friends.
Seasonal Styling Ideas
While the MaLyusi animals are year-round companions, their plush textures and earthy tones make them particularly delightful during the cooler months. Imagine a little fox or wolf sitting on a windowsill watching the first snowfall, or a bear nestled in a basket of autumn leaves. The soft, bulky yarn used in this pattern provides a cozy tactile experience that pairs beautifully with knitted blankets or chunky scarves. For a festive touch, consider using red or green main colors for the puppy or bear to create a holiday-themed amigurumi set, or stick to natural creams and browns for a timeless woodland aesthetic.
Project Overview
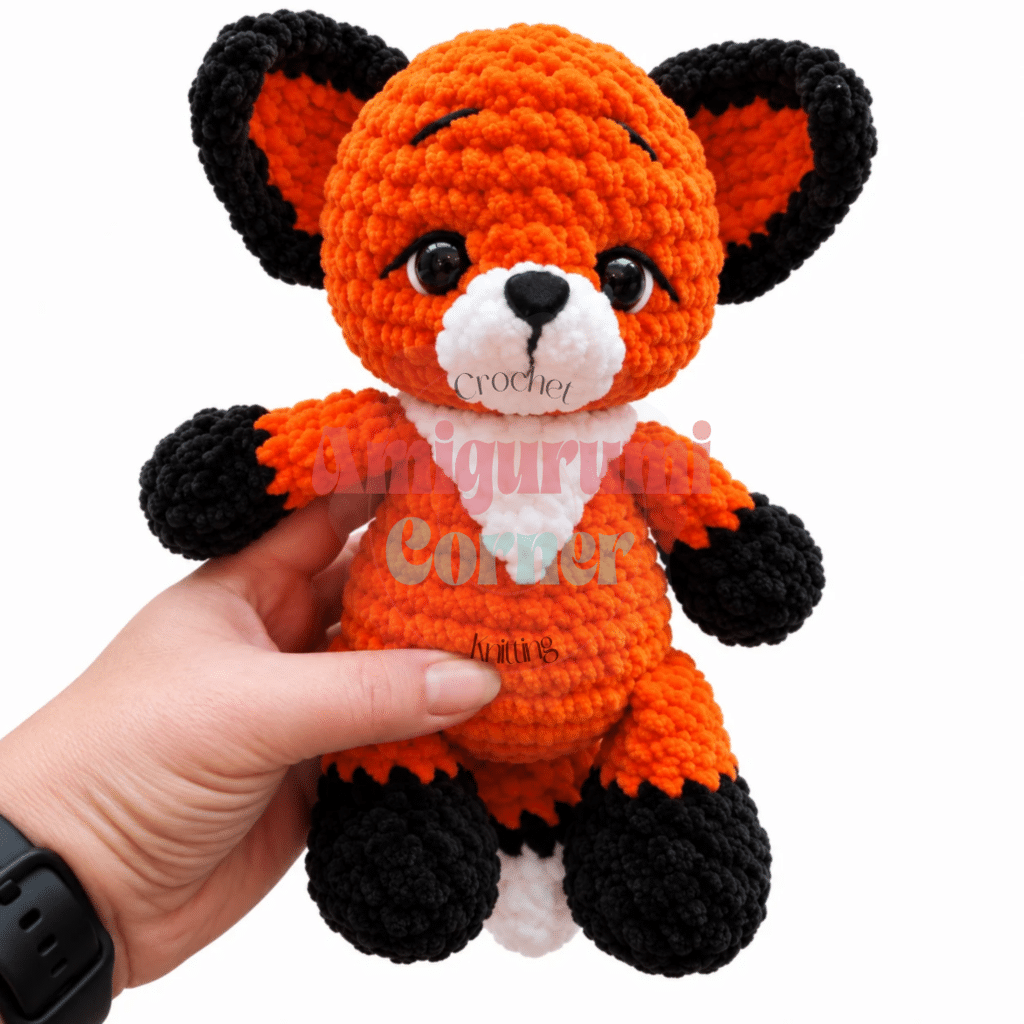
This beginner-friendly amigurumi pattern features a moderate stitch count and is written in US terminology. The project utilizes a continuous spiral construction for the main body and head, with specific flat rows for the ears and chest patch. The design is modular, allowing you to customize the character by changing the head rounds, ears, and tail.
Materials
- Yarn: Bulky/chunky plush yarn, approximately 120 m per 100 g (Himalaya Dolphin Baby or YarnArt Dolce are ideal, or any similar plush yarn). You will need 1 skein of the main color per animal, plus small amounts of black and white.
- Hook: US G-6 / 4.0 mm
- Safety Eyes: 12 mm, 2 per animal
- Safety Nose: 11 mm (measured across the widest point), 1 per animal
- Stuffing: Polyester fiberfill
- Thread: Black thread or thin black yarn for embroidering eyelashes and eyebrows
- Notions: Stitch markers, yarn needle / tapestry needle, scissors, and pins for positioning pieces before sewing
Gauge and Finished Size
The finished size of each toy is approximately 20 to 21 cm (about 8 inches) tall. Gauge is not critical for amigurumi, but your fabric should be tight enough that stuffing does not show through. If you can see gaps, go down a hook size.
Abbreviations
- ch: Chain
- dec: Decrease (invisible decrease: insert hook under the front loop of the next stitch, then the front loop of the stitch after that, yarn over and pull through both loops, yarn over and pull through remaining 2 loops)
- inc: Increase (2 sc in the same stitch)
- MR: Magic Ring
- sc: Single Crochet
- sl st: Slip Stitch
- st / sts: Stitch / Stitches
Pattern Notes
All pieces are worked in a continuous spiral (no joining, no turning chains) unless specifically noted as flat rows with a turning chain. Stitch counts are given in parentheses at the end of each round or row: (18). The fox is the base design for all four animals. The wolf, bear, and puppy share the same body, upper arms, and legs as the fox, with only the tail, ears, and head rounds adjusted. Read the fox instructions in full before starting any variation. Insert safety eyes and the safety nose before closing the head completely. Their placement rounds are noted in the instructions.
Pattern Instructions
Fox (Base Animal)
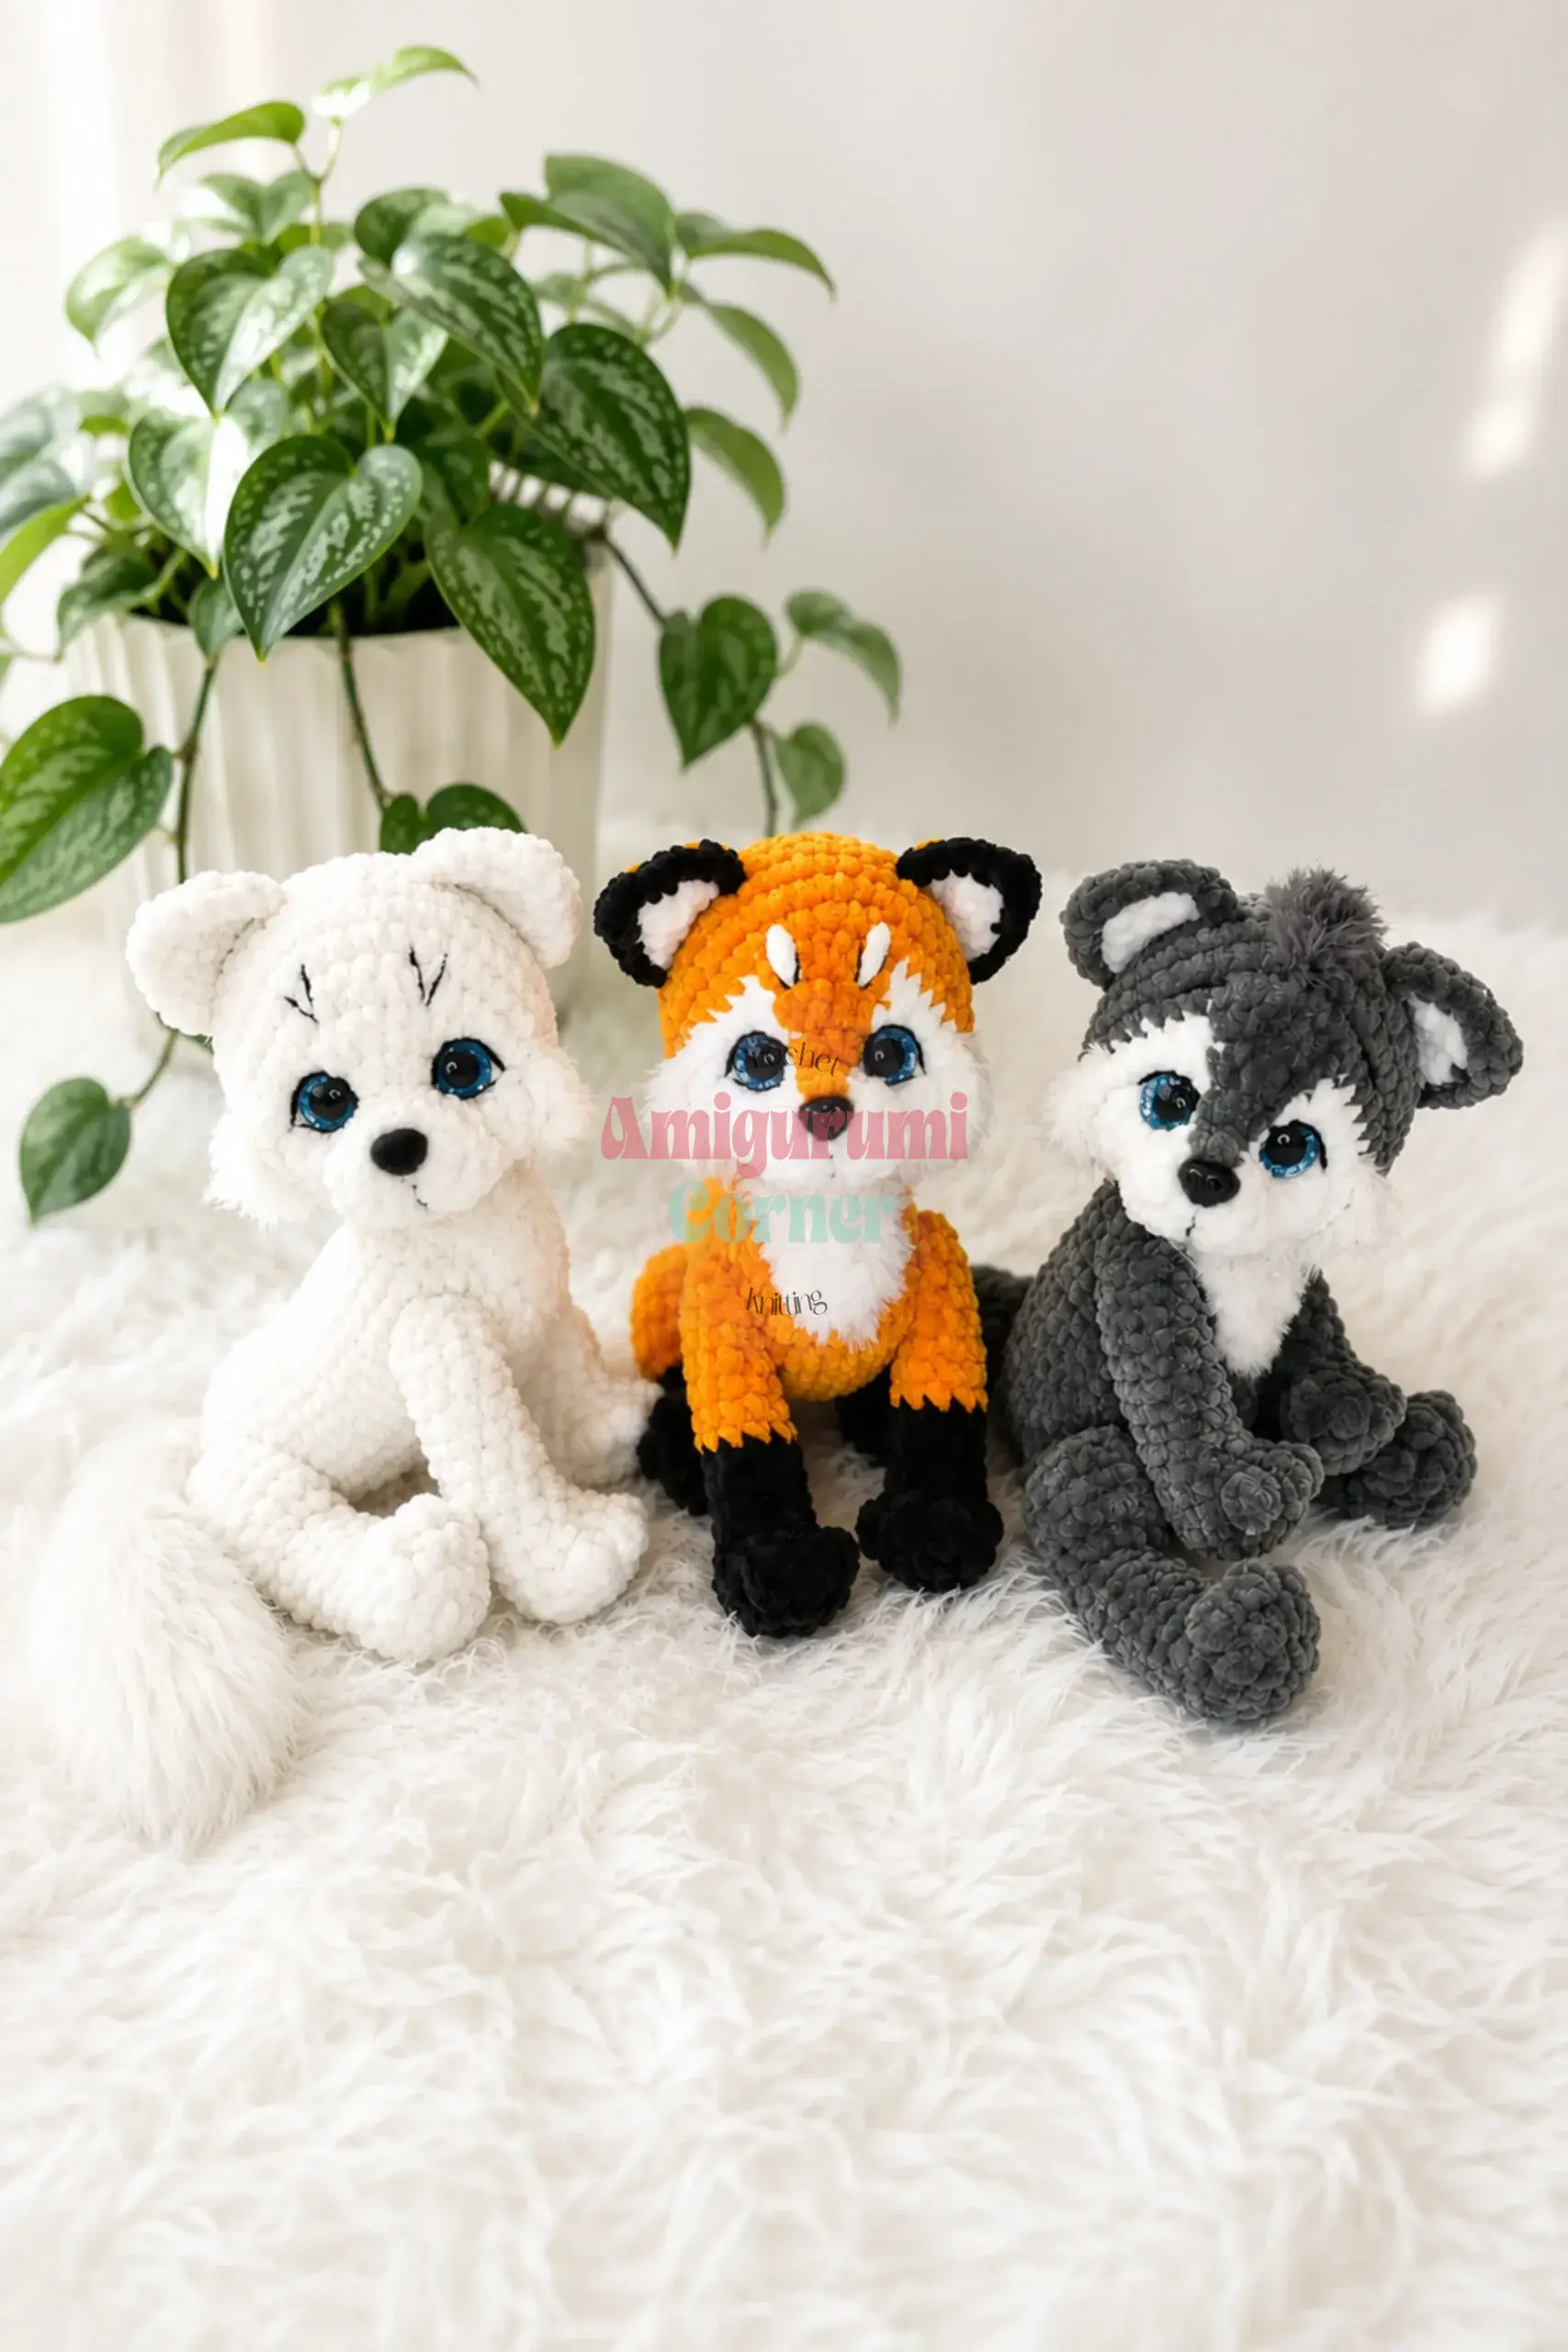
The fox is the foundation for the entire MaLyusi series. Complete this animal first to understand the construction before moving to the variations.
Upper Arms (make 2)
Begin with black yarn.
Rnd 1: 6 sc in MR. (6)
Rnd 2: inc in each st around. (12)
Rnds 3-4: sc in each st around. (12)
Rnd 5: 4 dec, 4 sc. (8)
Switch to main color yarn.
Rnds 6-9: sc in each st around. (8) (4 rounds)
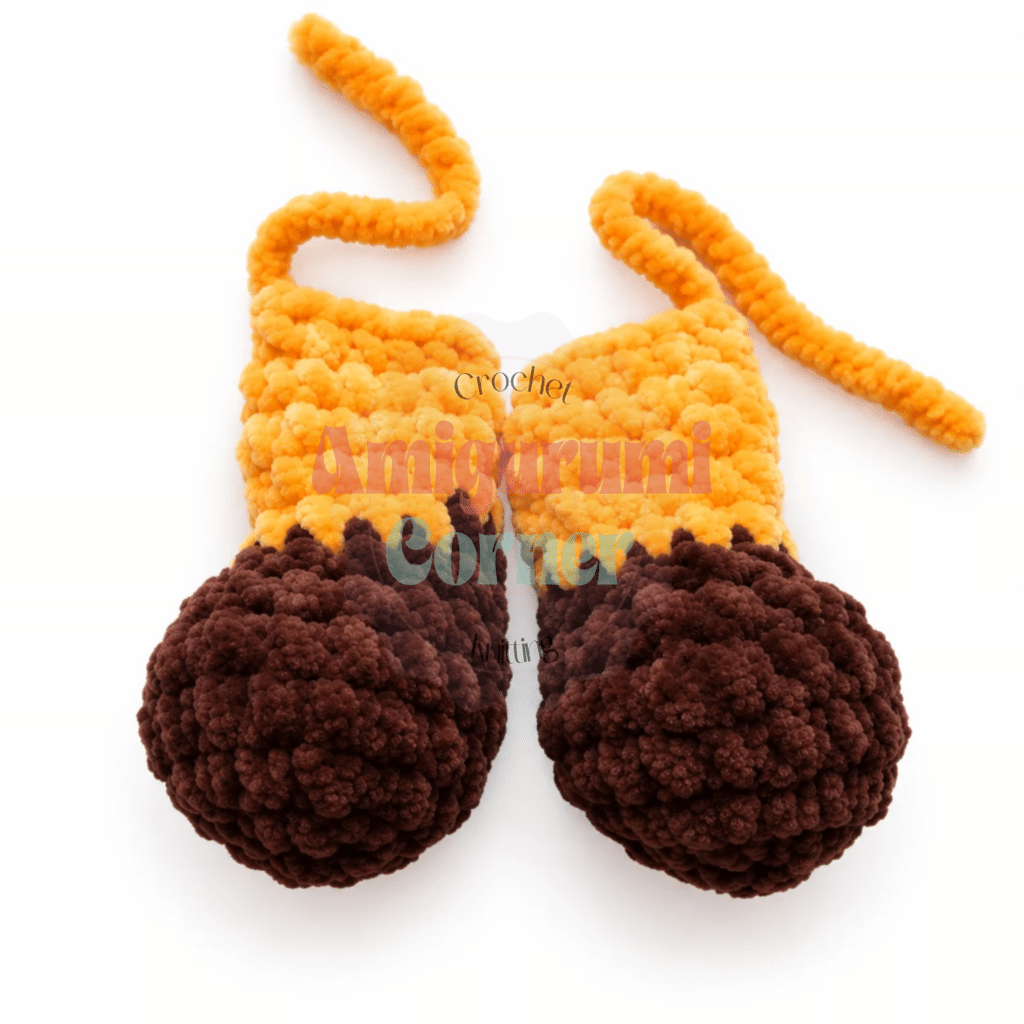
Flatten the opening and join the edges with 4 sc. Cut yarn and weave in end.
Note for wolf and bear: switch to main color at Rnd 3 instead of after Rnd 5.
Legs (make 2)
Begin with black yarn.
Rnd 1: 6 sc in MR. (6)
Rnd 2: inc in each st around. (12)
Rnd 3: sc, inc repeat 6 times around. (18)
Rnds 4-5: sc in each st around. (18)
Rnd 6: 4 sc, sc, dec repeat 3 times, 5 sc. (15)
Rnd 7: 4 sc, 3 dec, 5 sc. (12)
Switch to main color yarn.
Rnds 8-10: sc in each st around. (12) (3 rounds)
Rnd 11: 4 sc, dec repeat 2 times. (10)
Flatten the opening and join the edges with 5 sc. Cut yarn and weave in end.
Note for wolf and bear: switch to main color at Rnd 4 instead of after Rnd 7.
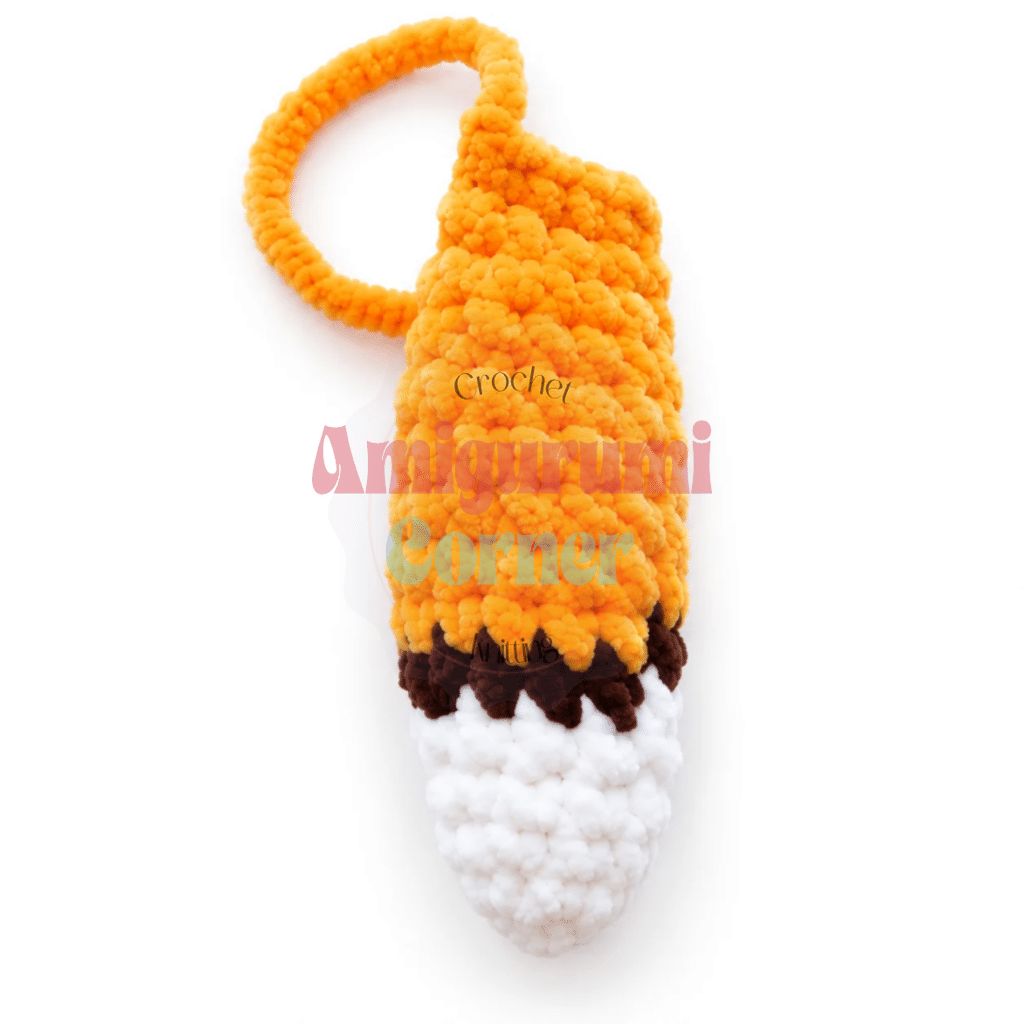
Fox Tail
Begin with white yarn.
Rnd 1: 6 sc in MR. (6)
Rnd 2: sc, inc repeat 3 times. (9)
Rnd 3: sc in each st around. (9)
Rnd 4: 2 sc, inc repeat 3 times. (12)
Rnd 5: sc in each st around. (12)
Switch to black yarn.
Rnd 6: 3 sc, inc repeat 3 times. (15)
Switch to main color yarn.
Rnds 7-11: sc in each st around. (15) (5 rounds)
Rnd 12: 3 sc, dec repeat 3 times. (12)
Rnd 13: sc in each st around. (12)
Rnd 14: sc, dec repeat 4 times. (8)
Flatten the opening and join the edges with 4 sc. Cut yarn and weave in end.
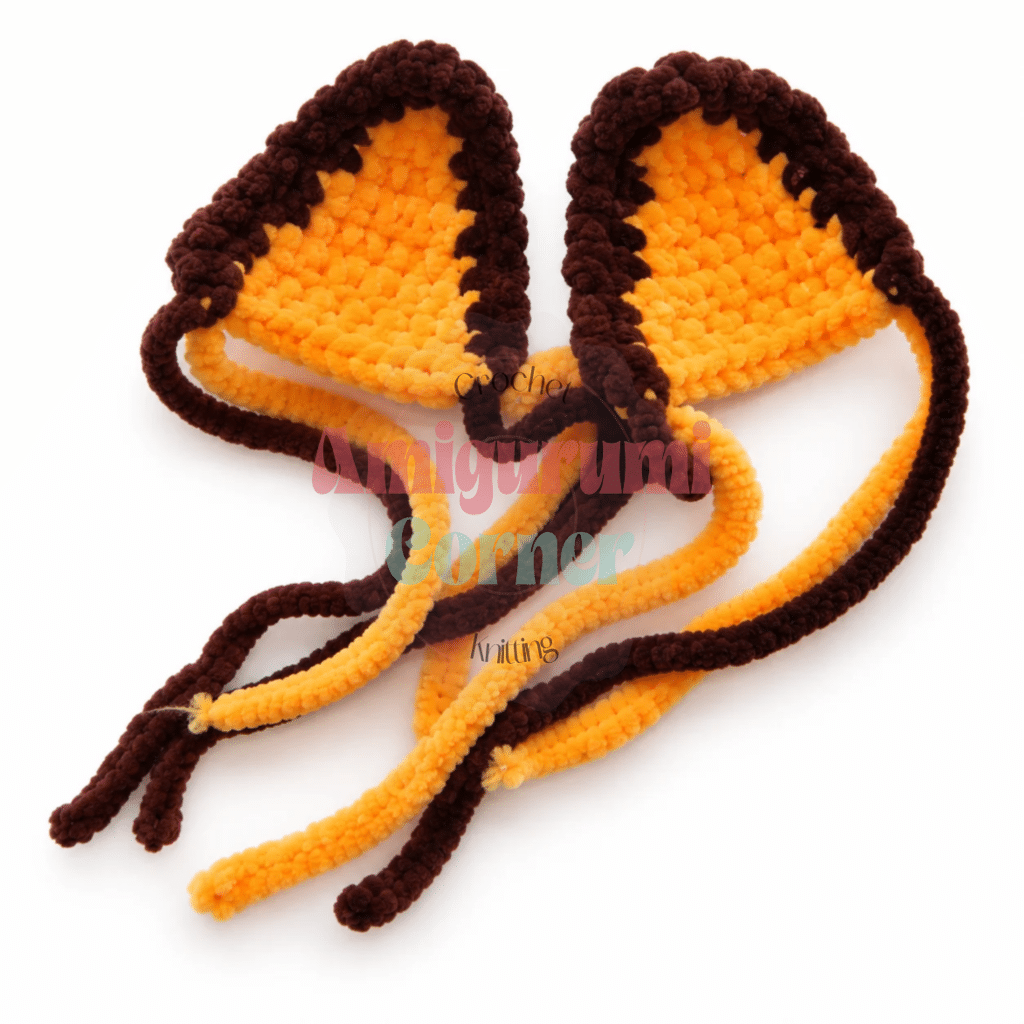
Ears (make 2)
These ears are worked flat in rows.
Row 1: Ch 2, work 3 sc in the 2nd ch from hook, ch 1, turn. (3)
Row 2: sc, inc, sc, ch 1, turn. (4)
Row 3: sc in each st across, ch 1, turn. (4)
Row 4: inc, 2 sc, inc, ch 1, turn. (6)
Row 5: sc in each st across, ch 1, turn. (6)
Row 6: inc, 4 sc, inc, ch 1, turn. (8)
Row 7: sc in each st across. (8)
Join black yarn and work a single crochet edging around the entire ear. Cut yarn and weave in end.
Muzzle
Work with white yarn.
Row 1: Ch 3, work 1 sc in the 2nd ch from hook, then 3 sc in the last ch, then 1 inc in the first ch (working back along the foundation chain). (6) This creates a small oval.
Rnd 2: inc in each st around. (12)
Rnd 3: sc in each st around. (12)
Cut yarn, leaving a long tail for sewing. Do not stuff.
Chest Patch
Work with white yarn. This piece is worked flat using a combination of slip stitches and single crochets to create a shaped bib.
Row 1: Ch 23. Starting in the 2nd ch from hook: work 8 sl st, then 6 sc. Turn (do not chain).
Row 2: Starting in the 2nd st from hook: 5 sc. Turn.
Row 3: Starting in the 2nd st from hook: 4 sc. Turn.
Row 4: Starting in the 2nd st from hook: 3 sc. Turn.
Row 5: Starting in the 2nd st from hook: 2 sc. Turn.
Row 6: Work 1 sl st in the 2nd st from hook.
Cut yarn, leaving a long tail for sewing.
Body and Head
The body and head are worked as one continuous piece. Begin with main color yarn.
Body:
Rnd 1: 6 sc in MR. (6)
Rnd 2: inc in each st around. (12)
Rnd 3: sc, inc repeat 6 times. (18)
Rnd 4: 2 sc, inc repeat 6 times. (24)
Rnd 5: 3 sc, inc repeat 6 times. (30)
Rnd 6: 4 sc, inc repeat 6 times. (36)
Rnd 7: 5 sc attaching the first leg, 12 sc across the front, 5 sc attaching the second leg, 5 sc, 4 sc attaching the tail, 5 sc. (36) Position the legs at each side and the tail at the back center as you work these stitches.
Rnd 8: sc in each st around. (36)
Rnd 9: 8 sc, dec, 3 sc, dec, 13 sc, dec, 6 sc. (33)
Rnd 10: 7 sc, dec, 3 sc, dec, 12 sc, dec, 5 sc. (30)
Rnd 11: 3 sc, dec repeat 6 times. (24)
Rnd 12: sc in each st around. (24)
Rnd 13: 2 sc, dec repeat 6 times. (18)
Rnd 14: sc in each st around. (18)
Rnd 15: 4 sc attaching the first arm, 5 sc, 4 sc attaching the second arm, 5 sc. (18) Attach each arm at the sides as you work across.
Rnd 16: sc, dec repeat 6 times. (12)
Begin stuffing the body firmly. Continue adding stuffing as you work the head.
Head (continues from Rnd 16):
Rnd 17: inc in each st around. (24)
Rnd 18: 3 sc, inc repeat 6 times. (30)
Rnd 19: 4 sc, inc repeat 6 times. (36)
Rnd 20: sc in each st around. (36)
Rnd 21: 11 sc, inc repeat 3 times. (39)
Rnds 22-24: sc in each st around. (39) (3 rounds)
Rnd 25: 6 sc, sc, dec repeat 6 times, 15 sc. (33)
Rnd 26: sc in each st around. (33)
Rnd 27: 9 sc, dec repeat 3 times. (30)
Insert safety eyes between Rnds 22 and 23, with 8 sts between them.
Rnd 28: 3 sc, dec repeat 6 times. (24)
Rnd 29: 2 sc, dec repeat 6 times. (18)
Rnd 30: sc, dec repeat 6 times. (12)
Rnd 31: 6 dec. (6)
Pull the remaining stitches closed with a yarn needle and weave the end into the head. The fox base is complete.
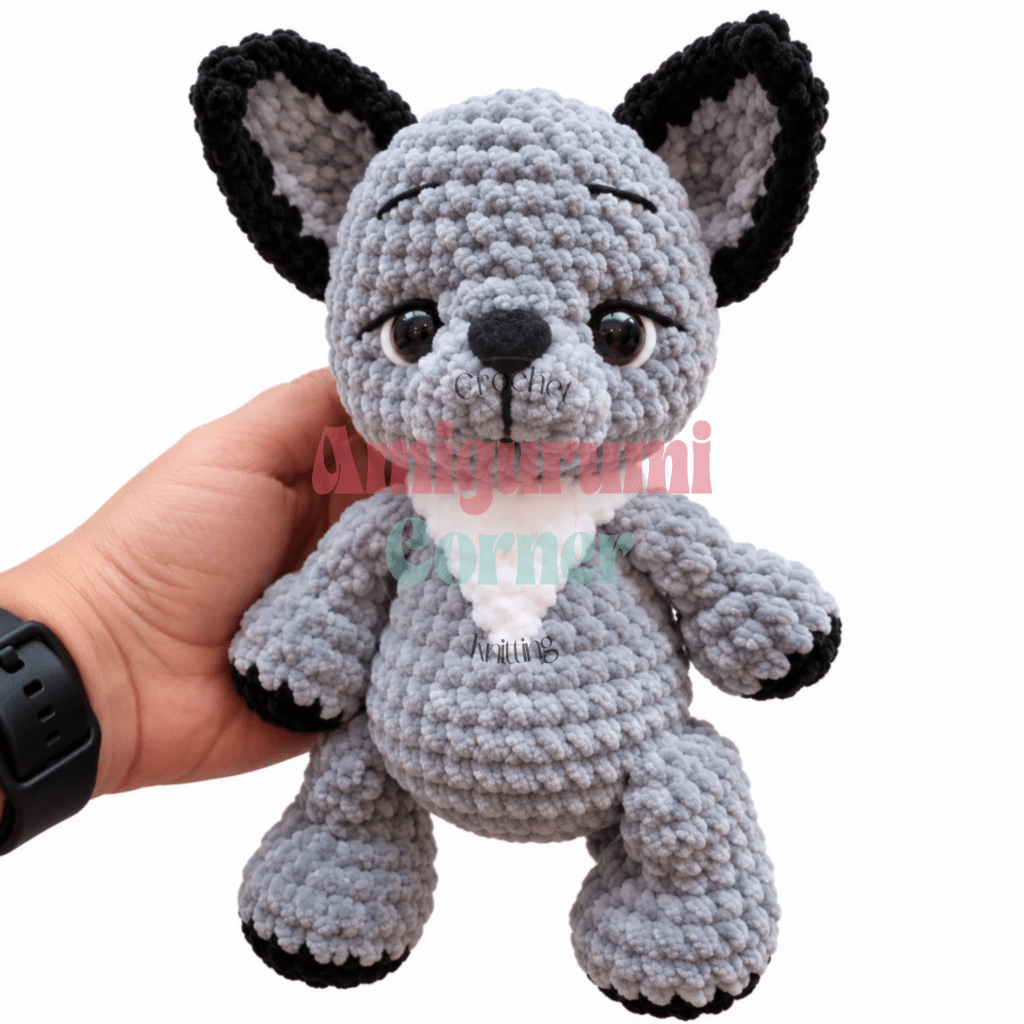
Wolf Tail
The wolf’s body, legs, and arms are worked exactly as the fox, with the arm color change at Rnd 3 and the leg color change at Rnd 4. Only the tail differs.
Rnd 1: 6 sc in MR. (6)
Rnd 2: sc, inc repeat 3 times. (9)
Rnd 3: sc in each st around. (9)
Rnd 4: 2 sc, inc repeat 3 times. (12)
Switch to main color yarn.
Rnds 5-9: sc in each st around. (12) (5 rounds)
Rnd 10: sc, dec repeat 4 times. (8)
Flatten the opening and join the edges with 4 sc. Cut yarn and weave in end.
The wolf’s head is identical to the fox head (Rnds 17-31 above). Work it exactly as written.
Bear Ears (make 2)
Rnd 1: 6 sc in MR. (6)
Rnds 2-4: sc in each st around. (6) (3 rounds)
Flatten the opening and join the edges with 3 sc. Cut yarn and weave in end.
Bear Head (Rnds 17-31)
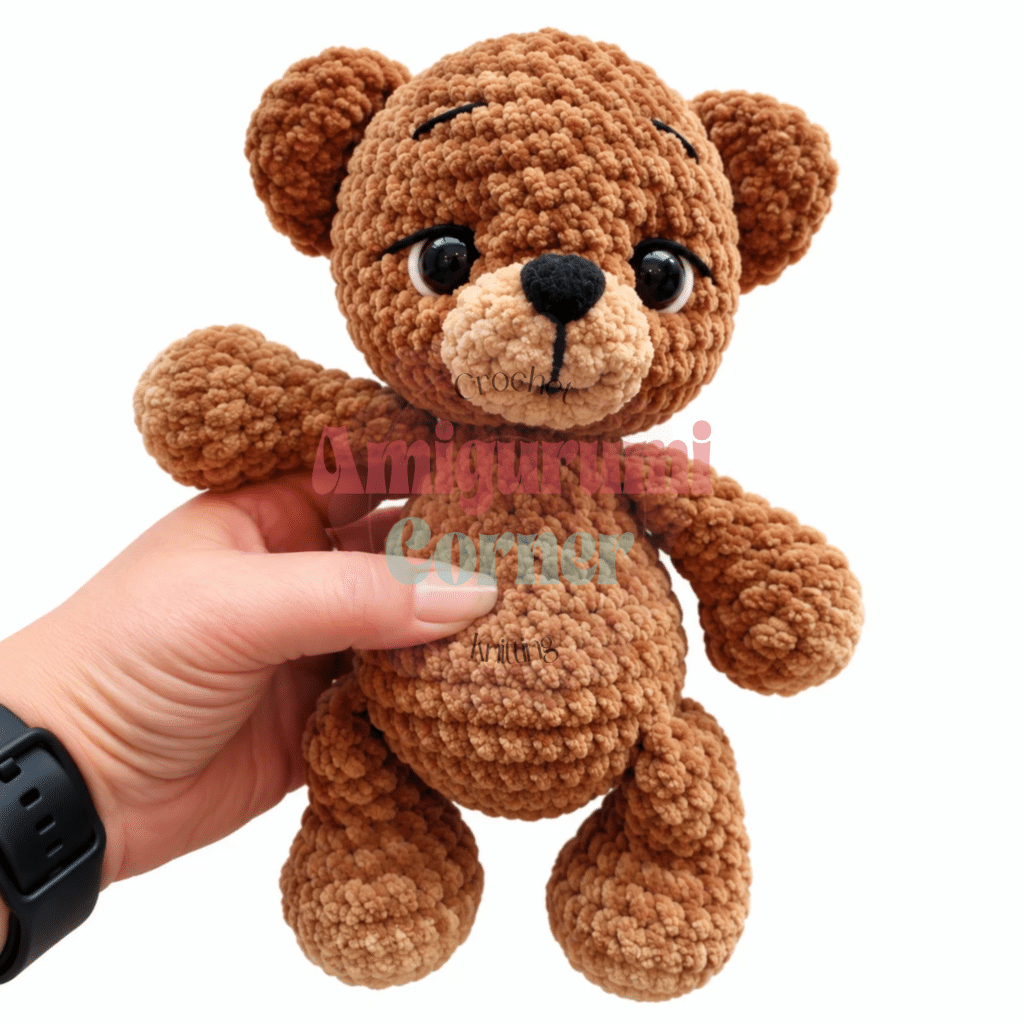
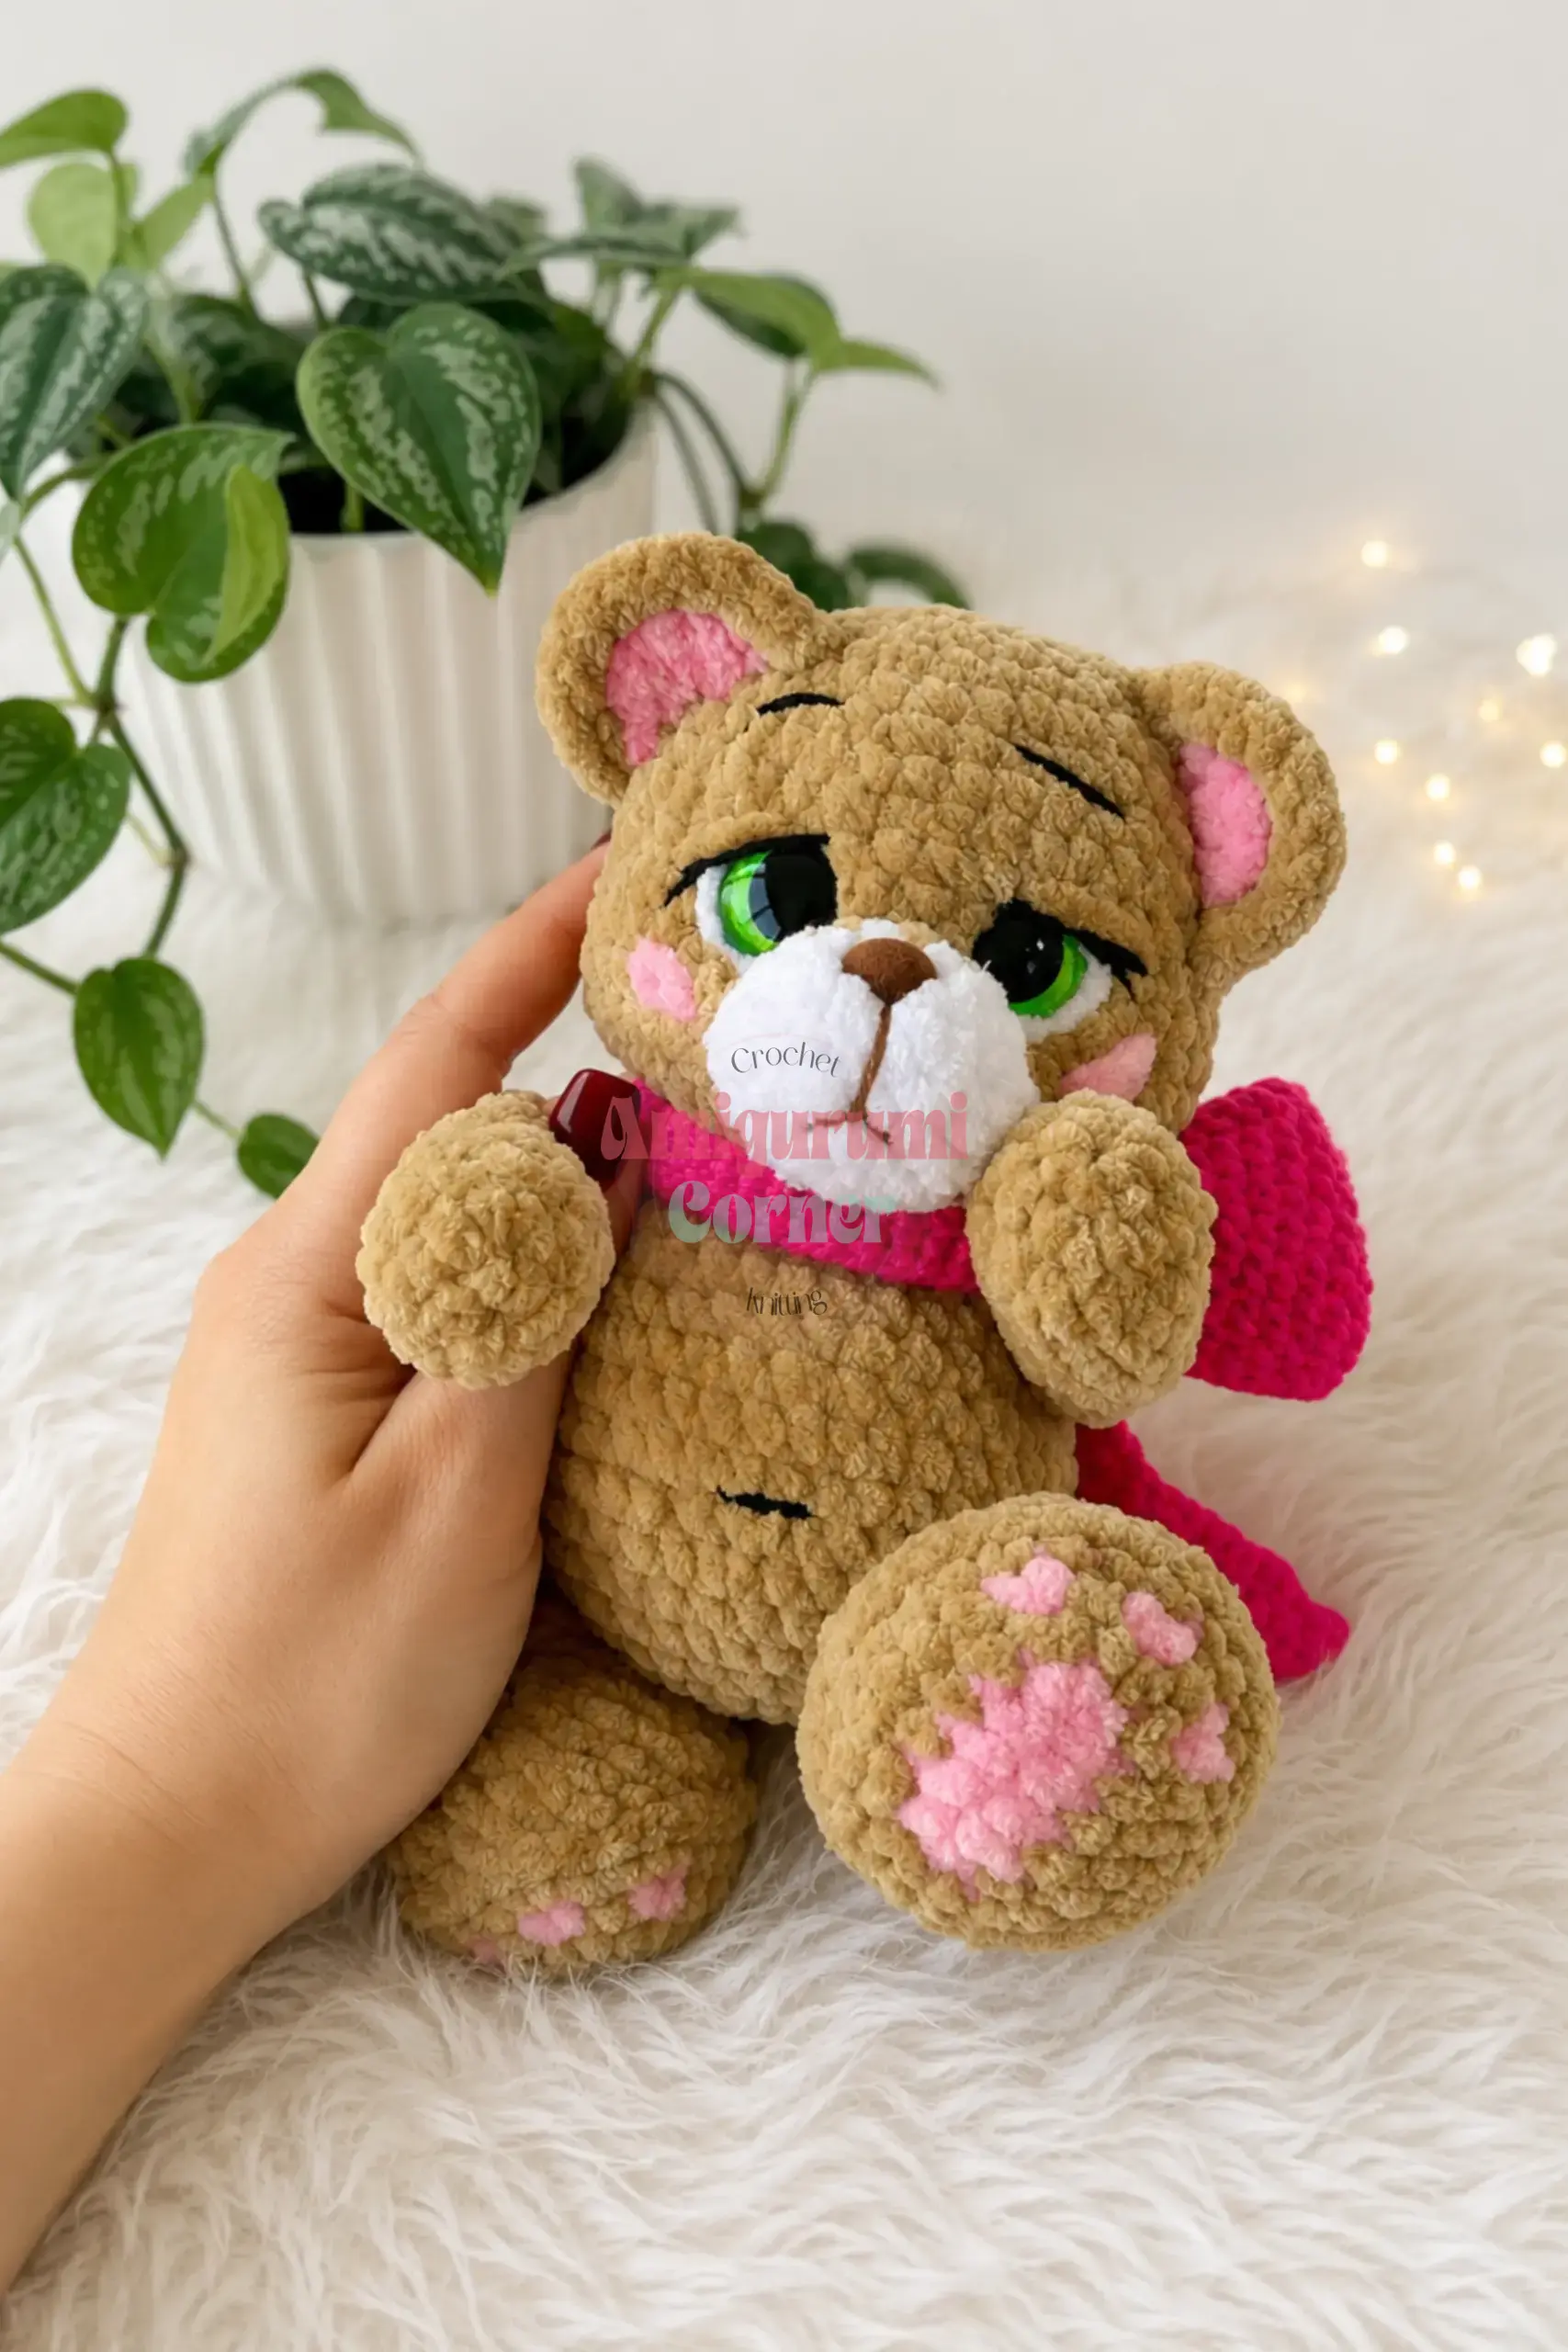
The bear shares the fox body, legs, and arms (arm color change at Rnd 3, leg color change at Rnd 4). For the bear’s Rnd 7, the tail is worked as a puff stitch directly into the body rather than as a separate sewn-on piece:
Rnd 7 (bear version): 5 sc attaching the first leg, 13 sc, 5 sc attaching the second leg, 6 sc, work the tail (5 double crochets into the same stitch, gathered with a shared top closure to form a puff), 6 sc. (36)
The bear’s head differs from the fox’s beginning at Rnd 25:
Rnds 17-24: Work exactly as the fox head (Rnds 17-24 above).
Rnd 25: 4 sc, dec repeat 6 times. (33)
Rnd 26: sc in each st around. (33)
Rnd 27: 9 sc, dec repeat 3 times. (30)
Rnd 28: 3 sc, dec repeat 6 times. (24)
Rnd 29: 2 sc, dec repeat 6 times. (18)
Rnd 30: sc, dec repeat 6 times. (12)
Rnd 31: 6 dec. (6)
Close by pulling the yarn through the front loops only of the remaining stitches with a yarn needle, pull tight, secure, and weave the end inside the head.
The bear uses the fox muzzle, chest patch, and ears (substituting the round bear ears for the pointed fox ears). Insert safety eyes between Rnds 22 and 23.
Puppy Tail
The puppy tail is the short version above (Wolf Tail instructions).
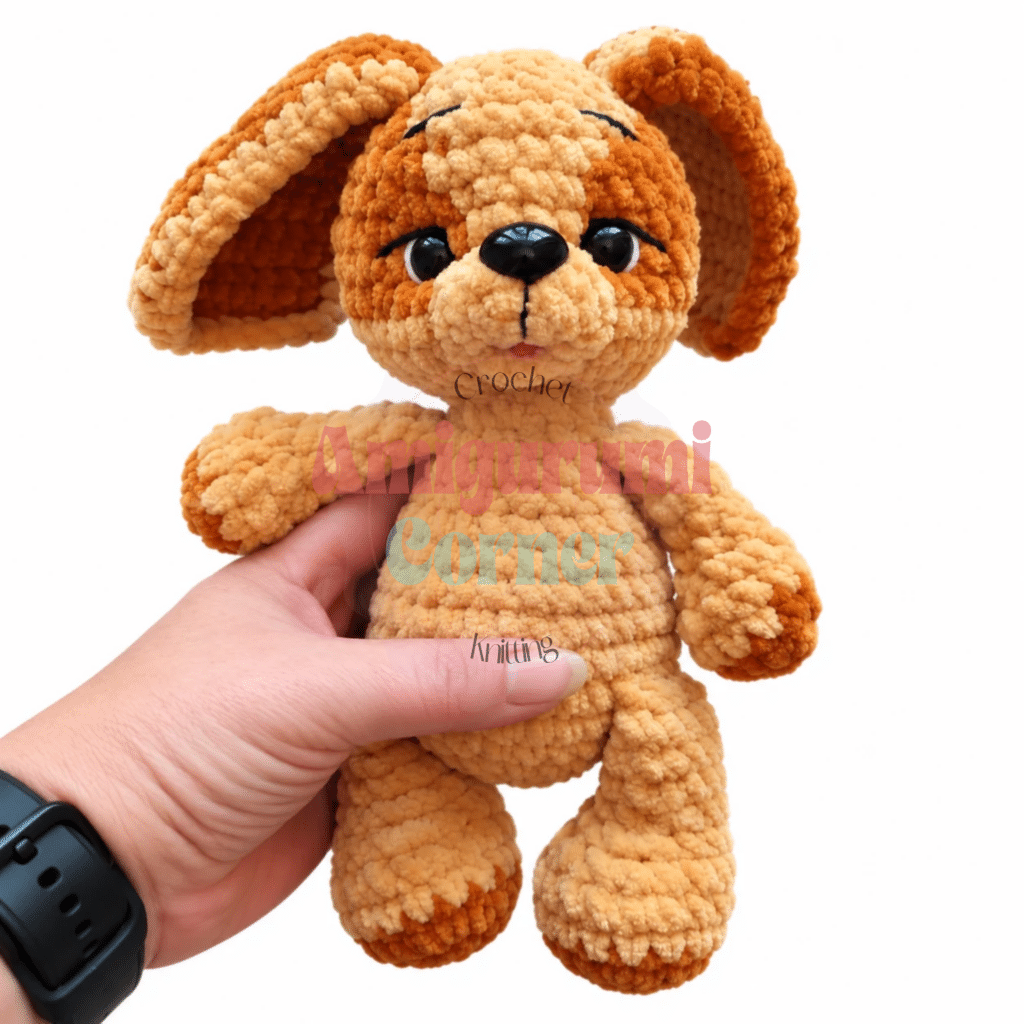
Puppy Ears (make 2)
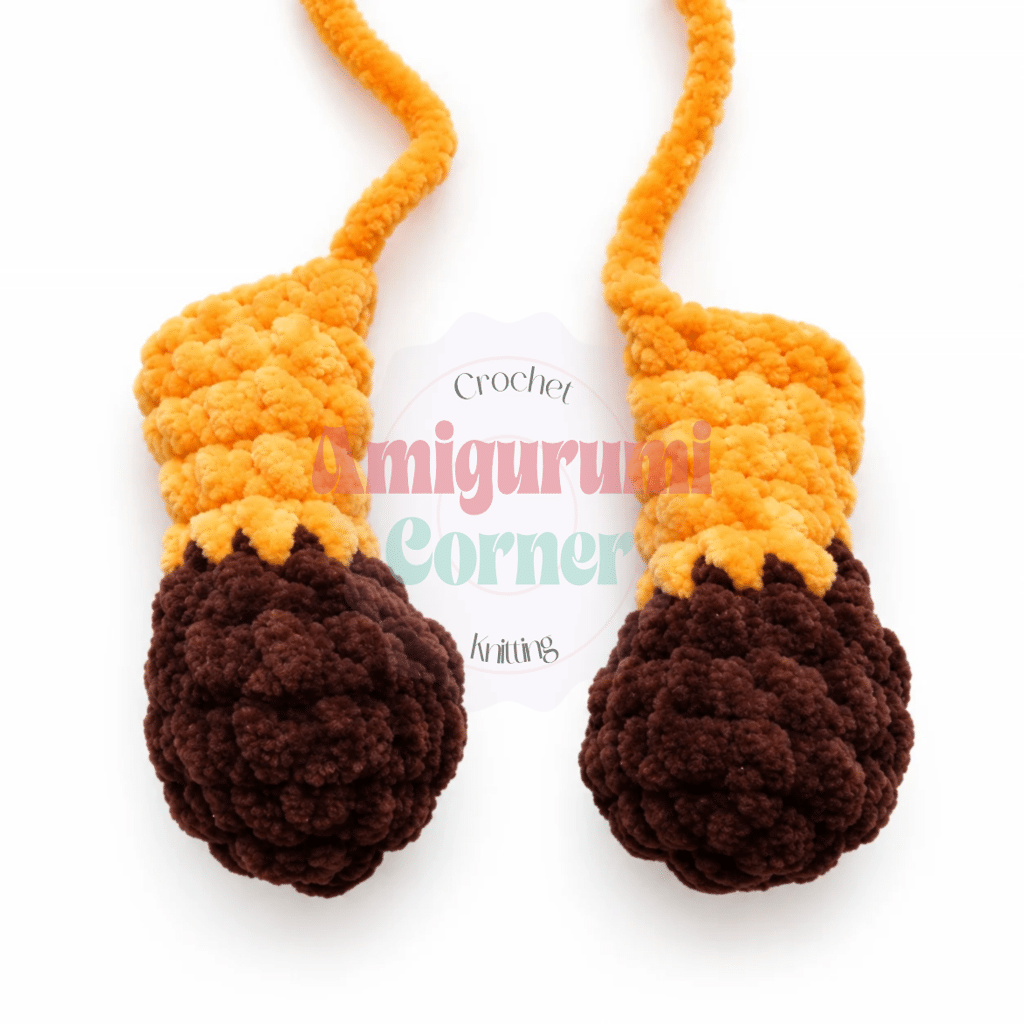
These ears are worked flat in rows. They are longer and floppy compared to the fox ears.
Row 1: Ch 11, work 10 sc starting in the 2nd ch from hook, ch 1, turn. (10)
Rows 2-5: sc in each st across, ch 1, turn. (10)
Row 6: sc in each st across. Turn (no ch). (10)
Row 7: Starting in the 2nd st from hook: 9 sc. Turn. (9)
Row 8: Starting in the 2nd st from hook: 8 sc, ch 1, turn. (8)
Row 9: sc in each st across, ch 1, turn. (8)
Row 10: sc in each st across. Turn (no ch). (8)
Row 11: Starting in the 2nd st from hook: 7 sc. Turn. (7)
Row 12: Starting in the 2nd st from hook: 6 sc, ch 1, turn. (6)
Rows 13-14: sc in each st across. (6)
Work a single crochet edging around the entire ear using a contrasting color. Cut yarn and weave in end.
Puppy Head (Rnds 17-31)
The puppy shares the fox body, legs, and arms (arm color change at Rnd 3, leg color change at Rnd 4). The puppy’s tail is the short version above. The head features a two-color face pattern worked in the main color (MC) and a contrasting color (CC).
Rnds 17-21: Work exactly as the fox head.
Rnd 22: MC: 7 sc, CC: 6 sc, MC: 4 sc, CC: 6 sc, MC: 16 sc. (39)
Rnd 23: MC: 6 sc, CC: 7 sc, MC: 4 sc, CC: 7 sc, MC: 14 sc. (39)
Rnd 24: MC: 5 sc, CC: 8 sc, MC: 4 sc, CC: 8 sc, MC: 14 sc. (39)
Rnd 25: MC: 2 sc, dec, sc; CC: 3 sc, dec, 3 sc; MC: sc, dec, 2 sc; CC: 2 sc, dec, 3 sc; MC: sc, dec, 4 sc, dec, 5 sc. (33)
Rnd 26: MC: 4 sc, CC: 6 sc, MC: 6 sc, CC: 5 sc, MC: 12 sc. (33)
Rnd 27: MC: 5 sc, CC: 3 sc; MC: sc, dec, 4 sc, dec, sc; CC: 3 sc; MC: 5 sc, dec, 5 sc. (30)
Rnd 28: MC: 3 sc, dec, sc; CC: sc; MC: sc, dec, 3 sc, dec, 2 sc; CC: sc; MC: dec, 3 sc, dec repeat 2 times. (24)
Rnd 29: 2 sc, dec repeat 6 times. (18)
At this point, attach the ears. Option 1: work them in as you go by working along the ear fabric (sc, 2 dec, dec) while simultaneously working (dec, 2 sc, dec) on the head, then continuing sc across the remaining stitches for the second ear in the same way. Option 2 (easier): complete Rnd 29 normally, then sew the ears on after finishing, gathering slightly at the base for a natural fold.
Insert safety eyes between Rnds 22 and 23, spaced 8 sts apart.
Rnd 30: sc, dec repeat 6 times. (12)
Rnd 31: 6 dec. (6)
Pull the remaining stitches closed with a yarn needle and weave the end into the head.
Assembly
- Insert the safety nose into the muzzle piece before sewing it onto the head.
- Position the nose at the center front of the muzzle.
- Sew the muzzle onto the face, centered below the safety eyes and slightly overlapping the snout area. Use the long yarn tail and a whipstitch around the edge.
- Sew the ears onto the top of the head. For the fox and wolf, position the pointed ears upright at the crown. For the bear, position the round ears on either side of the crown. For the puppy, attach the floppy ears at the sides of the head, gathering slightly at the base so they drape naturally.
- Sew the chest patch onto the front of the body, with the pointed end at the lower belly and the wider curved edge at the chest. Use the long yarn tail to secure it flat.
- Sculpt the face by pulling yarn through the head with a yarn needle to create gentle indentations around the eyes and at the edge of the muzzle. Thread a long piece of yarn on a needle and insert it into the base of the neck, bringing it out at the side of one eye socket. Pull gently to create a slight indent, then repeat on the other side. This gives the face its characteristic soft, expressive look. Repeat the same technique, entering near the beginning of the head just above the neck, to create a subtle socket around each eye from the inside.
- Embroider the eyelashes and eyebrows using black thread or thin black yarn and a yarn needle. Keep the stitches short and even.
- Weave in all remaining yarn ends.
Tips
- Keep your tension firm: Plush yarn has a tendency to look gapless even when your tension is looser than ideal, but loose stitches make for a floppy toy that won’t hold its shape after stuffing. Work with a hook one size smaller than the yarn band recommends if you find the fabric stretching easily.
- Use the invisible decrease: Insert your hook under the front loop only of the next stitch, then the front loop only of the stitch after that, and complete the decrease normally. This method eliminates the visible bump that a standard decrease leaves behind and keeps the body and head surfaces smooth.
- Stuff firmly: Stuff the body firmly before closing Rnd 16. The neck is narrow, and adding more stuffing after you have started expanding the head is fiddly. Fill the body solidly, then add stuffing to the head in small pinches as you close the last few rounds.
- Place safety eyes early: Rnd 27 is your last comfortable opportunity to adjust eye placement. The pattern calls for between Rnds 22 and 23, spaced 8 stitches apart. Lay the face flat and check the spacing visually before setting the washers.
- Clean sewing: Pin each piece in place before stitching. Pull your yarn needle through from inside the head to anchor the first stitch invisibly, and finish by threading the tail back inside the head so no knot is visible on the surface.
FAQs
Can I use a different type of yarn?
While the pattern is designed for bulky/chunky plush yarn (approx. 120 m per 100 g), you can use any similar plush yarn. Just be aware that the finished size may vary slightly if the yarn weight or texture differs significantly.
How do I attach the puppy ears?
You can either work the puppy ears in as you crochet the final rounds of the head by decreasing around the ear base, or you can simply sew them on after the head is finished. Sewing them on is often easier and allows for better positioning.
What if I can’t find the specific safety eyes?
You can substitute with embroidered eyes using black thread, or use different sized safety eyes if you prefer a different look. Just ensure they are secure and appropriate for the age of the child who will be playing with the toy.
Why is the bear tail a puff stitch?
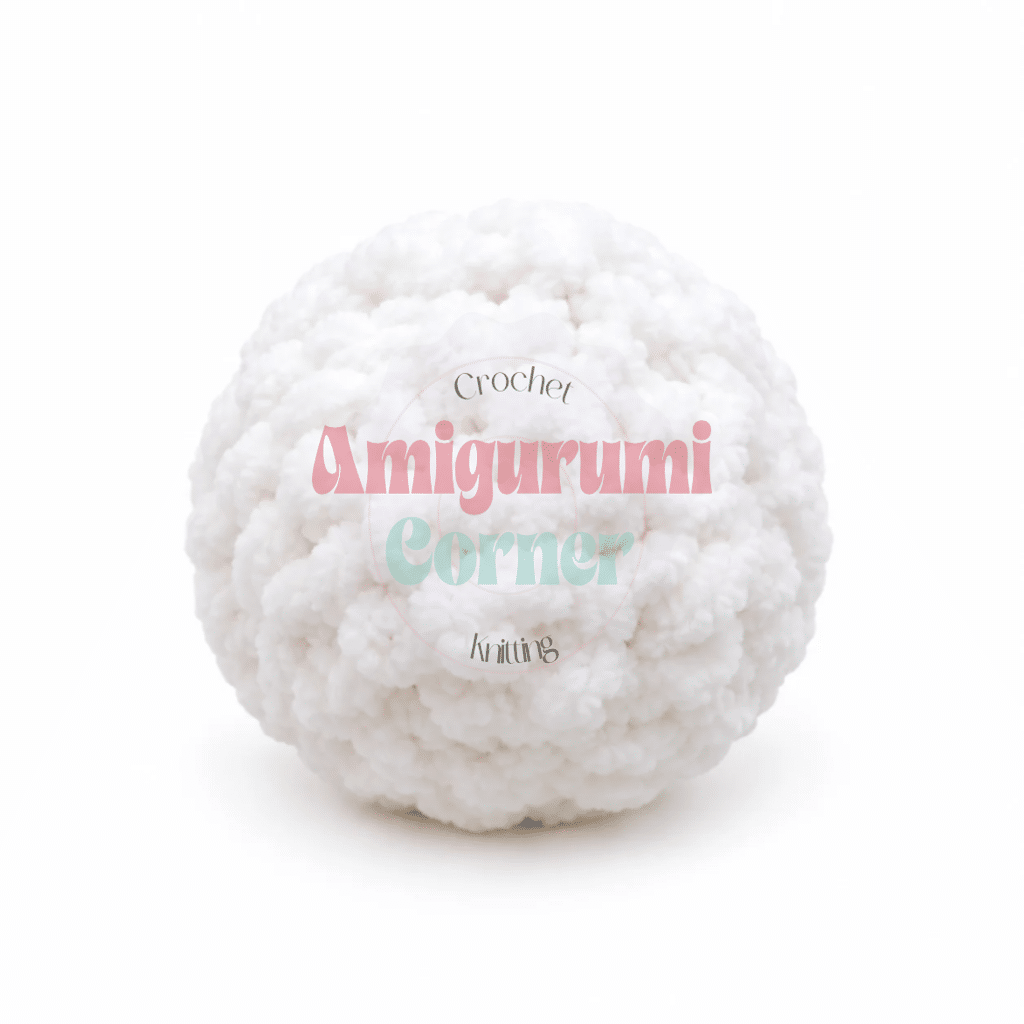
The bear’s tail is worked as a puff stitch directly into the body to give it a rounder, fluffier appearance that matches the bear’s rounder ears and head shape, distinguishing it from the fox’s pointed tail.
Is this pattern suitable for beginners?
Yes, this is a beginner-friendly amigurumi pattern with a moderate stitch count. The instructions are clear, and the modular design allows you to master the basic construction with the fox before attempting the variations.
How do I make the face look more expressive?
The secret is in the sculpting. After sewing the muzzle and eyes, use a yarn needle to pull thread through the inside of the head to create indentations around the eyes and muzzle. This adds depth and gives the amigurumi a soft, expressive look.
Pin This Crochet Pattern!