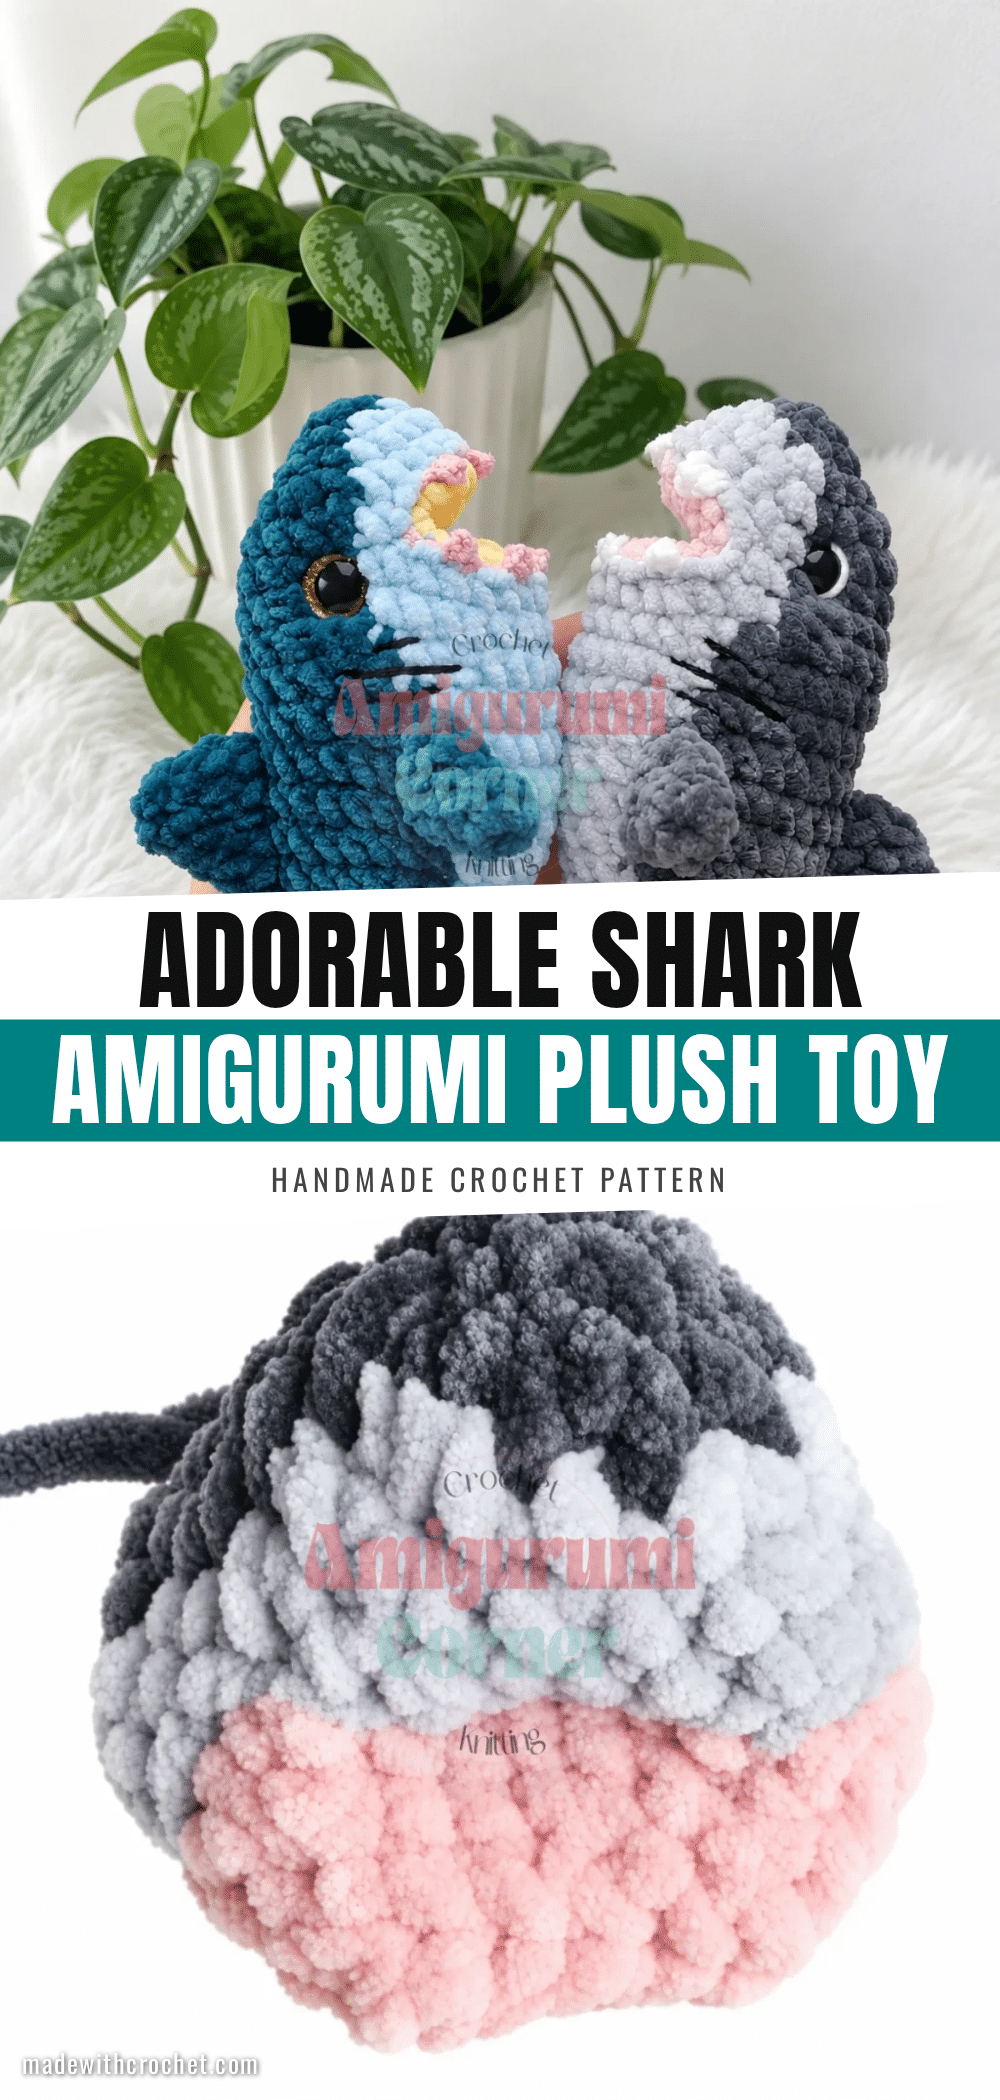
Hook in hand, yarn on the table, and the first round of a magic ring just beginning to take shape. There is a specific kind of magic in watching a pile of fibers transform into a character with personality. This shark amigurumi pattern captures that feeling perfectly, offering a project that is as fun to make as it is delightful to hold. With its two-tone color scheme and built-in open mouth, this plush toy is designed to be a standout addition to any collection.
Why This Project Works
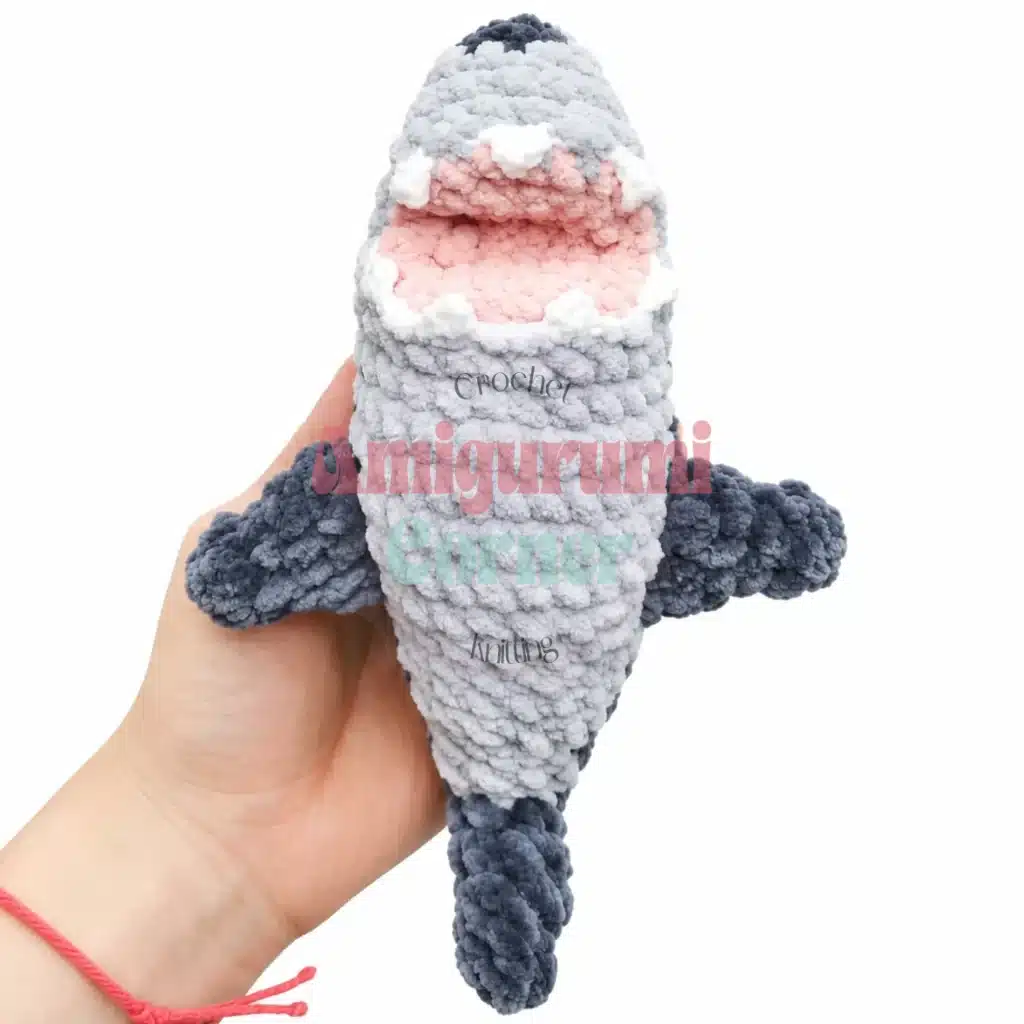
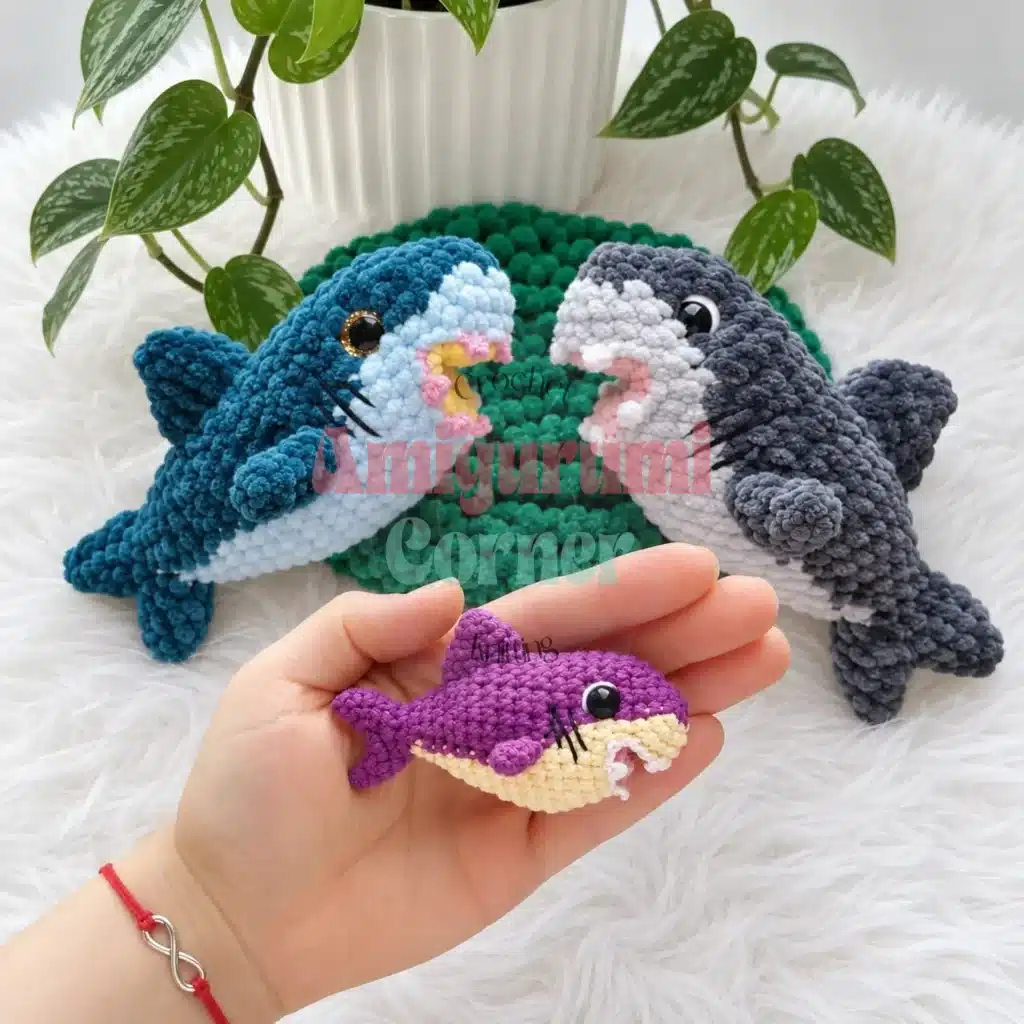
What makes this shark pattern truly special is the balance between its fierce appearance and its cuddly construction. The two-tone body, created by alternating a darker back color with a lighter belly, gives the shark a realistic yet playful silhouette. The open mouth detail is a clever design element that adds character without requiring complex sculpting. Whether you are using a chunky plush yarn for a soft, huggable toy or a sport-weight yarn for a miniature version, the structure holds up beautifully. It is a project that rewards patience with a high-impact result, making it an excellent choice for confident beginners looking to expand their amigurumi skills.
Project Overview
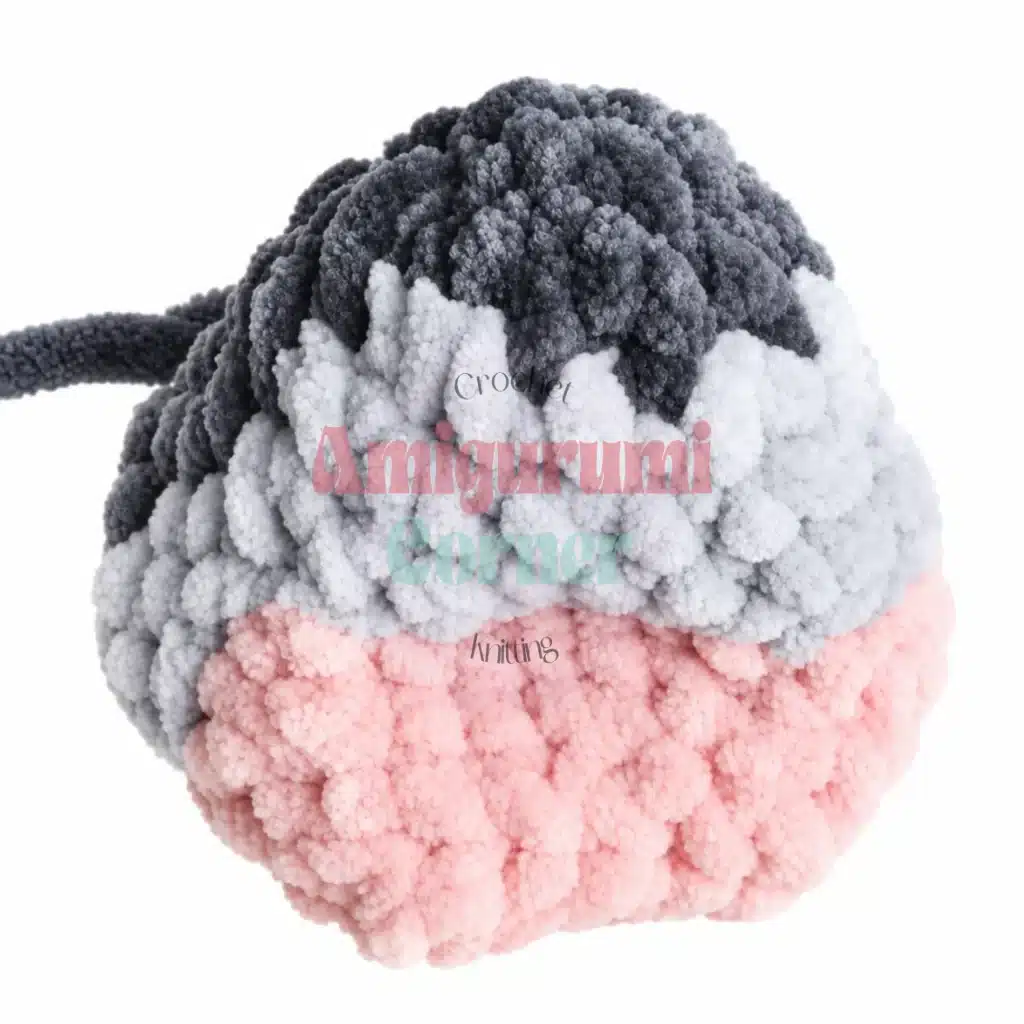
This pattern creates a shark amigurumi with a continuous spiral construction for the head and body, a separate mouth piece, and distinct fins. The design features a two-tone color change, an open mouth with crocheted teeth, and optional needle-sculpted facial details. It is written in US crochet terminology and is suitable for crocheters comfortable with working in a spiral and managing color changes.
Materials
- Yarn (Main Body): Plush or eyelash-textured yarn in 3 colors (less than half a skein of each). The sample uses a chunky plush yarn in two shades for the two-tone body, plus a contrasting color for the belly area. Yarn weight: Bulky (CYCA 5) or Super Bulky (CYCA 6).
- Yarn (Teeth): A thinner, smooth yarn for the teeth. A fingering or sport-weight cotton or acrylic works well. The sample uses a sport-weight yarn (CYCA 2).
- Yarn (Embroidery Details): A fine yarn or embroidery floss for stitching gills and eye whites. Dental floss works well for needle-sculpting the face.
- Hook Size: F-5 / 3.75 mm to G-6 / 4.0 mm for the plush body (the sample uses G-6 / 4.0 mm). Use a B-1 / 2.25 mm hook for a miniature version in sport-weight yarn.
- Safety Eyes: 12 mm (one pair) for the standard plush version; 8 mm for the miniature version.
- Fiberfill: Polyester stuffing, enough to fill the head and body firmly.
- Stitch Markers: At least 2, to mark the beginning of rounds and color-change positions.
- Yarn Needle: A blunt tapestry needle for sewing on fins and weaving in ends. A sharp needle for embroidery and face sculpting.
- Scissors
Gauge and Finished Size
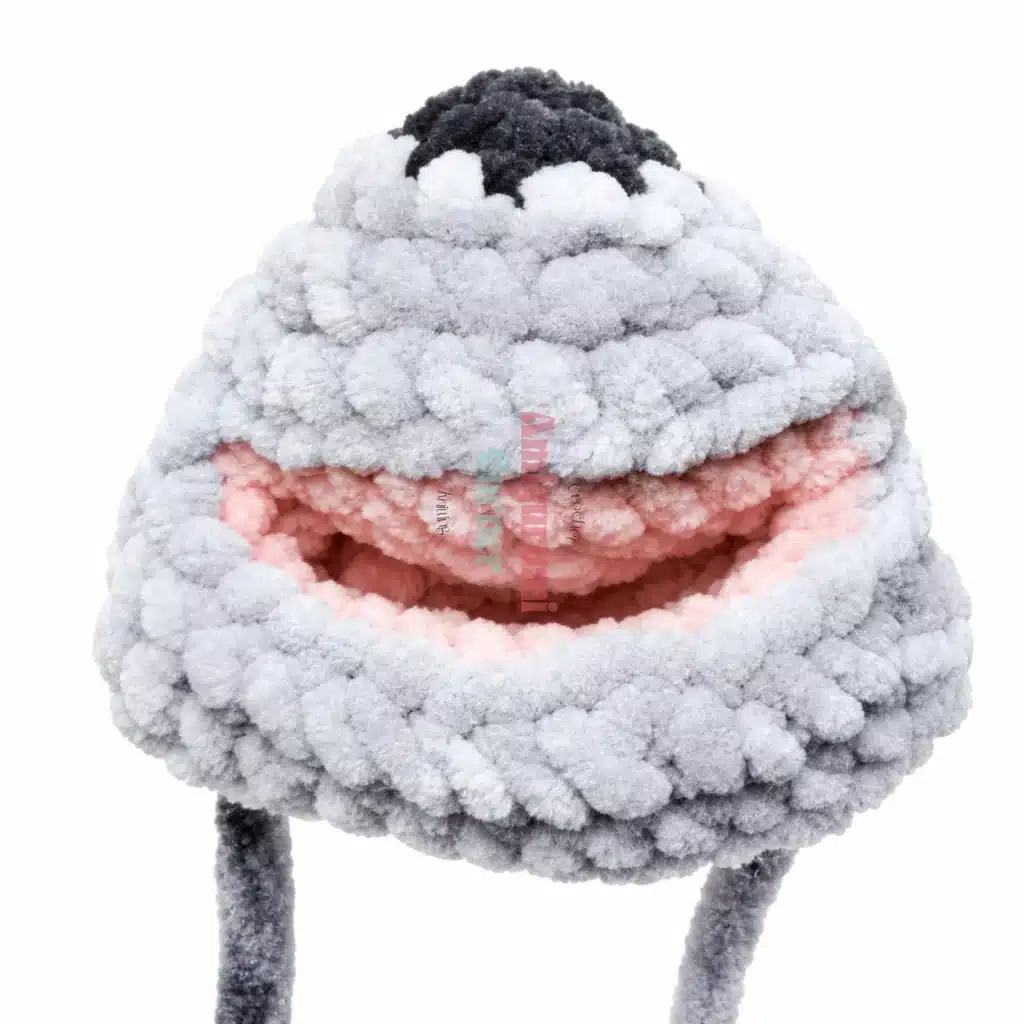
Gauge is not critical for this pattern, but use a hook size that produces a tight, dense fabric with no visible gaps so the stuffing does not show through. The finished shark measures approximately 19 cm when made with a chunky plush yarn, or a sweet 9 cm miniature version when worked in a lighter-weight yarn.
Abbreviations
- BLO: Back Loop Only
- ch: Chain
- ch-sp: Chain Space
- dec: Decrease (invisible decrease: insert hook in front loop of next st, then front loop of following st, yarn over and pull through both loops, yarn over and pull through remaining 2 loops)
- FLO: Front Loop Only
- hdc: Half Double Crochet
- inc: Increase (2 sc in the same stitch)
- MR: Magic Ring (or foundation alternative: ch 2, work the required number of sc into the 2nd chain from hook)
- sc: Single Crochet
- sl st: Slip Stitch
- SM: Stitch Marker
- st / sts: Stitch / Stitches
- switch: Color change (switch to new yarn color on the last yarn-over of the previous stitch)
Pattern Notes
All pieces are worked in a continuous spiral (no joining slip stitch, no turning chain) unless otherwise stated. Important note on the Magic Ring with plush yarn: Plush and eyelash yarns break and fray easily under tension. Do NOT use a traditional magic ring. Instead, chain 2 and work the required number of single crochets into the 2nd chain from the hook. This achieves the same closed center without stressing the yarn.
Stitch counts are given at the end of each round in parentheses: (##). The head and body are worked continuously as one piece. The mouth is worked separately and sewn closed, then the teeth are crocheted into the front loops left open at the mouth edge. Insert the safety eyes between Rnds 5 and 6 of the Head before the opening becomes too small to reach inside comfortably. Stuff the head and body gradually as you work. Do not stuff the tail.
Pattern Instructions
Head
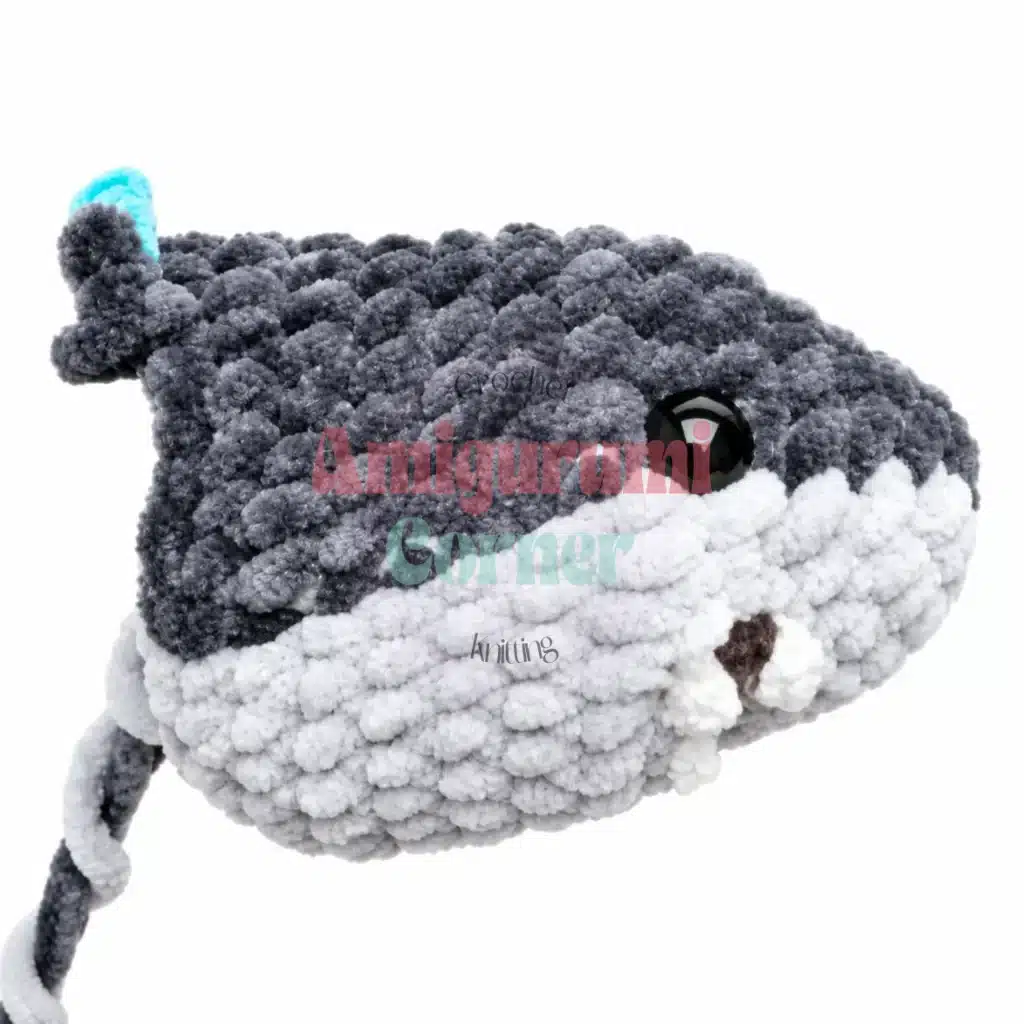
Rnd 1: MR (or ch 2, work into 2nd ch from hook): 5 sc. (5)
Rnd 2: inc in each st around. (10)
From Rnd 3 onward, the head is worked in two colors, switching yarn at the color-change points indicated. The belly color and the back/top color alternate to create the two-tone shark look. Change color on the last yarn-over of the stitch before each “switch” note.
Rnd 3: 1 sc, switch; inc, 1 sc repeat 2 times, inc, switch; 1 sc, inc repeat 2 times. (15)
Rnd 4: 1 sc, switch; 1 sc, inc, 2 sc repeat 2 times, inc, switch; 2 sc, inc repeat 2 times. (20)
Rnd 5: 1 sc, switch; 2 sc, inc, 3 sc repeat 2 times, inc, switch; 8 sc. (23)
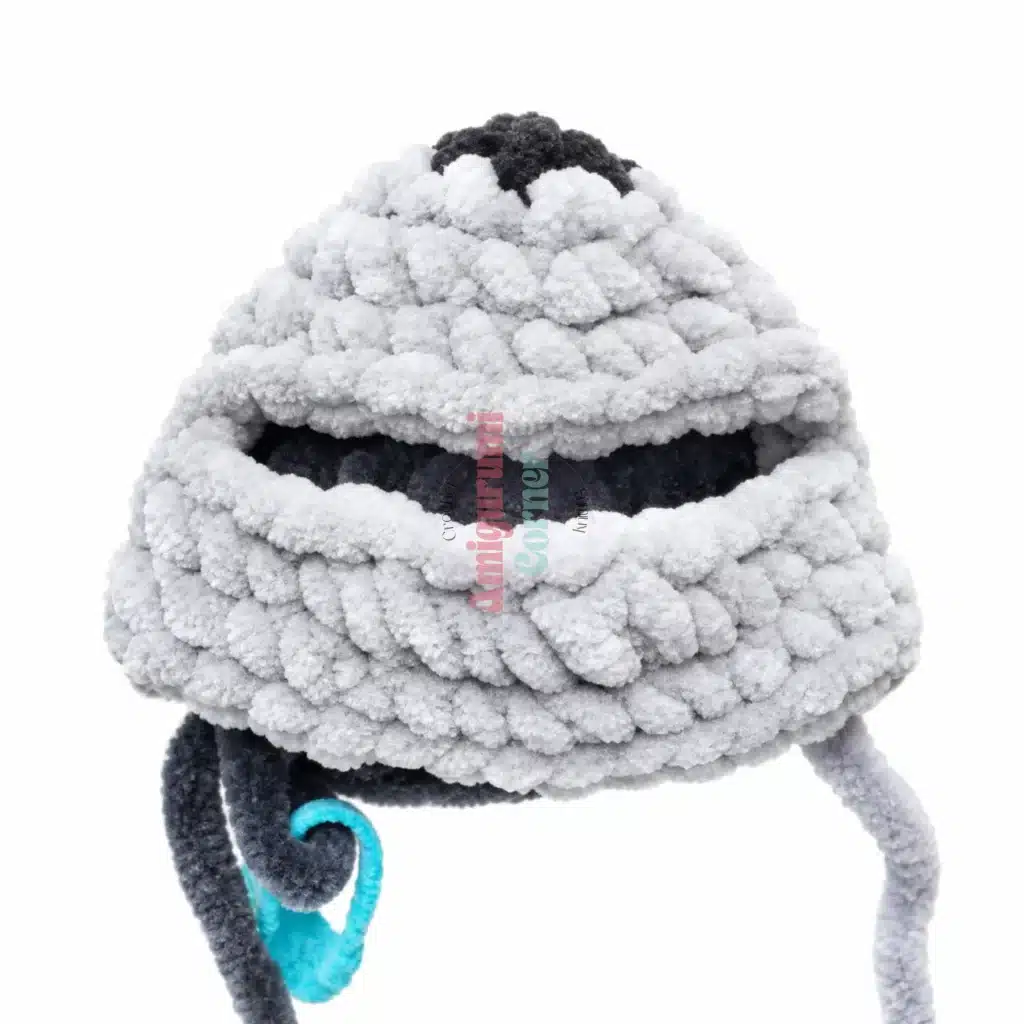
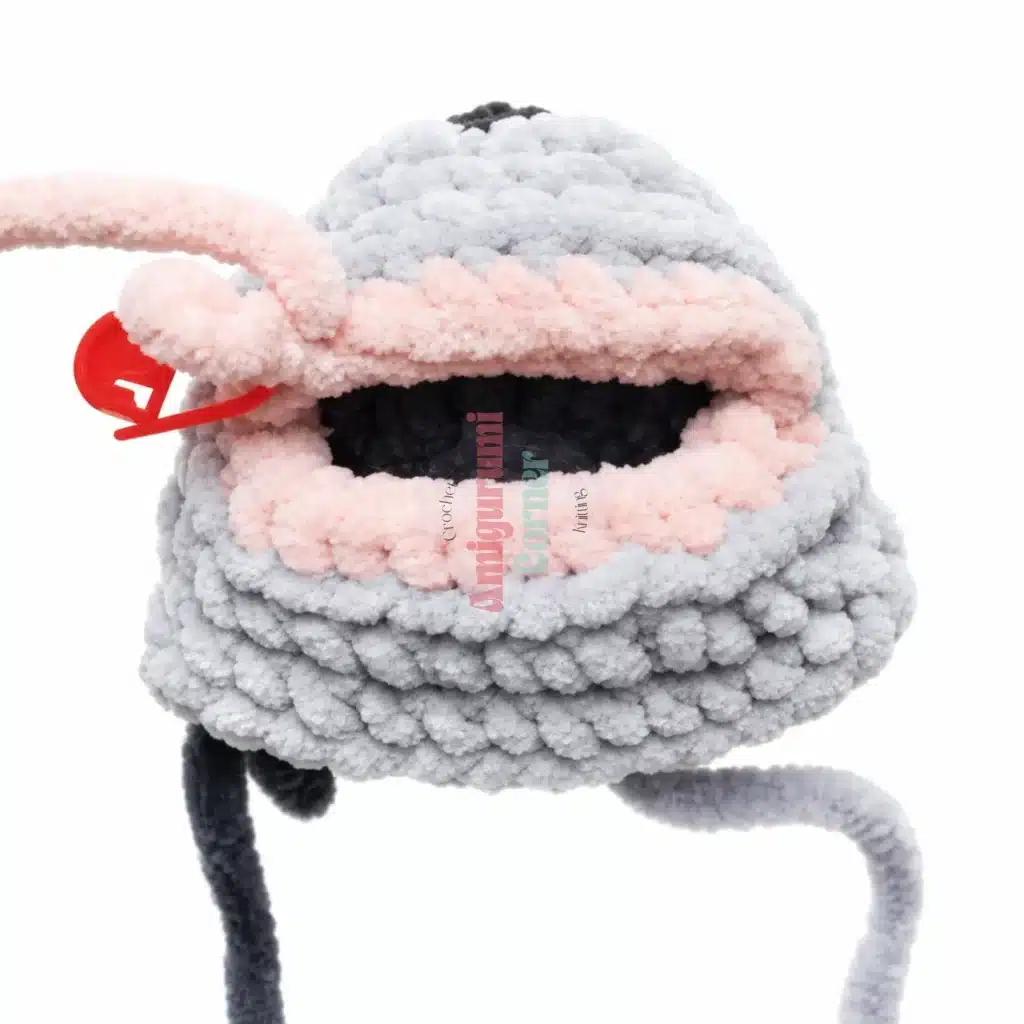
Now you will begin shaping the mouth opening. In Rnd 6, a chain of 14 replaces 10 stitches of the round to create the gap for the mouth.
Rnd 6: 1 sc, switch; 2 sc, ch 14, skip 10 sts, beginning in the 14th st of this round work 2 sc, switch; 8 sc. (23)
Rnd 7: 1 sc, switch; 2 sc, 14 sc across the ch-14 chain space, 2 sc, switch; 8 sc. (27)
Rnd 8: 2 sc, switch; 16 sc, switch; 9 sc. (27)
Set the head aside and work the Mouth piece before continuing to the Body.
Mouth
The mouth is worked separately. The first round is worked in BLO around the opening created in Rnd 6 of the Head. The front loops left open here will be used later for the Teeth. You may begin at any point around the mouth opening.
Rnd 1: 26 sc in BLO around the mouth opening. (26)
From Rnd 2 onward, work through both loops as normal.
Rnd 2: 3 sc, dec repeat 5 times, 1 sc. (21)
Rnd 3: 2 sc, dec repeat 5 times, 1 sc. (16)
Rnd 4: 1 sc, dec repeat 5 times, 1 sc. (11)
Cut yarn, leaving a 15 cm tail for sewing. Using your yarn needle, sew the mouth closed through the remaining stitches, pulling gently to close the opening without puckering the surrounding fabric.
Teeth
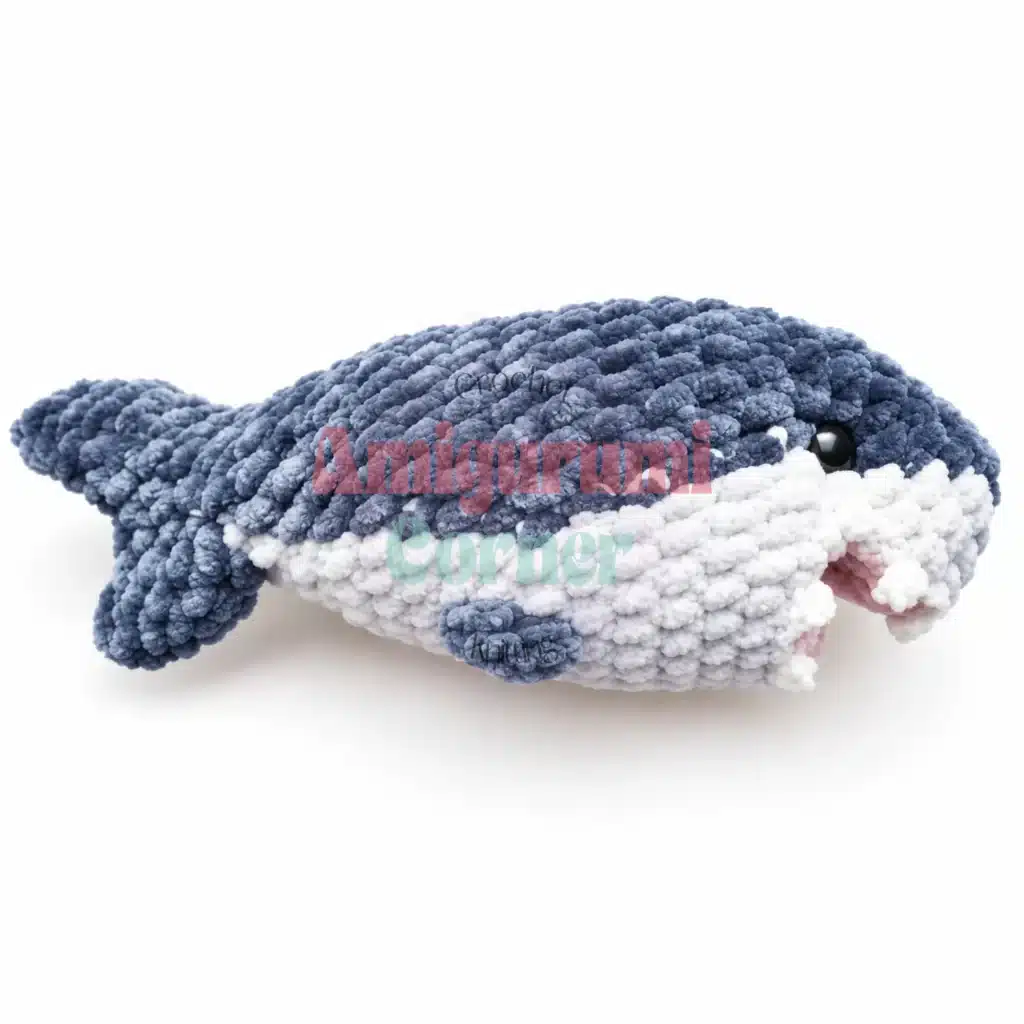
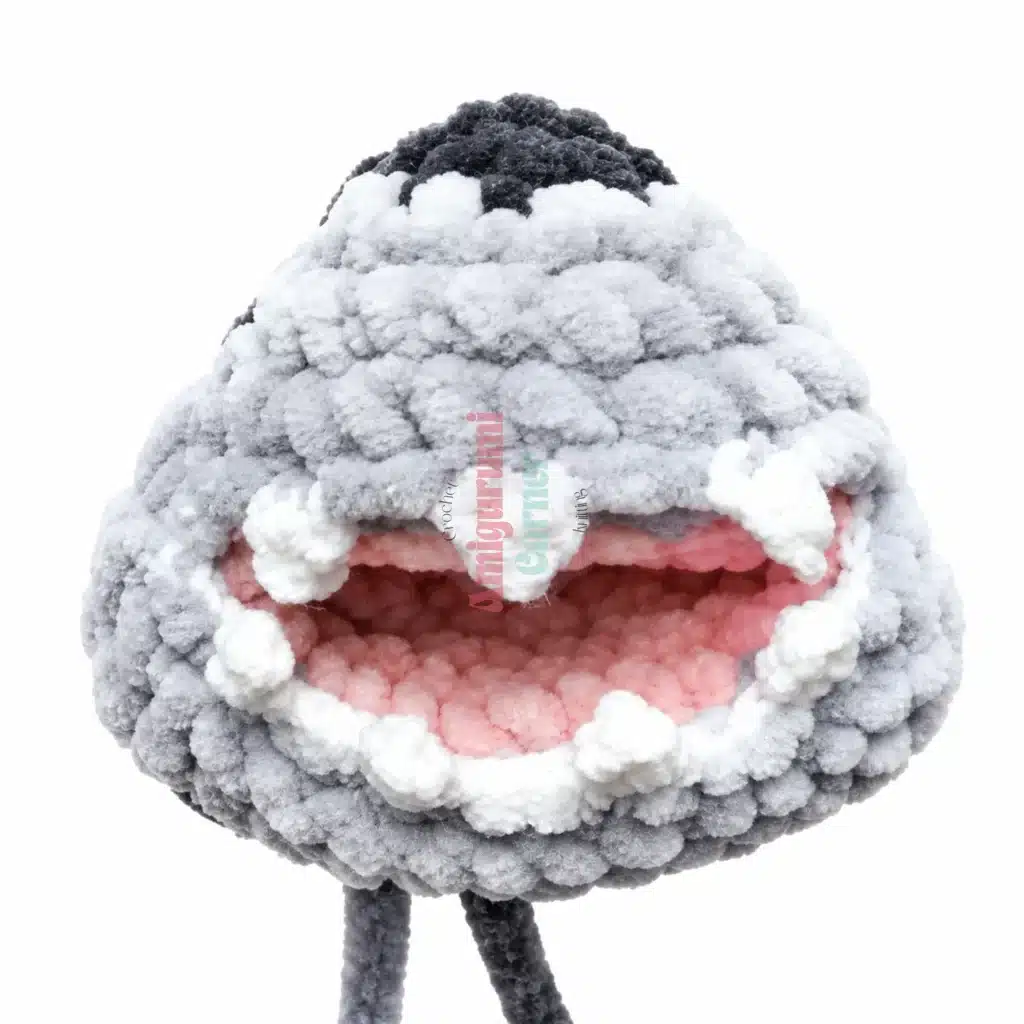
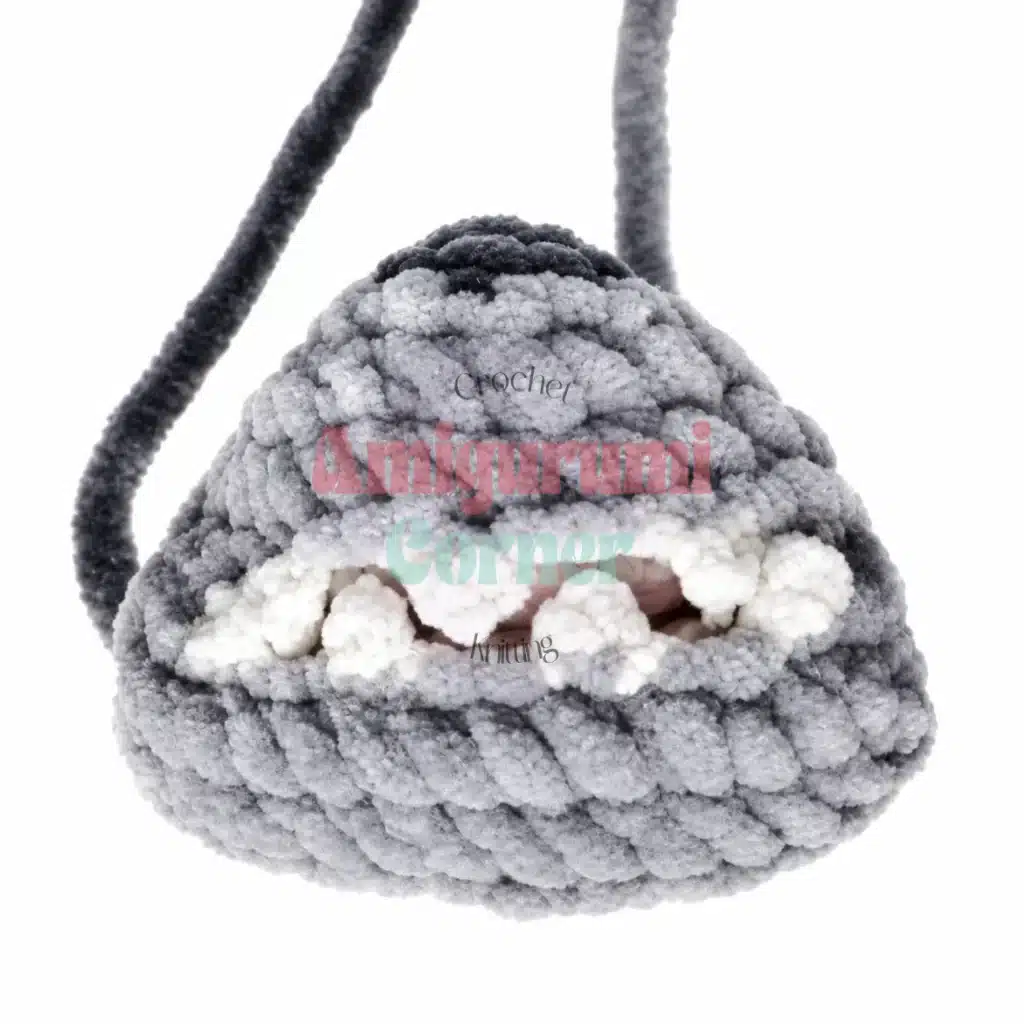
The teeth are worked in the thinner smooth yarn and crocheted into the front loops that were left open in Rnd 1 of the Mouth (the loops not used during the BLO round). Insert your hook from the mouth side, facing into the opening. Work sl sts between teeth to travel along the edge; the corner stitches at each side of the mouth are left unworked.
Each tooth is made as follows: sl st into the next front loop, ch 3, work 1 sc into the 2nd chain from hook, work 1 hdc into the next chain, then work 1 sc into the same front loop where the sl st was made. Continue with 3 sl sts to travel to the position of the next tooth, then repeat the tooth sequence. Repeat around, leaving the corner stitches plain.
Body and Tail
Continue working directly from where you left off on the Head, picking up the yarn and working in a continuous spiral to form the body.
Rnd 9: 3 sc, switch; 5 sc, inc, 3 sc, inc, 4 sc, switch; 6 sc, inc, 3 sc. (30)
Insert the safety eyes between Rnds 5 and 6 of the Head now, if you have not already done so.
Begin adding fiberfill gradually from this point. Position the stuffing around the mouth interior, holding the mouth piece inward with your fingers as you stuff so it stays neatly inside and does not push outward.
Rnd 10: 4 sc, switch; 15 sc, switch; 11 sc. (30)
Rnd 11: 5 sc, switch; 13 sc, switch; 12 sc. (30)
Rnd 12: 6 sc, switch; 12 sc, switch; 12 sc. (30)
Rnd 13: 6 sc, switch; 2 sc, dec, 3 sc, dec, 3 sc, switch; 12 sc. (28)
Rnd 14: 6 sc, switch; 4 sc, dec, 4 sc, switch; 8 sc, dec, 2 sc. (26)
Rnd 15: 6 sc, switch; 3 sc, dec 2 times, 3 sc, switch; 7 sc, dec, 1 sc. (23)
Rnd 16: 6 sc, switch; 8 sc, switch; 9 sc. (23)
Note: the original source contained a typographical error at this round. The stitch count has been preserved as (23) to maintain consistency with the surrounding rounds.
Rnd 17: 2 sc, dec, 2 sc, switch; dec, 2 sc repeat 2 times, switch; 2 sc, dec repeat 2 times, 1 sc. (18)
Rnd 18: 1 sc, dec, 2 sc, switch; dec 3 times, switch; 1 sc, dec repeat 2 times, 1 sc. (12)
Rnd 19: 4 sc, switch; 4 sc, switch; 4 sc. (12)
Rnd 20: 2 sc, dec, switch; 2 sc, dec, switch; 2 sc, dec. (9)
Finish stuffing the body firmly before continuing. Do not stuff the tail section.
Continue without cutting yarn directly into the Tail:
Rnd 21: 1 sc, inc repeat 4 times, 1 sc. (13)
Rnd 22: inc, 2 sc repeat 4 times, inc. (18)
Divide the tail into two halves of 9 sts each. Work to the midpoint of the tail (9 sts), then work 1 sc on the opposite side to close the tail lobe into a ring, giving you 9 sts to work in the round for the first tail lobe.
First tail lobe:
Rnd 1: 7 sc, dec. (8)
Rnd 2: dec, 4 sc, dec. (6)
Rnd 3: dec, 4 sc. (5)
Cut yarn and close the remaining 5 stitches by pulling the yarn tail through each loop and drawing tight.
Work the second tail lobe using the same three-round sequence, beginning adjacent to the dividing stitch.
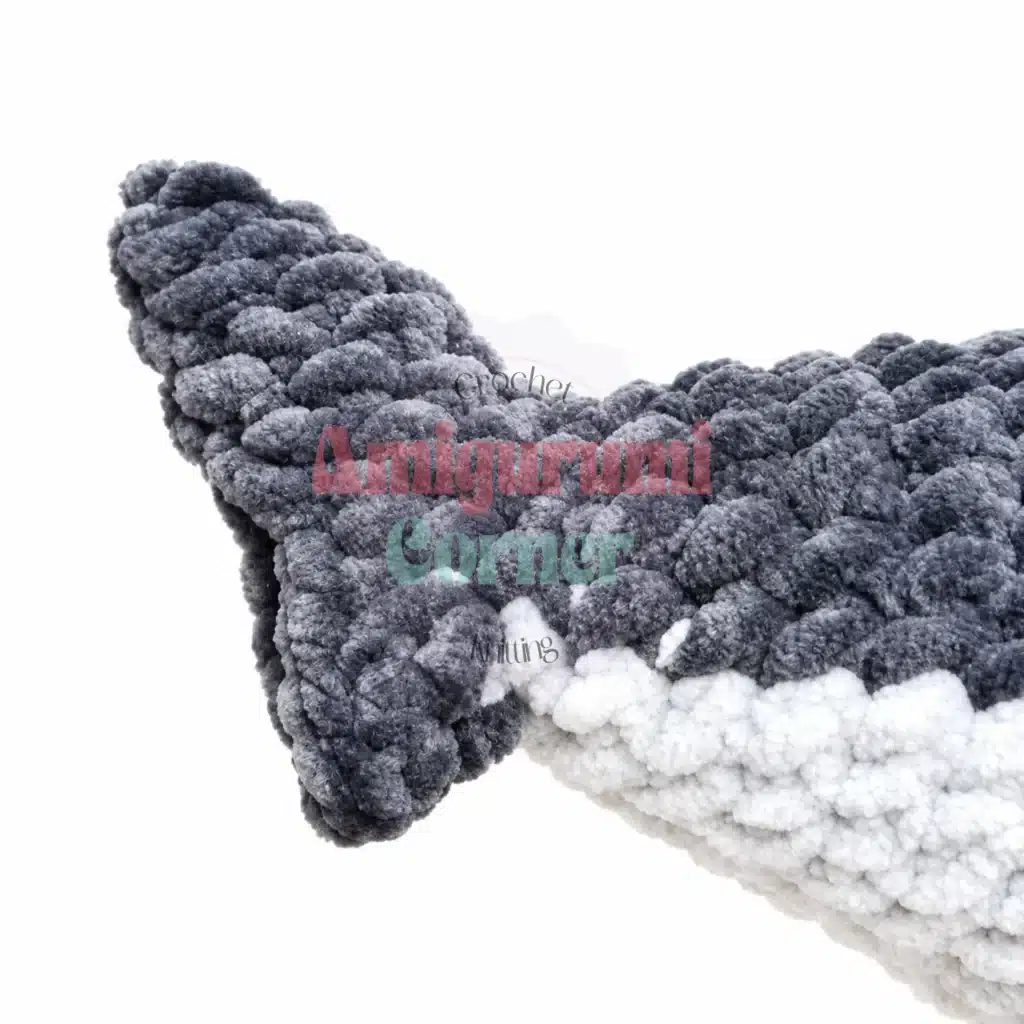
Rnd 1: MR (or ch 2, work into 2nd ch from hook): 5 sc. (5)
Rnd 2: 1 sc, inc repeat 2 times, 1 sc. (7)
Rnd 3: 1 sc, inc repeat 3 times, 1 sc. (10)
Rnd 4: 1 sc, inc repeat 5 times. (15)
Rnd 5: 4 sc, dec, 6 sc, inc, 2 sc. (15)
Sl st to close. Cut yarn, leaving a 30 cm tail for sewing.
Dorsal Fin
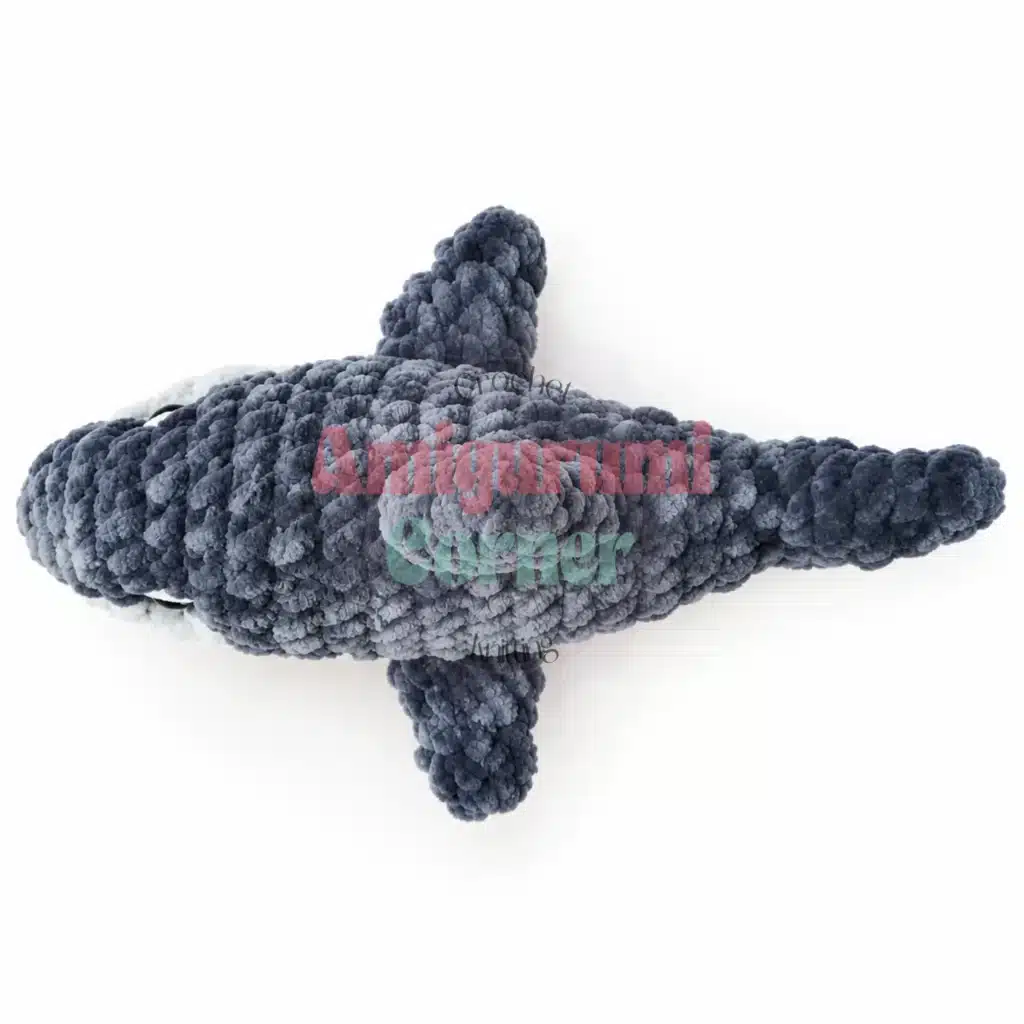
Rnd 1: MR (or ch 2, work into 2nd ch from hook): 5 sc. (5)
Rnd 2: 5 sc. (5)
Rnd 3: 1 sc, inc repeat 2 times, 1 sc. (7)
Rnd 4: 1 sc, inc repeat 3 times, 1 sc. (10)
Rnd 5: 10 sc. (10)
Sl st to close. Cut yarn, leaving a 30 cm tail for sewing.
Pectoral Fins (make 2)
Rnd 1: MR (or ch 2, work into 2nd ch from hook): 5 sc. (5)
Rnd 2: 5 sc. (5)
Rnd 3: 1 sc, inc repeat 2 times, 1 sc. (7)
Rnd 4: 1 sc, inc repeat 3 times, 1 sc. (10)
Rnd 5: 10 sc. (10)
Sl st to close. Cut yarn, leaving a 30 cm tail for sewing.
Assembly
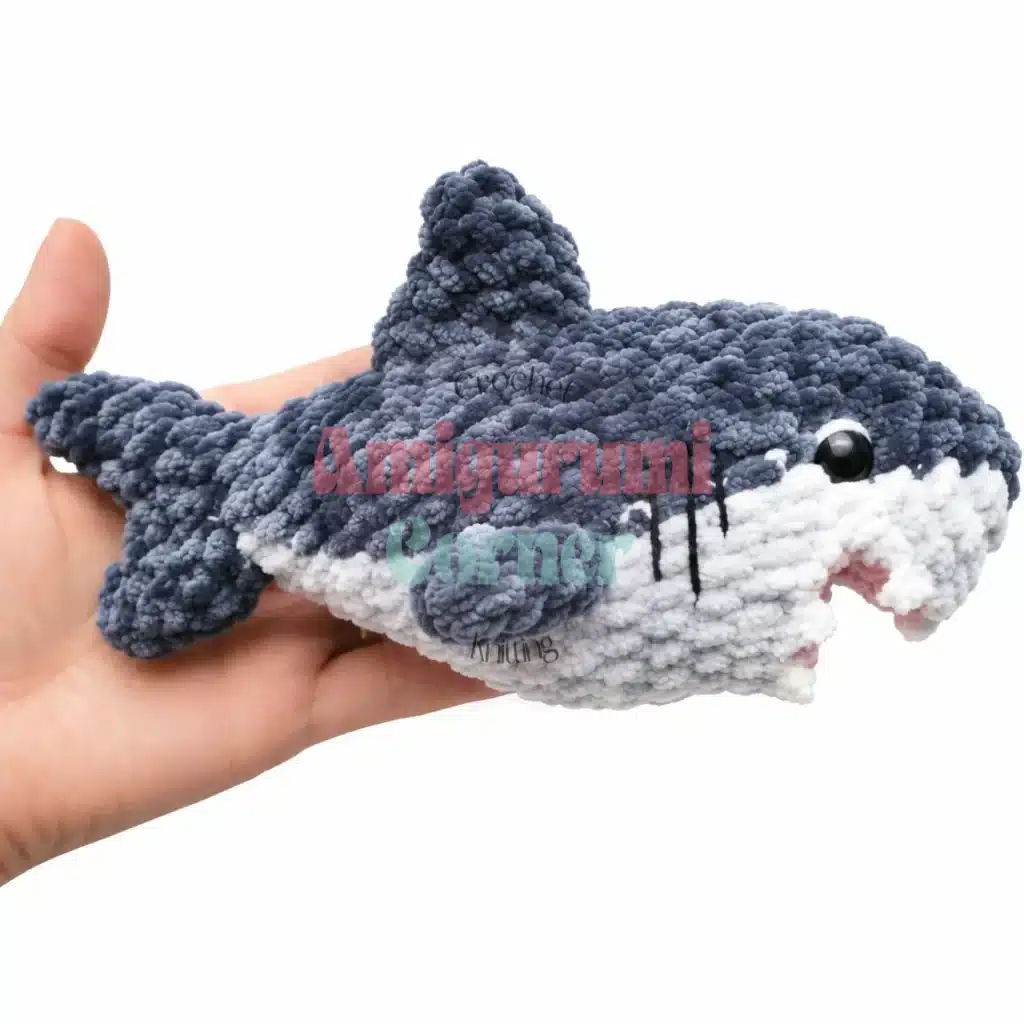
Close the mouth: If you have not already done so, thread the 15 cm yarn tail through the remaining stitches at the tip of the Mouth piece and pull gently to cinch the opening closed. Weave in this tail securely on the inside.
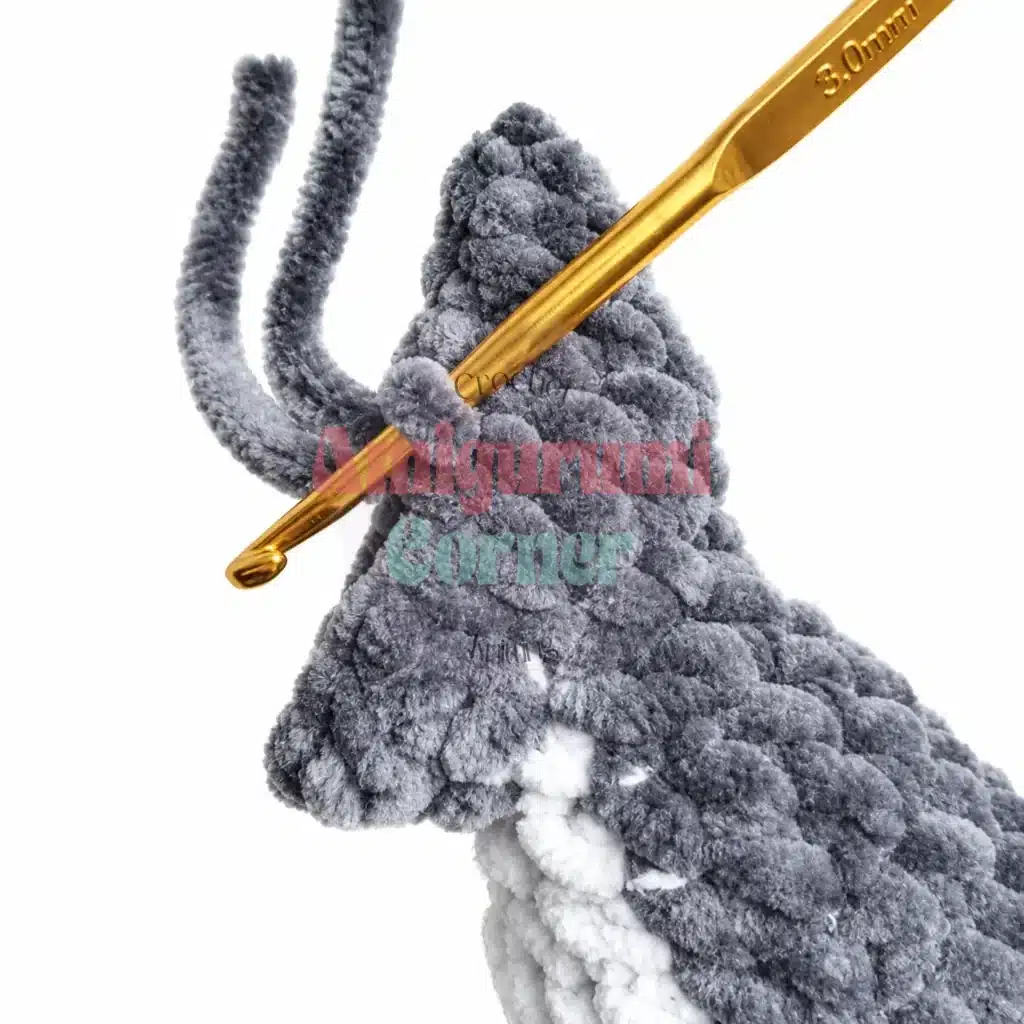
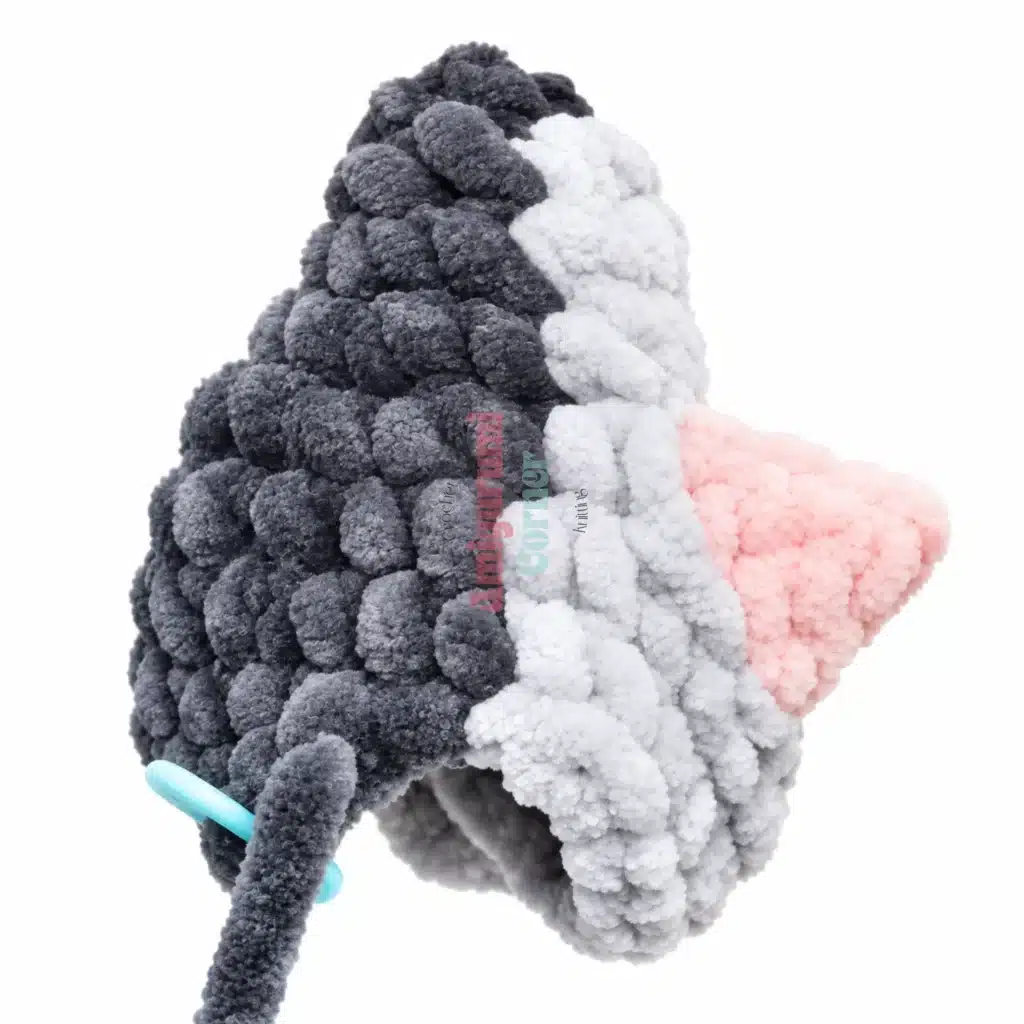
Attach the Dorsal Fin: Position the dorsal fin along the center back of the shark’s body. Using the 30 cm yarn tail and a yarn needle, sew the flat base of the fin to the body using a whipstitch, passing through corresponding stitches on both pieces. Pull snug after each stitch to keep the fin upright.
Attach the Pectoral Fins: Position one pectoral fin on each side of the body, just behind and below the eye line. Sew each fin flat to the body using the 30 cm yarn tail and a yarn needle, shaping the attachment so the fin angles slightly downward and outward.
Needle-sculpt the face (optional): Thread a long strand of dental floss or strong thin yarn onto a sharp needle. Insert the needle through the body from one side to the other, passing close to each safety eye and pulling gently to create a slight indent around the eye socket area. This sculpts a more expressive face. Repeat as needed until you are happy with the shaping.
Embroider the eye whites (optional): Using white embroidery floss or a fine white yarn, stitch a small highlight or crescent shape near each safety eye to suggest the white of the eye.
Embroider the gills: Using fine yarn or embroidery floss, stitch two or three curved gill lines on each side of the body, positioned between the mouth, eyes, and pectoral fins, along the color boundary between the darker back and the lighter belly.
Weave in all remaining yarn ends securely on the inside of the toy.
Tips
- Keep your tension tight with plush yarn. Plush and eyelash yarns are forgiving in many ways, but their texture can mask loose tension. Work one size smaller than the yarn label recommends and check periodically that no stuffing is visible through the fabric. A dense, closed fabric makes the finished toy look more polished and holds its shape better over time.
- Handle color changes cleanly. This shark uses two yarn colors throughout the head and body, switching on the last yarn-over of the stitch before a transition point. Always make the switch at that final pull-through, not at the beginning of the new stitch. This keeps the color boundary crisp rather than blurred, which is especially visible on a plush fabric where the texture already softens fine details.
- Use the chain-2 start instead of a magic ring. With plush yarn, a magic ring pulled tight puts significant stress on the fibers and can cause the yarn to break or fray at the very center of your work, which is impossible to fix invisibly. The chain-2 foundation is just as secure and eliminates that risk entirely.
- Stuff firmly but not rigidly. The shark’s head should feel full and round without feeling like a hard ball. Add stuffing in small handfuls, distributing it evenly around the mouth piece. Hold the mouth inward with one finger as you go: if it starts to push outward, reduce the amount of stuffing in that area and reposition before closing the opening completely.
- Pre-position the fins before sewing. Before committing to any fin placement, pin all three fins in position with stitch markers or straight pins and check the balance from multiple angles. The dorsal fin should sit upright on the center back; the two pectoral fins should mirror each other exactly. A minute spent pinning saves a lot of unpicking.
FAQs
Can I use a different yarn weight for this pattern?
Yes, the pattern includes instructions for a standard plush version using bulky or super bulky yarn, as well as a miniature version using sport-weight yarn. Adjust your hook size accordingly to maintain a tight fabric.
Why should I avoid a magic ring with plush yarn?
Plush and eyelash yarns are prone to breaking or fraying under the tension of a tightened magic ring. Using a chain-2 foundation provides a secure start without stressing the delicate fibers.
How do I keep the color changes neat?
Always switch colors on the last yarn-over of the stitch before the color change point. This prevents the new color from appearing at the start of the stitch, which can create a blurred line on textured yarns.
Can I skip the needle-sculpting step?
Yes, needle-sculpting is optional. It adds a layer of detail by creating indentations around the eyes, but the shark will still look great without it.
How do I attach the fins securely?
Use a whipstitch with the long yarn tails left on the fin pieces. Sew through corresponding stitches on both the fin and the body, pulling snugly to keep the fins upright and secure.
Ready to Stitch Up Your Own Shark
This shark amigurumi pattern offers a rewarding challenge that results in a charming plush toy. By following the structured rounds and paying attention to the specific tips for plush yarn, you can create a shark that is both adorable and durable. If you enjoy making character-based projects, you might also like exploring our adorable festive crochet amigurumi trio for more holiday inspiration, or check out this adorable snowman amigurumi in overalls for a quick winter project.
Pin This Crochet Pattern!