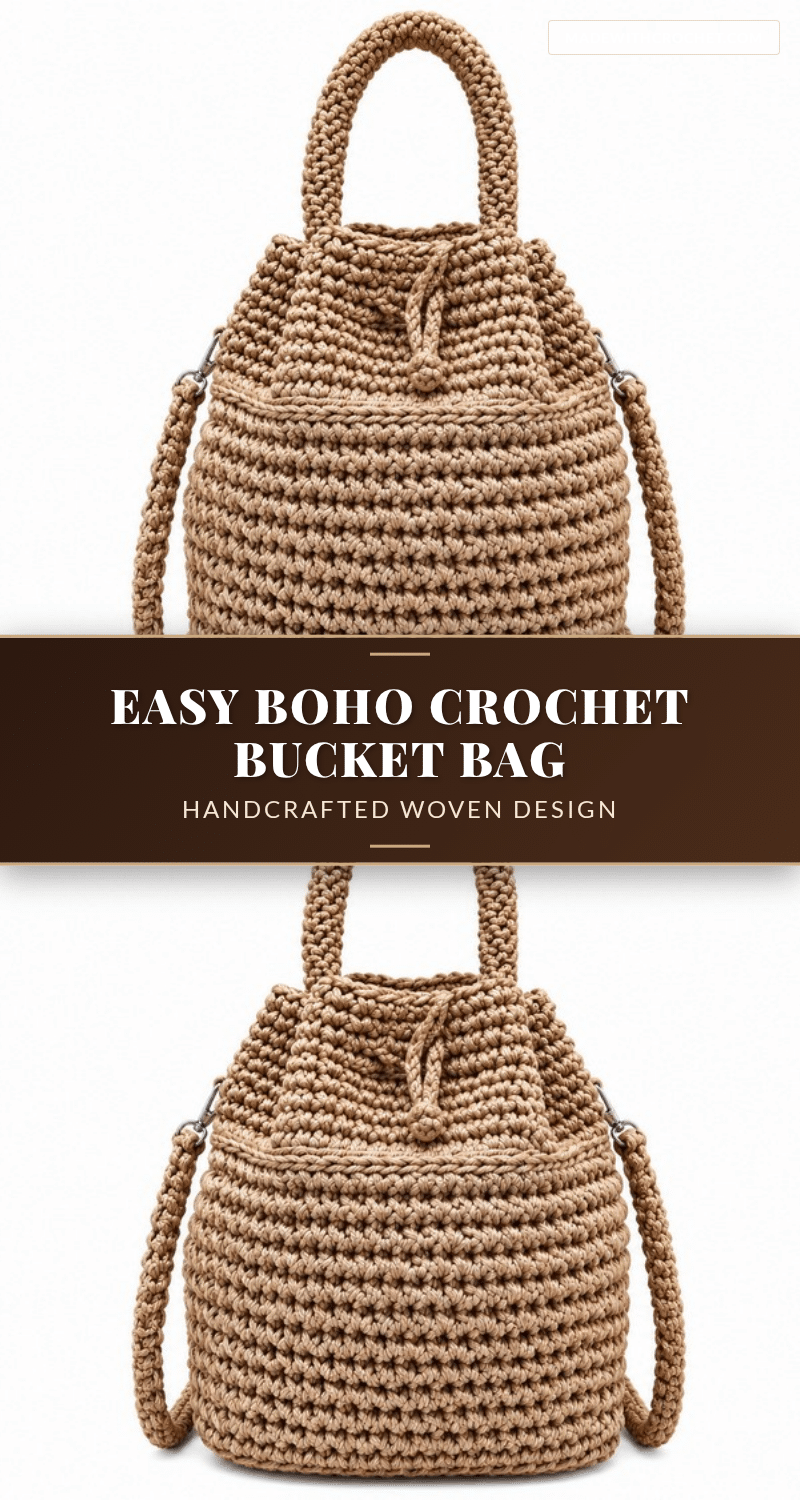
As the weather shifts and the air turns crisp, there is no better time to embrace the cozy, handmade aesthetic that defines the season. This Easy Boho Crochet Bucket Bag Pattern captures that earthy, carefree spirit perfectly, offering a stylish yet functional accessory for your autumn wardrobe. Whether you are preparing for a weekend farmers market, a casual coffee date, or simply want to add a touch of artisanal flair to your everyday carry, this project delivers. It combines sturdy construction with unique textural details, making it an ideal intermediate-level project for crocheters looking to create a statement piece that is as durable as it is beautiful.
Seasonal Styling Ideas
The boho bucket bag is inherently versatile, but its earthy tones and textured finish make it particularly suited for cooler months. Pair this bag with a chunky knit sweater and denim for a relaxed weekend look, or let it complement the rich hues of a terracotta or olive-toned coat. The decorative lacing and cord edging add a tactile element that pairs beautifully with natural materials like leather boots or woven scarves. Beyond fashion, this bag’s sturdy base and secure structure make it perfect for carrying seasonal essentials, from a small tablet and keys to a favorite book or a reusable coffee cup. It serves as a charming handmade gift for the holidays or a practical organizer for your craft supplies during the cozy winter months.
Project Overview
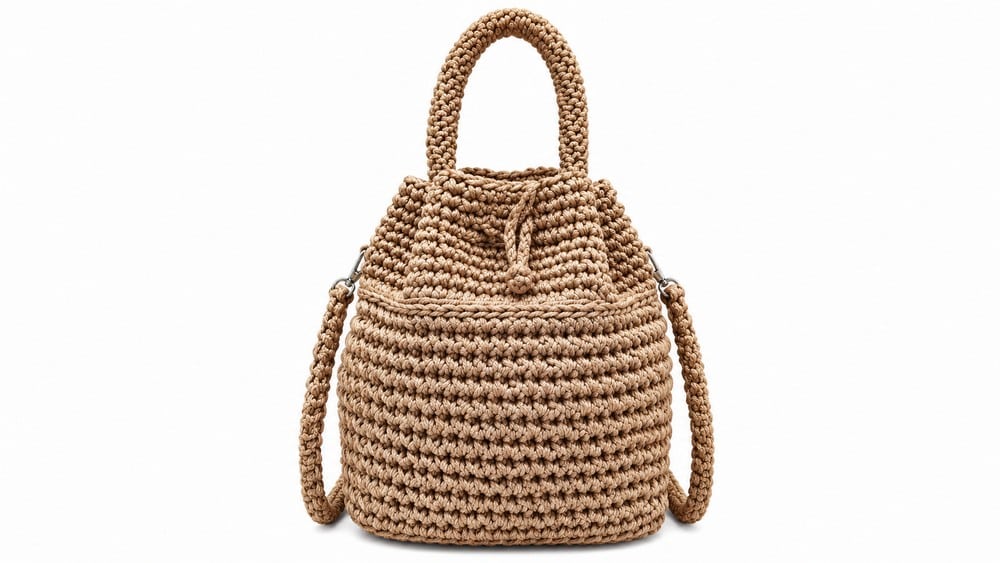
This Boho Chic mini bag pattern combines sturdy construction with stylish details suitable for everyday use or as a fashion statement. Made using polyester cord and a 3.75 mm aluminum crochet hook, the bag features a firm textured base, shaped and structured sides, and decorative lacing accents for an artisanal finish. The pattern focuses on precise stitch work to build a durable yet lightweight bag with a comfortable shape and charming boho flair. Following this comprehensive, step-by-step guide will help you craft this artisanal mini bag with ease.
Quick Overview
The bag begins with a firm rectangular base worked flat in single crochet stitches. Sides are formed by stitching around the base edge and increasing at corners. The body is worked in continuous rounds without increases for stable walls. A “cord” edging effect is created at the upper body using slip stitches and back loop single crochets. The finishing includes securely attaching metal rings and stylish handle lacing for an elegant boho look.
Materials
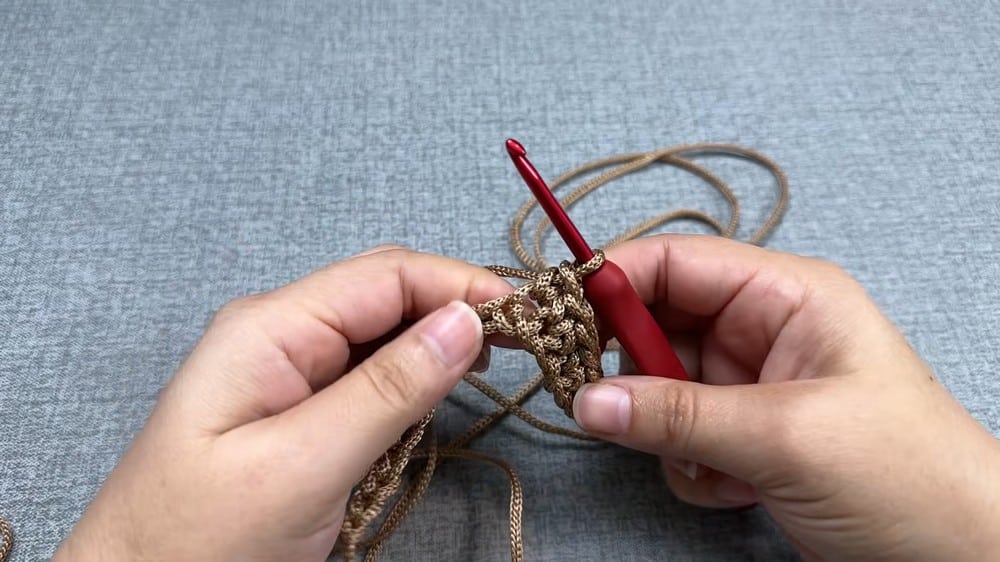
- 400 grams of 3mm polyester cord yarn
- Crochet hook size 3.75 mm (aluminum recommended)
- Scissors
- Wool needle (for finishing edges and weaving ends)
- Metal rings (argollas) for attaching handles
- Bag handles (fabric, rope, or leather as preferred)
Gauge and Finished Size
Gauge varies with cord tension but roughly single crochet stitches are tight and dense. The base is worked in single crochet catching both tops and bottoms of stitches to form a firm fabric. Body rounds are consistent single crochet stitches worked in the round to form smooth walls. Special stitch join technique (back to front joins) ensures invisible seam lines.
The bag’s base forms a sturdy rectangle approximately matching the foundation chain and 12 rows worked. Body height measures roughly 22 rounds total, around 20 cm, adjustable per your needs. Metal rings and handles complete seamless functional construction for comfortable carrying. The cord yarn and tight stitches provide durability and shape retention. Base dimensions are approximately 21 chains wide x 12 rows for sturdiness. Bag height is approximately 13 cm for the first body part (11 rounds) plus 9 rows for the upper body. Size can be adjusted by increasing/decreasing foundation chain or body rounds proportionally.
Abbreviations
- ch Chain Yarn over, pull through loop
- sc Single Crochet Insert hook, yarn over, pull through both loops
- sl st Slip Stitch Insert hook, yarn over, pull through loop
Pattern Notes
The use of 3mm polyester cord provides firmness and durability but requires consistent tension. Catching both top and bottom loops on the base rows strengthens the foundation. Corners receive two increases each to prevent puckering and preserve shape. Working rounds “joining from back to front” minimizes visible seam lines for a polished appearance. Decorative cords and knots add unique personality and are customizable.
Special Stitches
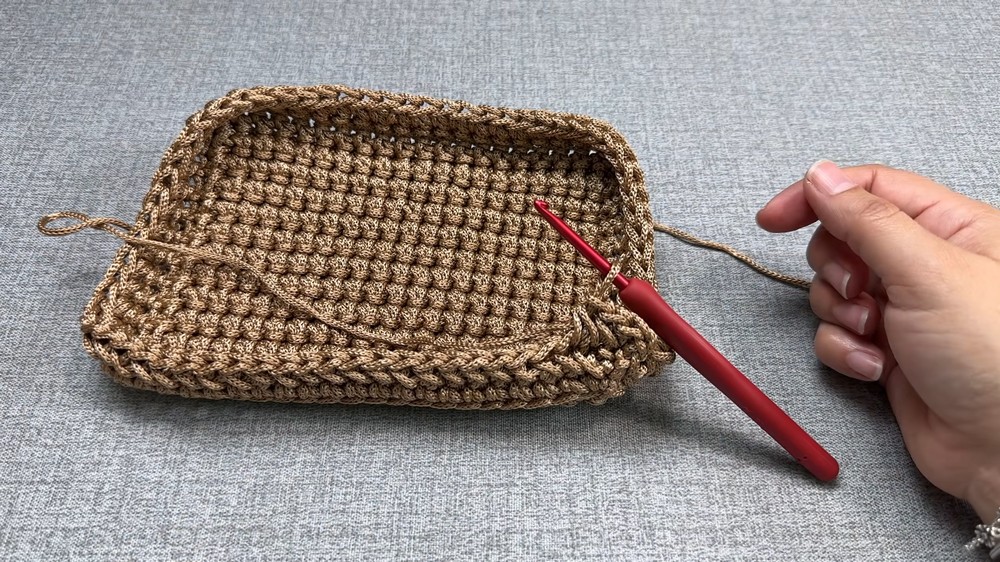
Back to Front Join
Joining rounds by inserting the hook from the back side of stitches and pulling yarn to the front before slip stitching. This reduces visible seams and creates a smooth appearance on the outer surface.
Pattern Instructions
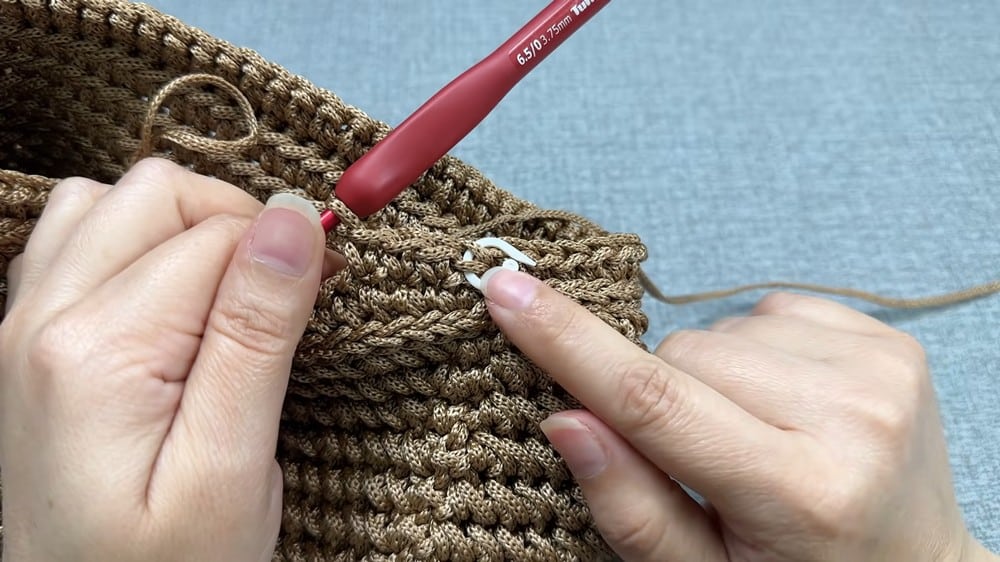
This crochet bucket bag is not just an accessory—it’s a statement piece. It works wonderfully as an everyday bag, a thoughtful handmade gift, or even a decorative accessory for your home. Whether you’re heading to the market or a casual outing, this boho-style bag adds individuality to your look while being practical and durable. For more inspiration, you might also enjoy exploring the easy navy diamond granny tote bag for a different structural approach to bag making.
1. The Base
Starting Chain: Create a slip knot and chain 21 stitches.
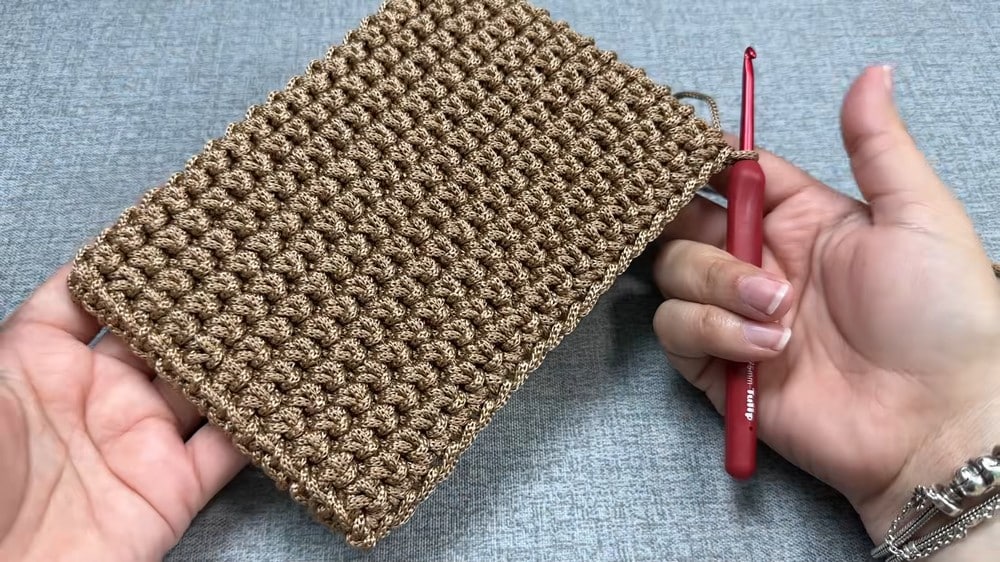
Row 1: Work single crochet (sc) stitches into the chain stitches from second chain onward. Continue this row until the chain end.
Rows 2 to 12: Work single crochet rows back and forth, catching both the top and bottom loops of each stitch to create a firm, textured base fabric. On each row, chain 1 to turn and continue in the same manner. For the final row (Row 12), work by catching two top loops and one bottom loop for a unique edge finish strengthening the base’s perimeter.
2. Forming the Sides
Working Around the Base: After completing the base, chain once to begin working around the perimeter. Work single crochet stitches evenly along all edges, counting stitches carefully to match the number of stitches along the rows and side chains. This step joins the base into a closed loop foundation for the bag’s sides.
Corners: At each corner, add two stitches to shape the corner smoothly and maintain rectangular form without puckering.
Join: Join end of round with a slip stitch to the first stitch worked.
Inside Row: Work one row of single crochet into the inside of the chain you just worked around the base to clean up the edge and add firmness.
3. Body of the Bag
Rounds 1 to 11: Begin working in continuous rounds without increases or decreases to build the bag’s walls straight up. Use a special joining technique for rounds, joining from back to front to minimize visible seams, creating a clean finish. Stitch pattern is simple: yarn over, insert hook, pull through stitch, and close the stitch, maintaining consistent tension. Repeat this stitch to complete approximately 11 rounds, which corresponds to around 13 cm in height.
4. Decorative Detail & Upper Body
Cord Effect: To imitate a cord rim, work a round of slip stitches (sl st) around the top of the body. This smooth finish contrasts with the more textured base and body.
Back Loop Single Crochet: Switch to working single crochet into the back loop only of the slip stitches created in the previous round. This creates a visually interesting cord effect ridge around the bag’s upper edge.
Additional Rows: Continue working rounds of single crochet taking both loops for an additional 9 rows giving the top body a sturdy finish and slight firmness to keep the shape.
5. Finishing
Secure and Hide Tails: Cut your yarn leaving a tail and use a wool needle to finish the top edge securely. Hide the yarn tail neatly inside stitches to prevent unraveling.
Assembly
Attach Metal Rings: Fold the bag in half so the base becomes the bottom and top edges align. Attach metal rings (argollas) to the bag’s corners securely. This serves as hardware to attach handles easily.
Add Handles: Attach your choice of handles—rope or leather, fabric or chain—to the metal rings according to style and comfort.
Decorative Lacing and Knots: Using extra cord, create decorative lacing crisscrossing across the front. Tie off with creative knots to enhance the boho chic aesthetic, adding a handcrafted, stylish touch.
Tips
- The use of 3mm polyester cord provides firmness and durability but requires consistent tension.
- Catching both top and bottom loops on the base rows strengthens the foundation.
- Corners receive two increases each to prevent puckering and preserve shape.
- Working rounds “joining from back to front” minimizes visible seam lines for a polished appearance.
- Decorative cords and knots add unique personality and are customizable.
FAQs
What type of yarn is best for this bucket bag?
This pattern specifically calls for 3mm polyester cord yarn, which provides the necessary firmness and durability to hold the bag’s shape while remaining lightweight.
Is this pattern suitable for beginners?
No, this is an intermediate pattern. It requires familiarity with working in rows and rounds, managing stitch counts, and comfort with single crochet, slip stitches, and basic shaping techniques.
How do I prevent the corners from puckering?
When working around the base, add two stitches at each corner. This increase helps shape the corner smoothly and maintains the rectangular form without puckering.
Can I adjust the size of the bag?
Yes, the size can be adjusted by increasing or decreasing the foundation chain or the number of body rounds proportionally to your desired dimensions.
What kind of handles work best?
You can use fabric, rope, leather, or chain handles. The pattern includes metal rings (argollas) to securely attach your preferred handle style.
How do I make the seam invisible?
Use the “Back to Front Join” technique. Insert the hook from the back side of the stitches and pull the yarn to the front before slip stitching to reduce visible seams on the outer surface.
Pin This Crochet Pattern!