Yarn sits on the table, hook in hand, and the project begins to take shape. There is a specific rhythm to crocheting amigurumi that feels meditative, especially when creating something as festive as a Christmas tree. You start with a simple magic ring, and before you know it, the trunk and branches begin to rise. This Easy Free Crochet Christmas Tree Ornament Pattern offers a structured yet whimsical approach to holiday crafting. It combines a sturdy pot base with a tiered, frilled tree body, perfect for adding a touch of handmade warmth to your mantel or desk.
Why This Project Works
This Milk Cotton Christmas tree combines sturdy cylindrical basework with a softly tiered, frilled body, ideal for prominent festive display or as a thoughtful handmade gift. The textural contrast, achieved through back loop rounds and additional frills, gives the illusion of lush, layered branches. Accented with snowy trims and glued-on decorations, this tree offers warmth, whimsy, and potential for endless creative customization. It transforms a familiar holiday symbol into a lovable little toy that children and adults can appreciate.
Project Overview

This charming Christmas tree pattern provides a delightful, structured desktop or decor tree with a sturdy base (pot) and tiered body crafted in continuous rounds. The design showcases straight, clear color separation, textural back loop details to guide “frill” decorations, and allows easy customization of decorations and embellishments. With carefully structured increases, the finished project features balanced shaping, with the option to add snowy white edging and festive accessories.
Construction Details
The project is comprised of two main sections: first, the cylindrical “pot” base, then the steadily increasing Christmas tree. Each section is worked in the round, with the tree body increasing at consistent intervals for a smooth taper. The edging detail utilizes back loop only rounds on the tree layers and pot edge for crisp tiers and easier guide lines for surface frills. Finishing involves decorating with surface “frills” using slip stitch, followed by simple embroidery or glued-on embellishments.
Materials
- Milk Cotton yarn in colors: brown (pot), green (tree), white (details)
- 3.5 mm crochet hook
- Polyester stuffing
- Yarn needle
- Scissors
- Additional decorative accessories (mini pompoms, beads, felt stars, etc.)
- Silicone fabric glue (for attaching accessories)
- Stitch markers (recommended for tracking rounds)
Gauge and Finished Size
Gauge is not critical, but maintaining dense, even stitches ensures that stuffing does not peek through. Key stitch details include single crochet (sc) in continuous rounds with increases and decreases spaced for smooth shaping. All rounds are worked continuously unless otherwise indicated (use a stitch marker to keep track).
Approximate Finished Size:
- Height: 18–22 cm (7–9 inches)
- Width at base: 7–9 cm (pot diameter), 6–8 cm (tree diameter)
Final size varies based on stuffing, yarn, and tension. Place on a flat surface and check proportions. The pot should sit stably, supporting the firmly stuffed, tiered tree. Place or hang as a festive piece.
Abbreviations
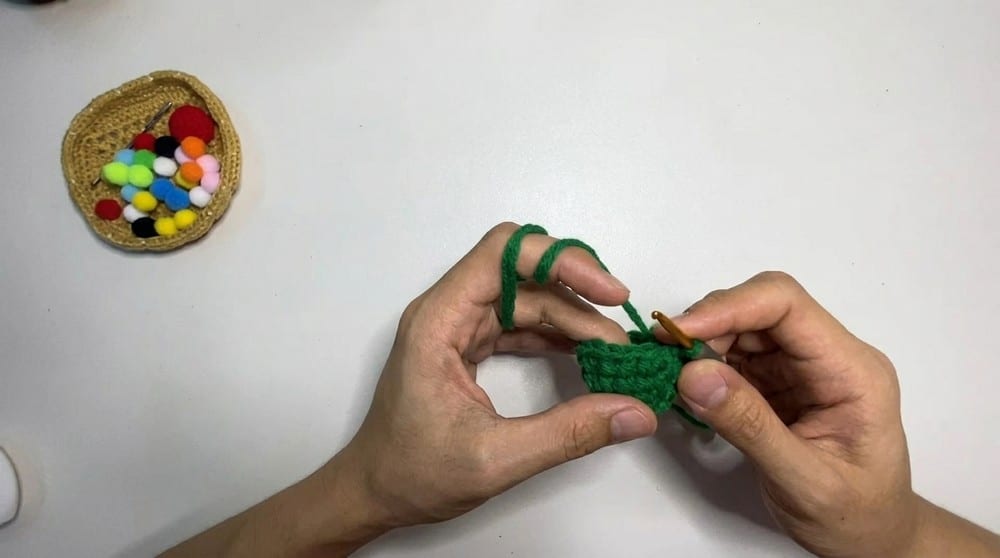
- ch – chain
- sc – single crochet
- inc – increase (2 sc in the same stitch)
- dec – decrease (sc 2 together)
- sl st – slip stitch
- MR – magic ring
- blo – back loop only
- st(s) – stitch(es)
Pattern Notes
- Maintaining even tension with Milk Cotton is vital, since the dense, matte finish of the yarn will highlight uneven stitches.
- Each round finishes with a complete count; do not join unless specified, to avoid seam lines.
- For best results, create all frills and decorations after final assembly so you can properly space each detail.
- When adding glued-on accessories, let the silicone glue dry fully before handling to ensure a secure hold.
Special Stitch Guide
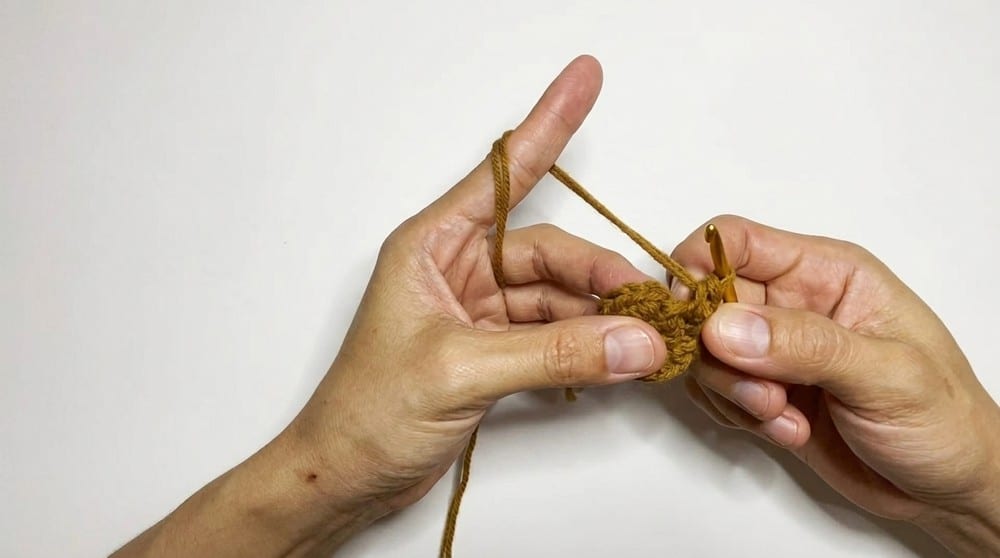
Magic Ring (MR)
Loop yarn in a circle, insert hook, pull yarn through and work stitches into the ring, cinching closed to create a neat start.
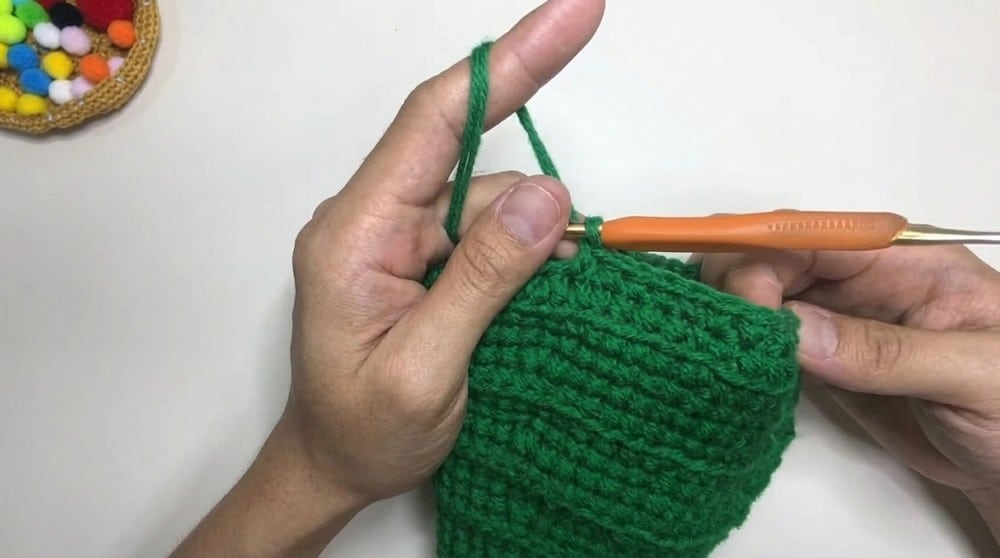
Back Loop Only (blo)
For designated rounds, insert your hook into only the back loop of each stitch. This forms a horizontal ridge for later embellishments.
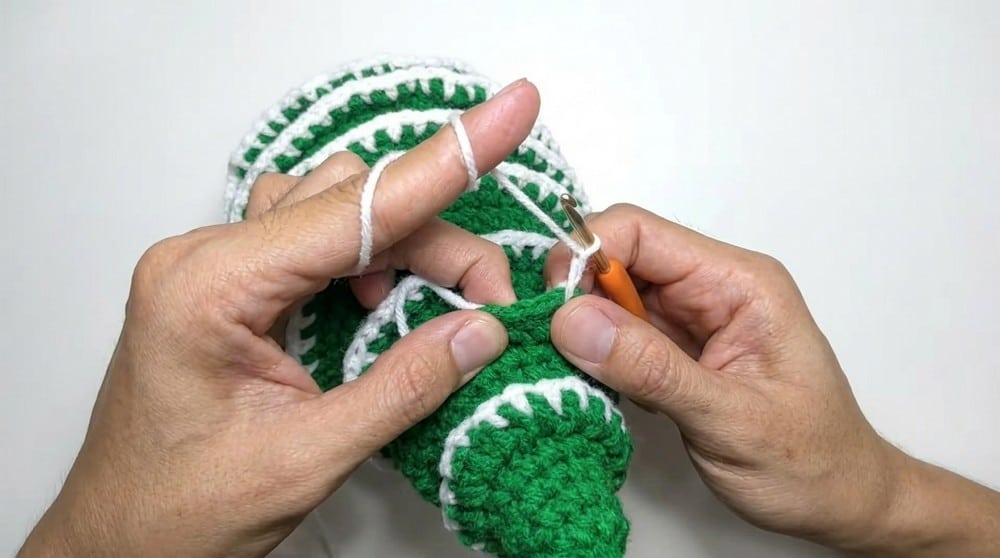
Frill Edging
Decorative slip stitch or simple shell worked into the exposed back loops to mimic layered pine boughs.
Pattern Instructions
The Pot (Base)
Work in continuous rounds using brown yarn.
- Round 1: Start with a magic ring, make 8 sc into the ring (8 sts)
- Round 2: 2 sc in each stitch (increase all the way around) (16 sts)
- Round 3: (1 sc, 1 inc); repeat 8 times, (24 sts)
- Rounds 4–7: 4 rounds of 24 sc (24 sts per round). Round 4 only: work in back loops only (blo) to give edge definition and help the pot stand upright.
Stuff the pot firmly.
The Tree Body
Work in continuous rounds using green yarn.
- Round 1: MR, 8 sc into ring (8 sts)
- Round 2: 8 sc (8 sts)
- Round 3: (1 sc, 1 inc); repeat 4 times, (12 sts)
- Round 4: 12 sc (12 sts)
- Round 5: (2 sc, 1 inc); repeat 4 times, (16 sts)
- Round 6: 16 sc in back loops only (blo) (16 sts)
- Round 7: (3 sc, 1 inc); repeat 4 times, (20 sts)
- Round 8: 20 sc (20 sts)
- Round 9: (4 sc, 1 inc); repeat 4 times, (24 sts)
- Round 10: 24 sc in back loops only (blo) (24 sts)
- Rounds 11–29: Continue this increase pattern: After every three non-increase rounds, make one round of increases, each time using one additional plain sc between increases. Example: (5 sc, 1 inc); repeat 4 times makes 28, repeat, then (6 sc, 1 inc); repeat 4 times makes 32, and so on. Keep working until you reach 64 stitches in the round by round 29. Tip: Always work a “back loops only” round after each increase round to form guide lines for frills.
- Rounds 30–34 (Decrease Rounds): (6 sc, 1 dec); repeat to end of round. Next round: (5 sc, 1 dec); repeat. Continue (4 sc, 1 dec), (3 sc, 1 dec), finally (2 sc, 1 dec) to give a smooth top.
Stuff firmly as you advance, so the tree stands upright when assembled.
Assembly
- Joining: Securely sew the base of the tree to the flat open end of the pot, using a whipstitch or mattress stitch for a seamless join.
- Tree Frills: Attach green yarn to any back loop ridge on the tree. For each frill tier: Sl st, (ch 2, sl st in next back loop) repeat around to form a “tinsel” effect, or [sc, ch 2, sc in same st] in each back loop for a pine bough look.
- Finishing Details: Using white yarn, embroider or crochet small chains and tack loosely over the tree as snow/icing. Use silicone glue to attach beads, felt stars, mini-pompoms, or other accessories as ornaments. Press glued decorations gently and let dry thoroughly.
Tips
- Always work a “back loops only” round after each increase round to form guide lines for frills.
- The short trunk at the bottom helps complete its tree shape. You can use forest green, lime green, or a mix of different green shades for a beautiful result.
- This little tree can sit on a child’s homework desk, decorate a holiday breakfast tray, or add a festive touch to a family game room. It can also be a sweet gift for a younger sibling or a small surprise inside a winter Eve box.
FAQs
What type of yarn is best for this pattern?
Milk Cotton yarn is recommended because its dense, matte finish highlights the stitch definition, though any worsted weight yarn will work if you adjust your hook size accordingly.
How do I keep the tree upright?
Stuff the pot firmly before attaching the tree, and stuff the tree body firmly as you work through the decrease rounds. This ensures the structure is stable enough to stand on its own.
Can I make this pattern smaller?
Yes, you can reduce the number of increase rounds in the tree body section to create a smaller version, though you will need to adjust the stitch counts to maintain the shape.
How do I attach the decorations securely?
Use silicone fabric glue for accessories like beads and felt stars. Allow the glue to dry fully before handling the ornament to ensure a secure hold.
Is this pattern suitable for beginners?
This is an Ambitious Beginner to Intermediate project. It requires comfort with working in the round, increasing and decreasing, and creating back loop only rounds for texture.
If you enjoy this structured amigurumi style, you might also like our adorable festive crochet amigurumi trio pattern for more holiday fun. Alternatively, check out this layered Christmas tree crochet bag for a wearable holiday accessory.
Pin This Crochet Pattern!