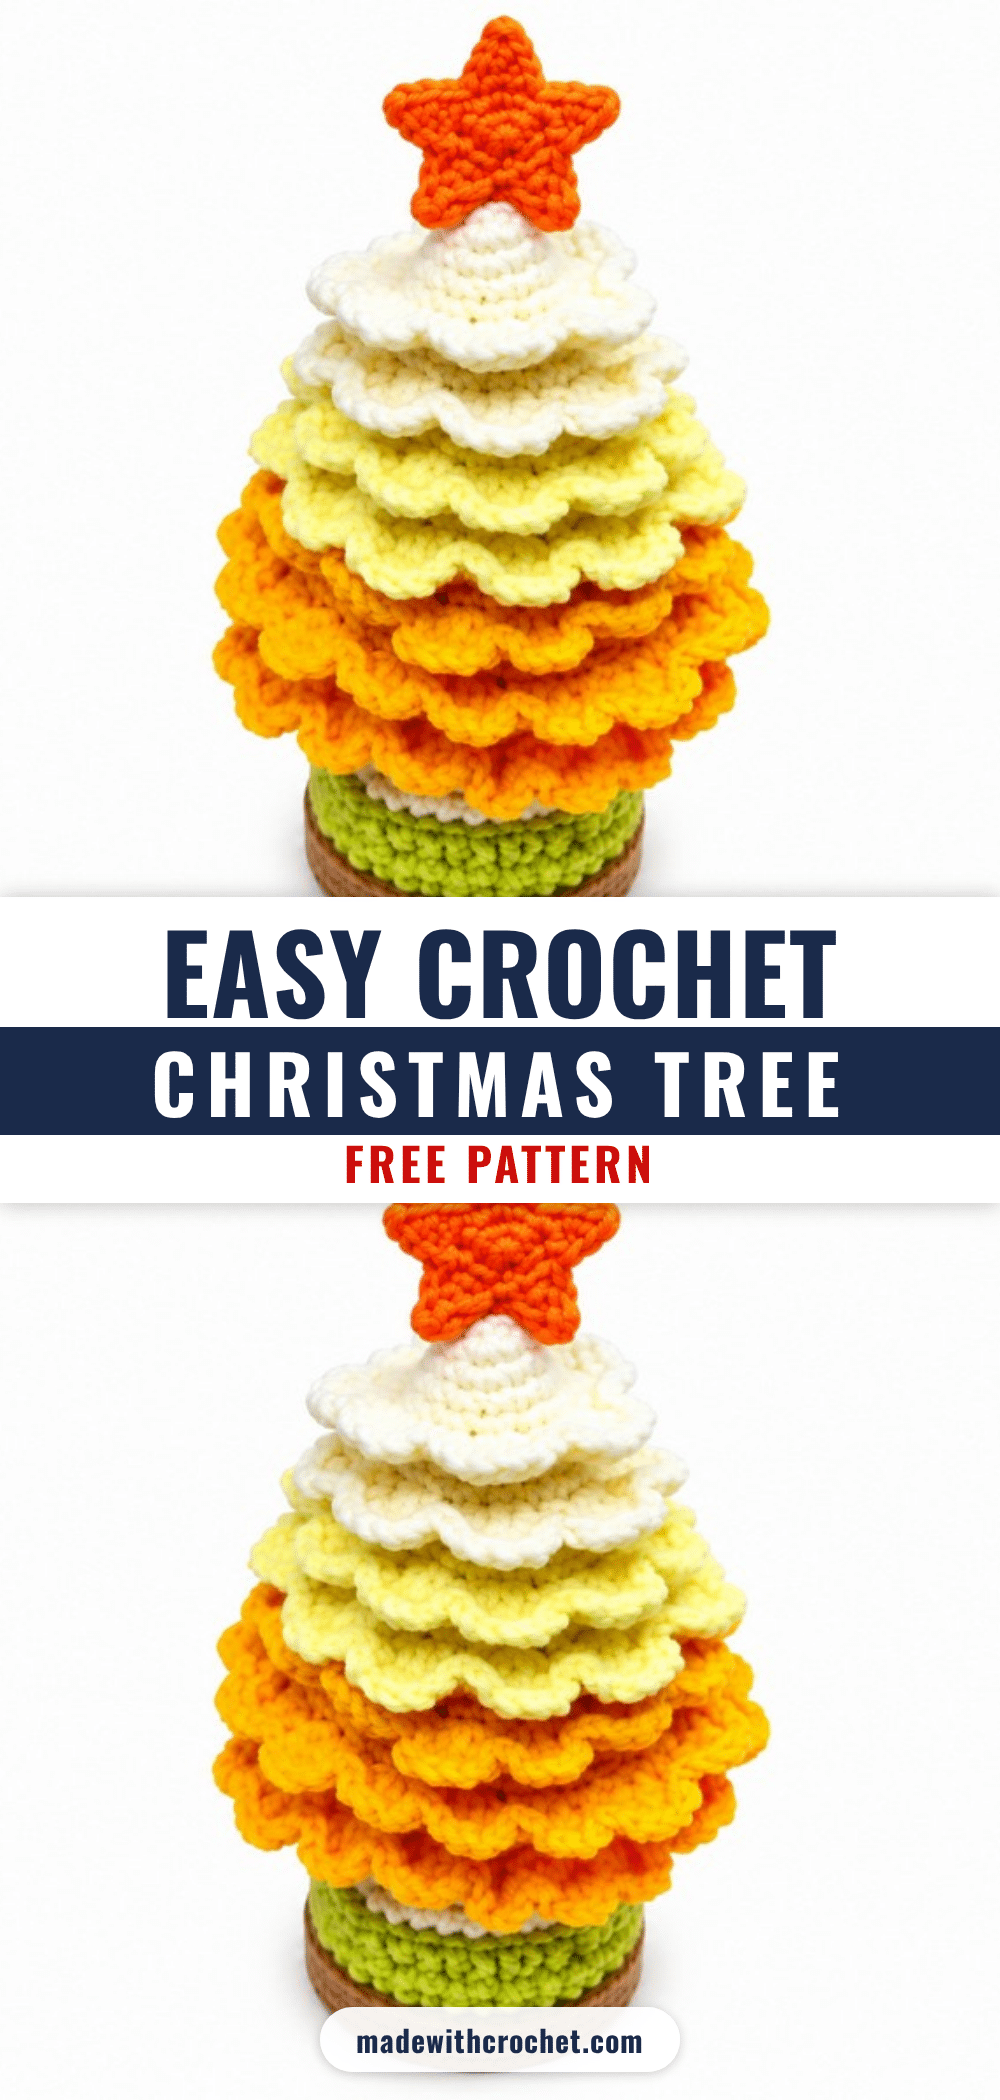
Have you ever finished a spiral crochet project only to realize you lost count of your rounds and ended up with a lopsided mess? It is a classic beginner mistake that happens to the best of us, especially when working in continuous rounds. But here is the good news: this mini crochet Christmas tree is forgiving, compact, and designed with clear structural markers that make tracking your progress much easier. Even if you are worried about your tension or stitch count, the layered foliage and sturdy pot provide a satisfying finish that hides minor imperfections while showcasing your handiwork.
Maker Notes
What makes this project truly special is how it balances structural shaping with decorative texture. The use of front loops for the foliage creates a natural, layered branch effect that elevates a simple amigurumi into a piece of decor. I love that this pattern encourages you to experiment with color; while classic green is traditional, using white, red, or pastel shades can completely change the vibe to match your holiday theme. The inclusion of craft wire is a game-changer, ensuring your tree stands upright on a desk or mantel without flopping over. It is also a fantastic way to use up leftover yarn from previous projects, making it an eco-friendly and budget-conscious holiday craft.
Project Overview
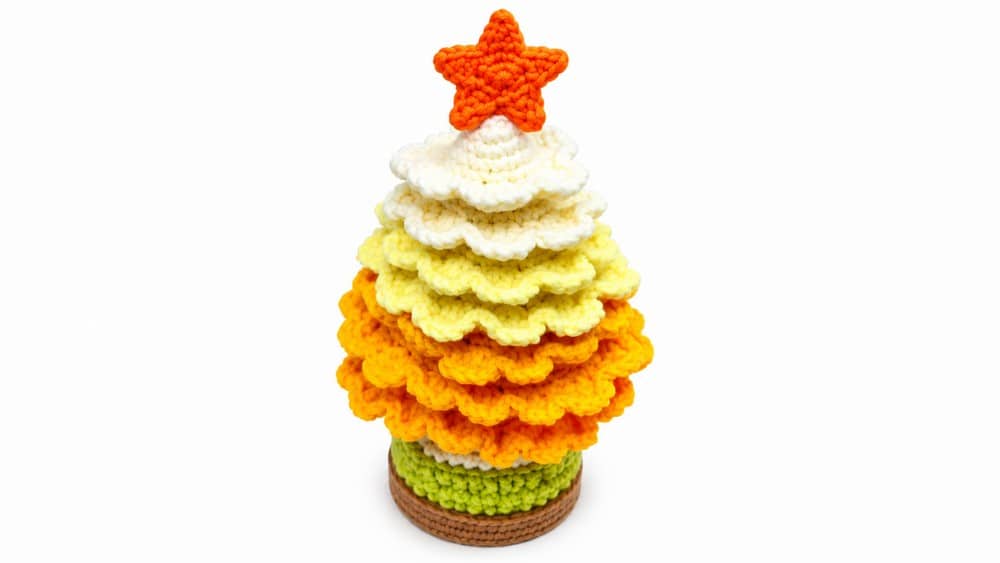
This mini crochet Christmas tree combines structured shaping with textural finishes to achieve a realistic foliage effect and a festive presence. The pattern guides you through constructing a sturdy tree body, layered branches, and a decorative base with a star. It is a delightful piece that fits easily on desks, mantels, or in gift boxes. The project focuses on both construction and detail, offering a satisfying outcome and scope for creative variation.
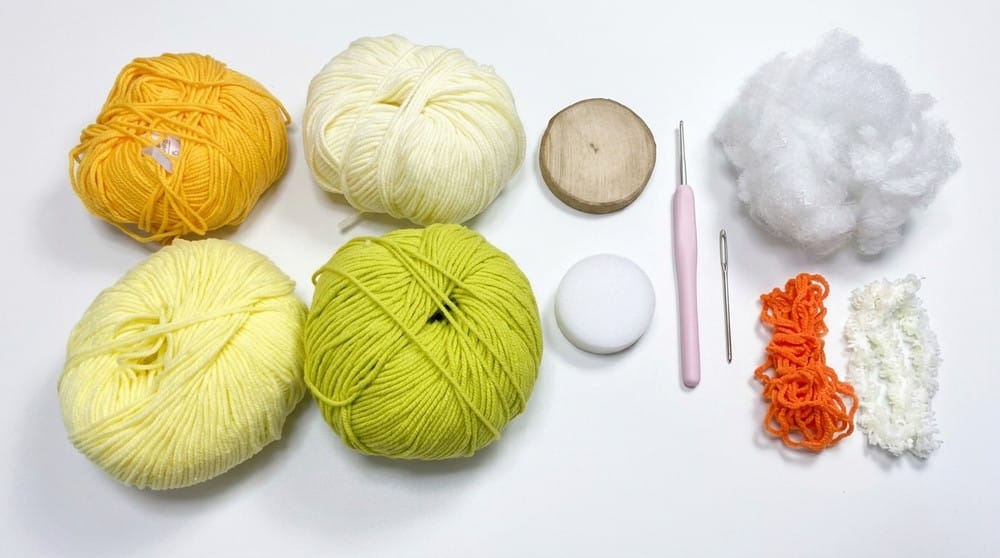
Materials
- Crochet Hook: 2.0–2.5mm (as fits yarn and desired size)
- Yarn (Lightweight):
- Green (tree body and foliage)
- Brown (pot/base)
- Yellow (star)
- Wire: 10 cm craft wire (for tree stability)
- Stuffing: Fiberfill stuffing
- Tools: Tapestry needle (for sewing and joining star pieces), Strong glue (optional for base and pot attachment), Scissors, Stitch marker
Gauge and Finished Size
Finished Size:
- Height (including star and pot): approximately 10–12 cm (depends on stuffing and tension)
- Diameter (tree): ~4–5 cm
- Diameter (pot): ~4 cm
Gauge: 24 sc = 5 cm in the round. Note that gauge is not critical, but it affects the finished size. The tree fits easily on desks or shelves and can be modified by changing yarn weight or hook size.
Abbreviations
- ch – chain
- sc – single crochet
- inc – increase (2 sc in same stitch)
- dec – decrease (sc two stitches together)
- hdc – half double crochet
- dc – double crochet
- fpdc – front-post double crochet
- st(s) – stitch(es)
- sl st – slip stitch
- MR – magic ring (or adjustable ring)
- BLO – back loops only
- FLO – front loops only
Pattern Notes
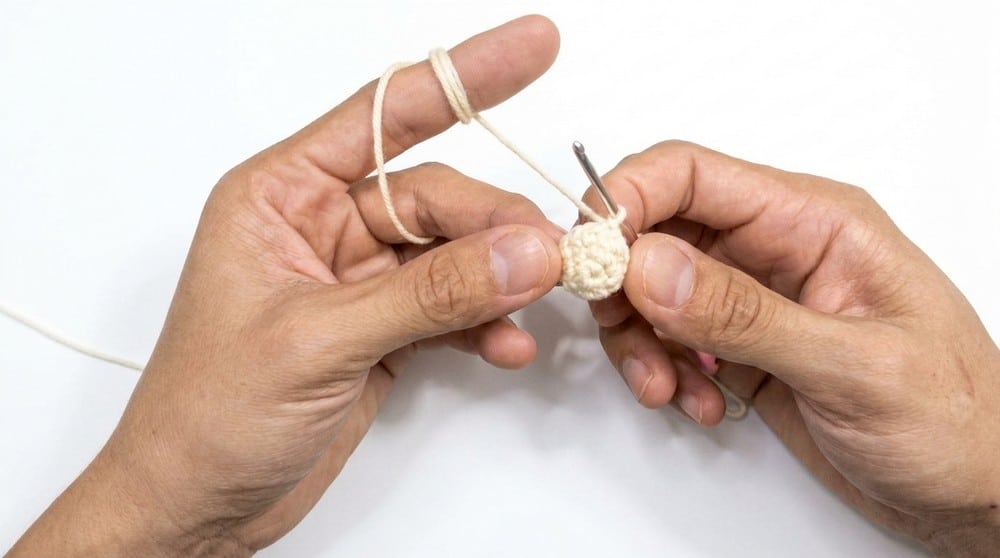
- Employ a stitch marker to track rounds and prevent errors during spiral work.
- Maintain consistent tension for each section to achieve smooth transitions.
- Stuffing and wire insertion provide stability; ensure these steps are followed for a stand-alone display.
- When making the foliage, take care to work evenly into front loops to preserve the tree’s layered appearance.
- The star is made in two pieces and joined; use tight stitches to prevent gapping.
- Use glue for pot and base attachment if sewing proves challenging.
- Adjust color choices for tree, pot, and decorations as desired.
Special Stitches
Magic Ring (MR)
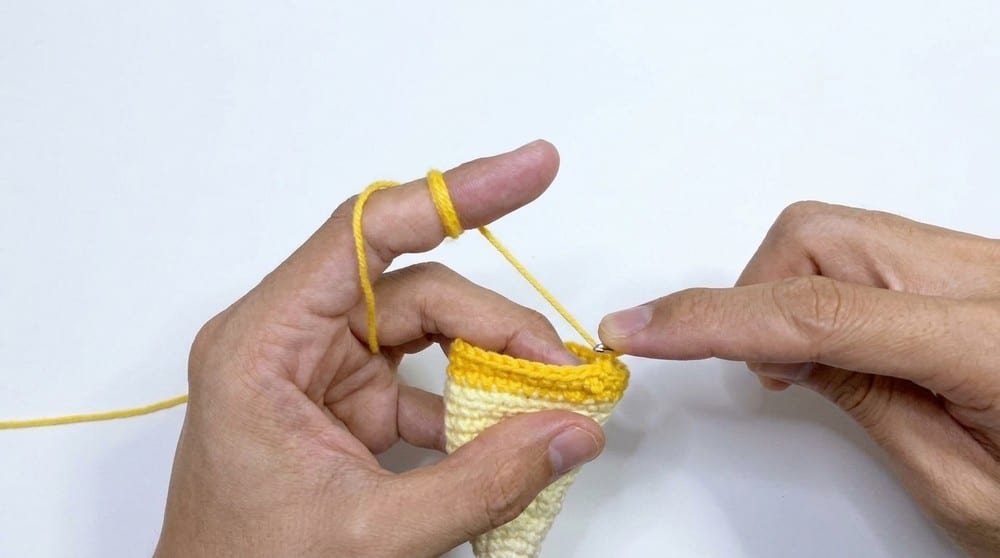
Begin projects in the round, cinching the initial loop for a tight center.
Back Loops Only (BLO)
Work into the back loop of each stitch for shaping and layering effects.
Front Loops Only (FLO)
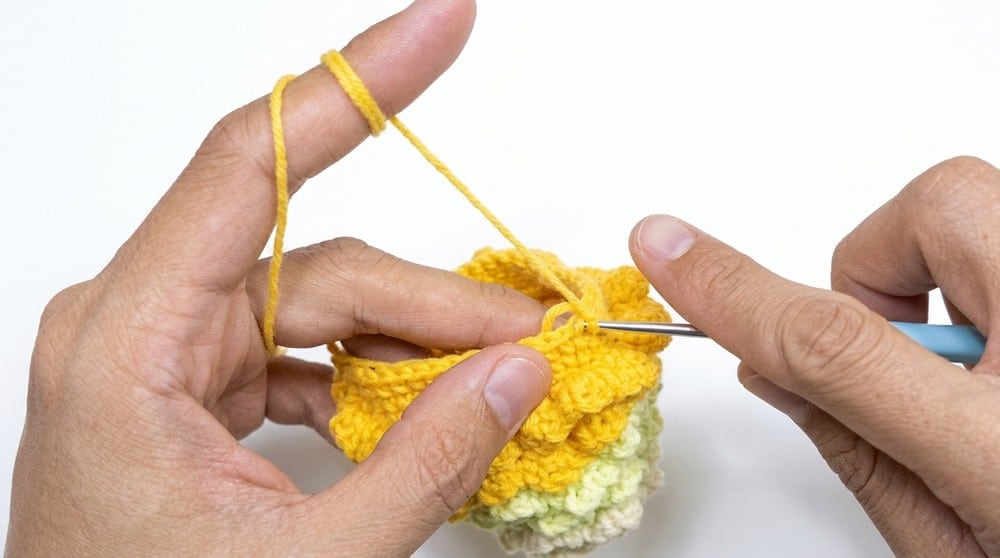
Reserved for foliage construction, working into the unused loops of previous rounds to build branches.
Front Post Double Crochet (fpdc)
Yarn over, insert hook from front around post of stitch, draw up loop, complete as dc; used for the pot’s ribbed texture.
Pattern Instructions
The Tree Body (Green Yarn)
Worked in continuous spiral rounds. The tree body is shaped using increases and back-loop rounds.
- Round 1: MR, work 8 sc into ring.
- Round 2: 8 sc.
- Round 3: [ 1 sc, 1 inc ] x4 ( 12 sc ).
- Rounds 4–5: 12 sc in each round.
- Round 6 (BLO): [ 2 sc, 1 inc ] x4 ( 16 sc ).
- Rounds 7–8: 16 sc each round.
- Round 9 (BLO): [ 3 sc, 1 inc ] x4 ( 20 sc ).
- Rounds 10–11: 20 sc each round.
- Round 12 (BLO): [ 4 sc, 1 inc ] x4 ( 24 sc ).
- Rounds 13–14: 24 sc each round.
- Round 15: [ 5 sc, 1 inc ] x4 ( 28 sc ).
- Rounds 16–17: 28 sc each round.
- Round 18 (BLO): [ 6 sc, 1 inc ] x4 ( 32 sc ).
- Rounds 19–20: 32 sc each round.
- Round 21: [ 7 sc, 1 inc ] x4 ( 36 sc ).
- Rounds 22–23: 36 sc each round.
Fasten off and weave in, leaving a long tail if needed for assembly.
Tree Foliage (Front Loops Only, Green Yarn)
Working from bottom upward, into the unused front loops of the BLO rounds (R6, R9, R12, R18):
In each front loop: sl st, hdc, dc, hdc. All into the same loop, then sl st to the next front loop. Repeat for all front loops in that round, creating a textured “branch” layer. Continue for all BLO rounds where front loops are present. This technique gives the layered branch look.
Star (Yellow Yarn)
Make Two Pieces:
- Round 1: MR, 10 sc into ring.
- Working Points (for each piece): For each of the 5 points: ch 4, sl st in 2nd ch from hook, 1 sc in next ch, 1 dc in last ch. Sl st back to base ring into next stitch. Repeat for all points around.
Assembly: Layer the two star pieces together (wrong sides facing) and use tapestry needle to sew edges or sl st around to join. Leave a small gap if desired and lightly stuff for dimension, then close fully.
Pot (Brown Yarn)
- Round 1: MR, 8 sc.
- Round 2: Inc in each stitch ( 16 sc ).
- Round 3: [ 1 sc, 1 inc ] x8 ( 24 sc ).
- Round 4: [ 2 sc, 1 inc ] x8 ( 32 sc ).
- Round 5: [ 3 sc, 1 inc ] x8 ( 40 sc ).
- Rounds 6–8: Work in alternating pattern: dc in one stitch, fpdc in next stitch. Continue around for ribbed texture ( 40 sts per round ).
- Round 9: Begin decreasing for pot contour: [ 4 sc, 1 dec ] x8 ( 32 sc ).
- Final Round: Additional decreases if needed, adjust size for snug fit into tree base.
Base: If desired, create a circular base piece (MR or ch and join) to sew or glue to the pot’s bottom after inserting wire and stuffing. Fasten off and weave in ends for a neat finish.
Assembly
- Insert wire into tree center: Place inside tree body from top to base for support.
- Stuff tree with fiberfill: Distribute evenly to maintain shape.
- Attach tree to pot: Place tree (with wire and stuffing) into pot, securing with glue or sewing around the rim.
- Attach base (optional): If separate base is made, glue or sew to pot’s bottom for stability.
- Secure star at top: Sew or glue star firmly onto tree tip.
- Embellishment: Add additional decorations if desired (beads, sequins, or embroidery for ornaments).
Tips
- Working carefully around each round helps maintain even edges and gives the layers a balanced appearance.
- Its small size makes it suitable for using leftover yarn from previous projects.
- You can make a single tree as a table accent or prepare several in different sizes for a coordinated display.
- A finished piece can also be given to friends or family as a thoughtful handmade present.
- Choose your favorite colors and finishing details to give the tree a personal touch.
FAQs
What yarn weight is best for this pattern?
The pattern recommends lightweight yarn suitable for a 2.0–2.5mm hook. This ensures the tree remains compact and detailed, fitting the 10–12 cm height goal.
Can I make this tree larger?
Yes, you can modify the size by changing the yarn weight or using a larger hook. However, keep in mind that larger hooks may result in looser stitches, potentially requiring more stuffing and wire for stability.
Why do I need craft wire?
The 10 cm craft wire is inserted into the center of the tree body to provide structural support. Without it, the tree may flop over or lean, especially once stuffed.
How do I fix a lopsided tree?
Ensure you are using a stitch marker to track your rounds accurately. Consistent tension and even stuffing distribution during assembly also help maintain a symmetrical shape.
Is this pattern suitable for beginners?
This is rated as an intermediate pattern. It requires comfort with working in the round, handling front/back loop-only stitches, and executing special stitches like front-post double crochet. If you are new to these techniques, consider practicing them on a smaller amigurumi project first.
Pin This Crochet Pattern!