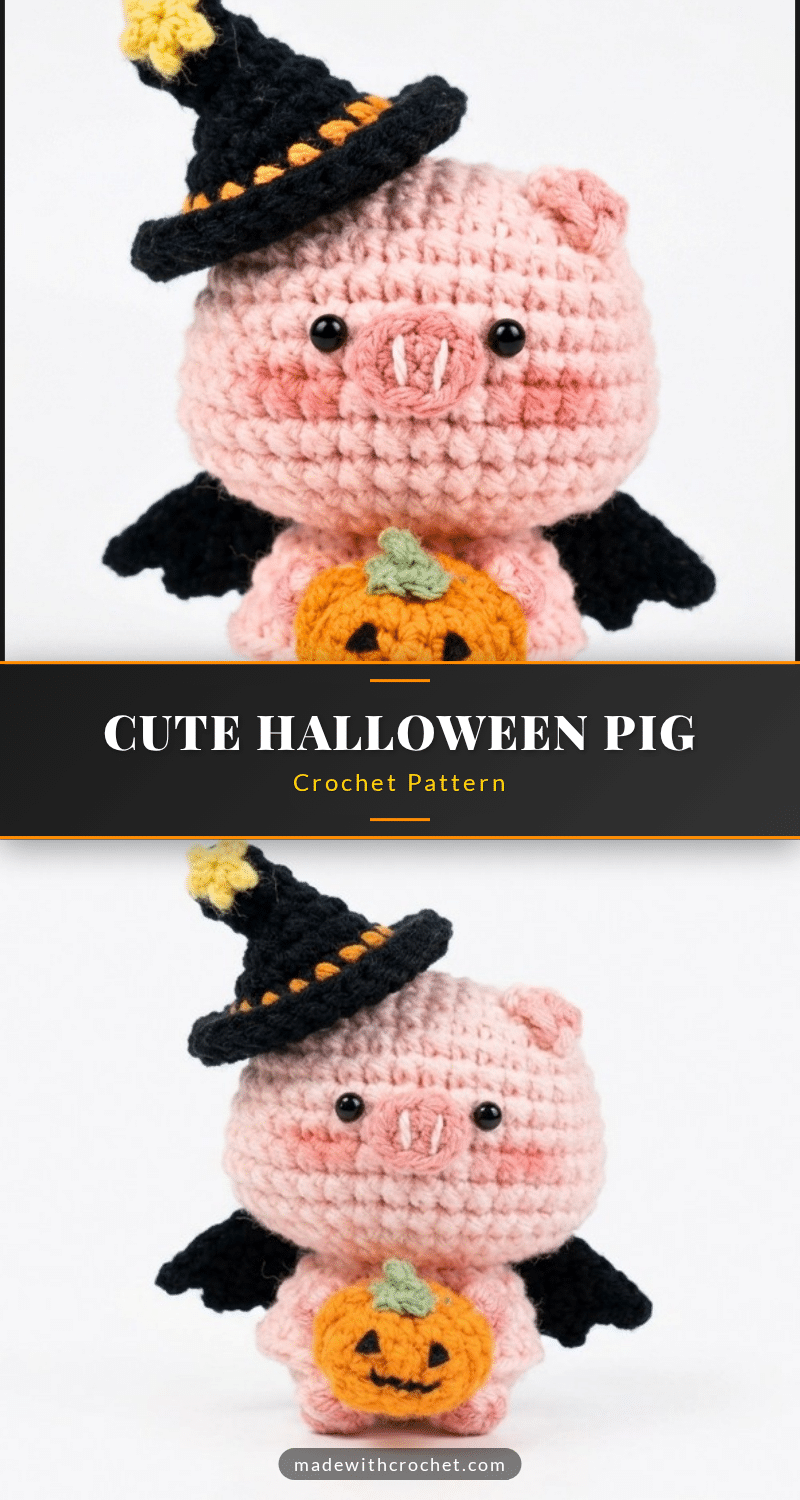
There is something undeniably irresistible about a small, squishy amigurumi that instantly brightens a room. This Cute Halloween Pig Crochet Pattern delivers exactly that reaction: a plump, plush figure with a sweet expression and gentle curves that invites cozy cuddles. Whether you are looking for a unique handmade gift or a festive decoration to add character to your seasonal display, this little pig brings a delightful mix of cuteness and spooky charm. Its compact size means it fits perfectly on shelves, desks, or mantels, ready to infuse any space with holiday cheer.
Why the Finished Piece Stands Out
What makes this Halloween pig truly special is the thoughtful combination of textures and colors. The soft pink body provides a classic, warm base, while the contrasting purple, orange, and black accents on the witch hat and wings create a striking visual pop. The inclusion of tiny wings and a whimsical hat transforms a simple pig into a character with personality. Beyond its adorable appearance, the project offers a joyful and relaxing crochet experience. It is the perfect way to combine Halloween fun with handmade warmth, resulting in a piece that is both delightful to create and a treasure to keep.
Project Overview
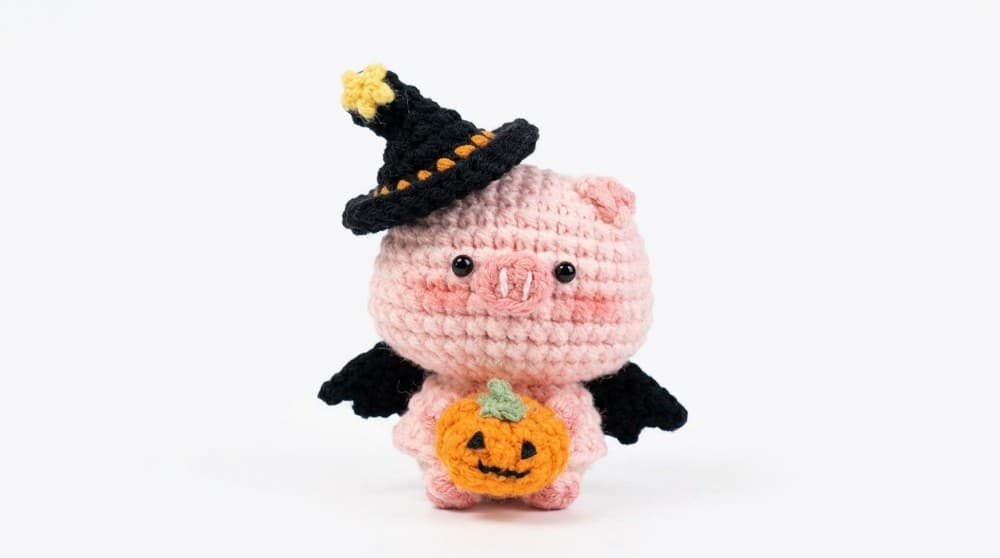
This tutorial details the creation of an adorable Halloween pig, combining multiple colors and intricate stitch work to craft a festive and charming figure. Utilizing pink yarn for the body, darker pink for the snout, black for wings and hat, orange for hat trim, and purple for the hat body, together with a 2.0 mm crochet hook and fiberfill stuffing, this pattern guides you step-by-step through building a textured, three-dimensional pig figure. It is ideal for Halloween lovers, serving as a fun handmade present or a decorative piece that embodies the holiday spirit.
Materials
- Pink yarn (main body)
- Darker pink yarn (snout)
- Black yarn (wings and hat)
- Orange yarn (hat trim)
- Purple yarn (hat body)
- Crochet hook size 2.0 mm
- Fiberfill stuffing
- Tapestry needle (optional for weaving ends)
- Glue for assembly
- Scissors
Gauge and Finished Size
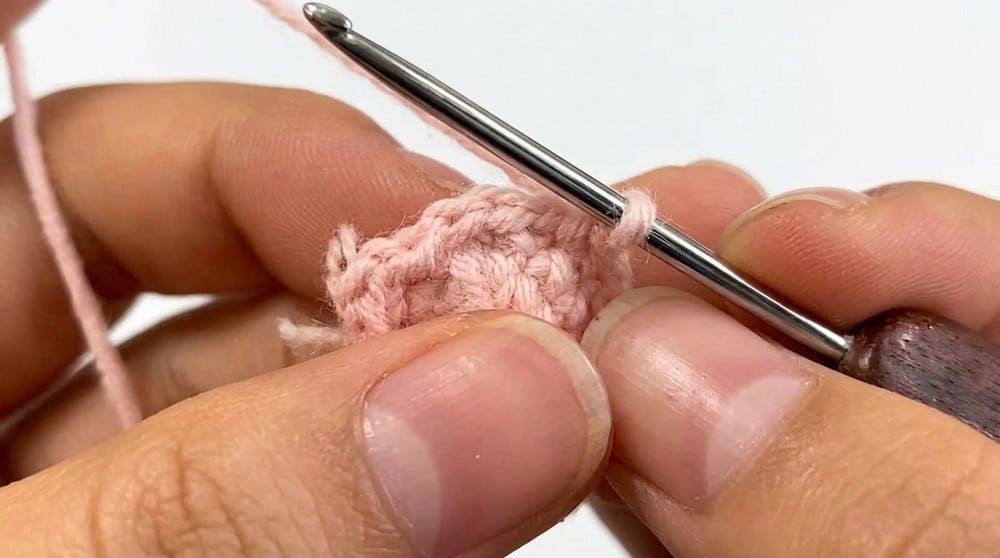
Gauge: Single crochet (SC) gauge is approximately 24 sts and 28 rows = 10 cm. The pattern is worked in the round with specific stitch counts for shaping.
Finished Size: The finished pig height is approximately 15–18 cm, depending on tension and stuffing. The width will vary based on body and appendage shaping.
Abbreviations
- ch = chain
- sc = single crochet
- inc = increase (2 sc in the same stitch)
- dec = decrease (crochet 2 stitches together)
- hdc = half double crochet
- dc = double crochet
- slst = slip stitch
Pattern Notes
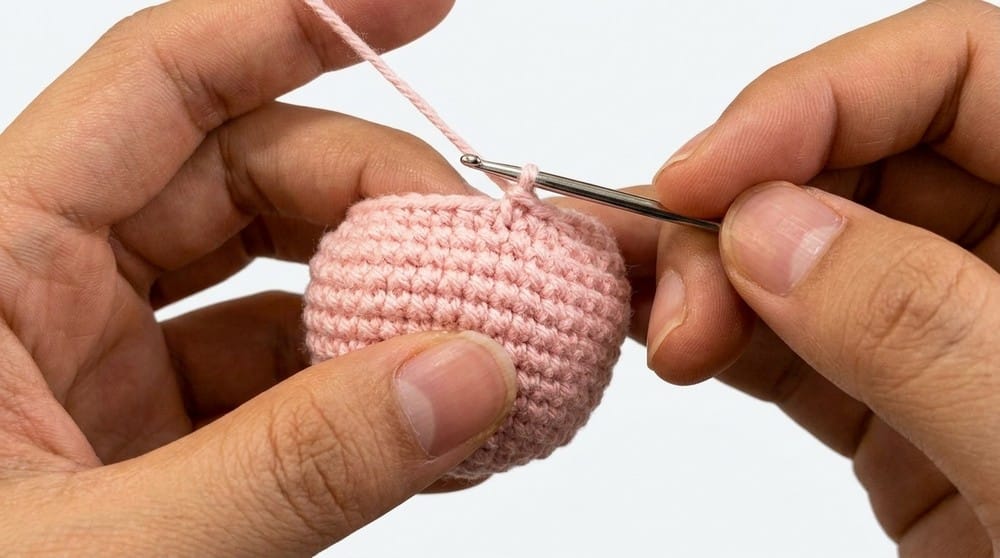
Maintain consistent tension, especially around shaping rounds, to create a smooth, balanced figure. Use stitch markers when necessary, particularly on rounds requiring precise increases or decreases. The project involves color changes that require switching yarn efficiently to maintain clean color boundaries. Stuff the body firmly with fiberfill to achieve good shape and stability. The use of glue for attaching smaller parts is preferred for a durable finish, but sewing is an acceptable alternative if desired. The figure is small and delicate, suitable as a decorative item or gift.
Special Stitches
- Work in front loops only: Used for texture and shaping around Round 15 of body shaping.
- Popcorn / Clusters: Utilized subtly in wings and hat detail.
- Magic Ring: Starting foundational round for several small parts.
Pattern Instructions
1. Head and Body
Foundation Row: Chain 7. Beginning from the second chain from the hook, work 5 single crochets (sc). In the last chain, work 3 sc to turn the corner. Work along the opposite side of the chain with 4 sc. Work 1 increase (2 sc in same stitch) in the last stitch. Join with a slip stitch to the first sc.
Rounds 2-4: Follow video-guided increase patterns per round, strategically increasing stitches to form round and smooth shaping for head and body. (Exact stitch counts increase progressively to build shape.)
Rounds 5-7: Work 34 single crochets (sc) in each round without increasing; these rounds form the middle cylindrical section of the body.
Round 8: Crochet the following sequence: 12 sc, 1 increase (2 sc in same stitch), 2 sc, 1 increase, 14 sc, 1 increase, 2 sc, 1 increase. Repeat this sequence.
Rounds 9-11: Work 3 rounds of straight single crochet (sc) maintaining 38 stitches per round to begin shaping the lower body.
Rounds 12-14: Work decrease rounds to narrow the body: the number of stitches decreases per round to shape the lower part of the body for a tapered effect.
Round 15: Work front loops only with specific increases to add texture and subtle definition.
Rounds 16-18: Finish the body with rounds of 24 sc per round, shaping and smoothing the lower portion.
2. Ears
Chain 4. Starting from the second chain from the hook, work: 1 sc, 1 half double crochet (hdc), 1 double crochet (dc). Repeat the process to crochet the second ear.
3. Arms and Legs
Arms: Begin with a magic ring. Work 3 single crochet (sc) inside the ring. Close ring tightly.
Legs: Begin with a magic ring. Work 6 single crochet (sc) inside the ring. Slip stitch to close and secure the ring.
4. Snout
Chain 4. Starting from the second chain from the hook, crochet: 2 single crochets (sc), 3 sc in the last chain (to curve), 1 sc on the other side of the foundation chain, 1 increase (2 sc in one stitch). Join with a slip stitch. Repeat for the second side if required by the specific snout shape.
5. Wings
Chain 10. Follow the pattern of alternating slip stitches (slst), single crochet (sc), and double crochet (dc) to form wing shapes. The pattern includes tightening and relaxing stitches for wing contours and feather-like structure. Work carefully to get symmetrical, delicate wings.
6. Star
Start with a magic ring. Chain 2, then slip stitch into 2nd chain. Slip stitch into the magic ring. Repeat this 5 times to create a small star shape.
7. Witch Hat
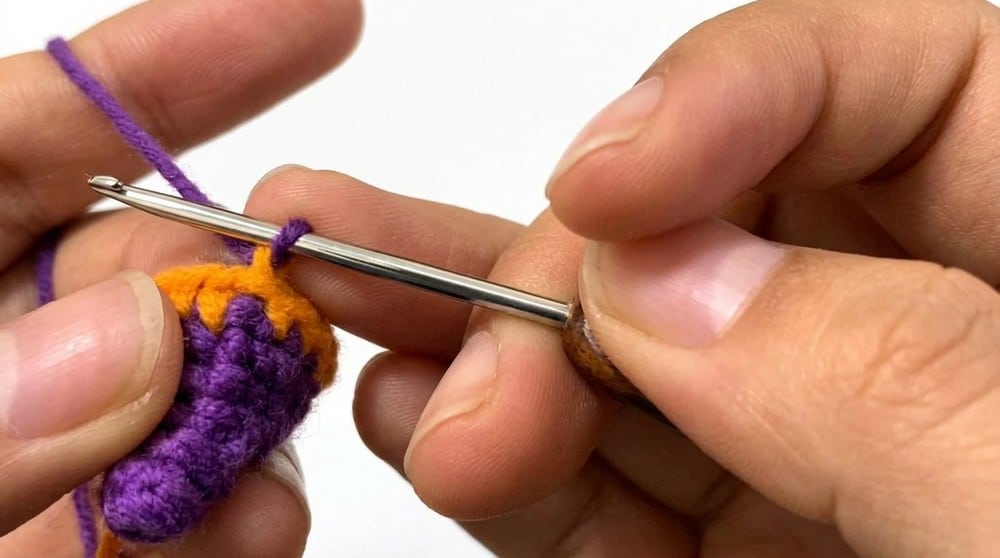
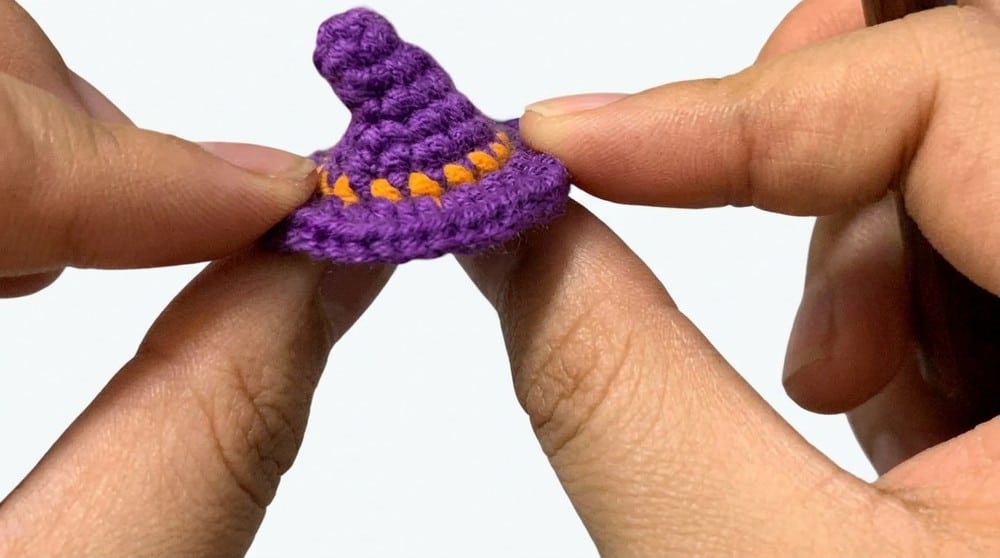
Rounds 1-6: Start with a magic ring of 5 single crochet (sc). Increase stitches in specific intervals carefully for each round to build the hat base and taper the crown.
Round 7: Switch to orange yarn. Work 15 single crochet (sc) stitches around the hat for the contrasting hat trim.
Round 8: Switch to purple yarn. Alternate 2 half double crochets (hdc) and 3 hdc in the same stitch to create a ruffled and textured purple crown layer.
Assembly
Use craft-grade glue to attach ears, arms, legs, snout, wings, and witch hat securely onto the stuffed body. Ensure the hat sits neatly and symmetrically on top of the head. Position the wings evenly on either side of the body, affixing firmly. Glue the ears on either side of the head, slightly tilted forward to enhance cuteness. Attach arms and legs to the sides and bottom respectively.
Tips
This project is intermediate level, requiring proficiency in working in rounds, increasing and decreasing stitches, front loop work, combining stitches such as SC, HDC, DC, and managing multiple yarn colors. If you enjoy this level of detail, you might also like our Adorable Crochet Pumpkin Trio Amigurumi for more seasonal fun, or check out the Adorable Crochet Bunny for a different texture challenge.
FAQs
What type of yarn is best for this pattern?
The pattern calls for pink yarn for the body, darker pink for the snout, black for wings and hat, orange for hat trim, and purple for the hat body. A worsted or DK weight yarn works well with a 2.0 mm hook.
How do I attach the wings and hat securely?
The instructions recommend using craft-grade glue for a durable finish. Ensure the hat sits neatly and symmetrically on top of the head, and position the wings evenly on either side of the body.
Can I sew the parts on instead of gluing?
Yes, while glue is preferred for a neat finish, sewing is an acceptable alternative if you prefer to stitch the ears, arms, legs, snout, wings, and hat onto the body.
What is the finished size of the pig?
The finished Halloween pig stands approximately 15–18 cm tall, making it an ideal decorative piece or gift.
Is this pattern suitable for beginners?
This is an intermediate pattern. It requires proficiency in working in rounds, increasing and decreasing stitches, front loop work, and managing multiple yarn colors.
Pin This Crochet Pattern!