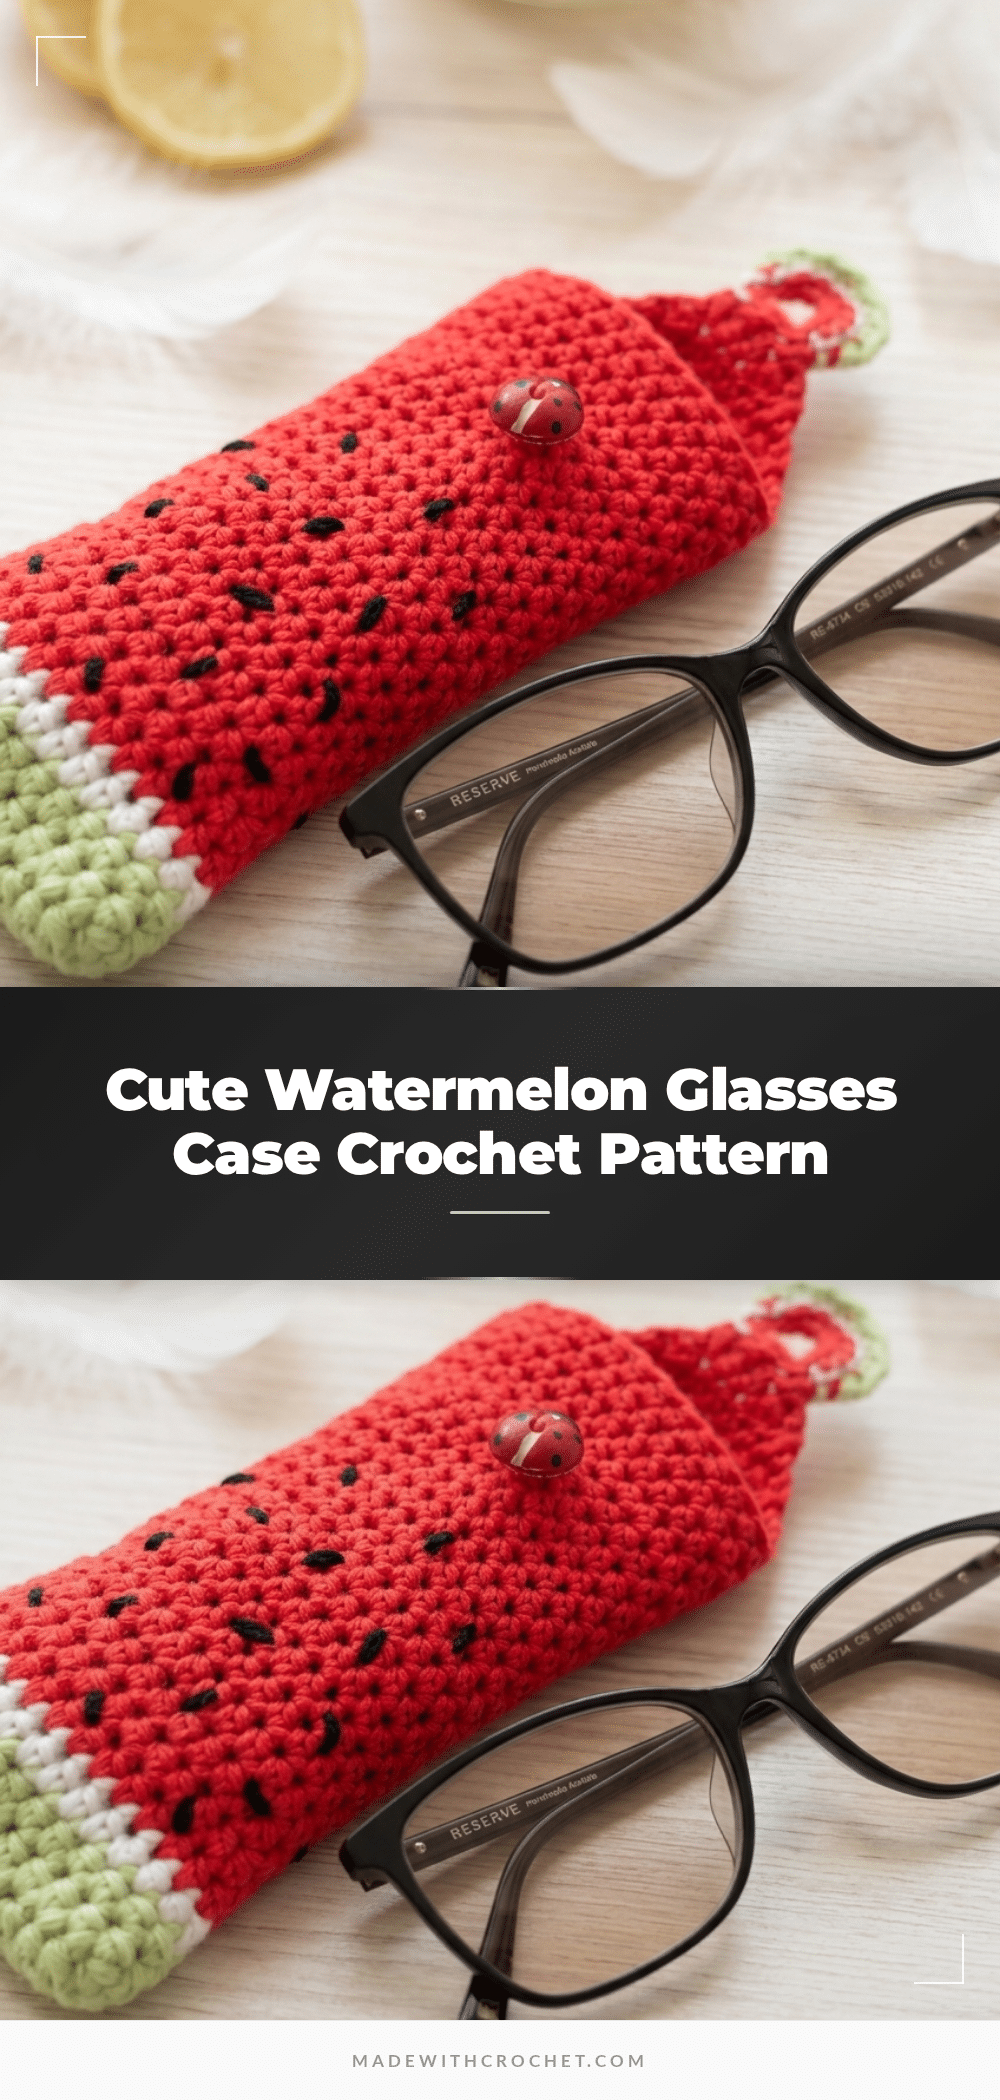
There is something deeply satisfying about the quiet ritual of a weekend crochet session. The house is still, the light is soft, and you have a small batch of yarn ready to go. As you count your stitches and settle into a relaxing repeat, the tension of the week melts away. This Watermelon Glasses Case fits perfectly into that rhythm. It is a cheerful, practical project that rewards you with a handmade essential you will actually use every day. Whether you are gifting it to a friend who loves fruit-themed decor or treating yourself to a summer accessory, this pattern offers a delightful blend of color and utility.
Small Details That Make It Better
What makes this project truly special is how the construction mimics the actual fruit. The oval foundation creates a flat bottom that sits nicely in a bag, while the continuous spiral rounds build a sturdy tube that protects your eyewear. The color blocking is the star here: the deep green rind, the crisp white inner rind, and the vibrant red flesh create a striking visual contrast. I love that the flap isn’t just a flat piece of fabric; it tapers to a rounded point using decreases, giving the case a unique silhouette. The button loop, reinforced with layers of green and white, ties the whole design together, ensuring the closure is as secure as it is cute. It is a small project with big personality.
Project Overview
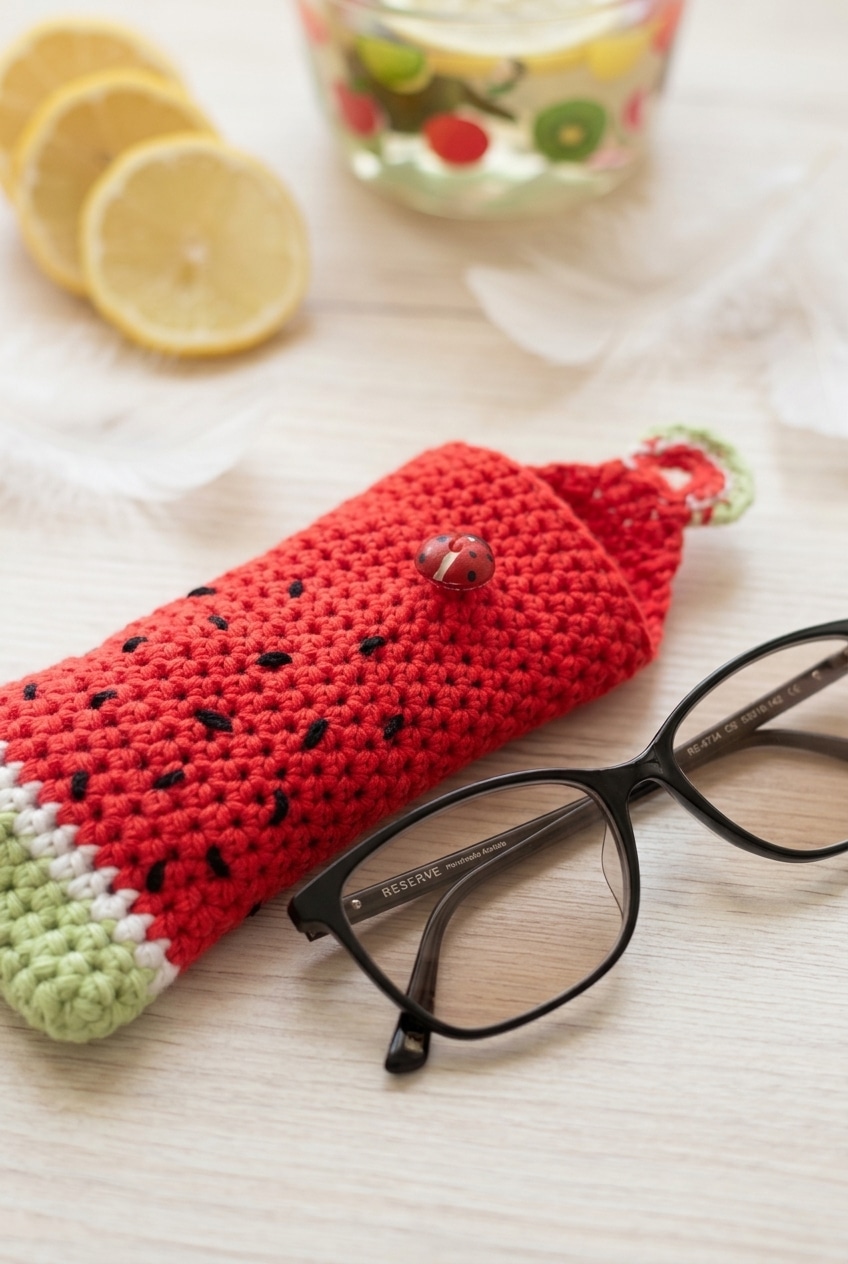
This is a slim crocheted case worked in the round with a shaped top and a decrease closure. It is sized to fit most standard pencil cases or small pouches, making it perfect for sunglasses or prescription glasses. The pattern is listed as intermediate, primarily because of the hdc2tog shaping at the top, but if you have worked decreases before, you will be fine. It is a great project for practicing color changes and maintaining a firm, structured fabric.
Materials
- DK Weight Yarn: You will need four colors: green, white, red, and black (for the seeds, if desired, though the pattern focuses on the rind colors). DK weight is the right call here because it gives you enough stitch definition to see the color changes cleanly without the fabric getting too stiff or too floppy. A smooth DK acrylic works well, especially for the red and green sections where you want the color to read clearly.
- Yardage: Not specified in the original, but for a small project like this, somewhere in the range of 20 to 50 meters per color should cover you, with red needing the most since it carries the bulk of the rounds.
- 3.5 mm Crochet Hook: This size pairs naturally with DK weight and keeps the fabric tight enough that the finished piece holds its shape without gaps.
- 1 Button: Approximately 1 cm. The button is part of a button hole detail, so size does matter here. Stick close to 1 cm so it actually fits the hole without being loose or forcing it. A flat button works fine, but a shank button also works and gives a slightly more polished look.
- Notions: Yarn needle, scissors, and a stitch marker.
Gauge and Finished Size
Finished Size: Approx. 7 in (18 cm) tall x 3.5 in (9 cm) wide.
Gauge: Gauge is not critical for this project. However, fabric density does matter. Too loose and the case won’t hold its shape. Work at a tension that feels firm and structured rather than drapey. Use a hook size that creates a firm fabric so the case holds its shape and stitches are not too loose.
Abbreviations
US Terminology is used throughout this pattern.
ch= chainsl st= slip stitchsc= single crochethdc= half double crochetst(s)= stitch(es)hdc2tog= half double crochet 2 stitches together (decrease): yo, insert hook in next st, yo, pull up a loop (3 loops on hook); yo, insert hook in next st, yo, pull up a loop (5 loops on hook); yo, pull through all 5 loops.
Pattern Notes
- Continuous Rounds: Round 1 is not joined. After that, I work in continuous rounds, so it is worth placing a stitch marker at the start of each round and moving it up as you go.
- Color Changes: The colors follow a specific order. Green starts in Round 1, white comes in at the end of Round 2, red joins at the end of Round 4, and green/white return for the button hole. Join the new color in the last pull-through of the final
hdcin that round to keep the join clean. - Yarn Care: Check your yarn label for fiber content and care instructions since the pattern doesn’t specify a particular fiber.
Pattern Instructions
Case Body
This is the main tube of the case, worked in the round starting from a foundation chain. You will build the watermelon stripe effect by switching colors as you go, so have your green, white, and red yarn ready before you start.
Round 1: In green, ch 13, 2 hdc in 2nd ch from hook, 1 hdc in next 10 ch, 2 hdc in last ch; rotate work and crochet back into same ch again, starting with 2 hdc in same last ch as previous 2 hdc, 1 hdc in next 10 ch, 2 hdc in last ch. [28 hdc] Do not join round. This is an oval foundation — you are working into both sides of the starting chain to create the flat bottom of the case. The “do not join” means you will be working in a continuous spiral from here.
Rounds 2–3: 1 hdc in each st around, join white in end of last st. [28 hdc] These two rounds finish the green rind section. Join white at the very end of Round 3 by pulling the new color through on the final pull-through of your last hdc.
Round 4: Continuing in white, 1 hdc in each st around, join red in end of last st. [28 hdc] This single white round is the thin rind stripe. Join red the same way you joined white — on the last pull-through of the round.
Rounds 5–25: Continuing in red, 1 hdc in each st around. [28 hdc] This is the long red flesh of the watermelon. Twenty-one rounds of even hdc builds the depth needed to hold a glasses frame comfortably. No shaping, no color changes — just work steadily through to Round 25.
Top Flap Shaping
At this point you will stop working in the round and switch to rows to shape the curved flap that folds over the top of the case. The decreases on each end of every row pull the flap into a rounded point.
Row 26: 1 hdc in next 15 sts to edge of case, ch 1, turn, hdc2tog, 1 hdc in next 10 sts, hdc2tog. [12 hdc from turning] Ch 1, turn. You are only working across half the opening here — 15 stitches gets you to the edge, then you turn and immediately begin decreasing. The ch 1 at the start and end of this row is your turning chain throughout this section.
Row 27: hdc2tog, 1 hdc in next 8 sts, hdc2tog. [10 hdc] Ch 1, turn.
Row 28: hdc2tog, 1 hdc in next 6 sts, hdc2tog. [8 hdc] Ch 1, turn.
Row 29: hdc2tog, 1 hdc in next 4 sts, hdc2tog. [6 hdc] Ch 1, turn.
Row 30: hdc2tog, 1 hdc in next 2 sts, hdc2tog. [4 hdc] Ch 1, turn.
Row 31: hdc2tog twice. [2 hdc] This is the tip of the flap. Do not fasten off yet — you will continue directly into the button hole section.
Button Hole
The button loop is worked right off the tip of the flap, then reinforced with layers of stitches in each of the three colors to match the watermelon stripe sequence. Have your green and white yarn close by for the color joins in Steps 2 and 3.
Step 1: Ch 6, turn, sl st in second hdc decrease, ch 1, turn. This chain-6 forms the loop your button will pass through. The slip stitch anchors it to the flap tip before you fill the loop in the next step.
Step 2: 8 hdc in ch-6 sp, join green with a ch 1, turn. You are filling the chain-6 loop with 8 hdc, then immediately joining green to begin the color layering.
Step 3: 1 sc in next 8 sts, sl st in same st as previous sc and join white, turn. Work across all 8 stitches in green, then join white on the slip stitch at the end.
Step 4: Sl st in next same 8 sts as previous sts used, fasten off and tie in all ends. This final white layer of slip stitches completes the button loop. Fasten off securely and weave in all ends from the color joins.
Assembly
Step 5: Sew on button between Rounds 19 and 20 (or Rounds 6 and 7 from the top). Centering the button on the front of the case at this position means the flap will close snugly without pulling. Use a yarn needle and a length of matching yarn or thread to attach it firmly. I recommend pinning it in place and testing the fit before sewing it down.
Tips
- Color Management: Worth reading through the color change points before you start so you know when to have each color ready to go.
- Button Loop: The loop is made by chaining 6 after the final two decreases at the top of the flap, then working 8
hdcback into that chain space. Green and white are added in the next two steps to match the watermelon rind edge. It sounds fiddly but it comes together quickly once you are at that point in the flap. - Button Size: The pattern calls for a button around 1 cm. Anything much larger and it won’t sit right against the case, and anything smaller might slip through the loop too easily.
- Custom Sizing: If your glasses are wider or bulkier, you could add a few extra stitches to the foundation chain to widen the base, which would carry through the whole body.
Care Instructions
Hand wash this case gently in cool water and lay it flat to dry. Because it is structured and worked in rounds, it holds its shape pretty well, but tossing it in the dryer could distort the body or cause the button loop to stretch out. The button is sewn on, so check that thread periodically if you are using the case daily. A gentle spot clean works fine for minor dirt without having to wet the whole thing.
Frequently Asked Questions
How does the button loop actually work? It looks complicated.
It is simpler than it sounds! You create a chain-6 loop at the very tip of the flap. Then, you work stitches back into that chain space to fill it out, adding layers of green and white to match the rind. It creates a sturdy, decorative loop that matches the rest of the case perfectly.
Where exactly does the button get sewn on?
Sew the button between Rounds 19 and 20 of the main body (or roughly 6-7 rounds from the top edge). This placement aligns perfectly with the button loop on the flap when the case is closed.
What size button should I use?
A button approximately 1 cm in diameter is ideal. This size fits the loop snugly without being loose or requiring force to close.
The color changes happen at the end of rounds. How do I keep them tidy?
Join the new color in the last pull-through of the final stitch of the previous round. This hides the join inside the stitch and prevents a visible “blip” at the start of the next round.
Will this fit a standard glasses case? My frames are on the larger side.
This pattern is sized for standard cases. If you have larger or bulkier frames, you can increase the foundation chain in Round 1 to widen the base, which will increase the width of the entire case.
Happy Crocheting! This project is a wonderful addition to your handmade collection, offering both style and function. If you enjoy making practical gifts, you might also like our adorable crochet watermelon doll for some matching summer decor.
Pin This Crochet Pattern!