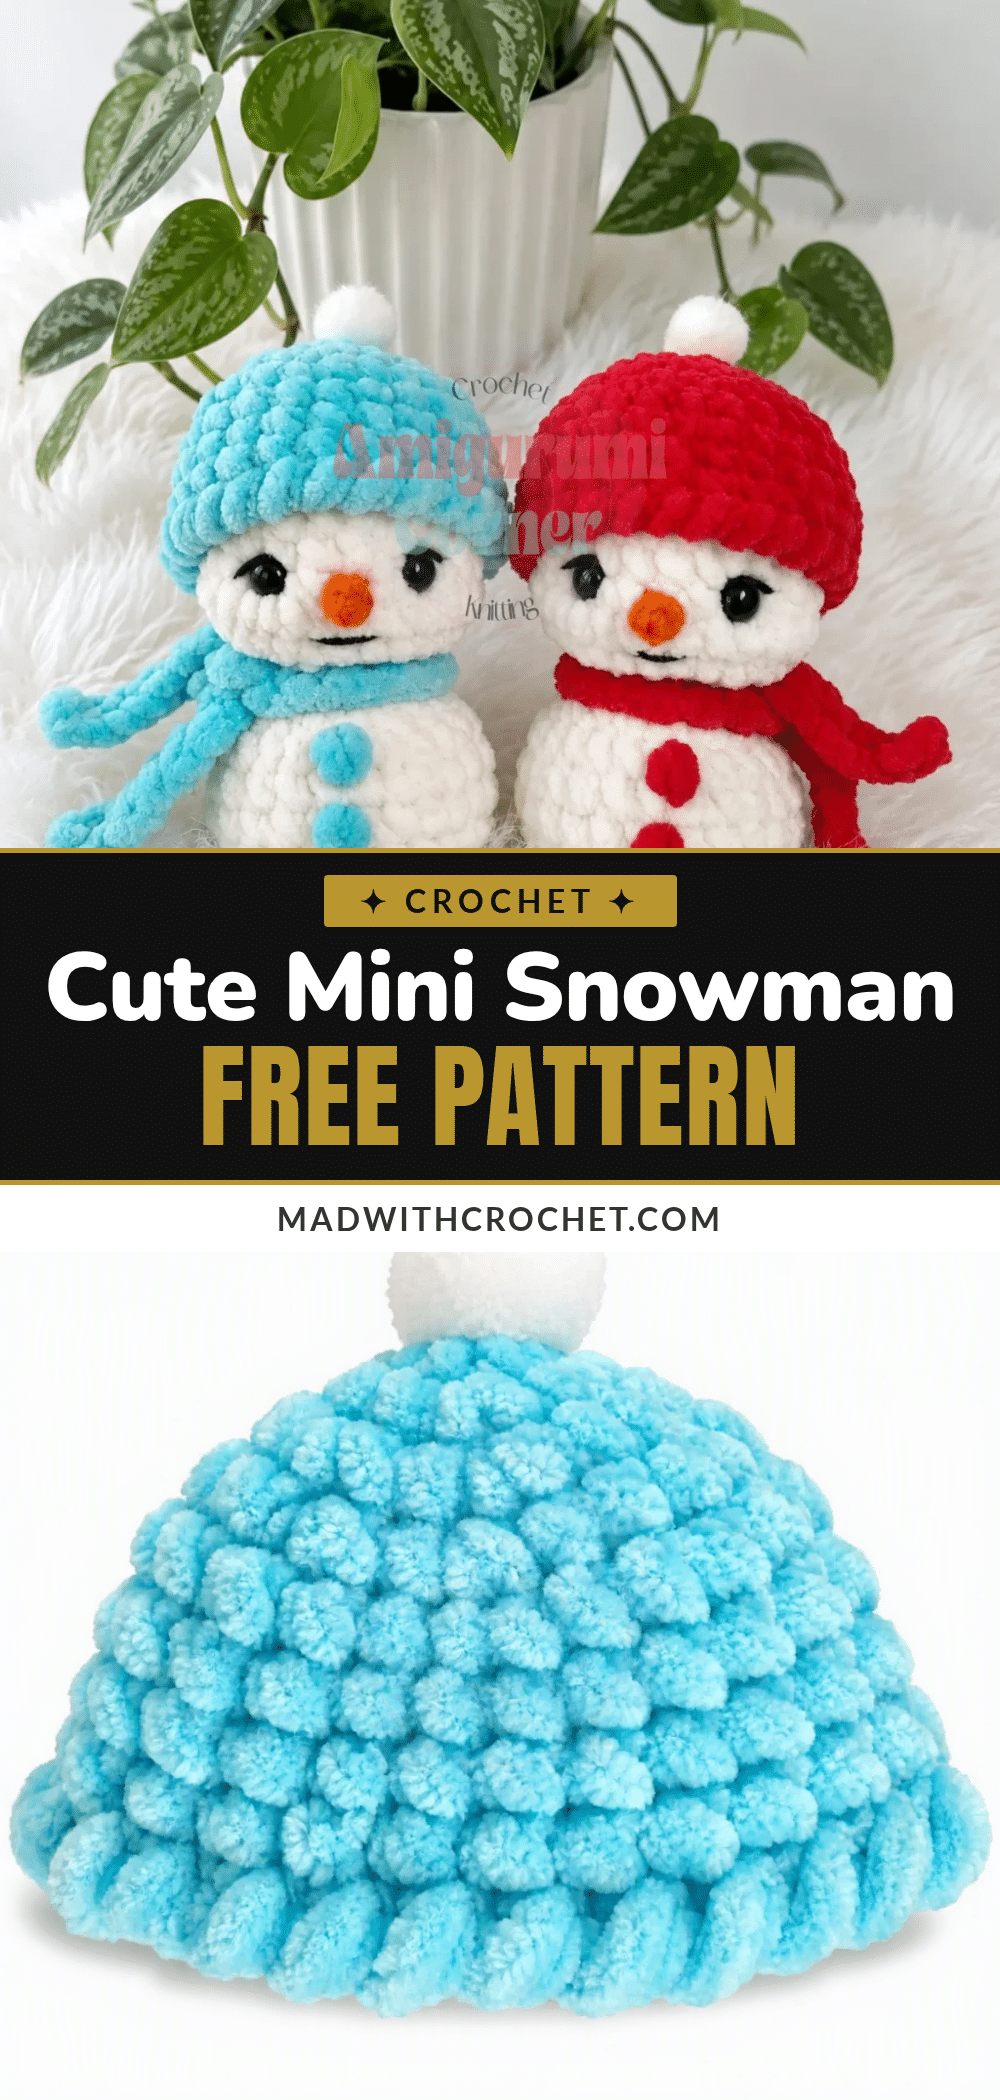
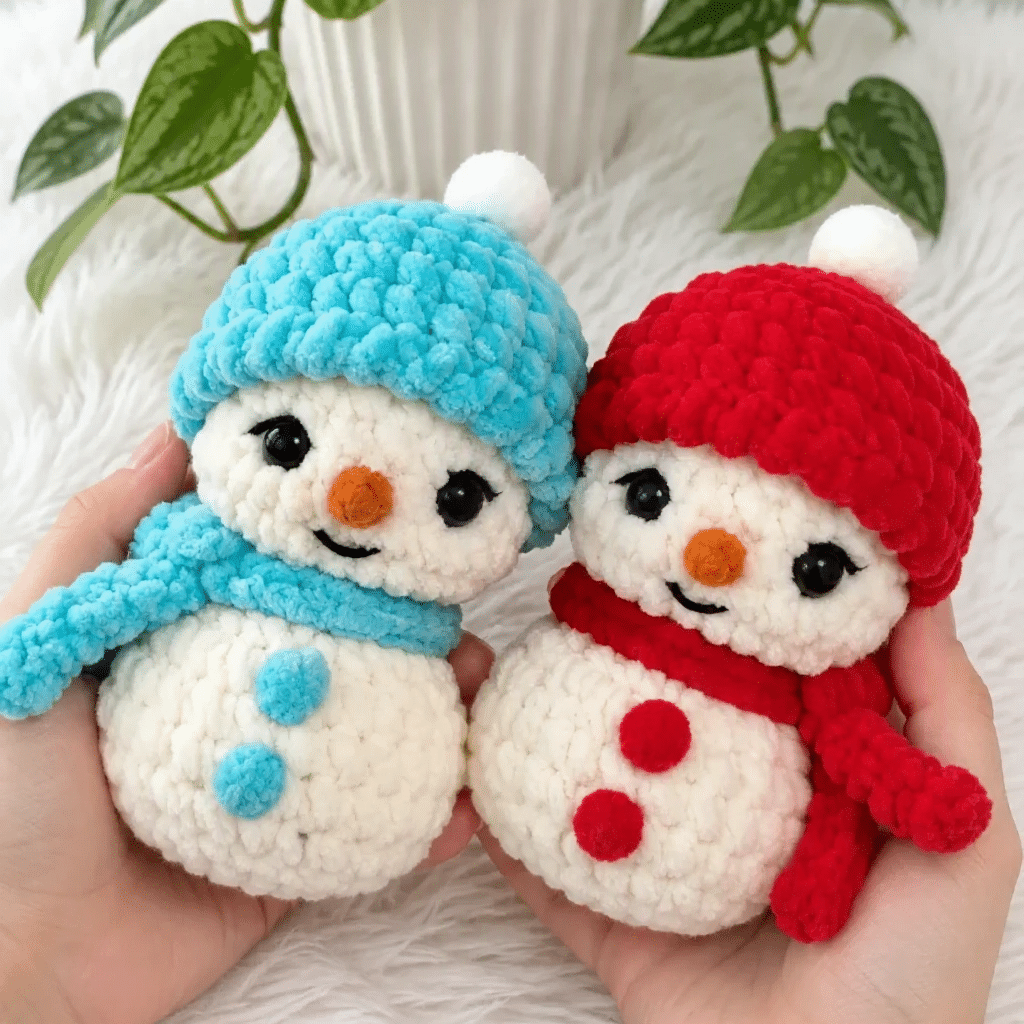
A small snowman sitting on a shelf can quietly change the whole mood of a room in December. This mini snowman amigurumi is crocheted as one continuous body-and-head piece, so there is far less sewing than most amigurumi projects, and the result is a compact, chubby little figure that fits in the palm of your hand. It’s a beginner-friendly pattern, and with a fluffy yarn like Himalaya Dolphin Baby, the texture does a lot of the visual work for you. You’ll build the body from the bottom up, shape the belly and head in one piece, then add a tiny orange nose, a hat worked in the round, and a simple chained scarf. Whether you’re making a gift, a tree ornament, or a little holiday decoration for your own home, this crochet snowman pattern comes together quickly and leaves a big impression. Let’s get started.
Yarn and Color Notes
Choosing the right yarn for this project is half the fun. For the body, I reached for a stash of white fluffy or eyelash-style yarn, specifically Himalaya Dolphin Baby. The texture of this fiber creates an instant “snowy” look without needing complex stitches, making it perfect for a beginner. For the details, I opted for a semi-cotton yarn in black and orange. The cotton blend provides a nice contrast to the fluffy body, ensuring the embroidered features and the nose stand out clearly. If you want to add a pop of personality, the hat and scarf can be any color you like—classic red and green work beautifully, but I love how a soft pastel or a deep navy looks against the white snowman. This project pairs nicely with other holiday favorites, like the adorable reindeer amigurumi for a complete winter scene.
Project Overview
This pattern creates a compact, chubby snowman figure. The body and head are worked as a single continuous piece in a spiral, reducing assembly time. You will add a separate hat and scarf for accessories. The pattern uses US crochet terminology and is designed to be beginner-friendly.
Materials
- Yarn (main): Himalaya Dolphin Baby or any equivalent fluffy/eyelash-style yarn in white (approximately 50 g)
- Yarn (detail): A small amount of black semi-cotton or cotton-blend yarn for embroidering the eyes, eyebrows, eyelashes, mouth, and buttons
- Yarn (nose): A small amount of orange semi-cotton or cotton-blend yarn for the nose piece
- Yarn (hat/scarf): Scraps of your chosen colors
- Hook size: G-6 / 4.0 mm
- Button-style safety eyes: 8 mm, 1 pair
- Stuffing: Polyfill fiberfill
- Strong thread: For needle-sculpting the face (pulling yarn through to create slight indents around the eyes)
- Yarn needle / tapestry needle: Large-eye needle suitable for fluffy yarn
- Scissors
- Stitch marker
Gauge and Finished Size
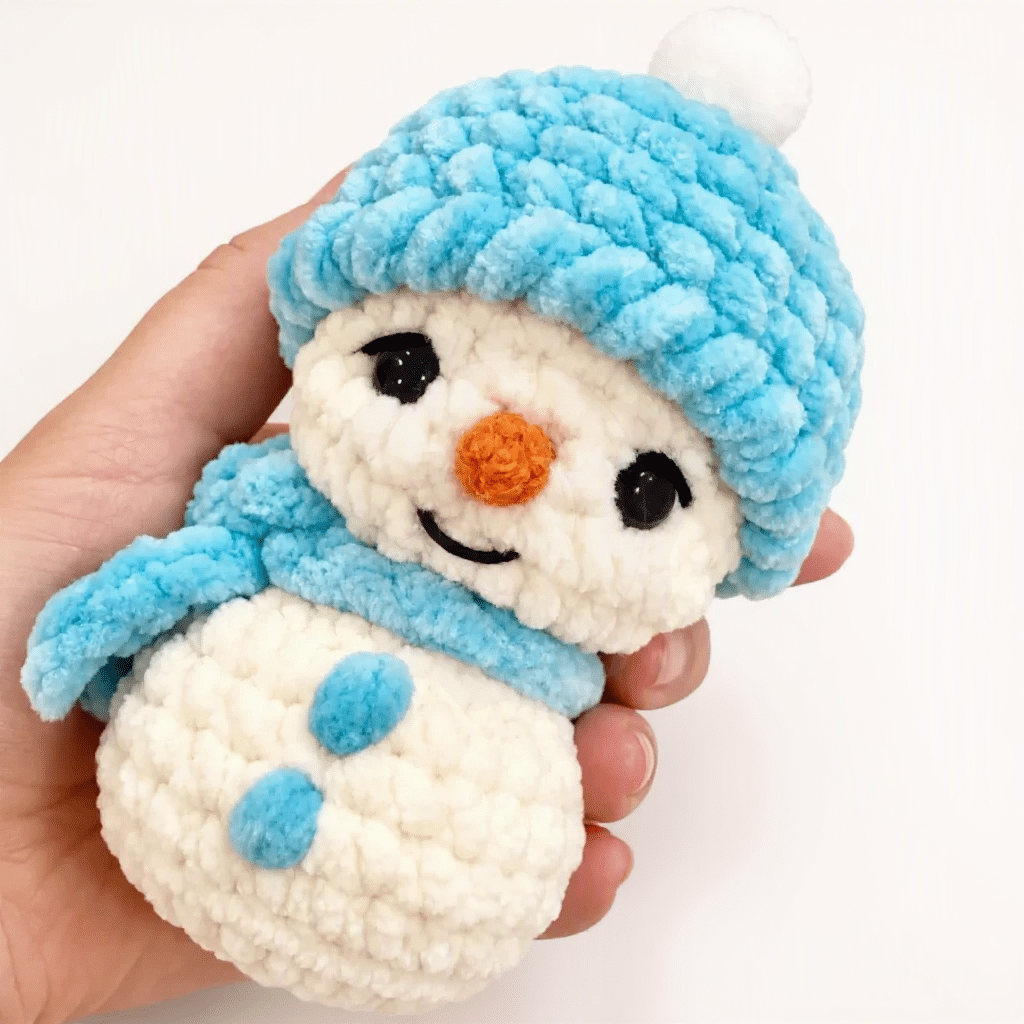
Gauge is not critical for this project, but your fabric should be tight enough that stuffing does not show through. If you can see gaps, try dropping down to a 3.5 mm (E-4) hook. The finished size is a compact figure that fits in the palm of your hand.
Abbreviations
- BLO : Back Loop Only
- ch : Chain
- dec : Decrease (invisible decrease: insert hook through the front loops of the next 2 stitches and complete as one sc)
- inc : Increase (2 sc in the same stitch)
- MR : Magic Ring
- sc : Single Crochet
- sl st : Slip Stitch
- SM : Stitch Marker
- st / sts : Stitch / Stitches
Pattern Notes
This pattern is written in US crochet terminology. The body and head are worked as one continuous piece in a continuous spiral (no joining, no turning). Do not close rounds with a slip stitch unless specifically instructed. Use a stitch marker to track the beginning of each round. The hat is also worked in a continuous spiral, with a crab stitch edging on the final round.
Stitch counts are given in parentheses at the end of each round: (##). Stuff the body and head as you go. Do not wait until the piece is finished to add fiberfill; add it gradually as the opening narrows.
Important note on round numbering in the Body and Head section: The original pattern lists a range of Rnds 15-17 as even rounds, then continues with individual rounds numbered 16, 17, and 18. This article preserves that original numbering exactly. Read carefully: after the “Rnds 15-17” group, the next individually numbered round is Rnd 16, which begins the decrease sequence.
Pattern Instructions
Body and Head
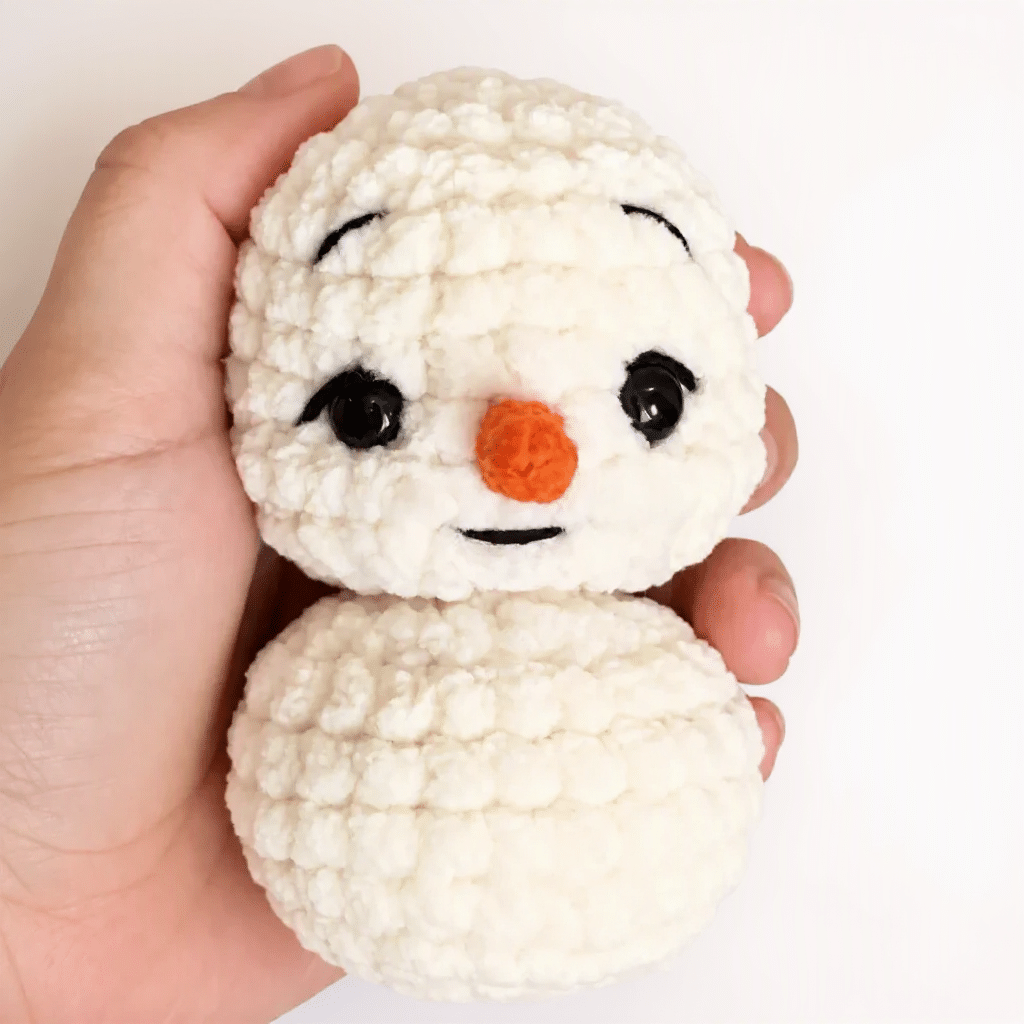
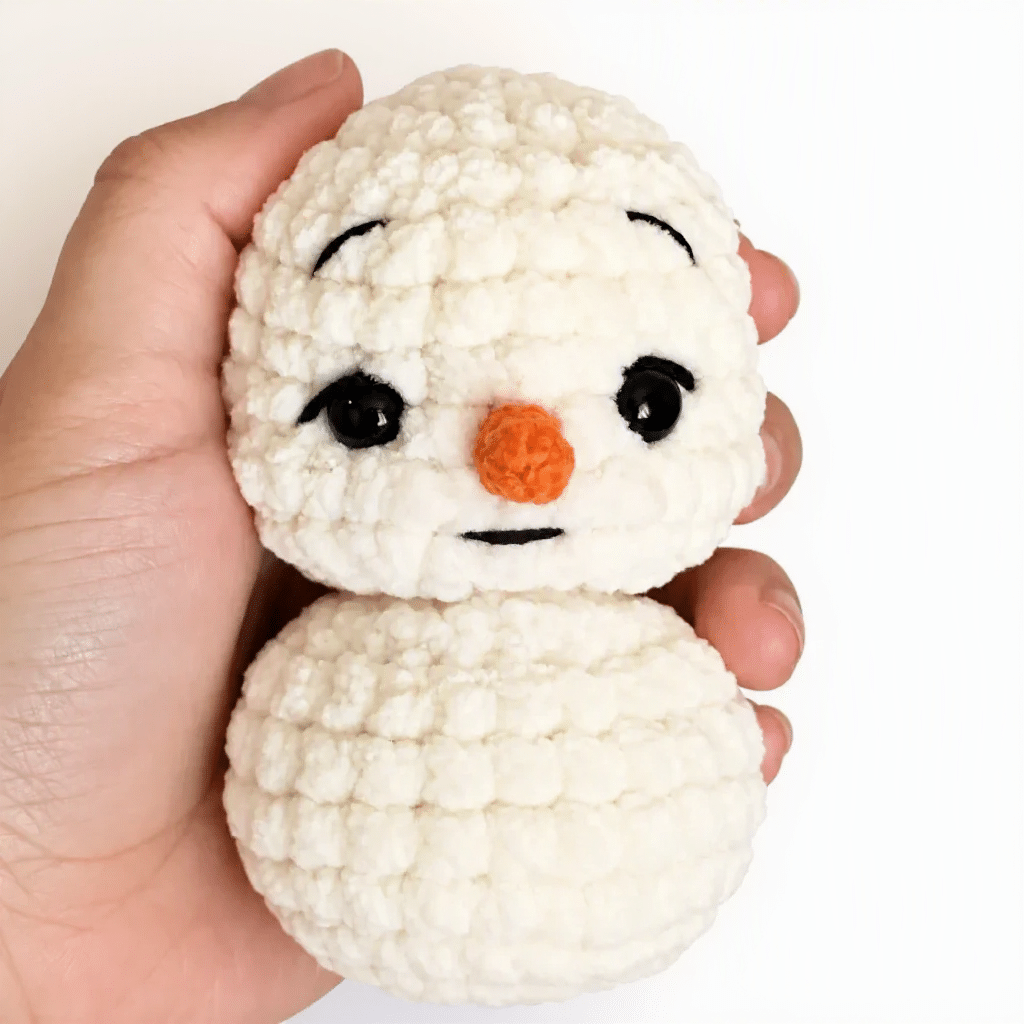
Work in a continuous spiral. Stuff as you go.
Rnd 1: 8 sc in MR. (8)
Rnd 2: inc in each st around. (16)
Rnd 3: sc, inc repeat 8 times around. (24)
Rnd 4: sc in BLO in each st around. (24)
Rnds 5-7: sc in each st around. (24)
Rnd 8: sc, dec repeat 8 times around. (16)
Rnd 9: dec in each pair of sts around. (8)
Rnd 10: inc in each st around. (16)
Rnd 11: sc, inc repeat 8 times around. (24)
Place your stitch marker at the center back of the piece here. This reference point helps you align the face increases that follow.
Rnd 12: 7 sc, inc 3 times, 4 sc, inc 3 times, 7 sc. (30)
Rnd 13: sc in each st around. (30)
Rnd 14: 7 sc, dec 3 times, 4 sc, dec 3 times, 7 sc. (24)
Rnds 15-17: sc in each st around. (24)
Rnd 16: 2 sc, dec repeat 6 times around. (18)
Rnd 17: sc, dec repeat 6 times around. (12)
Rnd 18: dec 6 times around. (6)
Fasten off and close the opening. Weave in the end.
Nose
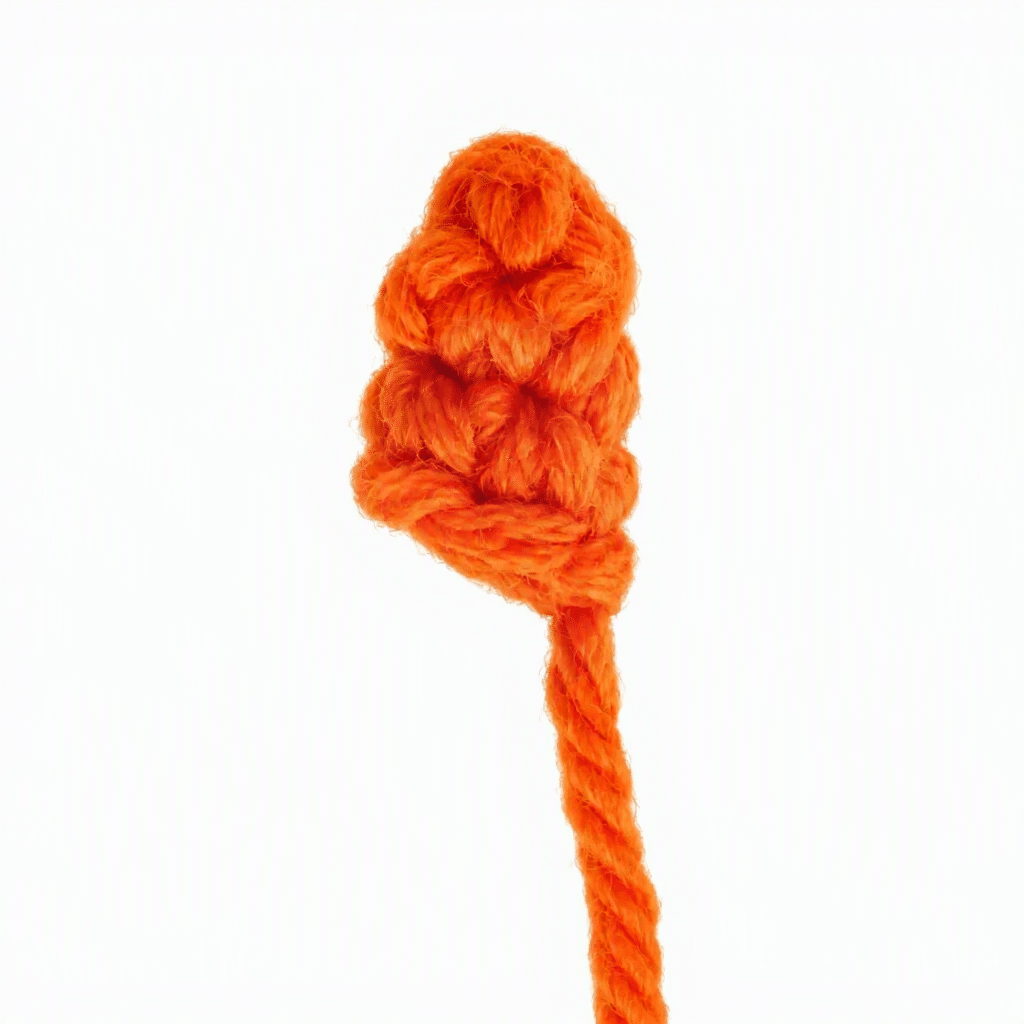
Work in a continuous spiral using orange semi-cotton yarn.
Rnd 1: 4 sc in MR. (4)
Rnd 2: sc, inc repeat 2 times around. (6)
Rnd 3: sc in each st around. (6)
Fasten off, leaving a long tail for sewing.
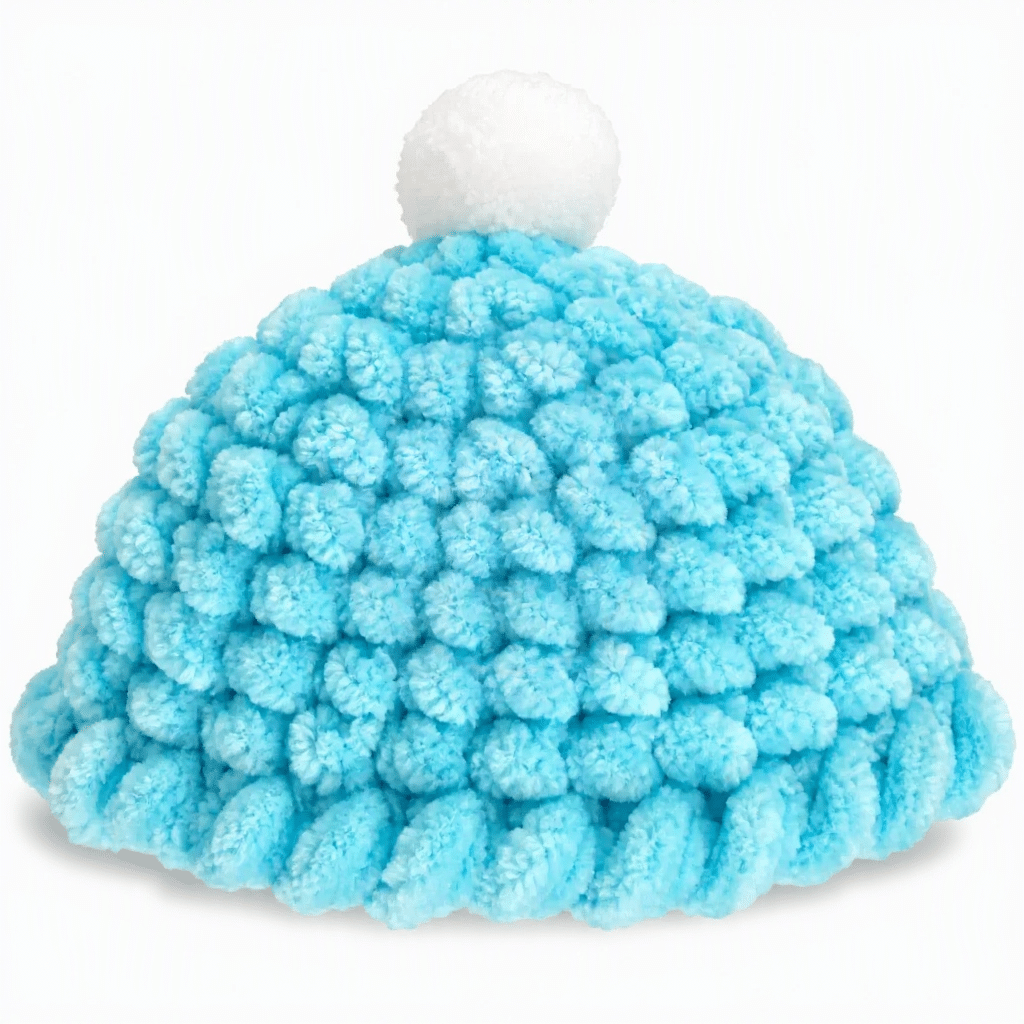
Hat
Work in a continuous spiral using your chosen hat color.
Rnd 1: 6 sc in MR. (6)
Rnd 2: inc in each st around. (12)
Rnd 3: sc, inc repeat 6 times around. (18)
Rnd 4: 2 sc, inc repeat 6 times around. (24)
Rnds 5-8: sc in each st around. (24)
Rnd 9: Work one round of crab stitch (reverse single crochet) around the brim for a neat, decorative edge.
Fasten off and weave in ends. Sew a pompom to the top of the hat.
Scarf
Using your chosen scarf yarn:
Ch 32. Starting in the 2nd ch from hook, sc in each ch across. (31 sc)
Fasten off and weave in ends.
Assembly
- Attach the safety eyes. Position the 8 mm button-style safety eyes between Rnds 14 and 15, spacing them 4 to 5 stitches apart. Secure the backs firmly from the inside.
- Needle-sculpt the face. Thread a long piece of strong thread onto your yarn needle. To create subtle indents around the eyes that give the snowman’s face its classic carved look, pull the yarn needle through the head following this sequence: insert at point 1 (center base of the neck), bring out at point 2 (outer edge of the left eye), pull back through to point 3 (inner edge of the left eye), return to point 1, then repeat for the right side: 4 (center base of neck, same anchor as 1), 5 (inner edge of right eye), 6 (outer edge of right eye), back to 4. Pull gently to create a slight indent around each eye, then tie off securely at the base of the neck, hiding the knot inside the piece. If you are using safety eyes with locking backs, complete this needle-sculpting step after the safety eyes are locked in place.
- Sew on the nose. Position the orange nose piece between Rnds 13 and 14, centered between the two eyes. Use the long yarn tail and a whipstitch to sew it firmly in place. Weave in the tail inside the head.
- Embroider the face details. Using black yarn or embroidery thread, stitch the eyebrows, eyelashes, and mouth directly onto the head. Using the fluffy main yarn, embroider three small button shapes down the front of the body.
- Attach the hat. Place the hat on top of the head and sew it in place using a whipstitch around the brim, using the hat’s yarn tail.
- Add the scarf. Wrap the scarf strip around the neck and tie or tack it in place. Weave in all remaining ends.
Tips
- Work tightly with fluffy yarn. Eyelash-style yarns like Himalaya Dolphin Baby can be tricky to tension evenly because the fibers obscure the stitch structure. Go slowly, and feel for each stitch with your fingertip before inserting the hook. A tight, firm fabric will keep the stuffing hidden and give your snowman a rounder, more polished shape.
- Don’t overstuff. A snowman should feel pleasantly firm but not rock-hard. Overstuffing causes the decreases to splay outward and the seam to look strained. Add fiberfill gradually as the opening narrows, pressing it gently with your finger to distribute it evenly throughout the piece.
- Keep your invisible decreases truly invisible. For the smoothest finish, always insert your hook through only the front loops of the next two stitches for each decrease. This keeps the decrease flat against the surface rather than creating a visible ridge. It makes a noticeable difference, especially on lighter yarn colors.
- Mark Rnd 12 carefully. The increases in Rnd 12 (and the matching decreases in Rnd 14) define the cheek area of the head. Getting the stitch marker at center back correct in Rnd 11 is the key to keeping these increases symmetrical and the face centered. Take a moment to count before you begin Rnd 12.
- Try the hat on before fastening off. Head sizes can vary slightly depending on your tension. After Rnd 8, place the hat on the finished snowman head. If it sits too loose, add a slip stitch edging instead of the crab stitch row. If it feels too tight, add one more even round before the edging.
FAQs
Can I use a different yarn for the body?
Yes, you can use any fluffy or eyelash-style yarn in white. Just be aware that the stitch definition may be harder to see, so working slowly and feeling for stitches is important.
How do I make the snowman stand up?
Ensure you stuff the body firmly, especially the bottom rounds. You can also add a small amount of additional stuffing to the base to help it balance.
What if I don’t have safety eyes?
You can embroider the eyes using black yarn instead. Use the needle-sculpting technique described in the assembly section to create the indents for the embroidered eyes as well.
Can this be made into an ornament?
Absolutely. You can add a loop of yarn or ribbon to the top of the hat before attaching it, or simply sew a loop onto the hat after assembly.
Why is the round numbering in the Body and Head section so confusing?
The original pattern lists Rnds 15-17 as a group, then continues with individual rounds 16, 17, and 18. This article preserves that original numbering exactly to maintain accuracy with the source pattern.
Ready to gift your mini snowman? This pattern is a quick and charming project that fits perfectly alongside other holiday favorites like the adorable free Santa Claus amigurumi pattern or the easy beginner crochet Christmas tree pattern.
Pin This Crochet Pattern!