There is something undeniably magical about holding a handmade Christmas tree that stands proudly on its own, complete with a sturdy base and a whimsical touch of “snow.” This beginner-friendly project delivers a delightful mix of nostalgia and modern charm, resulting in a squishy, display-worthy centerpiece that brings immediate holiday cheer to any mantel, desk, or tabletop. Whether you are looking for a quick gift for a friend or a cozy winter crafting session, this pattern guides you through creating a festive tree that is as easy to make as it is lovely to behold.
Why the Finished Piece Stands Out
What truly makes this crochet Christmas tree special is its ability to blend traditional holiday aesthetics with a playful, amigurumi-style structure. Unlike flat ornaments or complex wall hangings, this piece is a 3D character in itself. The contrast between the classic green cone shape and the crisp white “snow” trim creates a layered texture that mimics a freshly dusted winter branch. The inclusion of a small pot base adds a touch of realism, grounding the tree so it feels like a miniature landscape rather than just a decoration. Furthermore, the option to insert a battery-operated light transforms the piece from a simple yarn craft into a glowing, magical accent that captures the warmth of the season.
Project Overview

This pattern is designed for crocheters who want to create a charming, standalone holiday decoration. It utilizes basic stitches to form a natural cone shape, making it an excellent project for building confidence in working in rounds. The finished tree features a brown trunk, green branches, and optional white snow details, all anchored by a small pot base. It is versatile enough to be used as a table centerpiece, a shelf accent, or a heartfelt handmade gift.
Materials
- Yarn: Milk cotton yarn in white, brown, or your choice of colors (green for the tree, brown for the trunk/base).
- Crochet Hook: 3.0 mm to 3.5 mm hook.
- Tools: Scissors and a tapestry needle for weaving in ends.
- Optional: Battery-powered flashing light for a glowing effect.
- Optional: Silicone sealant or craft glue for assembly stability.
Gauge and Finished Size
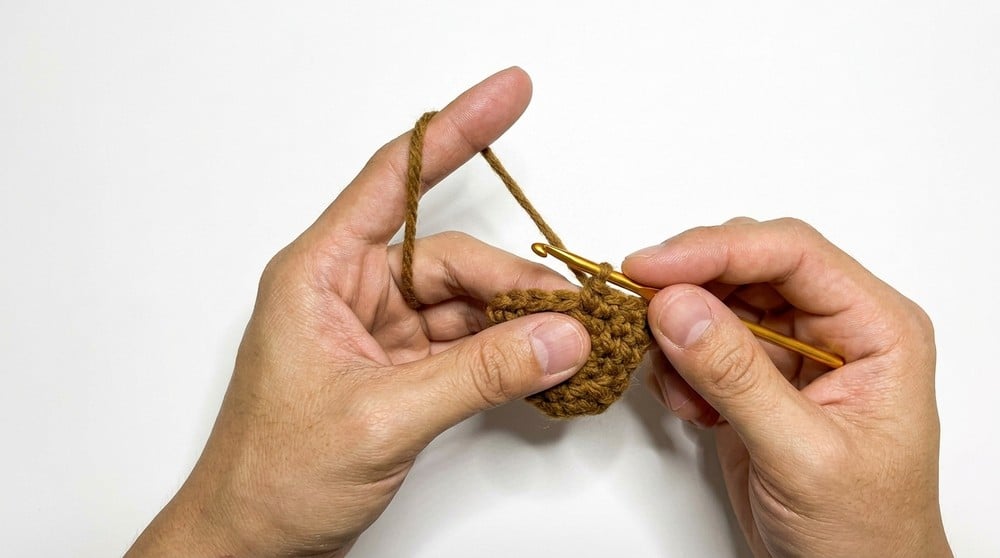
Gauge is flexible for this project, but maintaining an even tension with single crochet stitches is essential for achieving the correct shape. The finished dimensions are approximately:
- Height: 20-25 cm (8-10 inches).
- Base Diameter: 6-8 cm (2.5-3 inches).
Note that the size can be easily adjusted by adding or reducing the number of rounds during the construction process.
Abbreviations
- ch: Chain
- sc: Single Crochet
- inc: Increase (2 sc in 1 st)
- dec: Decrease (crochet 2 sts together)
- sl st: Slip Stitch
- MR: Magic Ring
Pattern Notes
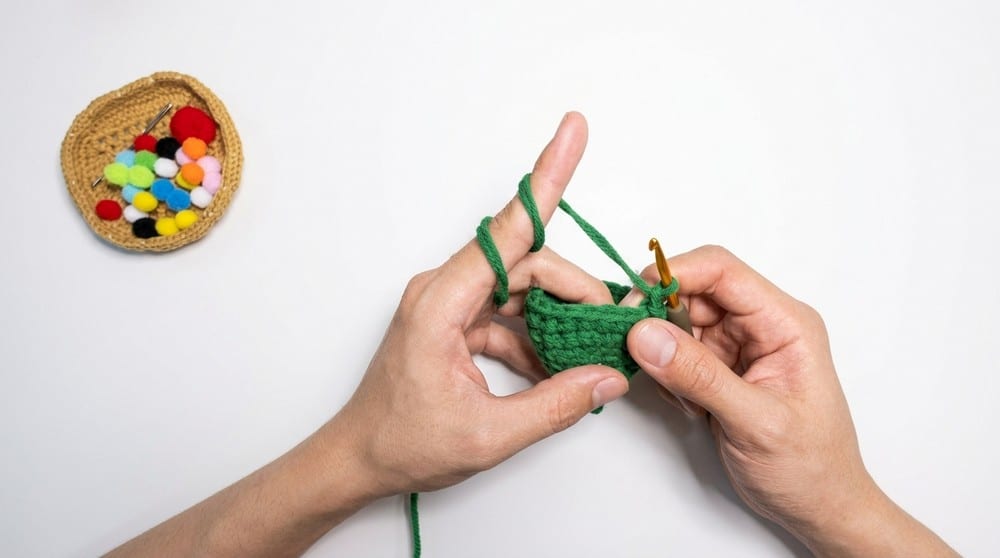
This pattern is suitable for beginners to intermediate crocheters. You should be comfortable making a Magic Ring, working single crochet stitches, performing increases and decreases, working in continuous rounds, joining rounds with a slip stitch, and changing yarn colors if desired. The instructions below follow the specific sequence for building the tree body, shaping the top, and constructing the base.
Pattern Instructions
Tree Body
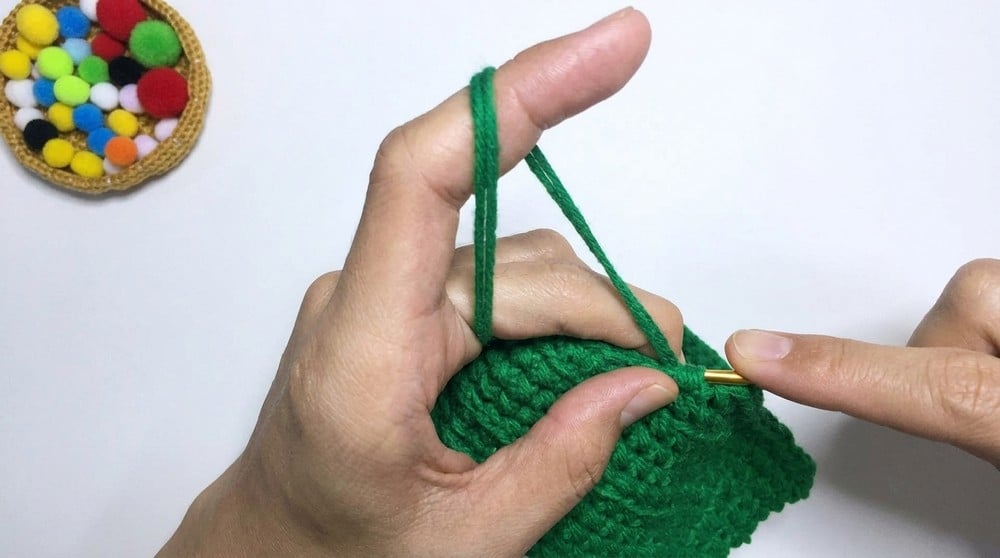
Round 1: Start the Tree Trunk
Make a Magic Ring (MR). Chain 1 (does not count as a stitch). Work 8 single crochet (sc) stitches into the ring. Join with a slip stitch (sl st) to the first sc. Pull the tail to close the ring tightly.
Rounds 2 – 3: Build the Tip
Work 8 sc evenly around without increasing.
Round 4: Increase to Shape
Work an increase (inc) in each stitch — that is, 2 sc in every stitch around. Total stitches: 16 sc. Insert your hook through the stitch upward to assist shaping.
Rounds 5 – 7: Even Rounds
Crochet 24 sc per round, maintaining an even stitch count.
Round 8: Tree
Crochet 24 sc continuing the shape.
Rounds 9 – 29: Continue Building the Tree
Keep crocheting in rounds of 24 sc each. Add increases occasionally to maintain shape and size as needed.
Shape Adjustments with Increases and Decreases
Rounds 30 – 34: Begin Decreasing to Taper the Top
This gradual decrease shapes the tip of the tree. Follow the specific decrease pattern for each round:
- Round 30: 6 sc, 1 decrease (dec), repeat 8 times. Total stitches adjusted to reduce the diameter gradually.
- Round 31: 5 sc, 1 dec, repeat 8 times.
- Round 32: 4 sc, 1 dec, repeat 8 times.
- Round 33: 3 sc, 1 dec, repeat 8 times.
- Round 34: 2 sc, 1 dec, repeat 8 times.
Base Construction
Work small rounds of sc stitches forming a cylindrical shape. Size approximately 6-8 cm diameter, and height to your preference (usually short for stability). Connect the pot legs together with sc and chains to secure.
Assembly
Sew or crochet the tree body onto the pot base securely. Use silicone sealant or craft glue to stabilize if needed. If you wish to add a light, insert the battery-operated flashing light inside the tree before closing the top. Weave in all yarn ends with a tapestry needle for a clean finish.
Tips
- Blocking: Block your finished tree lightly by pinning and steaming to even out stitches and shape.
- Clean Finish: Hide all yarn tails carefully inside the project to ensure a polished look.
- Snow Details: For the optional “snow” effect, crochet white layers using single crochets and chains on the branches, or wrap additional white yarn around the base for a polished look.
FAQs
Can I make this tree larger or smaller?
Yes, the gauge is flexible and the size can be adjusted by adding or reducing the number of rounds in the body or the base sections.
What type of yarn is best for this project?
Milk cotton yarn is recommended for its smooth texture and ability to hold shape well, but you can use any yarn weight that works with a 3.0 mm to 3.5 mm hook.
How do I add the “snow” effect?
You can crochet white “snow” layers using single crochets and chains directly onto the branches, or simply wrap white yarn around the base and lower branches for a dusted look.
Is this pattern suitable for absolute beginners?
It is rated Beginner to Intermediate. While the stitches are basic (sc, inc, dec), working in continuous rounds and shaping a 3D cone requires a bit of practice. If you are new to amigurumi, this is a great project to learn those skills.
Can I use this as a gift?
Absolutely. This tree is a wonderful, heartfelt handmade gift. You can customize the colors and add a small light inside to make it a unique present for friends and family.
Pin This Crochet Pattern!