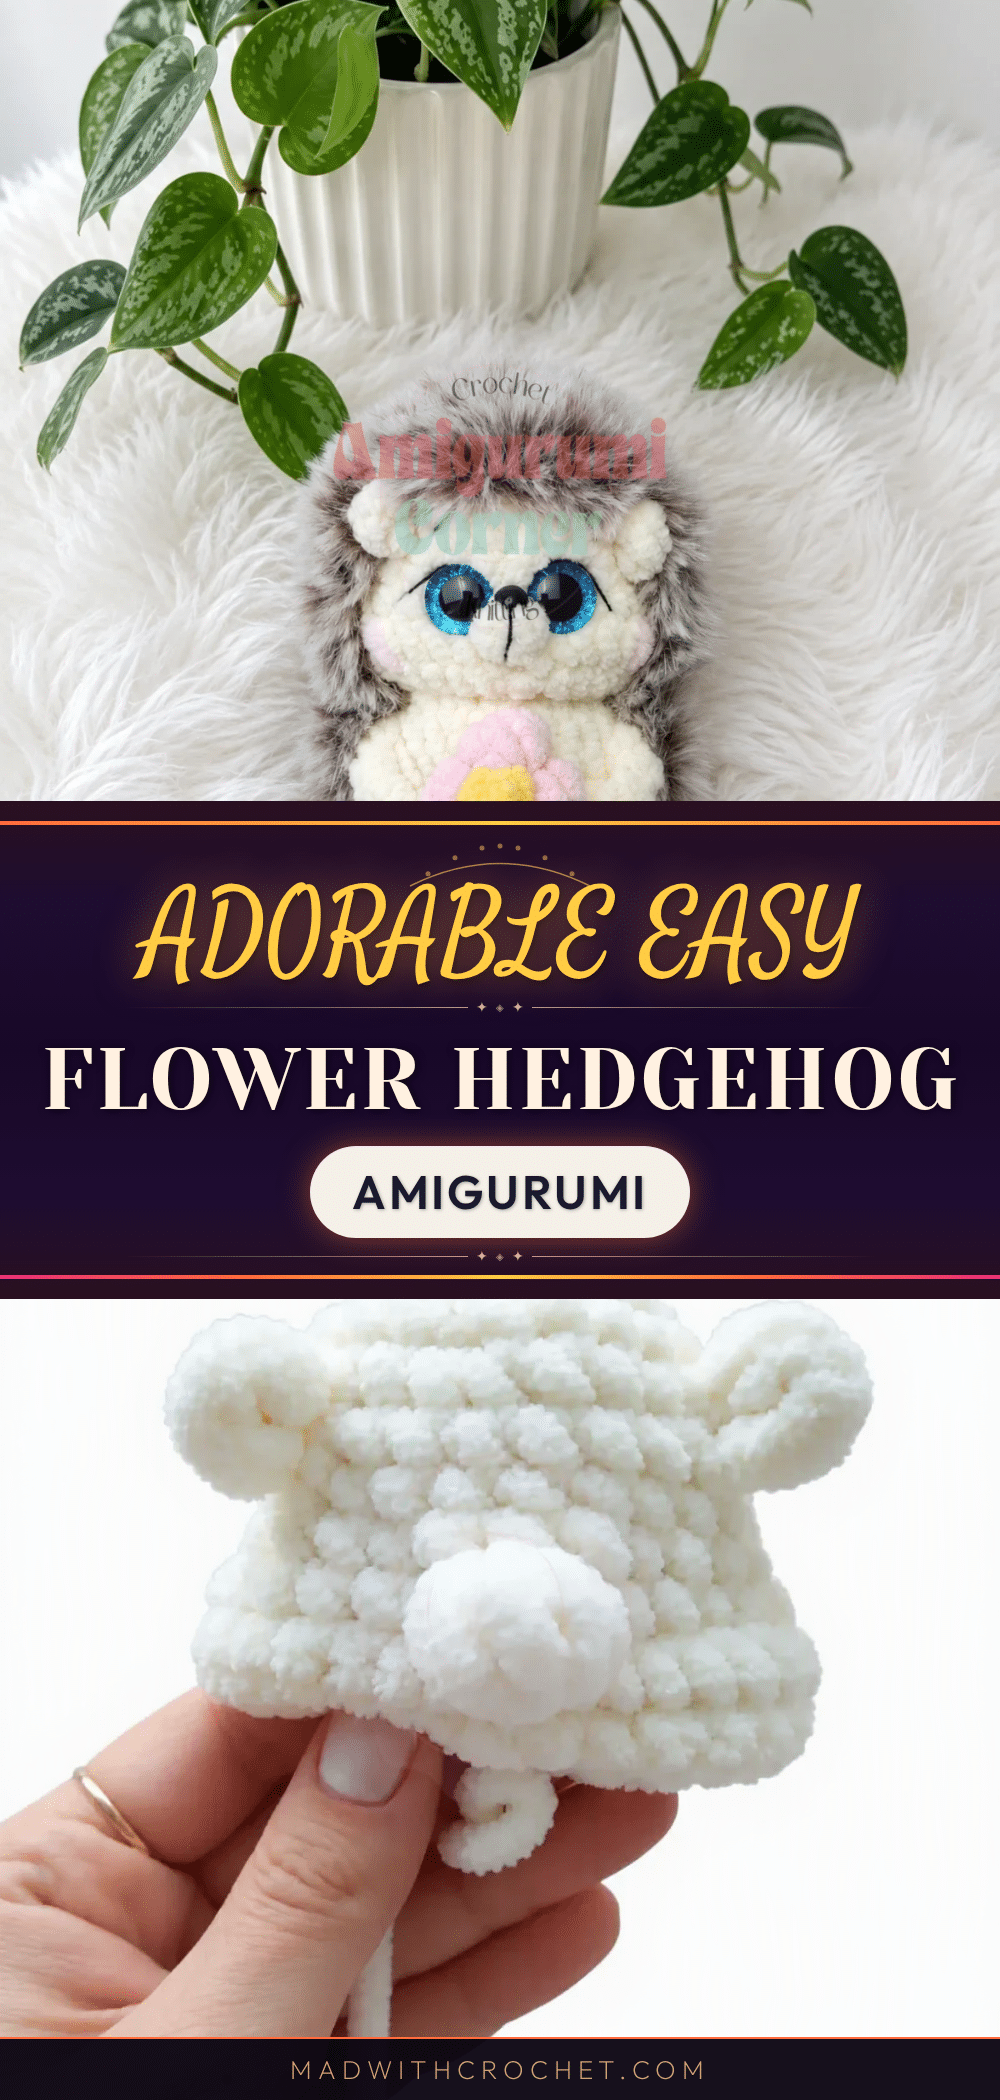
It is completely normal to worry that your first bobble stitch will look messy or that your tension might be too loose, letting stuffing peek through. You might even fear that adding a fur coat will make your amigurumi look like a tangled mess. But this flower hedgehog amigurumi pattern is designed to be forgiving and approachable. By following a few simple techniques for closing bobbles and brushing out the final coat, you will end up with a crisp, professional-looking toy that is surprisingly easy to make.
Maker Notes
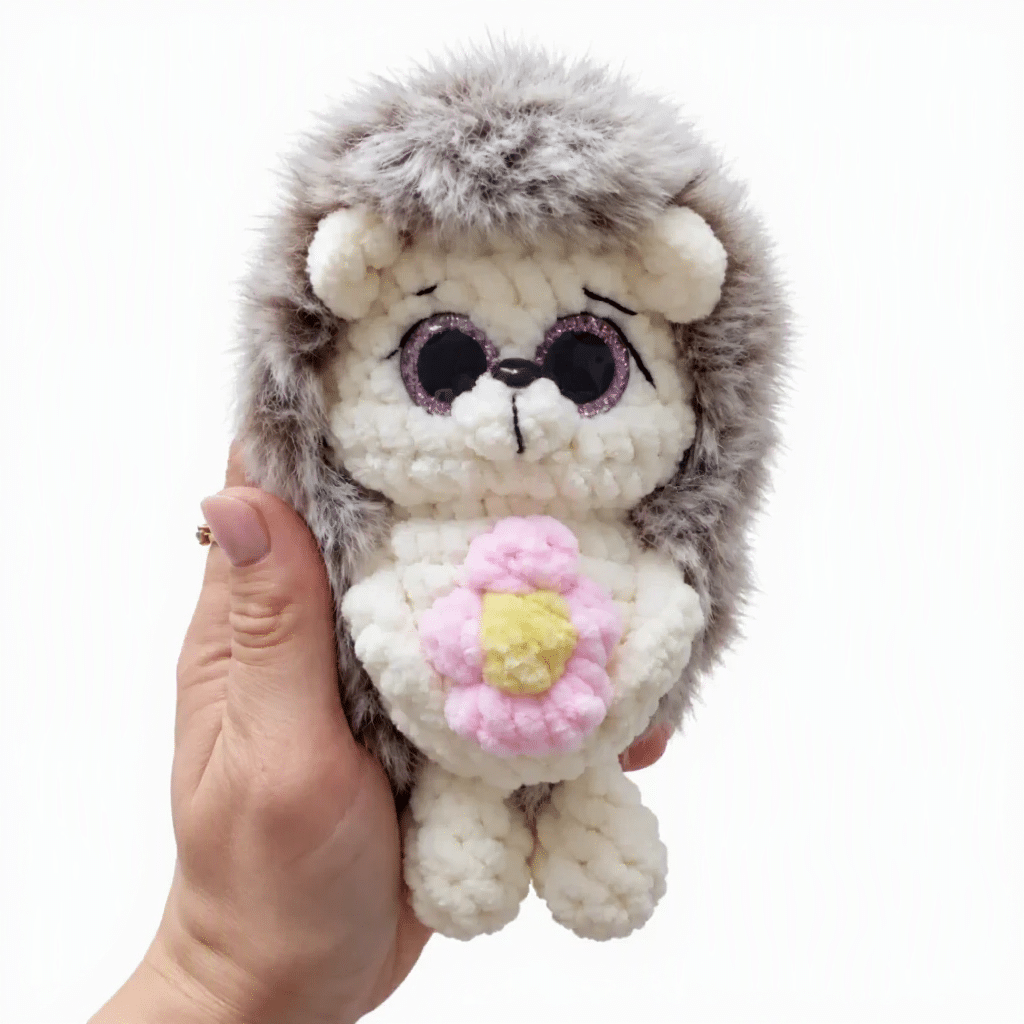
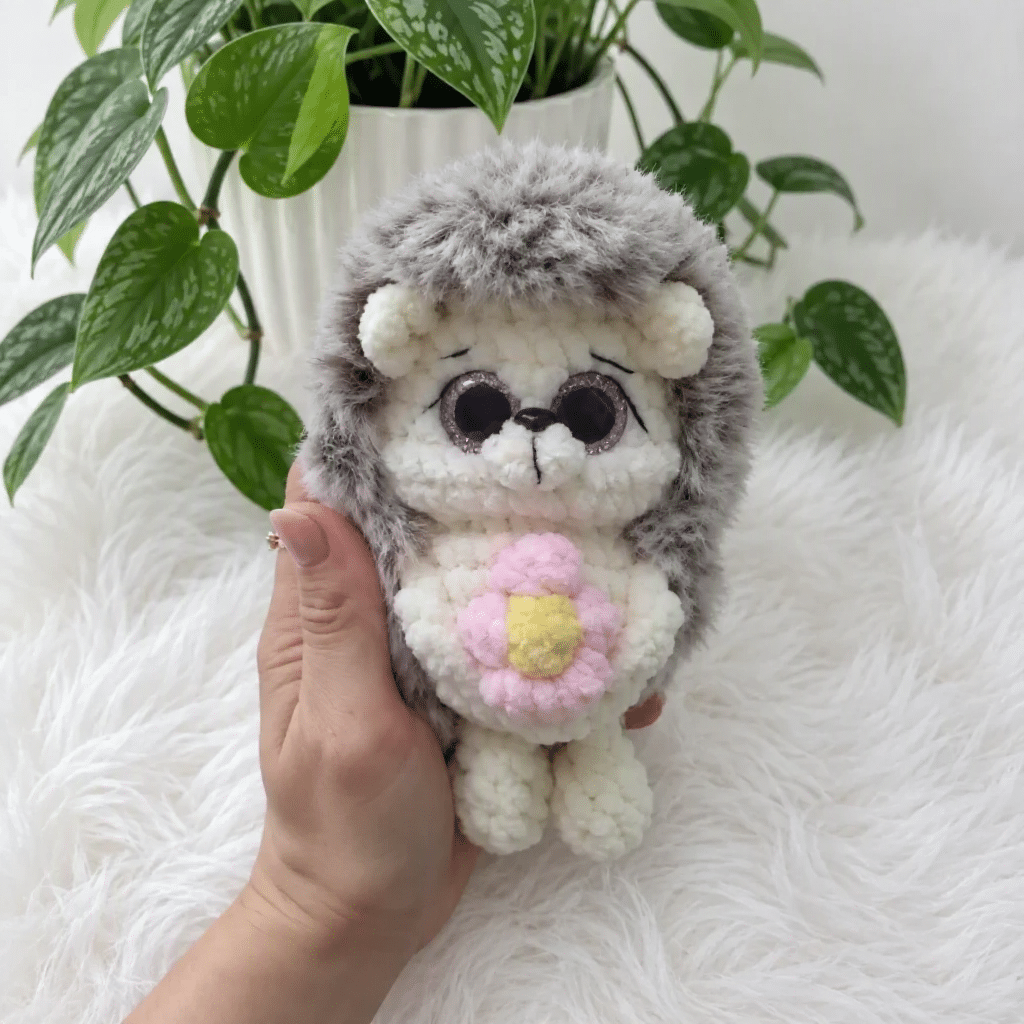
There is something undeniably charming about a hedgehog holding a bouquet. This design features a flower blooming directly on the belly, created with textured bobble stitches in pink and yellow against a soft cream background. The use of plush yarn gives the body a cloud-like softness, while the eyelash yarn on the back provides a striking, spiky contrast. I recommend using the pet slicker brush at the very end; it transforms the flat loops of the fur coat into a full, dimensional silhouette that makes the hedgehog look alive. This project is perfect for spring gifts or as a cozy companion for a child’s shelf.
Project Overview
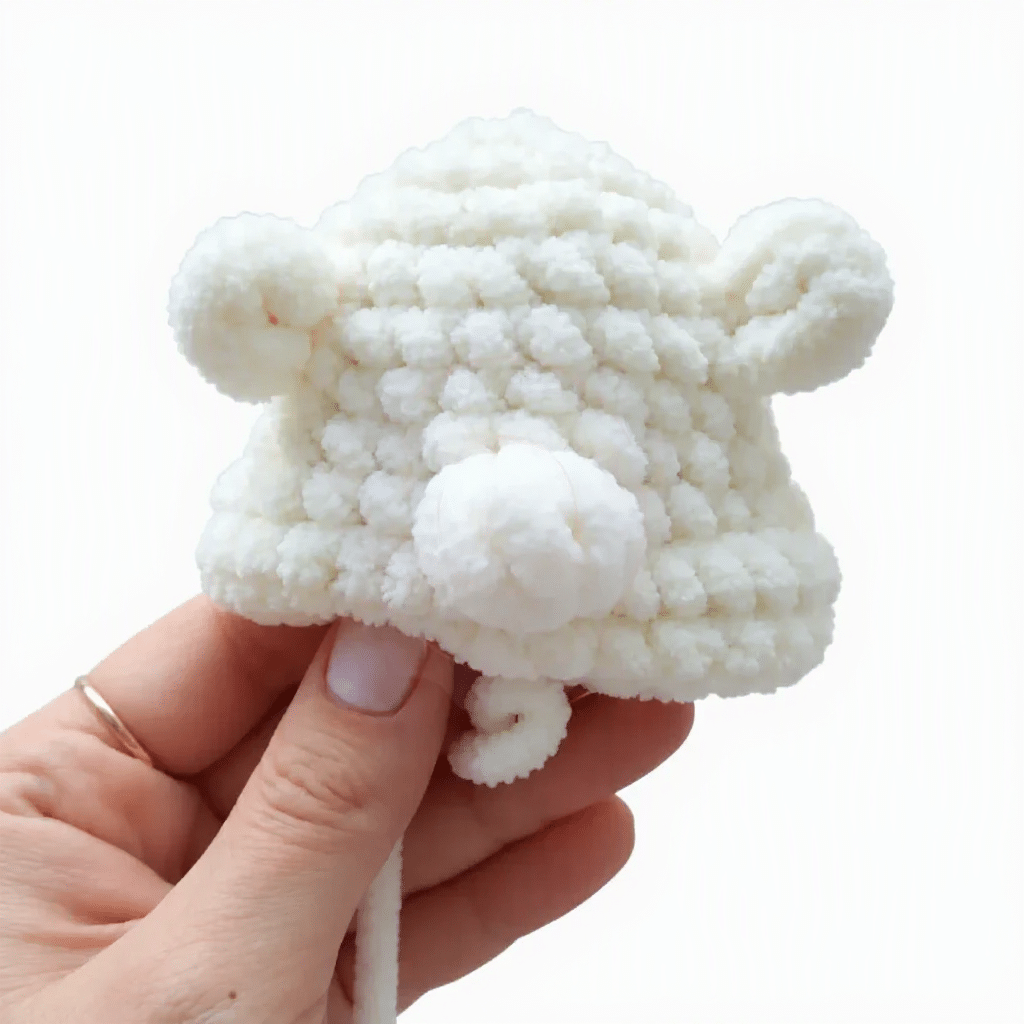
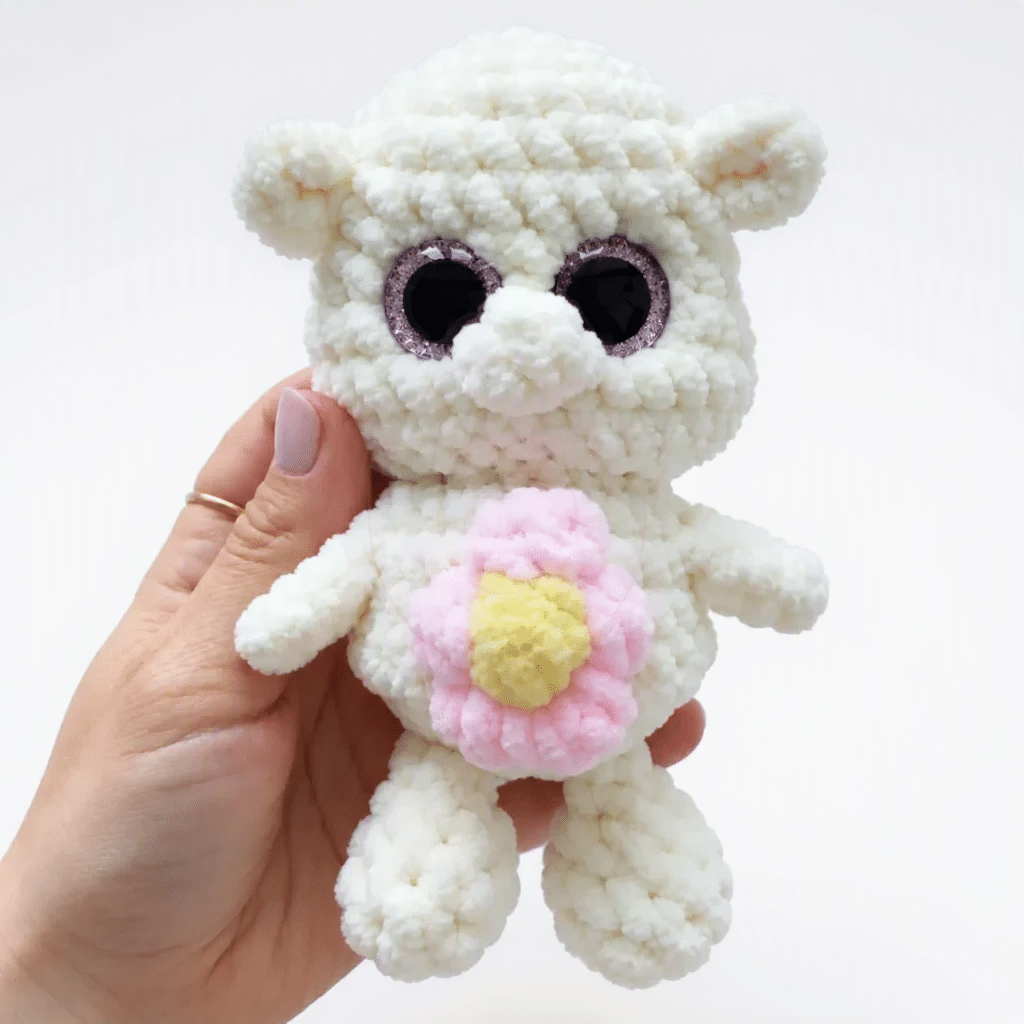
This beginner-friendly intermediate pattern creates a charming hedgehog clutching a spray of pink and yellow flowers. The figure is worked in plush yarn for a soft finish and measures approximately 15 cm tall, including its dangling legs. The pattern uses continuous spirals, basic increases and decreases, and special bobble stitches to create the flower and muzzle details. A fur coat is added last to complete the signature spiky look.
Materials
- Plush yarn (weight equivalent to DK/Light Worsted): WOLANS Bunny Baby or similar plush yarn in three colors: color 02 (cream/milk), color 14 (yellow), and color 05 (pink).
- Eyelash/fuzzy yarn for the fur coat: Artemida or similar eyelash/textured yarn, color 28 (brown/natural).
- Black and white cotton thread: for face sculpting and embroidering facial features.
- Hook size: US G-6 / 4 mm.
- Safety eyes: 16 to 18 mm, 2 pieces (16 mm for a compact look, 18 mm for a wider expression).
- Safety nose: 6 x 8 mm, 1 piece.
- Fiberfill stuffing.
- Stitch markers.
- Yarn needle / tapestry needle.
- Scissors.
- Gel glue: for securing the eye whites and nose.
- Pet slicker brush or stiff bristle brush: for fluffing the fur coat after finishing.
Gauge and Finished Size
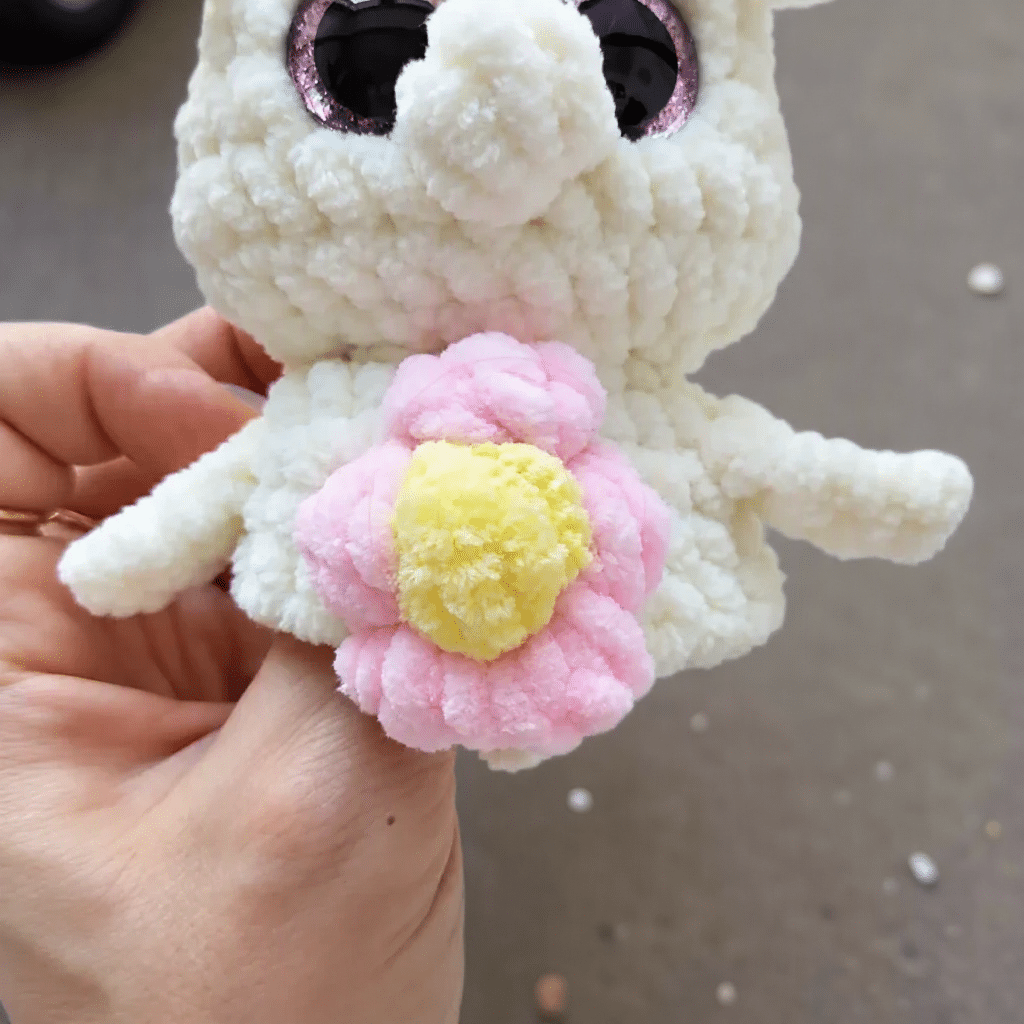
Gauge is not critical for this project; however, your tension should be tight enough that no fiberfill shows through the fabric. A slightly smaller hook than usual for your yarn is perfectly fine here. The finished toy measures approximately 15 cm tall including the hanging legs.
Abbreviations
- bo (3-dc): Bobble Stitch using 3 incomplete double crochets closed together at the top (used for the flower petals).
- bo (5-dc): Bobble Stitch using 5 incomplete double crochets closed together at the top (used for the muzzle).
- ch: Chain.
- dc: Double Crochet.
- hdc: Half Double Crochet.
- inc: Increase (2 sc in the same stitch).
- dec: Decrease (invisible decrease over 2 stitches).
- MR: Magic Ring.
- sc: Single Crochet.
- sl st: Slip Stitch.
- st / sts: Stitch / Stitches.
Pattern Notes
- This pattern is written in US crochet terminology.
- The head and body are worked in a continuous spiral with no joining slip stitch at the end of each round. Use a stitch marker to track the beginning of each round.
- The legs are worked separately and then joined into the body during crocheting.
- The arms are worked as chain extensions directly within the body round.
- The ears are built directly into Round 5 of the head as short chain extensions, then folded and secured in Round 6.
- Stitch counts are given at the end of each round in parentheses: (##). The ears and arms do not add to the total stitch count; only the stitches worked into the main piece are counted.
- Color changes for bobbles: Whenever you work a bobble stitch, close ALL the bobble tops with the main background color, both the stitch just before the bobble and the bobble itself. Switch back to the bobble color only when beginning the next bobble. This keeps color transitions clean and prevents color bleeding.
- Insert safety eyes after Round 8, one on each side of the muzzle bobble, with 3 stitches between the eye posts.
Pattern Instructions
Legs (make 2)
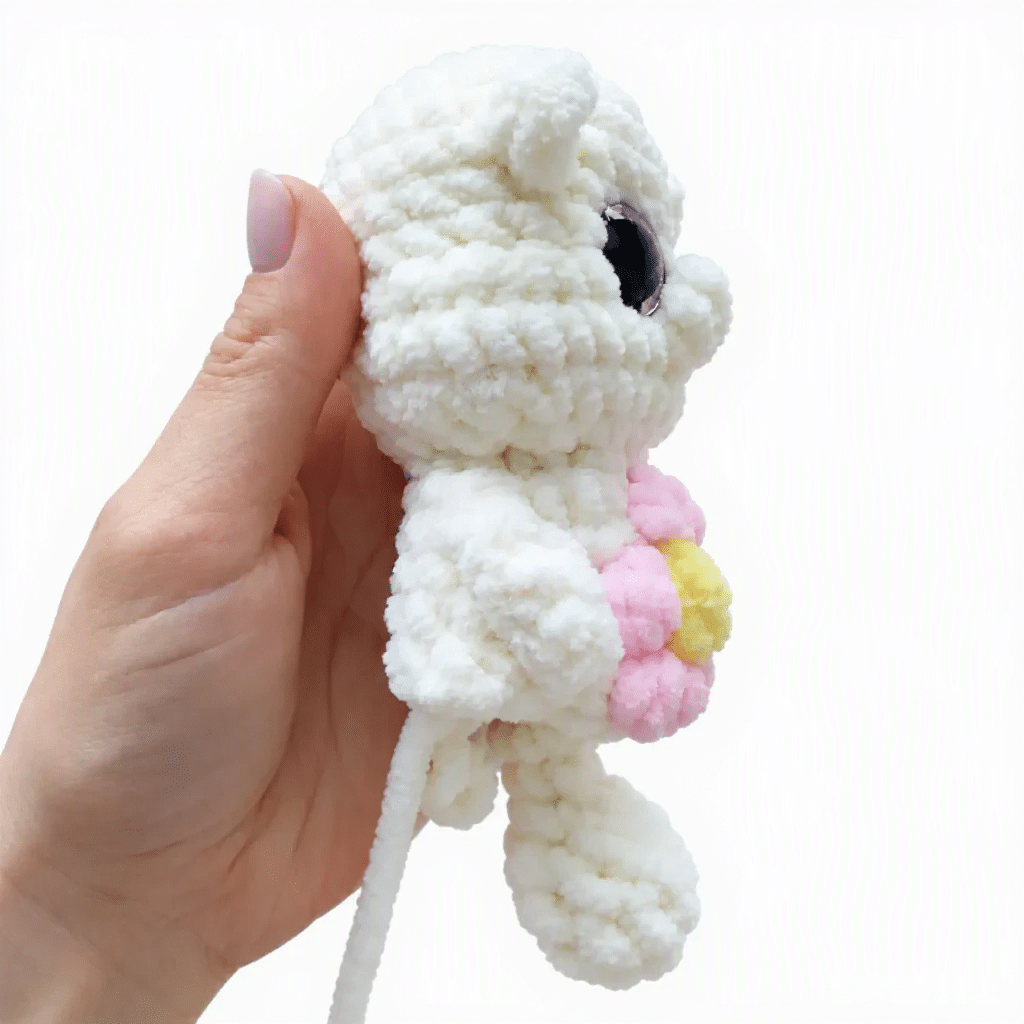
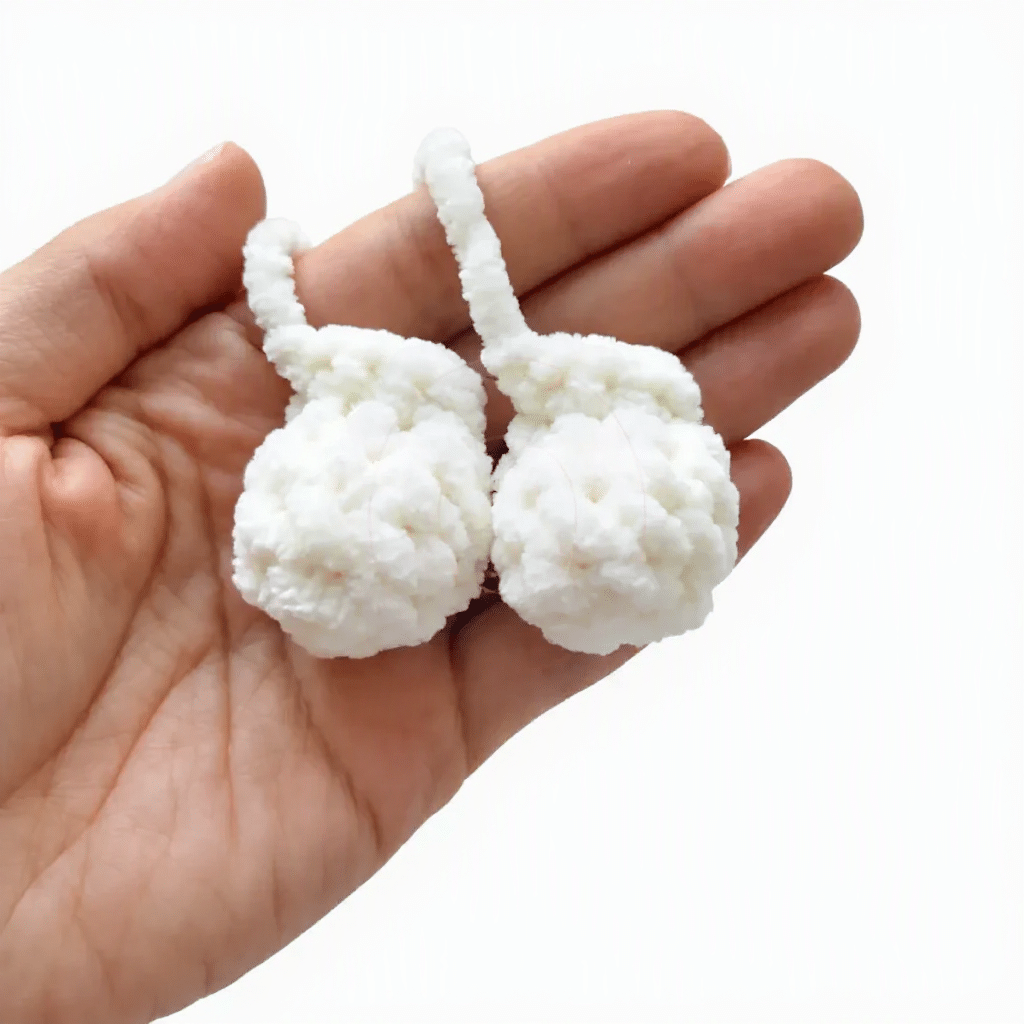
Rnd 1: 6 sc in MR. (6)
Rnd 2: 1 sc, inc repeat 3 times around. (9)
Rnd 3: sc in each st around. (9)
Rnd 4: 1 sc, dec repeat 3 times around. (6) Lightly stuff the leg now.
Rnd 5: 6 sc, then fold the leg flat so the two sides meet. Working through both layers, sc across the 3 pairs of stitches to close the opening. (3) Fasten off and leave a long tail for joining.
Head and Body
The head and body are worked as one continuous piece, starting at the top of the head.
Rnd 1: 6 sc in MR. (6)
Rnd 2: inc in each st around. (12)
Rnd 3: 1 sc, inc repeat 6 times around. (18)
Rnd 4: 2 sc, inc repeat 6 times around. (24)
Rnd 5: 4 sc, ear: ch 2, work 3 hdc in the 2nd ch from hook, sl st into same ch; continue along head: 8 sc, second ear: ch 2, work 3 hdc in the 2nd ch from hook, sl st into same ch; continue: 12 sc. (24) The ear chains do not count toward the stitch total. The 24 count reflects only the stitches worked into the main round.
Rnd 6: 4 sc, attach the right edge of the first ear to the main fabric and work 1 sc through both the ear base and the next head stitch together, 6 sc, attach the left edge of the second ear and work 1 sc through both the ear base and the next head stitch together, 12 sc. (24)
Rnds 7-8: sc in each st around. (24)
Rnd 9: 2 sc, inc 3 times, 3 sc, bo (5-dc) in next st, 3 sc, inc 3 times, 9 sc. (30) This round adds 3 increases on each side of center to begin shaping the muzzle, and places the 5-dc bobble stitch at the center front as the nose bridge.
Rnd 10: sc in each st around. (30)
Rnd 11: 2 sc, dec 3 times, 7 sc, dec 3 times, 9 sc. (24)
Insert safety eyes now, after Round 8 is complete and before closing: place one eye on each side of the muzzle bobble, with 3 stitches between the two eye posts.
Rnd 12: dec 12 times around. (12) Stuff the head firmly now.
Rnd 13: inc in each st around. (24)
Rnd 14: 4 sc, arm: ch 5, work 4 hdc starting in the 2nd ch from hook; continue along body: 10 sc, second arm: ch 5, work 4 hdc starting in the 2nd ch from hook; continue: 10 sc. (24) The arm chains do not count toward the stitch total.
The next four rounds build the flower on the belly using 3-dc bobble stitches. Change yarn to the indicated color for each bobble, and always close the bobble top with the main cream color.
Rnd 15: 9 sc, pink bo (3-dc) in next st, 14 sc. (24)
Rnd 16: 8 sc, pink bo (3-dc) in next st, yellow bo (3-dc) in next st, pink bo (3-dc) in next st, 13 sc. (24)
Rnd 17: 9 sc, pink bo (3-dc) in next st, pink bo (3-dc) in next st, 13 sc. (24)
Rnd 18: 8 sc, place first arm against the body and work 1 sc through both arm base and next body st together, 3 sc, place second arm against the body and work 1 sc through both arm base and next body st together, 11 sc. (24)
Rnd 19: sc in each st around. (24)
Rnd 20: dec 12 times around. (12) Stuff the body firmly now.
Rnd 21: 1 sc, place first leg against the body and work 3 sc through both leg and body stitches together, 3 sc, place second leg against the body and work 3 sc through both leg and body stitches together, 2 sc. (12)
Rnd 22: dec 6 times around. (6) Fasten off, pull yarn tail through remaining stitches to close the opening completely, and weave in the end.
Face Details
These steps are all done after the main piece is assembled and stuffed.
- Eye sculpting: Thread a yarn needle with white cotton thread. Insert the needle from the bottom of the head and bring it up to the inner corner of one eye, then pass it across to the inner corner of the other eye, then back down through the bottom of the head. Pull gently to create a subtle indent that brings the eyes closer together and gives the muzzle more dimension. Knot securely underneath.
- Eye whites: Using white cotton thread, embroider a small highlight dot on each safety eye, then secure with a drop of gel glue.
- Lashes and brows: With black cotton thread, embroider short lash strokes above each eye and a small curved brow above each one. Add a thin bridge line between the eyes across the muzzle area.
- Nose: Apply gel glue to the back of the safety nose and press it firmly onto the center of the muzzle bobble. Allow to dry completely.
- Cheeks: Using pink plush yarn and a yarn needle, embroider two small diagonal clusters of stitches on the cheeks, one on each side below the eyes.
Fur Coat
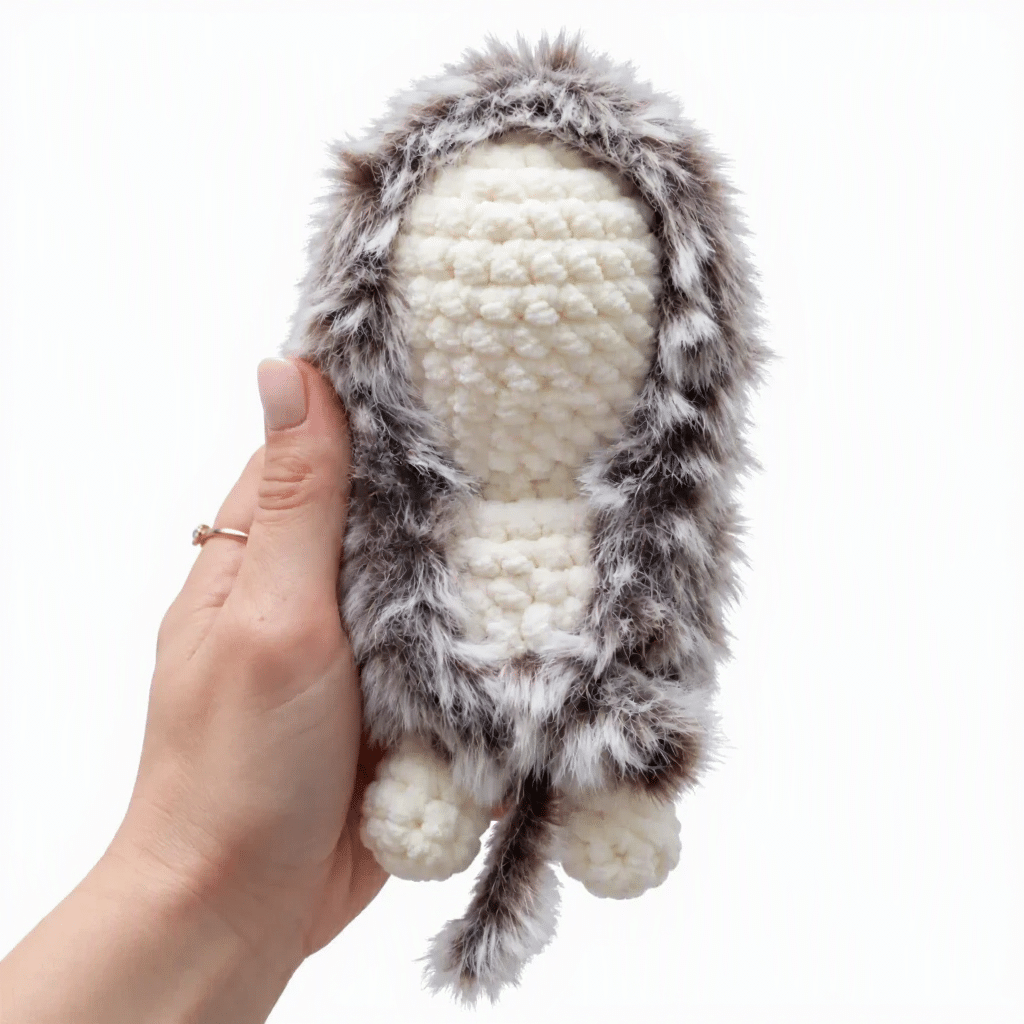
The fur coat is worked directly over the finished and assembled hedgehog using eyelash/fuzzy yarn and a standard sc.
Begin by outlining the entire perimeter of the hedgehog. Attach the eyelash yarn at the bottom of the figure, between the legs, and work sc stitches around the full outer edge of the toy. This first pass sets the boundary for the fur. The fur area covers the back and top of the hedgehog, starting just behind the legs, running behind the arms, continuing up through the cheek area (beginning after the second increase round of the head), wrapping just behind the ears, and covering the top of the head after Round 4.
Once the outline is set, continue filling in the fur area by working in a continuous spiral inward (or in back-and-forth turning rows if you prefer), working sc into each available stitch along the back surface until the entire back is covered and the opening at the bottom is fully closed with fur. When the fur coverage is complete, work 1 sl st to close, fasten off, and weave in the end securely.
Using a pet slicker brush or stiff bristle brush, brush out the eyelash yarn firmly in all directions to create a full, fluffy, spiky texture. This step transforms the coat from flat loops into a realistic hedgehog silhouette.
Assembly
- Complete both legs and set them aside with long yarn tails ready.
- Work the head and body as one piece through Round 22, joining the legs at Round 21 and the arms at Round 14 as directed in the pattern.
- Stuff the head firmly after Round 12, and stuff the body firmly before closing at Round 20.
- Embroider all face details as described in the Face Details section: eye sculpting, eye whites, lashes, brows, muzzle line, cheeks, and nose.
- Apply the fur coat over the back of the fully assembled and stuffed figure using eyelash yarn, working from the boundary outline inward until the entire back is covered.
- Brush the fur coat thoroughly with a slicker brush to fluff it into a full spiky texture.
- Weave in all remaining yarn ends securely.
Tips
- Keep your tension tight: Plush yarn has a lot of loft, and if your stitches are too loose, the fiberfill will show through or the figure will look lumpy. If you find yourself fighting the yarn, try going down half a hook size. A snug fabric makes a much crisper finished toy.
- Practice the bobble stitch: The 3-dc and 5-dc bobble stitches used for the flower petals and the muzzle work best when the incomplete double crochets are pulled to an even height before you close them together. Work a small swatch with your cream yarn and a few color-change bobbles so the technique feels natural before it appears in the middle of a round.
- Use the correct color for closing each bobble: The pattern specifies that every bobble top is closed with the main cream background color, not with the bobble color. This is what keeps the flower looking clean and graphic rather than muddy. Pull the cream yarn through all the loops on your hook at the final step of every bobble, then return to your bobble color for the next one as needed.
- Stuff the body in two stages: After Round 12 closes the head, stuff it firmly before continuing to the body. Then stuff the body again before Round 20 closes it. Trying to do all the stuffing at the very end means you will not be able to reach the head cavity properly, and the head will feel hollow.
- Apply the fur coat with a confident hand: When you attach the eyelash yarn and begin the boundary outline, keep your sc stitches tight and evenly spaced. Eyelash yarn can be tricky to see, so slow down and feel for each stitch with your hook rather than trying to watch every one. Once the coat is brushed out, any minor inconsistencies in placement completely disappear under the fluff.
FAQs
Can I use a different type of yarn for the body?
While plush yarn like WOLANS Bunny Baby is recommended for the soft, cloud-like texture, you can use any DK or Light Worsted weight yarn. However, plush yarn helps hide stitch definition, making it easier for beginners to maintain a smooth surface.
How do I keep the bobble stitches from looking messy?
The key is to always close the bobble tops with the main background color (cream). Pull the cream yarn through all loops on your hook at the end of the bobble. This creates a clean, flat finish that blends seamlessly with the body, preventing color bleeding or bulky knots.
Why does my fur coat look flat after I finish crocheting?
This is normal! The eyelash yarn starts as flat loops. You must use a pet slicker brush or stiff bristle brush to brush the yarn out firmly in all directions. This mechanical action separates the fibers and creates the signature spiky, fluffy hedgehog silhouette.
When should I insert the safety eyes?
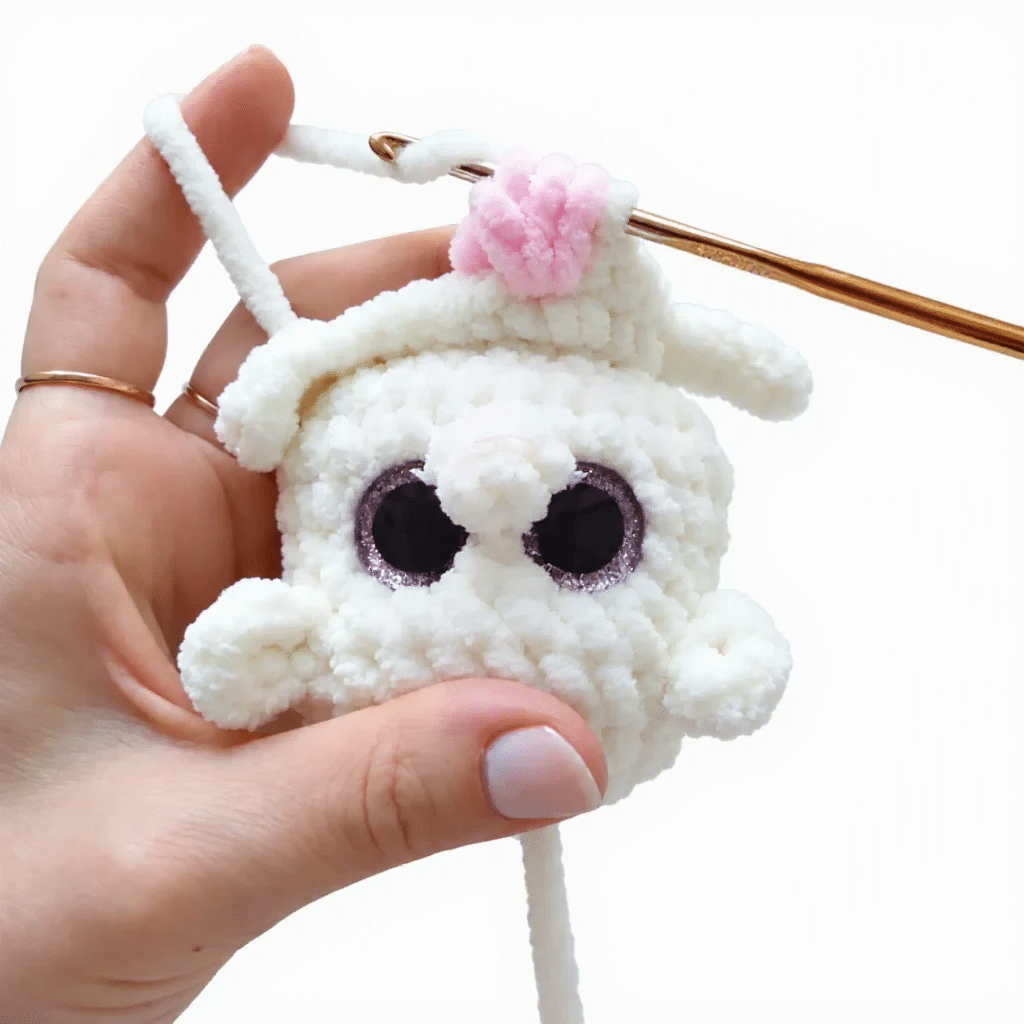
Insert the safety eyes after Round 8 is complete but before you close the head in Round 12. Place one eye on each side of the muzzle bobble, ensuring there are 3 stitches between the two eye posts for a cute, compact expression.
Can I make this hedgehog smaller?
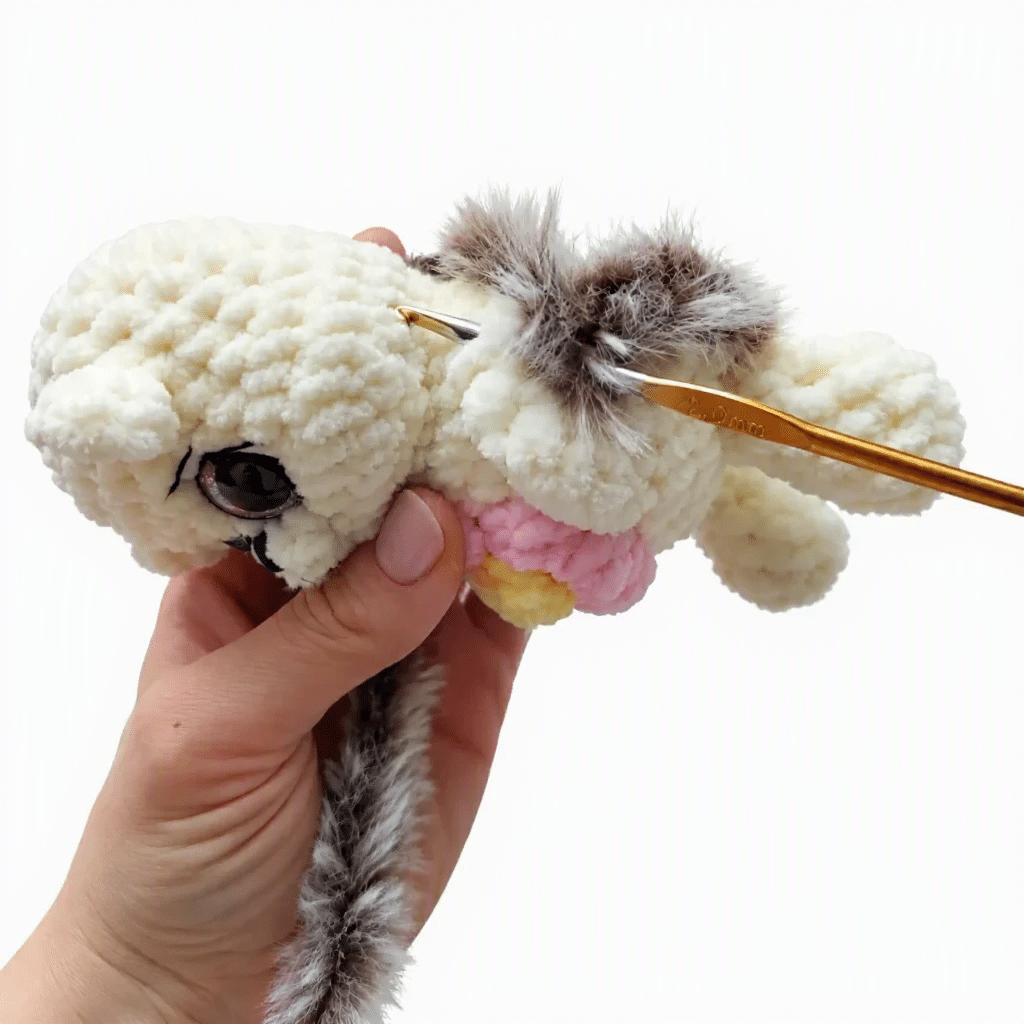
Yes, you can use a smaller hook size or a lighter weight yarn to create a smaller version. However, keep in mind that the bobble stitches and fur coat details may become harder to see and manage at a very small scale.
If you enjoy making cute amigurumi animals, you might also like this cute lumiling amigurumi or this adorable mini capybara amigurumi pattern for more adorable creature projects.
Pin This Crochet Pattern!