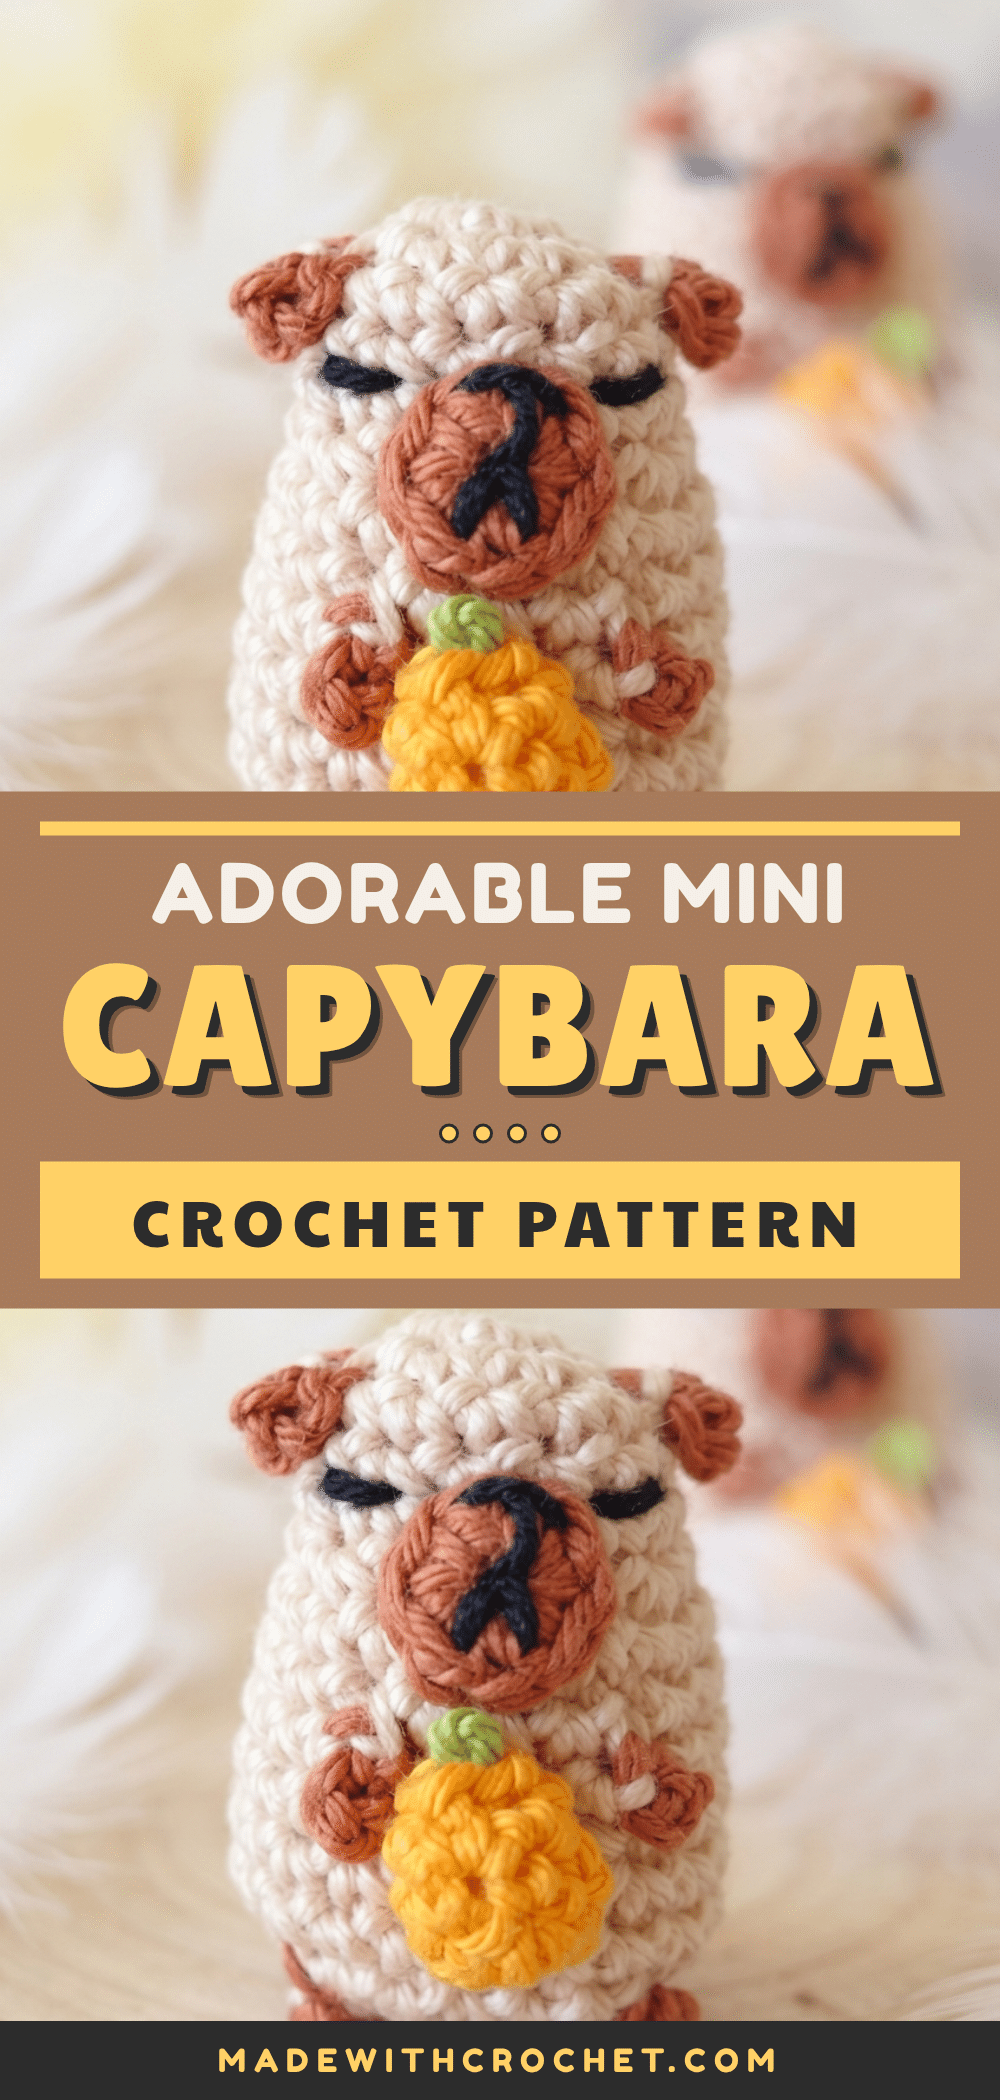
Looking for a small, sweet, and surprisingly rewarding crochet project? This Mini Capybara Amigurumi Pattern is the perfect handmade gift for a desk buddy, a seasonal decoration, or a fun market-table item. It captures the internet’s favorite chill animal in a compact, huggable form that is sure to bring a smile to anyone’s face. With its distinctive striped markings and adorable little yuzu accessory, this intermediate-level pattern offers a delightful mix of color work and assembly without being overly complex.
Gift and Use Ideas
This mini capybara is more than just a cute figure; it is a complete scene. The inclusion of the tiny yuzu (or mandarin) prop adds a layer of charm that makes it stand out from standard amigurumi animals. Because of its small size—approximately 4 inches tall—it is an ideal project for a quick win when you want to finish something substantial without a massive time commitment. It serves beautifully as a seasonal autumn decoration, a thoughtful gift for a child, or a whimsical addition to a nursery shelf. The yarn-only construction, featuring embroidered eyes and a crocheted nose, makes it safe and soft, perfect for cuddling or gifting to little ones.
Project Overview
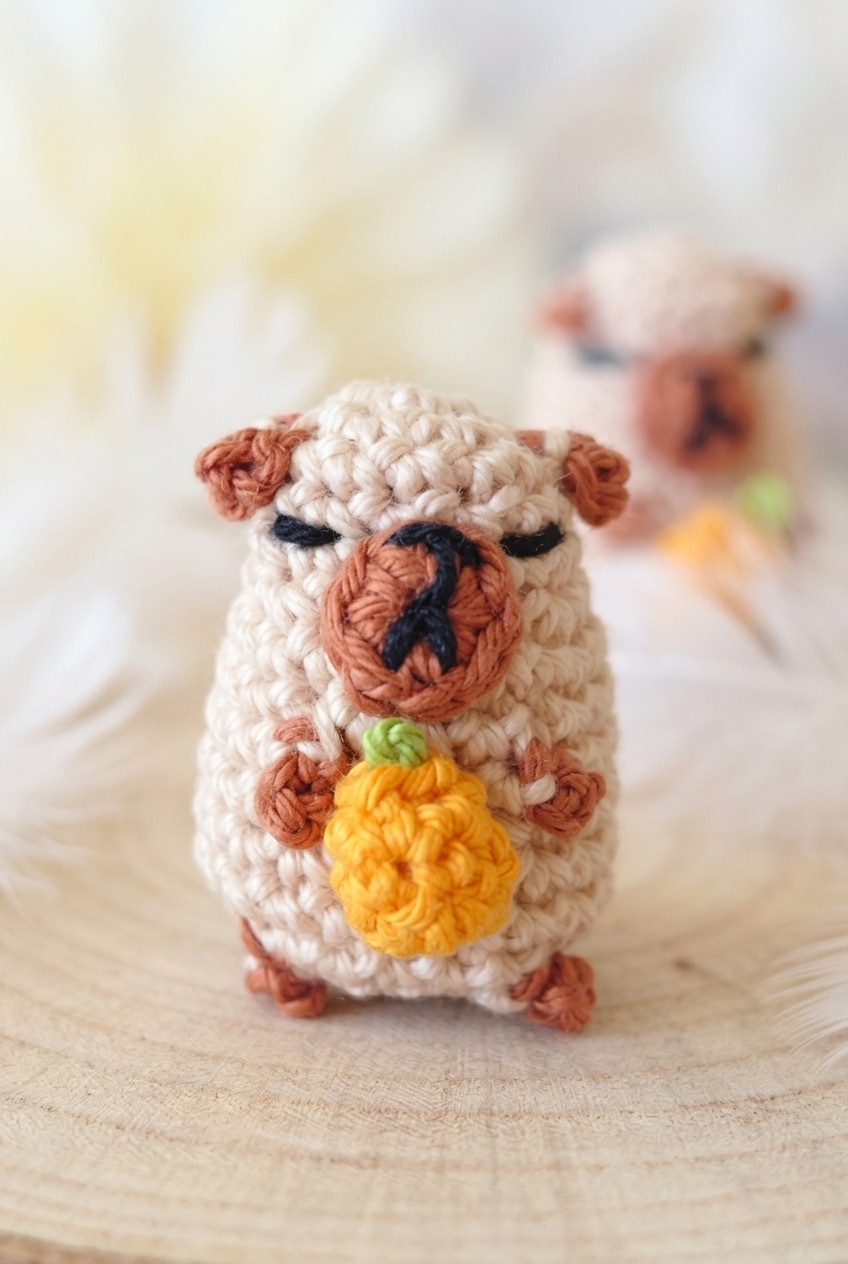
This project is a tiny striped amigurumi worked in sport weight yarn. It features a continuous round construction for the body, surface stripe details, and a separate yuzu accessory. The finished piece is approximately 4 inches (10 cm) tall.
Project Info
- Project Type: Amigurumi
- Skill Level: Intermediate
- Finished Size: Approx. 4 in (10 cm) tall
- Yarn Weight: 2 Fine / Sport
- Terminology: US Stitches
Materials
- Sport Weight Yarn (5 colors): Cream (C), Brown (B), Black (Bl), Orange (O), and Green (G).
- Estimates: Roughly 50 to 80 meters of cream for the body. Just a few meters each of brown, black, orange, and green.
- Tip: A smooth, non-fuzzy yarn is recommended to keep the stripe details clean and crisp.
- 3.00 mm Crochet Hook: This size pairs well with sport weight to create a tight fabric that prevents stuffing from showing through.
- Stuffing: A small amount is sufficient.
- Notions: Yarn needle, scissors, and a stitch marker.
Gauge and Finished Size
Gauge is not critical for this project. The most important factor is to use a hook size that creates a tight, firm fabric so the stuffing does not show through. If you can see daylight between your stitches, go down a hook size.
Abbreviations
- B = brown
- Bl = black
- C = cream
- ch = chain
- G = green
- O = orange
- sc = single crochet
- sc2tog = single crochet 2 together (decrease)
- sl st = slip stitch
- st(s) = stitch(es)
- * * = repeat between asterisks as stated
Pattern Notes
- Continuous Rounds: Rounds are worked continuously. Do not join at the end of each round and do not turn. Use a stitch marker in the first stitch of each round to keep track.
- Surface Details: The ch4 and sl st sections in Rounds 2, 8, and 13 create the stripe markings. These are surface details only, not structural stitches. Skip them when counting stitches and when continuing the round.
- Stuffing: Stuff the body before completing Round 15. Do not wait until the opening is fully closed, as it becomes awkward to stuff later.
- Yarn Choice: Fiber content is not specified, so check your label. The hook size matters more than gauge; aim for a firm, tight fabric.
Pattern Instructions
Body
The body is worked in continuous rounds. The color B chain loops added in rounds 2, 8, and 13 create the signature stripe markings. Keep your tension relaxed when making the loops so they sit on the surface rather than pulling tight.
Round 1: With C, ch 4, sl st in first ch to form a loop, 7 sc in center of loop. [7 sc] Do not join rounds.
Round 2: 2 sc in next st, joining B in end of last sc, ch 4, sl st in same st as previous sc, re-joining C, 2 sc in next 3 sts, re-joining B in end of last sc, ch 4, sl st in same st as previous sc, re-joining C, 2 sc in last 3 sts. [14 sc] (not including chs and sl sts)
Round 3: Sc in each st around, skipping chs and sl sts. [14 sc]
Round 4: Sc in each st around. [14 sc]
Round 5: Sc in each st around. [14 sc]
Round 6: *1 sc in next st, 2 sc in next st* repeat around. [21 sc]
Round 7: Sc in each st around. [21 sc]
Round 8: Sc in next 7 sts, joining B in end of last sc, ch 4, sl st in same st as previous sc, re-joining C, sc in next 4 sts, re-joining B in end of last sc, ch 4, sl st in same st as previous sc, re-joining C, sc in last 10 sts. [21 sc] (not including chs and sl sts)
Round 9: Sc in each st around, skipping chs and sl sts. [21 sc]
Round 10: Sc in each st around. [21 sc]
Round 11: Sc in each st around. [21 sc]
Round 12: Sc in each st around. [21 sc]
Round 13: Sc in next 7 sts, joining B in end of last sc, ch 4, sl st in same st as previous sc, re-joining C, sc in next 6 sts, re-joining B in end of last sc, ch 4, sl st in same st as previous sc, re-joining C, sc in last 8 sts. [21 sc] (not including chs and sl sts)
Round 14: *1 sc in next st, sc2tog* repeat around, skipping chs and sl sts. [14 sc] Stuff now.
Round 15: Sc2tog until end. [7 sc] Fasten off and sew remaining hole closed.
Nose
The nose is a small flat circle worked in B, with hand-sewn details added in Bl.
Step 1: With B, ch 4, sl st in first ch to form a loop, 6 sc in center of loop, sl st in first sc to join. [6 sc] Fasten off. This round joins, unlike the body.
Step 2: With Bl, sew on nose details. Hide ends at back and sew nose onto face.
Eyes
The eyes are purely embroidered; no crocheted pieces are needed. With Bl, sew on eyes using 2 simple horizontal stitches. Place these carefully to ensure they are level and spaced correctly.
Yuzu / Mandarin Accessory
This tiny orange is worked in continuous rounds in O, with a little green leaf sewn on at the end.
Round 1: With O, ch 4, sl st in first ch to form a loop, 6 sc in center of loop. [6 sc] Do not join rounds.
Round 2: Sc in each st around. [6 sc]
Round 3: Sc in each st around. [6 sc] Fasten off and sew remaining hole closed.
Finishing: With G, sew a tiny loop on top to create a leaf. Sew mandarin onto capybara.
Assembly
Once all pieces are complete, assemble the capybara. Sew the nose onto the face first, hiding yarn ends at the back. Sew the mandarin onto the top of the head or wherever it looks best. Use the yarn tails left from fastening off to anchor everything down, and weave in any remaining ends.
Tips
- Color Management: The orange and green are only for the yuzu accessory, so those can stay set aside until the body is completely finished.
- Tension: Keep your tension relaxed when making the chain loops so they sit on the surface rather than pulling tight.
- Passing Over: When working rounds after the stripe details, pass right over those chain loops as if they aren’t there—they will pop to the outside on their own.
- Stuffing Timing: Stuff the body in Round 14. Once you begin the decreases in Round 15, the opening closes up fast.
FAQs
What are the brown stripe markings, and do I count them as stitches?
The brown stripe markings are created by ch4 and sl st sections in Rounds 2, 8, and 13. These are surface details only, not structural stitches. You should skip them when counting stitches and when continuing the round.
When do I stuff the body?
You should stuff the body in Round 14, after the decreases have brought the stitch count down to 14. Do not wait until Round 15 is complete, as the opening will be too small to stuff effectively.
How are the eyes made? Do I need safety eyes for this?
No safety eyes are needed. The eyes are made using purely embroidered horizontal stitches in black yarn (Bl). This keeps the project yarn-only and safe for children.
How is the nose attached?
The nose is crocheted as a separate 6-stitch circle in brown. Black details are embroidered on top, ends are hidden at the back, and the entire piece is sewn onto the face.
Do I join rounds when crocheting the body?
No. The body is worked in continuous rounds without joining. Keep going in a spiral and use a stitch marker to track the start of each round.
If you enjoy making small, character-filled animals, you might also like our O Lenya Amigurumi Deer or these Easy Crochet Pumpkin Trio Amigurumi patterns for more seasonal fun.
Pin This Crochet Pattern!