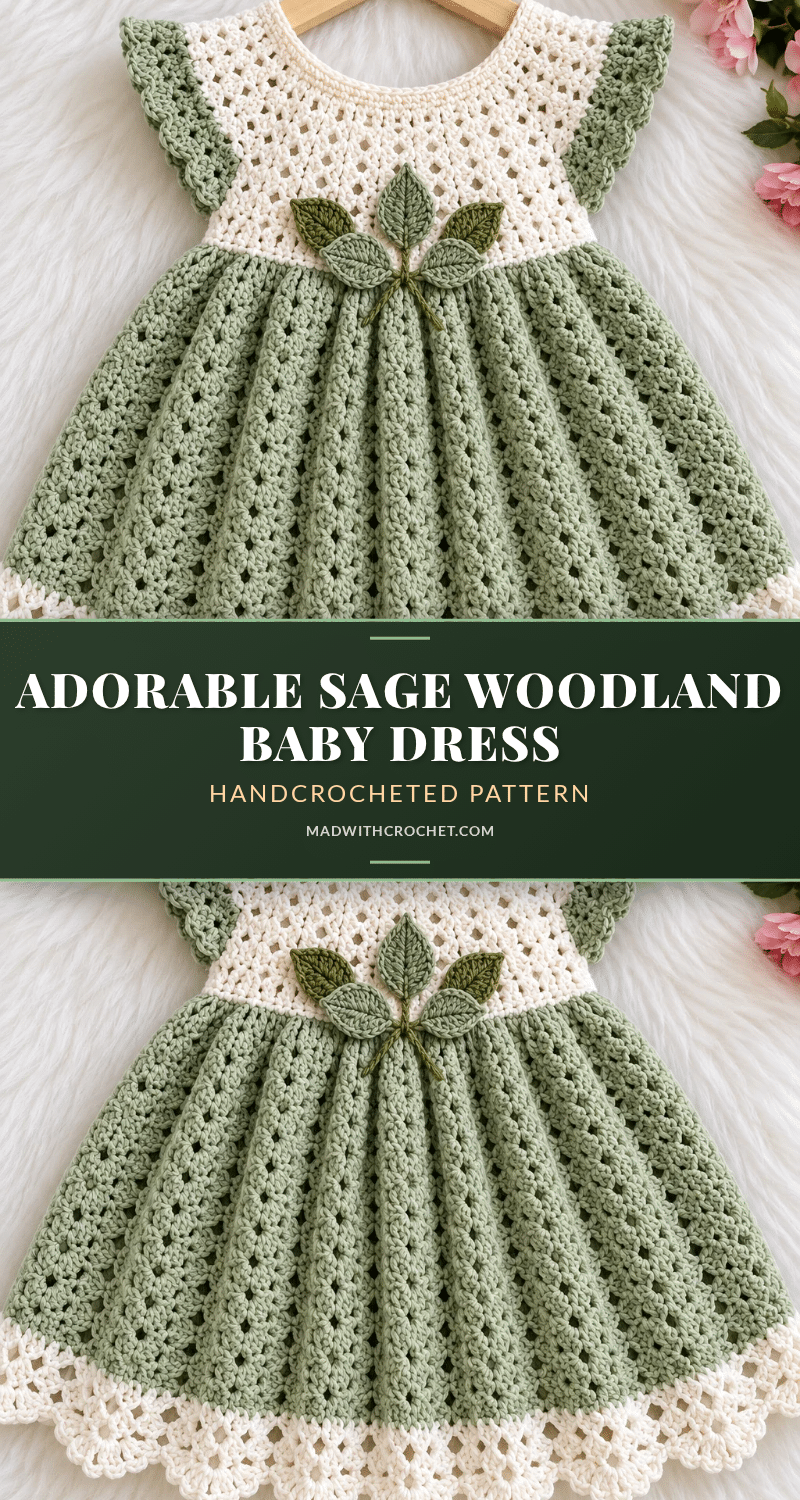
There is a quiet magic in the rhythm of the hook catching the yarn, pulling loops through loops until a flat piece of fabric transforms into something that fits a tiny human. For this project, the yarn is cool and smooth against your fingertips, the sage green evoking the hush of a forest floor, while the ivory bodice promises a crisp, clean finish. You are not just making a dress; you are crafting a keepsake that will hold the memory of a baby’s first spring. As the stitches settle into place, you can already picture the little one twirling, the gathered skirt flaring out with every movement.
Why This Project Works
This dress is a masterclass in balancing texture and ease. The ivory eyelet bodice provides a structured, breathable canvas that is perfect for sensitive baby skin, while the sage green shell skirt adds volume and playful movement without requiring complex shaping. The woodland theme is subtle yet distinct, anchored by the leaf motifs that bring a touch of nature to the design. It is a garment that photographs beautifully for milestone moments but is constructed with practicality in mind. The snap closures and flat seams ensure it is comfortable to wear, while the sport-weight cotton makes it durable enough for everyday adventures. It bridges the gap between a special occasion outfit and a cherished daily wear piece.
Project Overview
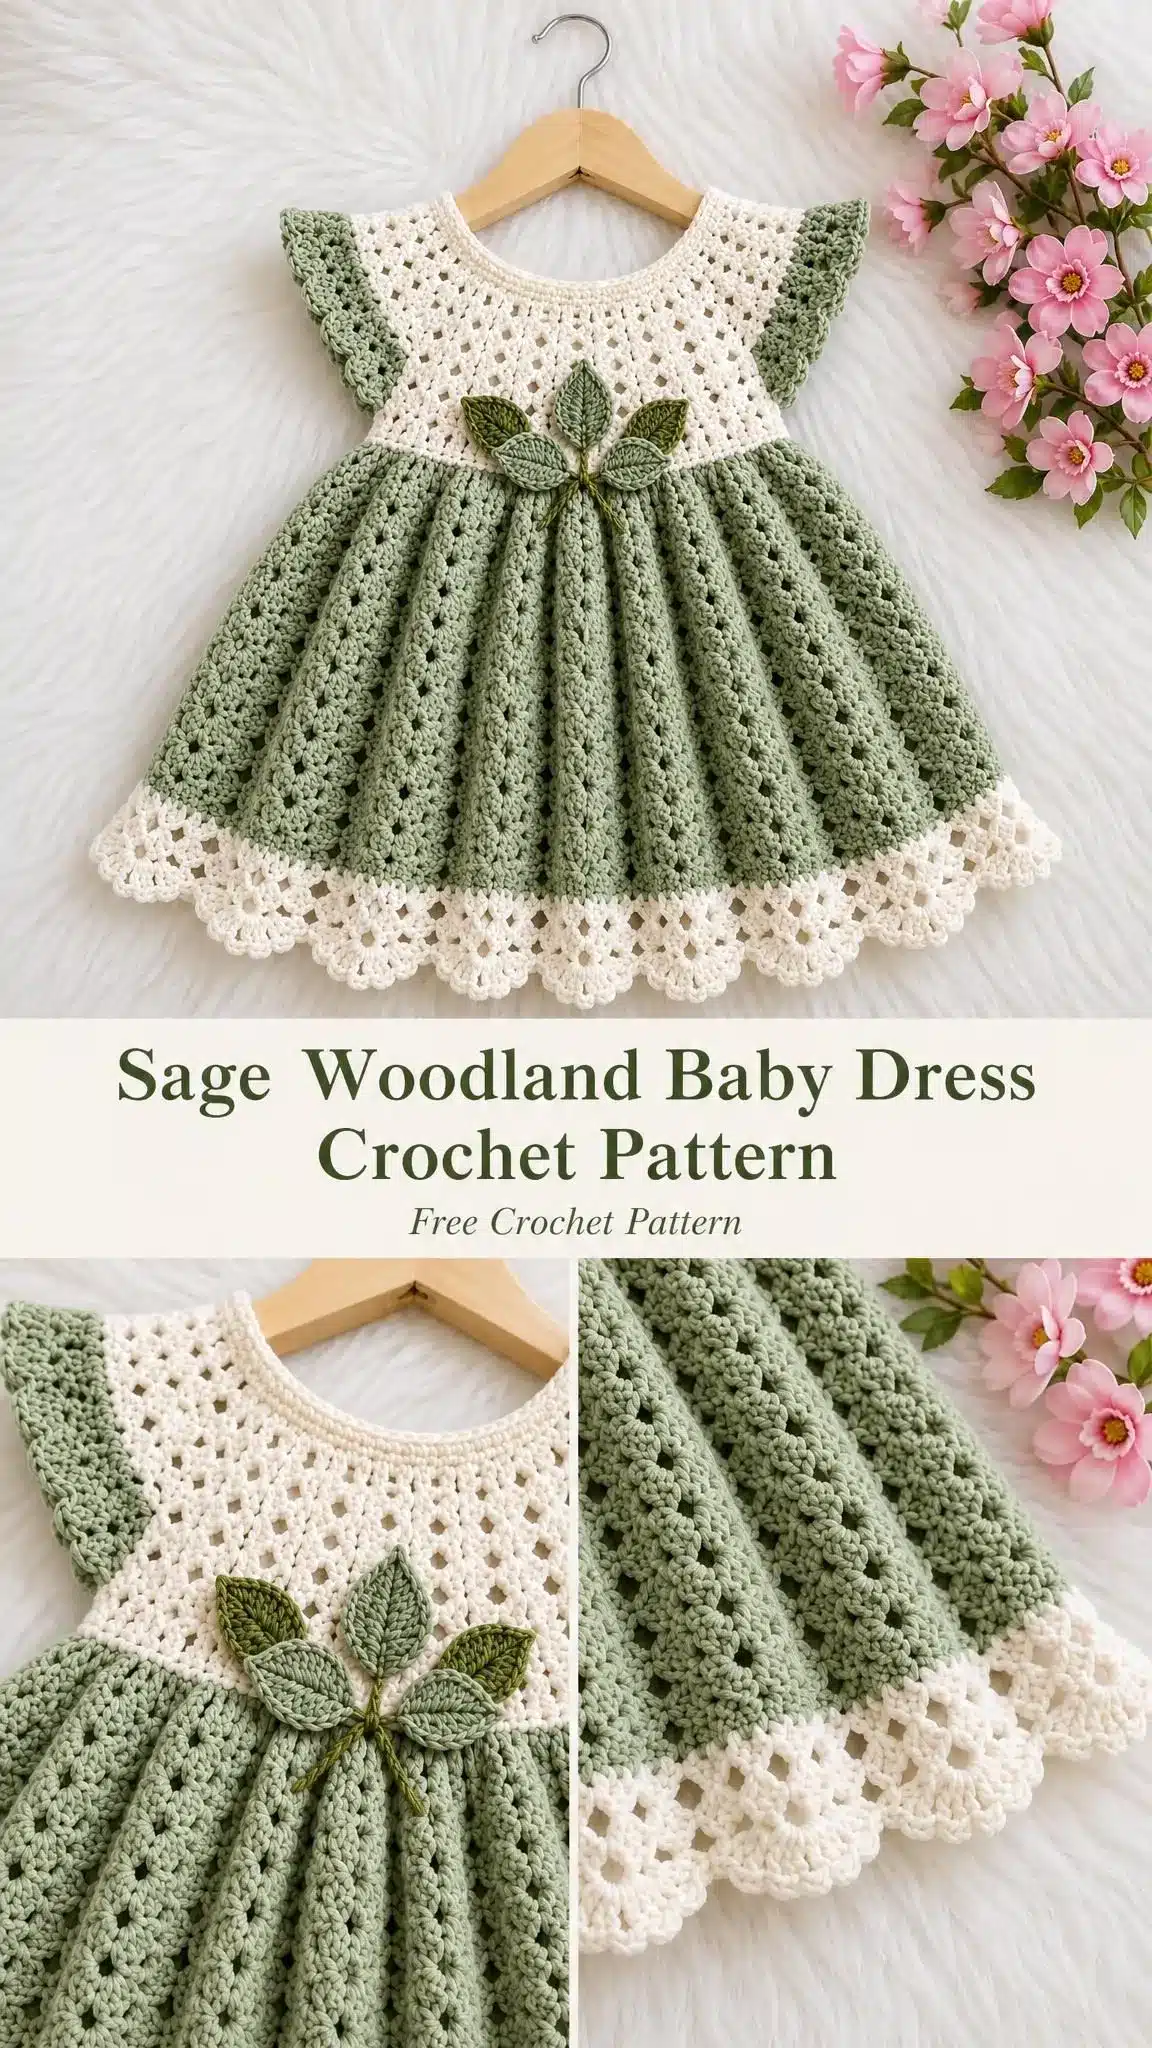
This adorable woodland baby dress features an ivory eyelet bodice and a sage green gathered shell skirt. The construction is straightforward: you work two flat bodice panels from the waist upward, seam them together, and then crochet the skirt downward in joined rounds. Flutter sleeves and leaf appliqués at the waist add that woodland charm. The pattern is designed for an intermediate beginner skill level, requiring comfort with basic stitches, working in rows and rounds, seaming, and following a multi-section pattern.
Materials
- Yarn: Smooth sport-weight cotton, approximately 250 meters per 100 grams. You will need roughly 150 grams of sage green (Color A), 100 grams of ivory (Color B), and about 20 grams combined of accent colors for the decorative motifs. These quantities are estimates. Weigh your sample to confirm actual usage.
- Hooks: 3.0 mm hook or the size needed to achieve gauge. You will also need a 2.5 mm hook for the appliqués.
- Notions: Blunt yarn needle, stitch markers, tape measure, scissors, blocking mat and rustproof pins, three small sew-on snaps, and matching sewing thread for attaching the snaps.
Gauge and Finished Size
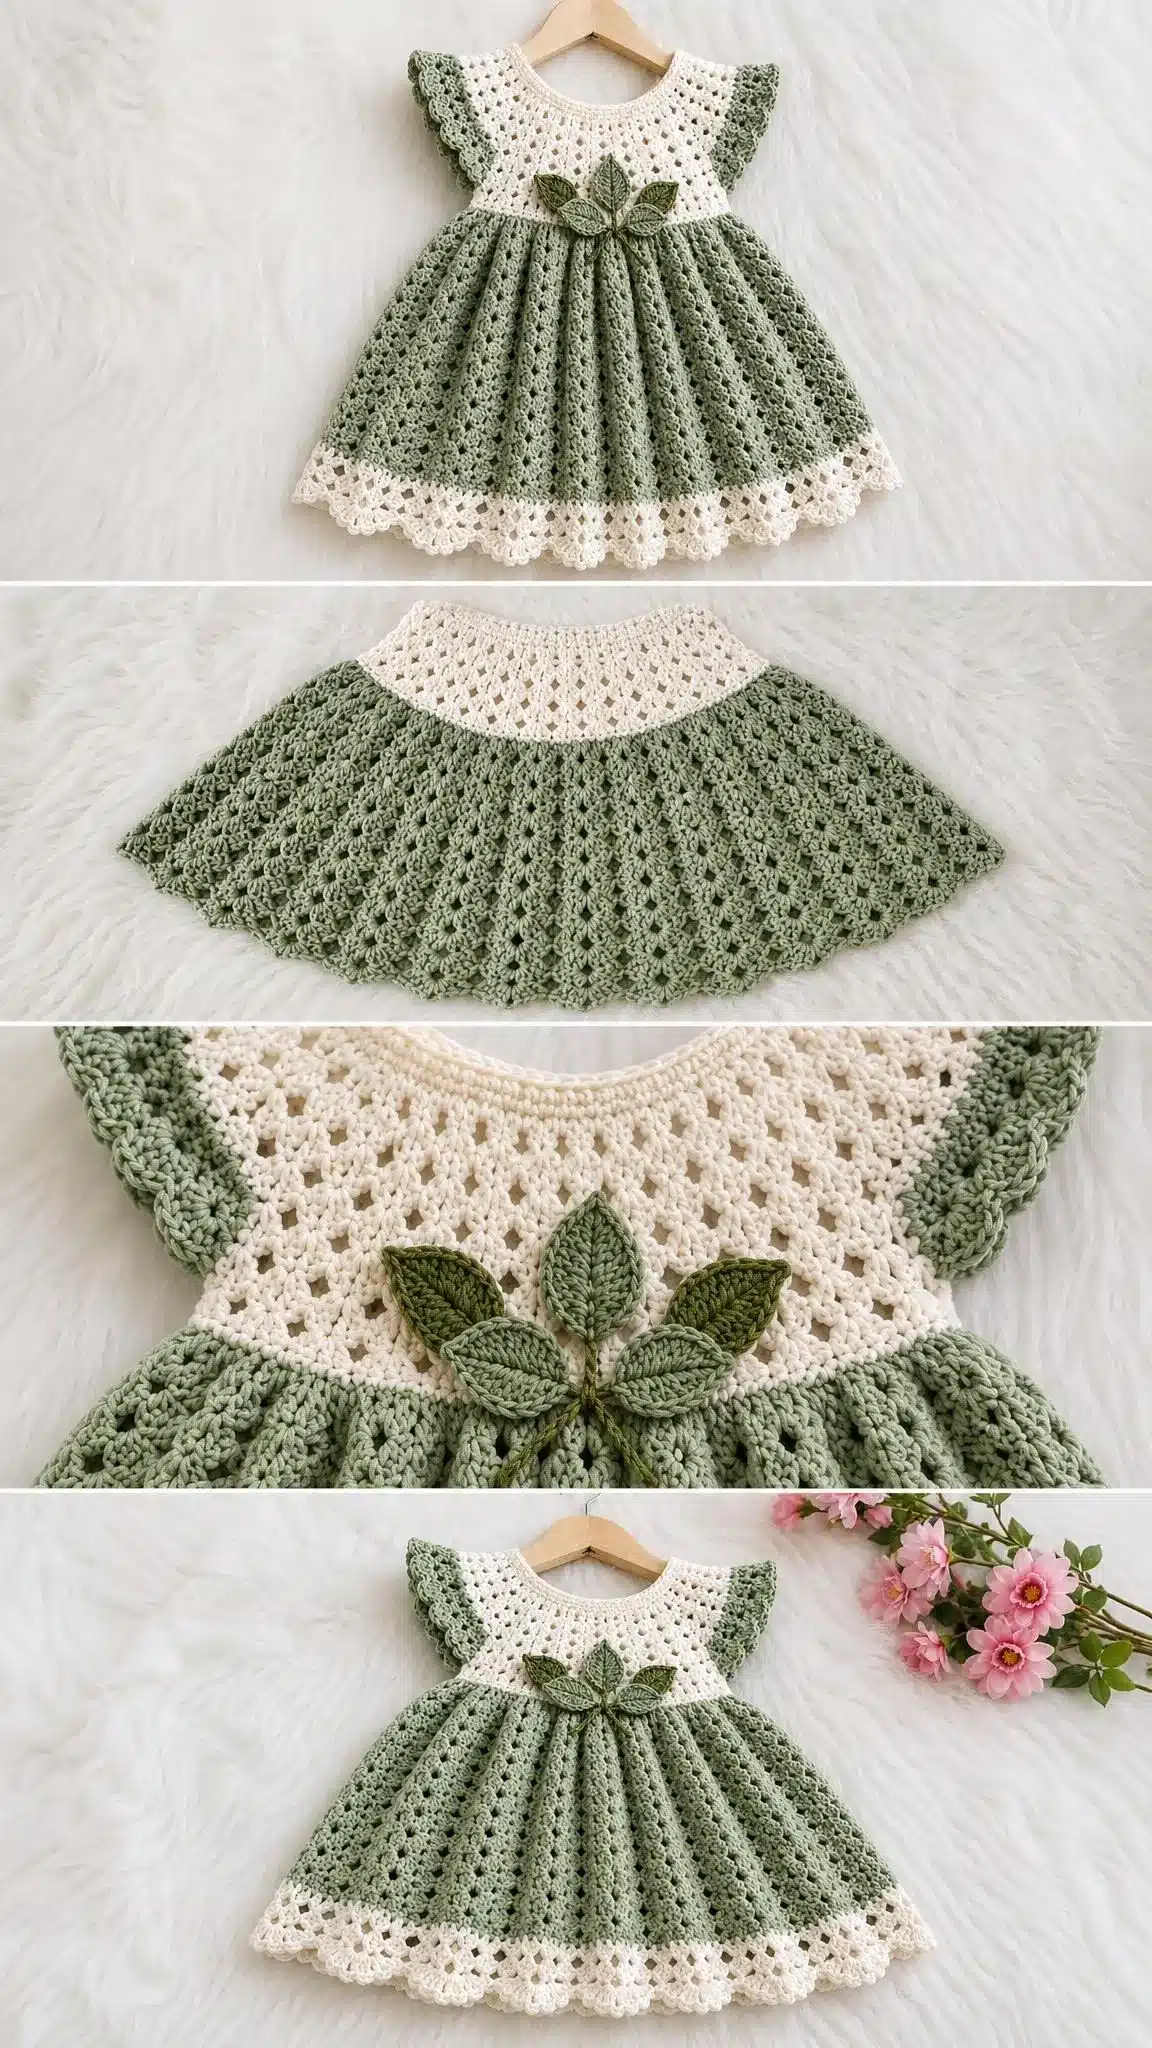
Finished Size: This dress fits approximately 3 to 6 months, with a finished chest measurement of about 48 cm (19 inches). The shoulder to waist section measures roughly 16 cm (6.3 inches), the skirt adds another 22 cm (8.7 inches), and the overall length comes to about 38 cm (15 inches). These are approximate proportions only. Select the size by measured chest with 4 to 6 cm of ease, not by age alone.
Gauge: Target bodice gauge after gentle blocking: 20 stitches and 10 dc rows equals 10 cm by 10 cm (4 inches by 4 inches). Make a gauge swatch of at least 26 stitches and 14 rows in the bodice stitch pattern. Measure from the center of the swatch. If your swatch is too wide, go down a hook size. If it is too narrow, go up a hook size. Row gauge affects armhole depth and overall length, so check both stitch and row gauge.
Abbreviations
Let me walk you through each abbreviation and stitch you will encounter:
- ch = chain. The foundation loops you create at the start.
- sl st = slip stitch. Insert hook, yarn over, pull through both the stitch and the loop on your hook in one motion.
- sc = single crochet. Insert hook, yarn over and pull up a loop (2 loops on hook), yarn over and pull through both loops.
- hdc = half double crochet. Yarn over, insert hook, yarn over and pull up a loop (3 loops), yarn over and pull through all 3 loops.
- dc = double crochet. Yarn over, insert hook, yarn over and pull up a loop (3 loops), yarn over and pull through 2 loops (2 loops remain), yarn over and pull through remaining 2 loops.
- tr = treble crochet. Yarn over twice, insert hook, yarn over and pull up a loop (4 loops), [yarn over, pull through 2 loops] three times.
- st = stitch.
- sp = space.
- sc2tog = single crochet two stitches together. This is a decrease. Insert hook in first stitch, yarn over and pull up a loop, insert hook in next stitch, yarn over and pull up a loop (3 loops on hook), yarn over and pull through all 3 loops.
- V-stitch = Work (dc, ch 1, dc) all in one stitch.
- Small shell = Work (2 dc, ch 1, 2 dc) all in one space.
- Large shell = Work (3 dc, ch 1, 3 dc) all in one space.
Important note: Unless explicitly stated otherwise, turning chains do NOT count as stitches in this pattern. In joined rounds, begin with ch 2 and end with sl st into the first actual dc. Do not turn at the end of rounds.
Pattern Notes
The pattern uses basic stitches throughout. Double crochet (dc), single crochet (sc), chains, and simple shells make up the entire design. If you can work those confidently, you can absolutely make this dress. One note before we dive in: this is a development draft pattern, meaning you will want to make a full sample and check your measurements as you go. The stitch math has been verified, but real yarn in real hands is always the final test. I have included all the checkpoints from the original document so you can confirm your work at each stage.
Before considering this pattern complete, I recommend working the entire dress in your chosen yarn. Record your hook size, blocked gauge, finished measurements, and actual yarn usage. Have someone else follow the written instructions without verbal help from you. This catches any confusing wording before you share the pattern more widely.
Pattern Instructions
Section 01: Front Bodice
Work with ivory (Color B).
Row 1: Ch 49. Sc in second ch from hook and in each ch across. (48 sc)
Row 2: Ch 2, turn. Dc in each st across. (48 dc)
Understanding the eyelet rows: For Rows 3, 5, and 9, you will create an eyelet pattern. Here is how it works: Ch 2, turn, dc in first st, then work [ch 1, skip 1 st, dc in next st] across until one stitch remains, then dc in last st. The row still occupies the same number of positions (48 before armhole shaping, 42 after). On the following solid row, work dc in every dc AND in every ch-1 space.
Rows 3 through 6: Work across 48 positions using the eyelet texture pattern described above. Fasten off at the end of Row 6. Place markers on the first 3 and last 3 stitches to indicate the underarm steps.
Row 7 (armhole shaping): Join yarn in the fourth stitch. Ch 2, dc in that stitch and in the next 41 stitches. Leave the last 3 stitches unworked. (42 dc)
Rows 8 through 10: Work straight across 42 positions using the texture pattern.
Row 11, First Shoulder: Ch 2, turn. Dc in first 11 stitches only, leaving the remaining stitches unworked. (11 dc)
Rows 12 through 16: Ch 2, turn. Dc across 11 stitches. (11 dc each row) Fasten off.
Second Shoulder: With the front facing you, identify the 11 stitches at the opposite outer edge of Row 10. Join yarn at the edge nearest the neck opening and work those 11 stitches toward the armhole. Work five more rows of 11 dc to match the first shoulder. The center 20 stitches remain unworked for the neckline.
Checkpoint: You should have 48 positions at waist, 42 across the chest above the underarm steps, and two shoulders of 11 stitches each. Lay the piece flat and verify both shoulders have equal height. Do not add a decorative drawstring around the neck.
Section 02: Back Bodice and Assembly
Work with ivory (Color B).
Rows 1 through 6: Work exactly as for the front bodice.
Row 7: Reduce by leaving 3 stitches unworked at each end, giving you 42 positions. Keep the upper back in solid dc (no eyelets).
Dividing the upper back: Work only the first 21 stitches for Row 7. Ch 2 and turn. Work 21 dc for Rows 8 through 12. Mark the armhole edge so it stays identifiable.
Rows 13 through 16: Work only the outer 11 stitches nearest the armhole, leaving the inner 10 stitches unworked for the back neckline. Join yarn again at the outer edge if needed so no yarn is carried across the neck opening. Fasten off.
Join yarn to the remaining 21 stitches of Row 6, omitting the outermost 3 stitches as on the first half. Work Rows 7 through 12 over these 21 stitches. Shape the other shoulder over its outer 11 stitches for Rows 13 through 16. This creates a center-back opening above the waist panel.
Seaming the Bodice
Place front and back pieces with right sides together. Using mattress stitch, sew each 11-stitch shoulder seam. Sew the side seams from waist through the end of Row 6 only. Leave the stepped armholes open. Turn right side out.
Back Button Bands
With bodice color (ivory), work sc evenly down one slit edge and up the other, approximately 2 sc per dc row end. Add a second sc row to each band. Sew three snaps to the bands: one near the top, one at the middle, and one near the bottom. Secure each snap through several stitches and check that the opening allows dressing without stretching the neck.
Section 03: Gathered Shell Skirt
With right side facing, join sage green (Color A) at the center-back waist.
Round 1: Ch 1, sc in each unused foundation loop across both panels, 48 per panel. (96 sc total)
Section 04: Neckline, Sleeves, and Bow
Neckline Edging
Work sc evenly around the neckline opening to create a clean finish. Ensure the edge is not too tight to allow for comfortable movement.
Flutter Sleeves
Pick up stitches along the armhole edges. Work in rounds or rows to create a gentle flutter effect, finishing with a simple edging to match the neckline.
Small Sewn Bow (Optional)
Create a small bow using sage green or ivory yarn to attach at the back neckline or waist for an extra decorative touch.
Section 05: Decorative Leaf Motifs
Leaf (Make 5)
Using sage green and the 2.5 mm hook, crochet leaf shapes. These will be placed centrally at the front waist. You can keep a single motif at center or space three motifs 3 to 4 cm apart. Add two sage leaves behind any flowers if you choose to include them. For a leaf-only decoration, simply omit the flowers.
Six-Petal Flower (Optional)
Create small accent flowers using accent colors to pair with the leaves if desired.
Section 06: Placement and Finishing
Arrange your five leaves centrally at the front waist. Sew all edges down securely.
Weaving in Ends
Weave every yarn end in two directions for at least 5 cm. This ensures they will not work loose with wear and washing.
Blocking
Gently soak the finished dress according to the yarn label instructions. Press water out by rolling in a clean towel. Pin the garment to the target dimensions on your blocking mat and let it dry completely flat. Do not stretch the neck or armholes.
Safety Considerations for Infant Wear
For baby garments, always omit beads, buttons used only as decoration, loose cords, detachable ornaments, and wire. Embroider centers rather than using buttons or beads. Sew all appliqués securely around their entire edge. This decorative dress is not sleepwear and should be used with supervision over suitable clothing.
Care Instructions
Follow the yarn label for washing. A gentle cool hand wash and flat drying are the conservative default for cotton baby items. Recheck all seams, appliqués, and snaps after each washing.
Tips
- The pattern uses basic stitches throughout. Double crochet (dc), single crochet (sc), chains, and simple shells make up the entire design. If you can work those confidently, you can absolutely make this dress.
- Before considering this pattern complete, I recommend working the entire dress in your chosen yarn. Record your hook size, blocked gauge, finished measurements, and actual yarn usage. Have someone else follow the written instructions without verbal help from you. This catches any confusing wording before you share the pattern more widely.
- If you are looking for other cute projects to make, check out this adorable crochet amigurumi duck for a matching gift idea.
FAQs
What yarn weight is best for this dress?
The pattern calls for smooth sport-weight cotton, approximately 250 meters per 100 grams. This weight provides a nice balance of structure for the bodice and drape for the skirt.
How do I adjust the size for a larger baby?
Select the size by measured chest with 4 to 6 cm of ease, not by age alone. You can adjust the foundation chain length for the bodice and the number of rounds for the skirt to accommodate different growth stages.
Can I use a different hook size?
You can use a different hook size if needed to achieve the correct gauge. If your swatch is too wide, go down a hook size. If it is too narrow, go up a hook size. Row gauge affects armhole depth and overall length, so check both stitch and row gauge.
Are the leaf motifs difficult to sew on?
The leaf motifs are simple to crochet and attach. Ensure you sew all edges down securely around their entire edge to prevent any loose parts that could be a hazard.
How do I care for the finished dress?
Follow the yarn label for washing. A gentle cool hand wash and flat drying are recommended for cotton baby items. Recheck all seams, appliqués, and snaps after each washing.
Pin This Crochet Pattern!