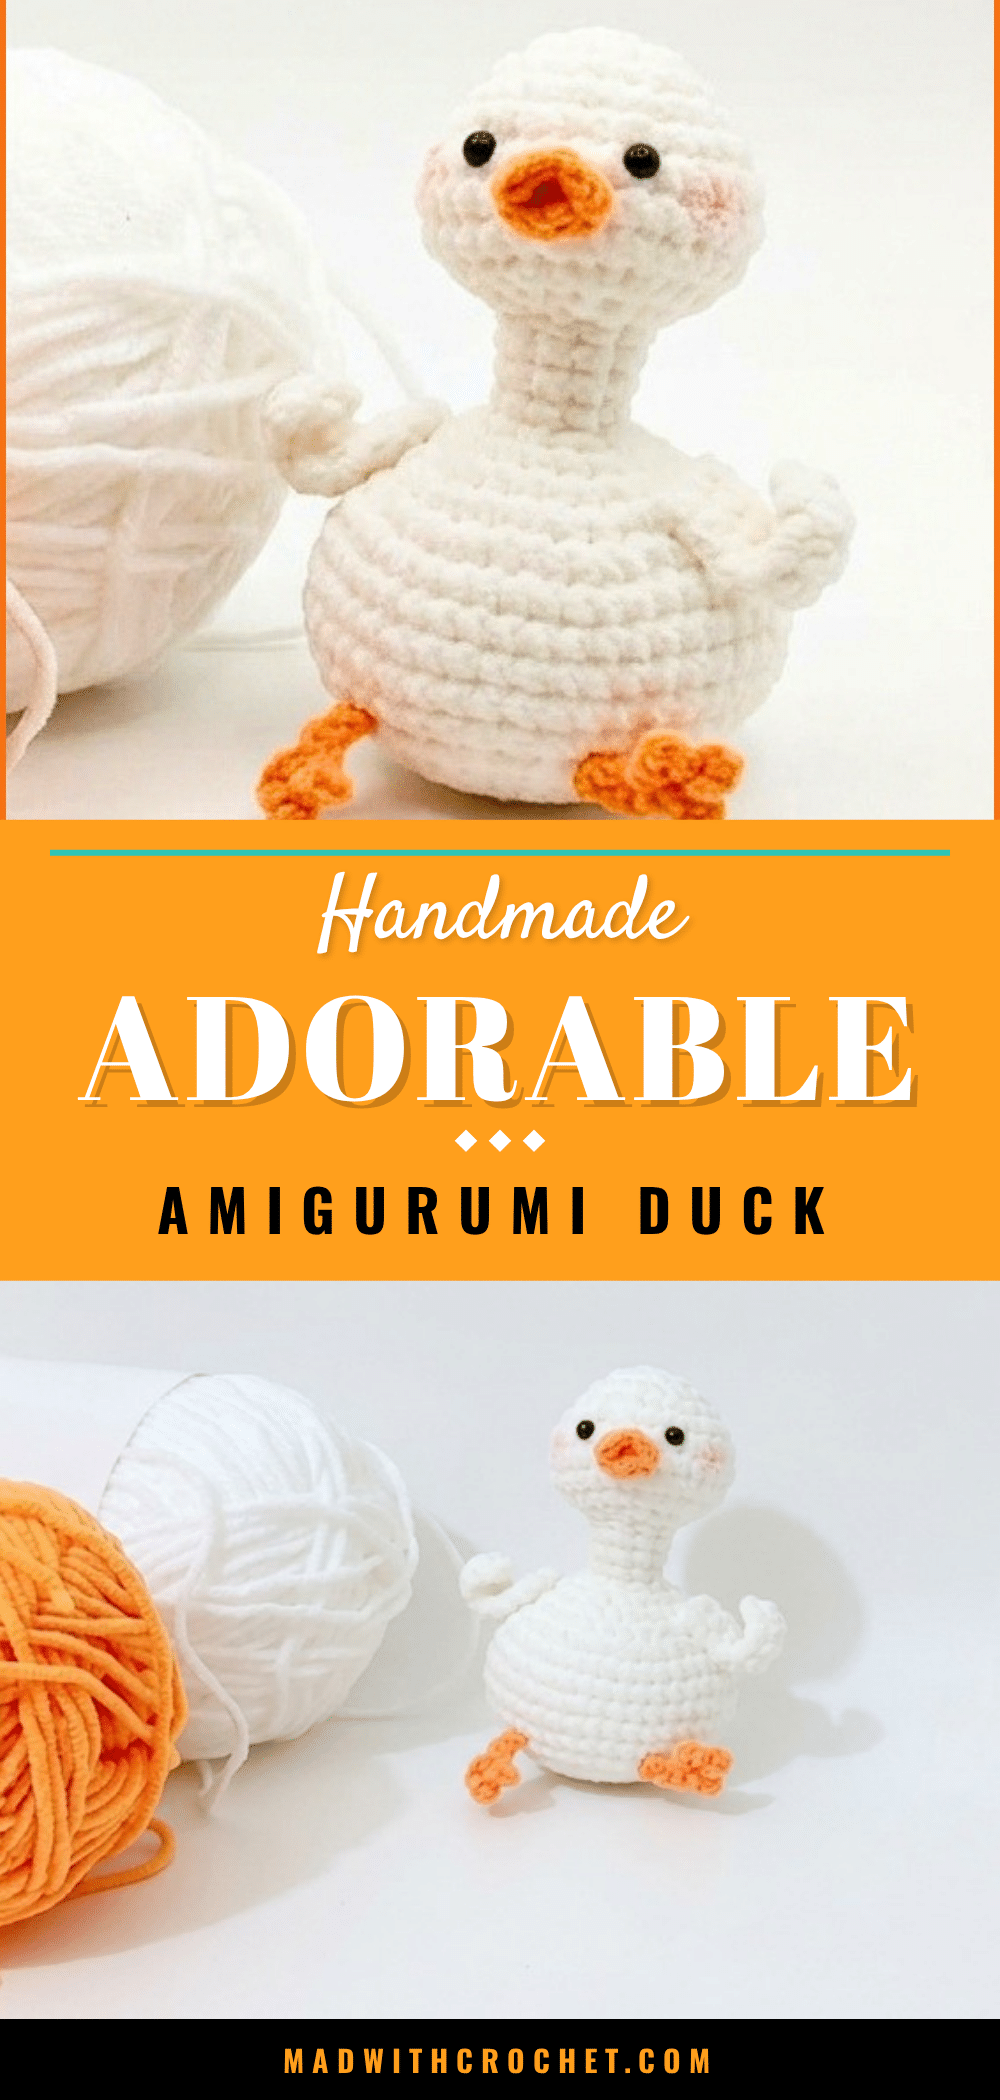
There is something deeply satisfying about watching a small circle of stitches expand into a plump, three-dimensional form. The magic of amigurumi lies in those subtle shifts in tension and the rhythmic repetition of rounds that slowly coax a flat shape into a standing figure. This Booty Duck pattern captures that joy perfectly, relying on precise increases and the textural contrast of front loop stitches to create a figure that is both sturdy and soft. It is a project that rewards patience with a charming result that feels wonderful in the hands.
Texture and Stitch Notes
What sets this Booty Duck apart is the way the fabric is constructed. By utilizing Front Loops Only (FLO) rounds, the pattern creates a subtle ridge that defines the body’s contour without adding bulk. This technique not only adds a professional finish but also helps the amigurumi hold its shape better over time. The tight gauge achieved with a smaller hook ensures that the fiberfill stays securely inside, preventing that “lumpy” look that can happen with looser tension. It is a delightful project for crocheters who enjoy the tactile feedback of shaping and the precision of counting stitches.
Project Overview
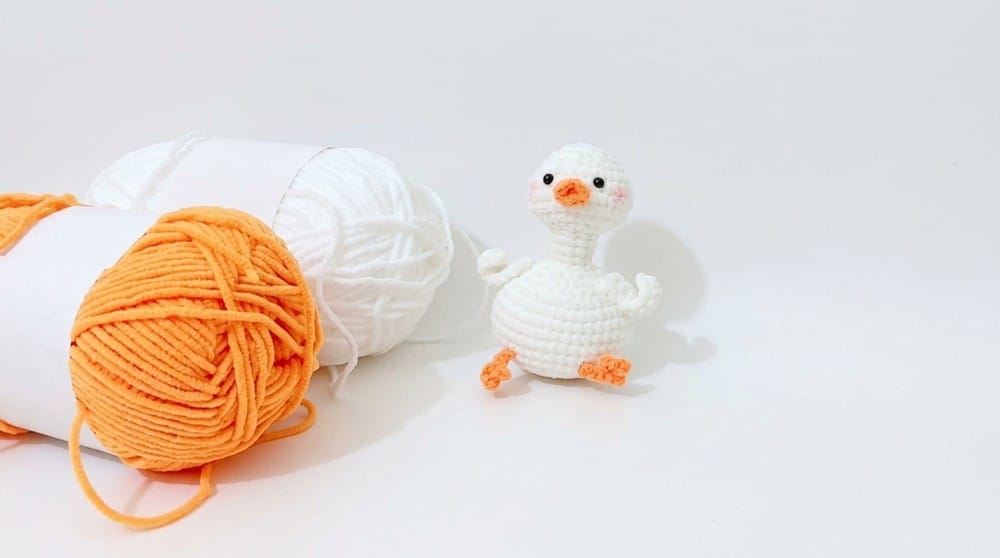
This pattern guides you through creating a charming, round Booty Duck amigurumi. The design features a seamless head and body worked as one continuous piece, followed by the creation of separate wings, feet, and a beak. The finished toy is light, portable, and perfectly sized for cuddling or display. It is an excellent project for intermediate crocheters looking to refine their shaping skills while creating a delightful handmade companion.
Materials
- Yarn in colors of choice (recommended soft acrylic or cotton for a plush finish)
- Crochet hook suitable for yarn weight (generally 2.5 mm – 3.5 mm)
- Fiberfill stuffing
- Yarn needle for sewing parts
- Scissors
- Optional: stitch markers
Gauge and Finished Size
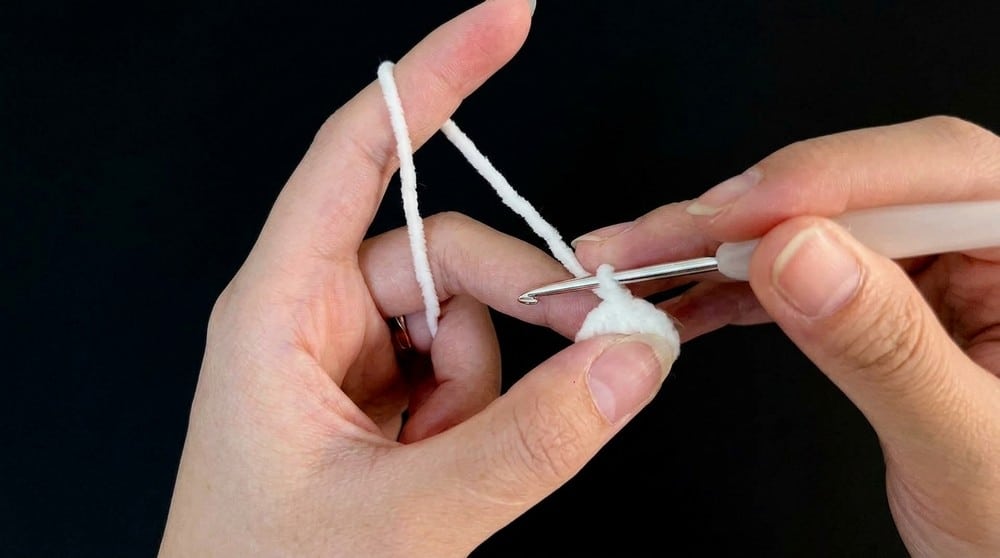
Gauge is approximate; mainly single crochet worked in rounds. Rough gauge: 22 stitches by 30 rows = 10 cm in single crochet using 2.5 mm hook. Stitch pattern primarily single crochet, with rounds worked in front loops only (FLO) used for texture.
Finished Booty Duck approximately 12-15 cm tall depending on tension and stuffing. Width varies but typically around 9-12 cm at the body’s widest point.
Abbreviations
ch = chain
sc = single crochet
hdc = half double crochet
dc = double crochet
slst = slip stitch
inc = increase (2 sc in same stitch)
dec = decrease (crochet two stitches together)
FLO = front loops only
Pattern Notes
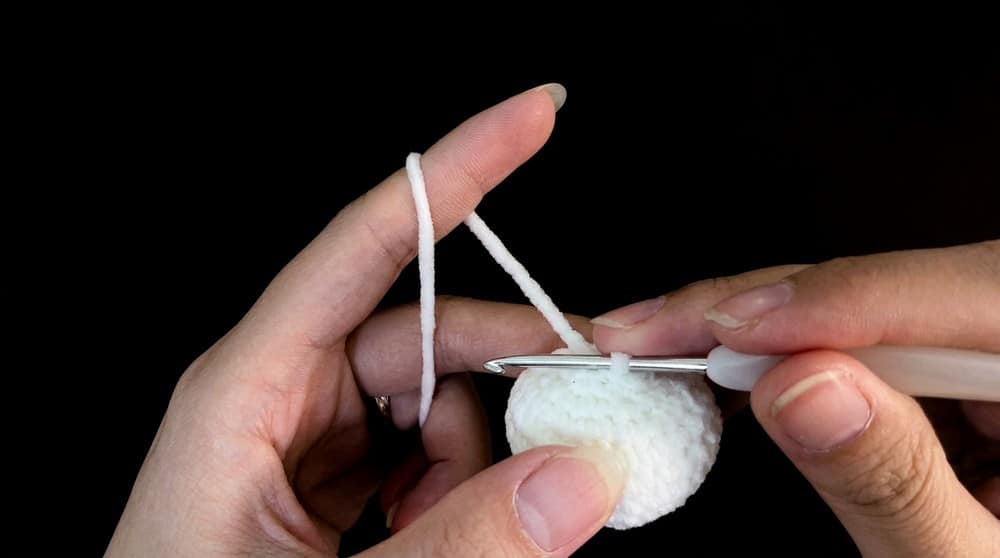
- Maintain consistent and even tension to allow the Booty Duck to hold its shape neatly.
- Use stitch markers to mark the beginning of each round for tracking increases and decreases accurately.
- Stuff firmly with fiberfill to facilitate a plush and stable shape, especially before closing the final rounds.
- Front loop only (FLO) rounds provide slight textural contrast and should be worked carefully to maintain stitch counts.
- When attaching small parts such as wings and feet, sew firmly or use quality fabric glue to ensure durability.
Pattern Instructions
1. Head and Body (worked as one piece)
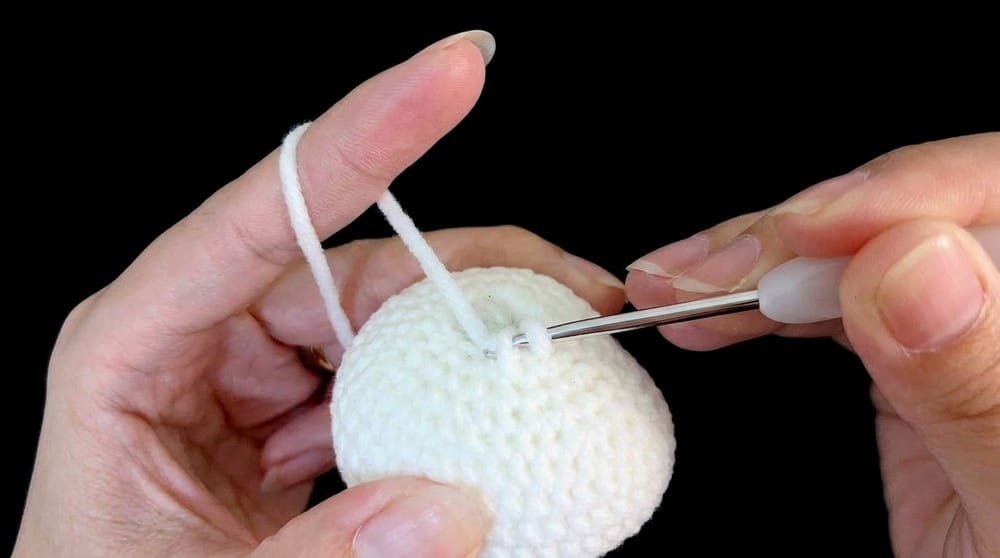
Round 1:
Create a magic ring. Work 6 single crochet (sc) into the ring. (6 stitches)
Round 2:
Increase in each stitch around. (12 stitches)
Round 3:
(1 sc, 1 inc) repeat 6 times around. (18 stitches)
Round 4:
Work 18 sc evenly around.
Round 5:
Sequence: 1 sc, 1 inc, 1 sc, 4 inc, 4 sc, 4 inc, 1 sc, 1 inc, 1 sc. Total stitches for this round: 28.
Rounds 6 to 8:
Work 28 sc evenly in each round.
Round 9:
Sequence: (1 sc, 1 dec) once, 1 sc, 4 dec, 4 sc, 4 dec, 1 sc, 1 dec, 1 sc. Resulting stitch count: 18.
Round 10:
9 decreases evenly spaced (dec). (9 stitches)
Round 11 (Front Loops Only):
Work 9 sc in front loops only (FLO).
Rounds 12 to 14:
Work 9 sc evenly around in each round.
Round 15:
(1 sc, 1 inc, 1 sc) repeat 3 times. (12 stitches)
Round 16:
(1 sc, 1 inc) repeat 6 times. (18 stitches)
Round 17:
(1 sc, 1 inc, 1 sc) repeat 6 times. (24 stitches)
Round 18:
(3 sc, 1 inc) repeat 6 times. (30 stitches)
Round 19:
(2 sc, 1 inc, 2 sc) repeat 6 times. (36 stitches)
Round 20:
Work 1 sc, 6 increases, 22 sc, 6 increases, 1 sc. (48 stitches)
Rounds 21 to 24:
Work 48 sc evenly in each round.
Round 25:
Work 1 sc, 6 decreases, 22 sc, 6 decreases, 1 sc. (36 stitches)
Round 26:
(2 sc, 1 dec, 2 sc) repeat 6 times. (30 stitches)
Round 27:
(3 sc, 1 dec) repeat 6 times. (24 stitches)
Round 28:
(1 sc, 1 dec, 1 sc) repeat 6 times. (18 stitches)
Round 29:
(1 sc, 1 dec) repeat 6 times. (12 stitches)
Round 30:
6 decreases evenly spaced (dec). Close the hole firmly and fasten off.
2. Wings
Chain 9. Starting from the second chain from the hook: Work 1 sc, Then 2 half double crochets (hdc), Followed by 5 double crochets (dc). Fasten off. Make 2 wings.
3. Feet
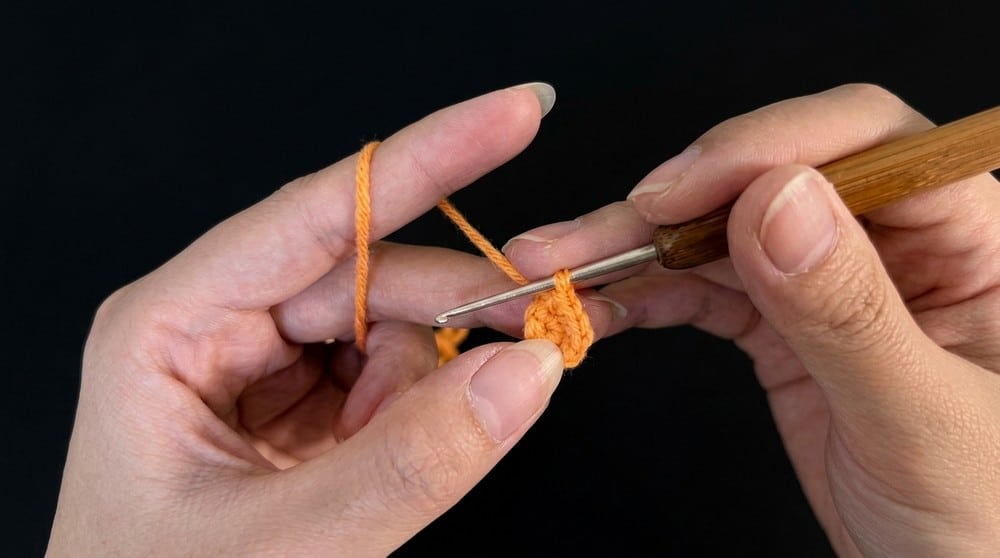
Chain 5. Starting in the second chain from the hook: 1 slip stitch (slst). Chain 2, slip stitch to create the 1st toe. Chain 2, slip stitch to create the 2nd toe. Slip stitch back down the chain. Fasten off. Make 2 feet.
4. Beak
Round 1:
Begin with a magic ring. Work 5 single crochets (sc) into the ring.
Round 2:
Work 3 increases (inc) evenly spaced. Fasten off and leave a tail for sewing.
Assembly
- Stuff the head and body firmly before closing Round 30.
- Attach the wings on either side of the body by sewing securely with yarn needle.
- Sew or glue the two feet firmly to the underside of the body for stability.
- Position and attach the beak on the front center of the head.
- Add eyes using safety eyes, embroidery, or glued beads according to preference.
Tips
Maintain consistent and even tension to allow the Booty Duck to hold its shape neatly. Use stitch markers to mark the beginning of each round for tracking increases and decreases accurately. Stuff firmly with fiberfill to facilitate a plush and stable shape, especially before closing the final rounds. Front loop only (FLO) rounds provide slight textural contrast and should be worked carefully to maintain stitch counts. When attaching small parts such as wings and feet, sew firmly or use quality fabric glue to ensure durability.
FAQs
What yarn is best for this amigurumi?
Soft acrylic or cotton yarn is recommended for a plush finish. These fibers hold their shape well and provide a smooth texture that highlights the stitch definition.
Can I use a larger hook for a softer duck?
While you can use a hook up to 3.5 mm, a smaller hook (2.5 mm) is recommended to ensure the stitches are tight enough to prevent the stuffing from showing through.
How do I make the feet stand up?
Ensure you stuff the body firmly before closing the final round. Sewing the feet securely to the underside of the body, possibly with a bit of fabric glue for extra hold, will provide the necessary stability.
Is this pattern suitable for beginners?
This pattern is rated as intermediate. It assumes knowledge of amigurumi construction, basic stitches, increasing, decreasing, and familiarity with working in the round.
How do I add texture to the body?
Round 11 is worked in Front Loops Only (FLO). This creates a subtle ridge that adds visual interest and helps define the shape of the duck’s body.
Pin This Crochet Pattern!