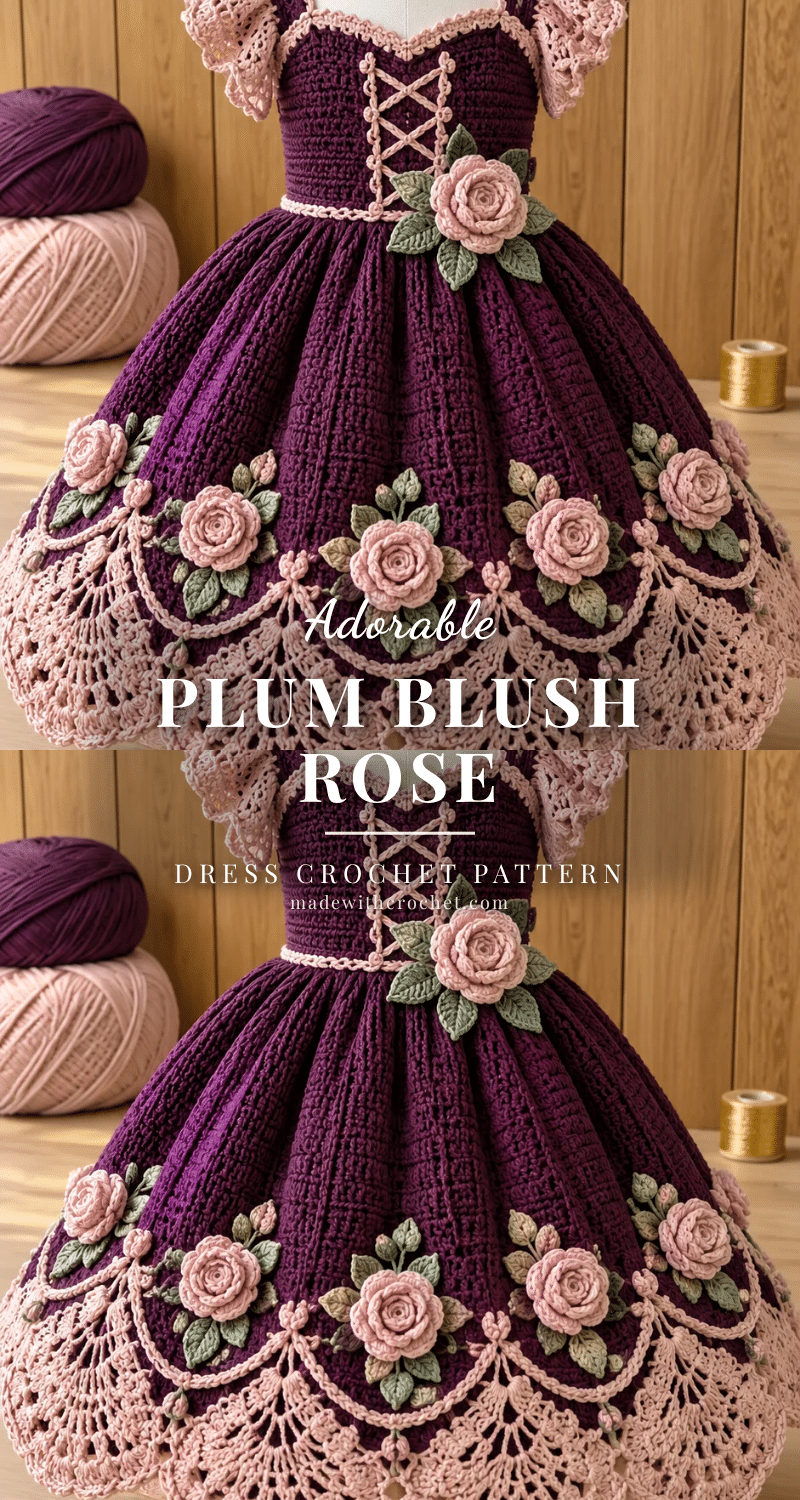
There is something deeply comforting about the rhythm of a favorite project. A quiet evening, a small batch of yarn, and the steady counting of stitches can turn a simple afternoon into a cherished ritual. The Plum Blush Rose Dress invites you into that same space of mindful creation. With its structured bodice and dramatic gathered skirt, this pattern offers a beautiful challenge for the intermediate to advanced crocheter. It is a garment that feels like a character from a storybook, perfect for twirling through a garden party or celebrating a special milestone.
Small Details That Make It Better
While the deep plum and dusty blush color palette provides the visual foundation, it is the structural choices that elevate this dress from a simple garment to a keepsake. The design relies on a square structural opening for the neckline, which is then softened by the addition of decorative cords that create a curved visual outline. This interplay between rigid geometry and soft, romantic detailing is what gives the dress its unique charm. The lace fan hem adds a layer of texture that catches the light, while the coiled rose motifs serve as wearable art. These elements require patience and precision, but the result is a piece that feels substantial and luxurious against the skin.
Project Overview
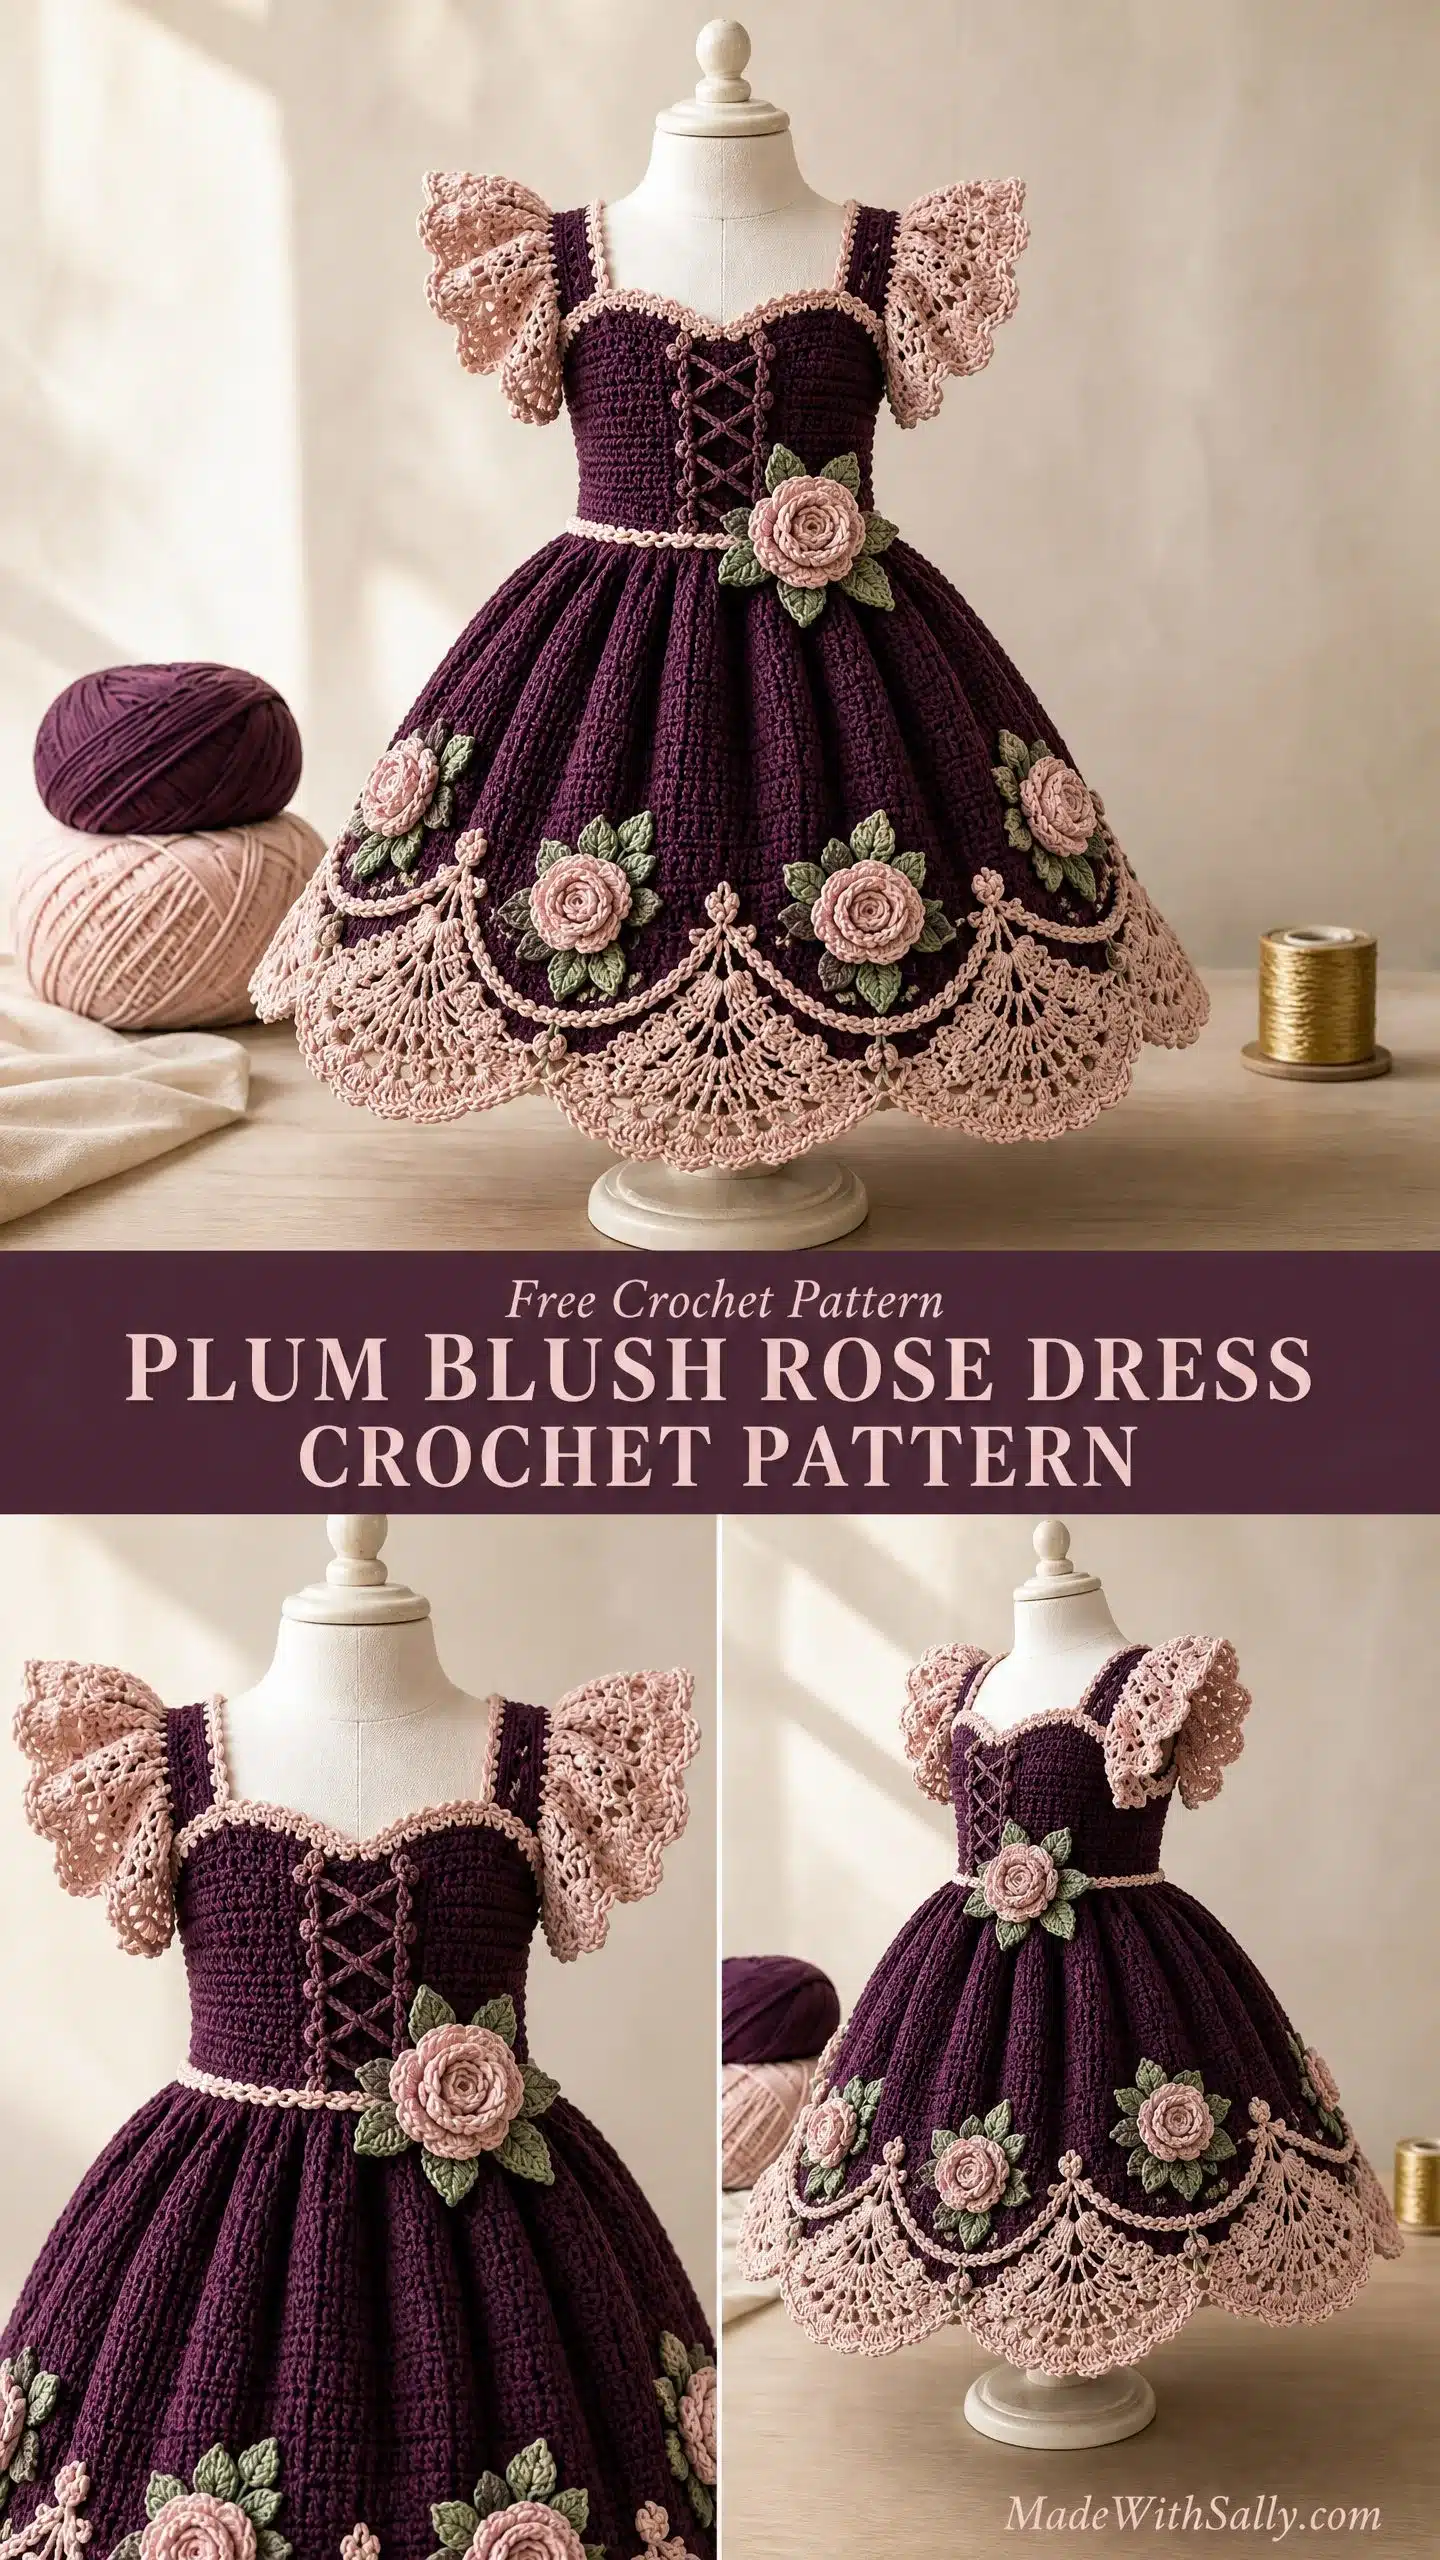
The Plum Blush Rose Dress is designed for toddlers approximately 2 to 3 years old. Rather than relying solely on age, this pattern is best chosen based on measurements. The target finished chest circumference is 56 cm (22 inches), intended for a body chest measurement of 50 to 52 cm with 4 to 6 cm of ease built in. The shoulder to hem length comes in around 46 to 49 cm, with the bodice depth measuring about 22 cm. This proportion creates a beautifully balanced silhouette with the dramatic full skirt that little ones love.
Important Note: This is a design draft pattern and has not yet been crochet tested. It is highly recommended to make a complete sample, measure it carefully, and review the fit before making this for a gift or special occasion. The design illustration provides the overall look, but your crocheted version may differ slightly in stitch-level details.
Materials
Yarn
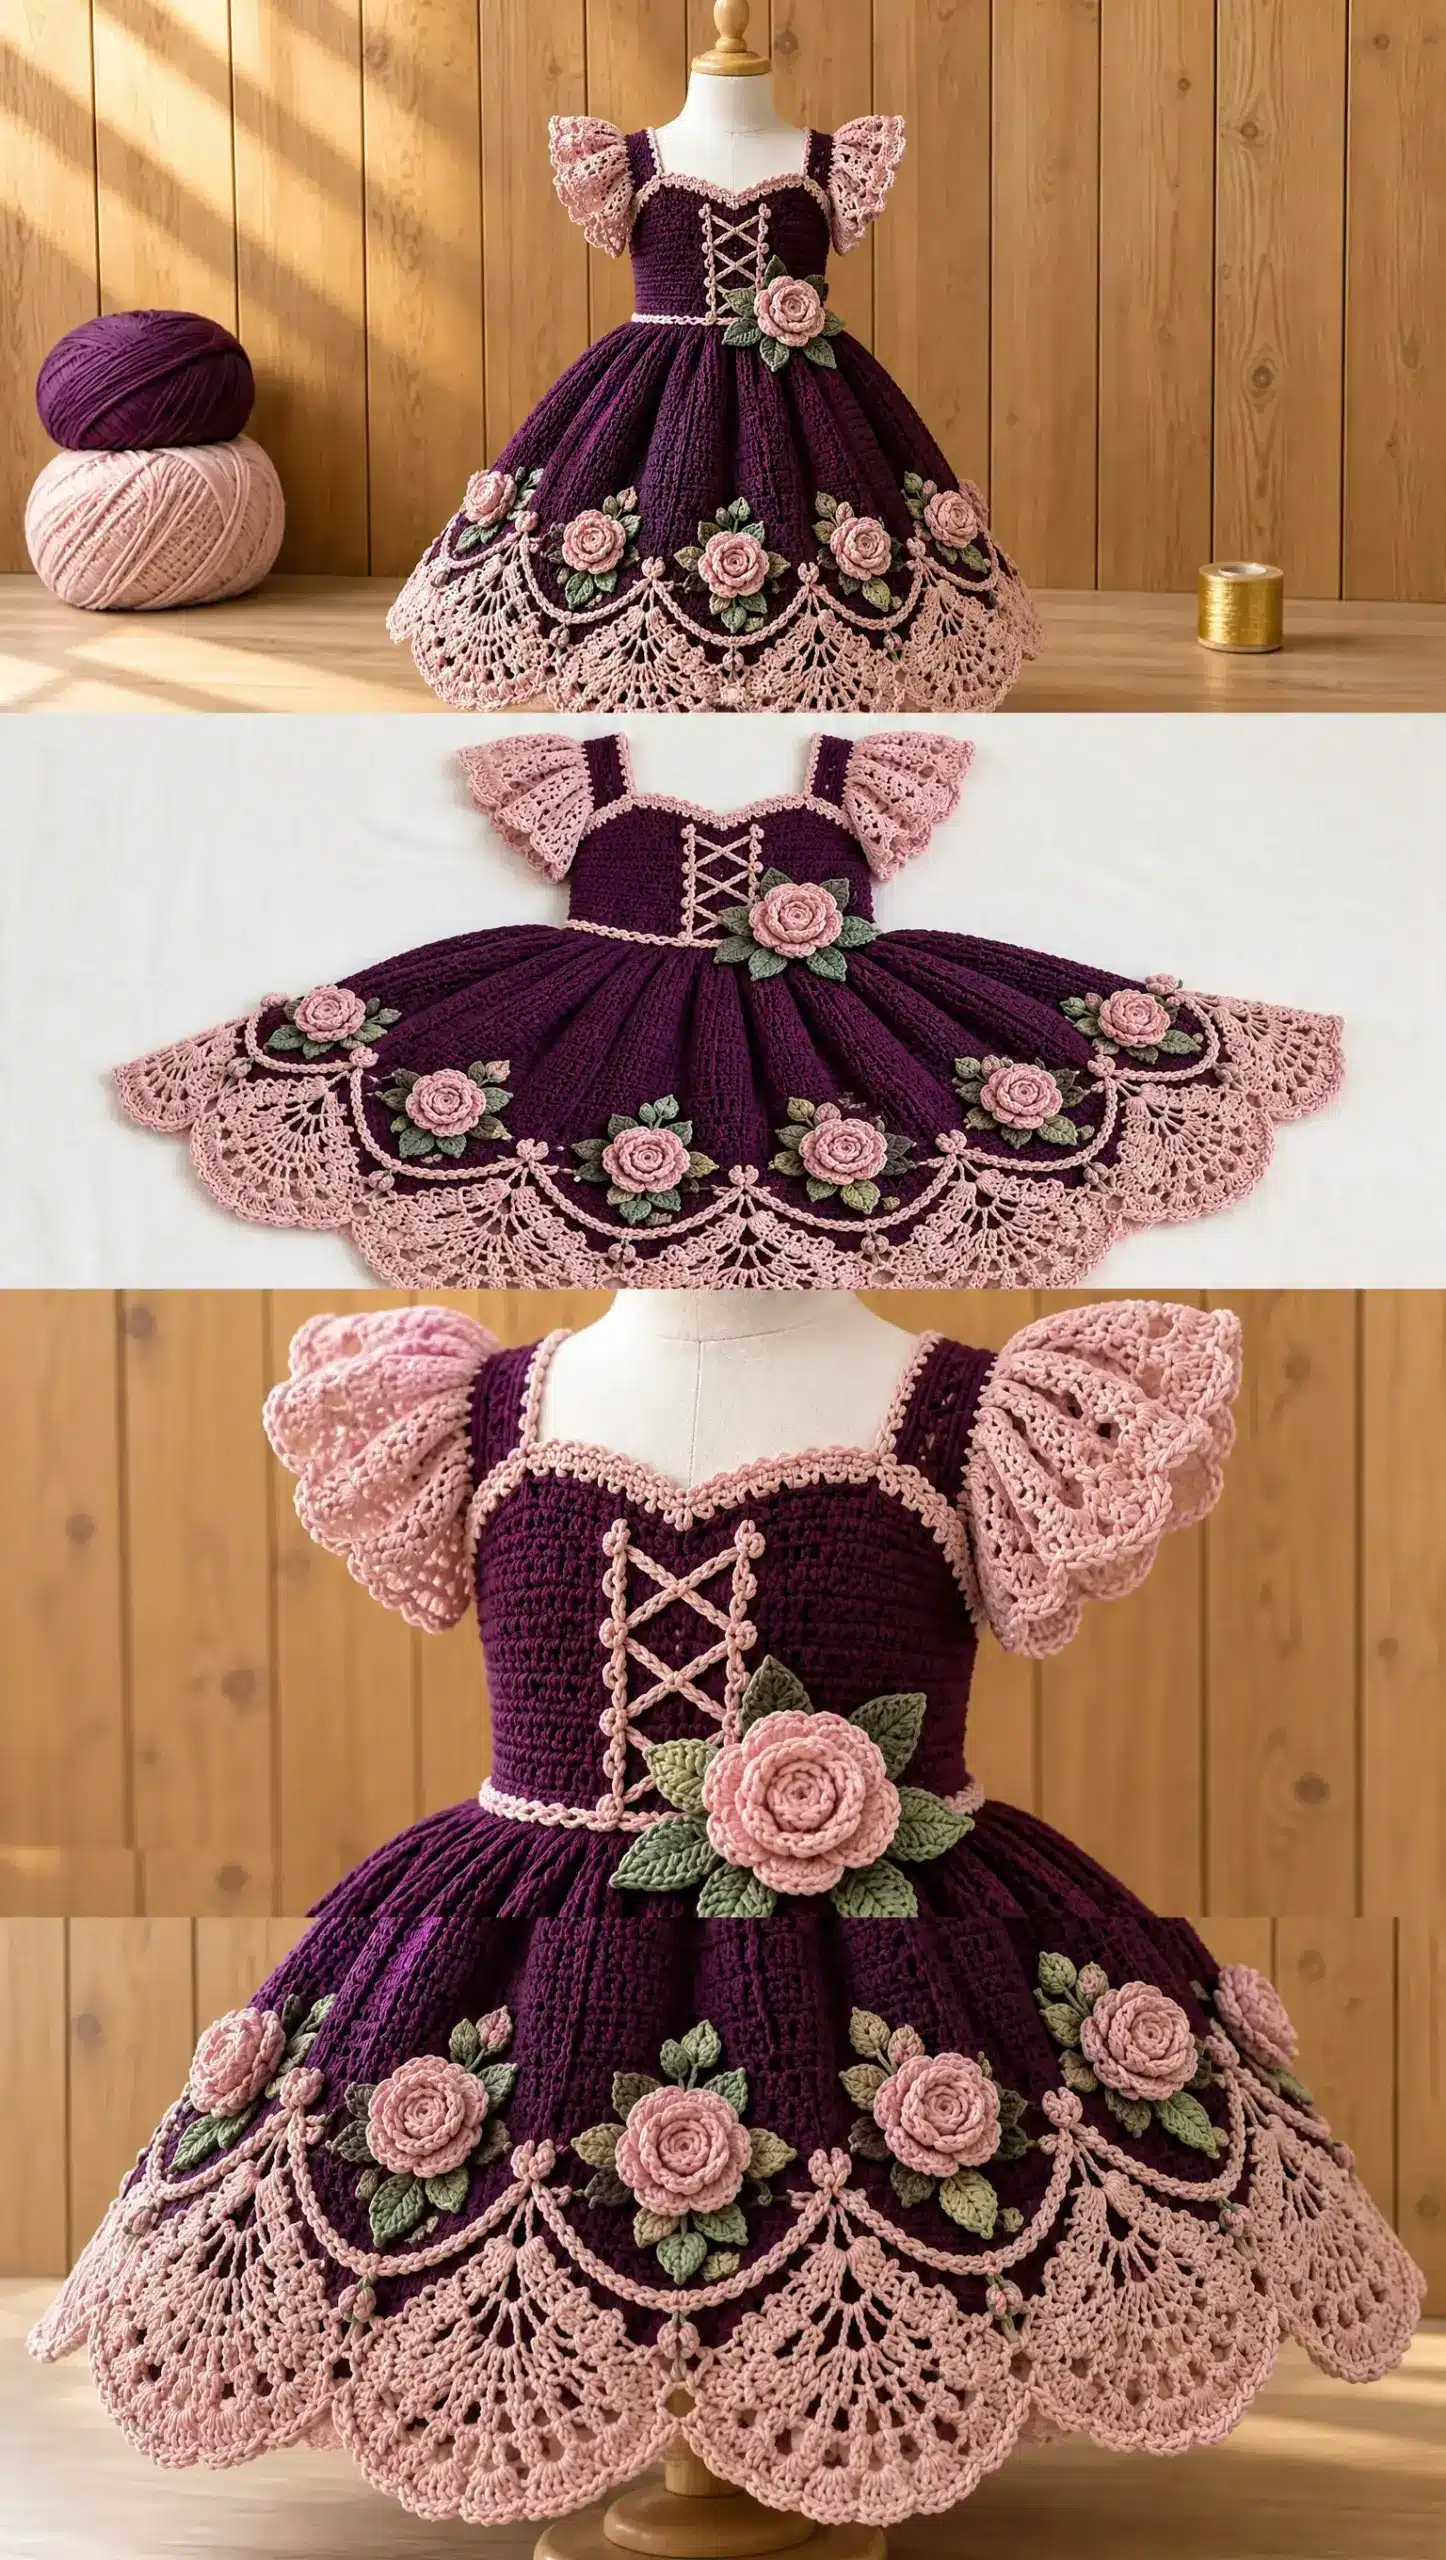
You will be working with sport weight or fine weight cotton yarn, approximately 125 meters per 50 grams. Cotton is an excellent choice for children’s occasion wear because it breathes beautifully and washes well. Planning allowance by color:
- Deep plum: 300 meters for the bodice and matching details, plus 400 meters for the skirt (700 meters total).
- Dusty blush pink: 250 meters for sleeves, hem, and motifs.
- Sage green: 50 meters for leaves.
- Contrast colors: 25 meters each for flower centers or filler flowers.
Your total comes to approximately 1,050 meters before small contrasts. Measure your actual usage on your sample to confirm.
Tools
- 3.5 mm crochet hook for the main garment.
- 3 mm hook for appliques and cords.
- 2.5 mm hook (optional) for tiny flowers.
- Tapestry needle.
- Stitch markers.
- Tape measure.
- Scissors.
- Rust-resistant blocking pins.
- 3 small sew-in snaps with backing fabric.
Adjust your garment hook size as needed to achieve gauge. This is so important for getting the right fit.
Gauge and Finished Size
Your blocked gauge should measure: 20 double crochet stitches and 12 rows equals 10 x 10 cm.
To check your gauge, chain 32. Work a double crochet (dc) in the third chain from hook and in each remaining chain across. You should have 30 dc. Work 18 rows total. Wash and dry your swatch exactly as you plan to care for the finished garment, then measure the central 20 stitches and 12 rows.
If your measurements do not match, change your hook size and swatch again. A larger hook will make your gauge looser (bigger), while a smaller hook will make it tighter (smaller). Keep swatching until both dimensions match.
Abbreviations
Let me walk you through every stitch abbreviation you will encounter. Even if you know these by heart, a quick refresher never hurts.
- ch = chain: yarn over, draw through the loop on your hook.
- sl st = slip stitch: insert hook, yarn over, draw through both the stitch and the loop on your hook in one movement.
- sc = single crochet: insert hook, yarn over, draw up a loop, yarn over and draw through both loops.
- hdc = half double crochet: yarn over first, insert hook, yarn over and draw up a loop, yarn over and draw through all 3 loops.
- dc = double crochet: yarn over, insert hook, yarn over and draw up a loop, yarn over and draw through 2 loops twice.
- tr = treble crochet: yarn over twice before inserting hook, draw up a loop, then yarn over and draw through 2 loops three times.
- st(s) = stitch(es).
- sp = space.
- inc = increase, meaning 2 stitches worked in one stitch.
- V-st = V stitch: work (dc, ch 1, dc) all in one location.
- sc2tog = single crochet two together (decrease): insert hook and draw up a loop in each of the next 2 stitches, yarn over and draw through all 3 loops.
Counting rule: Your turning chain 1 or chain 2 does NOT count as a stitch anywhere in this pattern. When joining rounds, join to the first actual stitch. Mark that stitch and count every shaping row.
Pattern Notes
- The illustration may show decorative beads or ribbon. For a child-worn garment, substitute embroidered centers, stitch sash and bow tails flat, and secure every applique edge thoroughly.
- Use with a sewn cotton slip or suitable underdress where the lace fabric is open. This design is occasion clothing, not sleepwear.
- Getting your supplies organized before you start makes the whole process so much smoother.
- Checkpoint Measurements: Panel width below armholes: 28 cm; Width above underarm ledges: 24 cm; Shoulder width: 5 cm each; Neckline gap: 14 cm; Overall height: approximately 21.7 cm.
- Before adding the border, your skirt should measure approximately 20 cm below the waist. Check this length on your sample.
- Keep your tension relaxed. Wet block individual fans into smooth rounded scallops without pulling the skirt waist wider.
- Do not leave a loose spiral.
- Do not add loose beads for child safety.
- Embroider a straight vein down the middle if desired.
- Embroider a contrasting center using three short straight stitches.
- Every applique edge must be secured for child safety.
- Sew all cords flat to the fabric. They are ornaments, not functional lacing.
- Where crossed lacing appears in the image, embroider 4 to 5 shallow crosses directly on the fabric between the cords. Do not leave long loose cord spans.
- Keep chains away from the loose outer hem fans.
- Reinforce the reverse with matching stitches without cinching the waist.
- Keep both sides symmetrical.
- Lightly block the two bands so that they overlap by about 1 cm without pulling the back panel.
- Align paired halves before stitching. Cover exposed backing edges with soft fabric. Confirm that the opening allows easy dressing without pulling the neckline.
- If you need a longer or shorter dress, add or remove plain skirt rounds before the final shaping or hem. At gauge, one dc round changes length by about 0.8 cm. Preserve the final 240 stitch hem foundation so your lace border works correctly. Chest changes require a fresh graded calculation. Do not simply change hook size for a different chest measurement.
Pattern Instructions
Front Bodice Instructions
Let us start building this beautiful dress from the front bodice.
Rows 1 through 14
With deep plum yarn and your 3.5 mm hook, chain 58.
Row 1: Work a dc in the third chain from hook and in each remaining chain across. You should have 56 dc. Turn.
Rows 2 through 14: Chain 2, dc in every stitch across (56 dc). Turn after each row. Do not work a stitch into the turning chain.
Armhole Shaping, Row 15
Slip stitch in the first 4 stitches. Chain 2, then dc in each of the next 48 stitches. Leave the final 4 stitches unworked. Turn. You now have 48 dc. Those 4 unworked stitches on each side create a 2 cm underarm ledge.
Rows 16 through 20
Chain 2, dc in all 48 stitches. Turn. At gauge, your full panel is now about 16.7 cm tall.
Place removable markers around the outermost 10 stitches at each edge. The central 28 stitches will form your neckline opening.
First Shoulder, Rows 21 through 26
Chain 2, dc in the first 10 stitches only. Leave the remaining 38 stitches unworked and turn (10 dc). Work 5 more rows of 10 dc, turning each row. Fasten off with a sewing tail.
Second Shoulder, Rows 21 through 26
With the same face of the panel toward you, attach yarn at the opposite outer edge of Row 20. Working toward the center, chain 2 and dc across only the outermost 10 stitches. Turn and work 5 more rows of 10 dc. Fasten off. Both shoulder straps must have 6 rows above Row 20.
Back Bodice Instructions
Rows 1 through 14
Using deep plum, make a second panel exactly like the front. Work 56 dc each row. Mark the center between stitches 28 and 29.
Left Half, Rows 15 through 23
Row 15: Slip stitch in the first 4 stitches. Chain 2, dc in the next 24 stitches, stopping at the center marker. Leave the other half unworked. Turn (24 dc).
Rows 16 through 23: Chain 2, dc in each stitch. Turn (24 dc). Fasten off.
Right Half, Rows 15 through 23
Return to the unworked half of Row 14. Attach yarn at the center marker and work toward the outer edge. Chain 2, dc in the next 24 stitches, leaving the final 4 stitches unworked. Turn (24 dc). Work Rows 16 through 23 as for the left half. Fasten off. The center edges remain separate to create your back opening.
Back Shoulders, Rows 24 through 26
On each half, attach yarn at the outer armhole edge of Row 23 and dc across the outermost 10 stitches. Leave the inner 14 stitches unworked. Turn and work 2 more rows of 10 dc. Fasten off. The two 14 stitch inner gaps create a 28 stitch back neckline.
Assembly
Block both panels to your target measurements. With right sides together, join each pair of 10 stitch shoulder tops using mattress stitch. To work mattress stitch, align your matching edges and pick up one small strand from each edge alternately with a tapestry needle. Tighten gradually so the join lies flat.
Join the side edges from the foundation edge through Row 14 only, matching rows carefully. Keep all upper edges open for armholes. Turn right side out.
The lower edge has 56 foundation stitches on each panel, 112 total. Try the bodice on a correctly sized dress form before adding the skirt, checking chest ease and head access.
Weave all ends through several stitches, reverse direction, and secure. Wash according to your yarn label. Gently press out water in a towel. Do not wring.
Pin the bodice to 56 cm chest circumference, ease the skirt outward without stretching the waist, and shape the lace scallops, sleeve ruffles, and appliques. Dry completely on a flat surface.
Tips
As you work through this intricate design, remember that patience is your best tool. The structured double crochet bodice requires consistent tension to maintain its shape, while the gathered skirt allows for some forgiveness in stitch size. If you are looking for a simpler project to balance out this advanced piece, you might enjoy creating a fun fish amigurumi or a simple mesh bag for carrying your supplies. For those who love floral themes, the flower coasters offer a quick way to practice similar motifs.
FAQs
Is this pattern suitable for beginners?
No, this is an intermediate to advanced project with lots of lovely details. It involves shaping, multiple components, and assembly techniques like mattress stitching.
Can I adjust the size of the dress?
You can adjust the length by adding or removing plain skirt rounds before the final shaping. However, chest changes require a fresh graded calculation, so do not simply change hook size for a different chest measurement.
What kind of yarn should I use?
Sport weight or fine weight cotton yarn is recommended. Cotton breathes beautifully and washes well, making it ideal for children’s occasion wear.
How do I handle the open lace fabric?
This design is occasion clothing, not sleepwear. It should be used with a sewn cotton slip or suitable underdress where the lace fabric is open.
Are beads safe for this pattern?
For a child-worn garment, substitute embroidered centers and avoid loose beads. Secure every applique edge thoroughly for child safety.
Pin This Crochet Pattern!