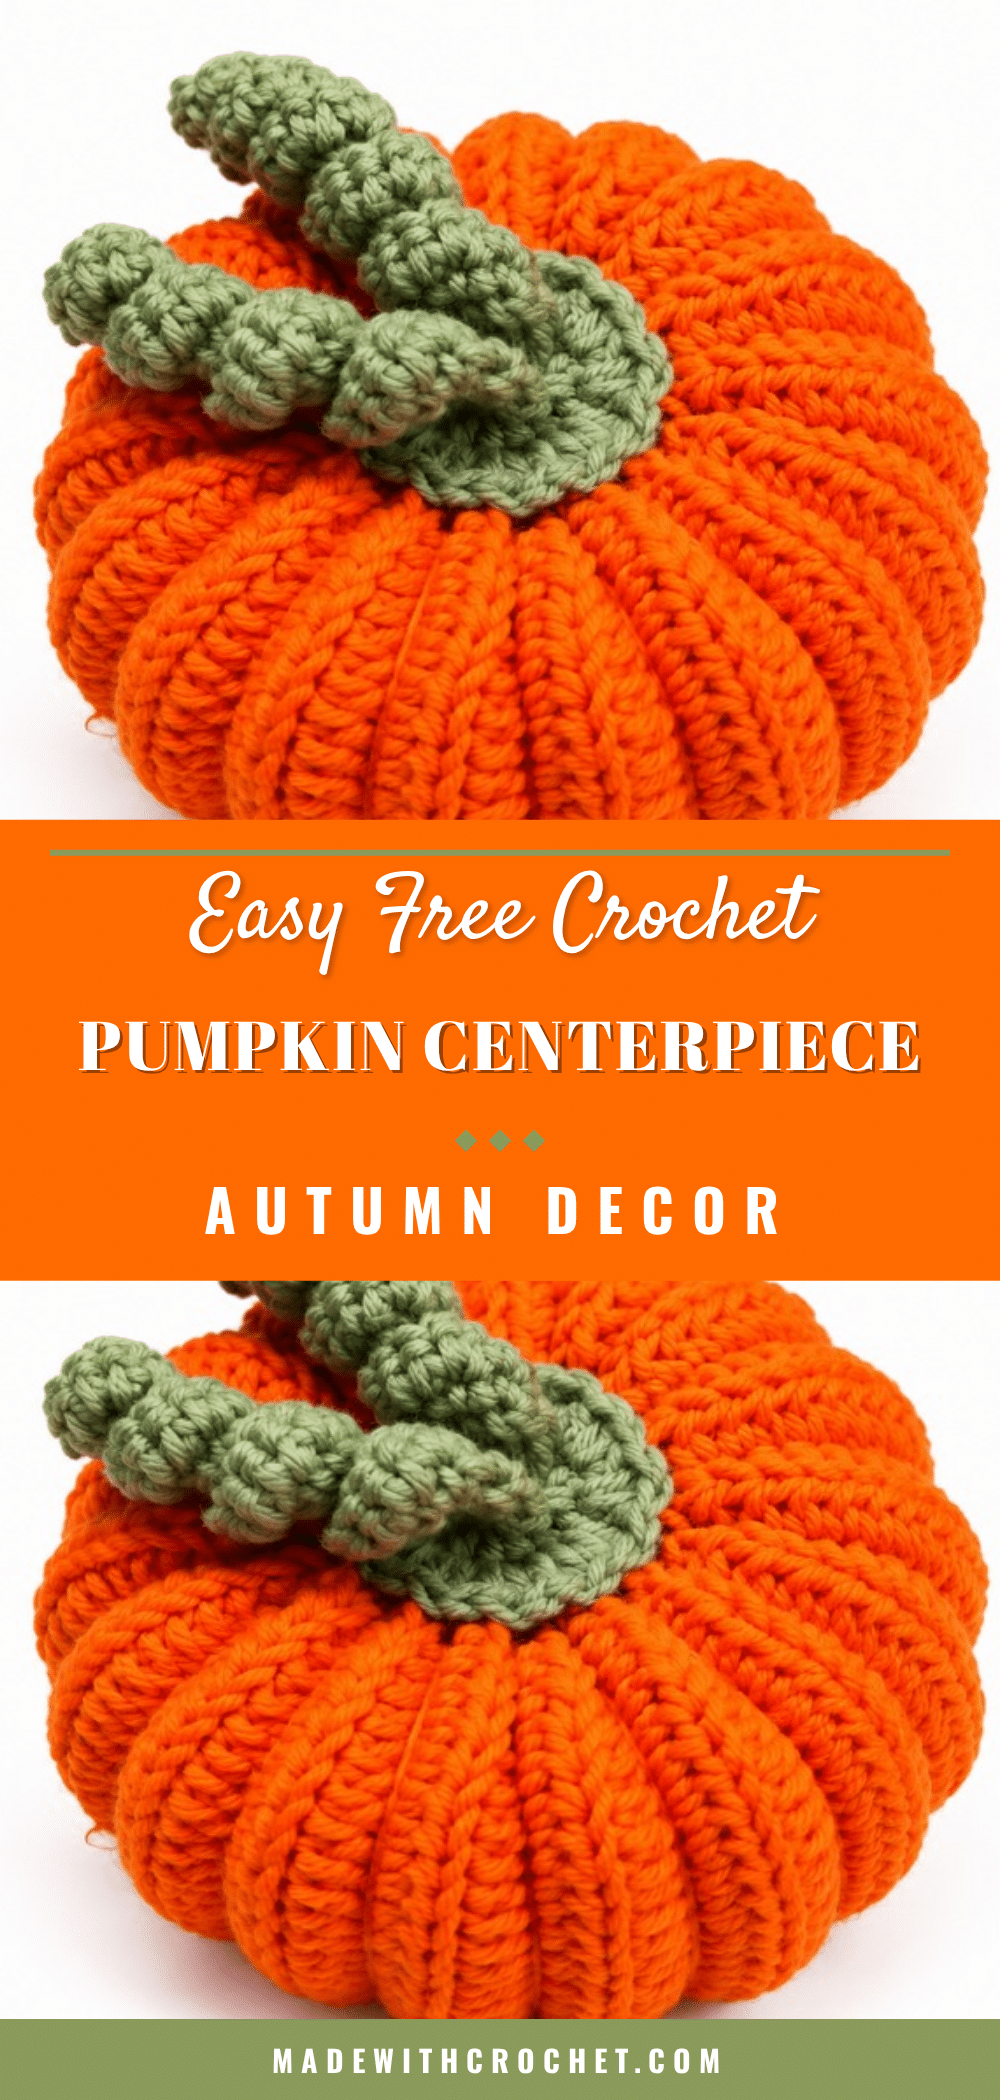
There is something deeply satisfying about the rhythmic pull of yarn through loops, especially when working stitches that create distinct, tactile textures. This free crochet pumpkin pattern leans into that joy, utilizing half double crochet worked in the back loop only to generate subtle vertical ridges. These ridges do more than just look good; they mimic the natural grooves of a real pumpkin, giving the finished piece an authentic, three-dimensional contour. The process of shaping a flat rectangle into a plump, gathered form offers a wonderful opportunity to practice seaming and tension control, making it a rewarding project for those who love seeing their stitches transform into a structured object.
Texture and Stitch Notes
The visual appeal of this centerpiece lies in its ribbed exterior. By working exclusively in the back loop of the half double crochet stitch, you create a fabric that naturally wants to curl and ridge, perfectly simulating the segments of a squash. This technique requires a firm hand; pulling the yarn slightly tighter than you might for a standard garment helps define those vertical lines. When you later thread yarn through the body to tighten the “ribs,” the pre-existing texture from the back-loop stitches ensures the indentation holds its shape without distorting the overall form. This tactile quality makes the pumpkin not just a visual accent, but a cozy, handcrafted object that invites touch.
Project Overview
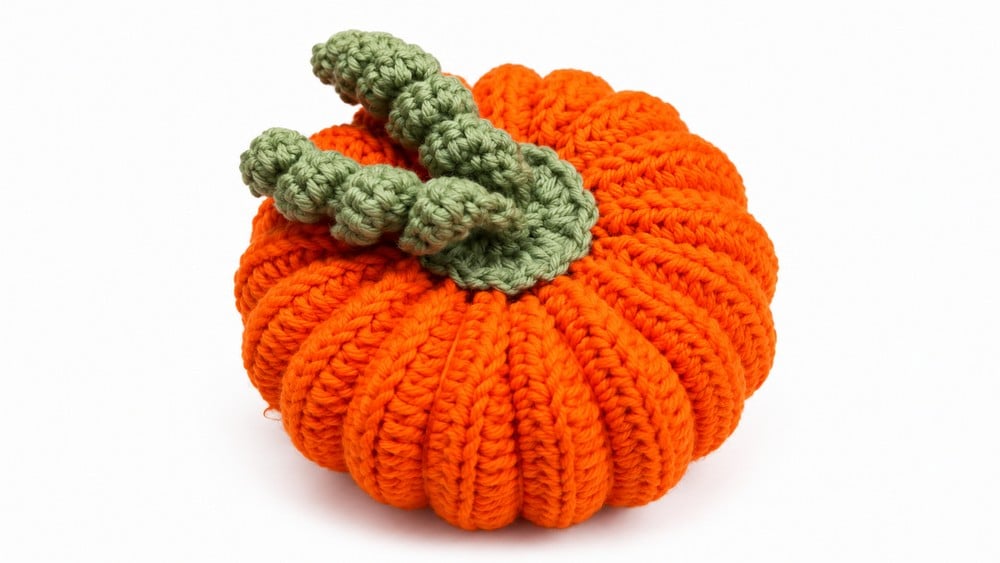
This amigurumi-style pumpkin is designed as a seasonal centerpiece, perfect for mantels, dining tables, or entryway shelves. It features a plump, rounded body created from a seamed rectangle, a realistic green stem, and whimsical curly vines. The pattern is accessible to beginner to intermediate crocheters, relying on foundational stitches like chain, single crochet, and half double crochet, along with basic shaping techniques.
Materials
- Approximately 50 grams of #4 weight yarn in orange for the main pumpkin body.
- Small amount of green yarn for the stem and vines.
- 3.75 mm aluminum crochet hook.
- Stuffing material (polyfill, wool, or cotton).
- Tapestry needle for sewing and weaving ends.
- Scissors.
Gauge and Finished Size
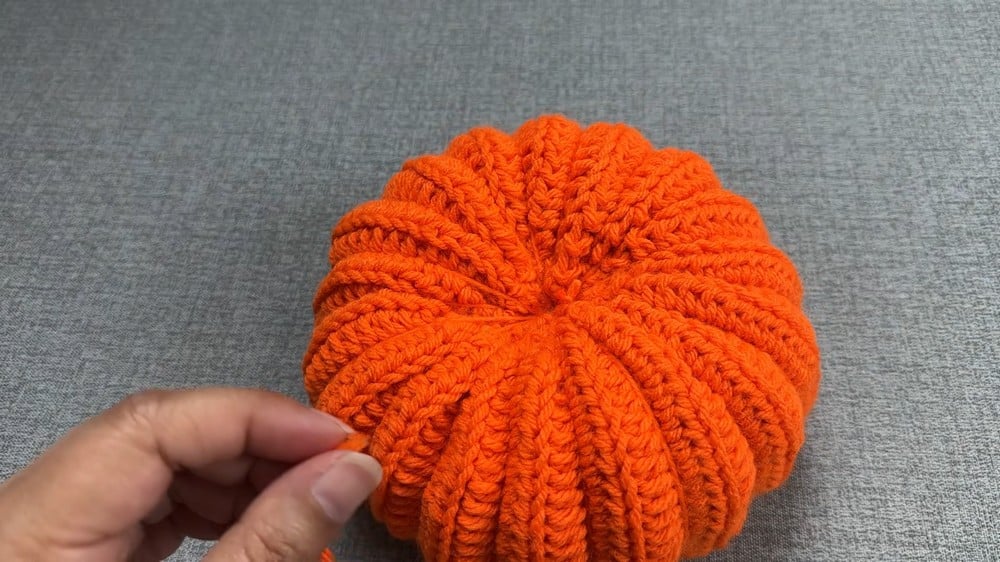
Gauge is flexible for this project. The main stitch is half double crochet (HDC) worked in back loop only, which produces a ribbed texture accentuating the pumpkin’s form. The finished pumpkin measures approximately 4 to 5 inches in diameter, featuring a plump, ribbed body and a realistic green stem with decorative vine accents. The tube shape of the body with tightened ribs gives authentic pumpkin contours. The stem’s size can be adjusted by the number of stitches or rounds worked in the magic ring. Vines add a whimsical, handcrafted charm suitable for display. Dimensions can be varied by changing the number of foundational chains or rows worked, or by adjusting yarn thickness and hook size.
Abbreviations
- ch Chain Yarn over, pull through loop
- sl st Slip Stitch Insert hook, yarn over, pull through loop
- sc Single Crochet Insert hook into stitch, yarn over, pull through loop
- hdc Half Double Crochet Yarn over, insert hook, yarn over, pull through all 3 loops
Pattern Notes
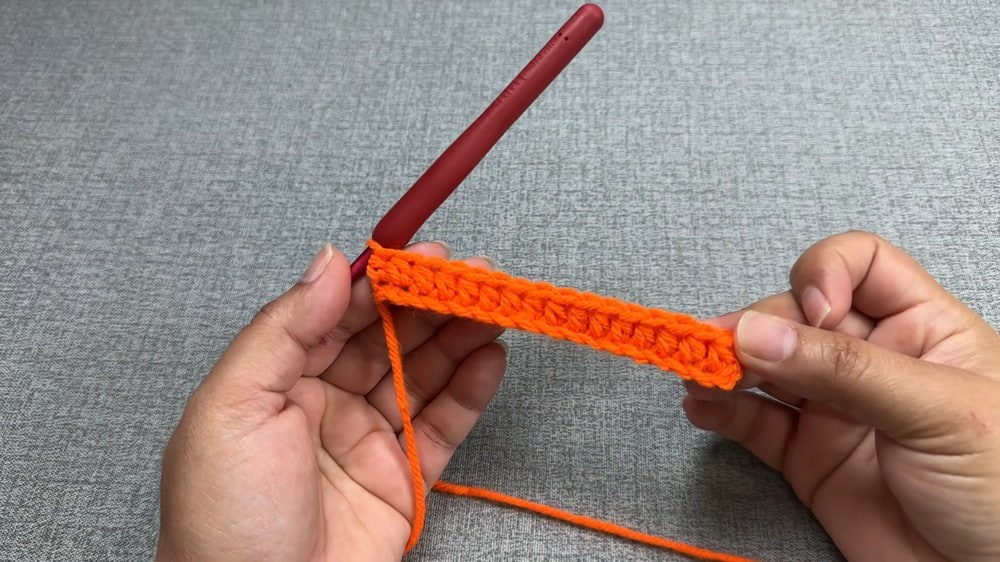
- Use of back loop only half double crochet on the pumpkin body develops subtle vertical ridges enhancing the pumpkin’s texture.
- Stuff firmly to create a plump pumpkin but do not overstuff to keep elasticity for shaping.
- The ribbing is made by pulling the yarn tightly around stitch columns to imitate natural pumpkin grooves.
- Vines provide a whimsical finishing touch but are optional if you prefer a simpler look.
- Use yarn needle and long tails carefully to conceal sewing for a neat finish.
Pattern Instructions
1. Main Pumpkin Body
Starting Chain: Make a slip knot, chain 36 stitches.
Foundation Row: Skip the first two chains from the hook, work one half double crochet (HDC) in the third chain. Continue to work one HDC in every chain across the row until the end.
Pattern Rows 1 to 36: Chain 2 to turn (does not count as a stitch). Work a row of half double crochet (HDC) in the back loop only (BLO) of each stitch across. Repeat this row sequence for a total of 36 rows creating a rectangular piece with vertical ridges.
Seaming: Fold the rectangle in half lengthwise so the short edges meet evenly. Using a tapestry needle and yarn, sew the edges together with a whip stitch or mattress stitch. This forms a tube resembling the pumpkin’s body.
2. Shaping and Stuffing
Closing the Bottom: Weave yarn on a tapestry needle through the edge stitches around one open end (bottom) of the tube. Pull yarn tight to close the opening securely. Knot to fasten and trim excess yarn.
Stuffing: Turn the pumpkin tube inside out so the seam is on the inside for a smooth appearance. Stuff firmly with polyester filling or your preferred stuffing material, shaping the pumpkin plumply but not overstuffed.
Closing the Top: Weave yarn through the stitches at the remaining open end (top). Pull tightly to close it around the stuffing inside. Secure with a knot and trim yarn.
Creating Ribbing: Thread yarn through a tapestry needle. Pass the yarn through the center of the pumpkin and bring it out the outer edge, pulling tightly along vertical stitch columns on the pumpkin’s surface. Repeat this pulling around the circumference at evenly spaced intervals corresponding to stitch columns to form distinct “ribs” on the pumpkin. This tightening describes the natural grooves of the pumpkin.
3. Pumpkin Stem and Vines
Stem – Round 1: Using green yarn, make a magic ring. Crochet 12 half double crochets (HDC) inside the ring. Pull the ring tight to close the center.
Stem – Round 2: Increase in each stitch by working 2 HDCs per stitch around, doubling the count to 24 stitches. Slip stitch to join. Leave a long tail for sewing.
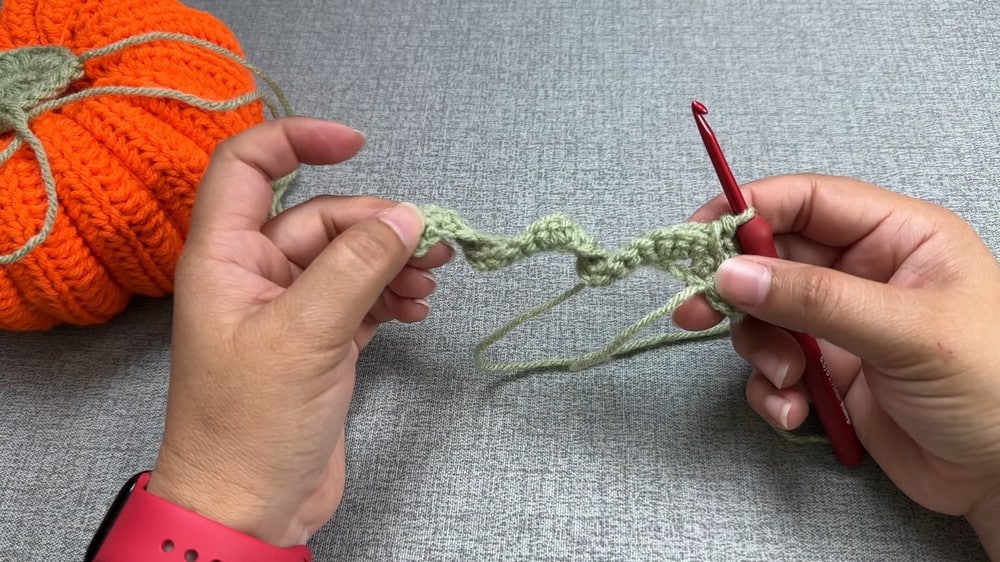
Vines: Chain 16 stitches for the first vine. Turn and work 2 single crochets (sc) into each chain stitch, creating a thick curling vine. Repeat similarly for a second vine starting with 13 chains.
Assembly
Attach the vines to the center of the green stem piece by tying or sewing their ends securely. Sew the entire green stem and vines assembly onto the top of the stuffed pumpkin, stitching firmly for durability. This step brings the rustic charm of the design together, much like the detailed finishing found in our cute pumpkin coaster pattern.
Tips
- Stuff firmly to create a plump pumpkin but do not overstuff to keep elasticity for shaping.
- The ribbing is made by pulling the yarn tightly around stitch columns to imitate natural pumpkin grooves.
- Vines provide a whimsical finishing touch but are optional if you prefer a simpler look.
- Use yarn needle and long tails carefully to conceal sewing for a neat finish.
FAQs
What yarn weight should I use?
The pattern calls for #4 weight (medium) yarn. Using a different weight will change the final size, so adjust your hook size accordingly if you wish to scale the pumpkin.
How do I make the pumpkin look more realistic?
The key is the ribbing. After stuffing, use a tapestry needle to pull yarn tightly through the vertical stitch columns on the exterior. This creates the deep grooves characteristic of a real pumpkin.
Can I skip the vines?
Yes, the vines are optional. If you prefer a cleaner, simpler look, you can attach just the green stem to the top of the pumpkin.
Is this pattern suitable for beginners?
It is suitable for beginner to intermediate crocheters. You will need to be comfortable with half double crochet, working in rows, basic seaming, and magic ring starts.
How do I adjust the size of the stem?
The stem size is determined by the number of stitches or rounds worked in the magic ring. You can add more increase rounds to make the stem wider or fewer rounds to make it smaller.
Pin This Crochet Pattern!