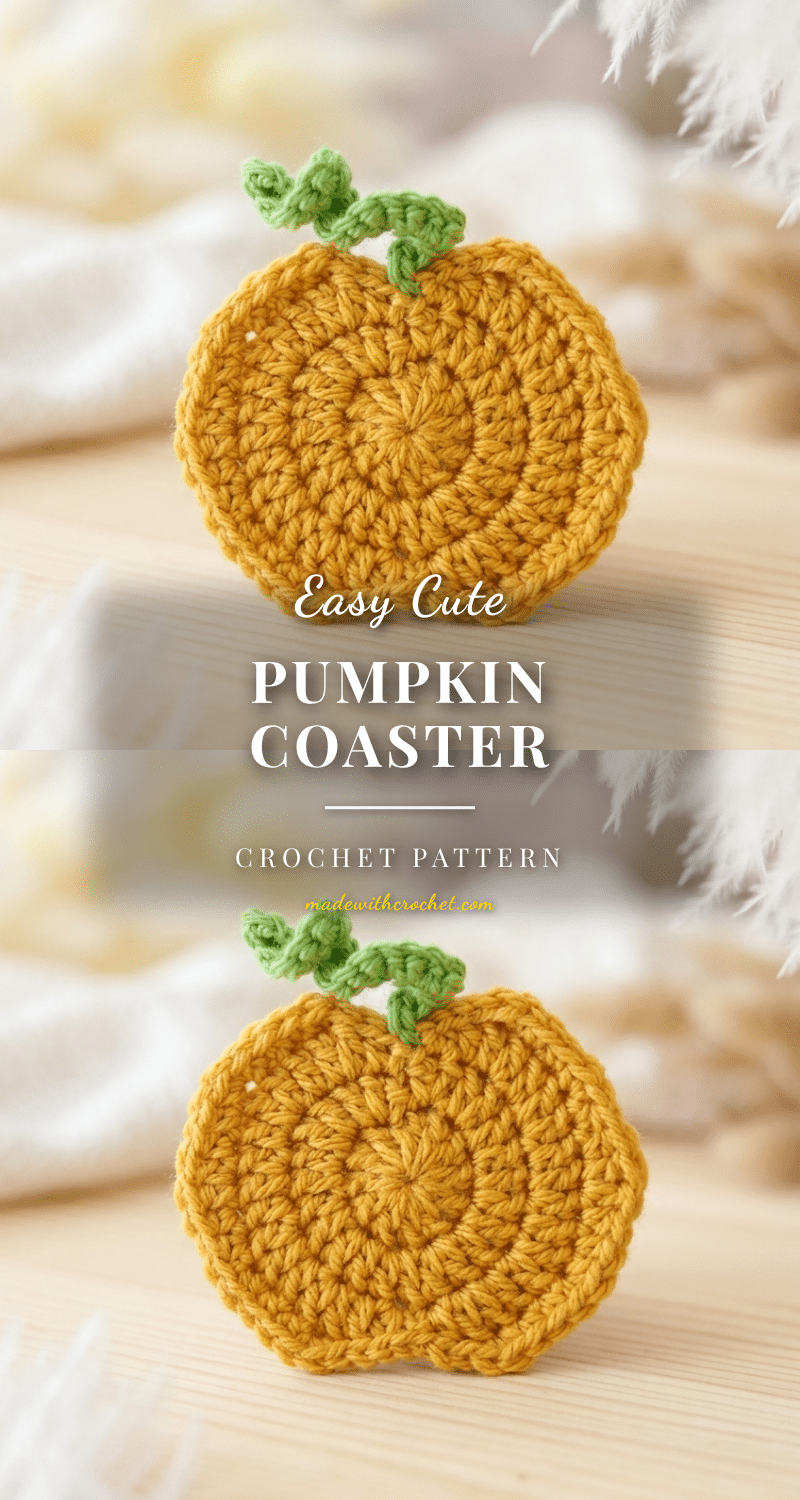
Perfect for keeping your autumn tables dry and festive, this Cute Pumpkin Coaster Crochet Pattern is a quick, beginner-friendly project that delivers big seasonal charm. Framed as a practical handmade object, this coaster is designed to hold a mug without sliding, making it an ideal gift for housewarmings, a cheerful addition to a seasonal tablescape, or a fast market-table item that sells well during fall crafting season.
Our Touch: Gift and Use Ideas
While this coaster is undeniably cute, its true value lies in its utility and longevity. Because it is made from bulky weight yarn, it is durable enough to withstand daily use under coffee mugs and wine glasses. I recommend making a set of four; they are small enough to finish in a single sitting, making them perfect for bundling as a thoughtful, low-cost gift for friends who love fall decor. Beyond the dining table, these coasters make excellent props for seasonal photography or can be used to protect surfaces during autumn crafting sessions. The smooth stitch definition of the bulky yarn ensures that the pumpkin shape remains crisp and recognizable, adding a touch of whimsy to any home.
Project Overview
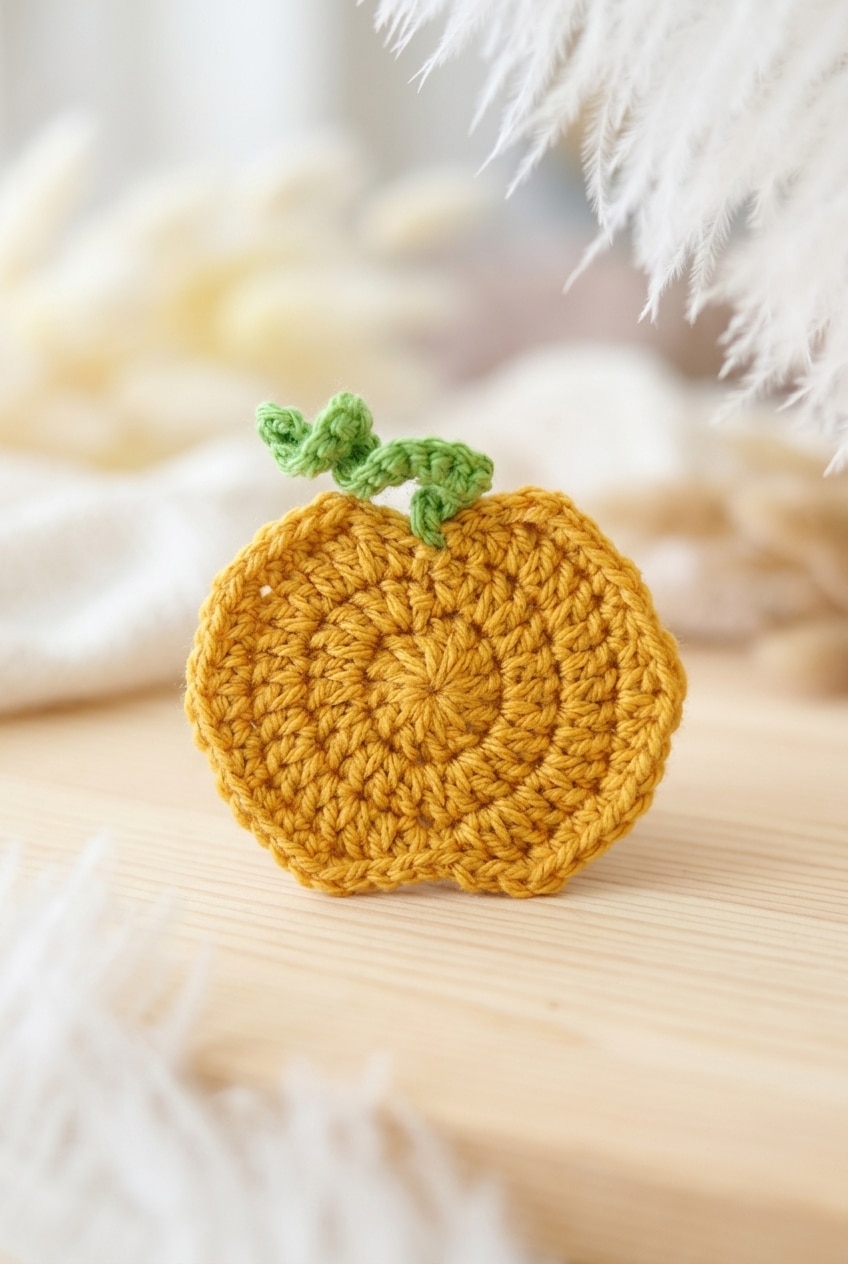
This project is an easy-level amigurumi-style coaster worked in joined rounds from the center out. It features a two-color design using orange for the pumpkin body and green for the stalk. The construction relies on specific stitch combinations to create the characteristic lobes and indentations of a pumpkin, resulting in a flat, stable coaster that sits securely on surfaces.
Materials
- Yarn: Bulky Weight Yarn (Weight 5). A smooth acrylic works best to maintain clean stitch definition. You will need approximately 20 to 40 yards of orange and a small amount of green for the stalk. Scraps are sufficient.
- Crochet Hook: 6.00 mm hook. This size pairs well with bulky yarn and helps maintain firm tension to prevent stuffing from showing through.
- Notions: Yarn needle, scissors, and a stitch marker (recommended for tracking rounds).
Gauge and Finished Size
Finished Size: Approx. 4.5–5 in (11.5–12.5 cm) diameter coaster.
Gauge: Gauge is not critical for this project. However, use a hook size that creates a firm fabric so the coaster lies flat and holds its shape. If the edges curl or the center goes floppy, adjust your hook size.
Abbreviations
All standard US crochet abbreviations are used:
- ch = chain
- st(s) = stitch(es)
- sl st = slip stitch
- sc = single crochet
- hdc = half double crochet
- dc = double crochet
- * * = repeat between * * as instructed
- ch-1 sp = chain-1 space
Pattern Notes
- Color Codes: O = Orange, G = Green.
- Construction: The coaster is worked in joined rounds. At the end of each round, slip stitch to close, then chain up to begin the next.
- Tension: Tighter is better here. Consistent tension ensures the coaster lies flat.
- Center Ring: Working into the center of the chain loop (rather than individual stitches) in Round 1 creates a clean, tight center with no gap.
- Stalk Construction: The stalk is worked directly from the center join point at the end of Round 4 without fastening off the orange yarn first. Green is joined at the very end of Round 4.
Pattern Instructions
Pumpkin Body
This section builds the main coaster body, starting from the center and growing outward to create the ribbed, lobed shape.
Round 1: With O, ch 4, sl st in first ch to form a loop, 12 dc in center of loop, sl st in first dc to join. [12 dc] Ch 1.
Note: Working into the center of a chain loop gives you a clean, tight center with no gap.
Round 2: Starting in same st as previous sl st, 2 dc in each st around, sl st in first dc to join. [24 dc] Ch 1.
Round 3: Starting in same st as previous sl st, 1 hdc, 2 dc in next st, 1 dc in next st, 2 dc in next st, repeat from * to * 3 more times, 1 dc in next st, [1 hdc, ch 1, sl st] in next st, sl st in next st, ch 1, 1 hdc in next st, 2 dc in next st, repeat from * to * 4 more times, 1 dc in next st, [1 hdc, ch 1, sl st] in next st. [40 sts]
Note: This round forms the pumpkin lobes. The ch-1 and sl st combinations create the indentations between sections. Take your time reading through each segment. Place a stitch marker at the start of each lobe section to track your progress.
Round 4: Sl st in next ch-1 sp, sl st in next 2 sts, 2 sc in next st, 1 sc in next 2 sts, 2 sc in next st, 1 hdc in next 2 sts, 2 dc in next st, 1 hdc in next 2 sts, 2 sc in next st, 1 sc in next 2 sts, 2 sc in next st, sl st in next 2 sts, sl st in next ch-1 sp, sl st in next 2 previous sl sts, sl st in next ch-1 sp, sl st in next 2 sts, 2 sc in next st, 1 sc in next 2 sts, 2 sc in next st, 1 hdc in next 2 sts, 2 dc in next st, 1 hdc in next 2 sts, 2 sc in next st, 1 sc in next 2 sts, 2 sc in next st, sl st in next 2 sts, sl st in next ch-1 sp, sl st in last previous sl st, sl st in center to join, joining G. [51 sts]
Note: This is a long round. Join G at the very end of this round before you close off. The slip stitches help pull the edges in and allow the coaster to sit flat.
Stalk
Continuing in G, the stalk works off the center join point you just landed on. It is a quick chain-and-back construction that sits right at the top of the pumpkin.
Round 1: Continuing in G, ch 13, 2 sc in second ch from hook and in each ch along, sl st in center again to join. [24 sc]
Note: Working 2 sc into each chain along the length creates a filled, slightly dimensional stalk rather than a flat strip. You skip the first chain from the hook, working into 12 chains total.
Fasten off and tie in all ends.
Assembly
Weave in all loose ends securely using a yarn needle. Ensure the orange end is woven in before joining green in Round 4 to avoid tight spaces later.
Tips
- Blocking: Since these coasters are functional, lay them flat to dry after washing. Do not toss them in the dryer, as bulky yarn can pull out of shape when warm and wet.
- Washing: Hand wash in cool water or use a gentle machine cycle in a mesh bag if the yarn label allows.
- Shape Check: If your coaster is curling up at the edges or going floppy in the center, adjust your hook size before continuing.
- Tracking: Use a stitch marker in Round 3 to keep track of the lobe sections, as the pattern alternates between increases and indentations.
FAQs
What does the finished coaster actually look like? Does it lie flat?
The coaster comes out roughly 4.5 to 5 inches across with a distinct pumpkin shape featuring two lobes, created by the indentations in Round 3. It does lie flat, as the slip stitches in Round 4 pull the edges in slightly to help it sit nicely on a surface.
The stalk instruction says to chain 13 and work 2 sc in each chain. Why does it end up with 24 stitches?
You skip the first chain from the hook, so you are working into 12 chains total. Working 2 sc into each of those 12 chains gives you 24 stitches. This doubling makes the stalk look fuller and more rounded rather than flat and thin.
When exactly do I switch to green yarn?
Green joins at the very end of Round 4. The last instruction in that round is to slip stitch into the center to join, and you bring in the green at that point. The stalk section continues directly in green without fastening off the orange first.
Round 3 looks complicated. What’s actually happening there?
Round 3 builds the two-lobe pumpkin shape. The pattern alternates between groups of hdc and dc increases and then uses a ch-1 with a slip stitch to create the indentation between lobes. It reads more complex than it works up; just go slowly and count your stitches to ensure you reach 40 total.
Can I make a set of these quickly? How long does one take?
Yes. Each coaster consists of four rounds of orange plus a short stalk section. Once you understand the shaping in Round 3, a single coaster works up in under an hour. A set of four makes a comfortable weekend project.
For more easy amigurumi projects, check out our Adorable Crochet Pumpkin Trio or our Easy Mini Crochet Pumpkin Pattern.
Pin This Crochet Pattern!