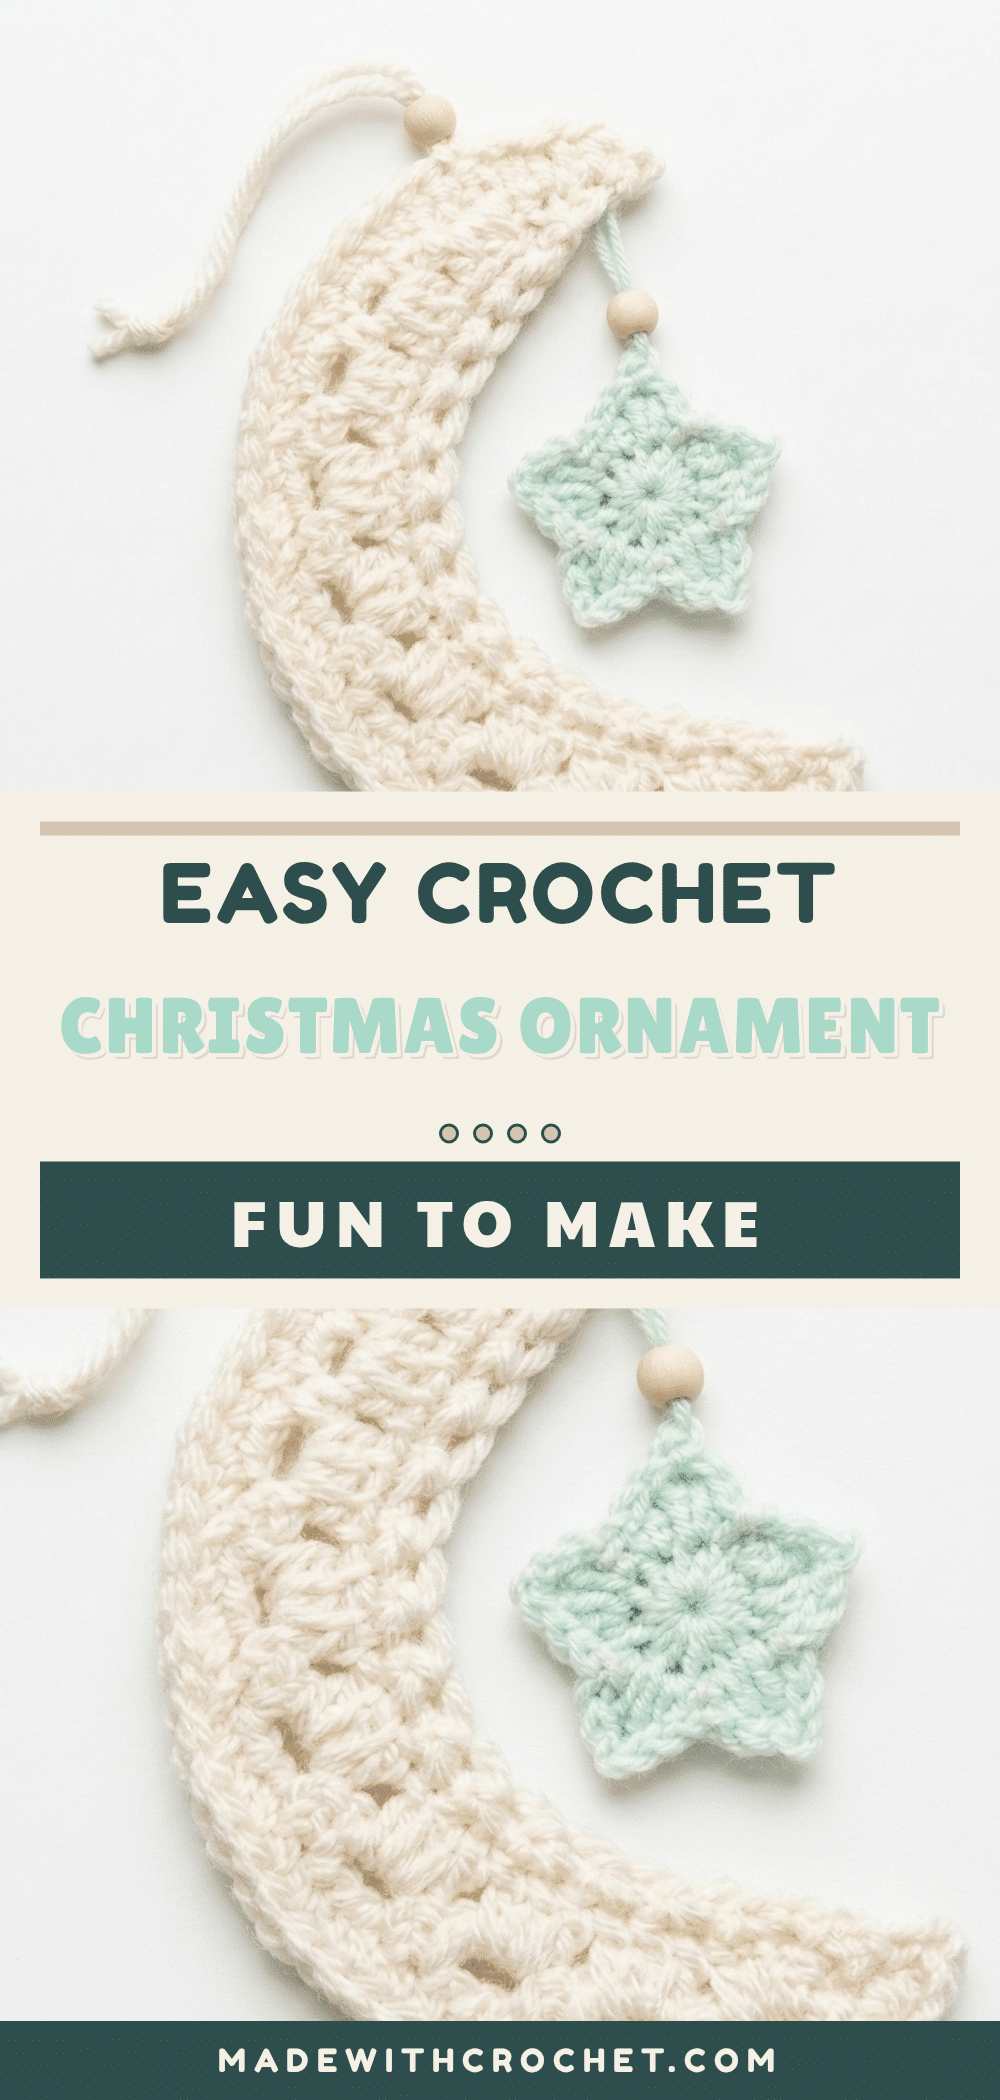
Looking for a charming way to add a personal touch to your holiday decor? This Star and Moon Crochet Christmas Ornament is a delightful project that combines timeless shapes with delicate textures. Perfect for hanging on your tree, using as a gift topper, or displaying on a festive table, this ornament brings a warm and elegant feel to any room. With its lightweight construction and soft texture, it is safe and easy to place anywhere, making it an ideal handmade gift for friends and family.
Our Touch: Gift and Use Ideas
While this ornament is beautiful on its own, its versatility allows for creative styling. Consider using metallic or silver yarn to give it a shimmering, wintry look that catches the light beautifully. Because the design is compact and lightweight, it is perfect for creating a matching set of ornaments for a nursery or as unique toppers for holiday gift bags. You can also experiment with contrasting colors, such as a deep red star against a white moon, to create a striking visual effect. The delicate loops and smooth edges make it a sophisticated addition to any holiday display, inviting admiration for its handmade charm.
Project Overview
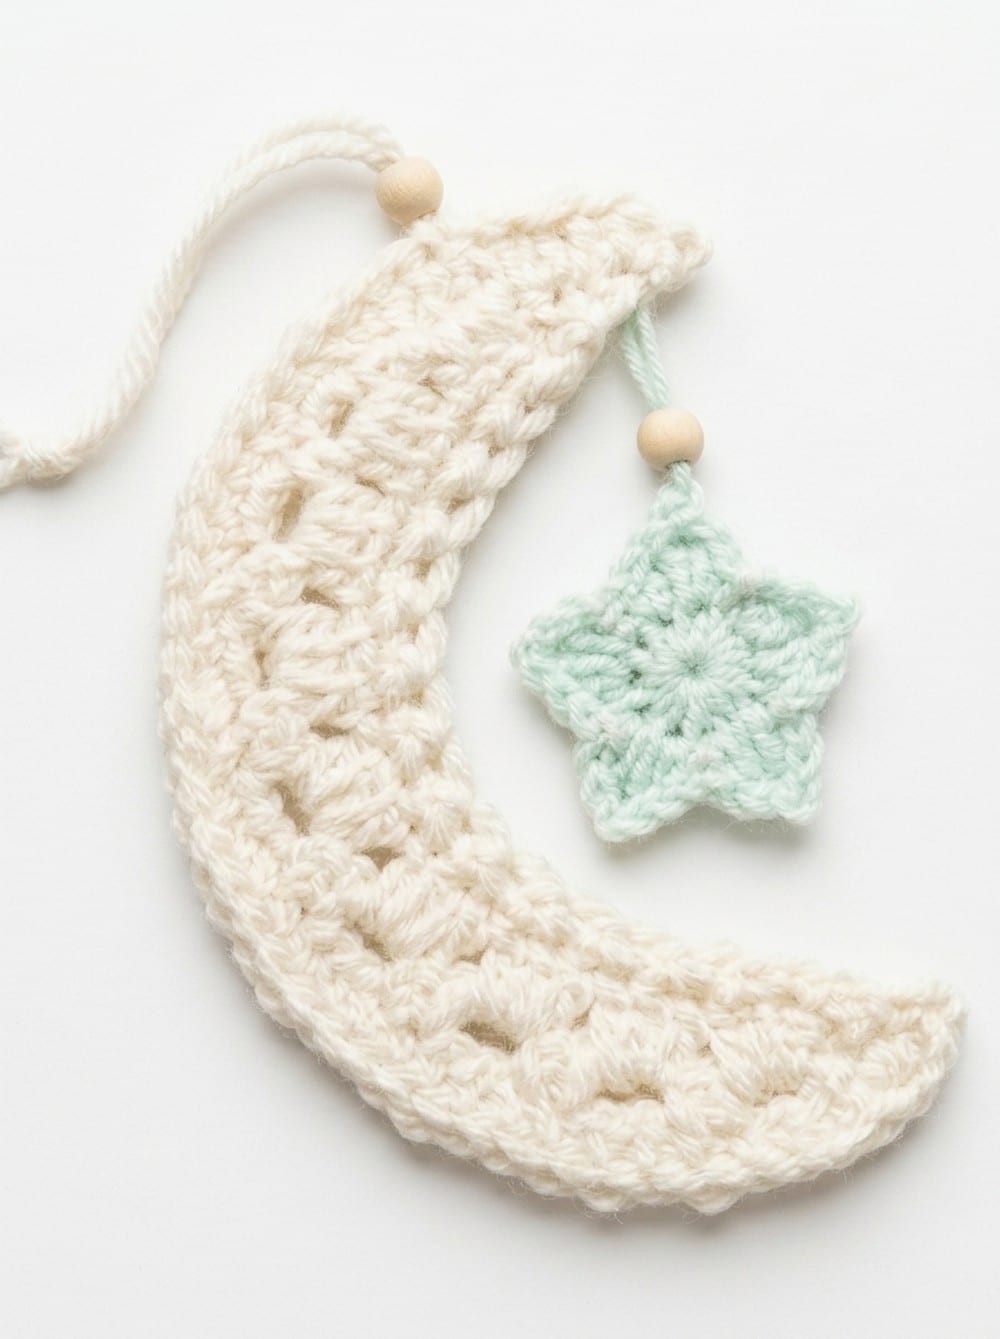
This pattern creates a Star and Moon Crochet Christmas Ornament that measures approximately 5 cm x 5 cm. It is designed for intermediate crocheters and features techniques such as working in rounds, clusters, decreases, and textured stitch patterns. The design includes small clusters of stitches that add texture and depth, creating a three-dimensional feel that helps the ornament keep its shape well.
Materials
- Yarn: Festive-colored yarns such as white, green, red, gold, silver, or metallic yarn for sparkle. A smooth, medium-weight yarn is recommended to best show off the stitch details.
- Hook: 3.00 mm crochet hook for neat and detailed stitches.
- Additional Items: Scissors for trimming yarn tails, stitch markers for keeping track of rounds, ribbon or thread for creating a hanging loop, and optional embellishments like beads or embroidery thread for decorative charm.
Gauge and Finished Size
The star should measure 5 cm x 5 cm after completion. The completed ornament will measure approximately 5 cm x 5 cm, ideal for use in a variety of decorative arrangements.
Abbreviations
- CH: Chain
- SC: Single Crochet
- HDC: Half Double Crochet
- DC: Double Crochet
- SL ST: Slip Stitch
- SC Dec: Single Crochet Decrease
Pattern Notes
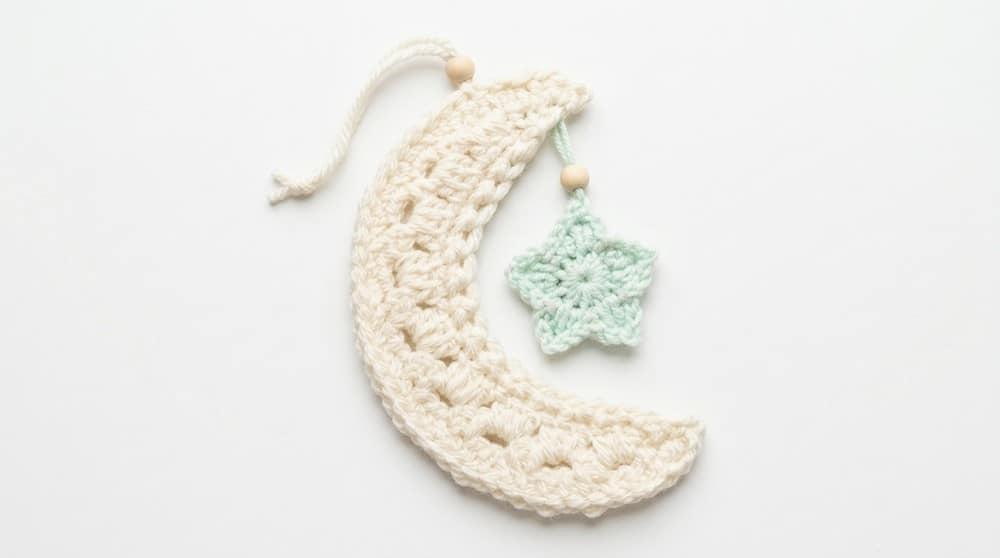
This ornament is designed to be elegant, compact, and versatile. The construction uses fundamental stitches arranged in patterns that create a three-dimensional feel. The yarn choice is important; a smooth, medium-weight yarn best shows off the stitch details and gives a soft, elegant finish. This piece encourages creativity, allowing for different colors and personal touches to make each ornament unique and memorable throughout the holiday season.
Special Stitches
- Magic Ring (MR): Wrap the yarn into a loop, insert your crochet hook into the loop, yarn over, and pull through. Work stitches into the loop and pull the tail tightly to close the ring.
- Single Crochet (SC): Insert your hook into the stitch, yarn over, pull up a loop (two loops on hook), yarn over again, and pull through both loops.
- Half Double Crochet (HDC): Yarn over, insert your hook into the stitch, yarn over, pull up a loop (three loops on hook), yarn over again, and pull through all three loops.
- Double Crochet (DC): Yarn over, insert your hook into the stitch, yarn over, pull up a loop (three loops on hook), yarn over and pull through the first two loops, yarn over again, and pull through the remaining two loops.
- Slip Stitch (SL ST): Insert your hook into the stitch, yarn over, and pull through both the stitch and the loop on your hook.
- Single Crochet Decrease (SC Dec): Insert your hook into the first stitch, yarn over, pull up a loop. Insert your hook into the next stitch, yarn over, pull up another loop (three loops on hook), yarn over and pull through all three loops.
- Half Double Crochet Cluster (HDC Cluster): Yarn over, insert your hook into the stitch, yarn over and pull up a loop (three loops on hook). Repeat this step into the same stitch multiple times, then yarn over and pull through all loops to complete the cluster.
Pattern Instructions
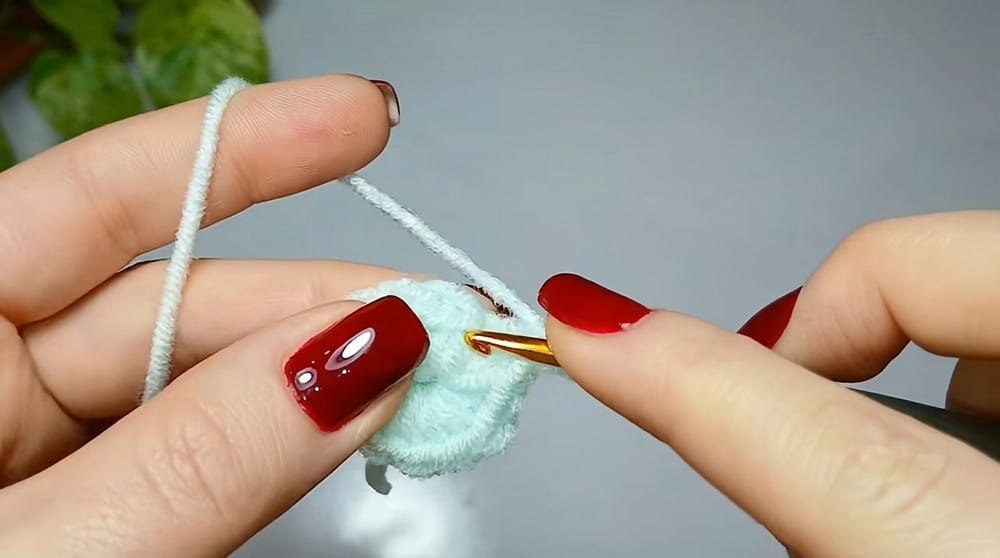
Part 1: Star
Round 1: Begin with a magic ring. CH 1, then work 10 SC into the ring. Pull the loop tight to close the ring, and finish the round with a SL ST into the first SC.
Round 2 (Star Points): CH 1 and work the following sequence in each stitch: 1 HDC, 1 DC, 1 HDC, 1 SC, 1 SL ST. Repeat the sequence across all stitches around the ring to create five points for the star.
Round 3 (Textured Rows): Work 3 SL ST into the next stitches, then CH 1. Work 6 SL ST across the row. Repeat for subtle texture at the base of the star.
Part 2: Hanging Loop
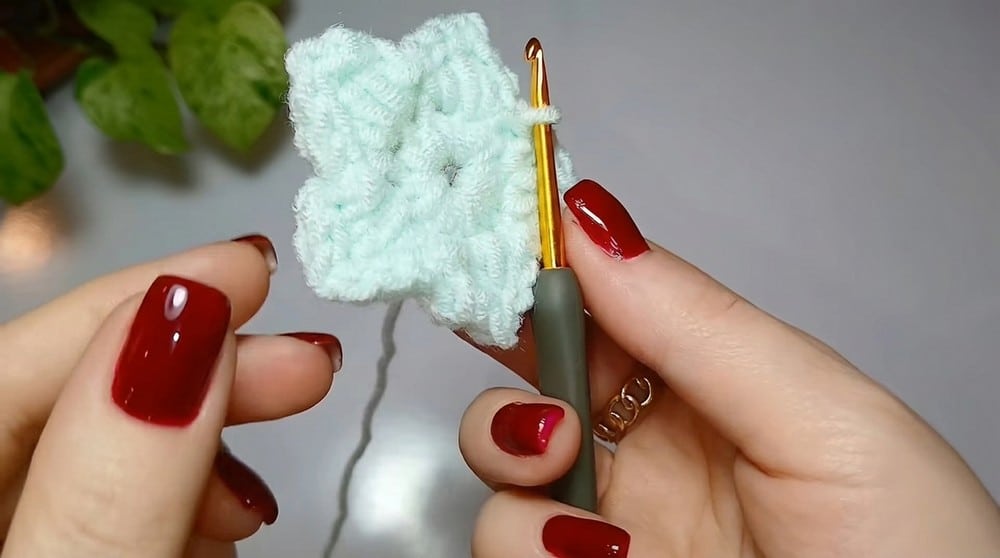
Foundation Row: CH 45 to create the base of the hanging loop.
Row 1 (Return Row): Skip the first 2 chains, then work 43 SC back across the chain to form the hanging pattern.
Part 3: Moon
Round 1: Create a magic ring and work 10 SC into the ring. Pull the loop tight and close the round with a SL ST.
Round 2: CH 2. Work 3 DC into the next stitch. Skip the next stitch, then repeat the 3 DC cluster sequence across the round.
Round 3 (Taper and Shape): CH 1, then work 1 HDC and 1 SC Dec across all stitches.
Round 4: Work 2 SC Dec, followed by 1 SC in the next stitch. Repeat this sequence for shaping.
Round 5 (Cluster Textures): CH 1, turn your work, and work 3 HDC Clusters followed by 1 HDC into the next stitch. Repeat across the row.
Final Edges: CH 1, turn and work 1 SL ST across each stitch for clean edges.
Assembly
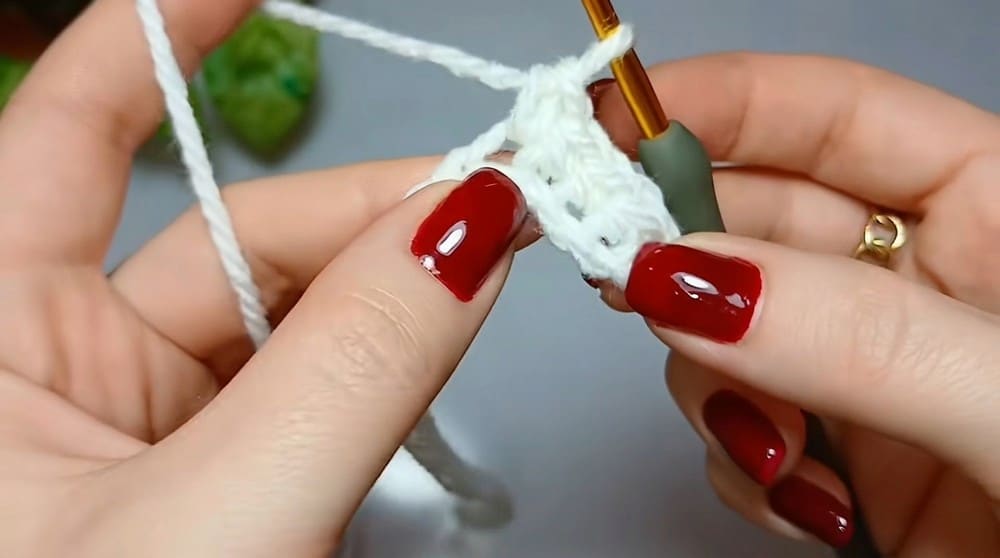
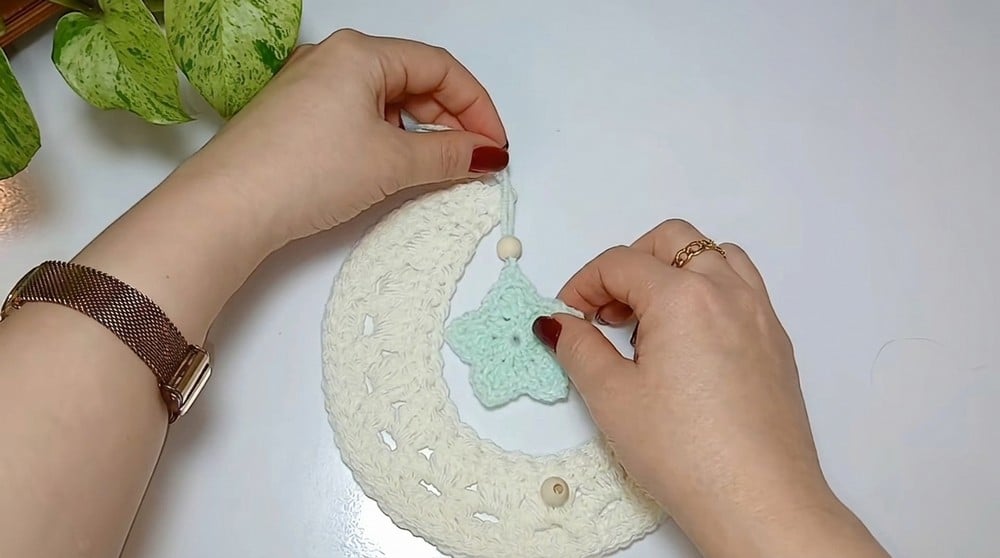
Step 1: Attach the star to the moon using a tapestry needle and the long tail left from the star. Position the star near the top or center of the moon for alignment.
Step 2: Secure the hanging loop to the top of the moon using the long tail left from the foundation row. Reinforce with additional stitches or glue if needed.
Tips
- Color Coordination: Experiment with contrasting or metallic colors to create striking decorative effects.
- Precision: Place stitch markers after each round or segment for accuracy.
- Preparation: Practice cluster stitches on scrap yarn before working them into the ornament for consistent results.
- Personalization: Use beads or embroidery to add additional detail and sparkle.
- Secure Hanging Loop: Ensure the hanging loop is firmly attached for durability and easy display.
Related Patterns
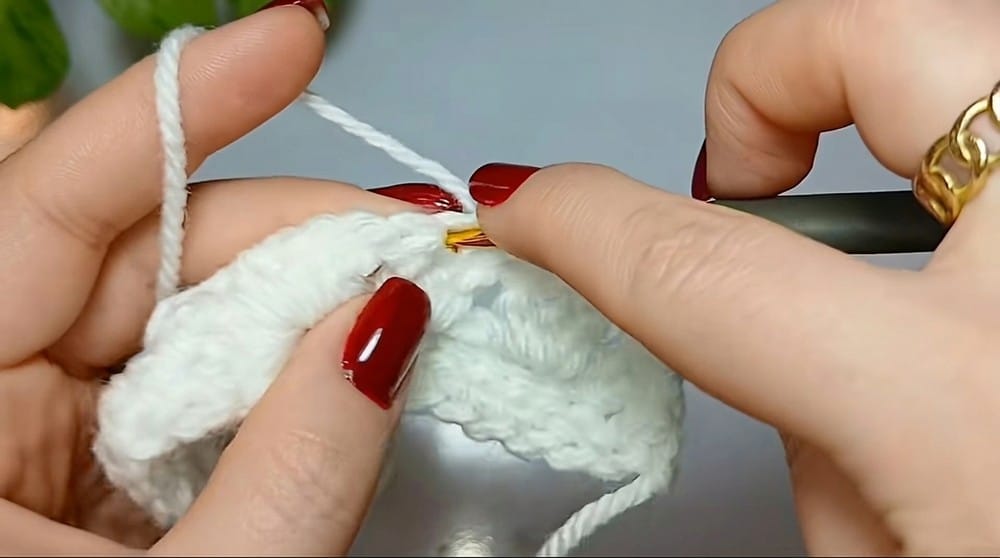
If you enjoy this ornament, you might also like these other festive creations:
- Charming Christmas Bow Bell Easy Crochet Ornament Pattern
- Adorable Festive Crochet Amigurumi Trio Pattern
- Cute Santa Crochet Potholder and Oven Mitt
FAQs
What type of yarn is best for this ornament?
A smooth, medium-weight yarn is recommended to best show off the stitch details and give a soft, elegant finish. Metallic or festive-colored yarns work beautifully for a holiday look.
Is this pattern suitable for beginners?
This pattern is designed for intermediate crocheters as it includes techniques such as working in rounds, clusters, decreases, and textured stitch patterns.
How do I make the star points even?
Use stitch markers to keep track of your rounds and ensure you repeat the sequence of stitches (1 HDC, 1 DC, 1 HDC, 1 SC, 1 SL ST) consistently in each stitch around the ring.
Can I use this ornament as a gift topper?
Yes, the lightweight and soft texture make it safe and easy to place anywhere, including as a gift topper for holiday presents.
How do I attach the hanging loop securely?
Use the long tail left from the foundation row to secure the hanging loop to the top of the moon. You can reinforce it with additional stitches or a small amount of glue for durability.
Pin This Crochet Pattern!