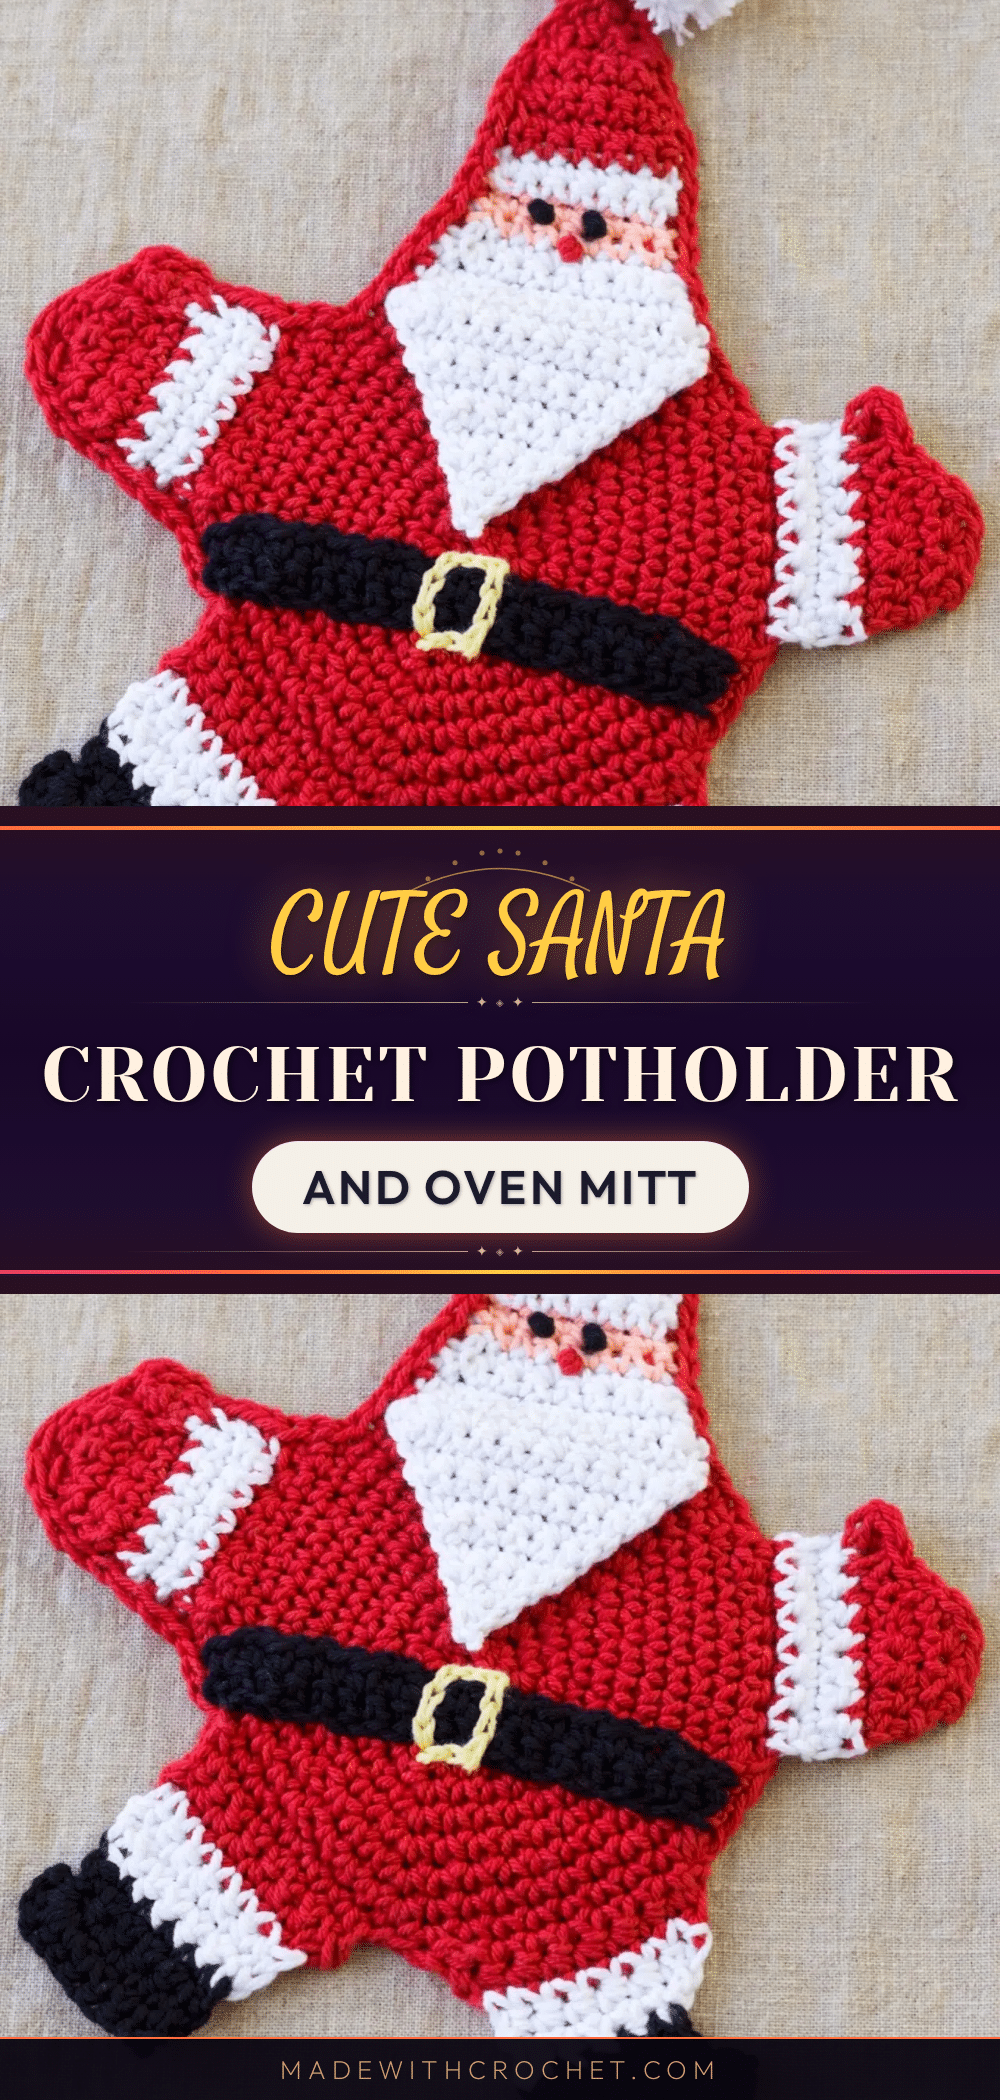
There is something deeply satisfying about the quiet ritual of a cozy evening project. The house is still, the kettle is whistling, and you have a small batch of yarn ready to go. As you count stitches and settle into a relaxing repeat, the stress of the season melts away. This Santa Crochet Potholder & Oven Mitt is the perfect companion for that ritual. It is a project that moves quickly through simple stitches but rewards you with a functional, festive piece for your kitchen. Whether you are making a flat potholder or a wearable mitt, the process is engaging, the shaping is interesting, and the result is undeniably cute.
Small Details That Make It Better
While the bold reds and crisp whites of Santa’s suit are the obvious highlights, the true charm of this project lies in the thoughtful construction. The pattern uses a clever “turning round” technique for the body, which allows for a flat, star-shaped expansion that mimics the classic Santa silhouette. The decision to use 100% cotton isn’t just about aesthetics; it ensures the piece is heat-safe for real kitchen use. I also love the inclusion of the surface chain stitch for the belt buckle. It adds a structured, embroidered look that elevates the piece from a simple crochet square to a detailed character piece. When you fold the beard over the face and work through both layers, you create a secure, dimensional finish that feels professional and polished.
Project Overview
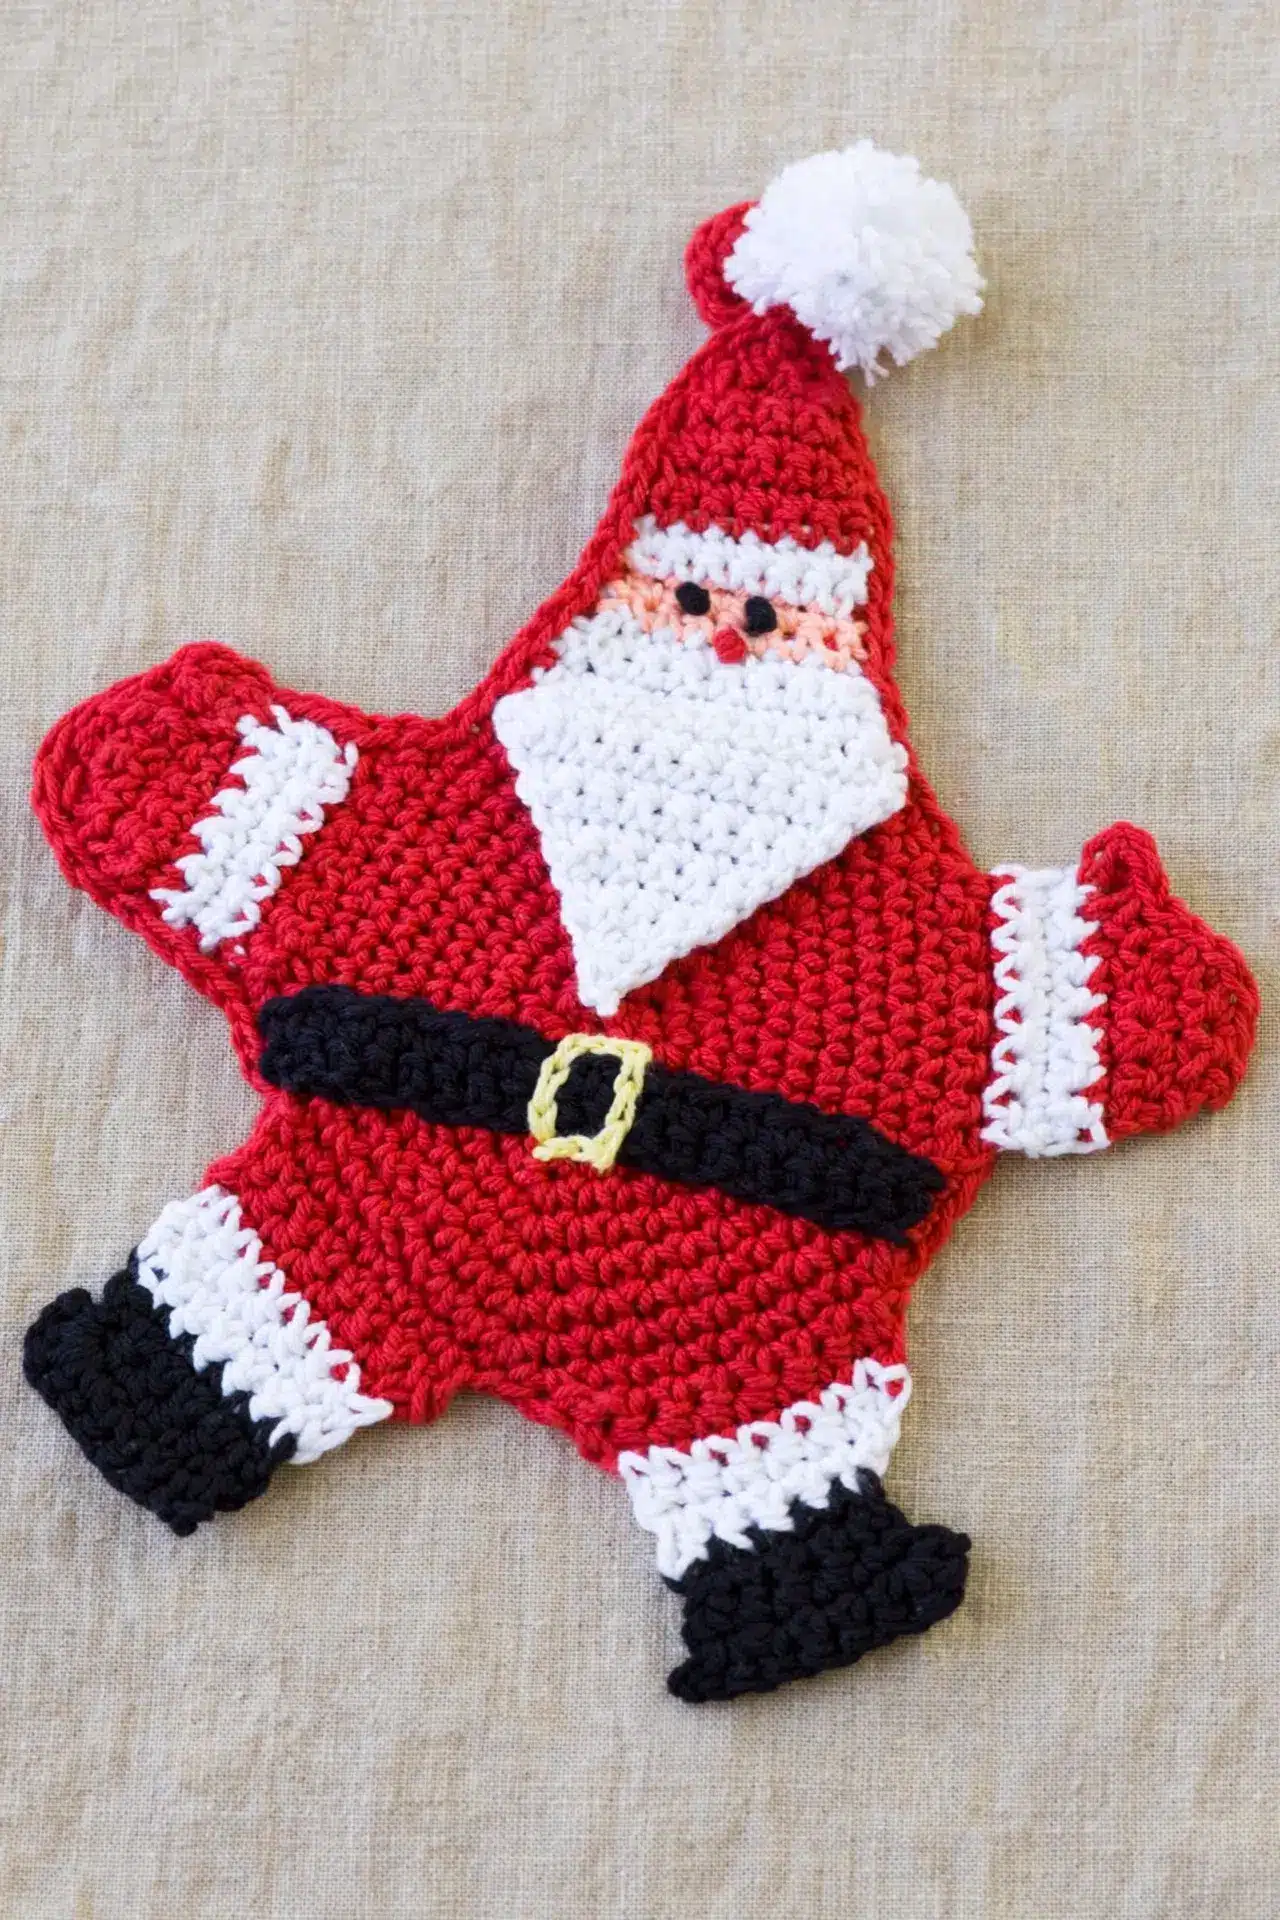
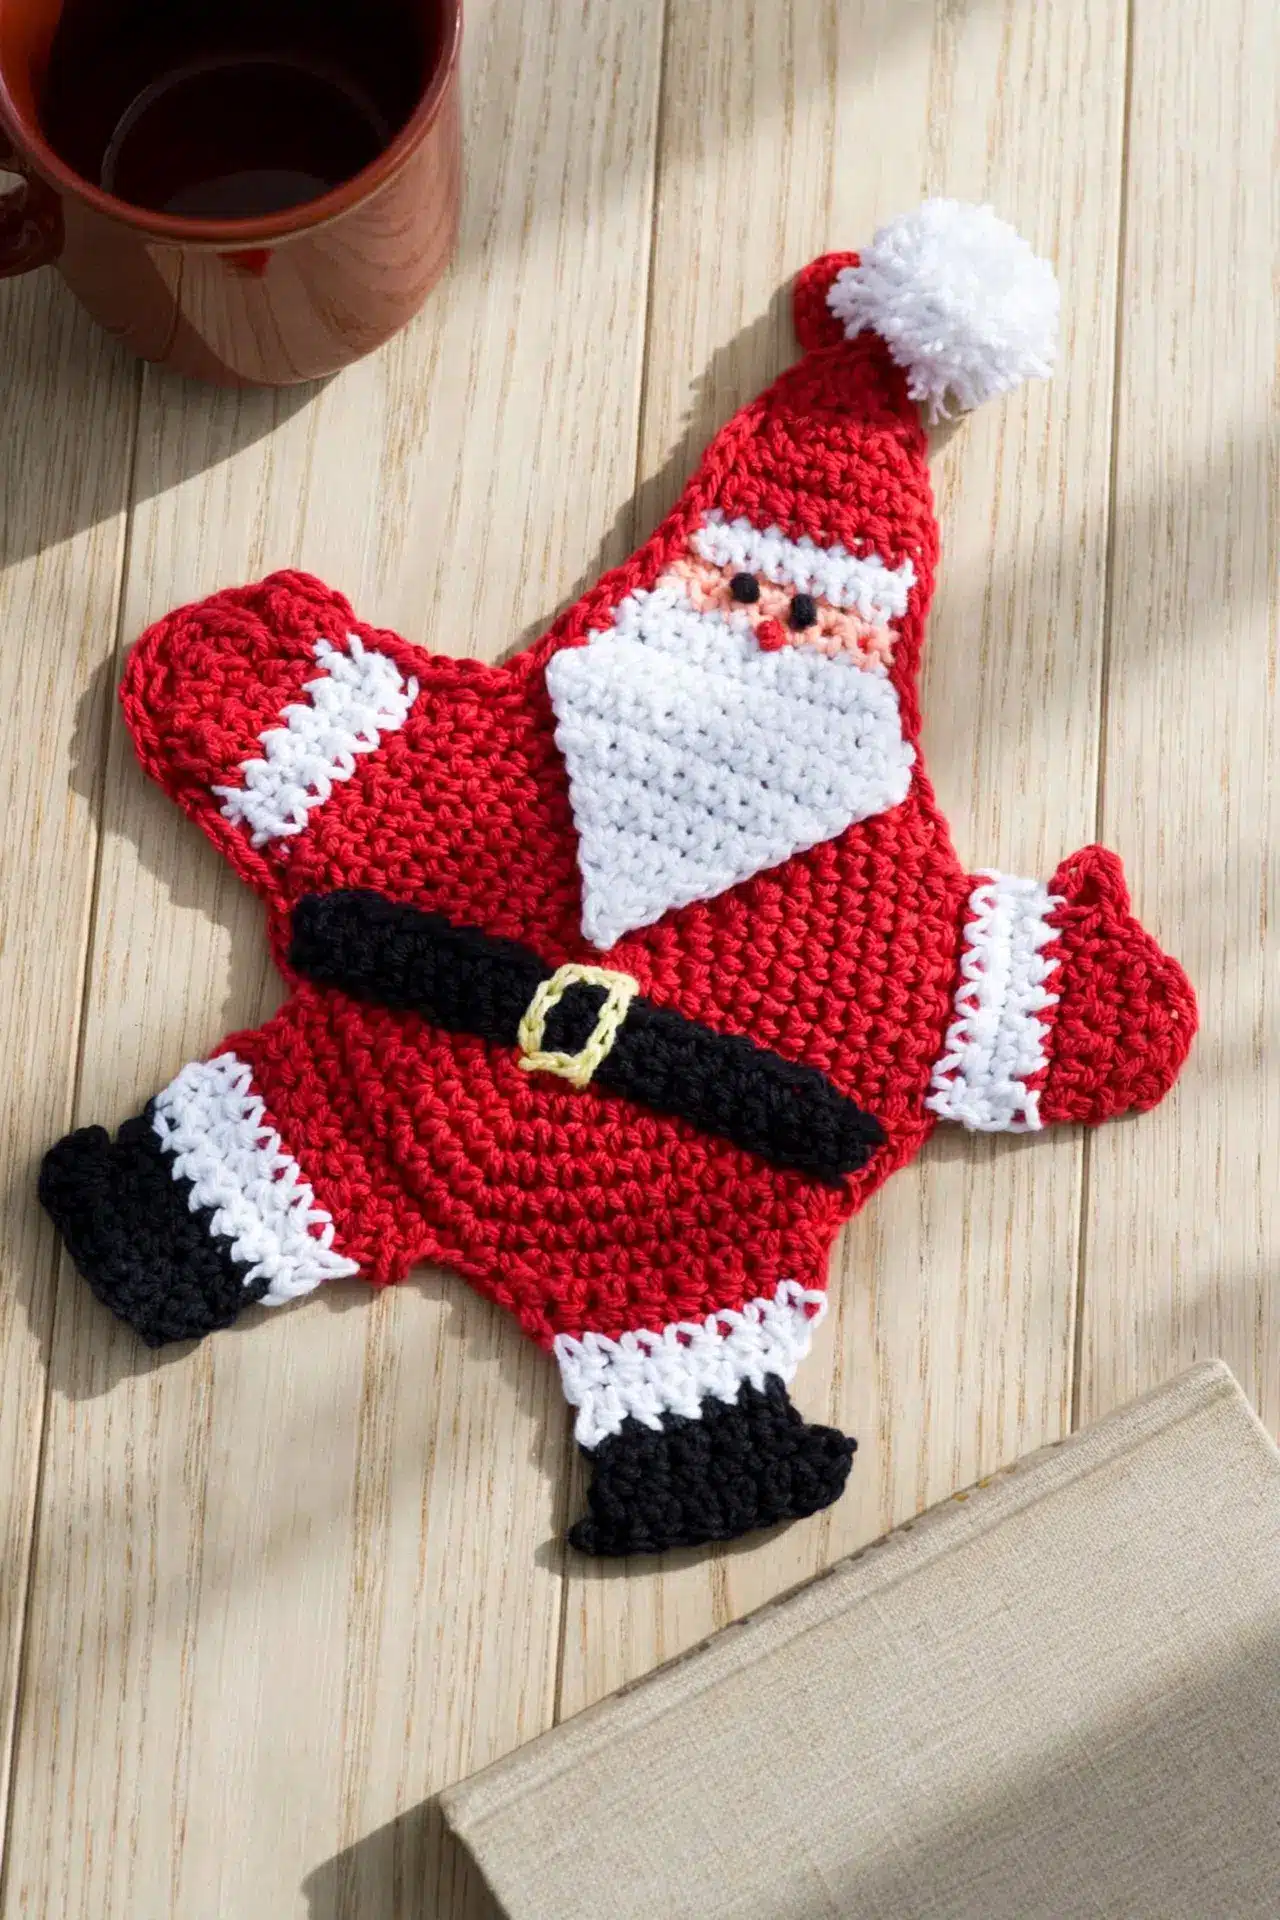
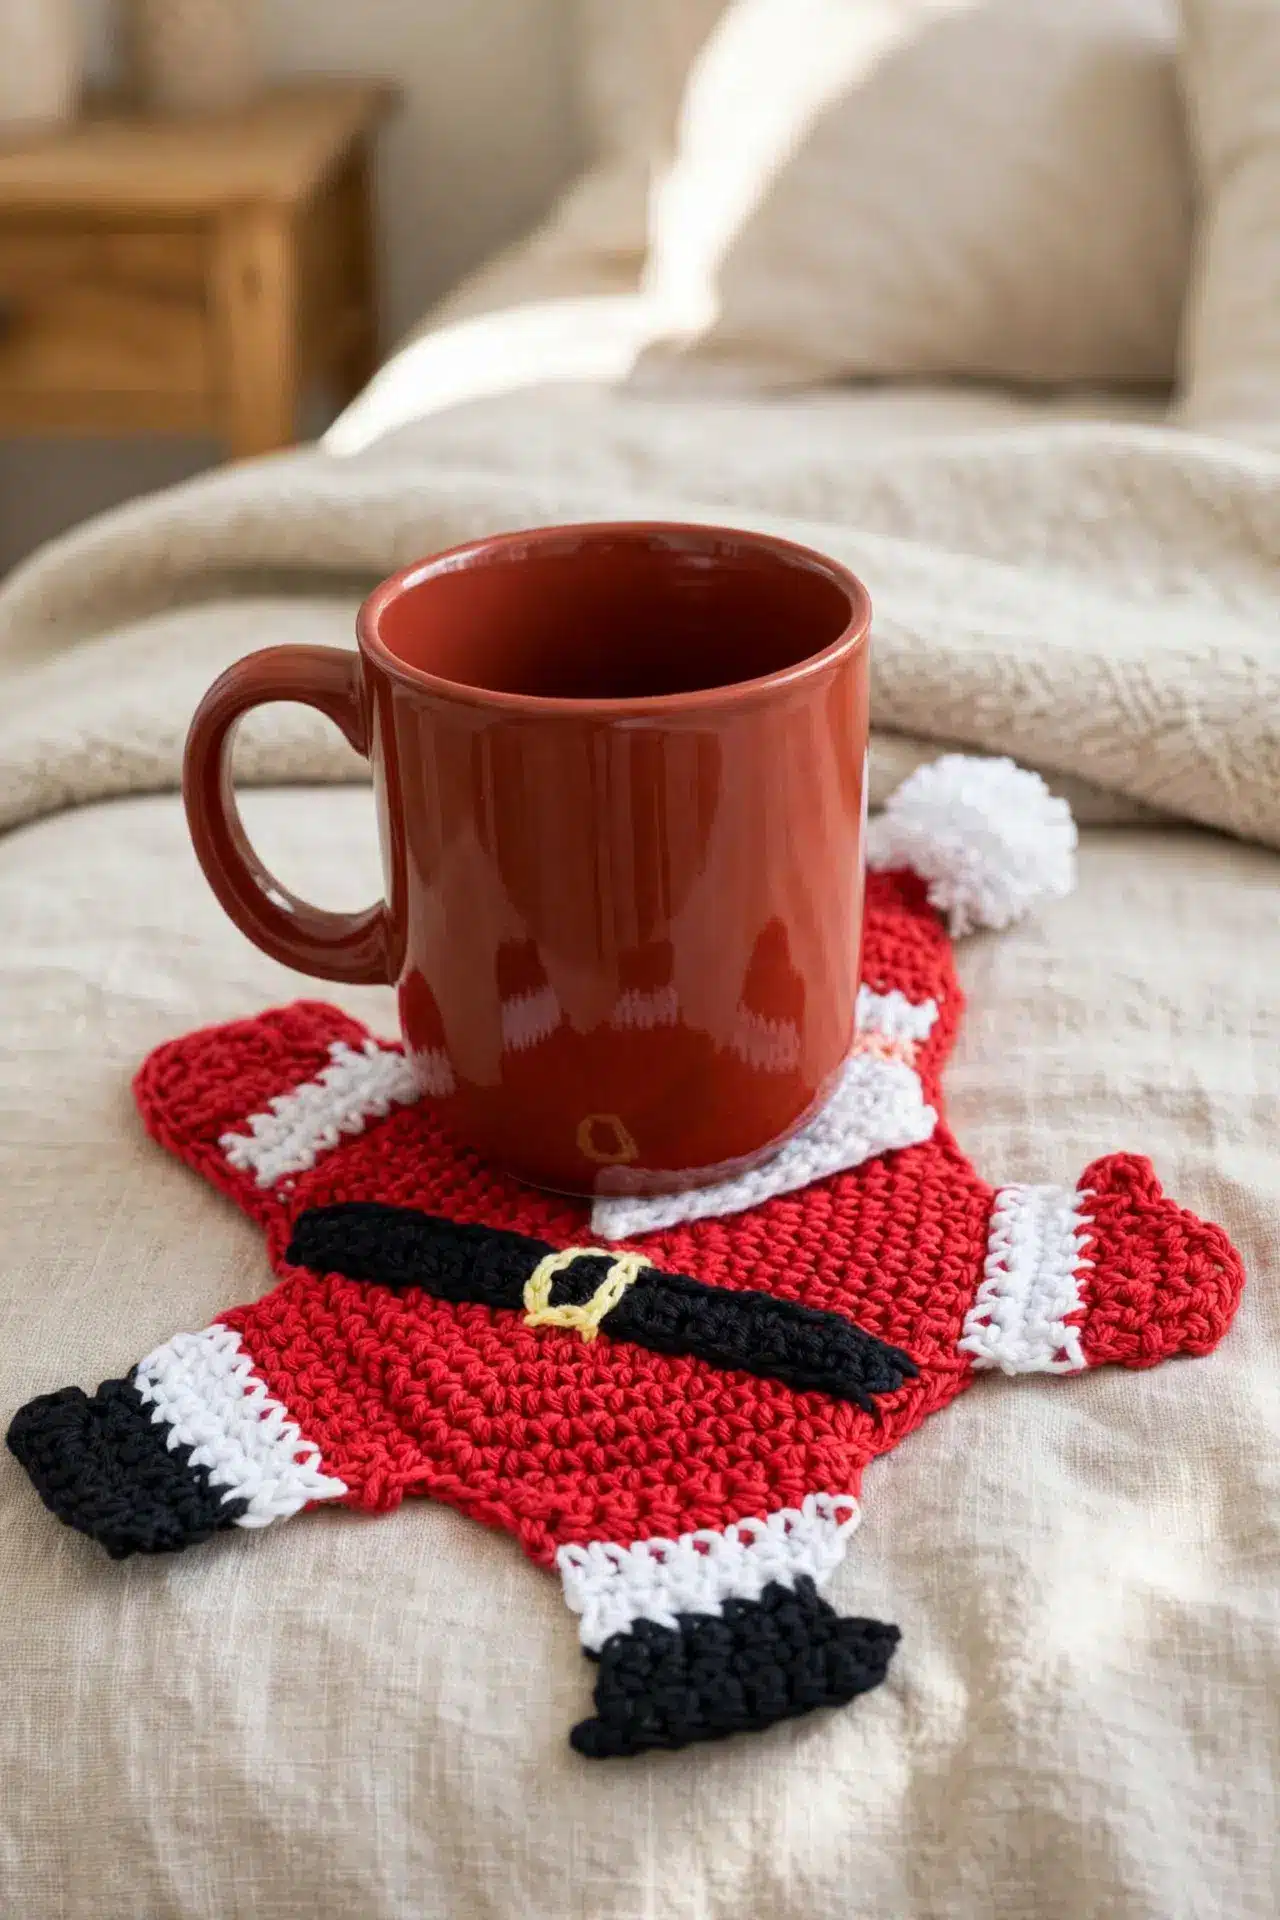
This pattern offers two distinct versions: a flat Santa potholder and a functional oven mitt. The design features a circular body that expands into star points, with limbs, a beard, and a hat worked directly from the perimeter. The oven mitt version includes a partial backing that leaves the left arm open for your hand, making it a practical gift for holiday baking. The project uses five colors of worsted-weight cotton yarn and requires basic crochet skills with some attention to shaping and color changes.
Materials
- Yarn: Coats Crème de la Creme, 100% cotton worsted. You will need 1 ball each in:
- Rally Red (A)
- White (B)
- Black (C)
- Tearose (D)
- Golden Yellow (E)
- Hook: 5.0 mm (US H-8) crochet hook
- Notions: White pompom (securely made), tapestry needle for weaving ends and sewing the belt.
Note: Gather all five cotton colors before you begin so you can move through the small sections without stopping to substitute yarn midway. A substitute should also meet the gauge so the backing aligns with the front.
Gauge and Finished Size
- Gauge: 14 sc and 15 rows = 4 in. (10 cm)
- Finished Size: 12 in. tall by 8 in. wide (30.5 × 20 cm)
Abbreviations
- ch: chain
- sc: single crochet
- hdc: half double crochet
- dc: double crochet
- sl st: slip stitch
- st(s): stitch(es)
Special Stitches
- Surface chain stitch embroidery: Work surface chain stitches in Golden Yellow (E) to form a square buckle at the center of the belt.
- French knot: Use embroidered French knots for the eyes and nose.
Pattern Notes
Read through the shaping notes before you begin, especially if you’re adding the oven mitt backing and hand opening. The finished potholder is flat and star-shaped. The front body is worked in turning rounds. Round 1 begins in the 2nd ch from the hook, but a foundation-chain count isn’t specified. Rounds 2-10 increase by 6 sts per round, ending with 60 sts. Exact increase placement isn’t specified. Exact row-by-row decrease placement isn’t specified for the arms, beard, face, or hat. Keep the shaping even and use the stated target counts and color-row totals. The beard is folded over the front before the face and hat are worked through both the beard and body layers. For the oven mitt version, the backing includes the body and right arm only. Keep the left-arm side open for the hand when edging the layers together.
Pattern Instructions
Front Circular Body
Round 1: With Red (A), work 6 sc in 2nd ch from hook; join. (6)
Rounds 2-10: Work a flat round expansion in turning rounds, increasing 6 sts per round up to 60 sts. (60)
Limbs and Star Points
Work the limbs directly from the body perimeter.
Step 1: Left Arm: Work 9 sc across the edge; work decrease rows until 5 sts remain. Work Row 10 along the edge to create Santa’s thumb: hdc, dc, hdc, sl st.
Step 2: Left and Right Legs: Skip 4 sts from the arm; work 8 sc in Red (A) for 3 rows, 3 rows in White (B) for the cuff, and 4 rows in Black (C) for the boot. Repeat symmetrically for the Right Leg. (8)
Step 3: Right Arm: Skip 4 sts from the Right Leg; work a matching arm with thumb.
Folded Beard and Head
Step 1: Pointed Beard: Join White (B) adjacent to the Left Arm. Work 8 sc; decrease 1 st each row until 1 st remains. Fold the beard up over the body front. (1)
Step 2: Santa Face and Hat: Join White (B) through both layers of the beard and body; work 9 sc. Work 2 decrease rows, then 2 rows in Tearose (D) for the face. Switch to White (B) and work 2 rows for the hat brim, then switch to Red (A) for the hat peak. Decrease to 1 st. (1)
Double-Layer Backing (Oven Mitt Option)
Step 1: For the oven mitt option, work a second body piece in Red (A), matching the body and right arm only. Leave the left arm open so the hand can slide inside. If you prefer a flat potholder, you can stop here.
Belt, Buckle, and Embellishment
Step 1: Belt: With Black (C), ch 21; sc across. Using Golden Yellow (E), surface chain stitch a buckle square at the center. Sew the belt across the belly.
Step 2: Facial Details: Embroider 2 black French knots for the eyes and 1 red French knot for the nose.
Step 3: Edging and Loop: Sc through both Front and Back layers around the perimeter, keeping the left-arm hand opening free. Ch 20 at the hat tip for the hanging loop, and attach a fluffy white pompom.
Assembly
Once all components are complete, sew the belt across the belly. Sc through both Front and Back layers around the perimeter, keeping the left-arm hand opening free. Ch 20 at the hat tip for the hanging loop, and attach a fluffy white pompom.
Tips
- Mark the round start: Because the body is worked in turning rounds, place a removable marker at the first stitch. It makes the 6-stitch increases and the final count of 60 much easier to track.
- Keep the paired pieces consistent: Use the front body as a size check while making the backing. Matching tension matters here because the two layers are edged together.
- Shape decreases evenly: Spread decreases consistently along each shaped section rather than crowding them on one side. Compare the two arms and two legs as you work so their shaping stays balanced.
- Protect the opening: Before completing the edging, slide your hand into the left-arm opening. Mark both ends of that opening so you don’t accidentally crochet it closed.
FAQs
Can I make only the potholder version?
Yes. You can stop after completing the front body, limbs, beard, and head. Simply work the edging around the single front layer rather than joining two layers.
Where does my hand enter the oven mitt?
The hand enters through the left-arm opening. The backing piece only includes the body and the right arm, leaving the left side open for your hand.
How do I space the body increases?
Add 6 stitches in every round from Round 2 through Round 10, distributing them as evenly as possible. The body starts with 6 stitches and gains 54 more across 9 rounds, which produces the stated final count of 60. Uneven spacing can pull the fabric toward one side even when the total count is correct.
When should I fold the beard into place?
Fold the beard up after decreasing it to 1 stitch and before beginning the face and hat. The next section joins White through both the beard and body layers, so that join secures the fold. Waiting until later would prevent you from working through both layers as directed.
Can I use acrylic yarn instead of cotton?
No, not for a potholder or oven mitt intended to contact hot cookware. Acrylic can soften or melt under high heat, while this design specifies 100% cotton. If you’re making a decorative piece that will never handle heat, the fiber choice is less critical, but you’ll still need to match gauge for the pieces to align.
Pin This Crochet Pattern!