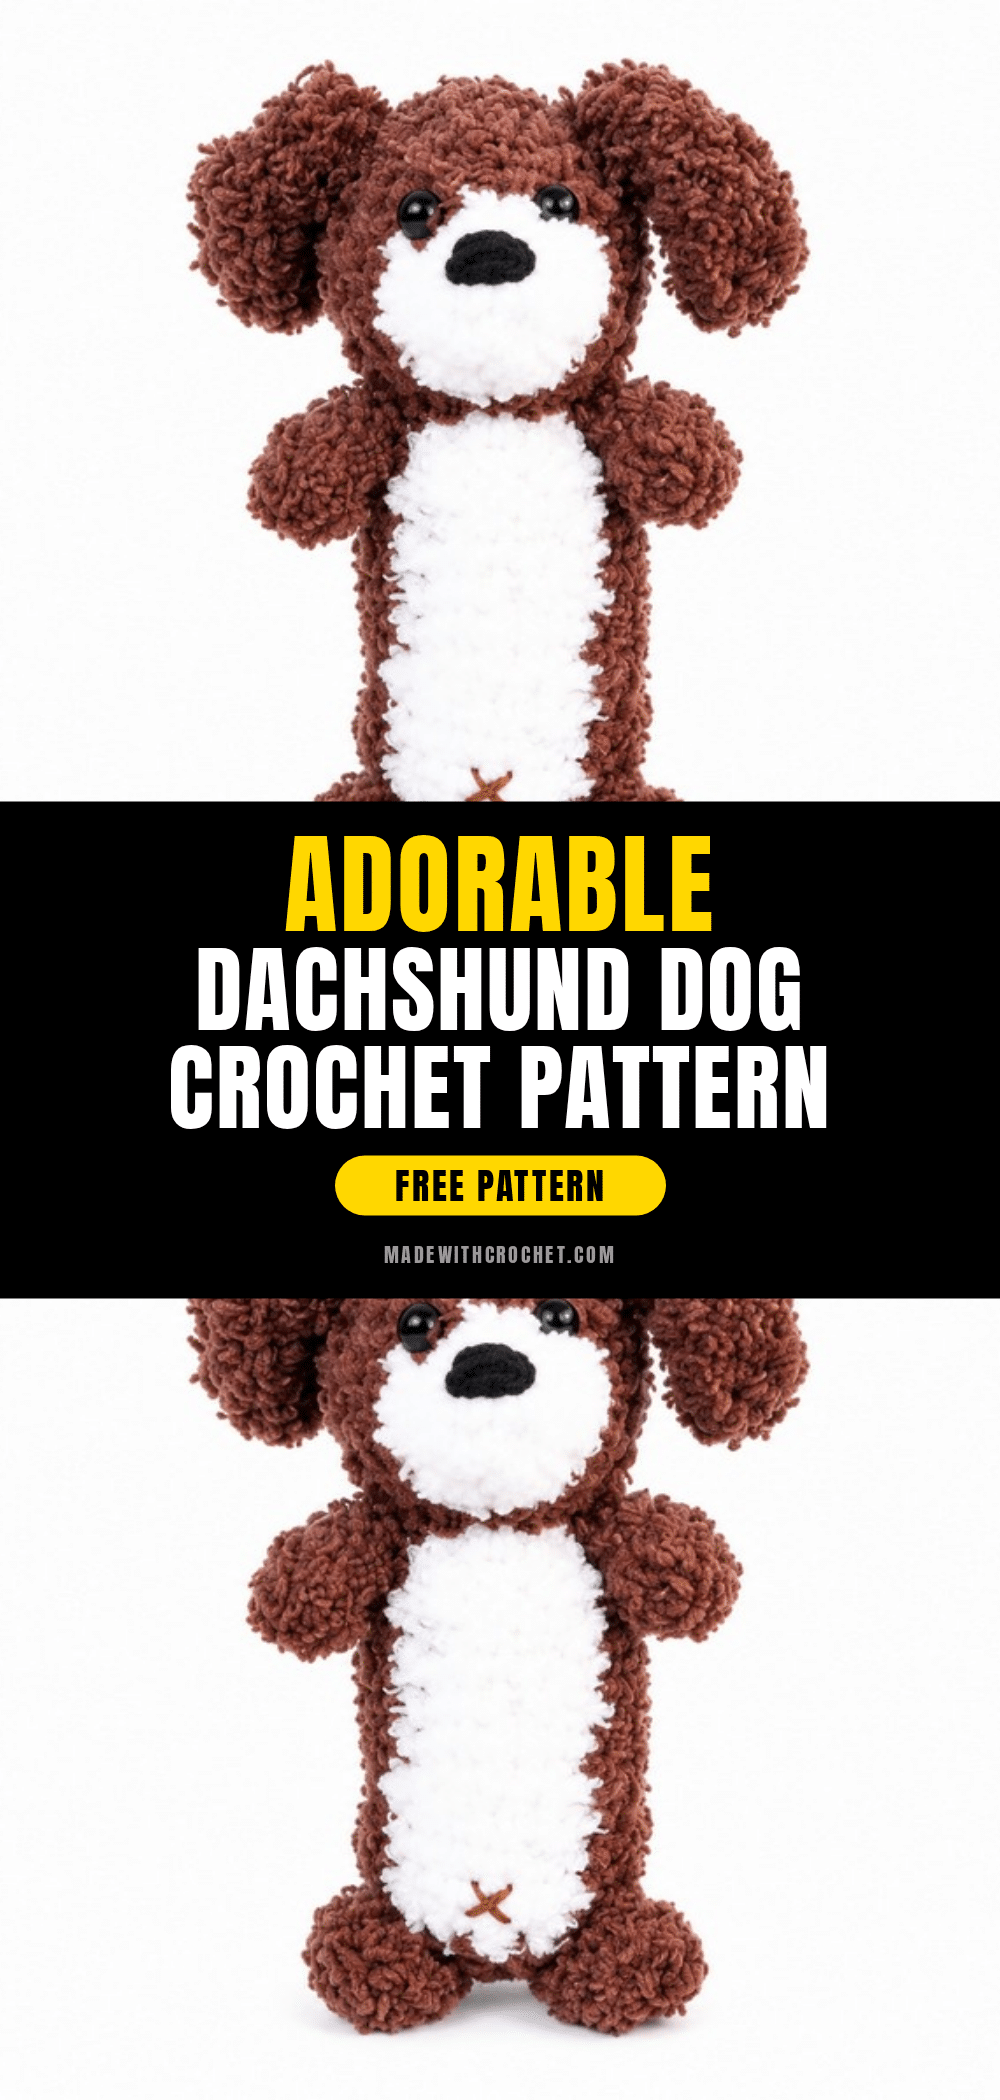
There is something deeply satisfying about the quiet ritual of a cozy evening project. The house settles down, a small batch of soft yarn is ready on the chair, and you begin counting stitches, one by one, finding rhythm in the relaxing repeat of the hook and thread. It is in these moments of focused calm that the most charming creations come to life. This adorable Dachshund dog crochet pattern invites you to slow down, embrace the meditative nature of amigurumi, and craft a companion that is as delightful to make as it is to hold.
Small Details That Make It Better
While the Dachshund is famous for its long body, the real magic lies in the subtle textural choices that bring the character to life. The pattern suggests using velvet yarn for clear stitch definition, which adds a plush, velvety softness that mimics the real breed’s coat. However, the interplay of beige and brown color blocks on the torso creates a classic, warm aesthetic that feels instantly nostalgic. Paying attention to the “unfinished” single crochet technique for color changes ensures that the stripes remain crisp and intentional, rather than messy. These small finishing touches—like the strategic placement of the floppy ears and the firm stuffing of the head—transform a simple collection of yarn into a spirited little friend that is perfect for shelves, desks, or as a heartfelt gift.
Project Overview
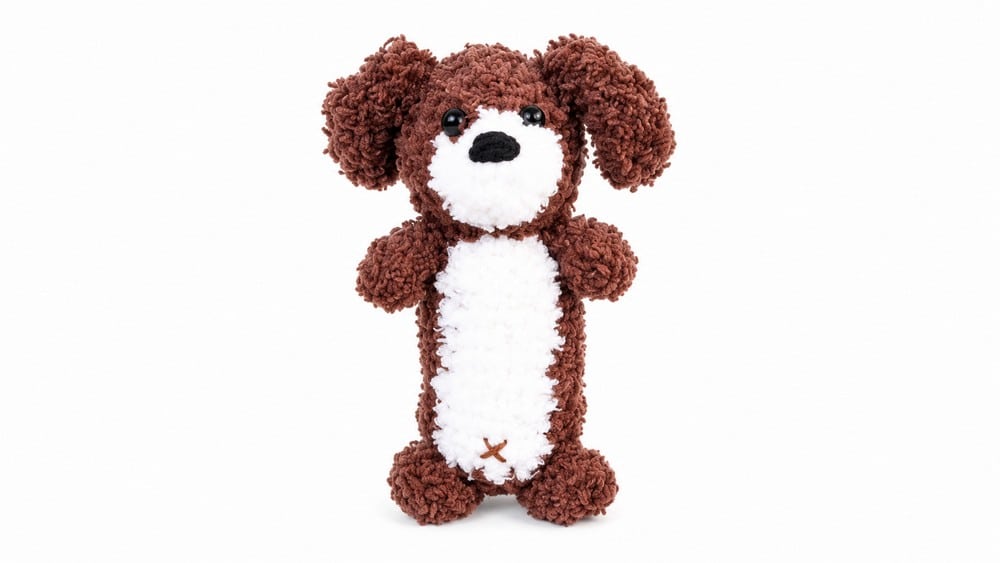
This comprehensive crochet pattern guides you through creating a Cute Dachshund amigurumi. The design captures the characteristically long body of the dachshund, allowing you to adjust the length of the torso to your preference. The project utilizes basic amigurumi techniques, including working in rounds with single crochet stitches, increases, and decreases for shaping. You will create separate components—the head, body, legs, tail, and ears—and then sew them together to complete this adorable dog figure. This detailed guide is designed to help you follow each step with clarity and ease.
Quick Overview
The head is worked first in rounds starting from a small magic ring foundation. The body is crocheted next, featuring a flexible length to suit your preference. Legs, tail, and ears are created separately using simple chains and stitches. All pieces are stuffed and sewn together to create the charming dachshund shape. Handmade textile toys also make thoughtful presents for family members and close friends, showing genuine care.
Materials
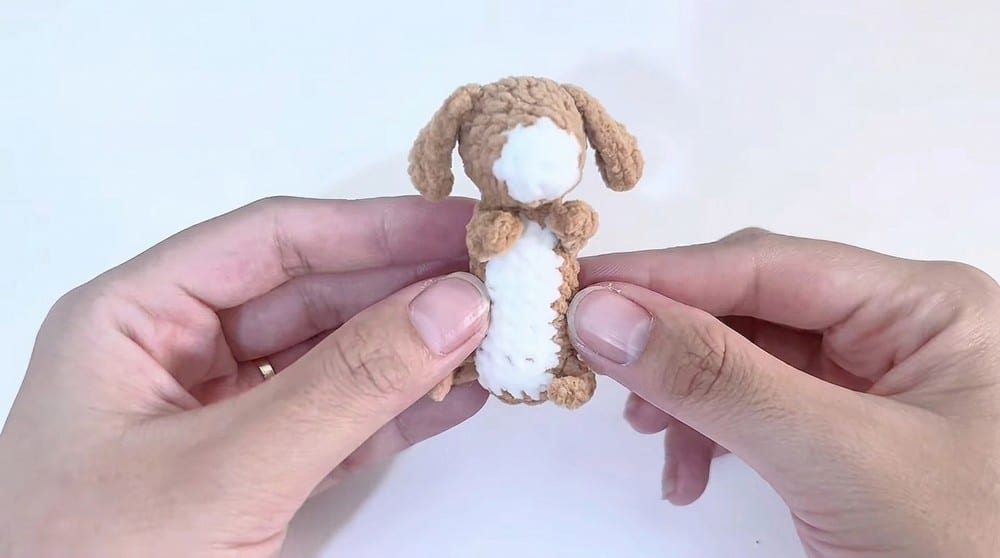
- Yarn: Velvet yarn is recommended for clear stitch definition, but any worsted or DK weight yarn will work. Use beige and brown colors as indicated.
- Crochet Hook: 3 mm, suitable for the selected yarn.
- Scissors
- Yarn Needle: For sewing pieces together and weaving ends.
- Stitch Marker: Optional, for marking round beginnings.
- Fiberfill Stuffing
Gauge and Finished Size
Gauge is flexible; aim for an even tension to maintain consistent stitch size. The pattern primarily uses single crochet (sc) stitches worked in rounds with increases (inc) and decreases (dec) to shape the figure.
The finished dachshund roughly measures 15–18 cm long (depending on body length) and about 7–9 cm tall when completed. The body length is adjustable by the number of rows crocheted for the torso.
Abbreviations
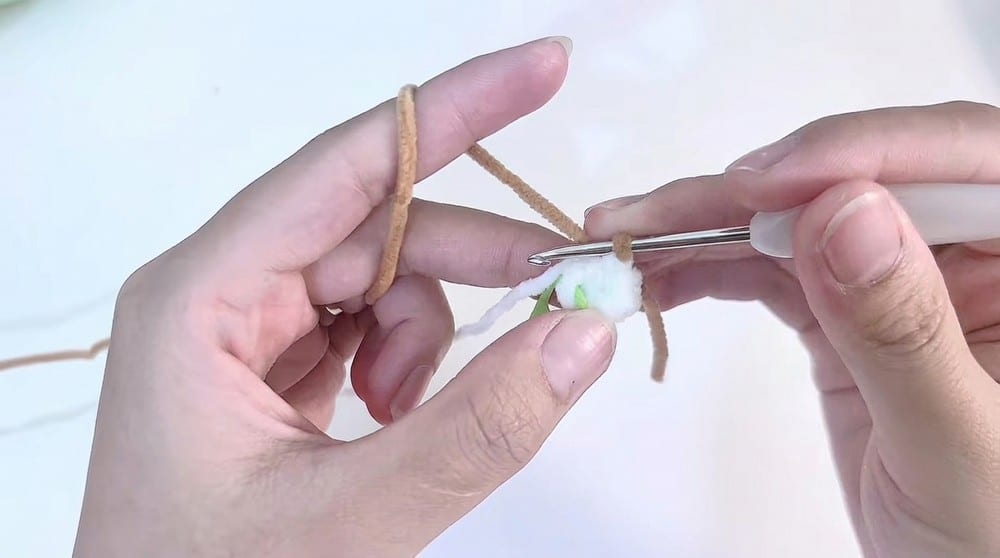
- ch: Chain. Yarn over, pull through loop on hook.
- sc: Single crochet. Insert hook, yarn over, pull through stitch and loop.
- sl st: Slip stitch. Insert hook, yarn over, pull through stitch and loop.
- inc: Increase. Work 2 single crochet stitches in one stitch.
- dec: Decrease. Crochet 2 stitches together into one stitch.
- HDC / hdc: Half Double Crochet. Yarn over, insert hook, yarn over, pull through loops (3 loops on hook), then yarn over and pull through all loops.
Pattern Notes
Ensure consistent tension throughout to achieve uniform stitches and a neat finish. Use stitch markers to mark the beginning of your rounds if preferred. Adjust the body length by adding or reducing rows as desired without altering stitch counts per round. Stuff the pieces firmly enough to hold their shape, but avoid overstuffing, which can distort stitches. This pattern uses single crochet (SC) primarily, with some increases, decreases, and half double crochet (HDC) for shaping and edging.
Pattern Instructions
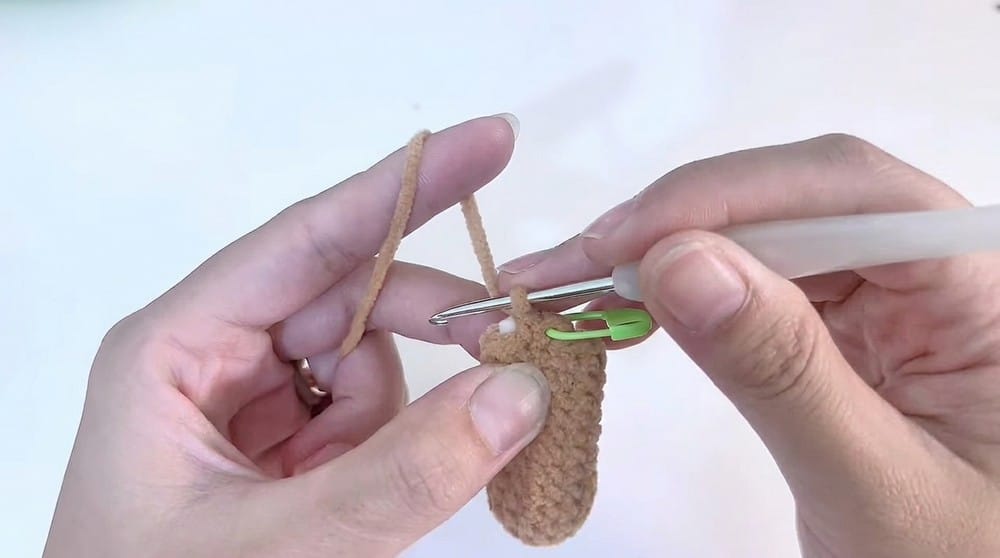
Head
Round 1: Start with a magic ring. Work 6 single crochet (sc) stitches into the ring. Use a stitch marker to mark the first stitch.
Round 2: Work 6 single crochet (sc) in each stitch around; no increases or decreases (6 stitches).
Round 3: Begin increasing to widen the head: Pattern [1 sc, 1 inc] repeated 3 times (9 stitches total). To increase: in one stitch, work 2 sc to expand.
Round 4: Repeat the following 3 times: 1 sc, 1 inc, 1 sc (12 stitches).
Round 5: Work 4 sc in a row, then 4 increases (2 sc in one stitch each), followed by 4 sc (16 stitches total).
Rounds 6 and 7: Work two rows with 1 sc per stitch, 16 stitches each, no increases or decreases. This adds height to the head.
Round 8: Begin decreasing to taper the head: Work 4 sc, then 4 decreases (each dec merges 2 stitches into 1), and finish with 4 sc (12 stitches).
Round 9: Final decrease round on head: 6 decreases in sequence, decreasing stitch count to 6. Cut yarn and stuff head firmly with fiberfill at this point. Sew the opening closed securely with yarn needle.
Body
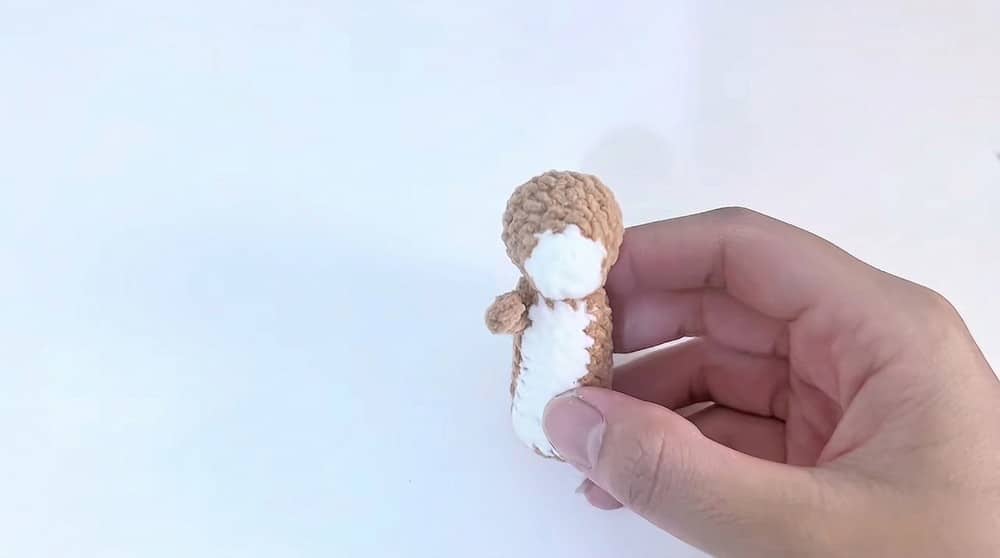
Round 1: With brown yarn, start a magic ring and work 7 sc into it.
Round 2: Increase in every stitch: 2 sc in each stitch to double stitches to 14 total.
Round 3: Work a special color change row: Crochet 5 sc with brown yarn, switch to beige, crochet 4 sc, then switch back to brown and work final 5 sc (14 stitches). Color changes are done with an “unfinished” single crochet: start sc with one color, stop before last yarn over; yarn over with next color and complete stitch.
Round 4 to Round 13 (or more): Continue working rows of 14 sc alternating color blocks exactly as in Round 3: 5 brown, 4 beige, 5 brown stitches per round. Crochet as many rows as desired to reach the preferred body length.
Final round: Brown yarn, 14 sc in every stitch. Cut yarn and leave a long tail for sewing.
Legs
Chain 4 with brown yarn. Work back along the chain starting from second chain from hook with 3 sc. Chain 1 and cut yarn. Make 4 legs total repeating above steps.
Tail
Chain 5 with brown yarn. Work 4 sc starting from second chain from hook. Chain 1 and cut yarn.
Ears
Chain 6 with brown yarn. Starting from 2nd chain from hook, work 3 sc. Work 1 half double crochet (hdc). In the last chain, work 3 half double crochets (hdc) in the same stitch (hdc cluster). Continue working along the other side of the chain with 1 hdc and 3 sc. Slip stitch (sl st) into first sc to finish the ear. Make two ears in total.
Assembly
Stuff the head firmly after Round 9. Stuff the body after all rounds (or as you sew). Use a yarn needle to sew the legs, tail, and ears onto the body and head, carefully positioning for balance and symmetry. Weave in all loose ends securely. The finished crochet dachshund measures approximately 15–18 cm long depending on body length and mild variations in tension and yarn.
Tips
This pattern allows makers to pick custom yarn colors to match personal preferences or gift ideas. If you are looking for other ways to use your crochet skills for gifts, you might enjoy creating an adorable festive crochet amigurumi trio for a complete holiday set. Additionally, for those who enjoy small, quick projects, the cute Hello Kitty bow keychain pattern offers a quick way to add charm to everyday items.
FAQs
What type of yarn is best for this pattern?
Velvet yarn is recommended for clear stitch definition and a plush finish, but any worsted or DK weight yarn will work well.
How do I adjust the length of the dachshund?
The body length is adjustable. You can crochet more or fewer rows between Round 3 and the final round to achieve your desired length without altering the stitch counts.
How do I change colors without creating holes?
Use the “unfinished” single crochet method: start the stitch with the first color, stop before the last yarn over, yarn over with the new color, and pull through the loops to complete the stitch.
Is this pattern suitable for beginners?
This is an intermediate beginner project. It is recommended for crocheters familiar with magic rings, single crochet, increases, decreases, and basic sewing of amigurumi parts.
Can I use this pattern to make a keychain?
Yes, the pattern is often used for keychains. You can attach a keyring to the top of the head or the back of the body after assembly.
What hook size should I use?
A 3 mm crochet hook is suitable for the selected yarn weight to ensure tight stitches that hold the stuffing securely.
Pin This Crochet Pattern!