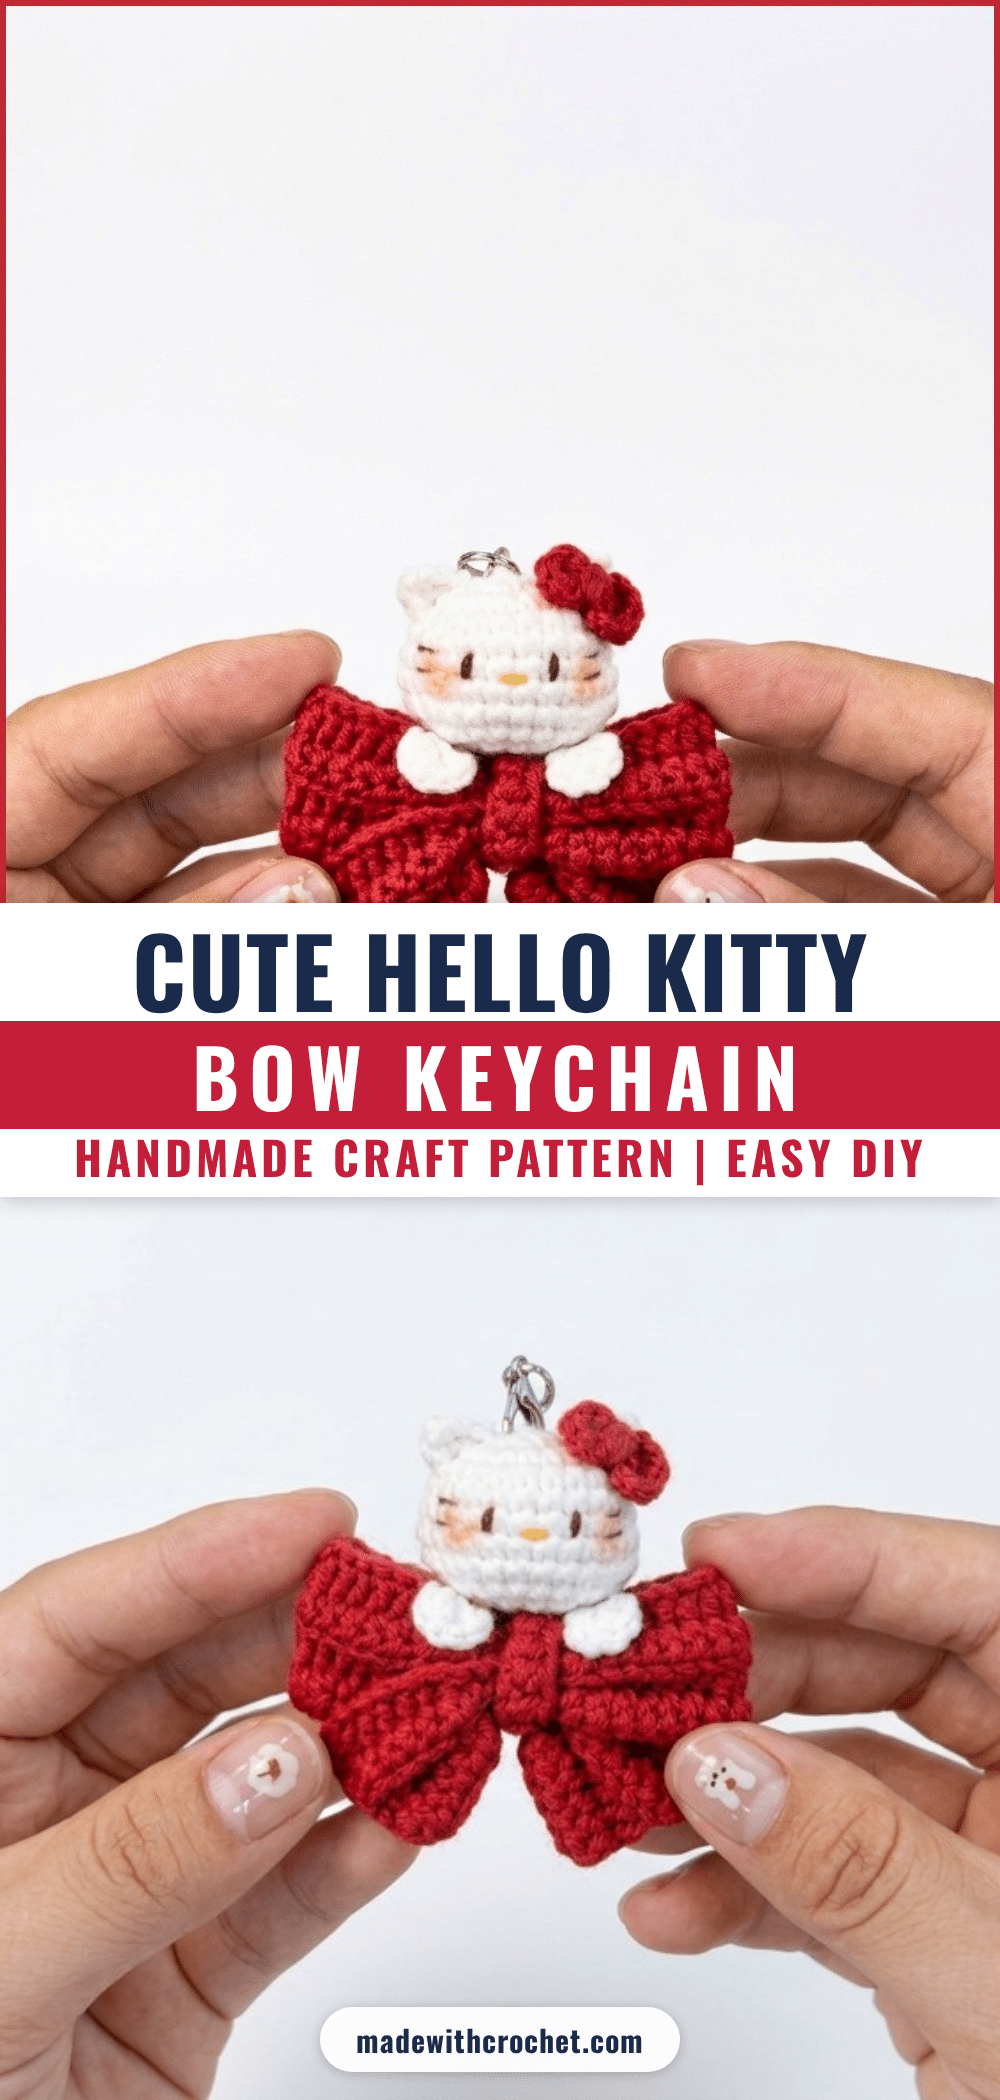
There is a specific kind of magic in pulling a skein of bright red yarn from your stash when you know exactly what it needs to become. For this project, the decision was instant: a classic, vibrant red paired with crisp white to capture the iconic look of the world’s most famous feline. The choice of fiber matters here; you want a yarn with a slight halo to soften the geometric precision of the bow, yet enough definition to show off the textured ridges. This isn’t just about making a keychain; it’s about crafting a tiny, tactile piece of joy that feels intentional from the very first chain stitch.
Yarn and Color Notes
The visual appeal of this Hello Kitty Bow Keychain relies heavily on the contrast between the deep red of the bow and the clean white of the character. When selecting your yarn, consider a cotton or acrylic blend that holds its shape well, as the bow requires structure to maintain its 15 cm width. The white yarn should be opaque enough to cover the stuffing completely, ensuring the head looks plush and solid. Using a yarn with a smooth texture will help the slip stitches and half double crochets lay flat, creating that professional, store-bought finish. This color combination is timeless, making the keychain a versatile accessory for bags, keys, or even as a charming gift for fellow crafters.
Project Overview
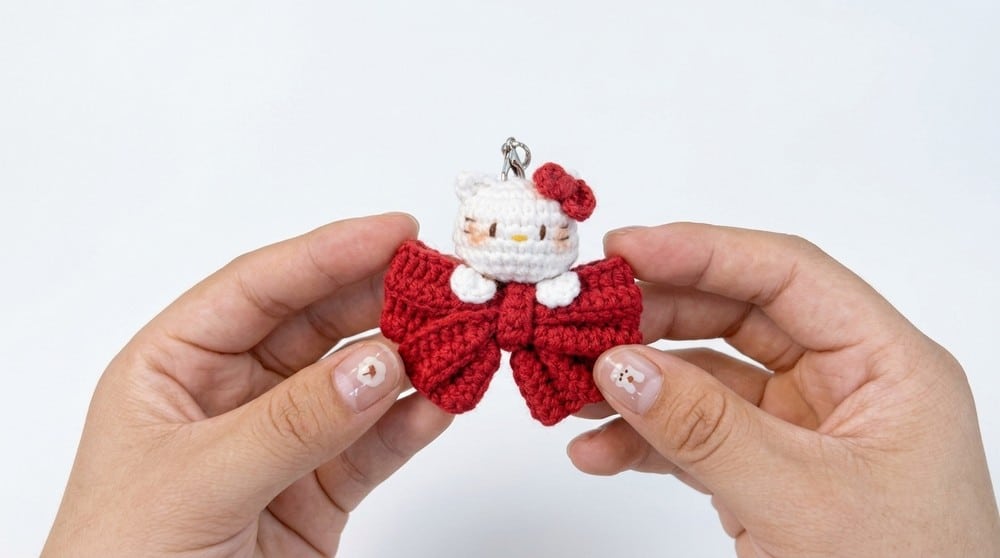
This Hello Kitty Bow Keychain is a delightful amigurumi project that combines a large, textured red bow with a detailed Hello Kitty head, ears, legs, and a miniature bow. It is designed to be a portable and charming accessory, perfect for hanging on keyrings or backpacks. The project utilizes basic crochet stitches along with specific techniques like working in back loops only (BLO) to create a ribbed texture on the bow. With a finished height of approximately 10 cm and a width of 15 cm, it is a manageable project that yields a high-impact, cute result.
Materials
- Red yarn (for large bow and small bow)
- White yarn (for Hello Kitty head, ears, and legs)
- Crochet hook appropriate to your yarn (approximately 3.5 mm to 4 mm recommended)
- Fiberfill for stuffing the head
- Needle for sewing parts
- Textile glue or craft glue
- Scissors
Gauge and Finished Size
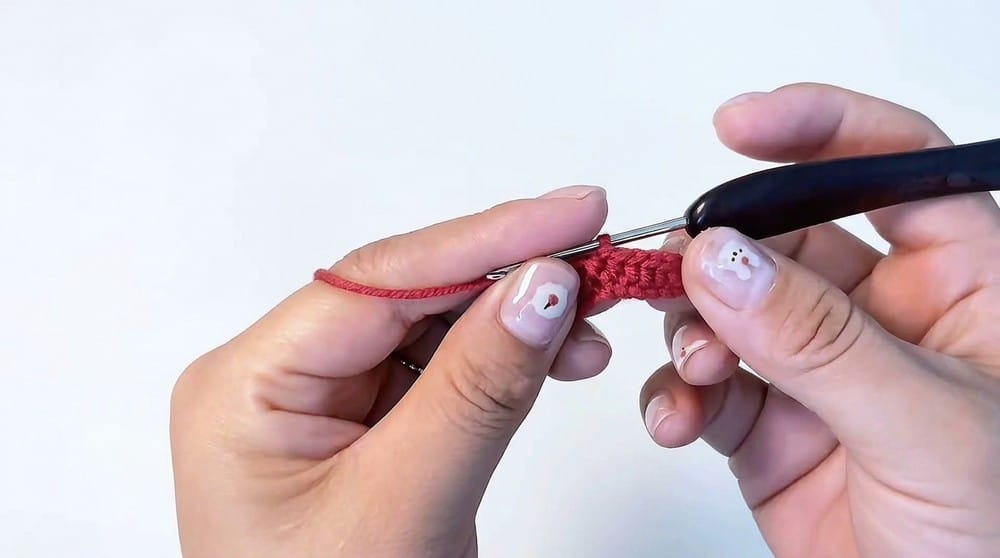
While amigurumi does not require strict gauge, maintaining consistent tension is crucial for the final dimensions.
Gauge:
Half double crochet (hdc) gauge: approx. 14 stitches by 8 rows per 5 cm.
Single crochet (sc) gauge: approximately 20 stitches by 24 rows per 10 cm.
Working in back loops only (BLO) creates texture without changing stitch counts.
Finished Size:
Large bow measures approximately 15 cm in width and 5 cm in height.
Hello Kitty head approximately 5 cm in diameter before assembly.
Finished keychain size varies by assembly, approximately 10 cm height overall.
After final assembly, ensure all attachments are firmly secure by gently tugging on sewn and glued parts. The finished Hello Kitty Bow Keychain measures approximately 10 cm in height and 15 cm in width, portable for key rings or as a decorative charm.
Abbreviations
- ch = chain
- sc = single crochet
- hdc = half double crochet
- dc = double crochet
- slst = slip stitch
- inc = increase (2 stitches in same stitch)
- dec = decrease (crocheting two stitches together)
- BLO = back loops only
Pattern Notes
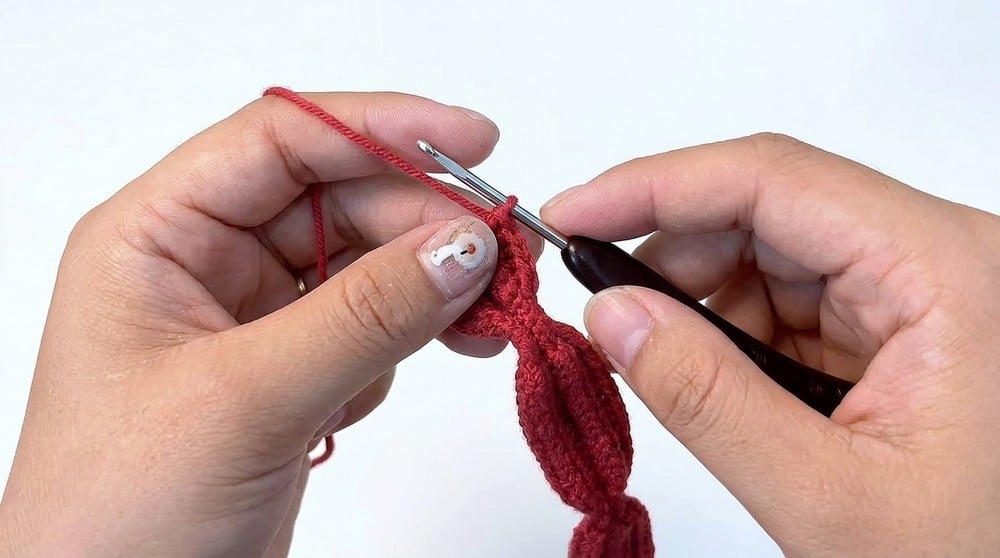
Maintain even tension to keep stitches consistent, especially when working back loops only. Use a stitch marker to track the beginning of rounds on the head for accuracy. Crochet the small pieces carefully for precise shaping. Stuff the Hello Kitty head with fiberfill before closing to achieve a well-rounded, plush form. Glue is used to attach the head and legs to the bow securely; use textile glue for better adhesion. Secure sewing of ears and small bow ensures the figure’s longevity without parts detaching.
Special Stitches
Working in Back Loops Only: Crochet stitches by inserting the hook into only the back loop portion of each stitch, creating ridges and a ribbed texture effect.
Magic ring: Starting circular foundation to minimize holes in tight amigurumi or motifs.
Pattern Instructions
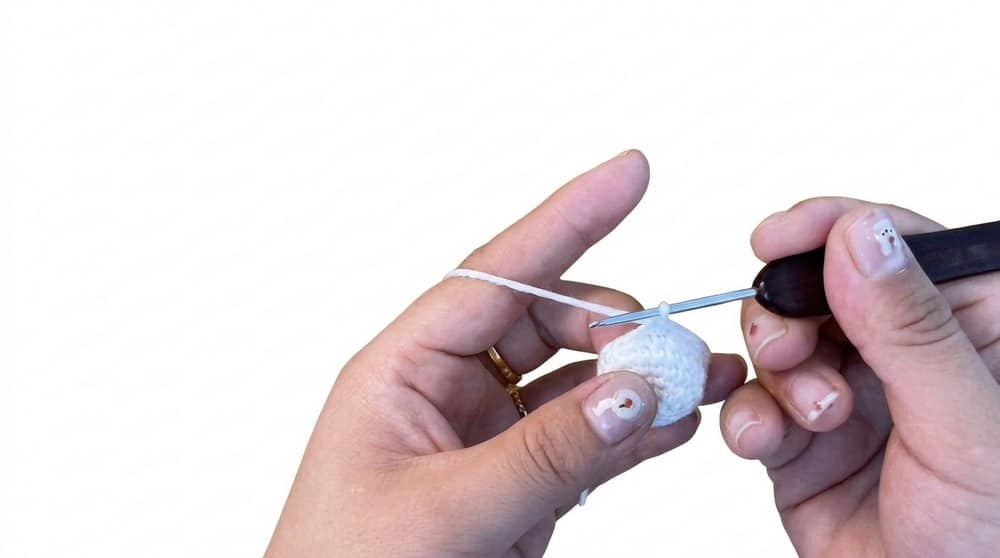
1. Large Bow
Base foundation:
Chain 63.
Row 1:
Begin in the 2nd chain from the hook:
Work 6 half double crochets (hdc).
Work 6 slip stitches (slst).
Work 16 hdc.
Work 6 slip stitches.
Work 16 hdc.
Work 6 slip stitches.
End with 6 hdc.
Rows 2 to 4:
Chain 1. Turn your work. Work the whole row into the back loops only (BLO), repeating the stitch pattern from Row 1 for each row (6 hdc, 6 slst, 16 hdc, 6 slst, 16 hdc, 6 slst, 6 hdc).
Center Piece Strip
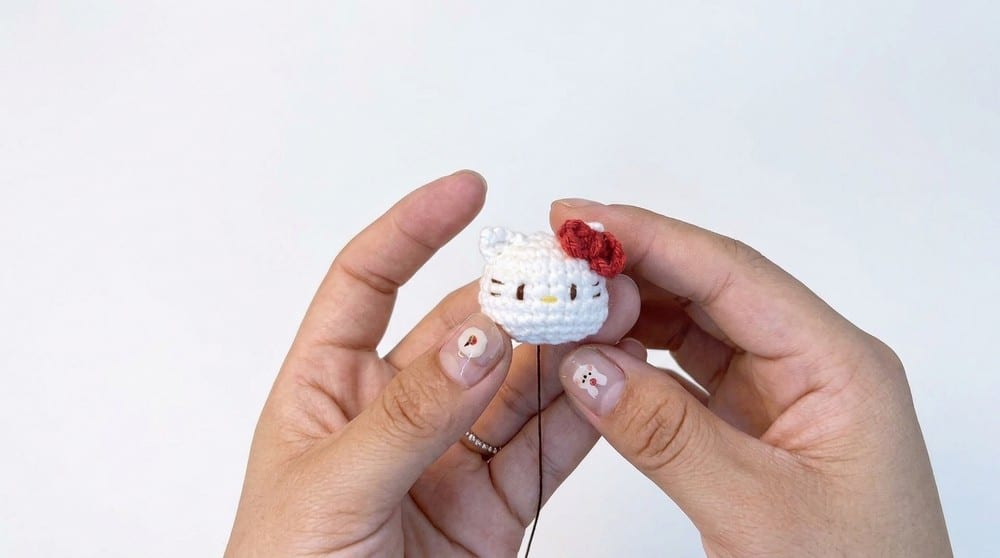
Chain 10. Starting in the 2nd chain from the hook, work 9 hdc across. Sew this narrow strip securely around the center of the large bow, gathering it to create the classic bow center shape.
2. Hello Kitty Head
Round 1:
Begin with a magic ring. Work 7 single crochets (sc) into the ring.
Round 2:
Increase in every stitch (2 sc in each stitch around). Total stitches: 14.
Round 3:
Work (1 sc, 1 inc) repeated 7 times. Total stitches: 21.
Rounds 4 to 6:
Work 1 sc in each stitch (21 sc). Maintain stitch count for three rounds.
Round 7:
Work 5 sc. Work 3 increases (inc). Work 5 sc. Work 3 increases (inc). Work 5 sc. Total stitches: 27.
Round 8:
Work 1 sc in each stitch (27 sc).
Round 9:
Work 5 sc. Work 3 decreases (dec). Work 5 sc. Work 3 decreases (dec). Work 5 sc. Total stitches: 21.
Round 10:
Work (1 inc, 1 dec) repeated 7 times. Stuff the head firmly with fiberfill. Total stitches maintained at 21.
Round 11:
Work 7 decreases (dec) evenly around. Cut yarn, leaving a tail. Sew through front loops to close the opening neatly.
3. Ears, Legs, and Small Bow
Ears:
Chain 3. Starting in the 2nd chain: Work 1 sc. Work 1 half double crochet (hdc) in next chain. Repeat the same steps to create the second ear.
Work 1 sc. Work 1 half double crochet (hdc) in next chain.
Legs:
Begin with a magic ring. Work 5 sc into the ring. Cut yarn and finish. Repeat for the second leg.
Small Bow:
Begin with a magic ring. Chain 2. Work 2 double crochets (dc) inside the ring. Chain 2. Slip stitch to starting point. Repeat these steps on the opposite side of the circle to form symmetrical loops. Wrap yarn tightly around the center 3 times to create the bow knot.
Assembly
Sew the ears and small bow onto the Hello Kitty head securely. Glue the head and legs onto the center of the large bow. Arrange all components neatly to maintain proportion and stability. For a durable accessory, ensure all attachments are firmly secure by gently tugging on sewn and glued parts.
Tips
- Maintain even tension to keep stitches consistent, especially when working back loops only.
- Use a stitch marker to track the beginning of rounds on the head for accuracy.
- Crochet the small pieces carefully for precise shaping.
- Stuff the Hello Kitty head with fiberfill before closing to achieve a well-rounded, plush form.
- Glue is used to attach the head and legs to the bow securely; use textile glue for better adhesion.
- Secure sewing of ears and small bow ensures the figure’s longevity without parts detaching.
FAQs
What type of yarn is best for this pattern?
A cotton or acrylic blend works well. You want a yarn that is soft enough for a keychain but holds its shape to support the structured bow. Red and white colors are required to match the Hello Kitty design.
How do I create the ribbed texture on the bow?
The texture is achieved by working Rows 2 to 4 into the back loops only (BLO). This technique creates ridges that mimic the fabric folds of a real bow.
Can I use this pattern for a larger plush toy?
This pattern is specifically designed for a small keychain size (approx. 10 cm height). To make a larger plush, you would need to scale up the stitch counts and row numbers significantly, which is beyond the scope of this specific pattern.
What glue should I use for assembly?
Textile glue or craft glue is recommended. Textile glue provides better adhesion for yarn fibers and ensures the head and legs stay securely attached to the bow.
Is this pattern suitable for beginners?
It is rated Beginner to Intermediate. It is suitable for crocheters familiar with basic stitches such as chain, single crochet (sc), half double crochet (hdc), double crochet (dc), slip stitch (slst), and comfortable with working in rounds.
Pin This Crochet Pattern!