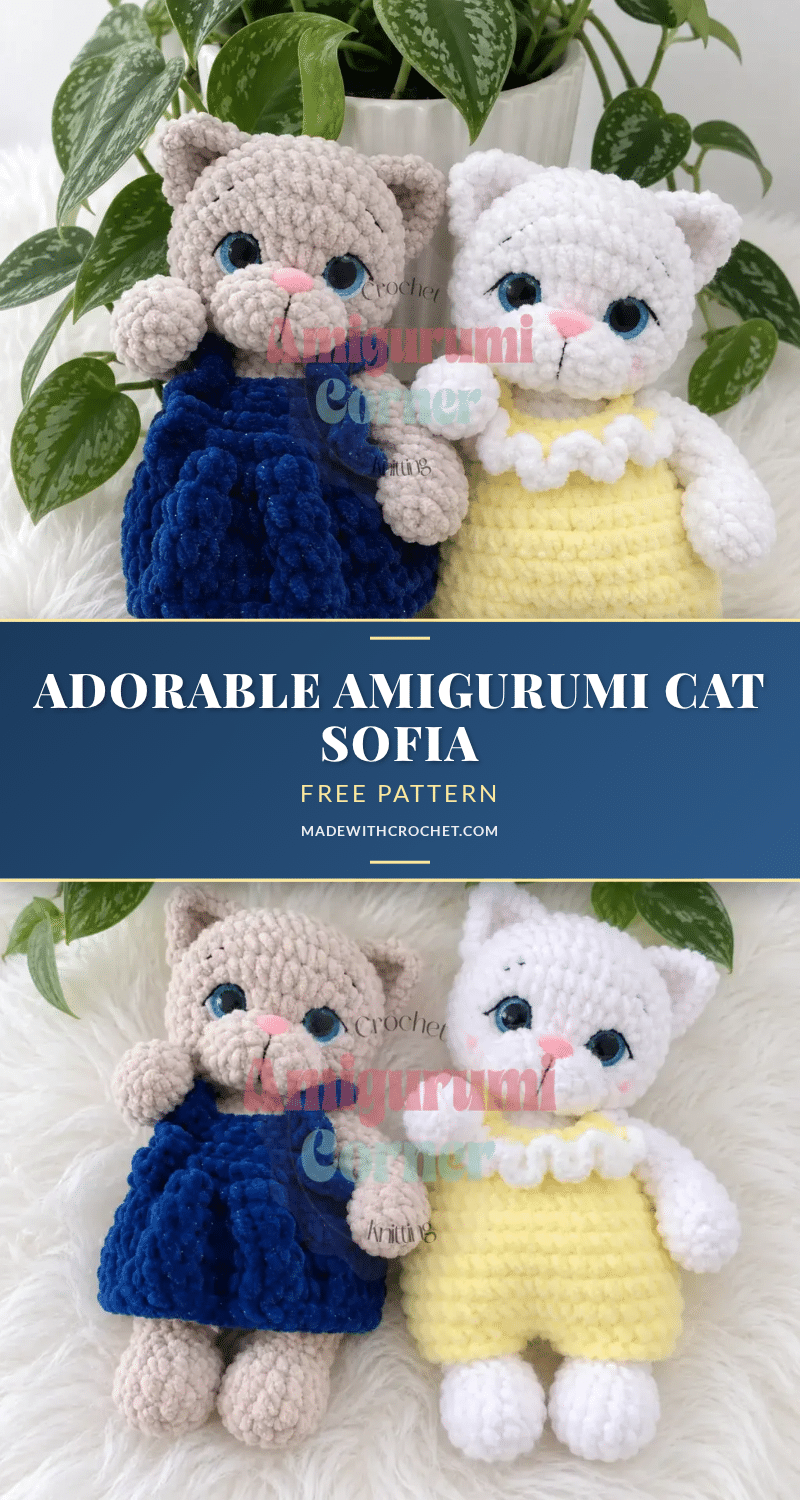
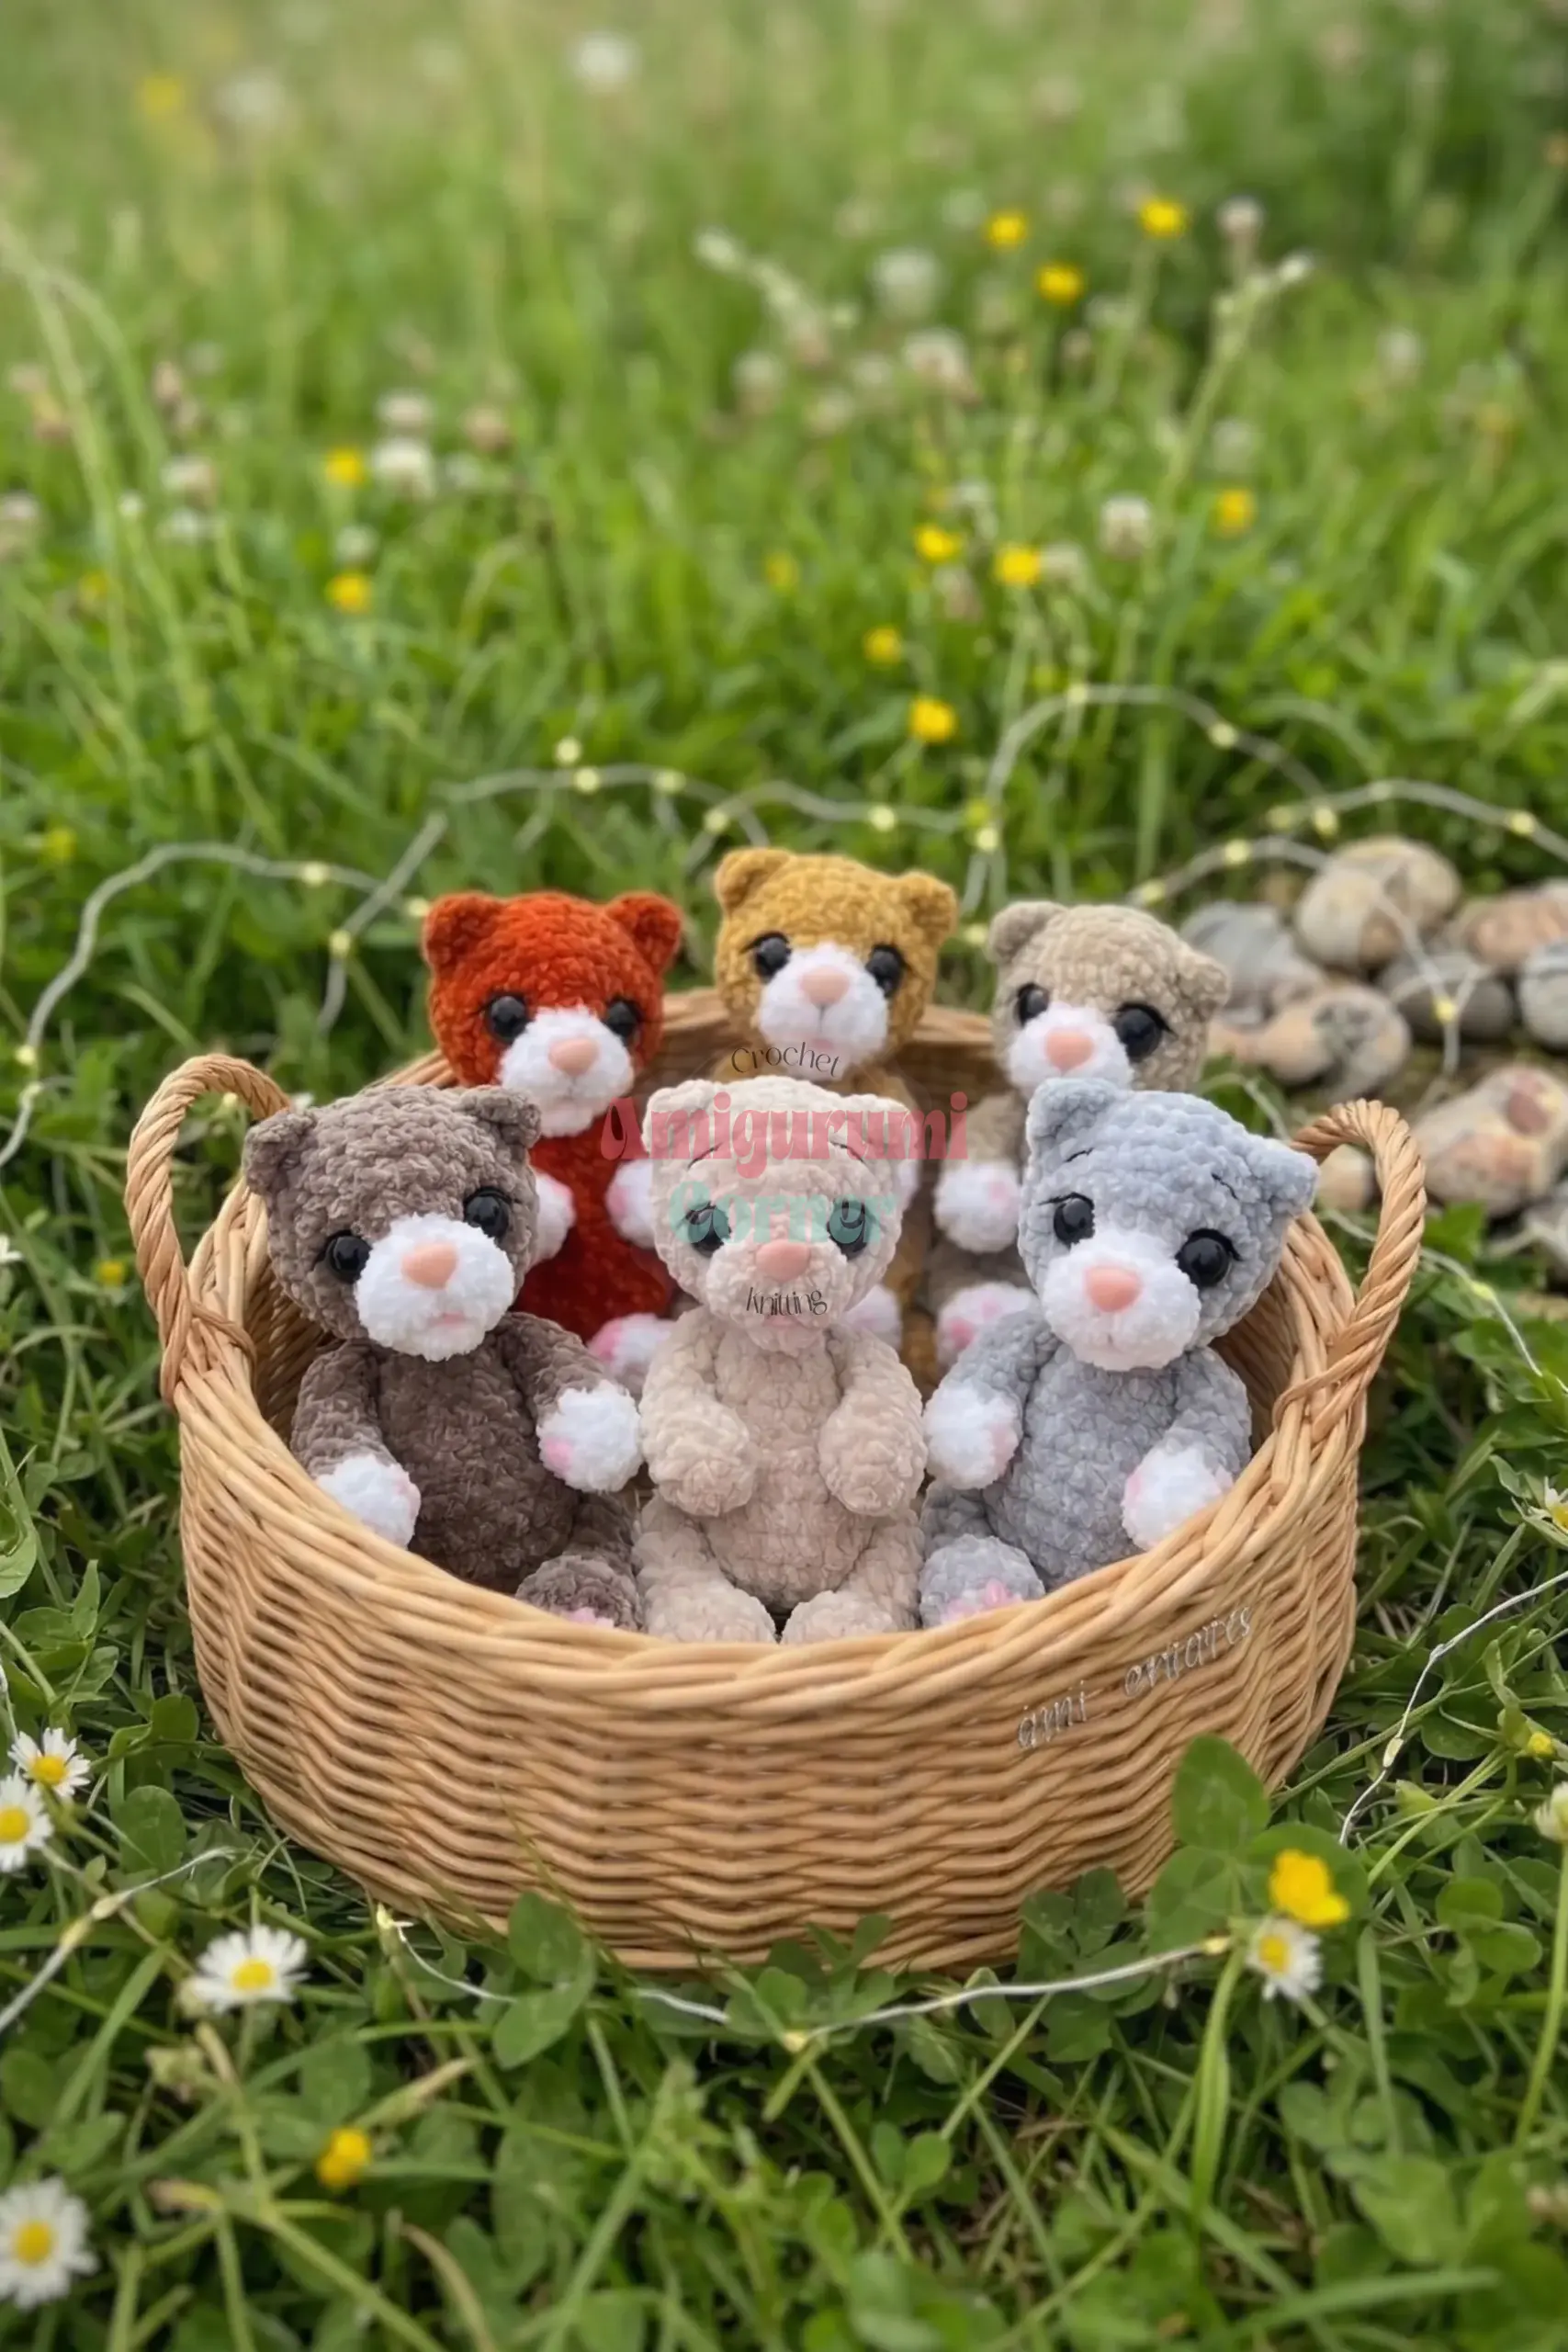
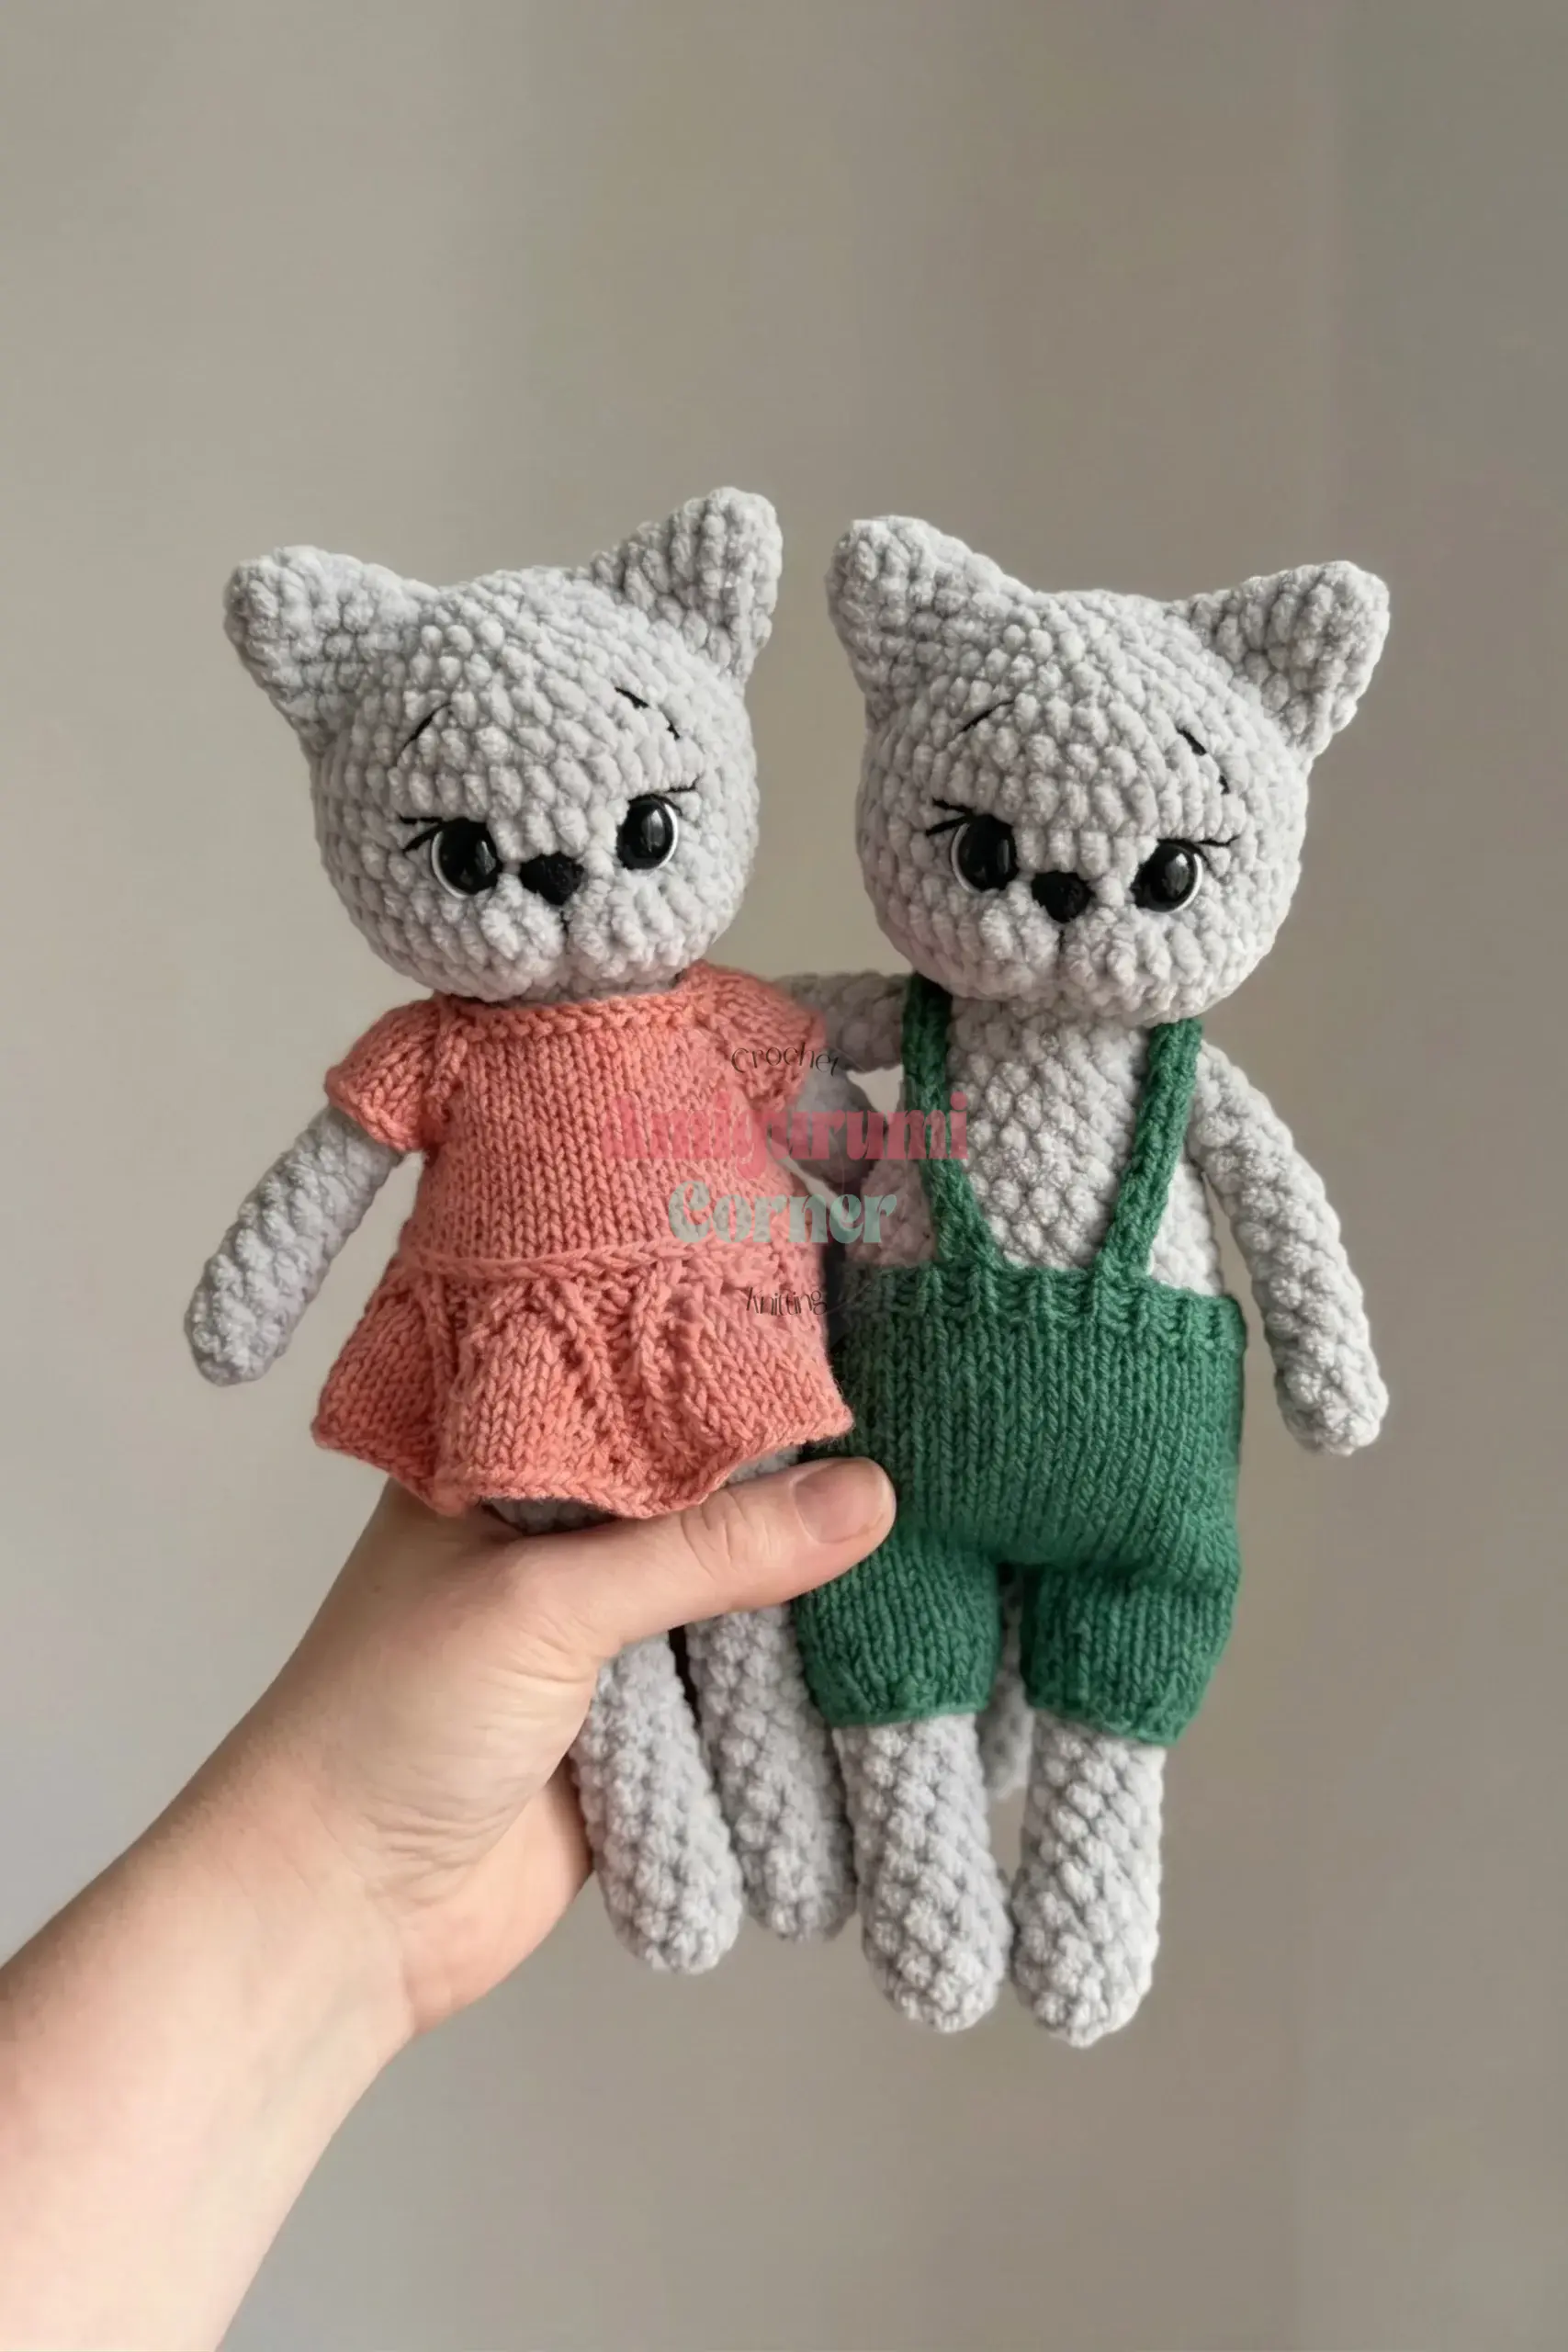
There is something deeply satisfying about the quiet rhythm of amigurumi. A cozy evening, a small batch of plush yarn, and the steady counting of stitches create a relaxing repeat that slows down the world. As you work the rounds, the shape begins to emerge, transforming simple loops into a character with personality. This is the perfect ritual for creating Cat Sofia, a round-faced, bright-eyed amigurumi cat with a sculptured muzzle and poseable arms. She is designed to be a companion you can carry everywhere, squeeze during long car rides, and prop up on your pillow at night. Her velvety finish photographs beautifully and feels even better in person.
Small Details That Make It Better
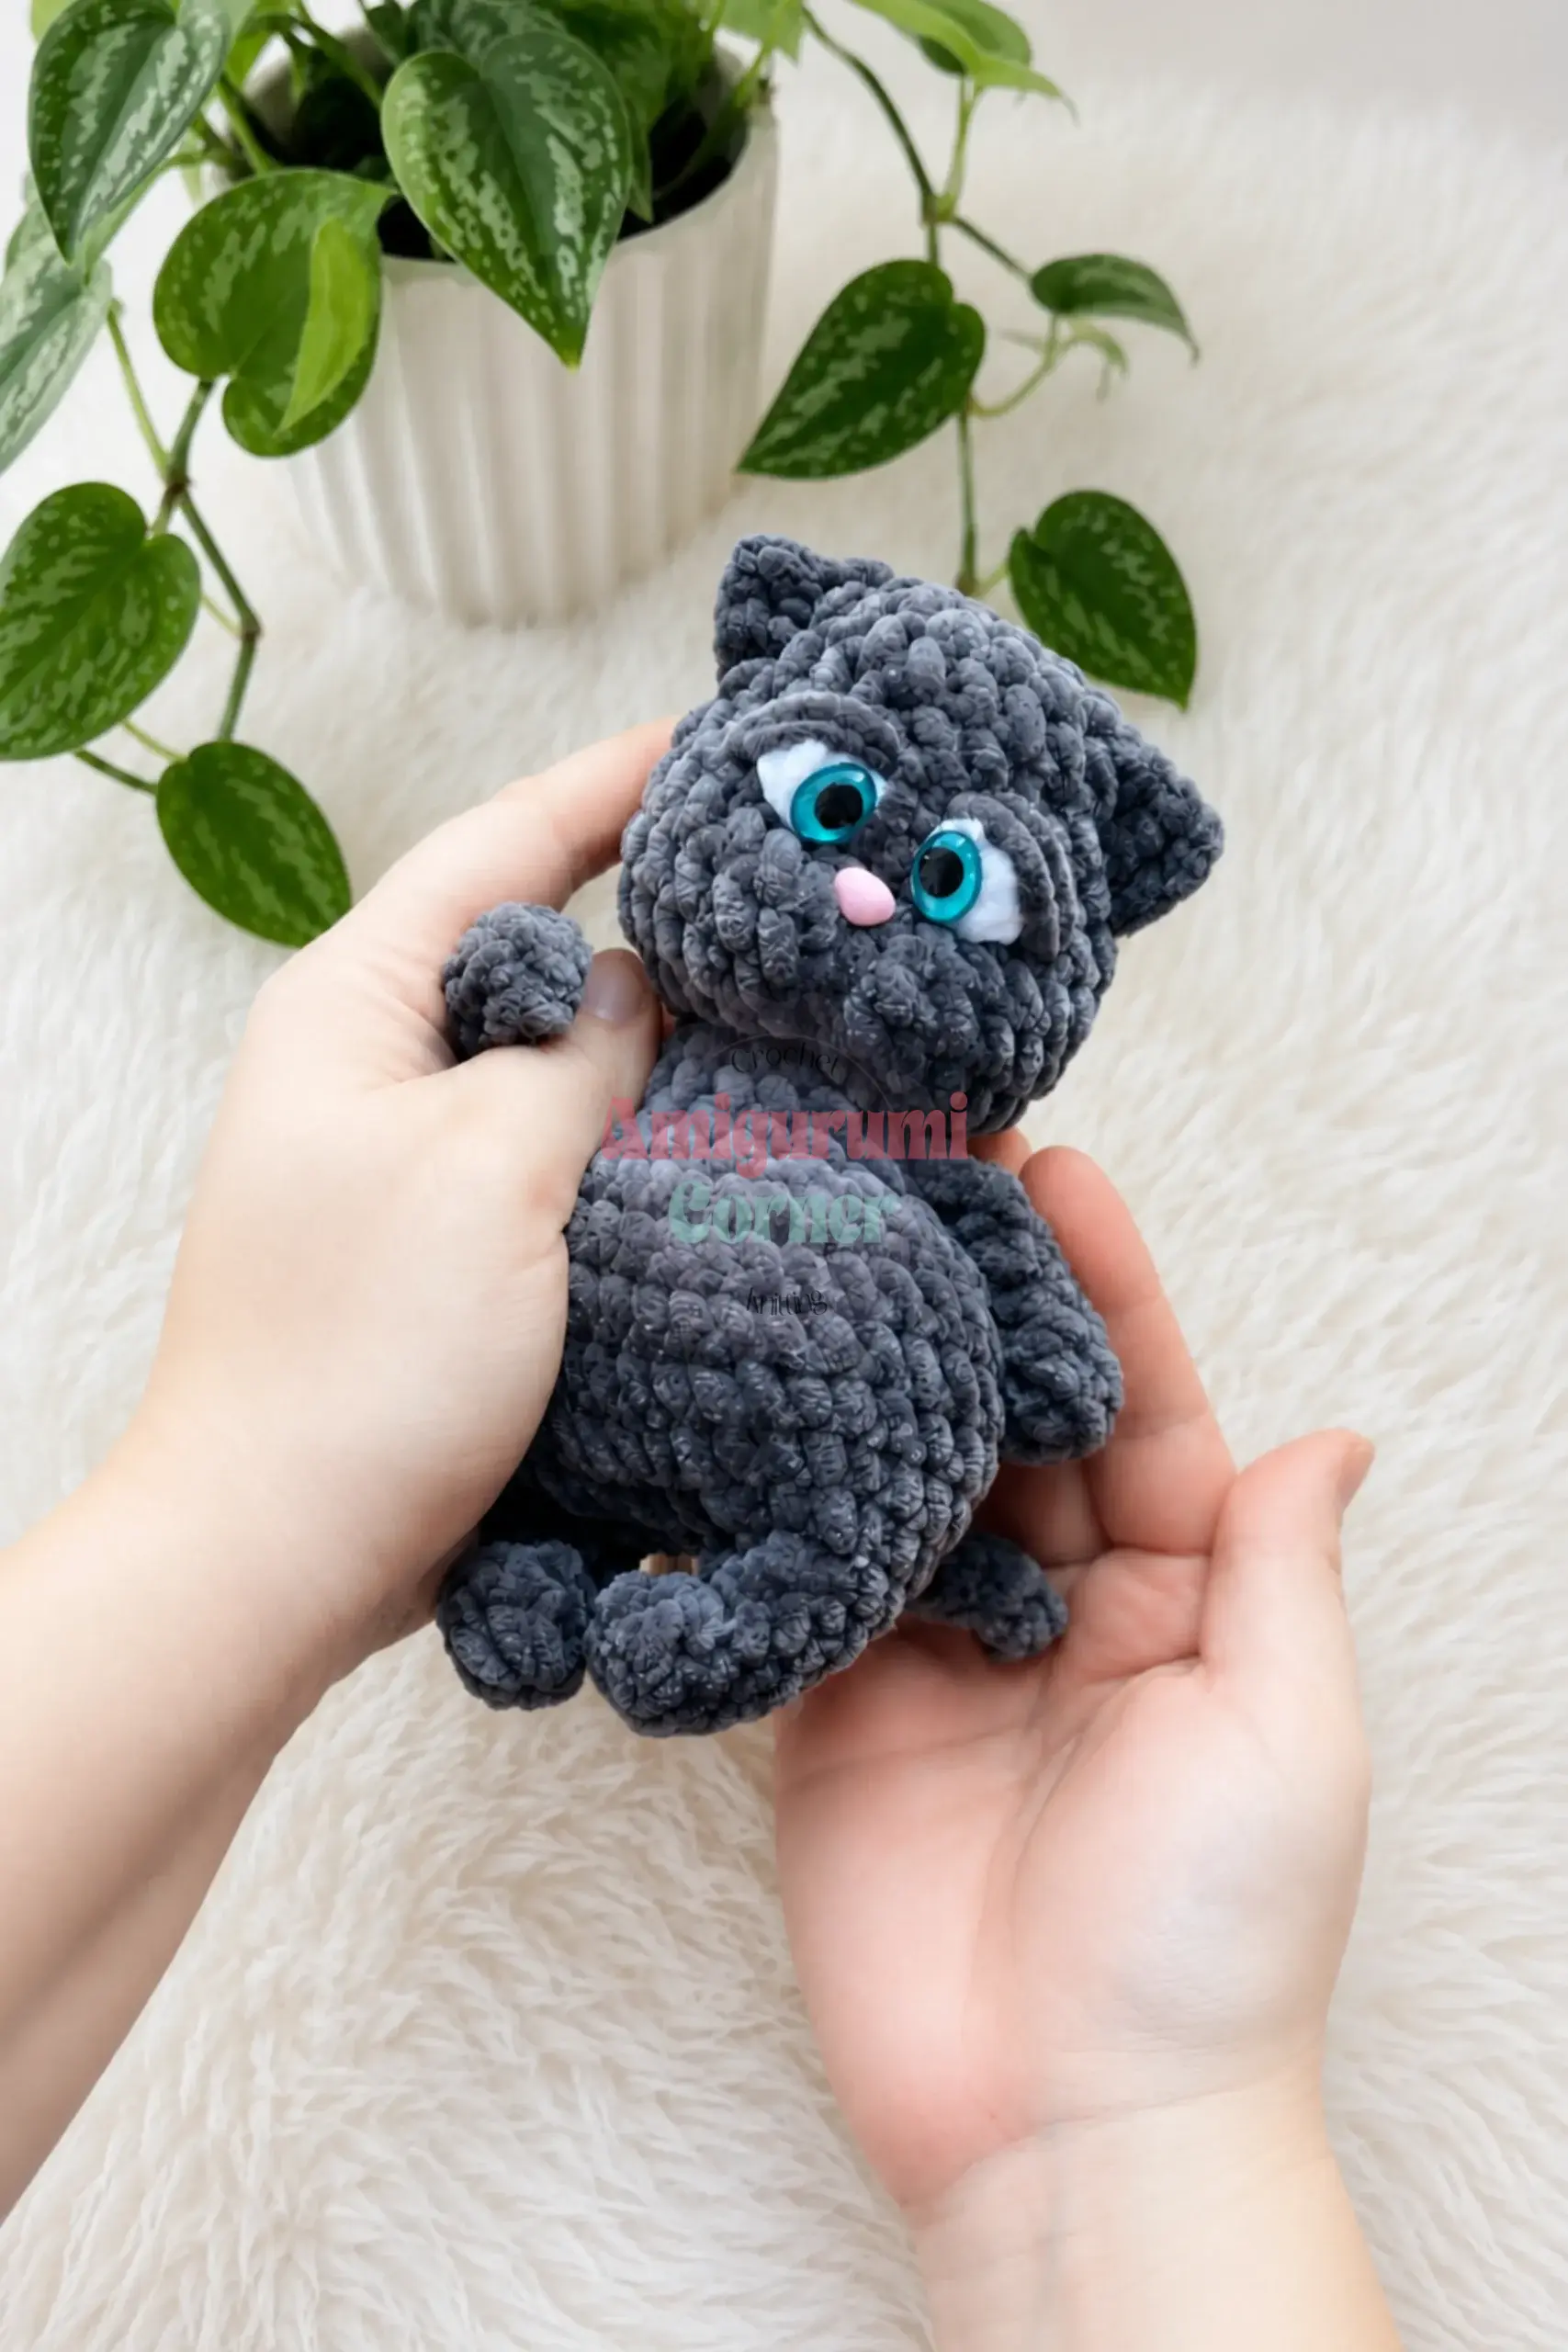
What truly sets Sofia apart is the intentionality behind her features. The plush yarn gives her a soft, inviting texture, but it is the needle-sculpting that brings her face to life. By pulling thread through the head to create gentle eye socket indents and lifting the muzzle, she gains an expressive, almost human-like charm. The optional clothing adds another layer of customization; whether you choose the classic overalls with a ruffled bib, a ruffled dress, or a simple bow, you are tailoring her personality. Even the decision to use eyelash yarn for her tail adds a playful, fluffy dimension that catches the light. These small details transform a standard amigurumi into a unique character with a story.
Project Overview
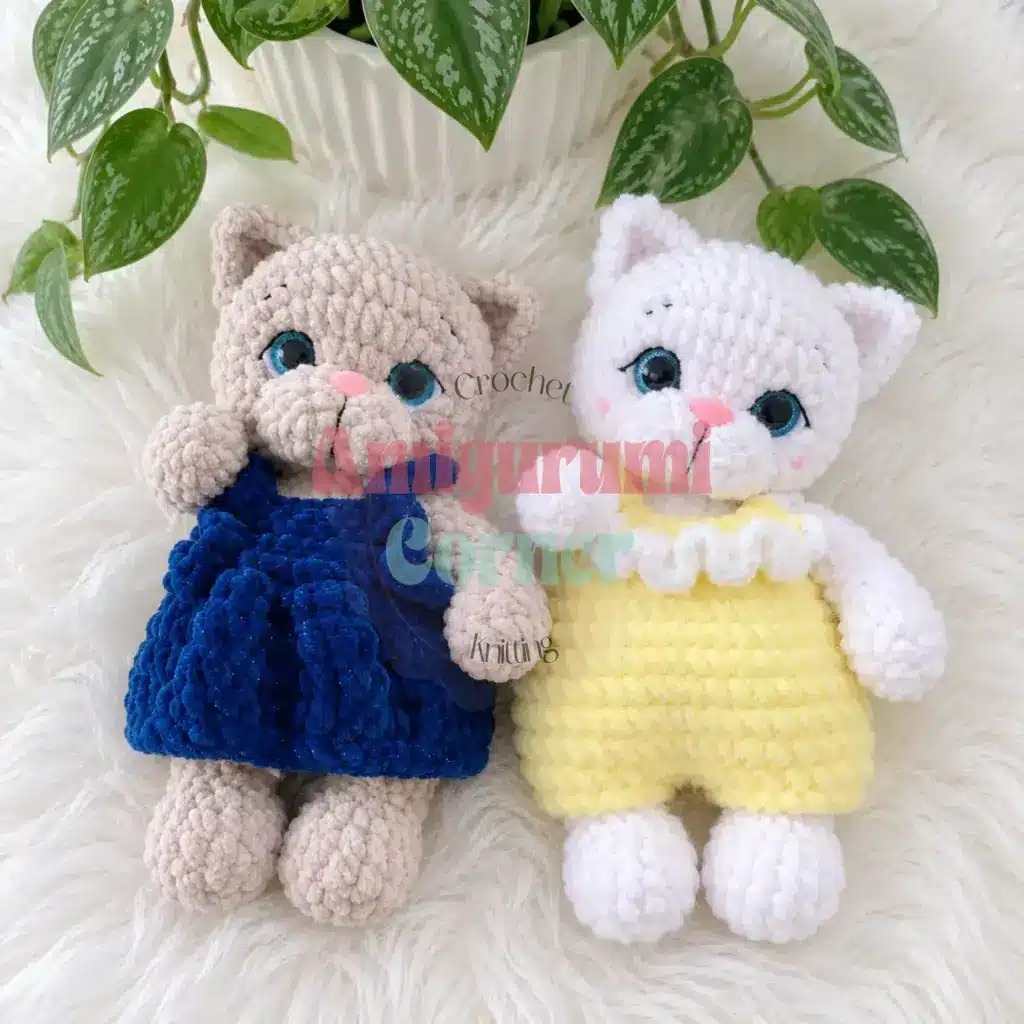
Cat Sofia is an intermediate-level amigurumi pattern that combines standard spiral construction with unique face sculpting techniques. She features a round head, a body with integrated arms and tail, and optional clothing. The pattern uses plush yarn to achieve a dense, soft fabric that hides the stitches, requiring careful tension and the use of stitch markers.
Materials
- Yarn (main color): One skein of plush yarn (bulky or super bulky weight) for the body, head, legs, arms, and ears.
- Yarn (clothing, optional): Plush yarn in a contrasting color for the overalls or dress.
- Yarn (tail, optional): Any fluffy or eyelash yarn in a coordinating shade.
- Embroidery threads: Black (thin) for whiskers and brow details; white for eye highlights; a matching thread color for needle-sculpting the face.
- Safety eyes: Two sparkle safety eyes, 16 mm.
- Nose: One pink plastic nose, 15 mm (glued in place).
- Lashes (optional): Pre-made lashes, attached with craft glue.
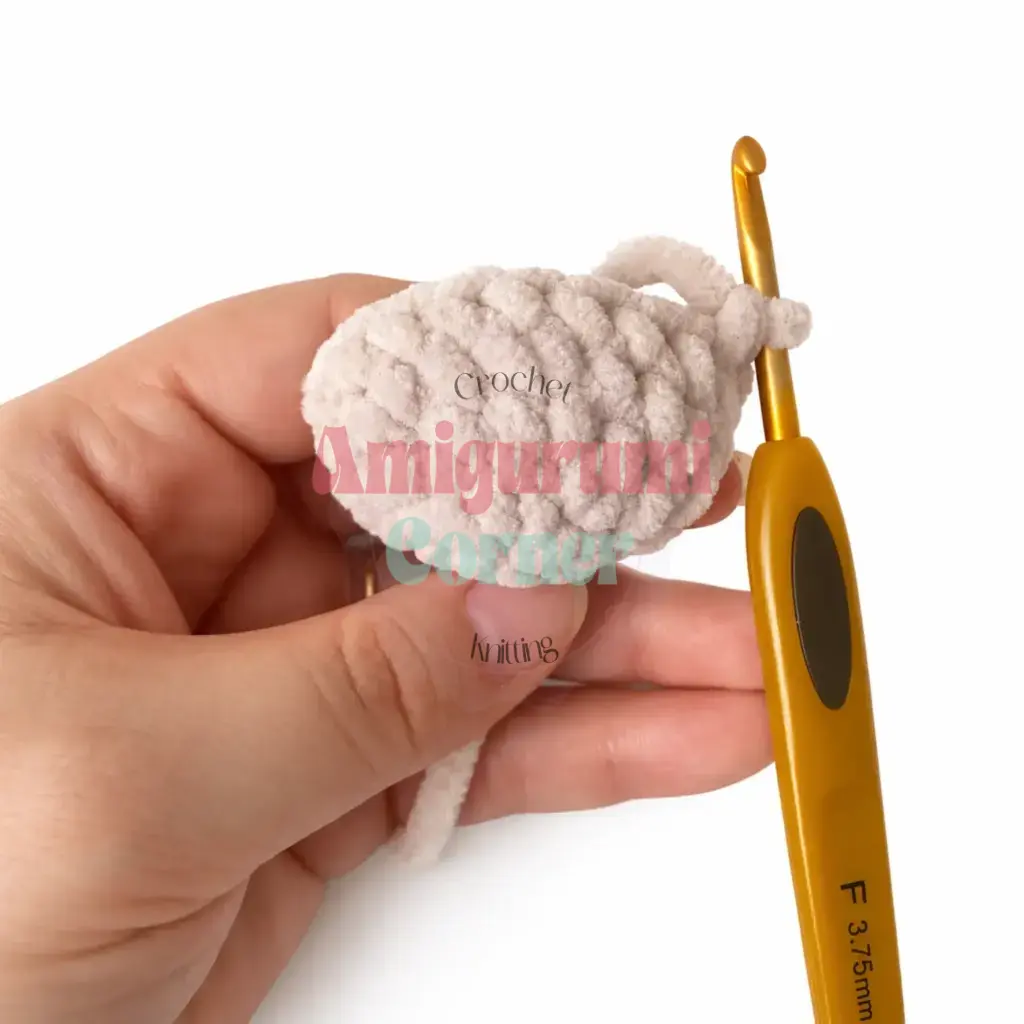
- Hook: Size F-5 / 3.75 mm (recommended for plush yarn).
- Notions: Yarn needle / tapestry needle, fiberfill / polyfill stuffing, stitch markers, scissors.
- Buttons: 2 to 4 small buttons if making the overalls or dress.
Gauge and Finished Size
Gauge is not critical for amigurumi, but your fabric should be dense enough that fiberfill does not show through. If you can see daylight through your stitches, go down a hook size. The finished size will depend on the specific weight of the plush yarn used, but the pattern is designed to create a standard amigurumi proportion.
Abbreviations
- BLO: Back Loop Only
- ch: Chain
- dec: Decrease (invisible decrease: insert hook through front loops of next 2 sts, yo, pull through both, yo, pull through 2 loops)
- FLO: Front Loop Only
- hdc: Half Double Crochet
- inc: Increase (2 sc in same stitch)
- MR: Magic Ring
- sc: Single Crochet
- sk: Skip
- sl st: Slip Stitch
- sm: Stitch Marker
- st / sts: Stitch / Stitches
Pattern Notes
This pattern is written in US crochet terminology. The head, arms, tail, and legs are worked in a continuous spiral (no joining, no turning chains). The ears and clothing pieces are worked in flat back-and-forth rows, with a turning chain at the end of each row. Stitch counts are given in parentheses at the end of each round or row: (18). Offset stitches (петли смещения) are used in two places: at the start of Rnd 6 on the Head, and on the second leg before joining. Work 3 to 4 sl st to reposition the working yarn to the correct point. These offset stitches are not counted in the stitch total. Place safety eyes in Rnd 7 of the Head, after the first increase cluster and before the last. Insert them before closing the muzzle fully, while you still have easy access to the inside. Stuff firmly as you go. Sofia’s head benefits from a slightly stretched muzzle; pull the muzzle area gently outward before adding the final stuffing to the head. The clothing (overalls, dress, bow) is entirely optional. The base cat is complete without it.
Pattern Instructions
Head
Rnd 1: 6 sc in MR. (6)
Rnd 2: sc, inc, 2 sc, inc, sc. (8)
Rnd 3: sc, inc repeat 4 times around. (12)
Rnd 4: sc, inc repeat 6 times around. (18)
Rnd 5: sc in each st around. (18)
Before working Rnd 6, the working yarn must sit at the start of the center muzzle section. If needed, work 3 to 4 sl st to shift position (offset stitches, not counted).
Rnd 6: 6 sc in BLO (center front of muzzle), 12 sc in both loops. (18)
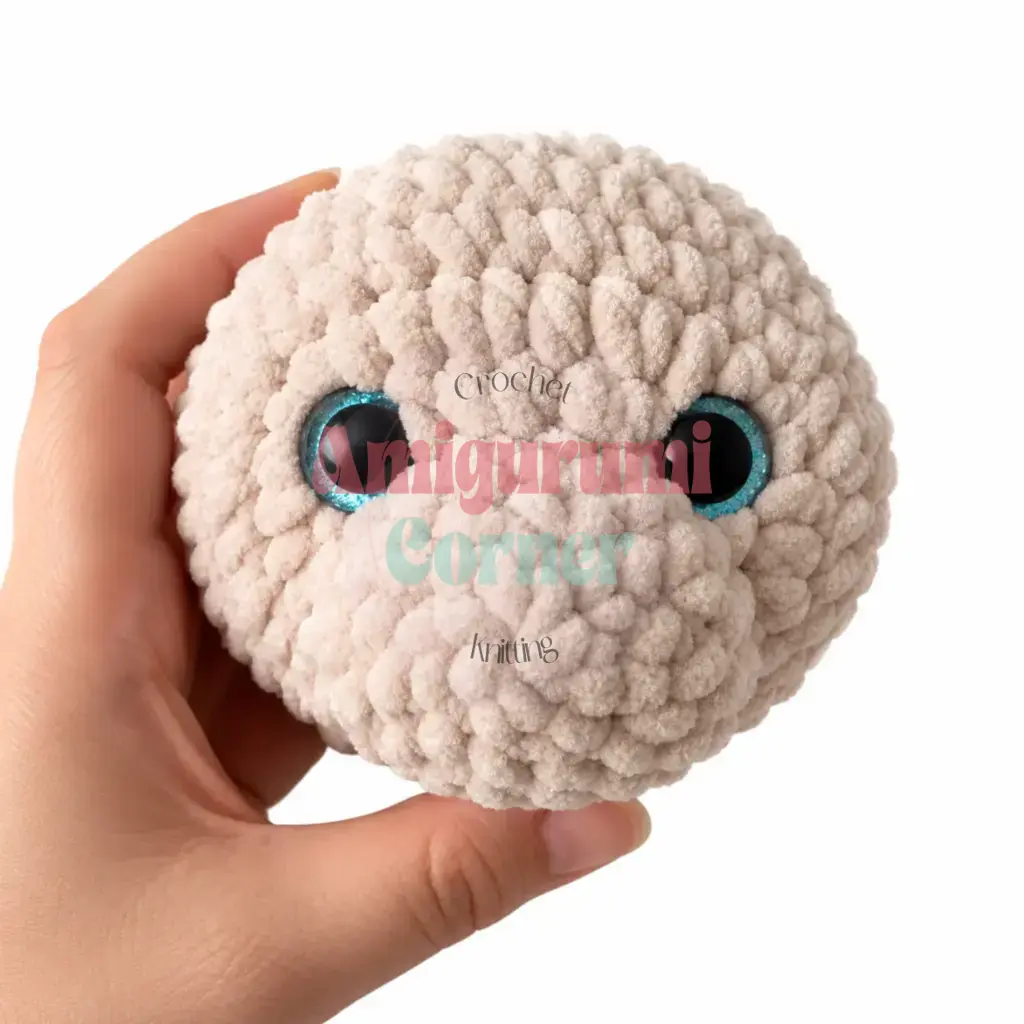
Rnd 7: inc in FLO 6 times (working into the front loops left free from Rnd 6), then sl st in each of the next 12 sts. (24) Insert 16 mm safety eyes now, placing one after the first increase group and one before the last.
Rnd 8: hdc, inc in hdc repeat 6 times, 12 sc. (30)
Rnd 9: sc, inc repeat 15 times around. (45)
Rnds 10-12: sc in each st around. (45) (3 rounds)
Rnd 13: 13 sc, dec repeat 3 times. (42)
Rnd 14: 5 sc, dec repeat 6 times. (36)
Stuff the muzzle now, stretching it gently outward to shape the face. Begin adding fiberfill to the head and continue adding stuffing as you work the remaining rounds.
Rnd 15: 4 sc, dec repeat 6 times. (30)
Rnd 16: sc in each st around. (30)
Rnd 17: 3 sc, dec repeat 6 times. (24)
Rnd 18: 2 sc, dec repeat 6 times. (18)
Rnd 19: sc, dec repeat 6 times. (12)
Rnd 20: dec 6 times around. (6)
Fasten off, leaving a long tail. Close the opening by weaving the tail through the front loops of the remaining 6 sts and pulling tight.
Face Sculpting and Details
All sculpting is done with a yarn needle and a length of matching thread, after the head is fully stuffed and closed.
Eye socket sculpting (first pass): Insert the needle from the bottom of the head at approximately Rnd 5-6 and bring it out at the outer corner of the right safety eye. Lay the thread along the edge of the muzzle and insert the needle at the outer corner of the left safety eye. Bring the needle back out at the bottom of the head, one sc away from the original entry point. Pull the thread to create a gentle indent, and secure it with a knot. Repeat this pass in the opposite direction (left to right) for a symmetrical result. Do not cut the thread yet; carry it to the second sculpting step.
Muzzle lift sculpting (second pass): With the thread now at the bottom of the muzzle, bring the thread straight up the center of the face (exactly along the midline). Insert the needle at the center base of the Rnd 7 increase cluster. Bring it back out at the bottom of the muzzle, one sc away from the entry point. Pull firmly to lift and round the muzzle upward, shaping it with your fingers as you pull. Secure and fasten off.
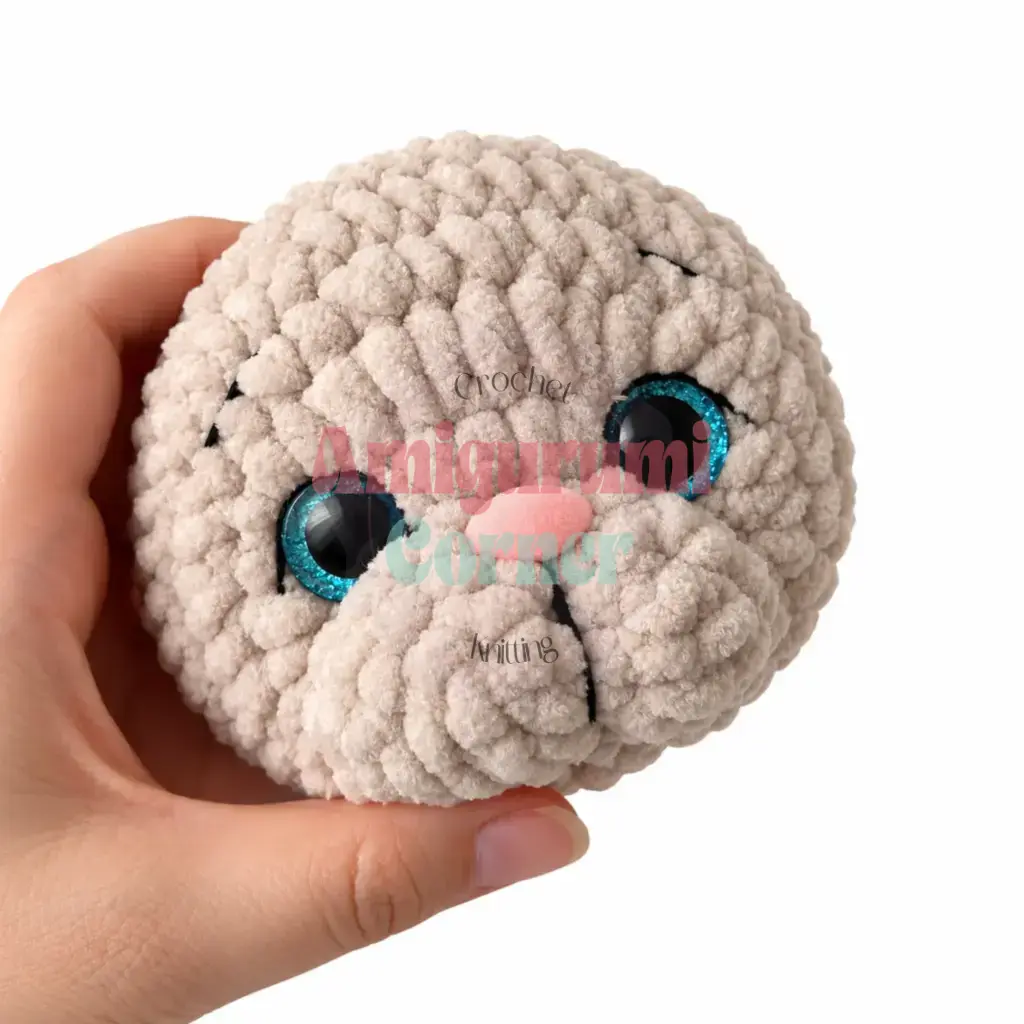
Finishing the face: Embroider small arrow-shaped brow marks and thin eyebrows above each eye using black thread. Add white thread highlights to each eye. Embroider a dividing line down the center of the muzzle with black thread. Glue the 15 mm pink plastic nose in place at the center of the muzzle. Attach lashes with craft glue if desired. Add blush to the cheeks if desired. Embroider whiskers using thin black thread, or insert lengths of clear nylon thread through the muzzle for a realistic effect.
Ears (make 2)
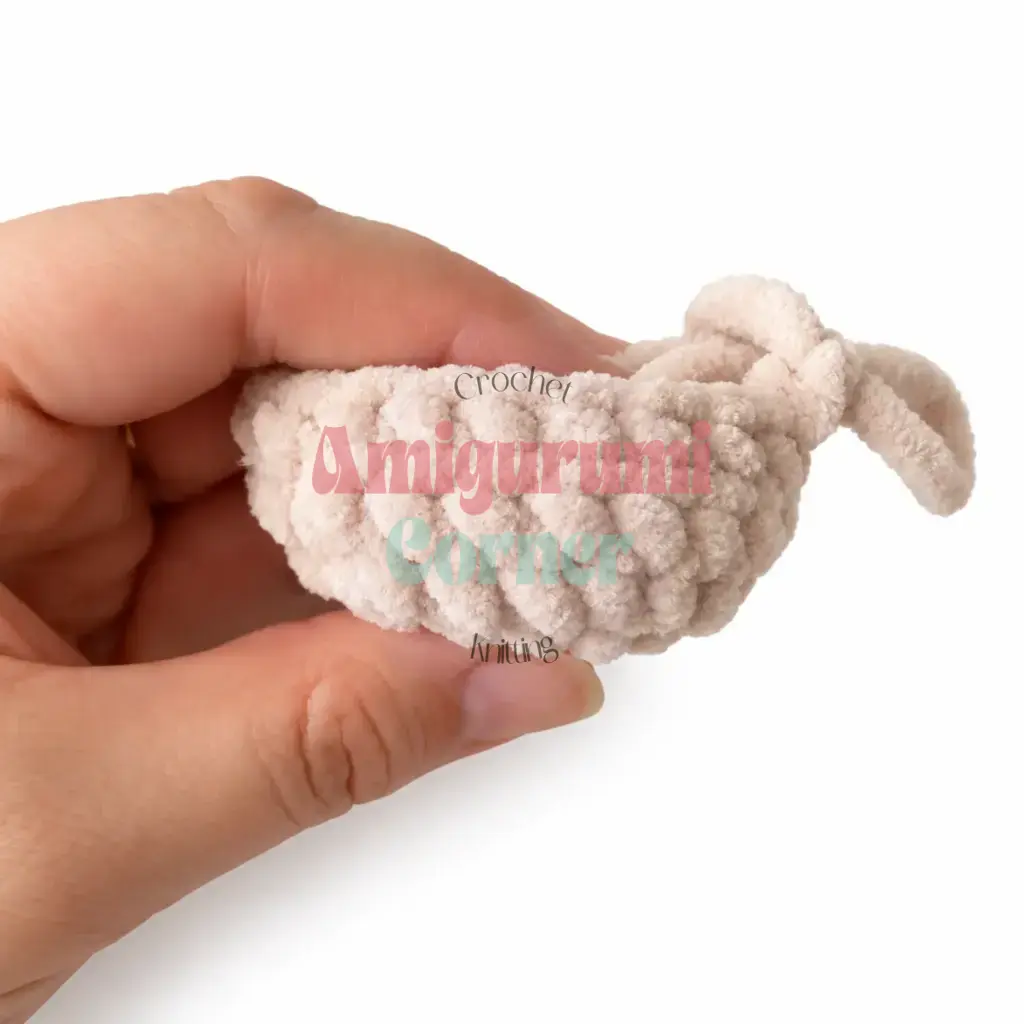
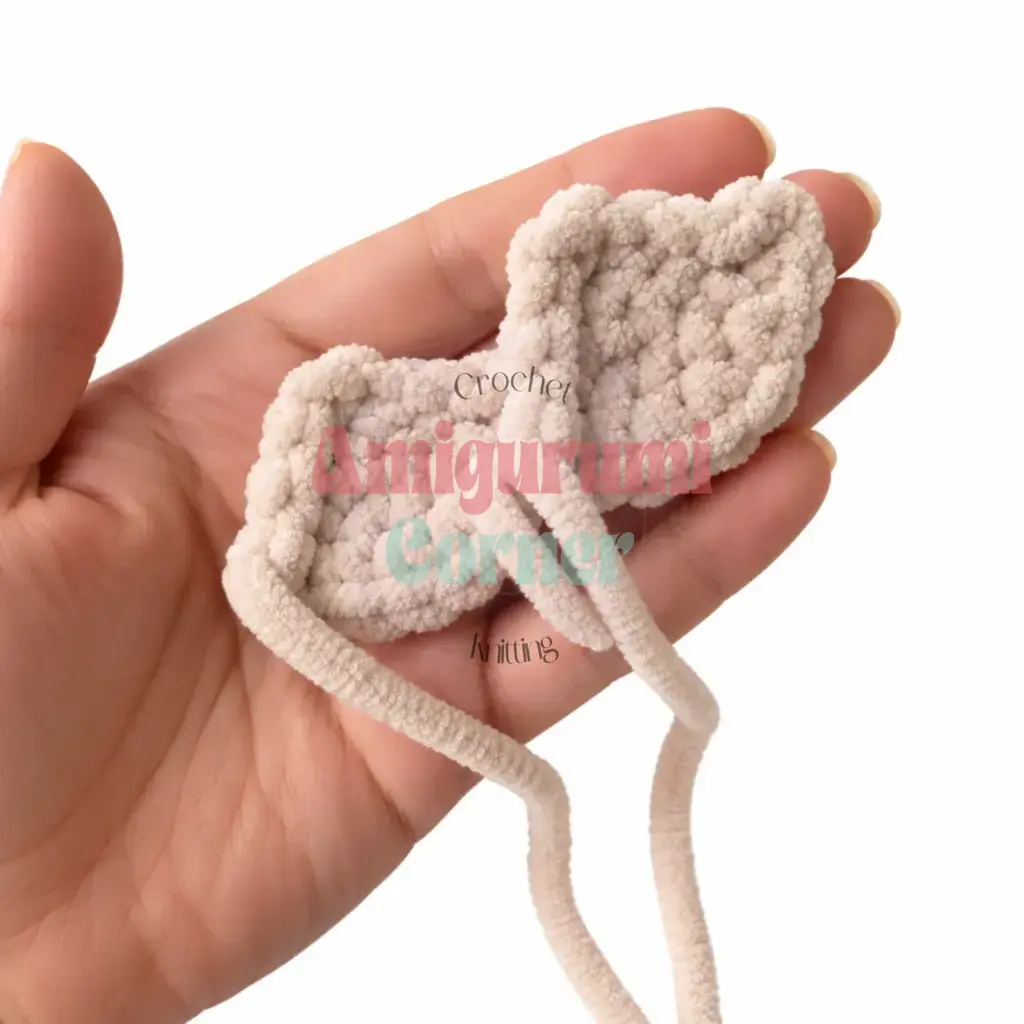
Worked in flat back-and-forth rows. At the end of every row, work 1 turning chain before turning. Start by chaining 2. Begin working from the 2nd chain from the hook.
Row 1: 3 sc in first ch. (3)
Row 2: inc, sc, inc. (5)
Row 3: sc in each st across. (5)
Row 4: inc in each st across. (10)
Edging: work sl st evenly around the outer edge of the ear, working 2 sc at the tip (top point) to round the corner. Fasten off, leaving a long sewing tail.
Attach ears to the head with the edges folded in slightly, using the placement guide below: 4 rounds above the safety eyes to the base of each ear, 3 to 4 rounds diagonally from the outer edge of each eye to the lower corner of the ear, 7 to 8 sc between the two ears across the top of the head.
Front Arms (make 2)
Rnd 1: 6 sc in MR. (6)
Rnd 2: inc in each st around. (12)
Rnds 3-5: sc in each st around. (12) (3 rounds)
Rnd 6: dec 3 times, 6 sc. (9)
Rnd 7: sl st in next 5 sts, 4 sc. (9)
Rnds 8-14: sc in each st around. (9) (7 rounds)
Rnd 15: 7 sc, dec. (8)
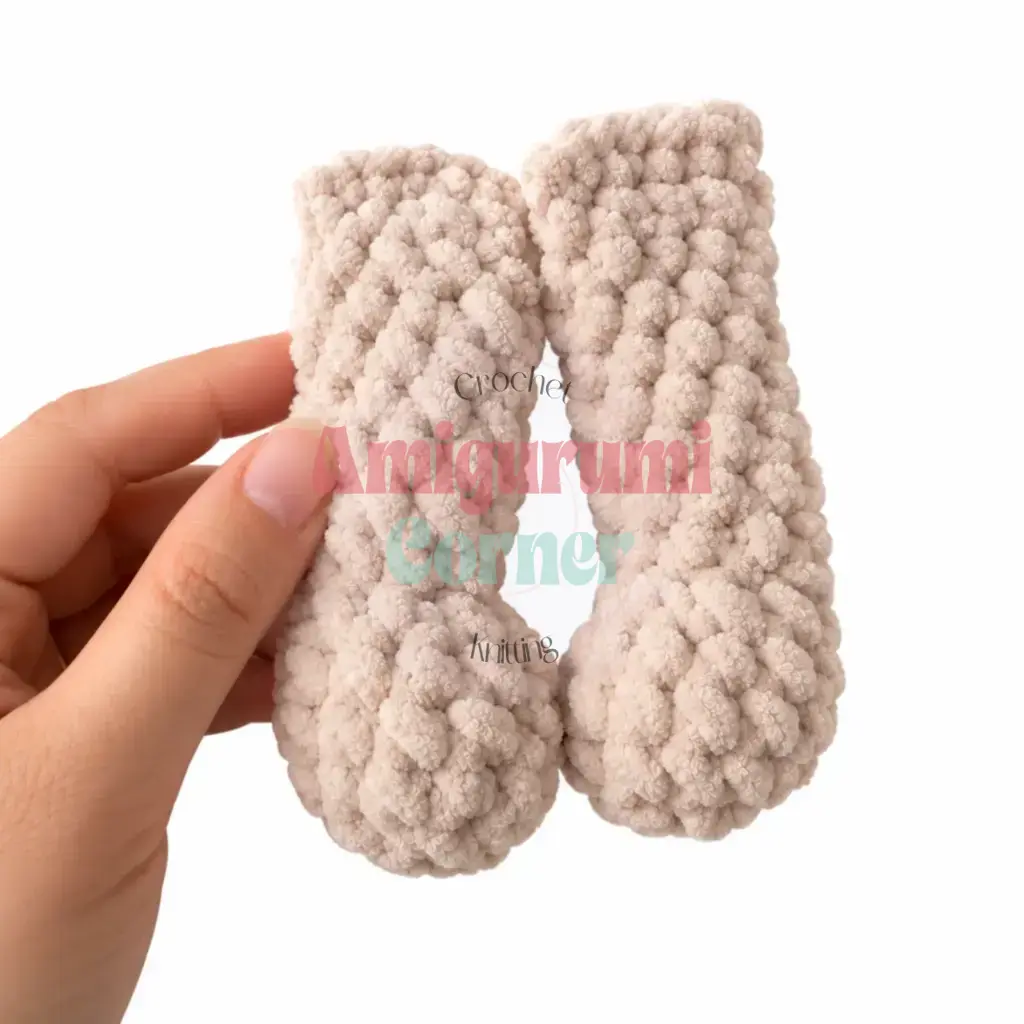
The final round should end at the back of the arm. Stuff only the lower half (paw end) of the arm. Flatten the top of the arm and close it by working 4 sc through both layers.
Tail
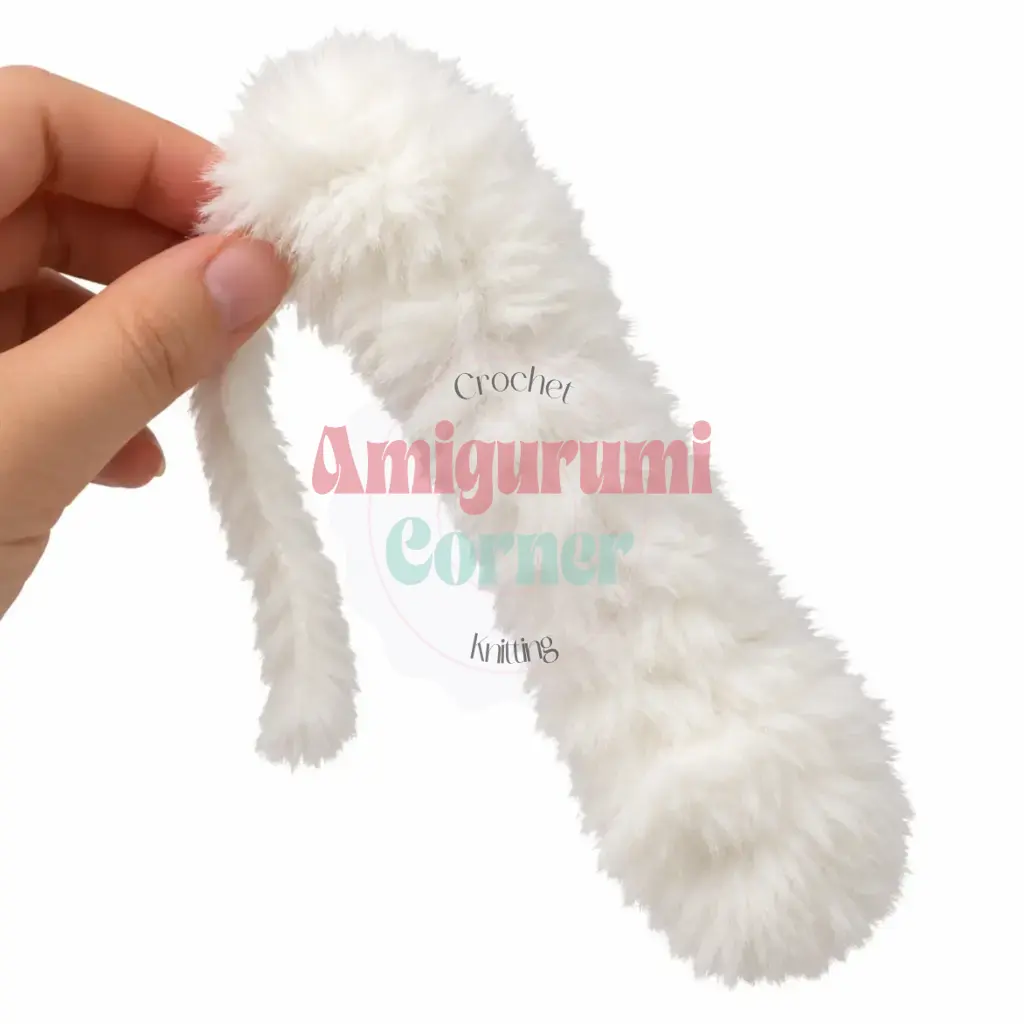
The tail can be crocheted in eyelash or fluffy yarn for extra texture, or in your main plush yarn.
Rnd 1: 8 sc in MR. (8)
Rnds 2-6: sc in each st around. (8) (5 rounds)
Rnd 7: dec, 6 sc. (7)
Rnds 8-12: sc in each st around. (7) (5 rounds)
Rnd 13: 5 sc, dec. (6)
Rnds 14-18: sc in each st around. (6) (5 rounds)
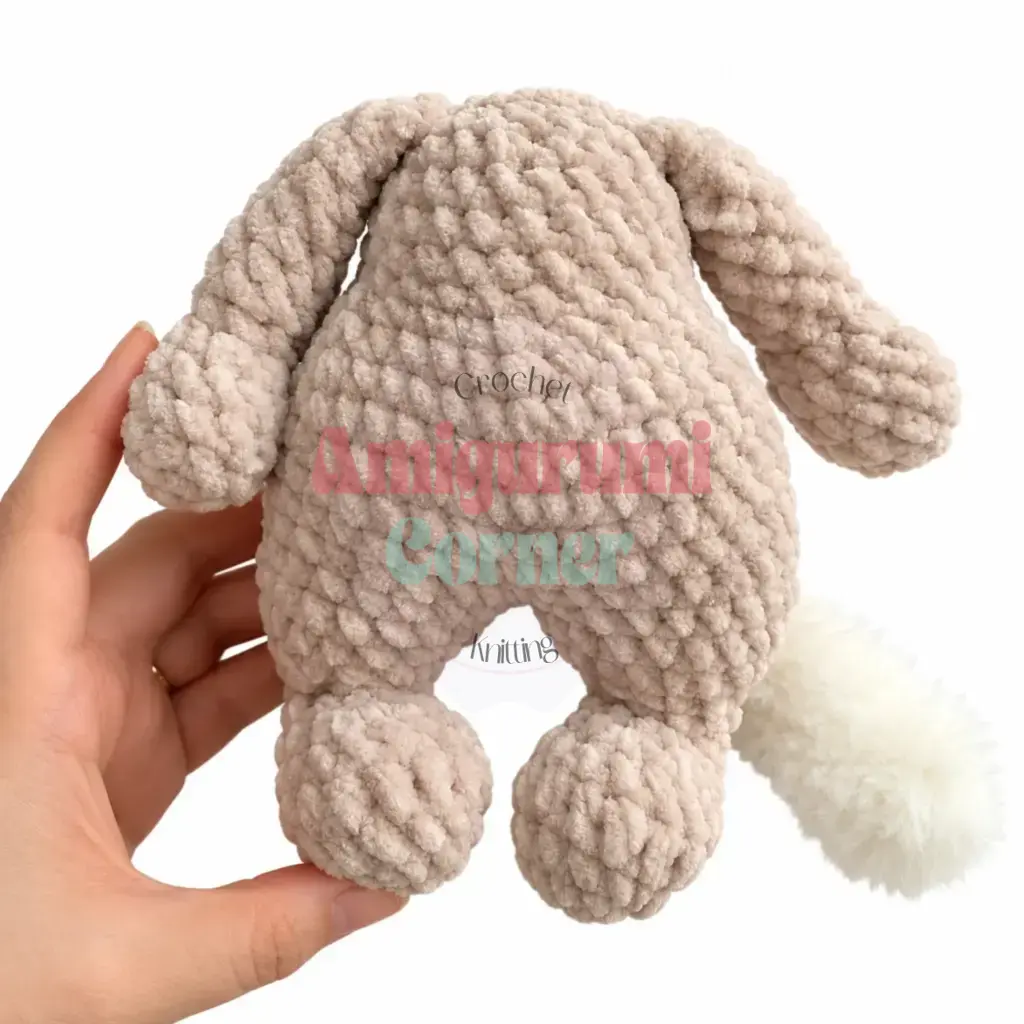
Add or remove rounds to adjust the tail length as you like. Do not stuff the tail. Flatten and close by working 3 sc through both layers.
Legs and Body
Make both legs, then join them to begin the body. The tail is crocheted in during the body section.
First leg:
Rnd 1: 8 sc in MR. (8)
Rnd 2: inc in each st around. (16)
Rnd 3: sc in each st around. (16)
Rnd 4: sc in each st around (offset round). (16)
Rnd 5: sc in each st around. (16)
Rnd 6: triple decrease (insert hook, pull up loop, skip 1, insert hook, pull up loop, yo, pull through all 3 loops) 2 times, 10 sc. (12)
Rnd 7: triple decrease once, 9 sc. (10)
Rnd 8: sl st in next 4 sts, 6 sc. (10)
Rnd 9: sc in each st around. (10)
Rnd 10: sc, inc repeat 5 times. (15)
Rnd 11: 2 sc, inc repeat 5 times. (20)
Rnd 12: sc in each st around. (20)
Stuff the leg firmly. Fasten off and leave a short tail on the first leg. Do not fasten off the second leg.
Second leg: Work Rnds 1-12 exactly as the first leg. If desired, work 1 to 2 offset stitches (not counted) on the second leg so that the toes angle slightly inward (pigeon-toed effect) when assembled.
Joining the legs into the body:
Ch 1, then join the working yarn to the first leg with a sl st at the back seam. This joining point becomes the back of the body.
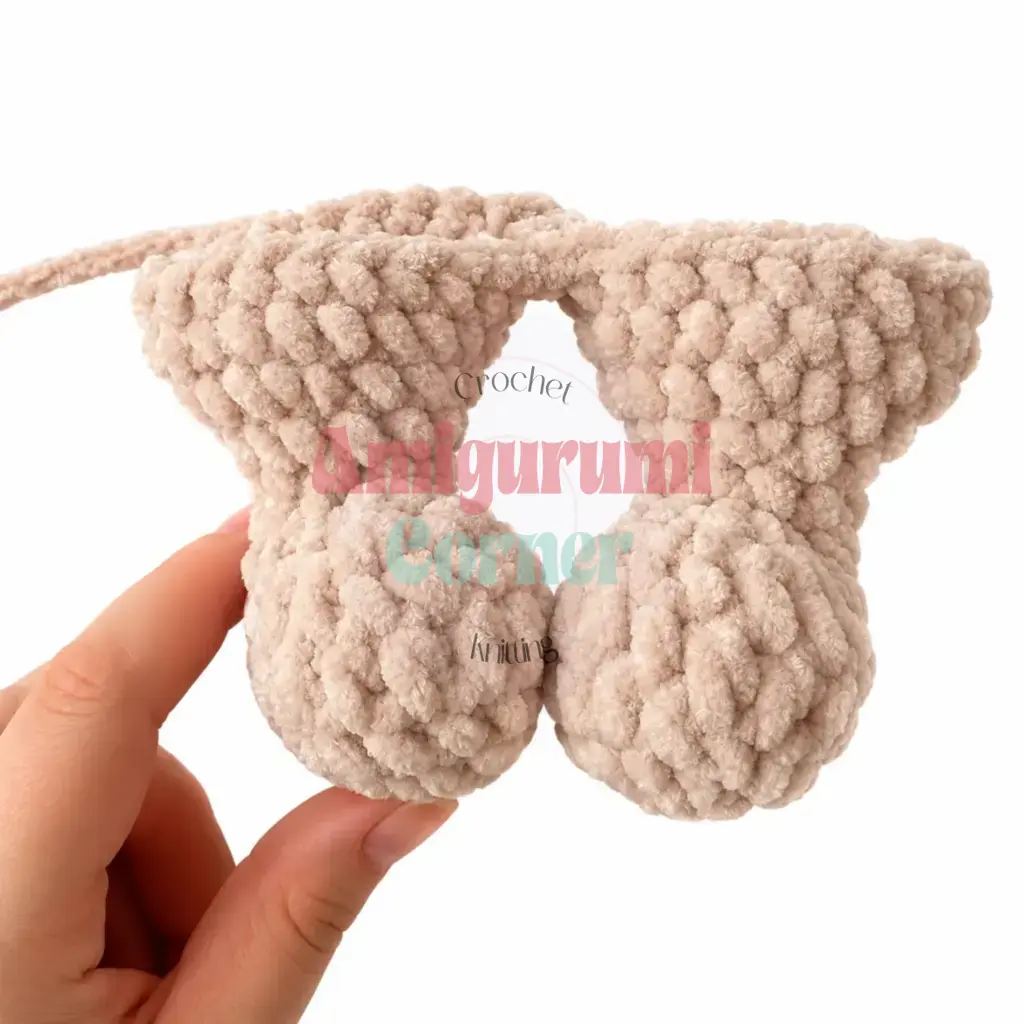
Rnd 13: 20 sc across the first leg, sc in the side of the ch-1 bridge, 20 sc across the second leg, sc in the other side of the ch-1 bridge. (42)
Rnds 14-16: sc in each st around. (42) (3 rounds)
The tail is joined in during the next two rounds. Adjust the exact stitch position if needed to keep the tail centered at the back.
Rnd 17: 41 sc, then work 1 sc joining the tail into the body (inserting the hook through the closing edge of the tail and the next body stitch together). (42)
Rnd 18: 2 sc joining the tail (working through both tail and body sts), 40 sc. (42)
Rnd 19: 5 sc, dec repeat 6 times. (36)
Rnd 20: 4 sc, dec repeat 6 times. (30)
Rnd 21: 3 sc, dec repeat 6 times. (24)
Stuff the legs and lower body firmly now, shaping the belly and hips. Continue adding fiberfill as you work.
Rnds 22-25: sc in each st around. (24) (4 rounds)
Reposition the end of the round to sit at the center back before working Rnd 26.
Rnd 26: 2 sc, dec repeat 6 times. (18)
The arms are joined in the next round. They sit on either side of the body. Adjust the start stitch of Rnd 27 if needed so the arms land symmetrically.
Rnd 27: 2 sc, 4 sc joining the left arm (working through both arm and body sts), 5 sc, 4 sc joining the right arm (working through both arm and body sts), 3 sc. (18)
Rnd 28: sc, dec repeat 6 times. (12)
Rnd 29: sl st in each st around. (12)
Fasten off, leaving a long sewing tail for attaching the head.
Overalls (optional)
Worked in back-and-forth rows until the body joins into a round. Work 1 turning chain at the end of every row.
Foundation chain: ch 33. Begin in the 4th ch from the hook (this creates the first buttonhole loop).
Row 1: 4 sc, ch 5, skip next 6 ch, 10 sc, ch 5, skip next 6 ch, 4 sc. (28 sc + 2 ch-5 buttonhole arches)
Row 2: 4 sc, inc, 4 sc across the ch-5 arch, 10 sc, 4 sc across the second ch-5 arch (working in BLO across these 4 sts), inc, 4 sc. (30)
Row 3: 5 sc, inc repeat 5 times. (35)
Row 4: Ch 3, begin row in 4th ch from hook, 6 sc, inc repeat 5 times. (40)
Row 5: 7 sc, inc repeat 5 times. (45)
Row 6: 14 sc, inc repeat 3 times. (48)
Row 7: sc in each st across. (48)
Row 8: Ch 3, begin in 4th ch from hook, 48 sc. (48)
The tail will sit under the last stitch of this row. Join with sl st to form a round, then continue in a continuous spiral with no turning chains.
Rnds 9-10: sc in each st around. (48) (2 rounds)
Rnd 11: 4 sc, dec repeat 8 times. (40)
Rnd 12: sc in each st around. (40)
Rnd 13: 6 sc, dec repeat 5 times. (35)
At this point, place the overalls on the cat and check the length. Add one or two more rounds if needed before fastening off. Fasten off and sew the fabric closed between the legs.
Optional pant leg edging: attach yarn to the last stitch along one leg opening and work around the edge, alternating ch 1, sl st. Repeat for the other leg.
Ruffle on the overalls:
Turn the overalls so the straps face away from you. Attach yarn to the second row of the bib, working into the front loops. Work along the front loops of that row: inc using 3 hdc worked into the same front loop repeat 10 times. Fasten off. Shape the ruffle gently with your fingers. Sew buttons at the top of the strap buttonhole loops.
Dress (optional)
Worked in flat back-and-forth rows until it joins into a round. Work 1 turning chain at the end of every row until the join point.
Foundation chain: ch 33. Begin in the 4th ch from the hook (first buttonhole).
Row 1: 4 sc, ch 4, skip 6 ch, 10 sc, ch 4, skip 6 ch, 4 sc. (26 sc + 2 ch-4 buttonhole arches)
Row 2: 5 sc, inc, 5 sc, inc, 7 sc, inc, 5 sc, inc. (30)
Row 3: Ch 3, begin in 4th ch from hook, 4 sc, inc repeat 6 times. (36)
Row 4: 5 sc, inc repeat 6 times. (42)
Join with sl st to form a round. From here, begin each round with ch 2 (counts as first hdc) and end each round with sl st.
Rnd 5: Ch 2, hdc, inc in hdc repeat 21 times, sl st to join. (63)
Note: the source pattern skips the numbering of Rnd 6. Rnds 7-8 follow directly as written in the original.
Rnds 7-8: Ch 2, 63 hdc, sl st to join. (63) (2 rounds)
Rnd 9: Ch 2, 6 hdc, dec repeat 8 times, sl st to join. (56)
Rnd 10: 56 hdc, sl st to join. (56)
Add or remove rounds to adjust the dress length. Finish the hem edge by working around it, alternating ch 1, sl st.
Dress ruffles:
Attach yarn at the level of Rnds 4-5. Working horizontally across the stitches (inserting the hook across columns of sts rather than into the top of a row), work upward toward the strap: inc using 3 hdc worked into the same point repeat 4 times. Continue the same increases along the strap. Fasten off with sl st at the base of the strap on the back. For a flatter ruffle, substitute sc for hdc throughout. Repeat on the other side. Sew buttons at the strap buttonhole loops.
Bow (optional)
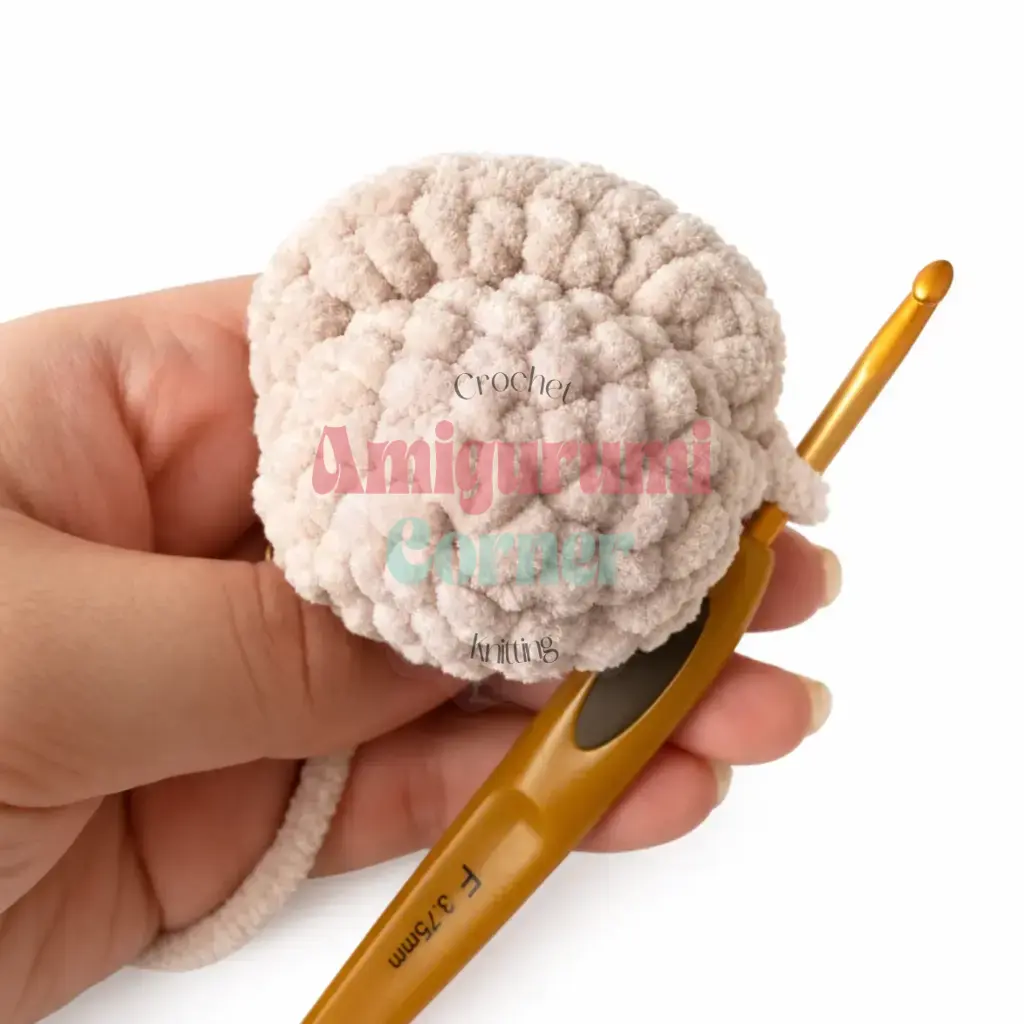
Worked in flat back-and-forth rows. Work 1 turning chain at the end of every row.
Foundation chain: ch 20.
Row 1: sc in 2nd ch from hook, sc in each remaining ch across. (19)
Rows 2-4: sc in each st across. (19) (3 rows)
Fasten off, leaving a long sewing tail. Seam the two short edges of the rectangle together to form a loop. Pinch the center and secure it with 3 tight stitches to form the bow shape. Wrap matching yarn several times around the center pinch and secure. For a larger bow, add extra chains to the foundation and extra rows to the height.
Assembly
Sew the head to the body using the long tail left at Rnd 29 of the body. Align the center front of the face with the center front of the body. As you sew, add a final handful of fiberfill into the neck area to keep the head from flopping forward. The arms were already joined into the body during Rnd 27 of the body section. Confirm they sit evenly on both sides and tack down any gap at the join if needed. The tail was joined in during Rnds 17-18 of the body. If the join feels loose, add a few extra whipstitches around the base of the tail from the inside. Sew the ears onto the head using the placement guide from the Ears section: 4 rounds above the eyes, 3 to 4 rounds diagonally from the outer eye corner, with 7 to 8 sc between the two ears. Fold the edges of each ear inward slightly before sewing to give them a natural, cupped look. If making the overalls or dress, dress Sofia now. Sew the fabric panel closed between the legs using a mattress stitch. Attach buttons at the strap loops. Attach the bow to the head or collar area using the sewing tail, positioning it just above one ear or at the center front of the neck. Weave in all remaining yarn ends securely.
Tips
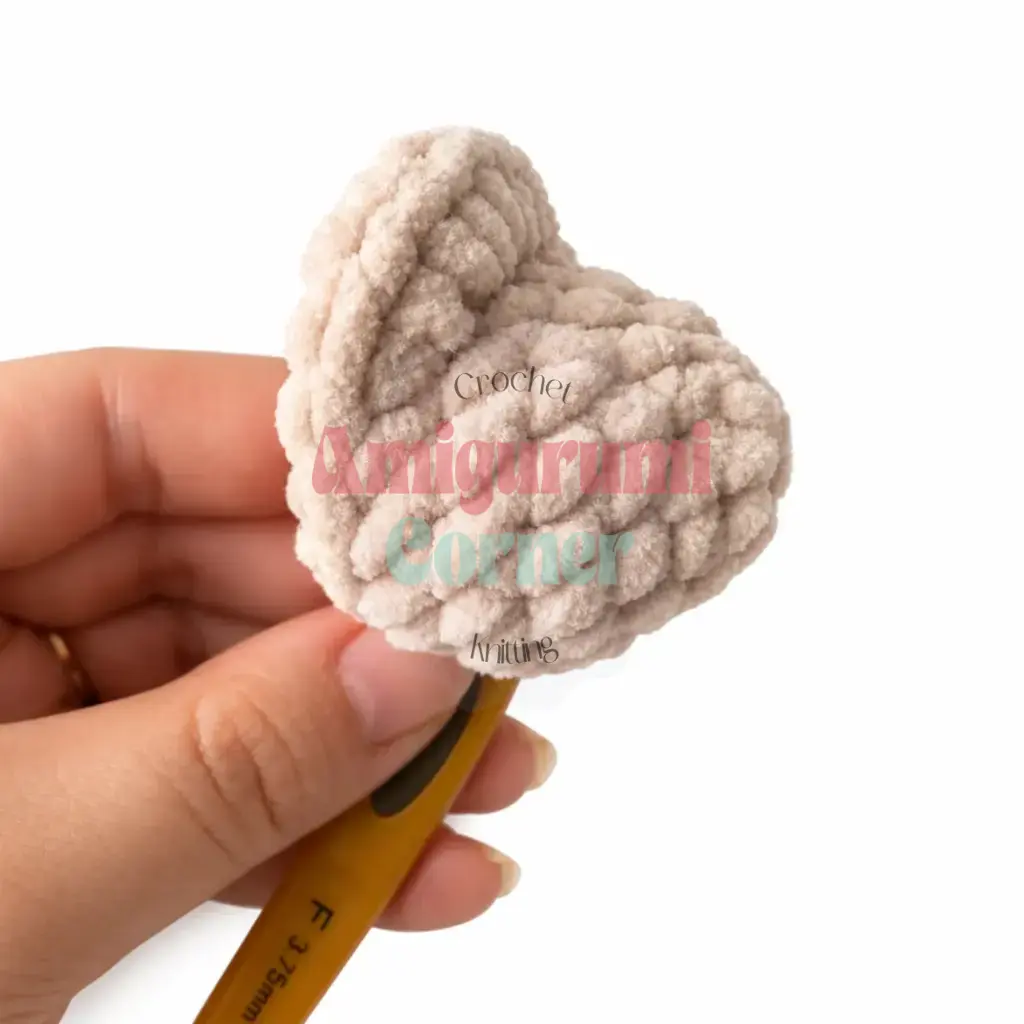
- Keep your tension tight throughout. Plush yarn is forgiving in appearance but can make it harder to see individual stitches. Work slowly and count every round. A tight, even tension ensures the fiberfill stays inside and the finished piece holds its shape without sagging.
- Use stitch markers generously. Place one at the beginning of every round on the head and body. Because plush yarn hides the “V” of each stitch, a marker is your most reliable way to know exactly where each round starts and ends.
- Nail the invisible decrease. For the cleanest result, always insert your hook under the front loops only of the next two stitches, pull through both, then yarn over and complete the stitch. This keeps the decrease nearly invisible, which matters on Sofia’s head where the muzzle shaping is prominent.
- Stuff Sofia’s head in two stages. Add fiberfill to the muzzle before Rnd 14, then continue filling the upper head as you decrease. This two-stage approach lets you shape the muzzle separately and gives the face a fuller, more defined look.
- Take your time with the face sculpting. The needle-sculpting step (pulling yarn through the head to create eye sockets and lift the muzzle) is what transforms a round ball into an expressive cat face. Pull gradually, checking the shape from the front after every pass, and use your fingers to coax the muzzle into position before tightening the final knot.
FAQs
What hook size should I use for plush yarn?
The pattern recommends a size F-5 / 3.75 mm hook. However, because plush yarn can be thick, you may need to adjust. The key is to ensure your fabric is dense enough that fiberfill does not show through.
Can I make Sofia without the clothing?
Yes, the clothing (overalls, dress, bow) is entirely optional. The base cat is complete and adorable without it.
How do I attach the safety eyes?
Insert the 16 mm safety eyes in Rnd 7 of the Head, placing one after the first increase group and one before the last. It is best to insert them before closing the muzzle fully, while you still have easy access to the inside.
What is the “offset stitch” mentioned in the pattern?
Offset stitches are used to reposition the working yarn to the correct point, such as at the start of Rnd 6 on the Head. Work 3 to 4 sl st to shift position. These offset stitches are not counted in the stitch total.
How do I shape the muzzle?
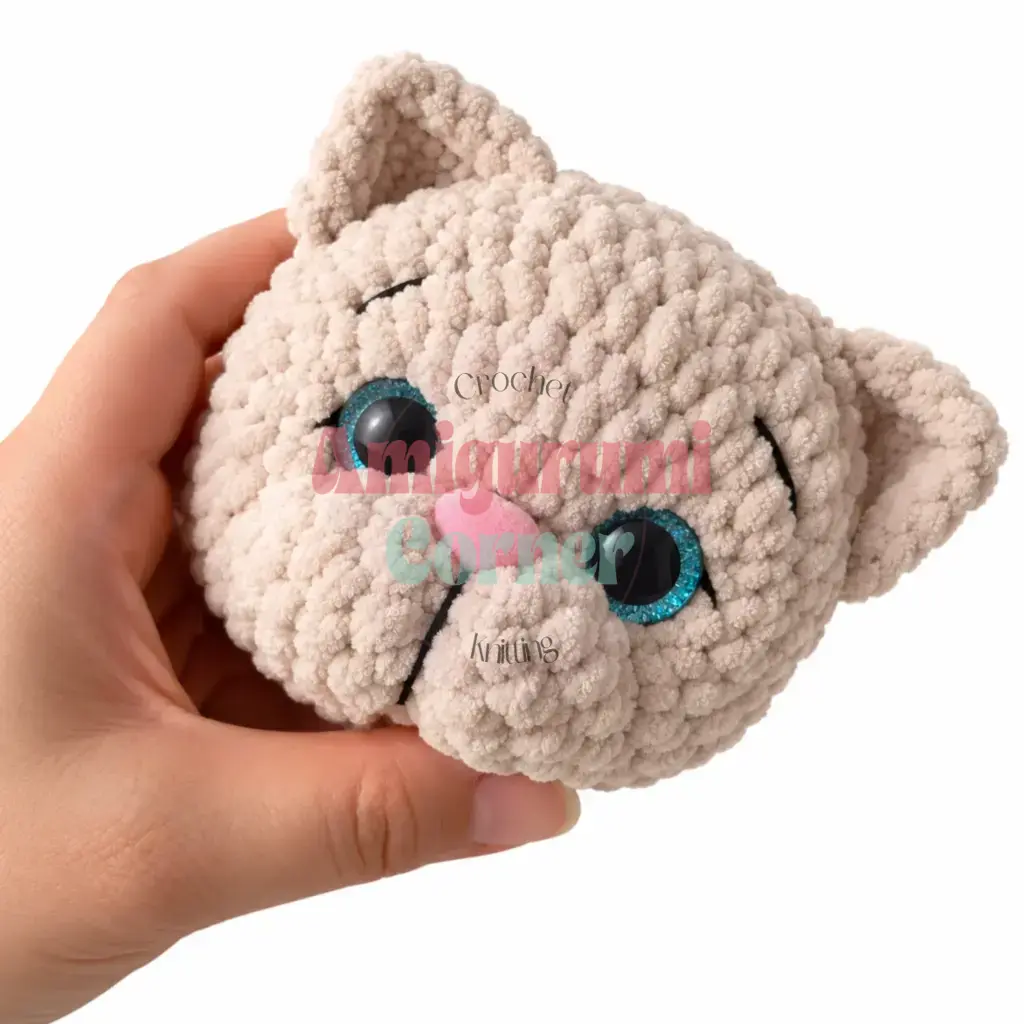
Stuff the muzzle firmly before Rnd 14, stretching it gently outward. Then, use the needle-sculpting technique with matching thread to lift the muzzle upward and create eye socket indents for a defined face.
If you enjoy making character amigurumi, you might also like this adorable festive crochet amigurumi trio for holiday gifting.
Pin This Crochet Pattern!